
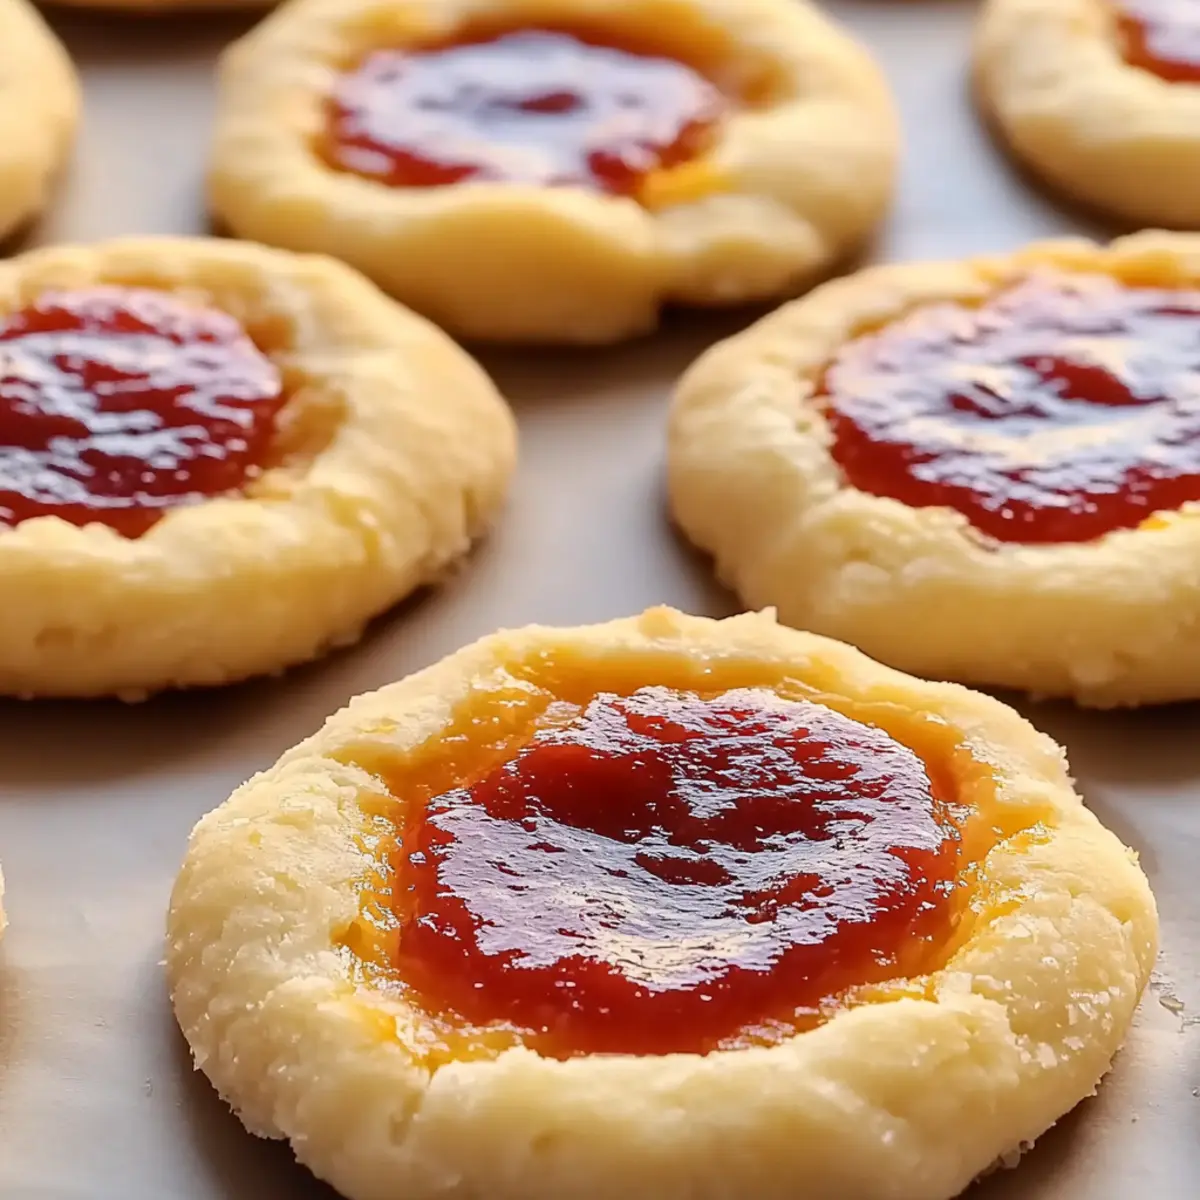
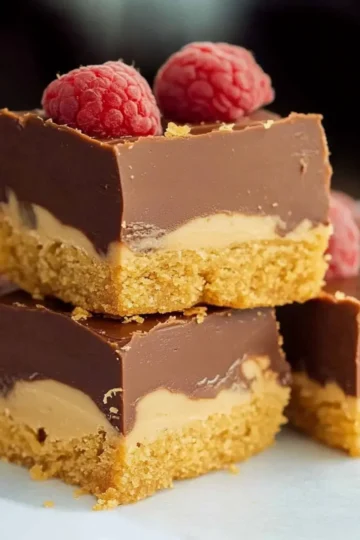
The moment the aroma of warm cookies wafts through your kitchen, memories of childhood treats come rushing back like a delightful time capsule. Classic Thumbprint Cookies have a unique charm that captures the heart—each one is a little delicious surprise, waiting to be filled with your favorite jam or luscious chocolate ganache. They’re not just simple to make; they’re also a fantastic way to bring friends and family together for a cozy baking session. With a quick prep time of just 15 minutes, these cookies are perfect for those evenings when you crave homemade goodness without spending hours in the kitchen. Ready to create a batch of these irresistible delights? Let's dive into this fun adventure of baking that will surely become a cherished tradition in your home!
Why Are Thumbprint Cookies a Must-Try?
Deliciously Customizable: The beauty of Thumbprint Cookies lies in their versatility—choose your favorite fruit preserves or rich chocolate ganache for a personalized touch.
Quick and Easy: You only need 30 minutes from start to finish, making them perfect for impromptu baking sessions.
Family Fun: Get everyone involved! These cookies are a wonderful way to bond with family, as everyone can add their unique flair.
Crowd-Pleasing Treat: With a lovely melt-in-your-mouth texture, they're sure to delight friends and family at any gathering.
Elevate Your Baking: Treat yourself to homemade goodness that’s far superior to anything you’d find in fast food. For more delicious inspiration, check out our tips on baking from scratch.
Thumbprint Cookies Ingredients
• Get ready to bake these delightful Thumbprint Cookies with simple, wholesome ingredients!
For the Dough
- Unsalted butter – makes for a rich and creamy base to your cookies.
- Granulated sugar – helps achieve that perfect sweetness and texture.
- Egg yolk – adds richness and helps bind the dough together.
- Vanilla extract – enhances the overall flavor, giving your cookies a warm aroma.
- All-purpose flour – the main ingredient that forms the structure of your cookies.
- Salt – balances the sweetness and enhances the flavors.
For the Filling
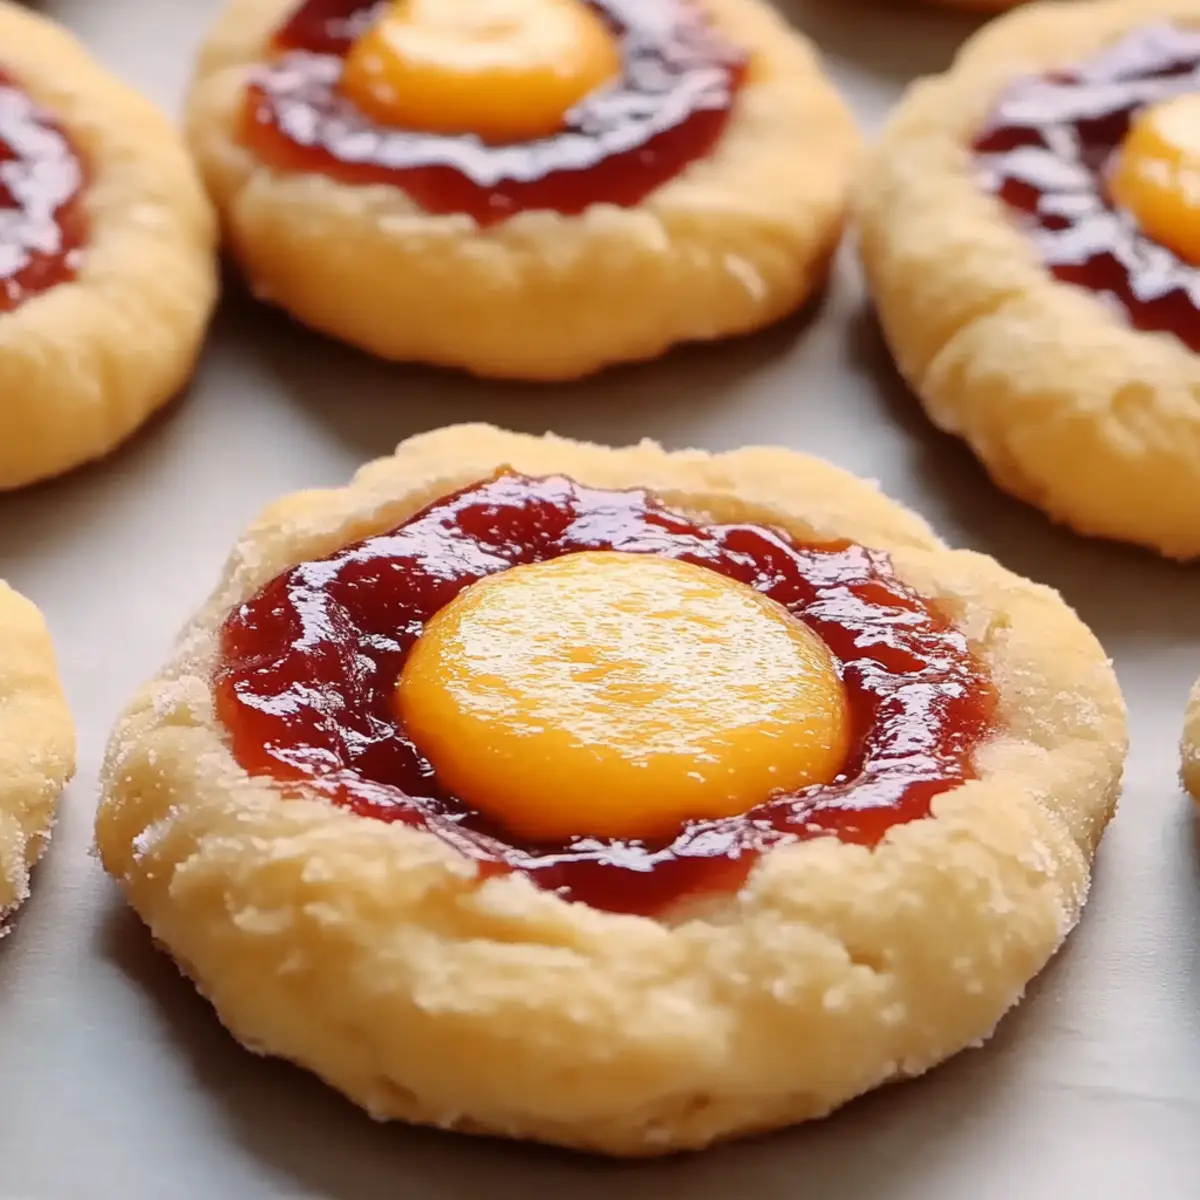
- Fruit preserves – choose your favorite flavor for a fruity burst in each bite.
- Chocolate ganache – for those who crave a rich, chocolaty surprise!
Optional Finishing Touch
- Powdered sugar – a light dusting adds a touch of sweetness and elegance to your cookies.
Now that you have your ingredients ready, it’s time to bring that warm, inviting aroma to your kitchen! Happy baking!
Step‑by‑Step Instructions for Thumbprint Cookies
Step 1: Cream the Butter and Sugar
In a large mixing bowl, use an electric mixer to cream together 1 cup of softened unsalted butter and 1 cup of granulated sugar until the mixture is light and fluffy, which should take about 3 to 5 minutes. The butter should be pale in color and have a creamy texture, making it easier to incorporate the other ingredients.
Step 2: Add Egg Yolk and Vanilla
Next, beat in 1 egg yolk and 1 teaspoon of vanilla extract until fully combined. This should take around 1 minute. The mixture will become smooth and aromatic, ensuring that your Thumbprint Cookies have a rich flavor that everyone will love.
Step 3: Mix Dry Ingredients
In a separate bowl, whisk together 2 ¼ cups of all-purpose flour and ½ teaspoon of salt until well blended. This step helps evenly distribute the salt and flour, ensuring that your cookie dough will be balanced in flavor.
Step 4: Combine Wet and Dry Mixtures
Gradually add the flour mixture to the butter mixture, stirring gently until a soft dough forms. This process should take about 2-3 minutes—stop when the dough is cohesive and slightly sticky, making it the perfect base for your Thumbprint Cookies.
Step 5: Chill the Dough
Cover the dough tightly with plastic wrap and refrigerate for at least 30 minutes. This resting period allows the dough to firm up, making it easier to handle and shape when you’re ready to bake your cookies.
Step 6: Preheat the Oven
While the dough cools, preheat your oven to 350°F (175°C). This ensures that your Thumbprint Cookies will bake evenly and achieve that lovely golden-brown color. Prepare your baking sheet by lining it with parchment paper for easy removal later.
Step 7: Shape the Cookies
Once chilled, scoop tablespoon-sized portions of dough and roll them into balls. Arrange these on the prepared baking sheet about 2 inches apart. You should have about 24 cookie balls, each ready to be transformed into delightful Thumbprint Cookies.
Step 8: Create Indentations
Use your thumb or the back of a spoon to gently press an indentation into each cookie ball, being careful not to flatten them too much. This step is important as it creates a reservoir for your chosen filling—fruit preserves or chocolate ganache.
Step 9: Fill with Preserves or Ganache
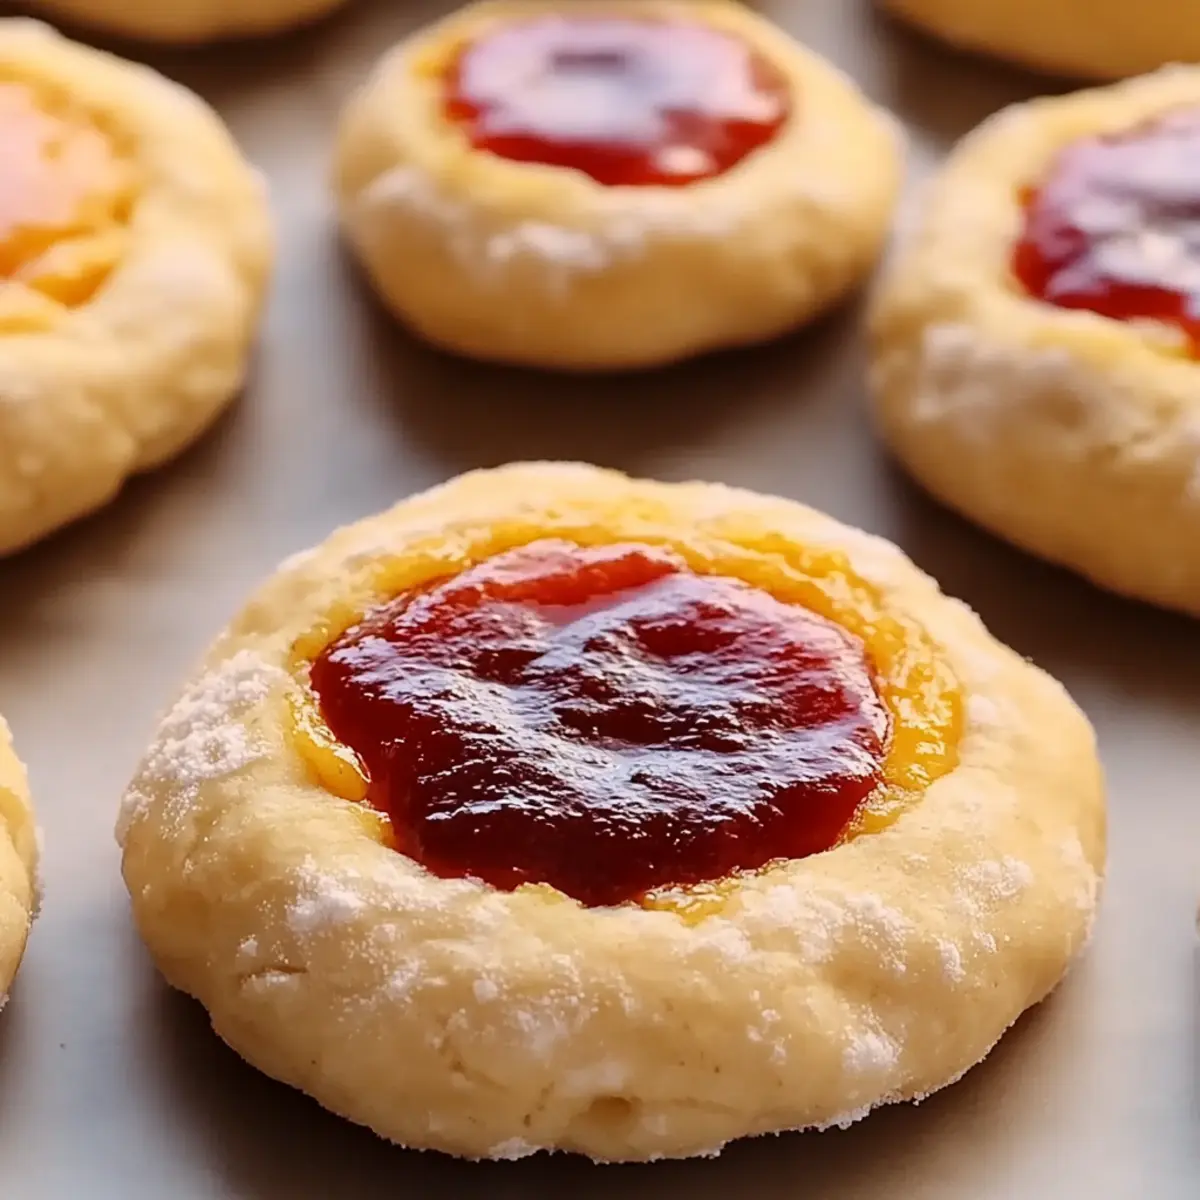
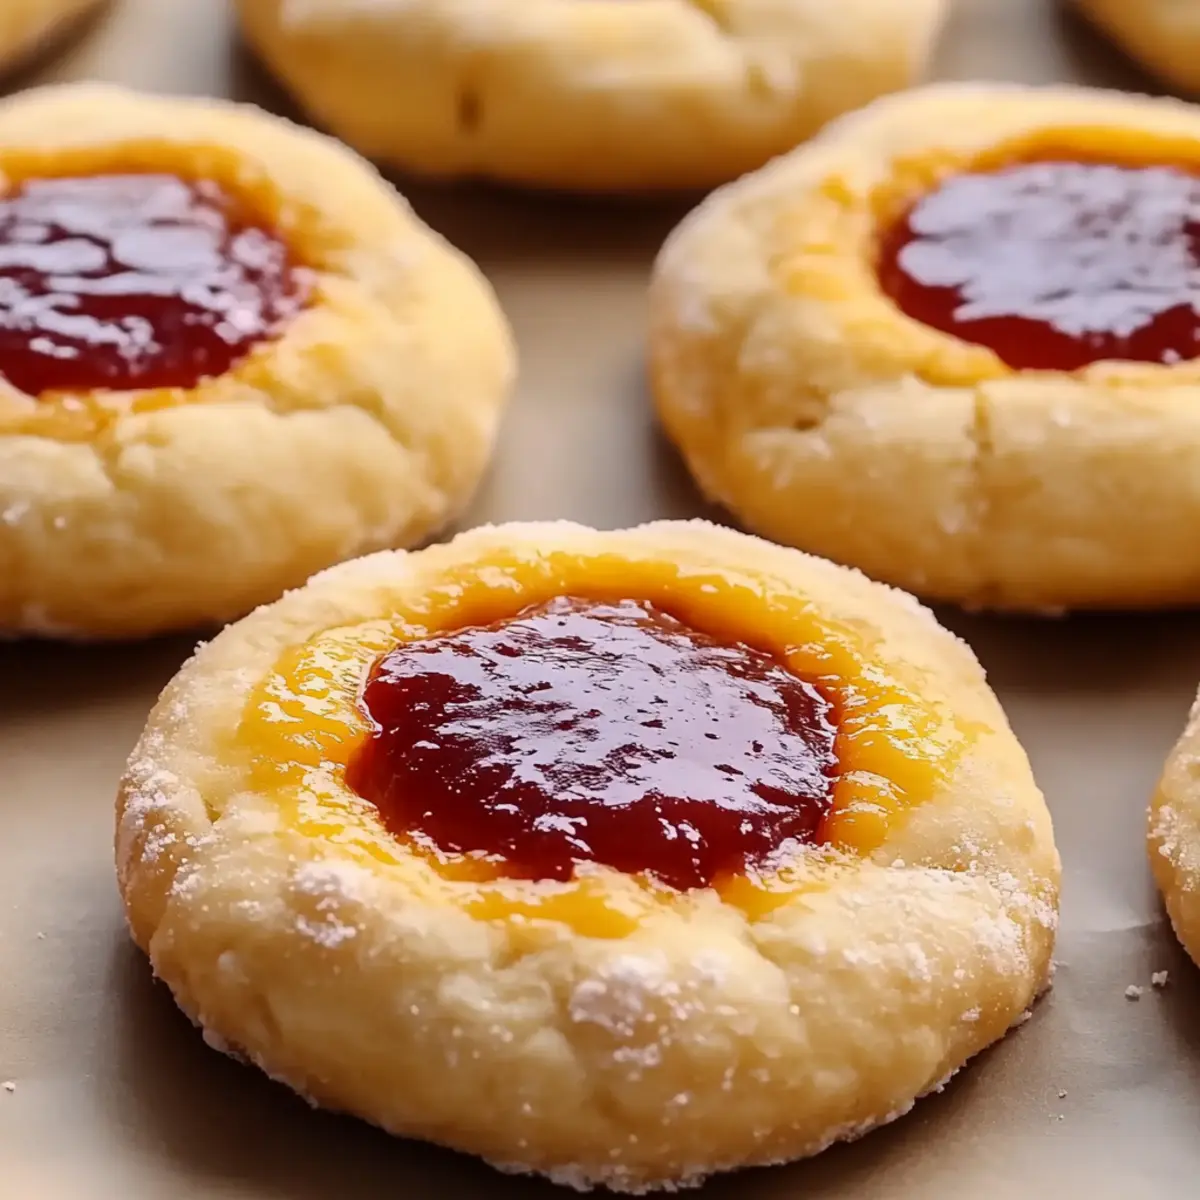
Spoon a small amount of your selected fruit preserves or chocolate ganache into each indentation. Just a teaspoon in each should be enough to create a delicious burst of flavor with every bite of the finished Thumbprint Cookies.
Step 10: Bake the Cookies
Bake in the preheated oven for 12-15 minutes or until the edges are lightly golden. Keep an eye on them, as the aroma of freshly baked cookies will fill your kitchen, signaling that they are almost done.
Step 11: Cool on Baking Sheet
Once baked, let the cookies cool on the baking sheet for a few minutes. This will allow them to set before transferring. A slight golden edge will indicate that your Thumbprint Cookies are cooked to perfection.
Step 12: Dust and Serve
Transfer the cookies to a wire rack to cool completely. If desired, dust them with powdered sugar for a touch of sweetness before serving. Now your delightful Thumbprint Cookies are ready to be enjoyed by family and friends!
Make Ahead Options
These Classic Thumbprint Cookies are perfect for meal prep enthusiasts! You can prepare the cookie dough up to 24 hours in advance by following the instructions to the point before chilling. Simply wrap the dough tightly in plastic wrap and refrigerate. The dough can also be frozen for up to 3 months; just thaw it overnight in the refrigerator before proceeding with shaping and baking. To maintain the delightful texture and flavor, store the filled cookies in an airtight container at room temperature for up to 3 days. When you’re ready to serve, simply dust them with powdered sugar for that lovely finishing touch and enjoy your homemade treat!
Thumbprint Cookies Variations & Substitutions
Feel free to get creative and put your personal spin on these Thumbprint Cookies for a delightful surprise in every bite!
-
Nutty Delight: Toast and chop your favorite nuts like pecans or almonds to add to the dough for a delightful crunch.
-
Whole Wheat: Substitute half of the all-purpose flour with whole wheat flour for a nuttier flavor and wholesome touch. The extra texture makes these cookies even more satisfying!
-
Vegan Option: Replace butter with coconut oil and use a flax egg instead of the egg yolk. The result? Deliciously soft cookies that everyone can enjoy.
-
Flavor Infusion: Spice up the vanilla extract with orange or almond extract for an exciting twist. This adds a delightful depth of flavor that brings a new dimension to your baking.
-
Spicy Heat: For a warm kick, mix in a pinch of cayenne pepper or cinnamon into the dough. This unexpected hint of spice pairs beautifully with sweet fillings.
-
Choco-Chip Twist: Add semi-sweet or dark chocolate chips to the dough for an extra chocolatey treat. They’ll melt slightly during baking, creating gooey pockets of goodness.
-
Dried Fruit: Swap out fruit preserves for chopped dried fruits like cranberries or apricots for a chewy texture. These tiny bursts of flavor are perfect for adventurous cookie lovers!
-
Chocolate Cookies: Substitute a portion of the flour with cocoa powder to make chocolate thumbprint cookies. Pair with chocolate ganache for an indulgent experience.
Embrace these variations and make the Thumbprint Cookies uniquely yours! You might also find joy in exploring more sweet inspirations with our diverse recipes for buttery cookies or delightful baking tips that could elevate your creations. Happy baking!
How to Store and Freeze Thumbprint Cookies
Room Temperature: Store your Thumbprint Cookies in an airtight container at room temperature for up to 3 days. This keeps them fresh and soft for snacking.
Fridge: If you prefer, you can refrigerate the cookies in an airtight container for up to a week. Just let them come to room temperature before enjoying.
Freezer: To freeze, wrap individual cookies tightly in plastic wrap and place them in a freezer-safe bag. They can last for up to 3 months without losing flavor.
Reheating: When you’re ready to enjoy your frozen Thumbprint Cookies, simply thaw at room temperature for a few hours or warm in the microwave for about 10-15 seconds for that freshly-baked taste!
What to Serve with Classic Thumbprint Cookies
Baking a batch of these charming cookies is just the beginning—let's create a delightful spread to elevate your treat!
-
Creamy Vanilla Ice Cream: Scooping this cool dessert alongside warm cookies transforms every bite into a delightful experience. The creamy richness pairs beautifully with sweet fillings.
-
Fresh Berries: A simple bowl of strawberries, blueberries, or raspberries adds a burst of freshness, balancing the sweetness of the cookies and providing a vibrant color contrast.
-
Hot Milk or Tea: These warm beverages cradle the flavors of the cookies, making each bite even more comforting. The warmth complements the melted jam or ganache perfectly!
-
Chocolate Fondue: For an indulgent twist, serve the cookies with a side of chocolate fondue. Guests can dip their cookies for an extra chocolatey treat, enhancing the overall flavor experience.
-
Coconut Macaroons: These chewy, sweet bites are a delicious companion, with their tropical flavor adding a delightful contrast to the buttery thumbprints.
-
Caramel Sauce: Drizzle this over your cookies to enhance their sweetness and introduce a decadent layer of flavor that takes them to the next level.
-
Lemon Curd: This zesty, luscious spread pairs beautifully with thumbprint cookies, offering a bright counter-point to the rich fillings in the cookies.
-
Chai Latte: Enjoy your cookies with a warm, spiced chai latte. The aromatic spices will dance on your palate, adding a cozy flare to your afternoon treat.
Expand your baking adventure with these delightful accompaniments that'll surely impress!
Expert Tips for Thumbprint Cookies
Chill the Dough: Allow the dough to chill for at least 30 minutes; this firms it up, making it easier to shape and preventing excessive spreading when baking.
Don’t Overfill: Use just enough fruit preserves or ganache to avoid overflow while baking; an overly full indentation may spill, leading to messy cookies.
Check the Edges: Bake until the edges are golden brown; this ensures a perfect texture while keeping the centers soft and tender, delivering the best Thumbprint Cookies possible.
Avoid Overmixing: Stir the dough just until combined; overmixing can result in tough cookies—your goal is a soft, tender bite!
Experiment with Flavors: Try different preserves or fillings to discover your favorite combination; each batch can be a new delicious adventure in baking!
Thumbprint Cookies Recipe FAQs
How do I select ripe fruit preserves for my Thumbprint Cookies?
Absolutely! Choose fruit preserves that are vibrant in color and have a glossy texture. Avoid any jars with dark spots or signs of crystallization, as these can indicate spoilage. The preserves should also be spreadable but not too runny, which can help prevent your cookies from becoming soggy.
How should I store my Thumbprint Cookies?
You can store your Thumbprint Cookies in an airtight container at room temperature for up to 3 days. If you want to keep them longer, you might consider refrigerating them, where they can last for about a week. Just let them come back to room temperature before indulging in your sweet treats!
Can I freeze Thumbprint Cookies? How?
Yes, you can absolutely freeze your Thumbprint Cookies! First, wrap each individual cookie tightly in plastic wrap to avoid freezer burn. Then, place them in a freezer-safe bag or container. They can last up to 3 months in the freezer. When you're ready to enjoy them, simply thaw at room temperature for a few hours or microwave for 10-15 seconds for that fresh-baked taste!
What should I do if my cookie dough is too sticky?
If your Thumbprint Cookie dough is overly sticky, don't fret! It might need a bit more flour. Start by adding 1-2 tablespoons of all-purpose flour to the dough while mixing until it reaches a rollable consistency. Alternatively, you can chill the dough for a bit longer, which often helps firm it up and makes it easier to handle.
Are these Thumbprint Cookies suitable for those with nut allergies?
Very! This Thumbprint Cookies recipe is nut-free, making it a delightful option for gatherings where nut allergies are a concern. However, always double-check the labels on your fruit preserves and chocolate ganache to ensure they are also nut-free, just to be safe. Enjoy baking without worry!
Thumbprint Cookies That Will Melt in Your Mouth
Ingredients
Equipment
Method
- In a large mixing bowl, cream together the softened unsalted butter and granulated sugar until light and fluffy, about 3 to 5 minutes.
- Beat in the egg yolk and vanilla extract until fully combined, about 1 minute.
- In a separate bowl, whisk together the all-purpose flour and salt until well blended.
- Gradually add the flour mixture to the butter mixture, stirring gently until a soft dough forms, about 2-3 minutes.
- Cover the dough tightly with plastic wrap and refrigerate for at least 30 minutes.
- Preheat your oven to 350°F (175°C) and prepare a baking sheet lined with parchment paper.
- Scoop tablespoon-sized portions of dough and roll them into balls, arranging them on the baking sheet 2 inches apart.
- Create an indentation in each cookie ball with your thumb or the back of a spoon.
- Fill each indentation with a small amount of your chosen filling.
- Bake for 12-15 minutes or until the edges are lightly golden.
- Let the cookies cool on the baking sheet for a few minutes before transferring to a wire rack.
- If desired, dust with powdered sugar before serving.


Leave a Reply