
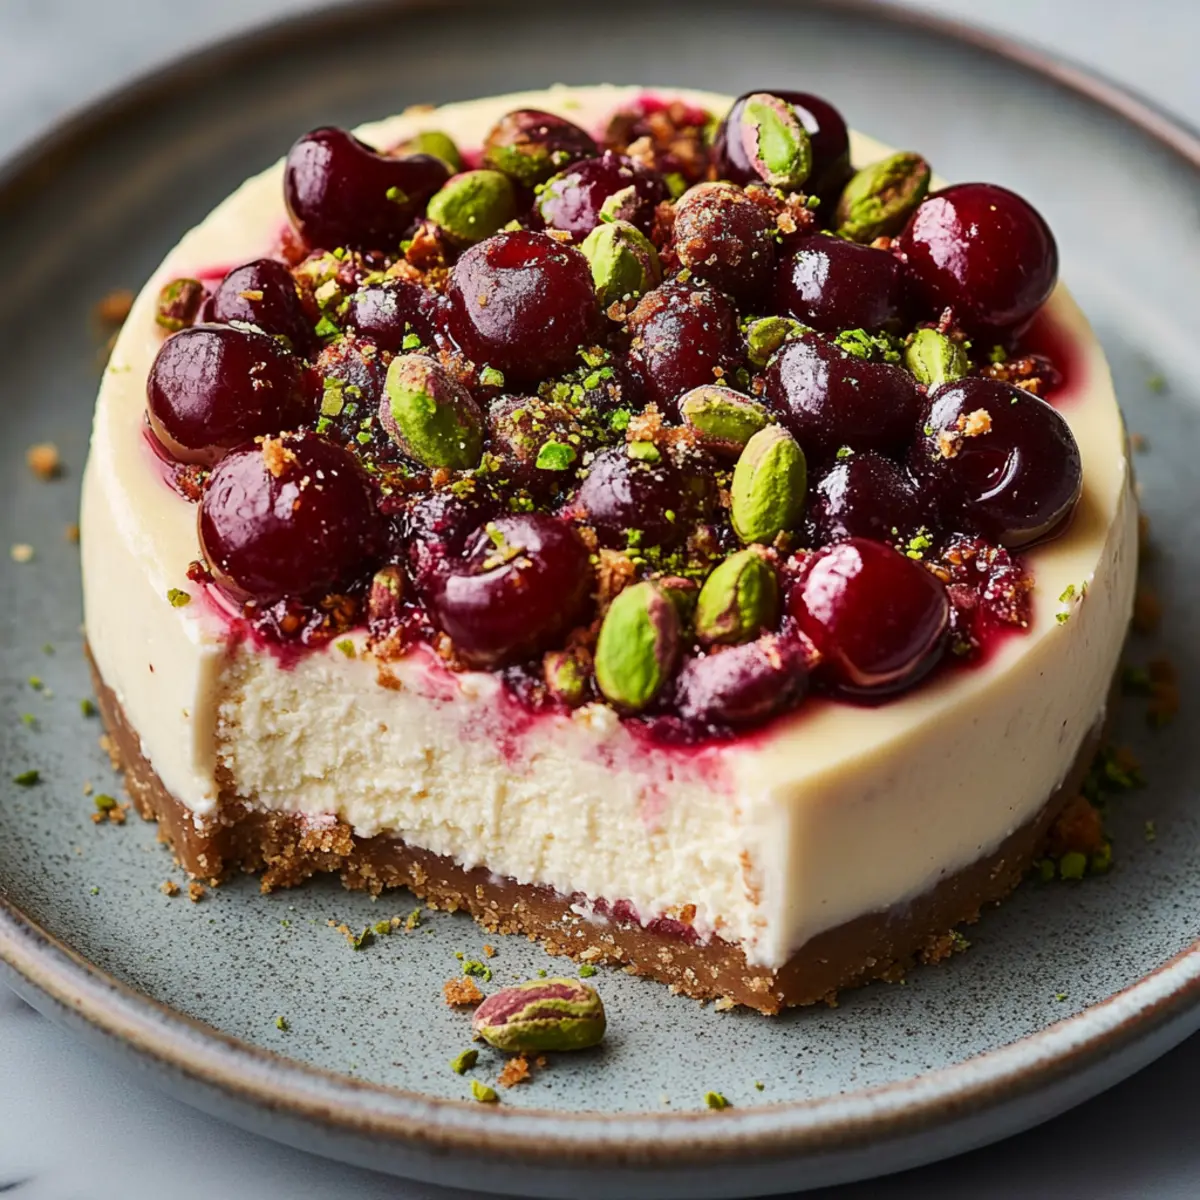
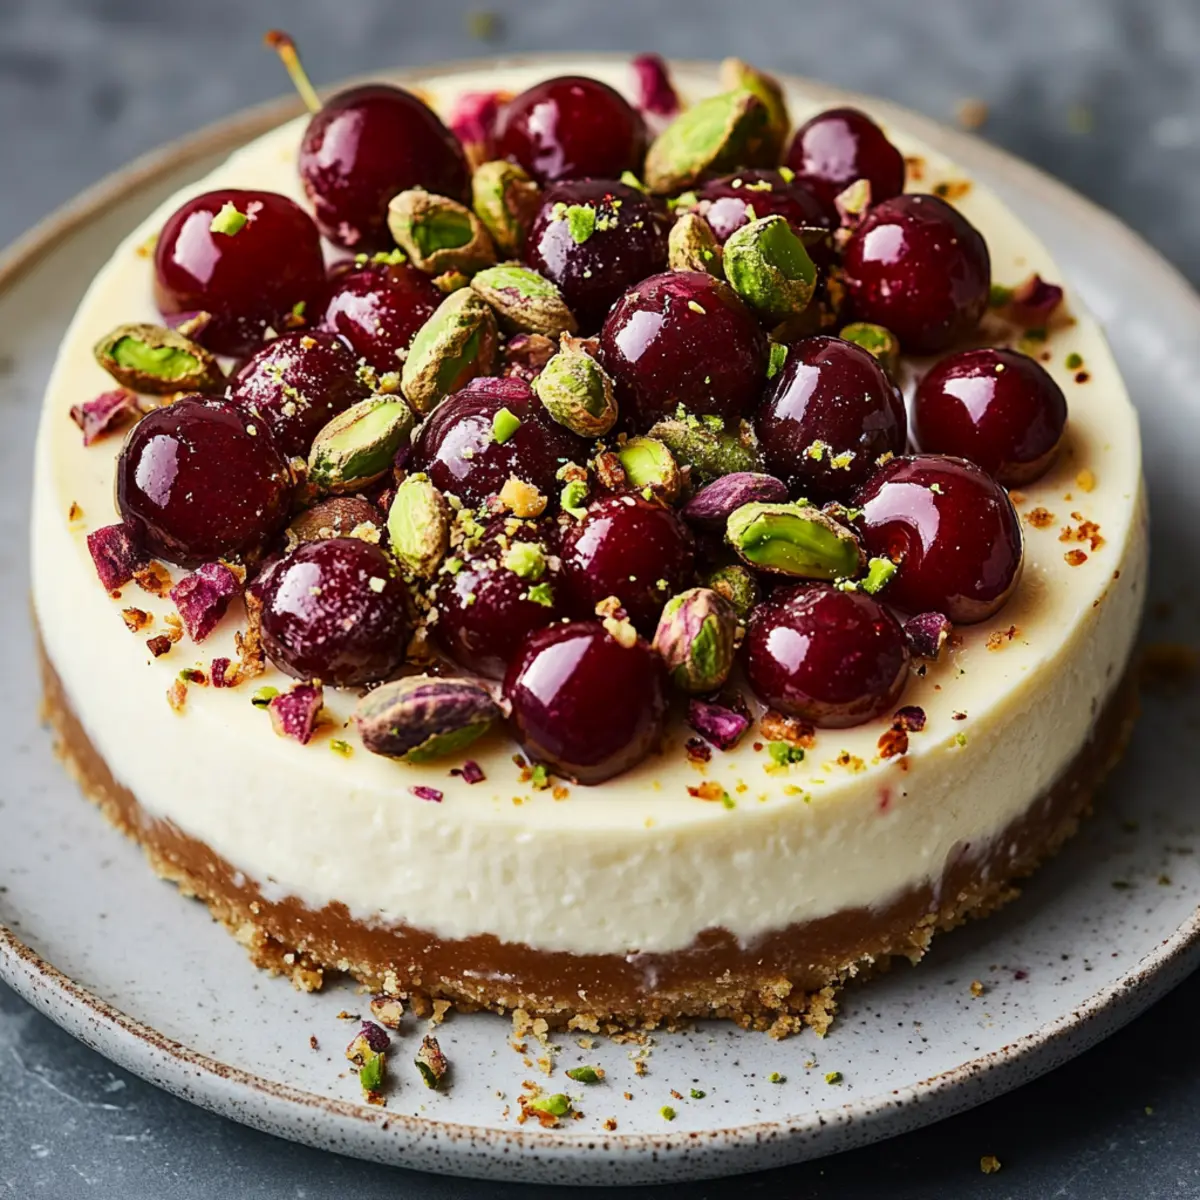
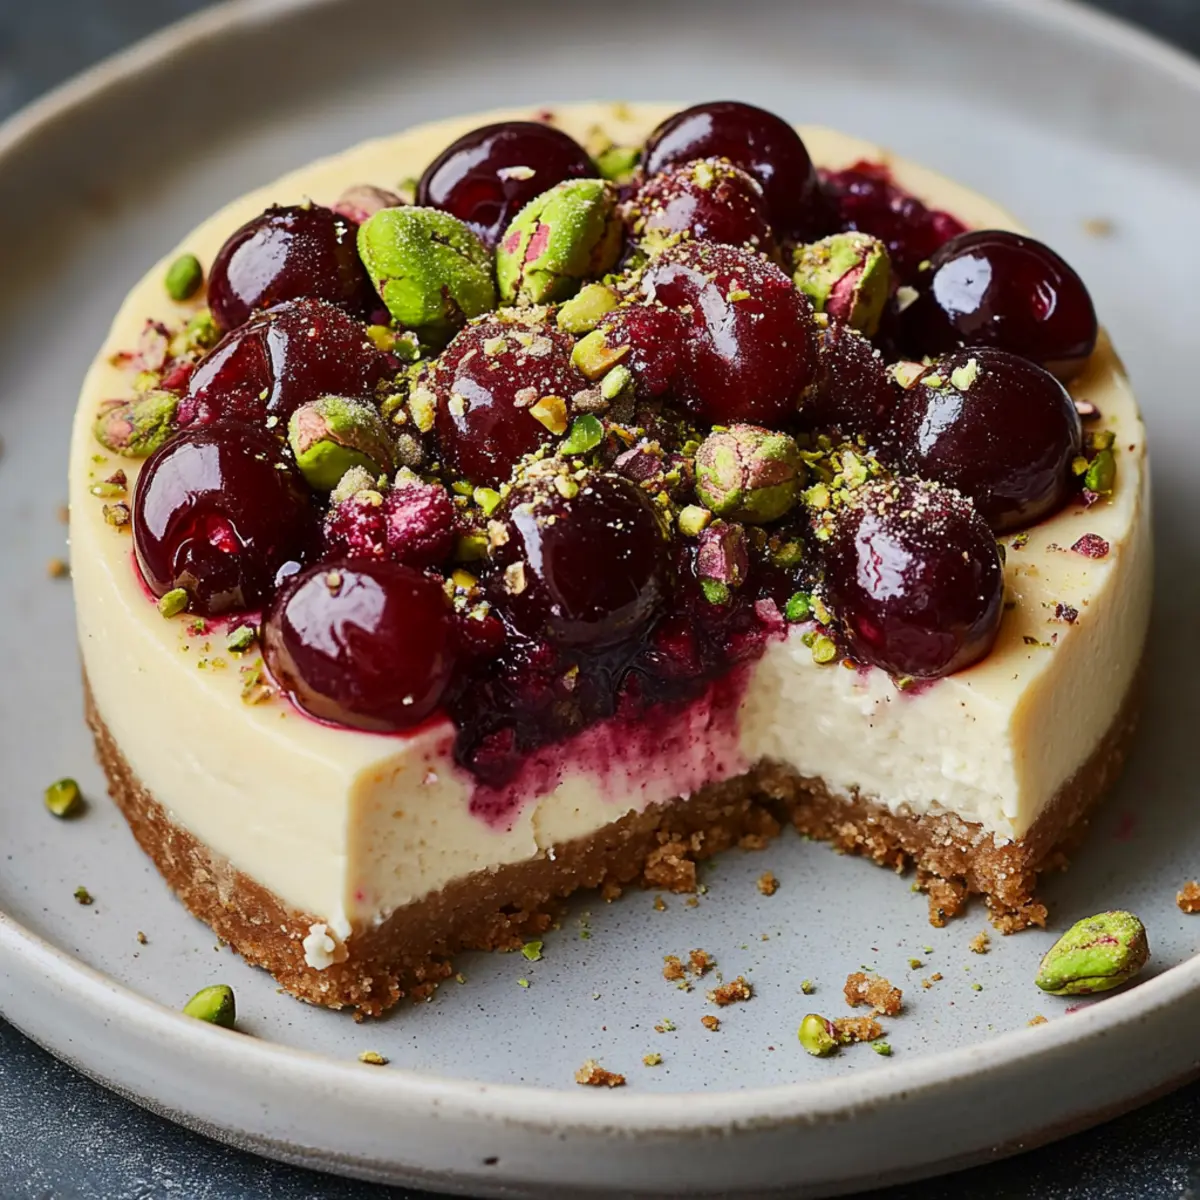
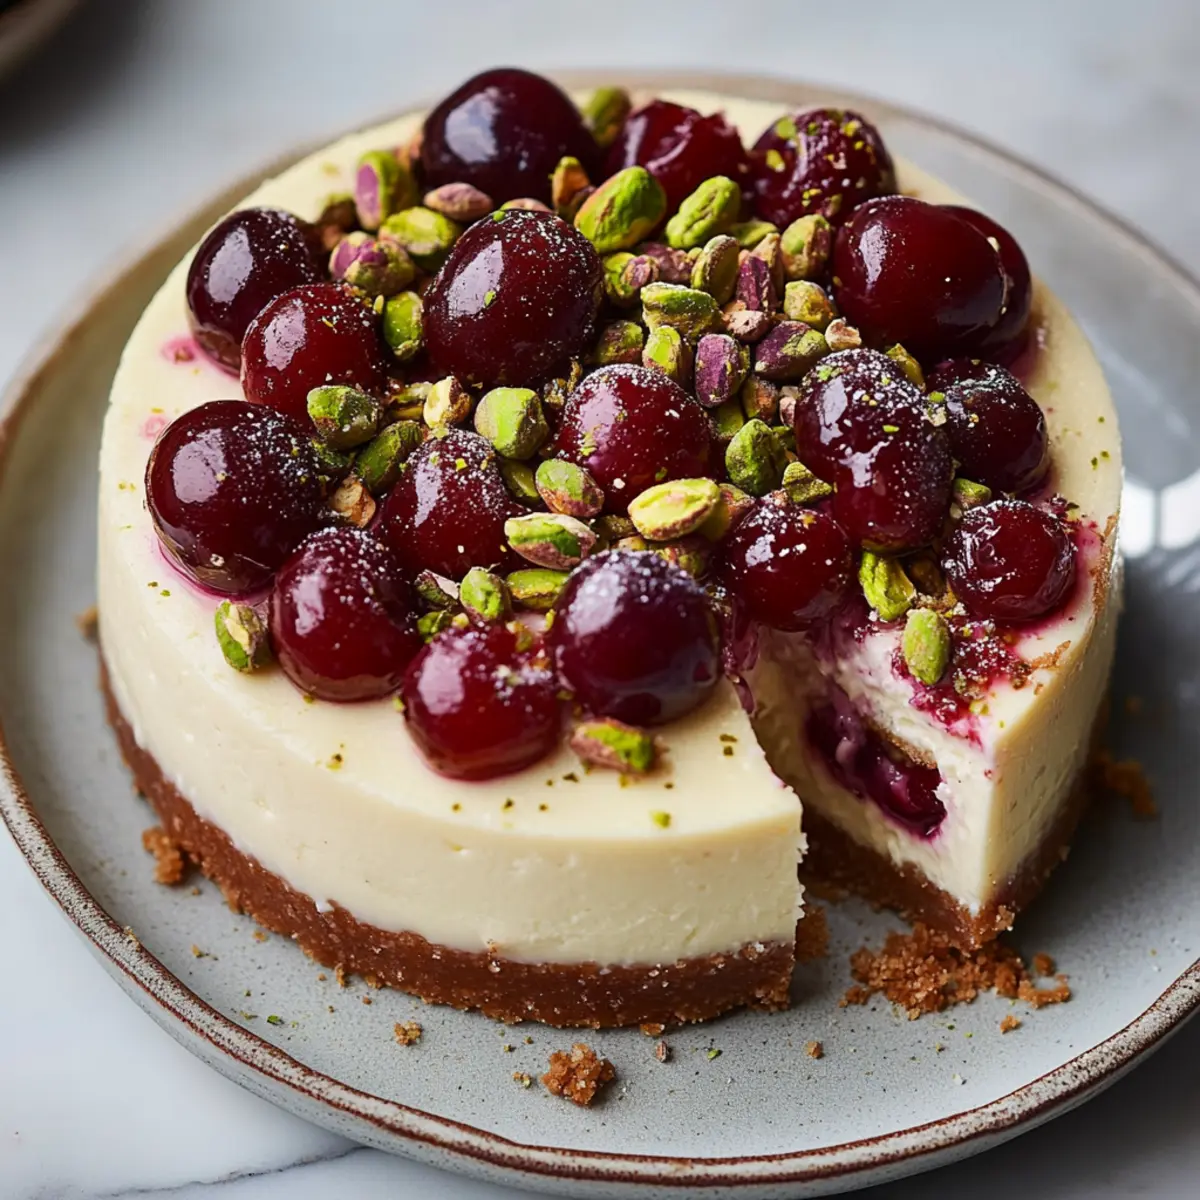
As I whisked together the rich cream cheese and creamy sour cream, I couldn’t help but feel a wave of excitement. Today, I'm sharing my Cherry Pistachio Cheesecake recipe, a delightful twist on a classic that marries sweet cherries with nutty pistachios. This dessert is a showstopper, perfect for gatherings or a special treat after a long week. Not only is it surprisingly simple to assemble, but each slice also offers a burst of flavor that leaves everyone asking for seconds. With its stunning presentation and creamy texture, it transforms any gathering into a memorable occasion. Are you ready to elevate your dessert game and impress your loved ones? Keep reading to see how easy it is to create this stunning cheesecake!
Why Is This Cheesecake So Irresistible?
Decadent and indulgent, this Cherry Pistachio Cheesecake combines rich creaminess with vibrant fruit flavors. Simple to make, you’ll be delighted by how effortlessly it comes together, even for novice bakers. Unique in flavor, the blend of sweet cherries and crunchy pistachios elevates this dessert far beyond ordinary cheesecake. Perfect for gatherings, it’s a recipe that guarantees applause from guests and family alike. For more delightful cheesecake ideas, check out my Carrot Cake Cheesecake and Rhubarb Cheesecake Fancy.
Cherry Pistachio Cheesecake Ingredients
For the Crust
• Graham cracker crumbs – a sweet and crunchy base that perfectly balances the creamy filling.
• Unsalted butter – helps bind the crumbs together; use unsalted for better control over flavor.
• Granulated sugar – adds a touch of sweetness to the crust.
For the Filling
• Cream cheese – forms the creamy base of the cheesecake; ensure it’s softened for smoothness.
• Powdered sugar – provides sweetness without the graininess, creating a velvety texture.
• Vanilla extract – enhances the overall flavor with a lovely aromatic touch.
• Sour cream – contributes to the creaminess and adds a slight tang, enhancing the cheesecake’s depth.
• Large eggs – help the cheesecake set and provide structure; use room temperature for easy blending.
• Fresh cherries – add natural sweetness and gorgeous color; pitting and halving them ensures even distribution.
• Shelled pistachios – bring a delightful crunch and savory nuttiness to each bite; roughly chop for the best texture.
• Lemon juice – brightens flavors and balances the sweetness in your Cherry Pistachio Cheesecake.
With these simple ingredients, you'll create a show-stopping dessert that captures hearts and taste buds alike. Happy baking!
Step‑by‑Step Instructions for Cherry Pistachio Cheesecake
Step 1: Preheat the Oven and Prepare the Pan
Preheat your oven to 325°F (160°C). While it heats, grease a 9-inch springform pan with unsalted butter, taking care to cover the bottom and sides thoroughly. Lightly dust the greased pan with flour to prevent sticking, ensuring your Cherry Pistachio Cheesecake will come out beautifully after baking.
Step 2: Make the Crust
In a medium mixing bowl, combine 1 ½ cups of graham cracker crumbs, ½ cup of melted unsalted butter, and ¼ cup of granulated sugar. Stir with a fork or spoon until the mixture resembles wet sand. This crumb mix will form a solid foundation for your cheesecake, so ensure it's well combined before moving on to the next step.
Step 3: Press and Bake the Crust
Firmly press the crumb mixture into the bottom of the prepared springform pan, using your fingers or the bottom of a measuring cup to create an even layer. Bake the crust in the preheated oven for 10 minutes, until it’s lightly golden and fragrant. Once done, remove it from the oven and let it cool completely.
Step 4: Combine the Cream Cheese Filling
In a large mixing bowl, use an electric mixer to beat 2 cups of softened cream cheese on medium speed until it turns creamy and smooth, about 2 minutes. This is crucial for creating a lush texture in your Cherry Pistachio Cheesecake, so take your time to achieve that perfect consistency.
Step 5: Add the Sweetness
Gradually add 1 cup of powdered sugar to the cream cheese, continuing to mix until it’s fully incorporated. Scrape down the sides of the bowl as necessary to ensure everything is evenly blended. This step adds sweetness without graininess, creating a velvety filling for your cheesecake.
Step 6: Flavor the Filling
Next, incorporate 1 teaspoon of vanilla extract, 1 cup of sour cream, and 1 tablespoon of lemon juice into the cream cheese mixture. Mix until combined, allowing the flavors to meld beautifully, enhancing the overall taste of your Cherry Pistachio Cheesecake.
Step 7: Add the Eggs
Gently add 3 large eggs to the mixture, one at a time, mixing just until combined after each addition. Be careful not to overmix; this helps maintain a light and airy texture in your cheesecake. You want those eggs to provide structure while keeping the filling creamy.
Step 8: Fold in the Cherries and Pistachios
Using a spatula, gently fold in 1 cup of prepared cherries and 1 cup of roughly chopped pistachios into the cheesecake filling. This will ensure that every bite of your Cherry Pistachio Cheesecake is bursting with flavor. Be gentle so that the cherries and nuts remain intact in the creamy mixture.
Step 9: Pour the Filling into the Crust
Carefully pour the cheesecake filling into the cooled crust, using a spatula to smooth the top evenly. This step sets the stage for an evenly baked cheesecake, ensuring that the filling is beautifully level and poised for baking.
Step 10: Bake the Cheesecake
Bake your Cherry Pistachio Cheesecake in the oven for 50-60 minutes. Look for the edges to set with a slight jiggle in the center, which indicates it's ready. Keep an eye on it to achieve the perfect bake, as oven temperatures may vary slightly.
Step 11: Cool in the Oven
Once the baking time is up, turn off the oven and crack the door open slightly. Allow the cheesecake to cool in the oven for one hour, which helps prevent cracks from forming. This gentle cooling process locks in moisture and ensures a creamy texture.
Step 12: Chill the Cheesecake
After an hour, transfer the cheesecake to the refrigerator and let it chill for a minimum of 4 hours, but preferably overnight. This rest period allows the flavors to meld and the texture to firm up beautifully for your upcoming indulgence.
Step 13: Remove and Serve
When ready to serve, carefully remove the sides of the springform pan from your chilled Cherry Pistachio Cheesecake. Slice and serve chilled, optionally garnished with extra cherries and chopped pistachios for an eye-catching presentation that your family and friends will adore.
How to Store and Freeze Cherry Pistachio Cheesecake
Fridge: Store your cheesecake in an airtight container in the refrigerator for up to 5 days. This keeps it fresh and ready to enjoy at a moment’s notice.
Freezer: For longer storage, wrap individual slices or the whole cheesecake tightly in plastic wrap and then in aluminum foil. It can be frozen for up to 3 months without losing its deliciousness.
Thawing: When you’re ready to enjoy your frozen Cherry Pistachio Cheesecake, transfer it to the fridge for 6-8 hours or overnight to thaw slowly for the best texture.
Serving: Serve chilled directly from the fridge. If desired, reheat slices slightly in the microwave for about 10 seconds to soften the flavors a bit before indulging.
Expert Tips for Cherry Pistachio Cheesecake
-
Perfect Creaminess: Ensure your cream cheese is at room temperature before mixing. This helps achieve a smooth, creamy texture in your Cherry Pistachio Cheesecake.
-
Avoid Overmixing: When adding eggs, mix just until combined. Overmixing can cause the cheesecake to crack during baking, ruining its lovely surface.
-
Chill Time Matters: Allowing your cheesecake to chill overnight is crucial. This gives it time to set properly, enhancing flavor and texture for the best results.
-
Jiggly Center: When baking, look for a slight jiggle in the center as a sign that it's perfectly done. It will firm up as it cools.
-
Nuts' Freshness: Use fresh, unsalted pistachios for the best flavor. Toasting them lightly before folding into the filling can amplify their nutty crunch in each bite.
Cherry Pistachio Cheesecake Variations
Feel free to explore these delightful variations that can take your cheesecake experience to new heights!
- Gluten-Free Crust: Substitute graham cracker crumbs with crushed gluten-free cookies or nuts for a delicious alternative.
- Nut-Free Option: Omit pistachios and use sunflower seeds instead to keep that delightful crunch without the nuts.
- Fruit Swap: Experiment with other fruits like blueberries or mango for a fresh twist—perfect for any season!
- Chocolate Drizzle: Top your cheesecake with a rich chocolate ganache to add an enticing layer of sweetness and flavor.
- Spiced Flavor: Add a pinch of nutmeg or cinnamon to the filling for a warm and inviting flavor that complements the cherries beautifully.
- Higher Cream Content: Replace some sour cream with additional cream cheese for a richer, velvety texture everyone will love!
- Add Heat: Incorporate a touch of cayenne pepper or chopped jalapeños to the filling for a surprising kick that contrasts beautifully with the sweet cherries.
- Lemon Zest: Brighten up the flavors further by adding some lemon zest to the batter, enhancing that zesty freshness throughout!
Each of these ideas allows you to tailor your Cherry Pistachio Cheesecake to suit every occasion or palate. The possibilities are endless, so let your creativity shine! For another cheesecake inspirations, don't miss my Apricot Cheesecake Gluten.
Make Ahead Options
These Cherry Pistachio Cheesecake are ideal for busy cooks looking to save time! You can prepare the crust and filling up to 24 hours in advance. For the crust, simply bake it and then allow it to cool completely before wrapping it tightly in plastic wrap and refrigerating. Mix the creamy filling and store it in an airtight container in the fridge. On the day you plan to serve, just pour the filling into the crust, bake, and chill for at least 4 hours or overnight. This way, you’ll enjoy a delicious dessert with minimal last-minute effort, keeping the cheesecake just as delightful as if made fresh!
What to Serve with Cherry Pistachio Cheesecake?
Transform your dessert experience into a delightful feast with these perfect pairings that complement each heavenly slice.
-
Fresh Fruit Salad: A refreshing mix of seasonal fruits brightens the palate and adds contrast to the creamy cheesecake. The sweetness of strawberries and the tang of kiwi offer a vibrant balance to your Cherry Pistachio Cheesecake.
-
Coffee or Espresso: A bold cup of coffee or a rich espresso enhances the creamy flavors beautifully. The slight bitterness elevates the sweetness of the cheesecake, making each bite truly unforgettable.
-
Vanilla Ice Cream: A scoop of vanilla ice cream melts delightfully over a warm slice, creating a luscious dessert experience. The creaminess adds an extra layer of indulgence, making this pairing irresistible.
-
Honey Drizzle: A light drizzle of honey over your cheesecake adds an exquisite touch of sweetness. This simple addition elevates the dish and intensifies the cherry flavor, creating a gourmet feel.
-
Chocolate Fudge Sauce: For chocolate lovers, a swirl of warm fudge sauce brings decadence to every bite. The rich chocolate contrasts with the nutty pistachios and sweet cherries for a heavenly adventure.
-
Sparkling Wine: A glass of bubbly pairs brilliantly with this dessert, cutting through the richness and enhancing the overall experience. The effervescence brings joy to each moment, inviting laughter and celebration.
Cherry Pistachio Cheesecake Recipe FAQs
How do I choose ripe cherries for the cheesecake?
Absolutely! Look for cherries that are plump, firm, and glossy. Avoid those with bruises or dark spots all over. Ideally, fresh cherries should be deep red to dark purple, as these are the sweetest and juiciest. If you can’t find fresh ones, feel free to use frozen cherries; just ensure they are pitted and thawed before mixing into your filling!
What’s the best way to store leftover cheesecake?
Very! Store your Cherry Pistachio Cheesecake in an airtight container in the refrigerator for up to 5 days. This maintains its creamy texture and flavors, perfect for enjoying as a late-night treat or a sweet surprise for your afternoon tea!
Can I freeze my cheesecake, and how?
Yes, absolutely! To freeze Cherry Pistachio Cheesecake, wrap individual slices or the whole cheesecake tightly in plastic wrap, followed by a layer of aluminum foil. This double wrapping prevents freezer burn and allows it to stay delicious for up to 3 months. When you're ready to enjoy it, thaw it gently in the refrigerator for 6-8 hours or overnight for the best texture.
What should I do if my cheesecake cracks during baking?
If your cheesecake cracks, don’t worry! It’s a common mishap. First, make sure you’re not overmixing when adding eggs, as that can introduce air and lead to cracks. Also, cooling the cheesecake slowly in the oven by cracking the door can help. If cracks do form, a dollop of whipped cream or a garnish of cherries and pistachios can hide them beautifully!
Are there any allergy considerations for this recipe?
Yes, this cheesecake contains dairy and nuts, so it's important to be mindful of allergies. For those who are lactose intolerant, you can substitute dairy ingredients with lactose-free cream cheese and sour cream. If you have nut allergies, you can omit the pistachios and try using another crunchy topping, like crushed cookies, for a texture twist while making sure the dessert is safe for everyone to enjoy!
Can I use other nuts instead of pistachios?
Certainly! While the pistachios add a unique flavor and crunch, you can definitely swap them out for other nuts like finely chopped almonds or walnuts. Just keep in mind that this will change the flavor slightly, but it can be a delicious variation. Toasting the nuts before adding them to the filling can elevate the overall taste, too!
Decadent Cherry Pistachio Cheesecake That Wows Every Bite
Ingredients
Equipment
Method
- Preheat your oven to 325°F (160°C) and grease a 9-inch springform pan with unsalted butter, dusting with flour.
- In a bowl, mix graham cracker crumbs, melted butter, and sugar until resembling wet sand.
- Press the crumb mixture into the bottom of the prepared springform pan and bake for 10 minutes.
- Beat cream cheese until smooth, about 2 minutes.
- Gradually add powdered sugar, mixing until combined.
- Incorporate vanilla extract, sour cream, and lemon juice into the mixture.
- Add eggs one at a time, mixing just until combined after each addition.
- Fold in cherries and pistachios gently with a spatula.
- Pour the filling into the cooled crust and smooth the top.
- Bake for 50-60 minutes until the edges are set with a jiggle in the center.
- Turn off the oven, crack the door, and let the cheesecake cool inside for 1 hour.
- Transfer to the refrigerator and chill for at least 4 hours or overnight.
- Remove the sides of the springform pan and serve chilled, optionally garnished with cherries and pistachios.


Leave a Reply