
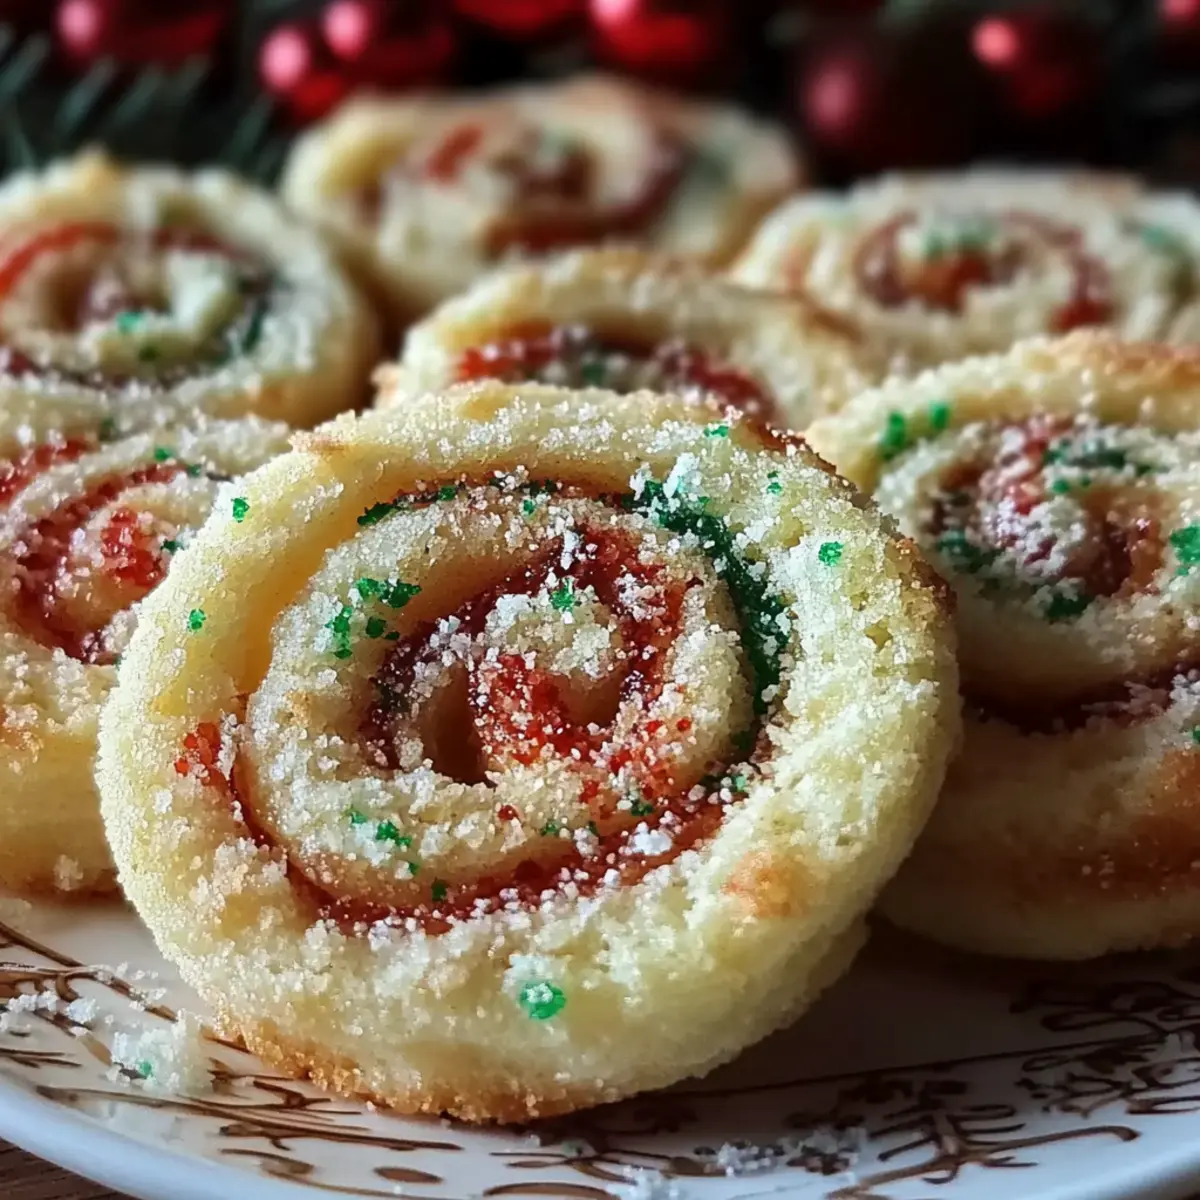
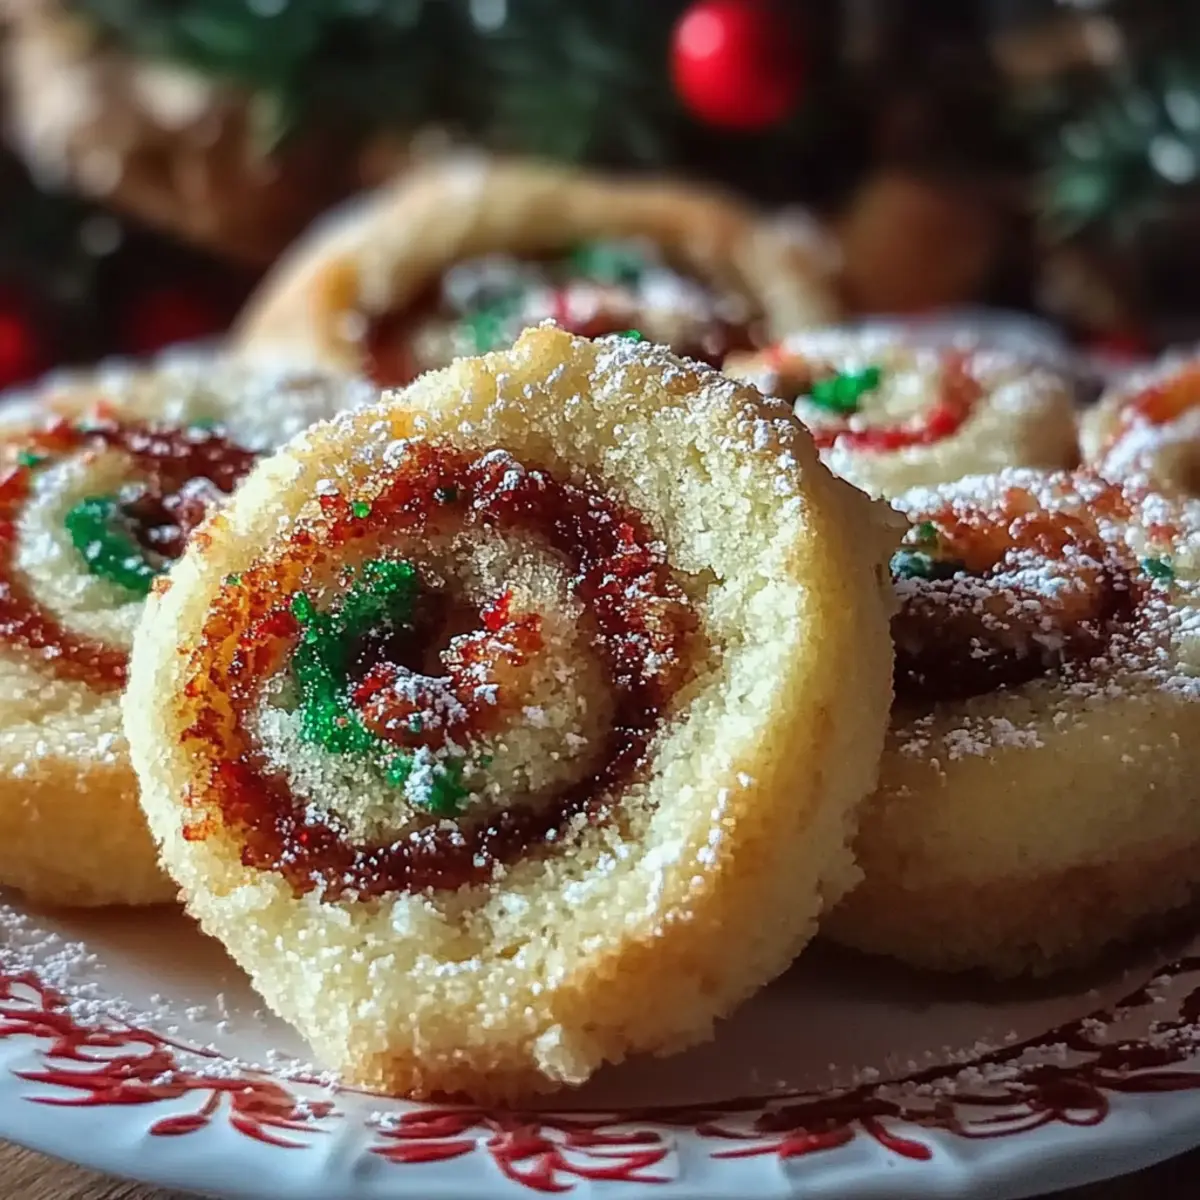
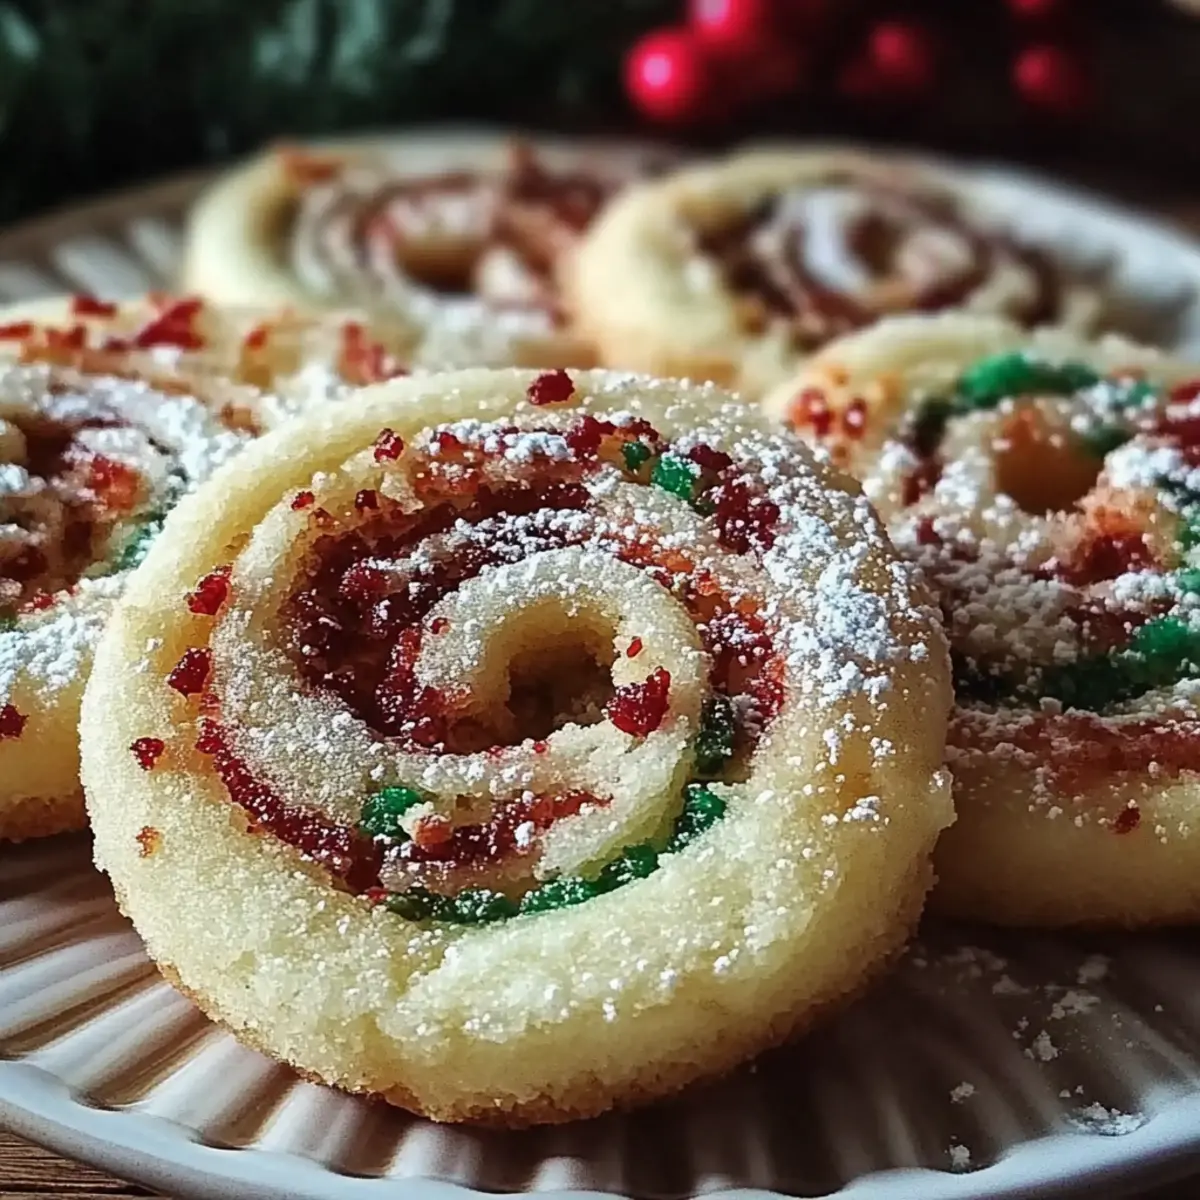
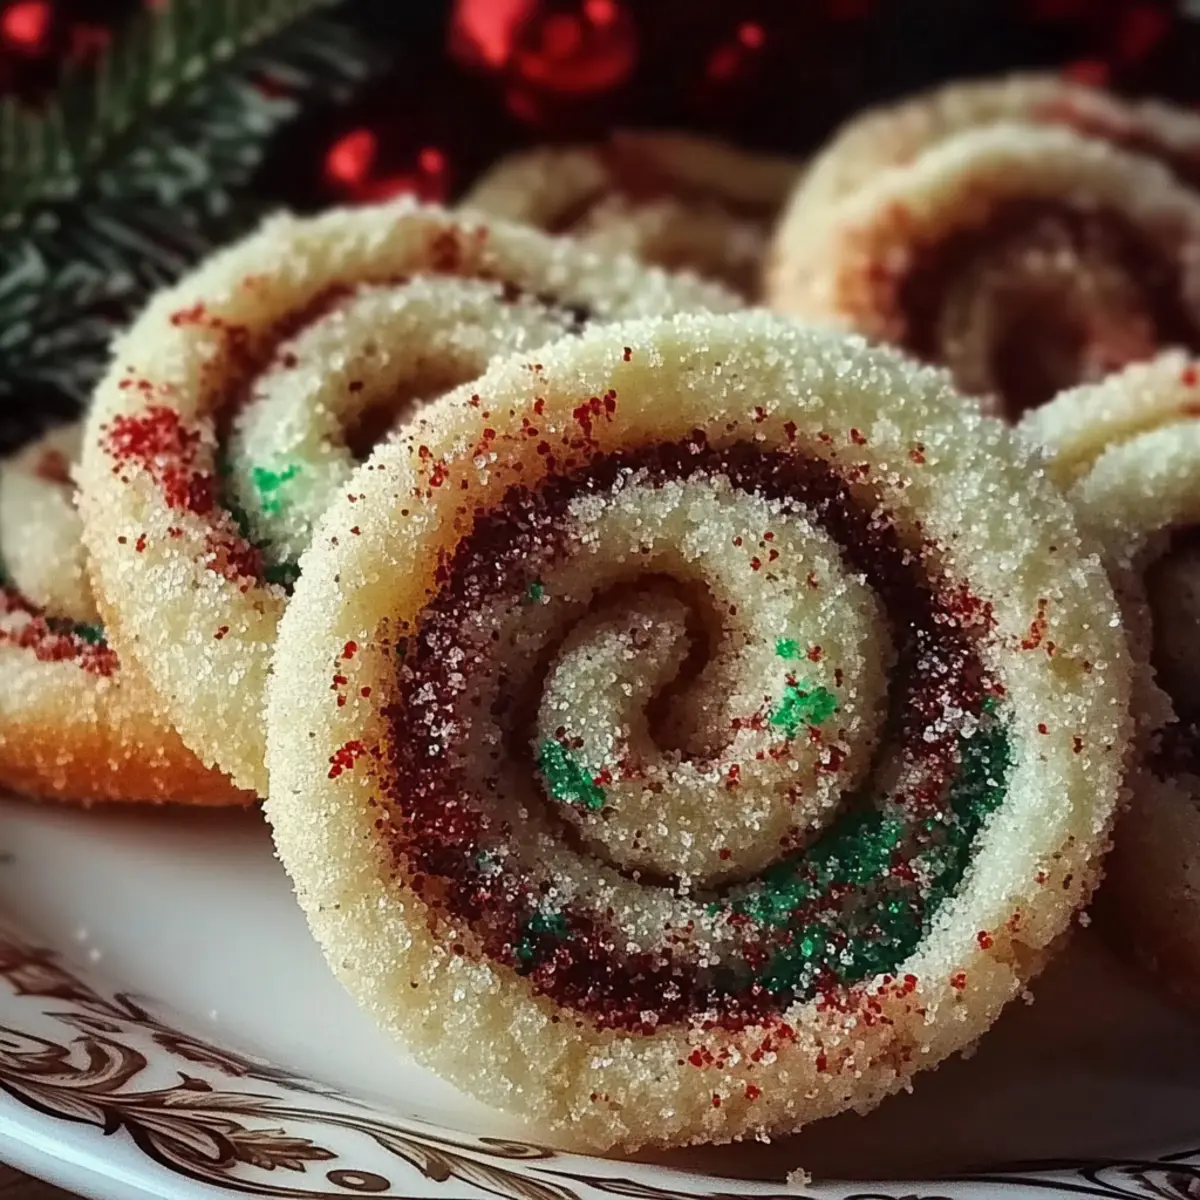
As snowflakes begin to twirl outside my window, I can’t help but reminisce about the warmth of the kitchen filled with laughter and the sweet aroma of baking. This season, I’m excited to share my Christmas Pinwheel Cookies—a delightful twist on classic holiday treats that are sure to become a cherished family favorite. Not only are they visually stunning with their vibrant swirls of red and green, but they're also a quick prep solution to satisfy your festive cravings. You'll love how these cookies come together in just over an hour, perfect for those last-minute gatherings or cozy evenings at home. So, are you ready to fill your kitchen with the magic of the holidays and create sweet memories?
Why Are These Christmas Pinwheel Cookies Special?
Simplicity makes these cookies a breeze to whip up, even for novice bakers. Vibrant colors and swirls bring a festive cheer to your holiday table, instantly impressing guests. Customization is key—feel free to experiment with various sprinkles or add crushed peppermint for a refreshing twist. Time-saving preparation means you can have these delightful treats ready in just over an hour, making them perfect for last-minute baking. If you’re looking for more festive ideas, check out these tasty holiday cookie alternatives that your family will adore!
Delicious Christmas Pinwheel Cookies Ingredients
For the Cookie Dough
- Unsalted butter – 1 cup, softened for a rich and creamy texture.
- Granulated sugar – 1 ½ cups, provides the essential sweetness for your Christmas Pinwheel Cookies.
- Large egg – 1, adds moisture and helps bind the dough together.
- Vanilla extract – 1 teaspoon, infuses a delightful flavor that compliments the dough.
- All-purpose flour – 2 ½ cups, forms the base and gives structure to your cookies.
- Baking powder – 1 teaspoon, ensures your cookies rise nicely.
- Salt – ¼ teaspoon, enhances the flavors beautifully.
For the Chocolate Swirl
- Cocoa powder – ⅓ cup, adds a rich chocolate flavor to one half of the dough.
For Decorating
- Red and green sprinkles – ½ cup, perfect for adding a festive touch to your cookies.
- Crushed peppermint candies – ¼ cup (optional) for a minty variation that brings a holiday sparkle.
Step‑by‑Step Instructions for Christmas Pinwheel Cookies
Step 1: Preheat Oven
Start your Christmas Pinwheel Cookies by preheating the oven to 350°F (175°C). Meanwhile, line two baking sheets with parchment paper, ensuring they're ready to receive your deliciously festive cookies. This step lays the foundation for perfectly baked treats, as the warm oven will help them rise beautifully.
Step 2: Cream Butter and Sugar
In a large mixing bowl, cream together 1 cup of softened unsalted butter and 1 ½ cups of granulated sugar. Use a hand mixer or stand mixer set on medium speed for about 3-4 minutes until the mixture is light and fluffy. This is a vital step to aerate the dough, ensuring your Christmas Pinwheel Cookies will have a delightful texture.
Step 3: Add Egg and Vanilla
Next, beat in 1 large egg and 1 teaspoon of vanilla extract. Mix on low speed until fully combined, about 1-2 minutes. You should achieve a smooth consistency, which will enhance the flavor of your cookie dough and help bind all the ingredients together perfectly.
Step 4: Combine Dry Ingredients
In a separate bowl, whisk together 2 ½ cups of all-purpose flour, 1 teaspoon of baking powder, and ¼ teaspoon of salt. This dry mix adds structure to your cookies. Once combined, gradually add this flour mixture to the butter blend, mixing on low speed until just combined without overworking the dough.
Step 5: Divide the Dough
Divide the cookie dough into two equal portions. Set one portion aside for the plain dough and proceed to the next step with the second portion. This separation will allow you to create the chocolate swirl that makes the Christmas Pinwheel Cookies visually stunning.
Step 6: Mix in Cocoa Powder
To the second portion of dough, add ⅓ cup of unsweetened cocoa powder. Blend the cocoa into the dough on low speed until fully integrated, about 1-2 minutes. The rich chocolate color and flavor will provide a beautiful contrast to the plain dough, creating those festive pinwheel swirls.
Step 7: Roll Out the Plain Dough
Take the plain dough and place it between two sheets of parchment paper. Roll it out into a rectangle approximately ¼ inch thick, ensuring an even thickness for uniform baking. This will serve as the base layer in your Christmas Pinwheel Cookies and is key to achieving that perfect swirl.
Step 8: Roll Out the Chocolate Dough
Repeat the rolling process with the chocolate dough, ensuring it matches the size of the plain dough. Use the same two sheets of parchment paper for convenience. Having both doughs rolled out similarly will make assembling your pinwheels much easier and maintain an attractive look when sliced.
Step 9: Layer the Doughs
Once rolled out, carefully peel away the top parchment of the chocolate dough. Place it over the plain dough, sticky side down, aligning the edges. This step is crucial for achieving the striking red and green swirls in your Christmas Pinwheel Cookies, marks a festive presentation when baked!
Step 10: Roll the Dough Log
Starting from one long side, gently roll up the layered dough using the parchment to keep it tight. Roll it smoothly to maintain the shape, ensuring the colorful layers are visible along the outside. This pinwheel log will become the base of your cookie shapes, packed with festive goodness.
Step 11: Chill the Dough
Wrap the rolled log in plastic wrap and place it in the refrigerator to chill for at least 30 minutes. This step solidifies the dough, making it easier to slice into rounds. Chilling also enhances the flavors and ensures that your Christmas Pinwheel Cookies hold their shape while baking.
Step 12: Slice the Cookies
After chilling, remove the log from the fridge and slice it into ¼ inch thick rounds using a sharp knife. This produces beautiful pinwheel shapes that reveal the vibrant swirls of color. Place each round onto your prepared baking sheets, ensuring they’re spaced a couple of inches apart to allow for spreading.
Step 13: Add Sprinkles
If desired, sprinkle the top of each cookie with red and green sprinkles or crushed peppermint candies for an extra festive touch. This step adds visual appeal and that holiday charm to your Christmas Pinwheel Cookies, making them even more delightful to share.
Step 14: Bake the Cookies
Bake in the preheated oven for 10-12 minutes, or until the edges are lightly golden. Keep an eye on them to avoid overbaking, as they should remain soft and chewy inside. The enticing aroma of these Christmas Pinwheel Cookies will fill your kitchen with holiday cheer!
Step 15: Cool the Cookies
Once baked, remove the cookies from the oven and let them cool on the baking sheet for a few minutes. This allows them to set without falling apart. After a short cooling period, transfer the cookies to a wire rack, letting them cool completely before enjoying the fruits of your labor.
Christmas Pinwheel Cookies Variations
Feel free to bring your personal touch to these delightful cookies with a few simple twists!
-
Nut-Free: Substitute the butter with margarine and ensure all other ingredients are nut-free for a crowd-friendly version.
-
Gluten-Free: Use a 1:1 gluten-free flour blend in place of all-purpose flour, ensuring everyone can enjoy a taste of the holidays.
-
Vegan: Replace the egg with flaxseed meal (1 tablespoon mixed with 2.5 tablespoons of water) and use plant-based butter to make them vegan-friendly. This swap keeps the cookies delicious while accommodating dietary needs!
-
Chocolate Chip: Add up to 1 cup of mini chocolate chips to either portion of the dough for a rich flavor boost and delightful texture.
-
Spice it Up: Incorporate spices, such as cinnamon or nutmeg, into the dough for a warm, cozy flavor that matches the holiday spirit. A little sprinkle makes each bite a nostalgic holiday hug!
-
Minty Twist: Along with crushed peppermint, add a few drops of peppermint extract into the dough for an extra refreshing holiday vibe. These cookies will be a festive sensation!
-
More Color: Experiment with different colored sprinkles or edible glitter on top before baking. It brightens up your cookie platter and makes a stunning presentation!
-
Double Chocolate: Add additional cocoa powder to the chocolate dough for a decadent, rich flavor packed into each delightful pinwheel.
These variations let you customize your Christmas Pinwheel Cookies to your heart’s content! Want more baking inspiration? Discover the magic of flavor combining in my guide on How to Bake Cookies Like a Pro, or try out some unique flavor combinations in Creative Cookie Ideas for the Holidays!
How to Store and Freeze Christmas Pinwheel Cookies
Room Temperature: Store cookies in an airtight container at room temperature for up to 3 days to keep them fresh and delicious.
Fridge: For longer-lasting cookies, place them in the fridge, where they can stay good for up to a week. Just be sure to keep them in a tightly sealed container to maintain their flavor.
Freezer: Wrap unbaked cookie logs tightly in plastic wrap and freeze for up to 3 months. When ready to enjoy, let them thaw in the fridge overnight before slicing and baking.
Reheating: If you have leftover baked cookies, reheat them in a microwave for about 10 seconds or enjoy them cold for a delightful crunch in every bite of your Christmas Pinwheel Cookies!
Expert Tips for Christmas Pinwheel Cookies
Chill the Dough:
Refrigerating the dough for at least 30 minutes helps it firm up, which makes slicing easier and ensures beautifully shaped Christmas Pinwheel Cookies.
Uniform Thickness:
When rolling out the dough, aim for an even ¼ inch thickness. This ensures that your cookies bake evenly and maintain their delightful pinwheel appearance.
Use Fresh Ingredients:
Ensure your baking powder is fresh and your cocoa powder is good quality. This will enhance the flavors and textures of your Christmas Pinwheel Cookies, preventing them from being flat or bland.
Avoid Overmixing:
When combining the dry ingredients with the butter mixture, mix until just combined. Overmixing can lead to tough cookies, while a gentle blend keeps them tender and light.
Customize Your Sprinkles:
Feel free to swap the red and green sprinkles for any festive colors. A sprinkle of crushed peppermint candies can also add a refreshing twist to your Christmas Pinwheel Cookies!
Make Ahead Options
These Christmas Pinwheel Cookies are perfect for meal prep enthusiasts looking to save time during the bustling holiday season! You can prepare the dough and refrigerate it up to 3 days ahead of time. Simply follow all the steps up to chilling the dough log, wrap it tightly in plastic wrap, and store it in the refrigerator. This method not only saves you time but also keeps your cookies just as delicious when baked fresh. When you’re ready to enjoy, slice the chilled log and bake as directed for delightful, fresh-from-the-oven treats. Your friends and family will be none the wiser that you prepped ahead, making your holiday baking stress-free!
What to Serve with Christmas Pinwheel Cookies?
There's nothing quite like the joy of celebrating the holidays with delicious treats and delightful pairings that enhance every bite.
-
Hot Cocoa: Rich and creamy hot cocoa makes a cozy pairing, bringing out the cookies' festive spirit. Add a sprinkle of marshmallows for extra sweetness!
-
Eggnog: This classic holiday drink complements the cookies’ sweetness beautifully, making it a perfect festive drink option when entertaining.
-
Vanilla Ice Cream: A scoop of vanilla ice cream adds a creamy contrast to the cookies’ delightful texture. The cold creaminess elevates each bite into something special.
-
Peppermint Bark: The minty refreshment of peppermint bark echoes the crushed peppermint in the cookies, creating a harmonious dessert experience. Each bite is sure to delight!
-
Spiced Apple Cider: Warm spiced cider with cinnamon notes perfectly enhances the holiday flavors in your cookies, adding a comforting warmth to your gathering.
-
Caramel Sauce: Drizzling warm caramel sauce over your cookies takes them to new heights. The sweetness of the caramel perfectly balances their rich chocolate and vanilla flavors.
-
Fruit Platter: A vibrant fruit platter with pomegranates, apples, and citrus adds a refreshing contrast, cutting through the sweetness and enriching your holiday feast.
-
Nutty Biscotti: Crunchy and filled with nuts, biscotti complements the softness of the cookies while adding an additional texture. They make a perfect crunchy accompaniment with coffee.
-
Holiday Cheese Board: A selection of cheeses, nuts, and dried fruits pairs unexpectedly well with sweet cookies, offering a delightful balance of savory and sweet.
Christmas Pinwheel Cookies Recipe FAQs
How can I choose the best ingredients for my Christmas Pinwheel Cookies?
Absolutely! When selecting your ingredients, especially the butter, opt for unsalted and at room temperature for easy creaming with sugar. Fresh, high-quality extracts can elevate your cookies—vanilla is a must, but almond or peppermint extracts can add a fun twist! For cocoa powder, look for unsweetened varieties that are rich in color and flavor for the best results.
What is the best way to store Christmas Pinwheel Cookies?
To keep your cookies fresh, place them in an airtight container at room temperature for up to 5 days. This will help maintain their soft texture and delightful flavor. If you live in a humid environment, consider refrigerating them in a sealed container for up to a week to prevent them from becoming too soft.
Can I freeze my Christmas Pinwheel Cookies for later enjoyment?
Absolutely! To freeze your lovely Christmas Pinwheel Cookies, slice them into rounds and place them in a single layer on a baking sheet until firm, about 30 minutes. Then, transfer the hardened cookies into an airtight freezer bag or container. They can be frozen for up to 3 months. When you're ready to indulge, simply let them thaw at room temperature for 30 minutes or warm them briefly in the oven at 350°F (175°C).
What should I do if my cookie dough is too soft to roll?
Very! If you find that your dough is too soft to handle after mixing, try chilling it in the refrigerator for 15-30 minutes. This will firm up the butter and make it easier to roll out. If your dough still feels too sticky, you can sprinkle a little extra flour on your work surface or on the dough itself while rolling.
Are Christmas Pinwheel Cookies suitable for people with nut allergies?
Definitely! Since this recipe doesn't include any nuts, it is a safe choice for those with nut allergies. However, be mindful of cross-contamination if you're baking in a shared kitchen space, especially with nut-based ingredients. Always double-check all product labels for possible allergens to ensure safety.
Delicious Christmas Pinwheel Cookies to Brighten Your Holidays
Ingredients
Equipment
Method
- Preheat your oven to 350°F (175°C) and prepare two baking sheets by lining them with parchment paper.
- In a large mixing bowl, cream together 1 cup of softened unsalted butter and 1 ½ cups of granulated sugar for about 3-5 minutes until light and fluffy.
- Beat in 1 large egg and 1 teaspoon of vanilla extract into the creamed mixture until fully combined.
- In a separate bowl, whisk together 2 ½ cups of all-purpose flour, 1 teaspoon of baking powder, and ¼ teaspoon of salt.
- Gradually add the flour mixture to the butter mixture, mixing on low speed until just combined.
- Divide the dough evenly into two portions and place one in another bowl.
- Add ⅓ cup of unsweetened cocoa powder to the second portion of dough and mix until fully integrated.
- Roll out the plain dough into a rectangle approximately ¼ inch thick between two sheets of parchment paper.
- Repeat with the chocolate dough to match the size of the plain dough rectangle.
- Carefully layer the chocolate dough over the plain dough, aligning edges.
- Roll up the layered dough from one long side using parchment to keep it tight.
- Wrap the rolled log in plastic wrap and refrigerate for at least 30 minutes.
- Slice the log into ¼ inch thick rounds once firm.
- Arrange the cookie rounds on prepared baking sheets, spacing a couple of inches apart.
- Sprinkle tops with colored sugar or crushed peppermint candies, if desired, before baking.
- Bake for 10-12 minutes, or until edges are lightly golden.
- Let the cookies cool on the baking sheet a few minutes before transferring them to a wire rack to cool completely.


Leave a Reply