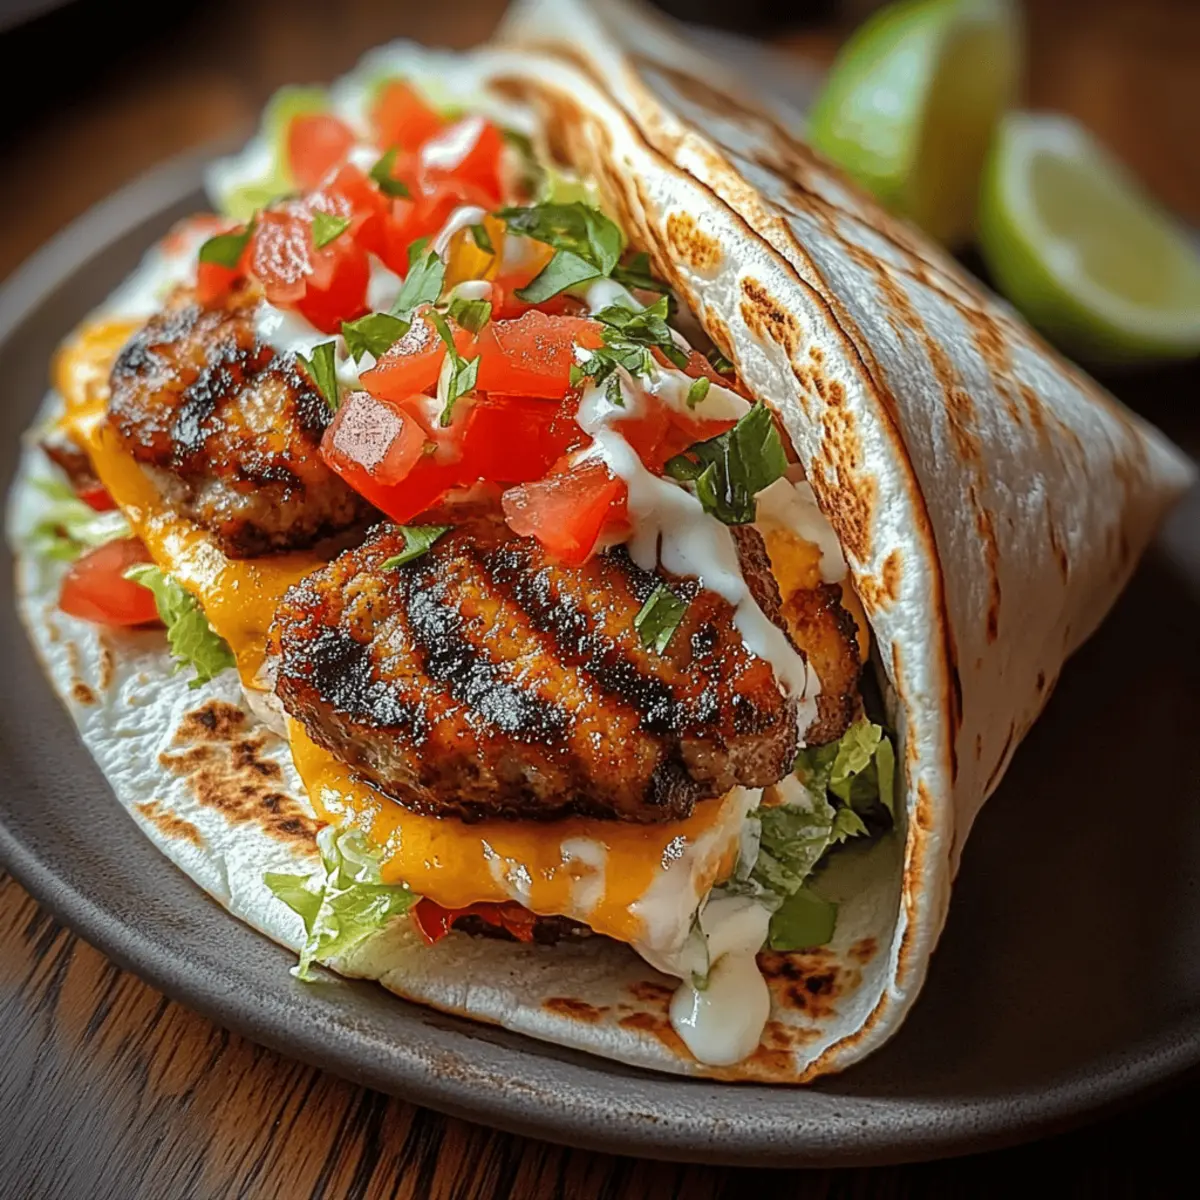
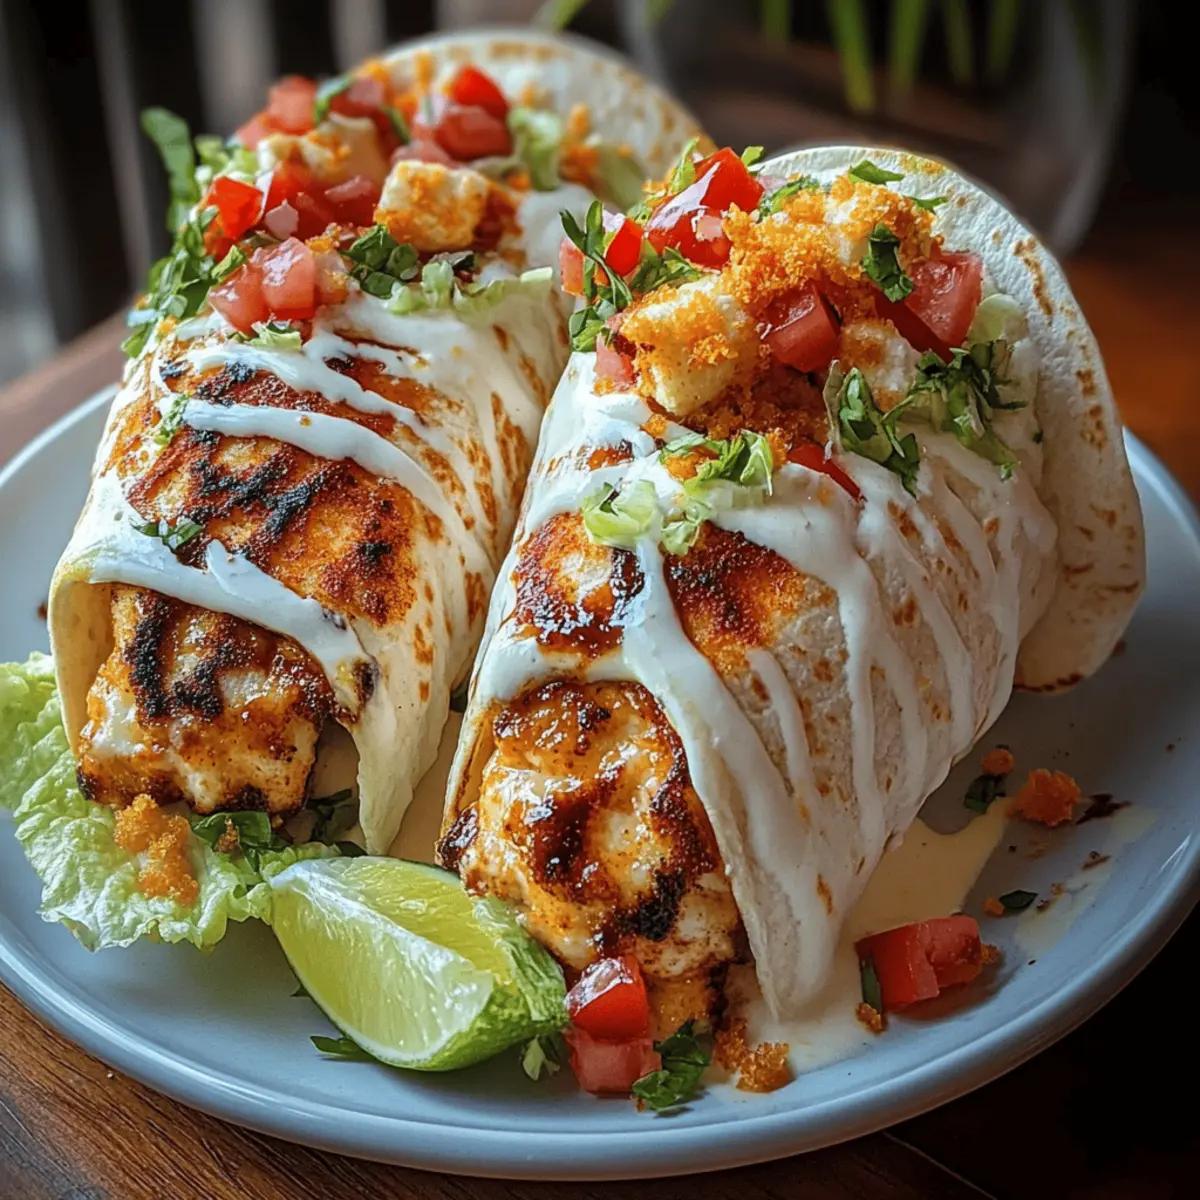
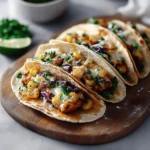
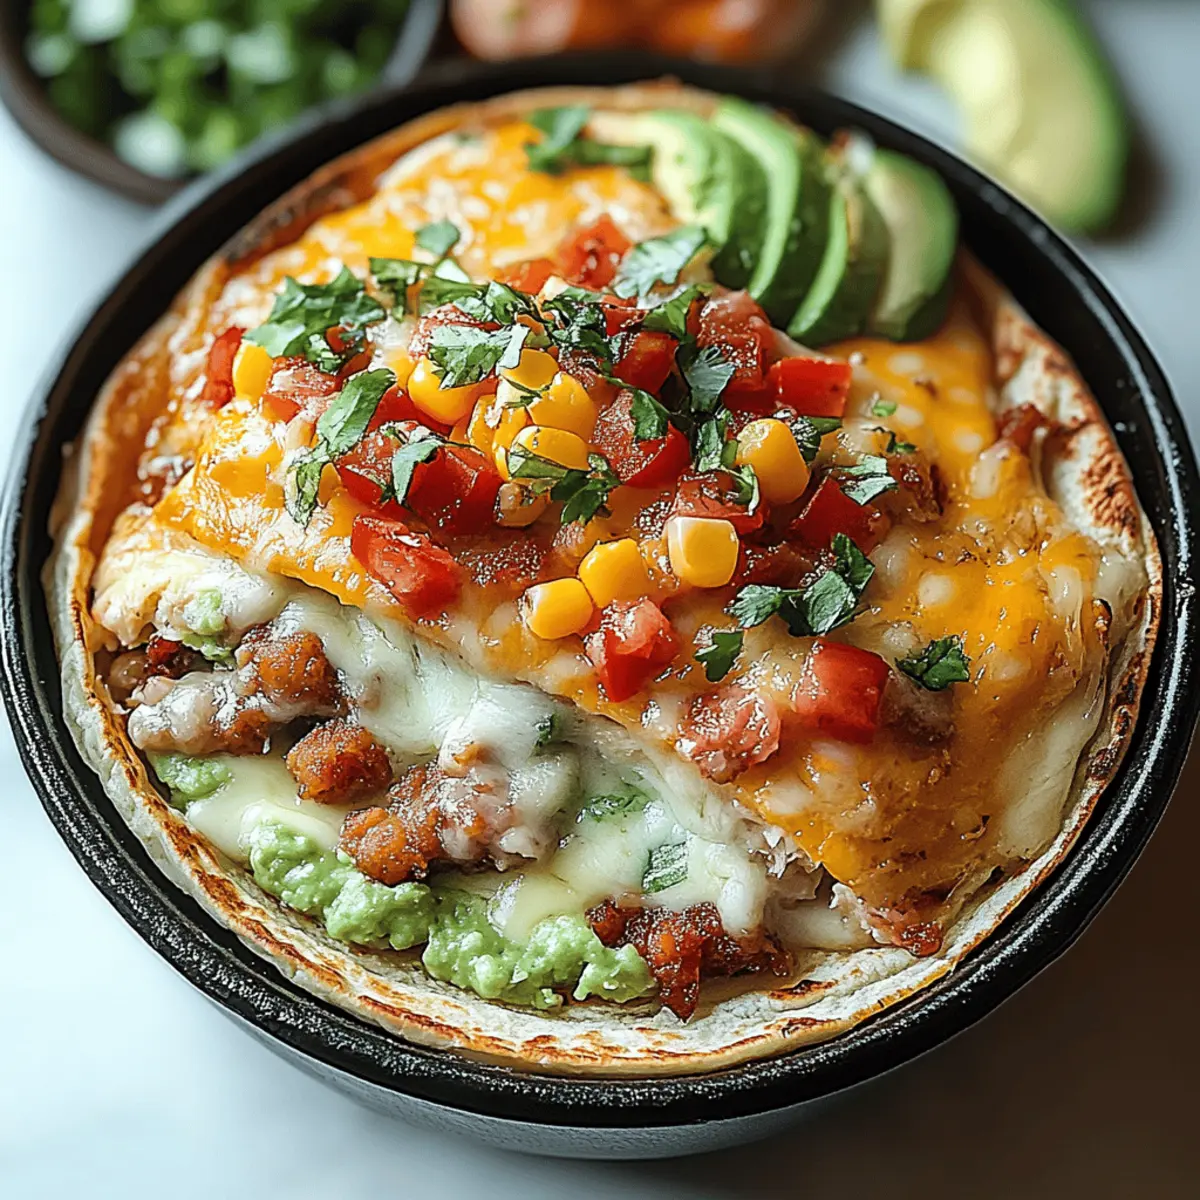
As the fragrant aroma of spices fills my kitchen, I can’t help but feel a rush of excitement knowing that dinner will be a delightful affair. If you’ve been longing for a homemade meal that satisfies your cravings without fuss, then these Chicken Avocado Ranch Burritos will quickly become your go-to recipe. Not only do they showcase the perfect blend of tender chicken, creamy avocado, and zesty ranch dressing, but they also come together in just 40 minutes—ideal for busy weeknights. The best part? They’re customizable! You can load them up with your favorite toppings, making every bite a new experience. So, are you ready to wrap up some glorious flavor? Let’s dive into this delicious journey together!
Why are these burritos a must-try?
Irresistible Flavor: The combination of creamy avocado, zesty ranch dressing, and perfectly seasoned chicken creates a delicious explosion of taste in every bite.
Quick and Easy: With a total time of just 40 minutes, you’ll whip these up in no time—ideal for busy evenings when you crave something homemade.
Customizable Delight: Feel free to tweak the fillings! Toss in extra veggies or some spicy toppings to suit your taste.
Crowd Pleaser: These burritos are sure to impress your family and friends, making them perfect for a casual gathering or a cozy dinner night.
For more easy chicken recipes, check out my Crock Pot Chicken and Rice or try out a flavorful One Pot Chicken Stroganoff for a delightful cooking experience!
Chicken Avocado Ranch Burritos Ingredients
For the Chicken
• 2 large chicken breasts – The centerpiece of your burrito, seasoning makes them flavorful and succulent.
• 1 tablespoon olive oil – Adds moisture and helps the spices adhere to the chicken.
• 1 teaspoon garlic powder – Boosts savory flavor without the hassle of fresh garlic.
• 1 teaspoon onion powder – Enhances the overall taste and depth of the chicken.
• 1 teaspoon paprika – Contributes a smoky essence and a pop of color to your dish.
• 1 teaspoon ground cumin – Provides a warm, earthy flavor that elevates the chicken.
• 1/2 teaspoon salt – Essential for highlighting the flavor of all the ingredients.
• 1/4 teaspoon black pepper – Adds a dash of heat and enhances the taste experience.
For the Fillings
• 1/2 cup ranch dressing – The star dressing that ties all flavors together in a creamy fashion.
• 1/2 cup sour cream – Balances the spice, adding tanginess and creaminess.
• 2 medium avocados – The creamy base for your filling, rich in healthy fats.
• 1 tablespoon lime juice – Keeps the avocado fresh and adds a citrusy zing.
• 1/2 cup shredded cheddar cheese – Melts beautifully, enriching every gooey bite.
• 1/2 cup shredded mozzarella cheese – Adds a stretchy and delightful texture to the burritos.
• 1 cup shredded lettuce – Crisp texture that lightens up the flavor profile.
• 1/2 cup diced tomatoes – Freshness in every bite, enhancing the burrito’s appeal.
• 1/4 cup chopped cilantro – A burst of herbal flavor that brightens up the fillings.
For the Tortillas
• 4 large flour tortillas – The perfect wrap for all your tasty ingredients; soft and pliable.
These Chicken Avocado Ranch Burritos not only bring joy to your taste buds but are also a breeze to assemble—what’s not to love?
Step‑by‑Step Instructions for Chicken Avocado Ranch Burritos
Step 1: Preheat the Oven
Begin by preheating your oven to 375°F (190°C). This temperature ensures that your chicken breasts will bake evenly to perfect juiciness. As the oven does its magic, get your baking sheet ready by lining it with parchment paper or aluminum foil for easy cleanup.
Step 2: Prepare the Chicken
Drizzle 1 tablespoon of olive oil over the two large chicken breasts, rubbing it thoroughly on both sides. This helps the spices stick and adds moisture during baking. Follow with a generous sprinkle of garlic powder, onion powder, paprika, ground cumin, salt, and black pepper to bring out the flavor in these Chicken Avocado Ranch Burritos.
Step 3: Massage the Seasoning
Take a moment to massage the seasoning into the chicken breasts. This step is crucial to ensure the spices penetrate deeply, enhancing the flavor. You should start to see the chicken glistening from the oil and seasoning—this means you’re on the right track!
Step 4: Bake the Chicken
Place the seasoned chicken breasts on your prepared baking sheet and slide them into the preheated oven. Bake for 20-25 minutes, or until the internal temperature reaches 165°F (74°C). You’ll know they’re done when the chicken juices run clear and the surface is golden brown.
Step 5: Prepare the Avocado Mixture
While the chicken bakes, slice the avocados in half, carefully remove the pits, and scoop the creamy flesh into a mixing bowl. Use a fork or potato masher to mash the avocado until smooth but still slightly chunky—this texture adds character to your Chicken Avocado Ranch Burritos.
Step 6: Add Lime Juice
Stir 1 tablespoon of lime juice into the mashed avocado. This not only prevents browning but adds a refreshing citrus zing that elevates the flavor. Make sure it’s well mixed but still maintains some chunky goodness for a delightful contrast in every bite.
Step 7: Mix Ranch and Sour Cream
In a separate bowl, combine 1/2 cup of ranch dressing with 1/2 cup of sour cream. Stir until smooth and creamy, ensuring a delightful blend that will complement the other fillings. Set this mixture aside; it will add a rich and zesty touch to each Chicken Avocado Ranch Burrito.
Step 8: Shred the Chicken
Once the chicken has finished baking, let it rest for a few minutes. This step allows the juices to redistribute, keeping it tender. After resting, shred the chicken into bite-sized pieces using two forks, making it easy to fit inside your tortillas.
Step 9: Warm the Tortillas
Take your large flour tortillas and warm them in the microwave for about 15-20 seconds, or heat them briefly on a skillet. Softening the tortillas makes them easier to roll and prevents tearing when you begin assembling your Chicken Avocado Ranch Burritos.
Step 10: Assemble the Burritos
Spread a generous layer of the ranch and sour cream mixture onto each warmed tortilla. Then, evenly distribute the shredded chicken over the center of each tortilla, ensuring a hearty filling in every bite.
Step 11: Add the Avocado and Cheese
Spoon a generous portion of the mashed avocado mixture over the chicken on each tortilla. Next, sprinkle shredded cheddar and mozzarella cheese over the top, making sure each burrito is loaded with cheesy goodness that will melt beautifully.
Step 12: Top with Fresh Ingredients
Add a handful of shredded lettuce on top of the cheese, followed by scattered diced tomatoes and chopped cilantro. These fresh ingredients add a crunch and a burst of flavor that beautifully complements your Chicken Avocado Ranch Burritos.
Step 13: Roll the Burritos
Carefully fold in the sides of each tortilla and roll tightly to form a burrito. Ensure that all those delightful flavors are tucked in securely. A little practice will help you master this step, ensuring your burritos stay intact during serving.
Step 14: Crisp the Edges (Optional)
If you like, place the burrito seam-side down on a skillet over medium heat to crisp up the edges. Cook for a few minutes until golden brown, adding an extra layer of texture to your Chicken Avocado Ranch Burritos.
Step 15: Serve and Enjoy
Serve the warm burritos with extra ranch dressing on the side for dipping. Each bite will be a delicious experience, showcasing the wonderful combination of flavors in these Chicken Avocado Ranch Burritos.
How to Store and Freeze Chicken Avocado Ranch Burritos
Fridge: Store leftover Chicken Avocado Ranch Burritos in an airtight container for up to 3 days. Reheat in the microwave or oven until heated through for the best flavor.
Freezer: Wrap each burrito tightly in plastic wrap and then place them in a freezer-safe bag. They will keep for up to 3 months. When ready to eat, thaw in the fridge overnight and reheat in the microwave.
Reheating: For optimal taste, reheat thawed burritos in the oven at 350°F (175°C) for 15-20 minutes or until heated completely. You can also microwave for 1-2 minutes, turning halfway through.
Quality Tip: Avoid freezing burritos with fresh toppings like lettuce and tomatoes, as they can become soggy after thawing. Add those just before serving for a crunchy bite!
Expert Tips for Chicken Avocado Ranch Burritos
Flavor Depth: Use fresh spices: Fresh spices elevate the flavor profile of your chicken, enhancing your Chicken Avocado Ranch Burritos significantly.
Even Cooking: Ensure even thawing: If using frozen chicken, thaw it completely for even cooking and juicy results.
Perfect Tortillas: Warm them right: Microwave or skillet-warm tortillas just until pliable, preventing tearing during assembly.
Creamy Consistency: Avoid browning: Stir lime juice into mashed avocado immediately to keep it vibrant and fresh for your Chicken Avocado Ranch Burritos.
Crisp It Up: Optional pan-searing: If you like a crispy edge, give your rolled burritos a quick sear in a skillet—but watch them closely to avoid burning.
Make Ahead Options
These Chicken Avocado Ranch Burritos are perfect for meal prep enthusiasts! You can cook and shred the chicken up to 3 days in advance; simply store it in an airtight container in the refrigerator. Likewise, the avocado mixture can be prepared a day ahead—just add lime juice to keep it fresh and vibrant. Assemble the burritos no more than 24 hours before serving to maintain the tortillas’ softness and the vegetables’ crispness. When you’re ready to enjoy, just reheat the chicken and warm the tortillas before assembling with the prepped ingredients, ensuring that you savor every bit of their delicious flavor with minimal effort.
Chicken Avocado Ranch Burritos Variations
Feel free to unleash your creativity with these customizable flavors and textures that will elevate your burritos to a whole new level!
-
Spicy Kick: Add diced jalapeños or sliced serrano peppers for a delicious heat that complements the creamy toppings.
-
Vegetarian Delight: Replace chicken with black beans or roasted chickpeas for a protein-packed, plant-based version that’s equally hearty.
-
Cheesy Twist: Mix in pepper jack cheese instead of cheddar for an extra layer of flavor and a delightful spicy kick.
-
Guacamole Upgrade: Swap out the mashed avocado for store-bought guacamole to save time while still enjoying that creamy goodness.
-
Herb Infusion: Spice up your ranch dressing by mixing in some fresh dill or parsley for a fragrant touch that enhances the overall flavor profile.
-
Crunch Factor: Add some crispy bacon bits or crumbled tortilla chips inside the burrito for an irresistible texture contrast.
-
Low-Carb Option: Use large lettuce leaves instead of tortillas to create a fresh, low-carb wrap that’s perfect for those watching their carbs.
-
Fajita Style: Incorporate sautéed bell peppers and onions to create a vibrant fajita-inspired filling that’s both colorful and delicious.
For even more flavor-packed chicken inspiration, give my Hawaiian Chicken Sheet or savor the convenience of a hearty Crock Pot Chicken and Rice meal!
What to Serve with Chicken Avocado Ranch Burritos
Enjoying these delightful burritos isn’t complete without the perfect accompaniments to enhance your meal’s experience.
-
Crispy Sweet Potato Fries: These golden, crispy fries add a delightful sweetness and charming crunch that perfectly contrasts the savory burritos. They are a crowd favorite, and with a sprinkle of sea salt, they make for a dreamy side.
-
Zesty Coleslaw: The cool, tangy nature of coleslaw brings a refreshing crunch, balancing the rich flavors of the burritos. Pairing this vibrant side with your meal creates a lively color and texture contrast that is absolutely irresistible.
-
Guacamole and Tortilla Chips: This classic combo brings the creamy goodness of avocado to the table with a satisfying crunch from the chips. It’s a fun, shareable starter that complements the Southwest flavors beautifully.
-
Charred Corn Salad: The smoky sweetness of grilled corn mixed with fresh cilantro, lime, and diced tomatoes is a vibrant addition. The salad’s bright flavors echo the burritos while adding a nourishing element to your meal.
-
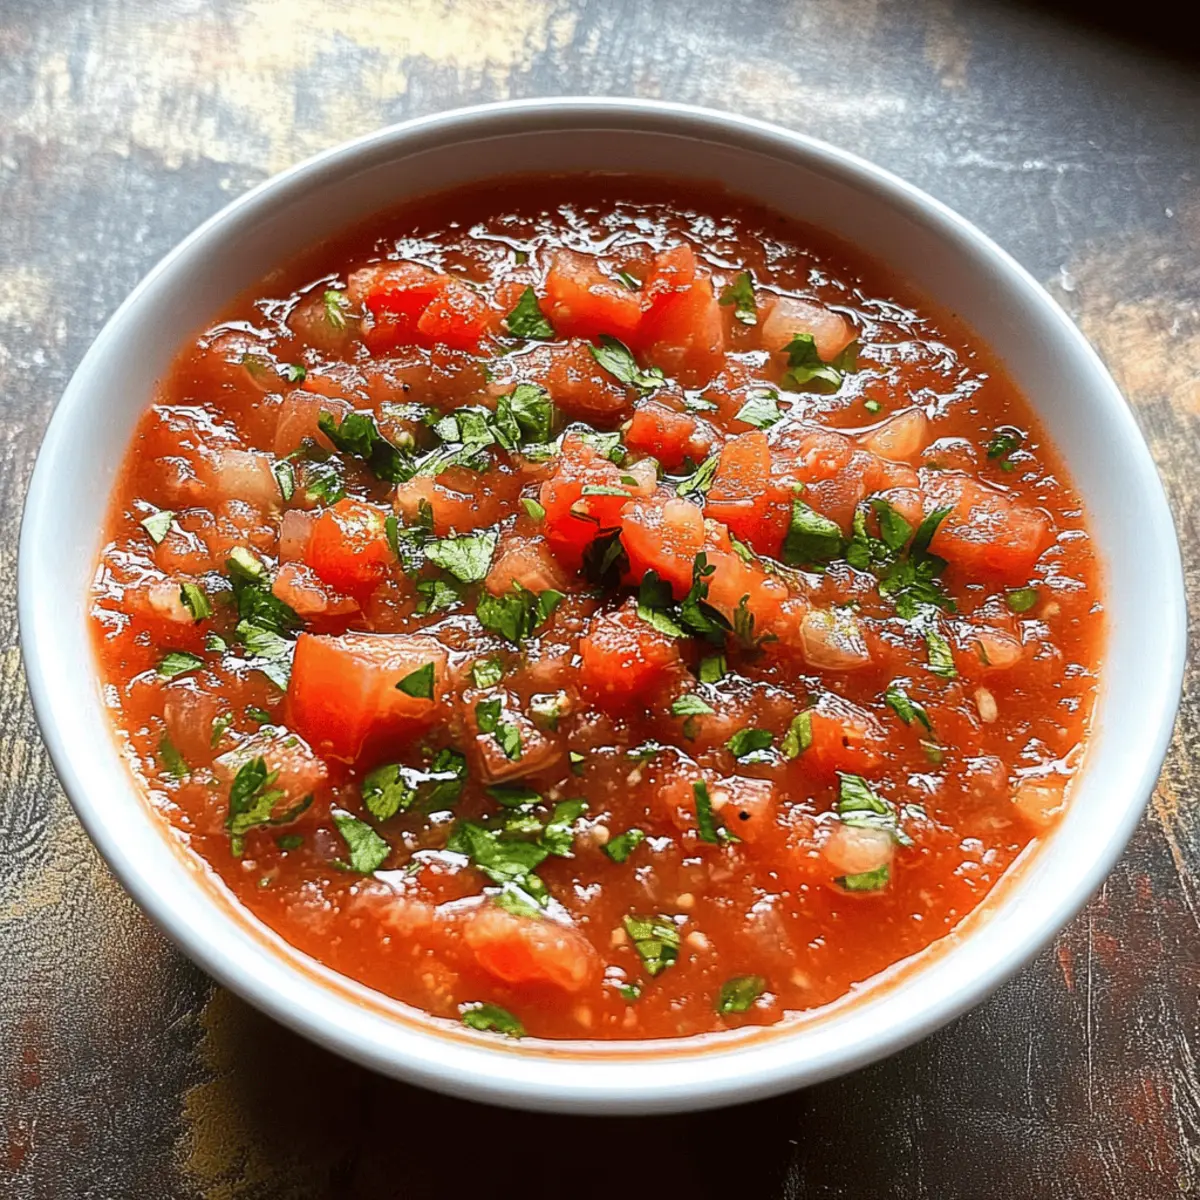
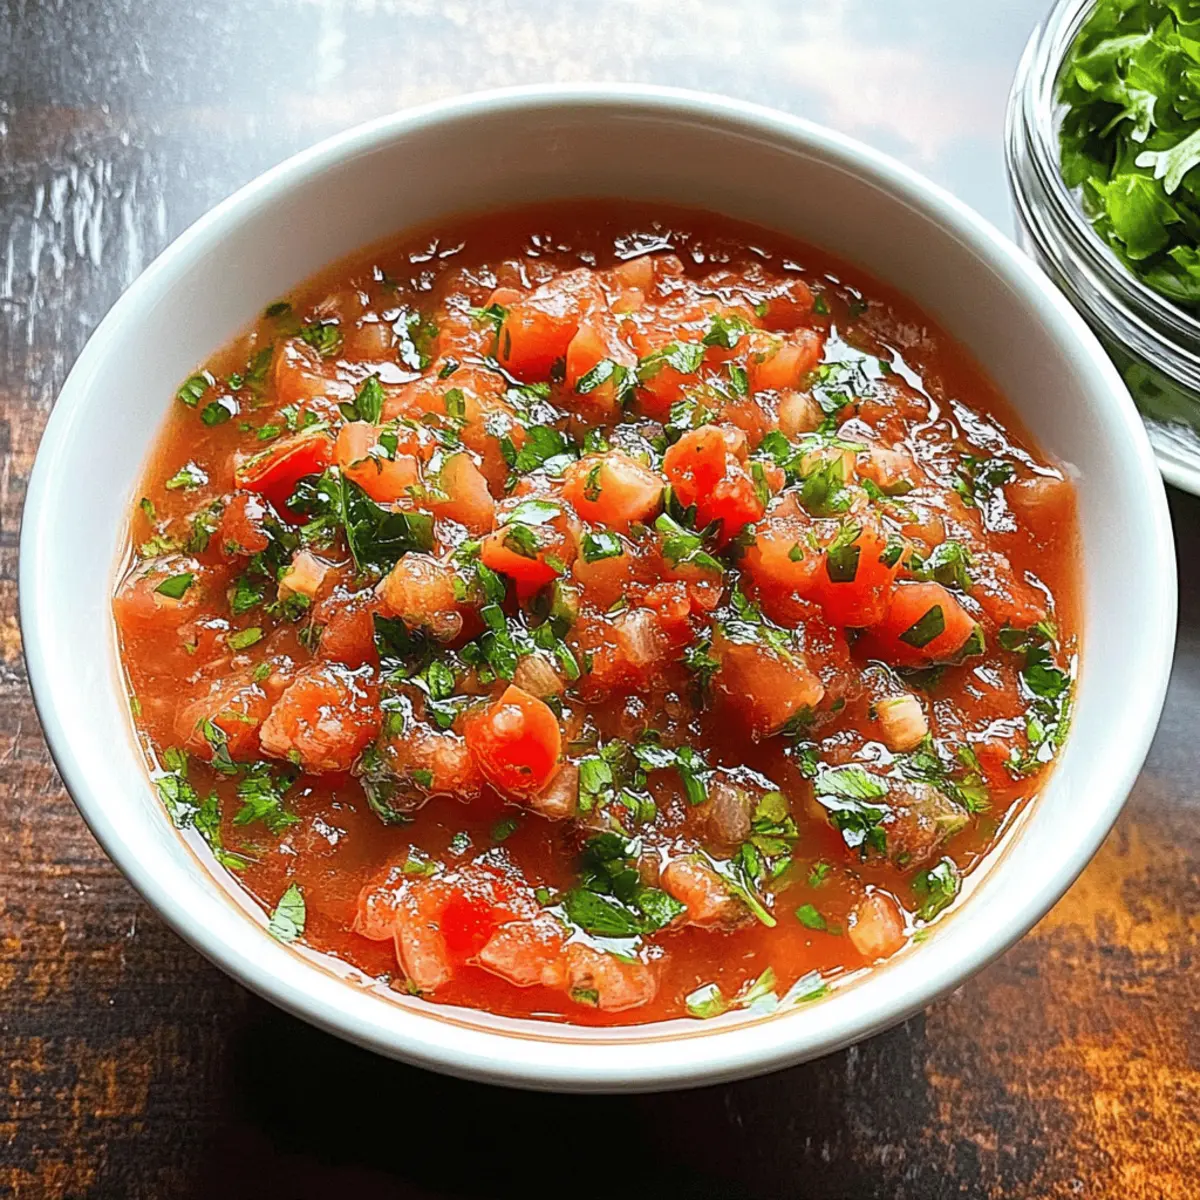
Pico de Gallo: This fresh salsa, bursting with tomatoes, onions, jalapeños, and lime juice, gives each bite an extra layer of zest. It’s perfect for drizzling over your burritos or enjoying on the side.
-
Margaritas or Iced Tea: For a beverage that elevates the entire dining experience, consider a classic margarita or a refreshing iced tea. Both options pair beautifully with the savory elements of your Chicken Avocado Ranch Burritos.
These accompaniments not only round out your meal but also heighten the joy of savoring every delicious bite!
Chicken Avocado Ranch Burritos Recipe FAQs
What type of avocados should I use?
Absolutely! You want to select ripe avocados for your Chicken Avocado Ranch Burritos. Look for avocados that yield lightly to gentle pressure but aren’t too soft. Dark green, smooth skin indicates ripeness. If you have hard avocados, let them ripen at room temperature for a couple of days, then refrigerate them to halt further ripening once they’re soft.
How do I store leftover burritos?
Very! To store leftover Chicken Avocado Ranch Burritos, place them in an airtight container in the refrigerator. They will remain fresh for up to 3 days. When you’re ready to enjoy them again, simply reheat in the microwave or oven until piping hot—deliciousness awaits!
Can I freeze these burritos?
Absolutely! To freeze Chicken Avocado Ranch Burritos, wrap each burrito tightly in plastic wrap and then place them in a freezer-safe bag. They can be stored for up to 3 months. Remember, it’s best to avoid freezing burritos with fresh toppings like lettuce and tomatoes—add those goodies just before serving for added crunch!
What should I do if my chicken is dry?
If your Chicken Avocado Ranch Burritos end up with dry chicken, don’t fret! Make sure to check the internal temperature with a meat thermometer—165°F (74°C) is your sweet spot. If overcooked, shredded chicken can be revived by mixing it with extra ranch dressing or a splash of broth to reintroduce moisture. For the future, keep to the recommended baking times to dodge dryness.
Are these burritos a healthy option?
Indeed! You can absolutely tweak these Chicken Avocado Ranch Burritos to meet dietary needs. For a lighter version, opt for whole wheat tortillas and low-fat dairy products. If you’re watching sodium, try making your own ranch dressing using Greek yogurt for a healthier, protein-packed alternative. Always take note of any allergies, especially with the ranch dressing and cheese.
Can my dog enjoy these burritos too?
While some ingredients in Chicken Avocado Ranch Burritos, like chicken and avocado, are generally safe for dogs, it’s best to skip the ranch dressing and cheese due to their potential to upset their stomach. Always consult with your vet before introducing new foods to your dog’s diet!
Savory Chicken Avocado Ranch Burritos You’ll Crave!

Delicious Chicken Avocado Ranch Burritos featuring tender chicken, creamy avocado, and zesty ranch dressing, customizable for every taste.
- Oven
- Baking Sheet
- Mixing Bowl
- Fork or potato masher
- Microwave
For the Chicken
- 2 large chicken breasts (The centerpiece of your burrito, seasoning makes them flavorful and succulent.)
- 1 tablespoon olive oil (Adds moisture and helps the spices adhere to the chicken.)
- 1 teaspoon garlic powder (Boosts savory flavor without the hassle of fresh garlic.)
- 1 teaspoon onion powder (Enhances the overall taste and depth of the chicken.)
- 1 teaspoon paprika (Contributes a smoky essence and a pop of color to your dish.)
- 1 teaspoon ground cumin (Provides a warm, earthy flavor that elevates the chicken.)
- 1/2 teaspoon salt (Essential for highlighting the flavor of all the ingredients.)
- 1/4 teaspoon black pepper (Adds a dash of heat and enhances the taste experience.)
For the Fillings
- 1/2 cup ranch dressing (The star dressing that ties all flavors together in a creamy fashion.)
- 1/2 cup sour cream (Balances the spice, adding tanginess and creaminess.)
- 2 medium avocados (The creamy base for your filling, rich in healthy fats.)
- 1 tablespoon lime juice (Keeps the avocado fresh and adds a citrusy zing.)
- 1/2 cup shredded cheddar cheese (Melts beautifully, enriching every gooey bite.)
- 1/2 cup shredded mozzarella cheese (Adds a stretchy and delightful texture to the burritos.)
- 1 cup shredded lettuce (Crisp texture that lightens up the flavor profile.)
- 1/2 cup diced tomatoes (Freshness in every bite, enhancing the burrito’s appeal.)
- 1/4 cup chopped cilantro (A burst of herbal flavor that brightens up the fillings.)
For the Tortillas
- 4 large flour tortillas (The perfect wrap for all your tasty ingredients; soft and pliable.)
Step-by-Step Instructions
- Preheat the oven to 375°F (190°C).
- Drizzle olive oil over chicken breasts, rubbing it thoroughly on both sides.
- Sprinkle garlic powder, onion powder, paprika, ground cumin, salt, and black pepper over chicken.
- Massage the seasoning into the chicken breasts.
- Place seasoned chicken on a baking sheet and bake for 20-25 minutes, until cooked through.
- While chicken bakes, slice avocados in half, remove pits, and scoop flesh into a mixing bowl.
- Mash avocado until smooth but slightly chunky.
- Stir lime juice into the mashed avocado.
- In a separate bowl, combine ranch dressing and sour cream until smooth.
- Shred the baked chicken into bite-sized pieces.
- Warm tortillas in the microwave or on a skillet.
- Spread ranch and sour cream mixture onto each tortilla.
- Distribute shredded chicken evenly over the center of each tortilla.
- Spoon mashed avocado mixture over the chicken on each tortilla.
- Sprinkle shredded cheddar and mozzarella cheese over the top.
- Add shredded lettuce, diced tomatoes, and chopped cilantro on top.
- Fold in the sides of each tortilla and roll tightly to form a burrito.
- Optionally, crisp the burrito edges on a skillet over medium heat.
- Serve warm with extra ranch dressing on the side.
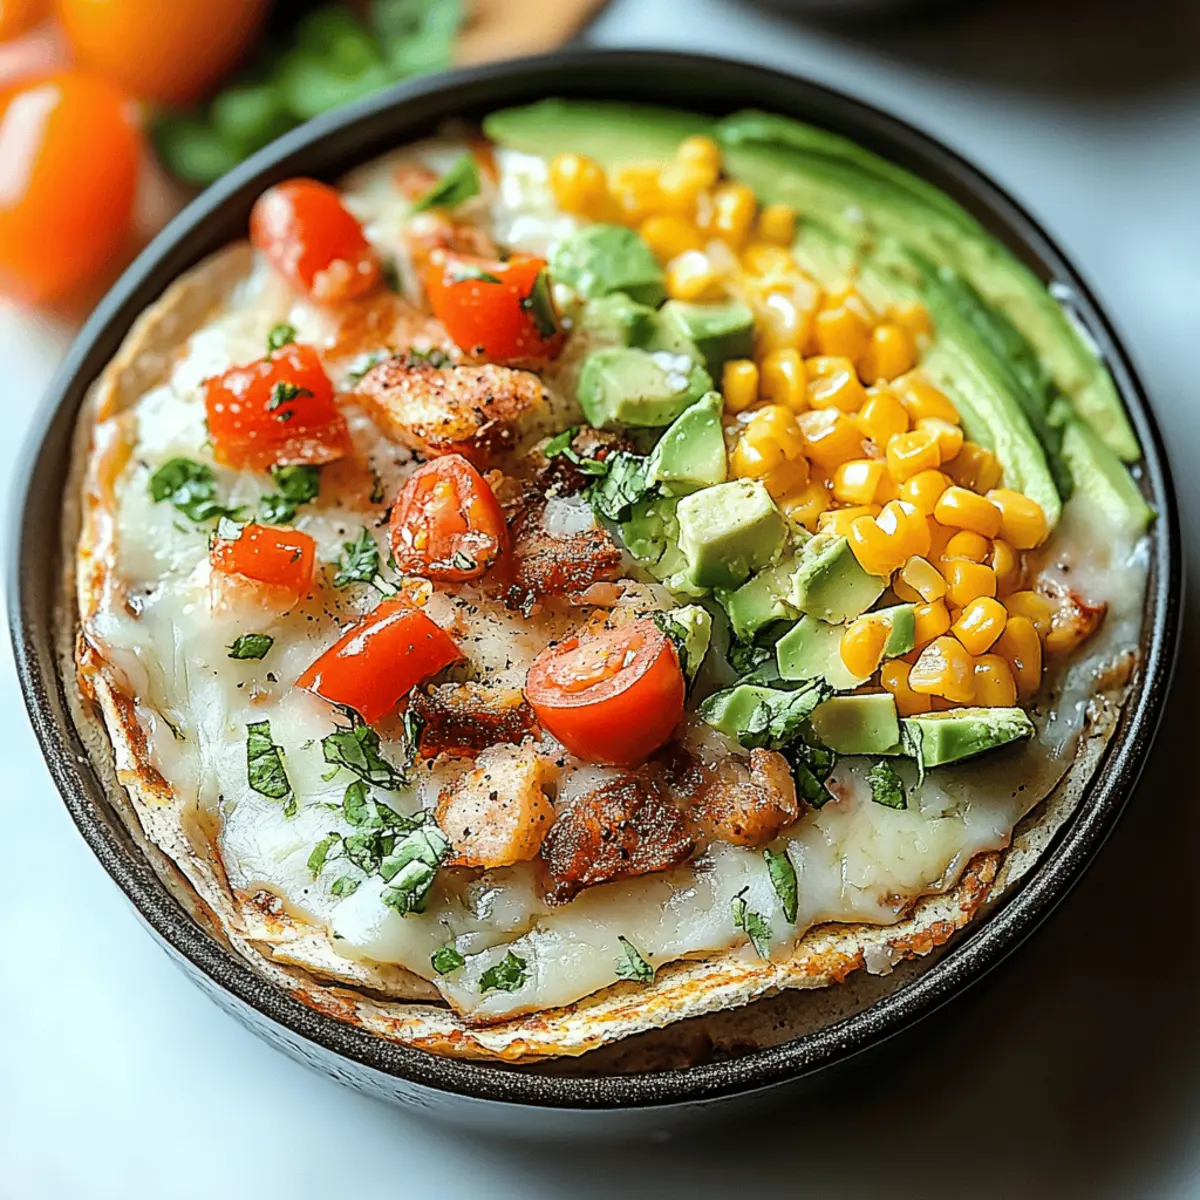
These Chicken Avocado Ranch Burritos can be customized with various toppings and additional ingredients to suit your taste preferences.