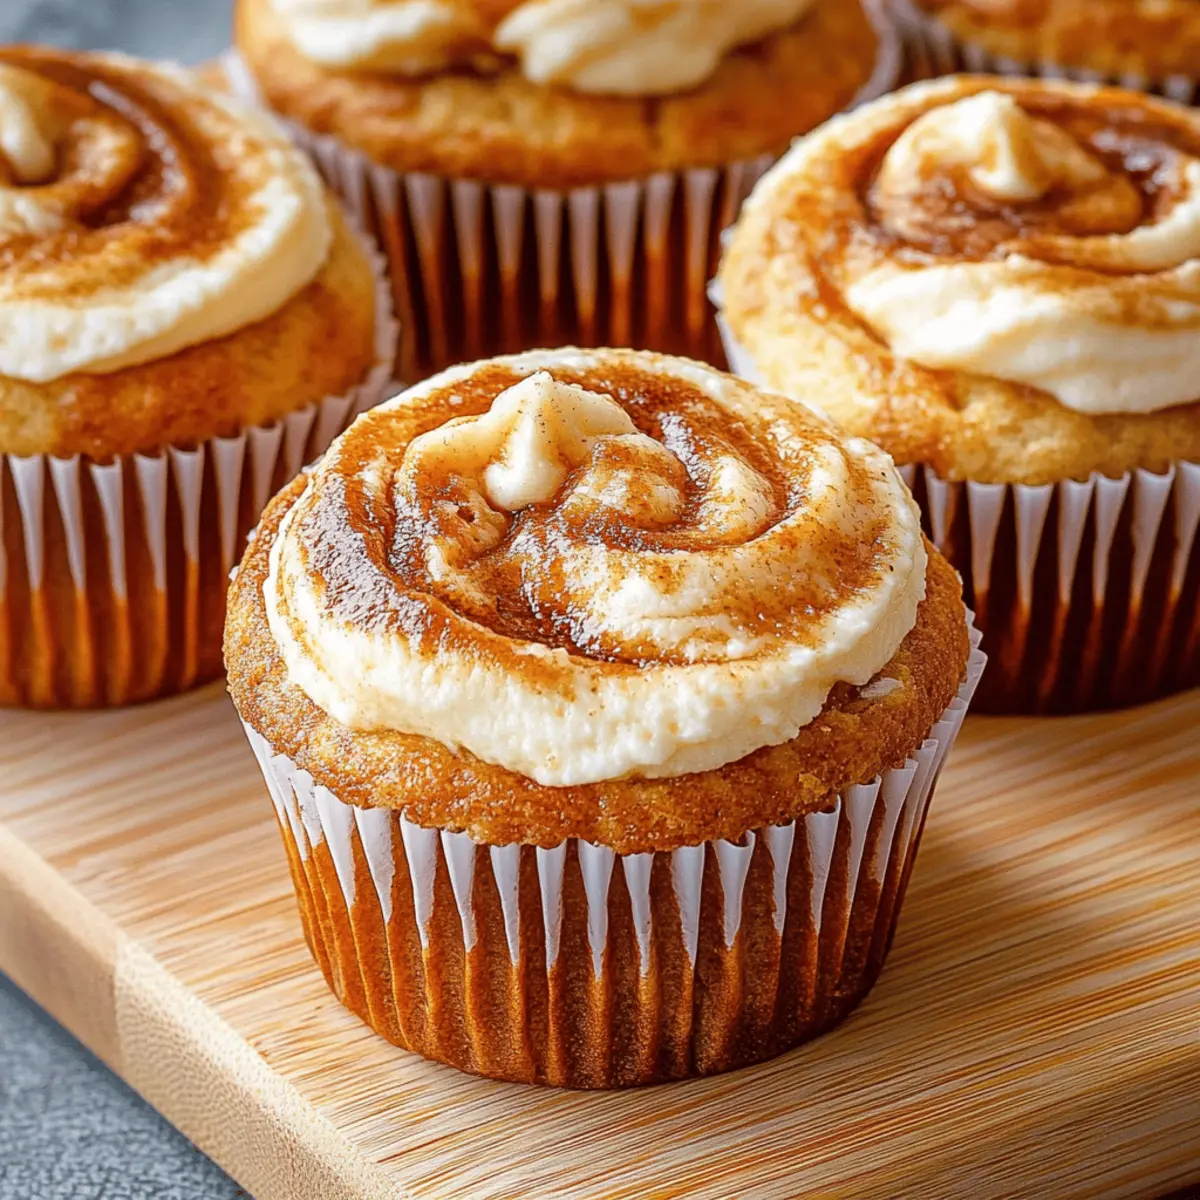
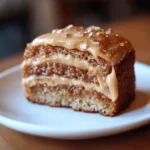
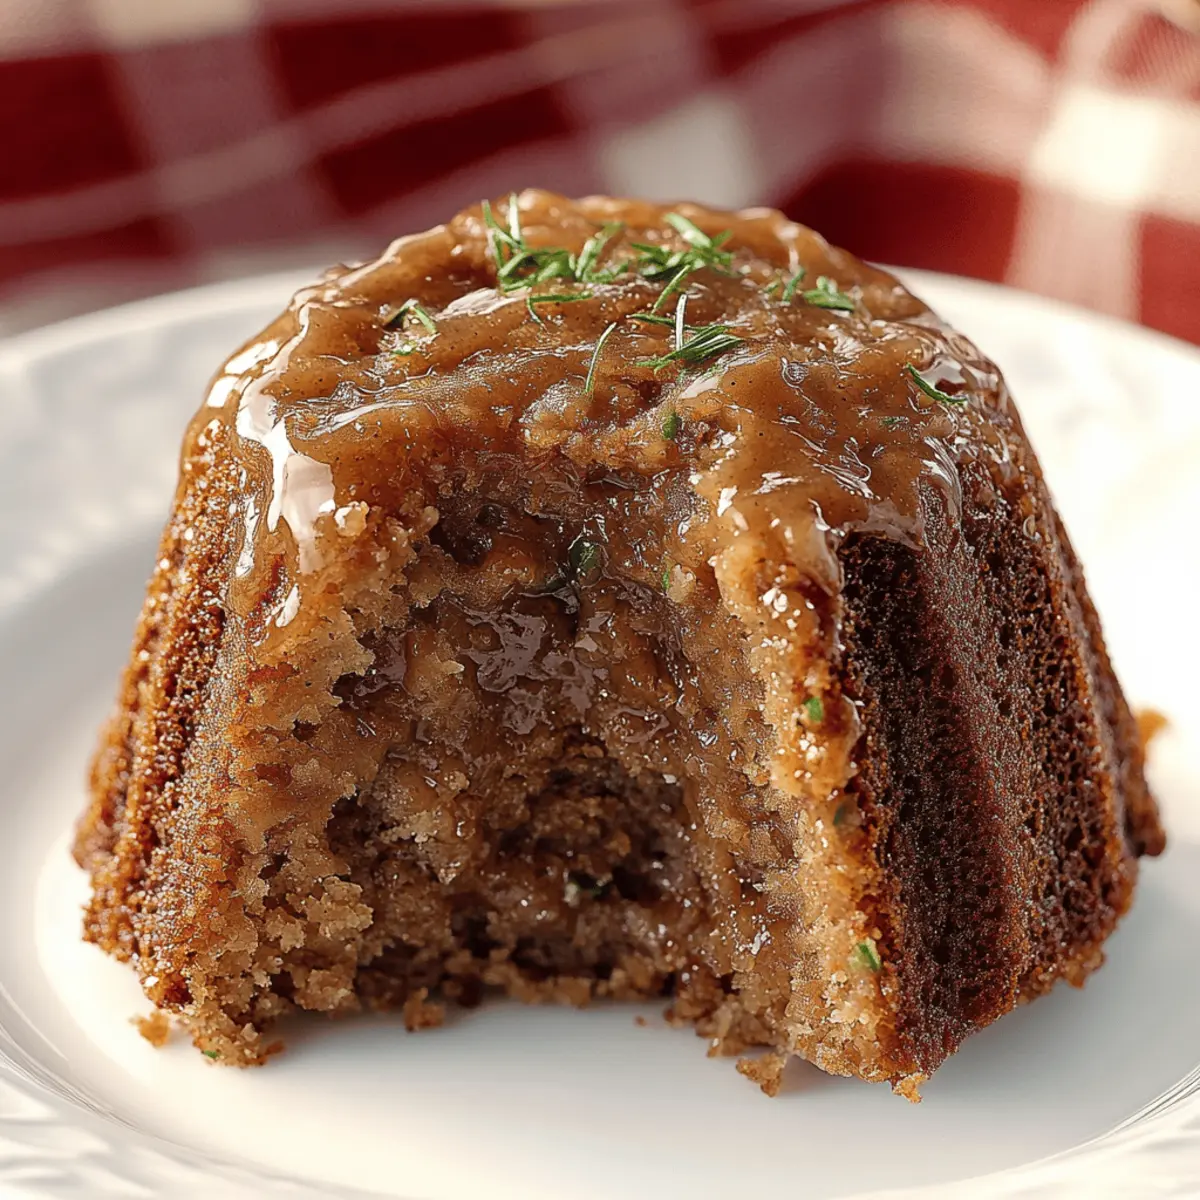
As I stood in my kitchen, a fresh batch of zucchini from the farmer’s market caught my eye, stirring a delightful memory of my grandmother’s baking days. That’s when I decided to whip up a Pecan Zucchini Bundt Cake, a heartwarming blend of sweet and nutty flavors that transports you straight to comfort. In less than an hour, this cake transforms simple ingredients into a stunning centerpiece that’s surprisingly easy to make! Not only does it make your home smell heavenly, but it’s also a great way to sneak in some veggies—talk about a guilt-free indulgence! Whether you’re hosting a gathering or just treating yourself on a cozy evening, this cake is destined to impress. Curious about how to bring this slice of joy to your kitchen? Let’s dive into the recipe!
Why Is Pecan Zucchini Bundt Cake So Special?
Delightfully Unique: This Pecan Zucchini Bundt Cake combines unexpected ingredients for a comforting yet innovative flavor profile. Perfectly Moist: The added zucchini keeps the cake tender and moist, while the pecans add that satisfying crunch. Quick & Easy: You can whip this up in no time—just mix, pour, and bake! Versatile Treat: Enjoy it as a breakfast delight, an afternoon snack, or a dessert that wows guests. Healthier Indulgence: Sneaking in veggies means you can enjoy this delicious cake without the guilt. If you love exploring more delightful baked goods, check out our delightful Zucchini Muffins and Nutty Banana Bread recipes for more inspiration!
Pecan Zucchini Bundt Cake Ingredients
Discover the magic that makes this cake a family favorite!
For the Batter
- Large eggs – 2 eggs add richness and bind the ingredients together for a tender crumb.
- Granulated sugar – 1 cup balances the flavors and helps the cake rise beautifully.
- Vegetable oil – 1/2 cup keeps the cake moist throughout its delightful baking.
- All-purpose flour – 1 1/2 cups provides structure to this Pecan Zucchini Bundt Cake.
- Baking powder – 1 teaspoon ensures the cake rises perfectly, creating a fluffy texture.
- Baking soda – 1 teaspoon enhances the leavening, working in harmony with the acidity of the zucchini.
- Salt – 1/2 teaspoon enhances the overall flavor without making it salty.
- Ground cinnamon – 1 teaspoon brings warmth and depth, making every bite comforting.
- Grated zucchini – 1 1/2 cups (medium-sized, moisture squeezed out) keeps the cake moist while adding nutrients.
- Vanilla extract – 1 teaspoon infuses a lovely aroma and enhances the cake’s sweet notes.
- Raisins (optional) – 1/2 cup adds bursts of sweetness that complement the nuttiness perfectly.
- Chopped nuts (optional) – 1/2 cup provides an extra crunch and depth of flavor to your cake.
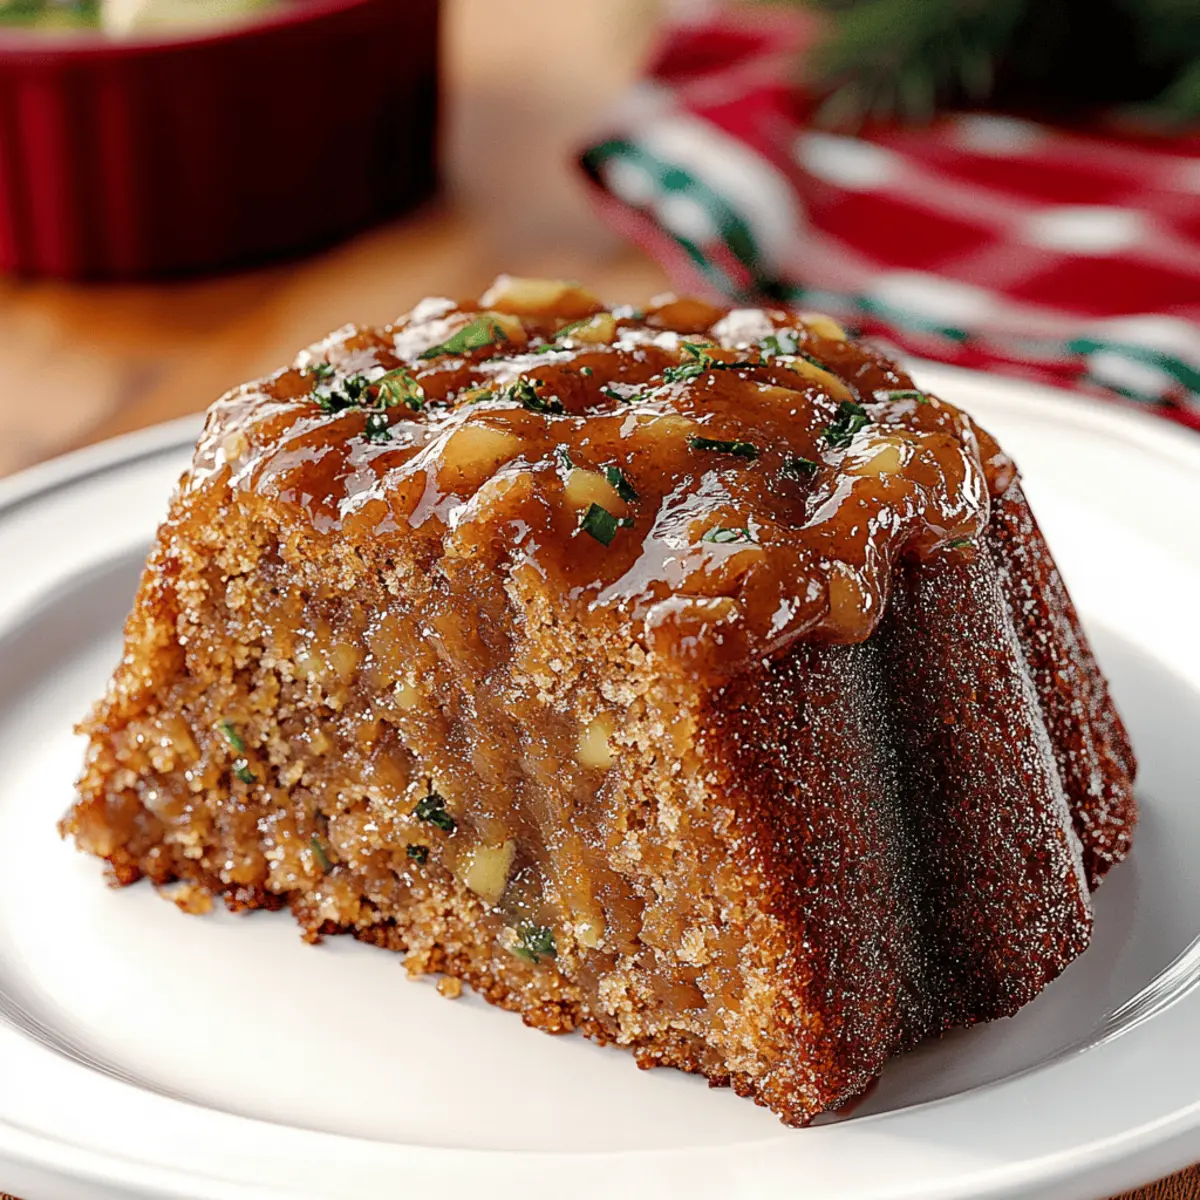
Embrace the delightful flavors and textures that come together in this Pecan Zucchini Bundt Cake—your taste buds will be oh-so-happy!
Step‑by‑Step Instructions for Pecan Zucchini Bundt Cake
Step 1: Preheat and Prepare
Begin by preheating your oven to 350°F (175°C) to ensure even baking. While the oven warms up, take a moment to grease and flour your bundt pan thoroughly, making sure to cover all areas. This helps prevent the Pecan Zucchini Bundt Cake from sticking and ensures a beautiful release once baked.
Step 2: Combine Wet Ingredients
In a large mixing bowl, crack in the 2 large eggs, pour in 1 cup of granulated sugar, and add 1/2 cup of vegetable oil. With a whisk or electric mixer, blend them together until you achieve a smooth and creamy mixture. This step is key for creating a rich base for your cake, so mix well for about 2-3 minutes.
Step 3: Mix the Dry Ingredients
Now, add 1 1/2 cups of all-purpose flour, 1 teaspoon of baking powder, 1 teaspoon of baking soda, 1/2 teaspoon of salt, and 1 teaspoon of ground cinnamon to the wet ingredients. Stir gently with a spatula or wooden spoon until all the dry components are fully incorporated into the batter. The mixture should be thick but smooth, ready to bring in the star ingredient—zucchini!
Step 4: Incorporate Zucchini and Vanilla
Next, take 1 1/2 cups of grated zucchini, ensuring you’ve squeezed out extra moisture, and gently fold it into your batter along with 1 teaspoon of vanilla extract. The zucchini will add moistness and nutrients, creating that delightful balance in your Pecan Zucchini Bundt Cake. Mix carefully until just combined, avoiding overmixing.
Step 5: Add Optional Ingredients
If you like a bit of extra sweetness and crunch, stir in 1/2 cup of raisins and 1/2 cup of chopped nuts with a spatula. This step adds delightful bursts of flavor as well as texture to your cake. Be sure to fold these ingredients in slowly, maintaining the fluffiness of the batter.
Step 6: Fill the Bundt Pan
Pour the prepared batter into your greased and floured bundt pan, using a spatula to spread it evenly. Make sure to leave some space at the top, as the cake will rise while it bakes. The batter should be level, creating a beautiful shape once it’s ready to come out of the oven.
Step 7: Bake the Cake
Place the bundt pan in your preheated oven and bake for approximately 45 minutes. Keep an eye on it as it bakes; the cake is done when its edges turn golden brown and a toothpick inserted into the center comes out clean. This is your cue to let the warm, spiced aroma fill your kitchen!
Step 8: Cool the Cake
Once baked, carefully remove the bundt pan from the oven and let it cool for 10 minutes on a wire rack. This cooling period allows the Pecan Zucchini Bundt Cake to set perfectly before you turn it out. After 10 minutes, gently invert the pan to release the cake, letting it cool completely on the rack before serving.
How to Store and Freeze Pecan Zucchini Bundt Cake
Room Temperature: Store the cake in an airtight container at room temperature for up to 3 days to keep it fresh and moist.
Fridge: For longer preservation, wrap the cake in plastic wrap and place it in the fridge. It will stay good for about a week while retaining its delightful flavor.
Freezer: To freeze, slice the Pecan Zucchini Bundt Cake and wrap each slice in plastic wrap, then place them in a freezer bag. It can last up to 3 months—perfect for an occasional treat!
Reheating: To reheat, simply microwave individual slices for 10-15 seconds or warm them in the oven at 350°F (175°C) for about 10 minutes. Enjoy it warm with a drizzle of your favorite glaze!
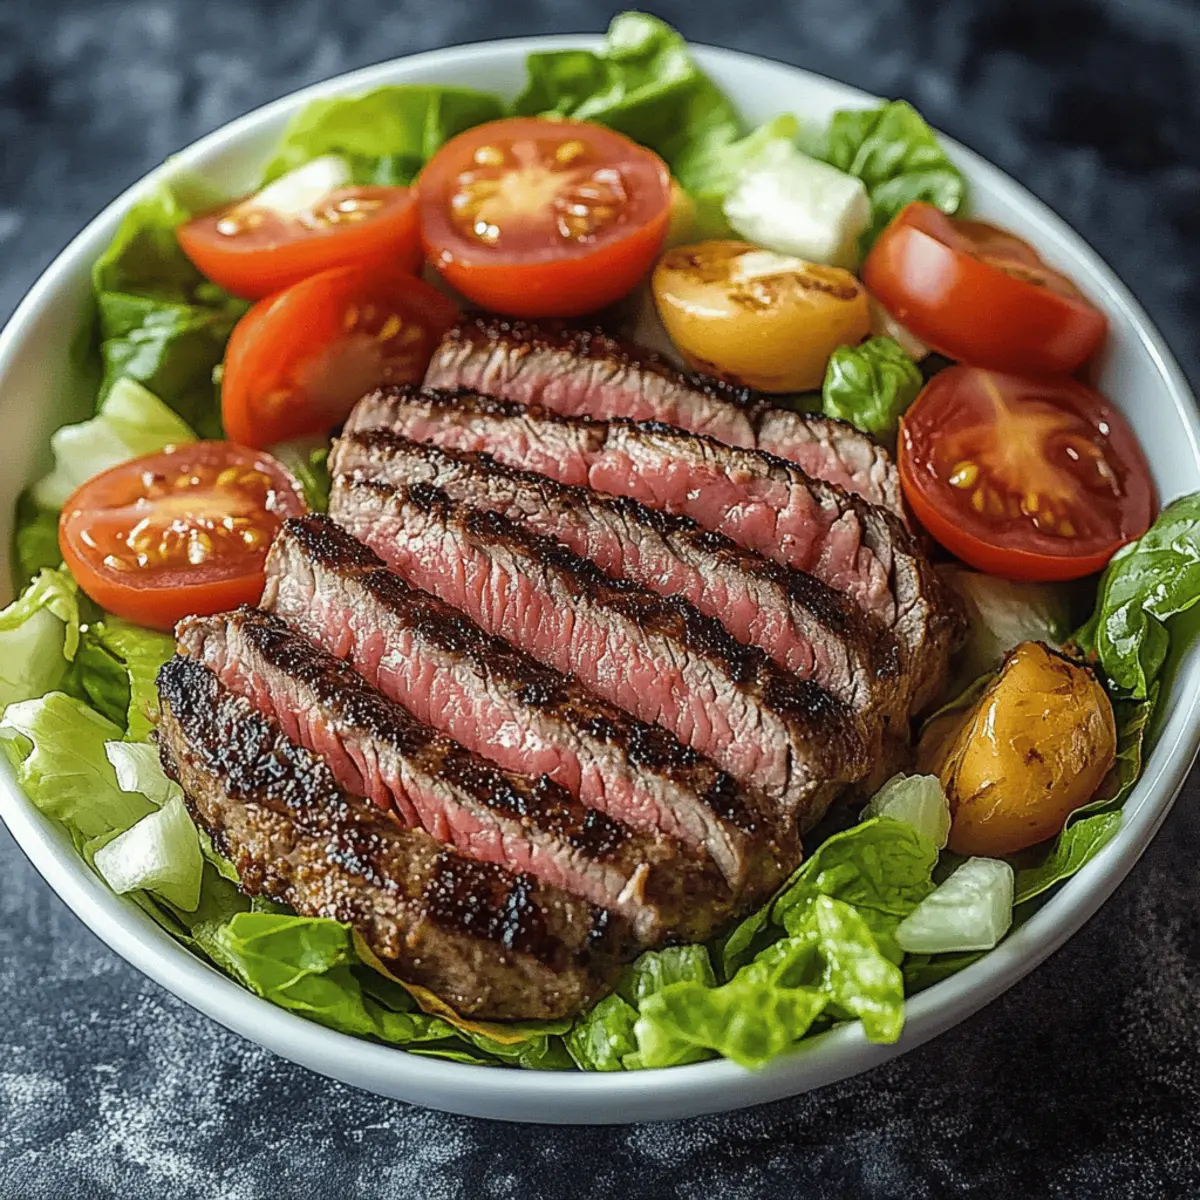
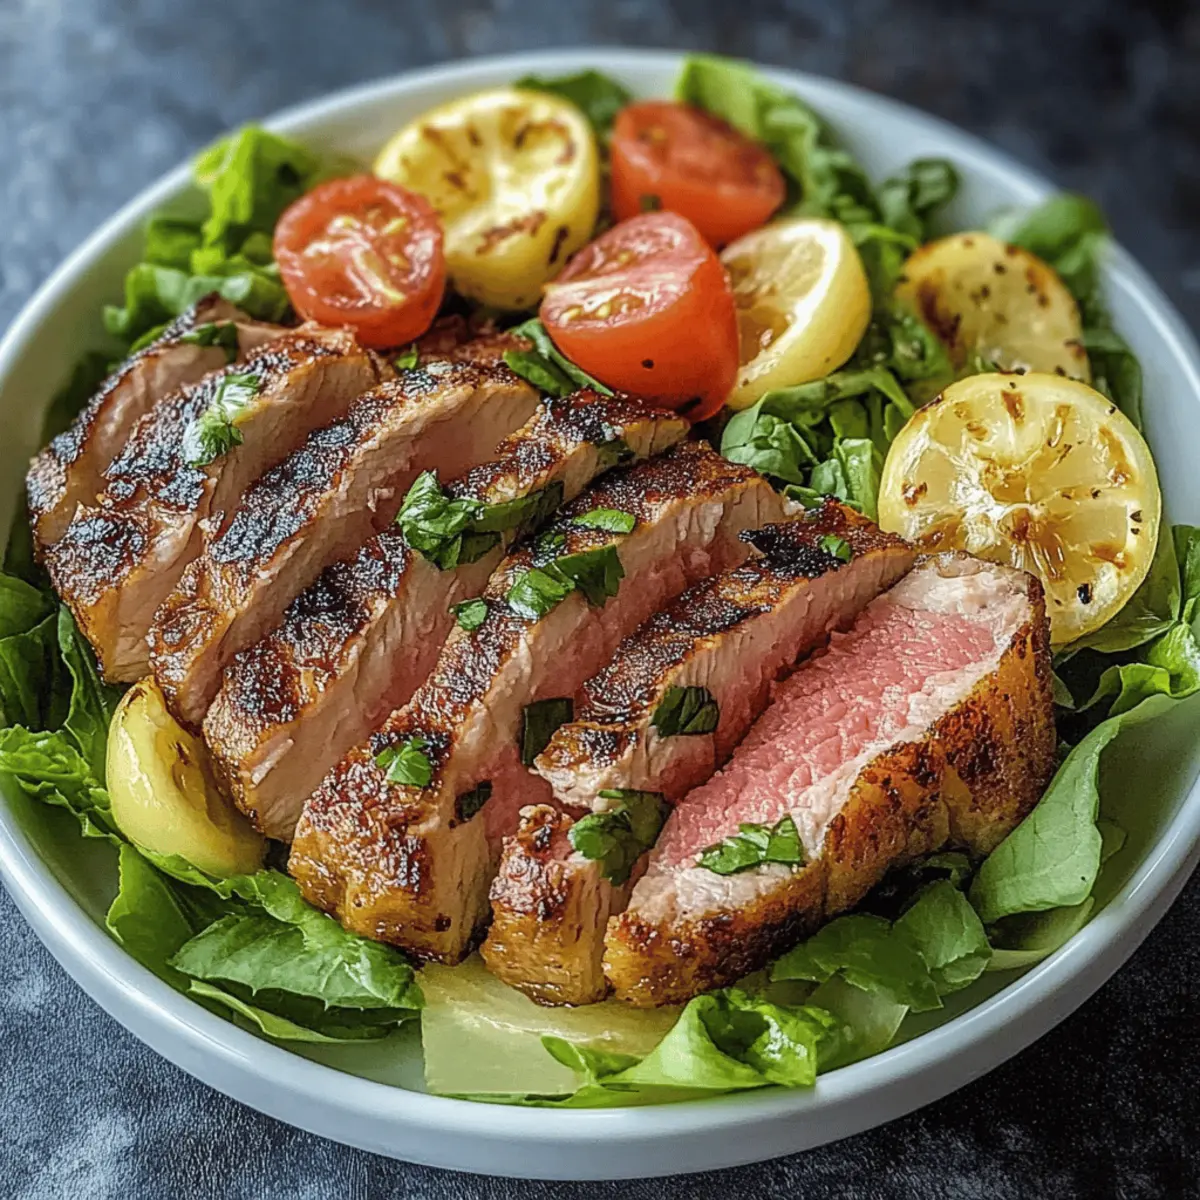
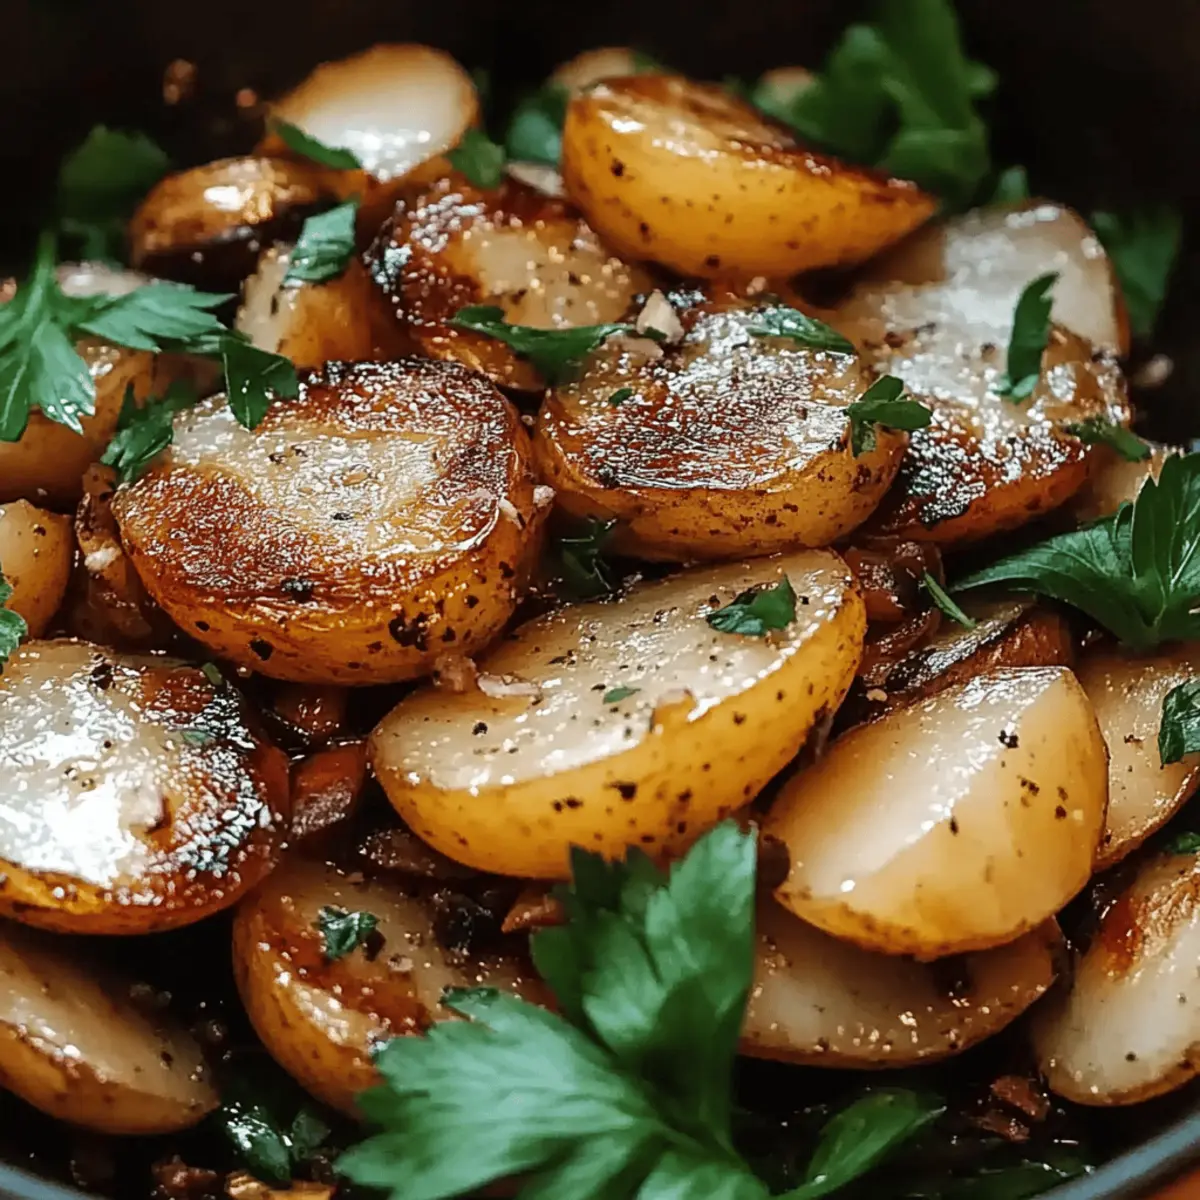
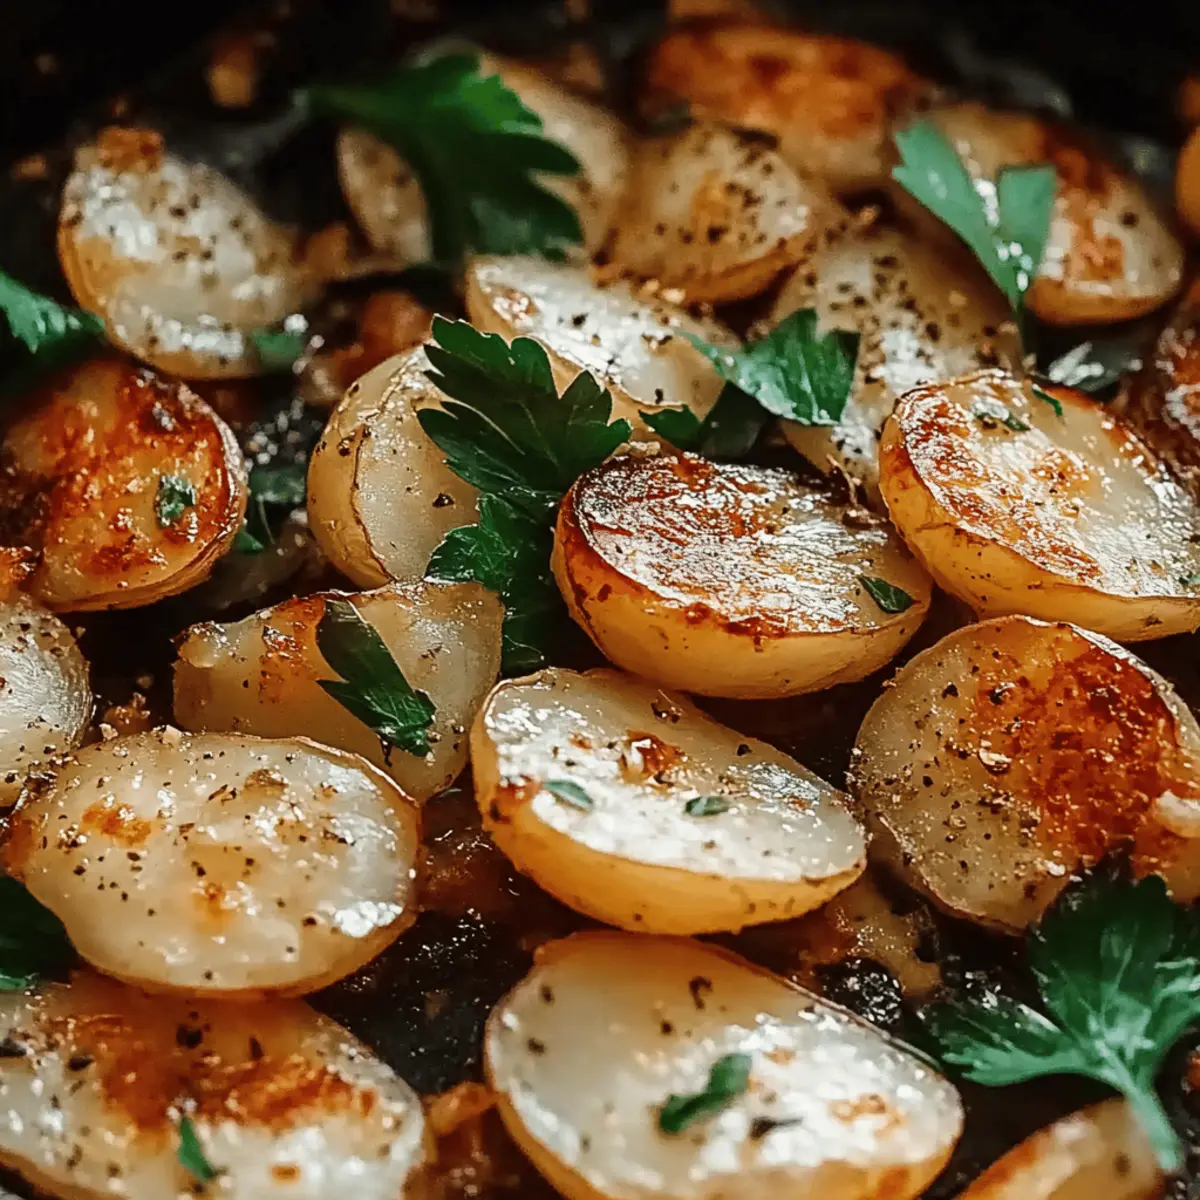
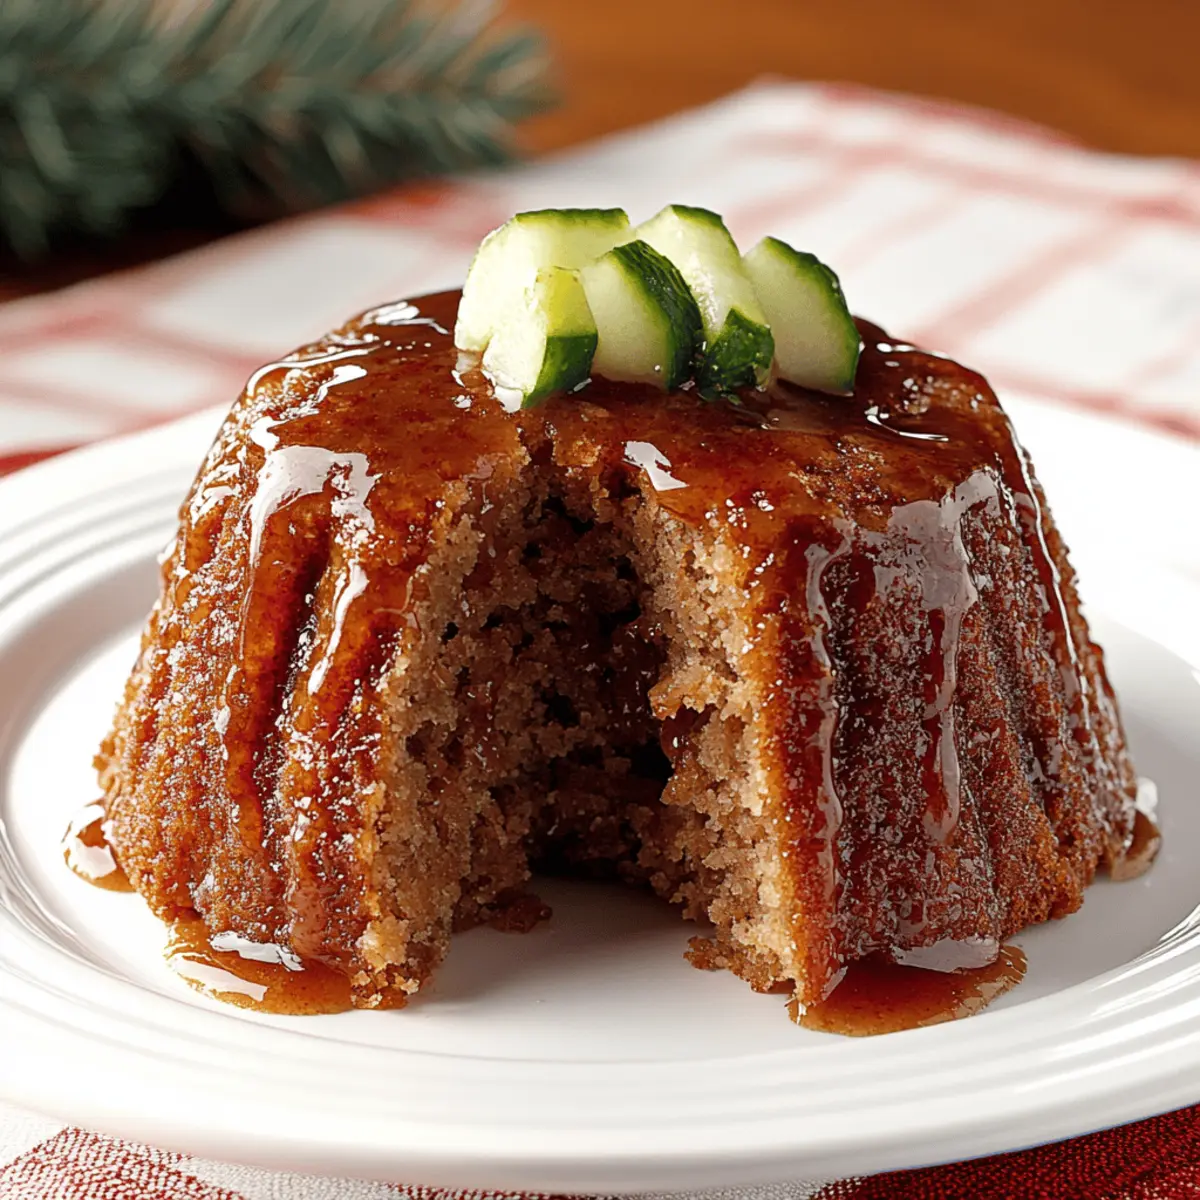
What to Serve with Pecan Zucchini Bundt Cake?
Indulging in warm, spiced cake evokes a cozy atmosphere that invites the whole family to the table.
-
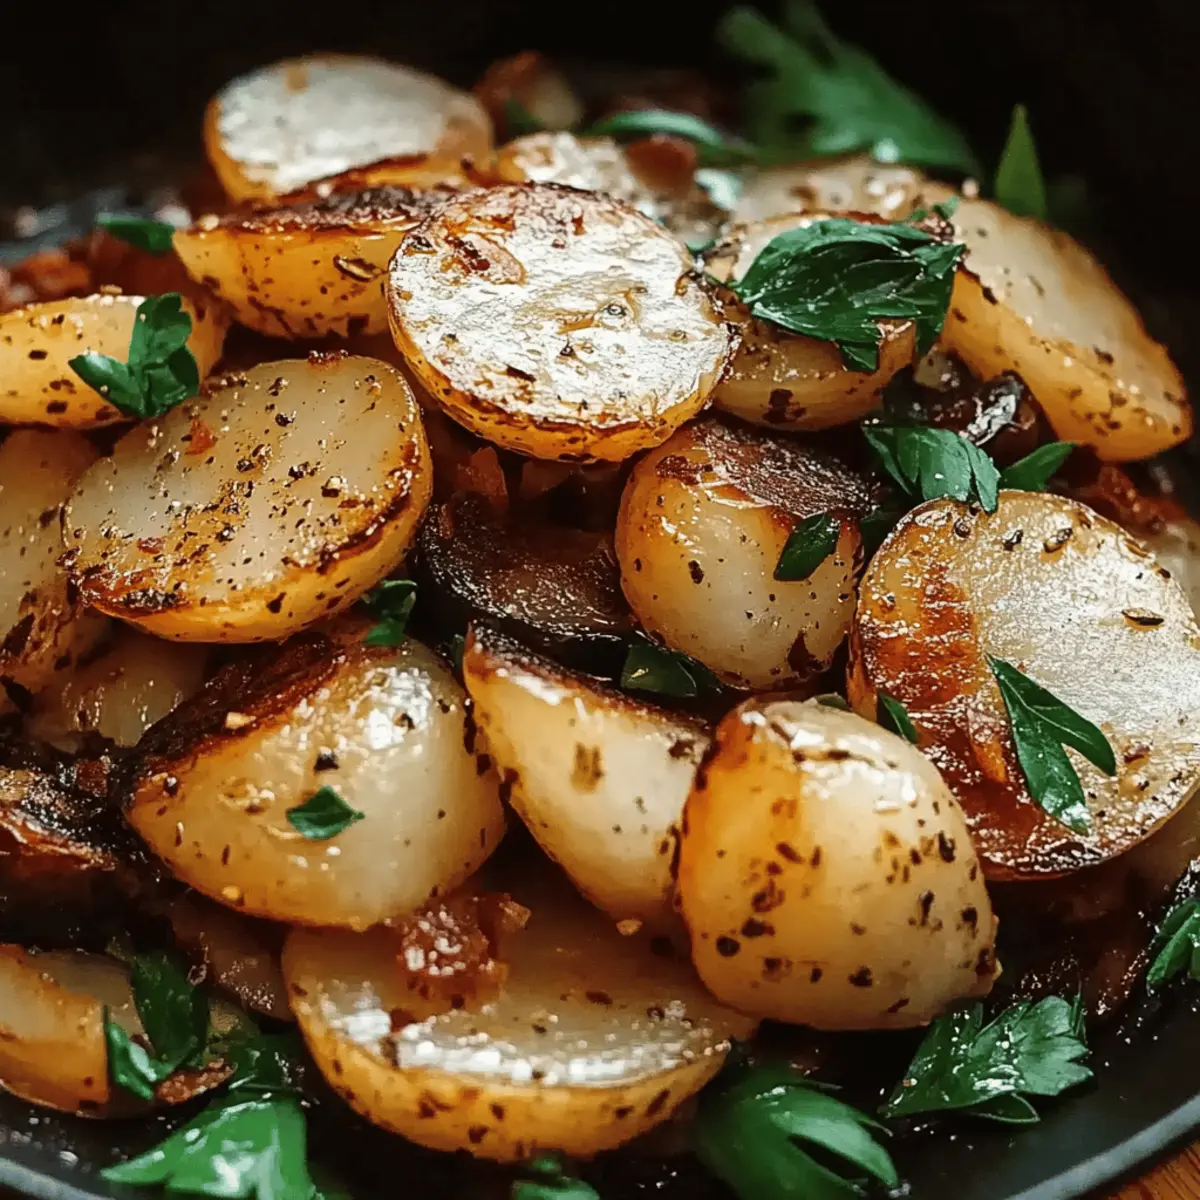
Creamy Mashed Potatoes: Their buttery goodness adds a delightful savory contrast to the sweet cake.
-
Fresh Garden Salad: A crisp mix of greens and veggies refreshes the palate and balances the richness of the dessert.
-
Vanilla Ice Cream: Creamy and sweet, a scoop enhances the warmth of the cake, creating a dreamy combination of flavors.
-
Maple Glazed Carrots: The earthy sweetness complements the nutty notes, while adding a colorful touch to your meal.
-
Spiced Apple Cider: Aromatic and warm, this drink mirrors the flavors of the bundt cake, adding a festive touch to any gathering.
-
Chocolate Chip Cookies: Their softness and sweetness make for a nostalgic pairing, finishing the meal on a high, comforting note.
Bringing these elements together creates the perfect setting to enjoy the delightful Pecan Zucchini Bundt Cake!
Expert Tips for Perfect Pecan Zucchini Bundt Cake
- Grate Zucchini Well: Make sure to grate the zucchini finely and squeeze out excess moisture to prevent the cake from becoming soggy.
- Room Temperature Ingredients: Using room temperature eggs and oil helps achieve better emulsification, resulting in a fluffier Pecan Zucchini Bundt Cake.
- Don’t Overmix: When incorporating dry ingredients and adding in zucchini, mix just until combined to maintain a light texture.
- Check for Doneness: Always insert a toothpick into the center of the cake; if it comes out clean, your cake is ready for cooling.
- Cooling Time Matters: Let the cake cool in the pan for at least 10 minutes to help it set and make it easier to remove without breaking.
- Customize Your Add-ins: Feel free to experiment with different nuts or add chocolate chips for a decadent twist to your Pecan Zucchini Bundt Cake!
Pecan Zucchini Bundt Cake Variations
Feel free to explore these delightful twists to create your own signature version of this scrumptious cake!
- Dairy-Free: Replace the vegetable oil with coconut oil and omit eggs, using flaxseed meal instead for binding.
- Gluten-Free: Substitute all-purpose flour with a 1:1 gluten-free baking blend for a gluten-sensitive treat.
- Nut-Free: Skip the pecans and raisins, and add shredded coconut for sweetness and a delightful texture.
- Chocolatey Delight: Fold in 1/2 cup of mini chocolate chips for a richer flavor that pairs beautifully with zucchini.
- Spicy Kick: Enhance the flavor by adding 1/4 teaspoon of nutmeg or a pinch of cayenne for an exciting, unexpected warmth.
- Fruit-Filled: Incorporate 1/2 cup of chopped apples or pears in addition to the zucchini for an extraordinary burst of fruity sweetness.
- Vegan Option: Use aquafaba (the liquid from chickpeas) instead of eggs, and substitute sugar with maple syrup for a natural sweetness.
- Lemon Zest: Add the zest of one lemon to the batter for a bright, citrusy twist that beautifully complements the spices.
Feel inspired? These variations allow you to personalize the Pecan Zucchini Bundt Cake to perfectly fit your tastes and dietary preferences! And if you enjoy the zucchini theme, don’t forget to check out our delightful Zucchini Muffins for more baking joy!
Make Ahead Options
These Pecan Zucchini Bundt Cakes are perfect for meal prep enthusiasts! You can prep the batter up to 24 hours in advance, storing it tightly covered in the refrigerator to keep it fresh—this not only saves time but allows the flavors to deepen. If you’re short on time, grate and squeeze the moisture out of the zucchini a day prior and refrigerate it separately. When you’re ready to bake, simply bring the batter to room temperature, give it a gentle stir, pour it into the bundt pan, and bake as directed. This way, you’ll have a delightful, homemade cake with minimal effort and just as delicious results, ready to impress family and friends!
Pecan Zucchini Bundt Cake Recipe FAQs
How do I choose the right zucchini for this recipe?
Absolutely! When selecting zucchini, look for medium-sized ones that are firm and glossy. Avoid any with dark spots all over, as these may indicate overripeness or spoilage. Fresh zucchini should feel heavy for its size, ensuring maximum moisture and flavor in your Pecan Zucchini Bundt Cake.
How should I store the Pecan Zucchini Bundt Cake?
You can keep your cake at room temperature for up to 3 days in an airtight container. For longer storage, wrap it tightly in plastic wrap and refrigerate—it’ll hold up beautifully for about a week! Just be sure to let it come to room temperature before serving for the best flavor.
Can I freeze Pecan Zucchini Bundt Cake?
Very! To freeze, slice your Pecan Zucchini Bundt Cake and wrap each slice tightly in plastic wrap. Then, place the wrapped slices in a freezer-safe bag. It’ll last for up to 3 months! When you’re ready to indulge, simply thaw it in the fridge overnight or microwave individual slices for 10-15 seconds for a delightful treat.
What if my cake is too moist after baking?
If you find your cake is too moist, it might be due to excess moisture in the zucchini. Remember, squeezing out the moisture is crucial! Also, ensure that your baking powder and baking soda are fresh; old leavening agents can lead to texture issues. For next time, grating the zucchini and letting it sit in a colander for a few minutes can help release extra moisture before adding it to the batter.
Is this cake suitable for pets or those with allergies?
While zucchini is pet-friendly, this cake isn’t suitable for pets due to ingredients like sugar and eggs. If you have allergies, you can make this cake gluten-free by using a 1:1 gluten-free flour substitute. Always consult with your allergist for any specific dietary needs and adjustments!
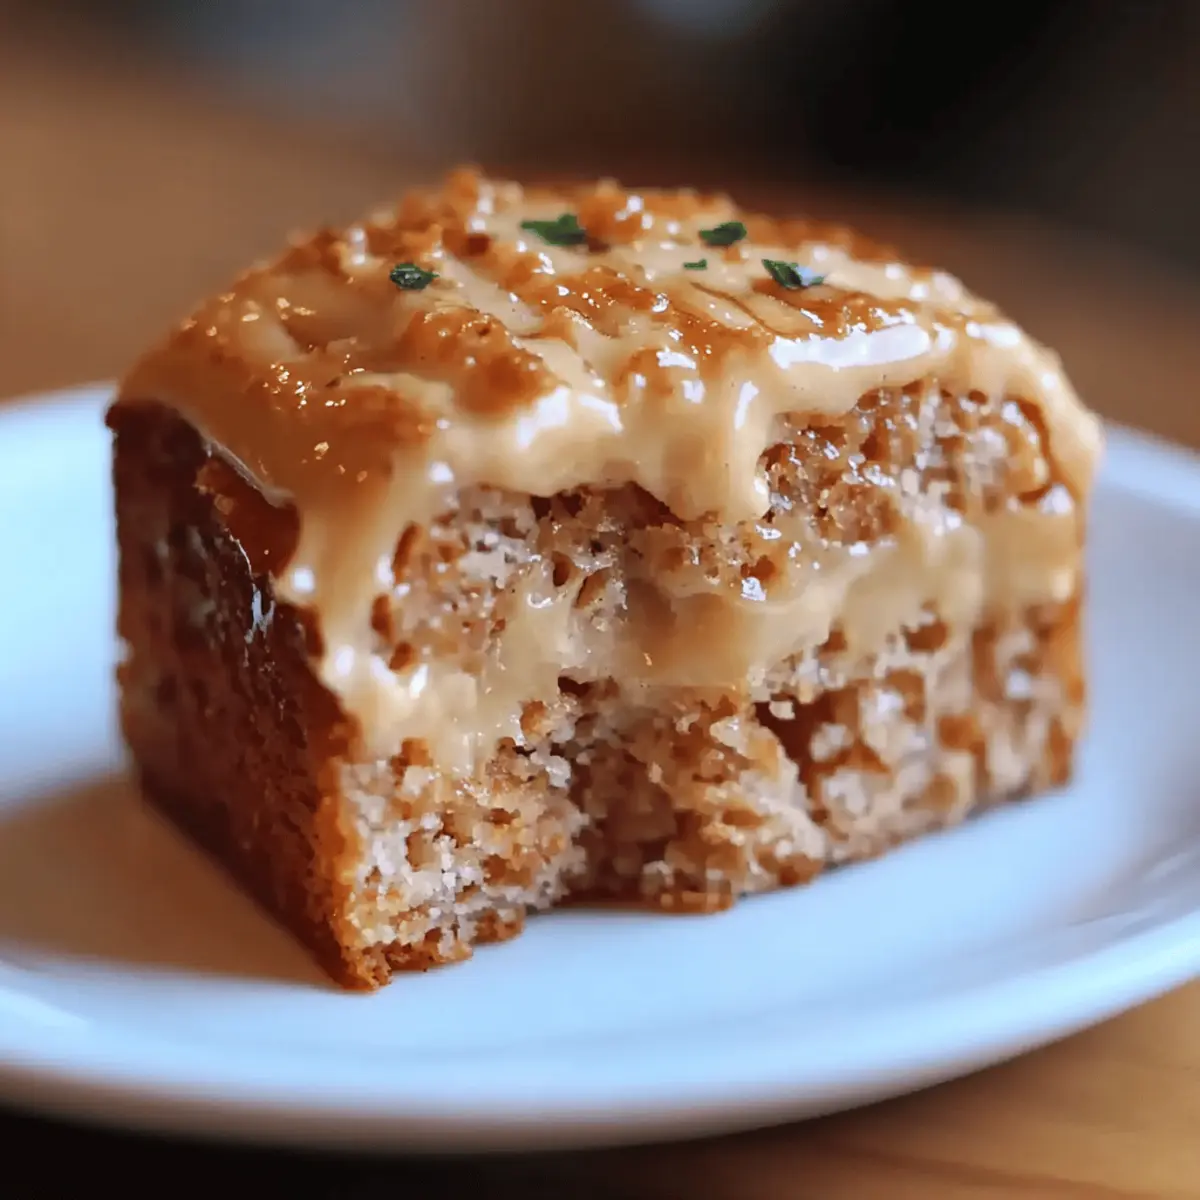
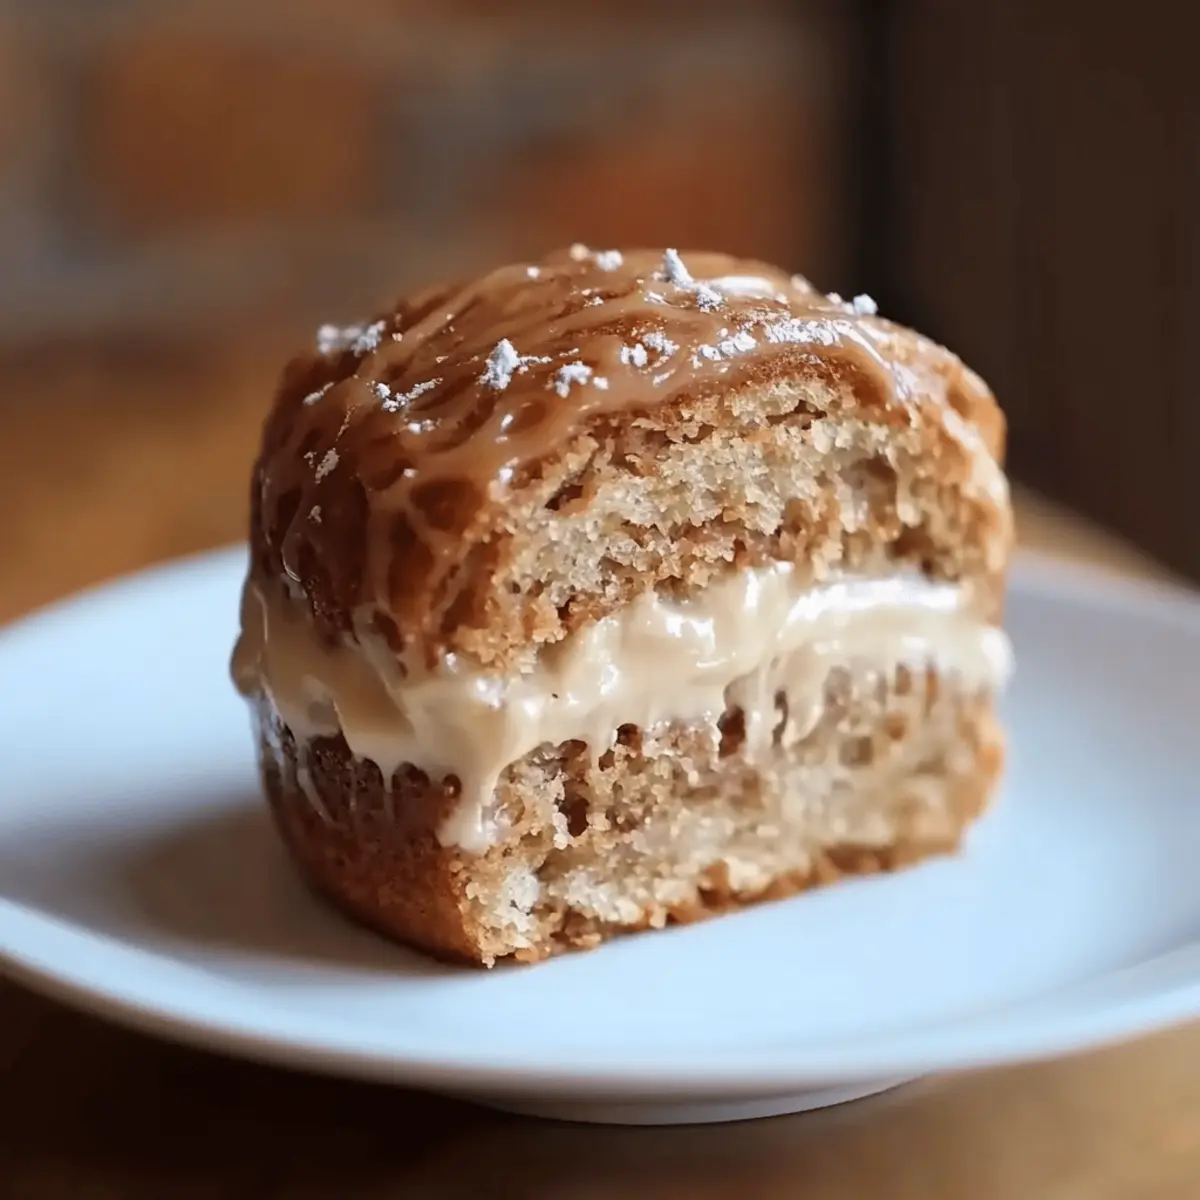
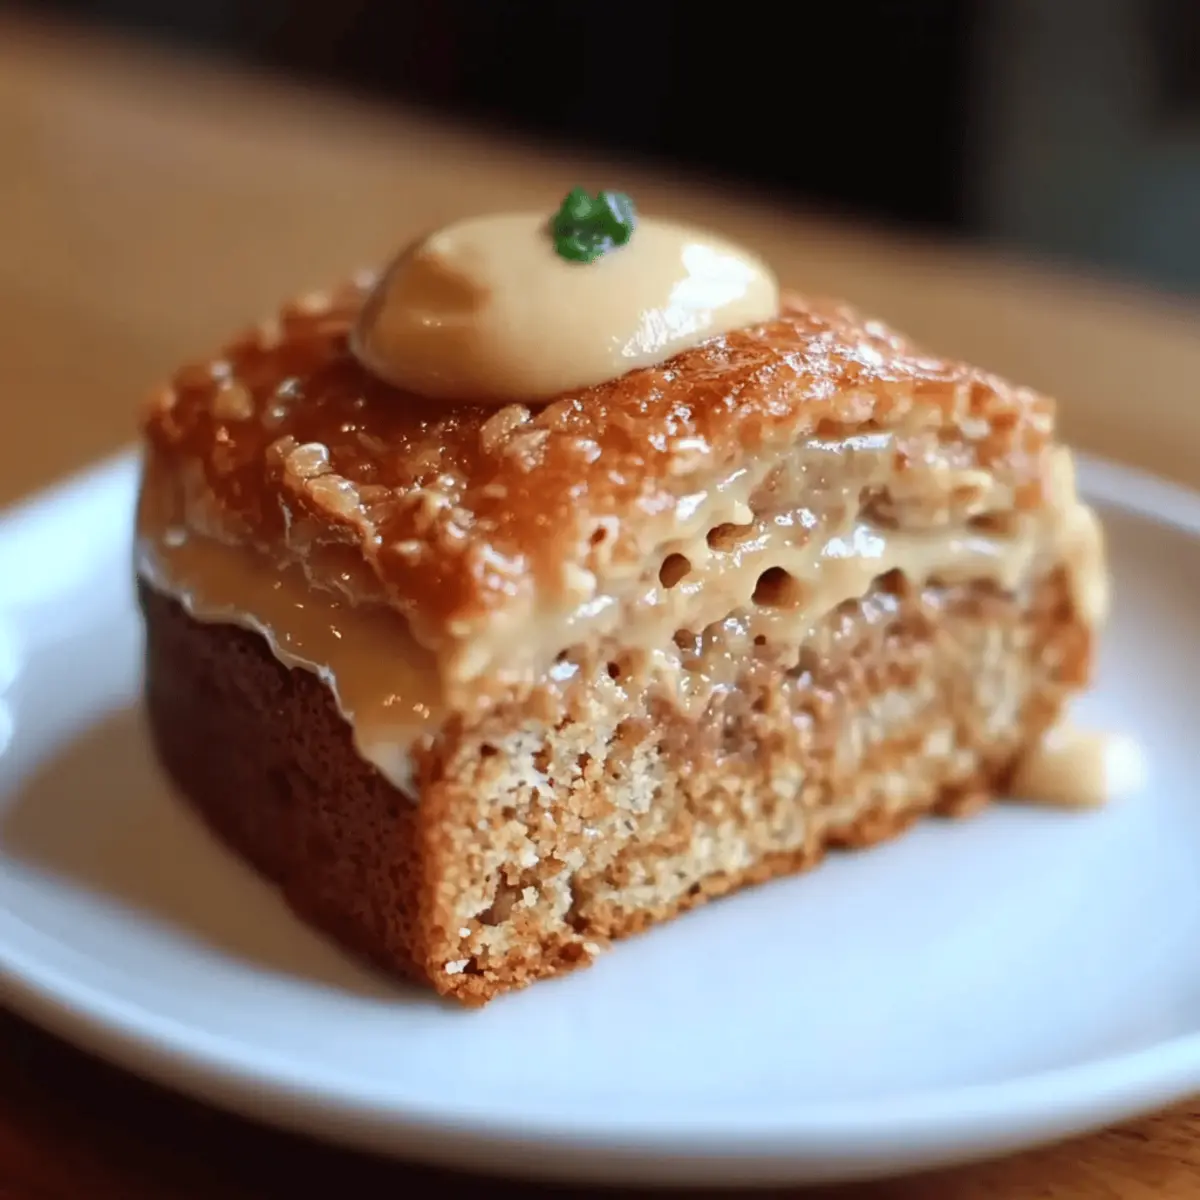
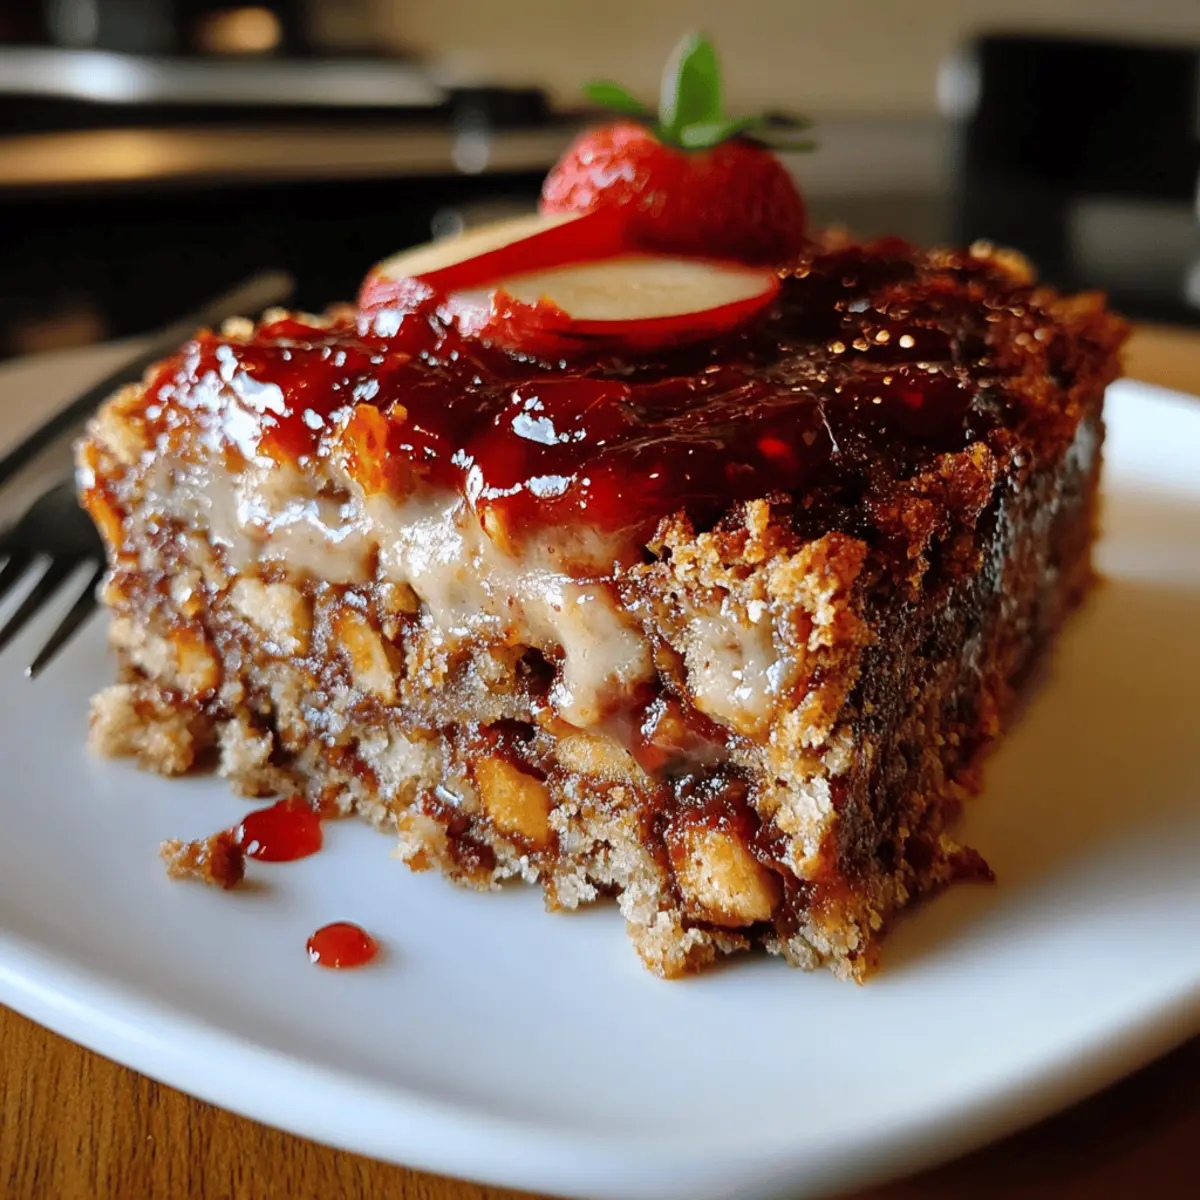
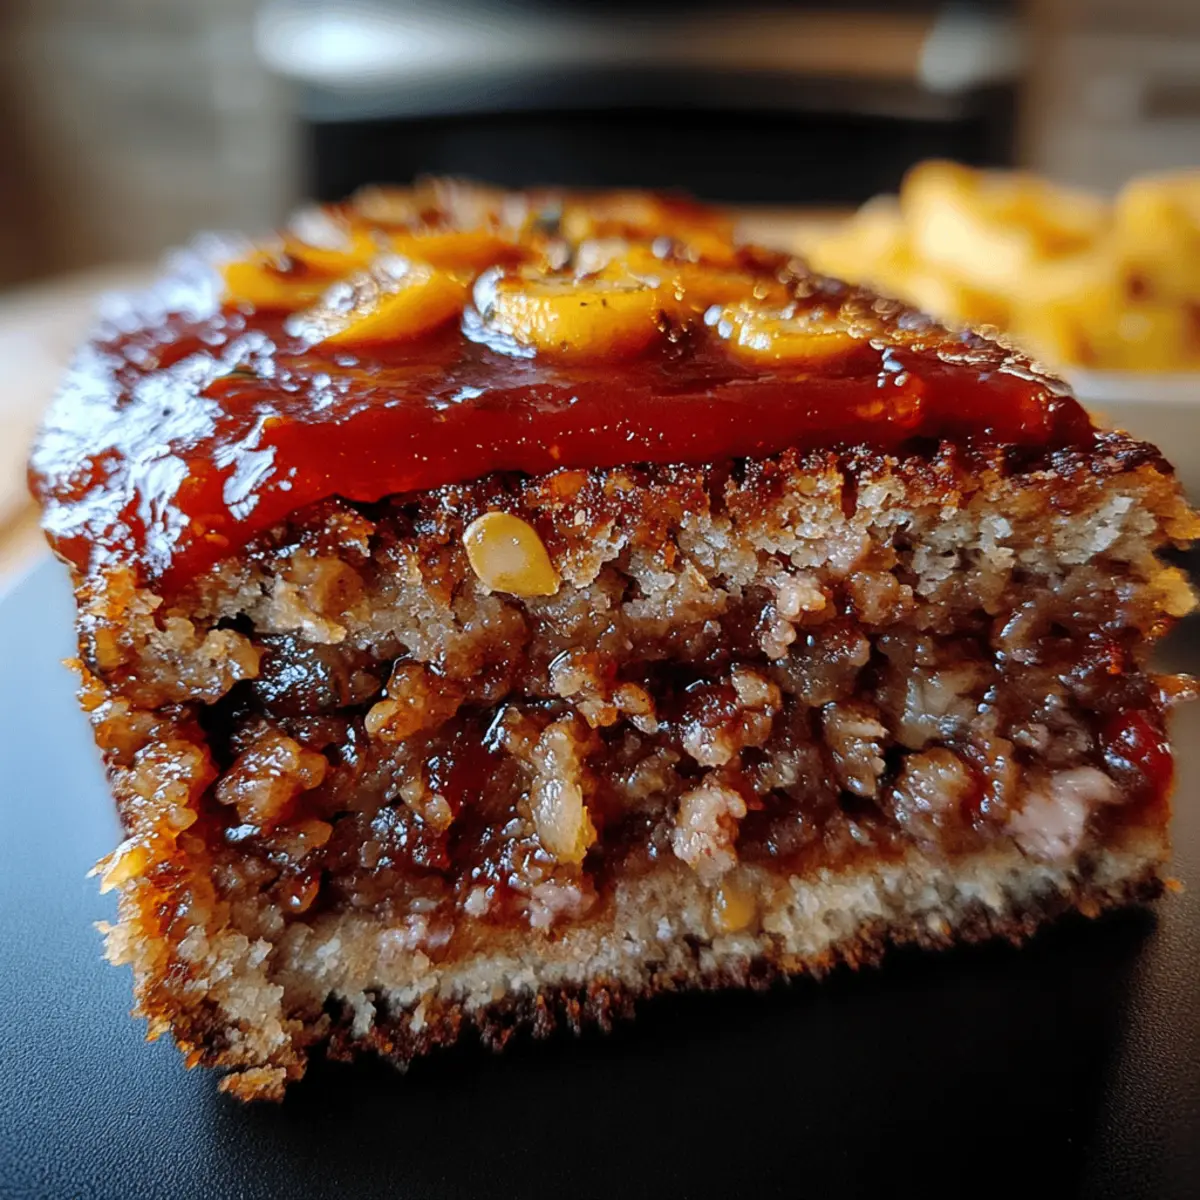
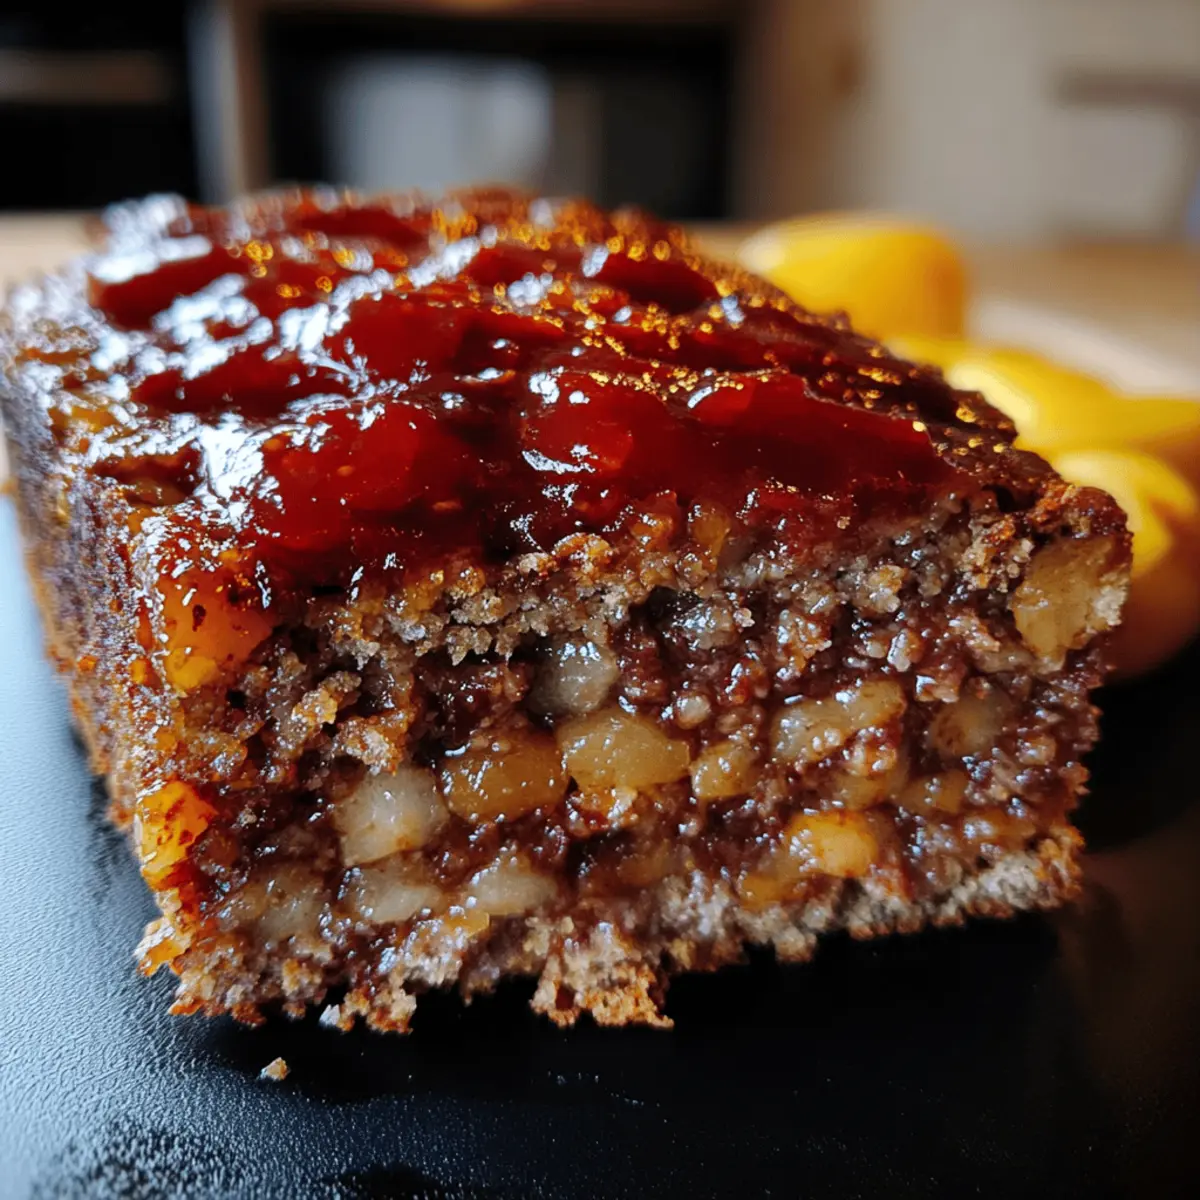
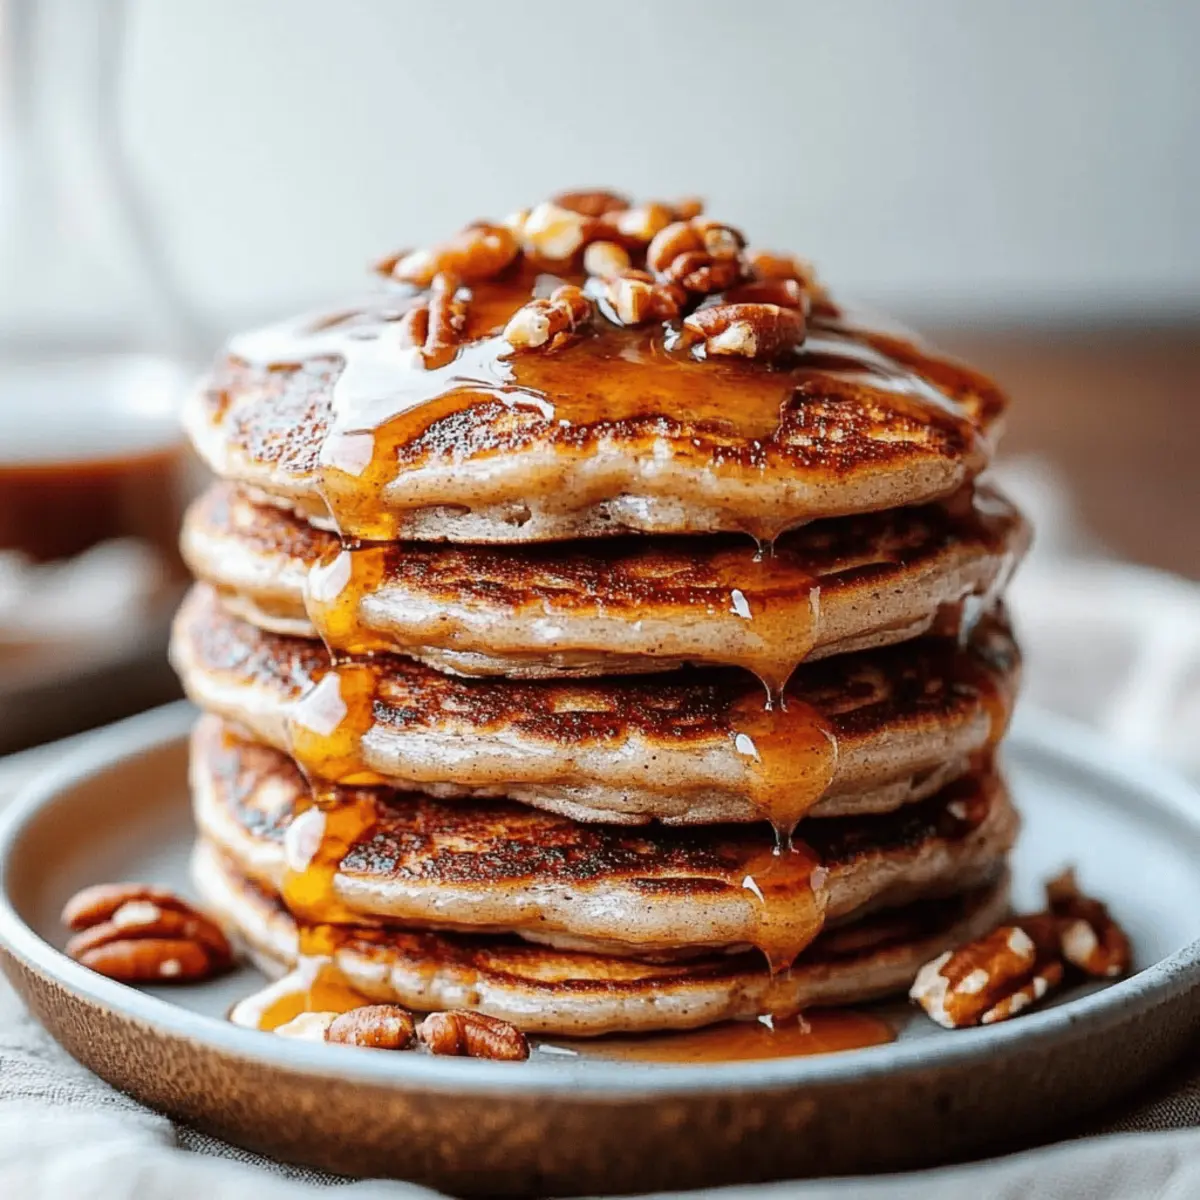
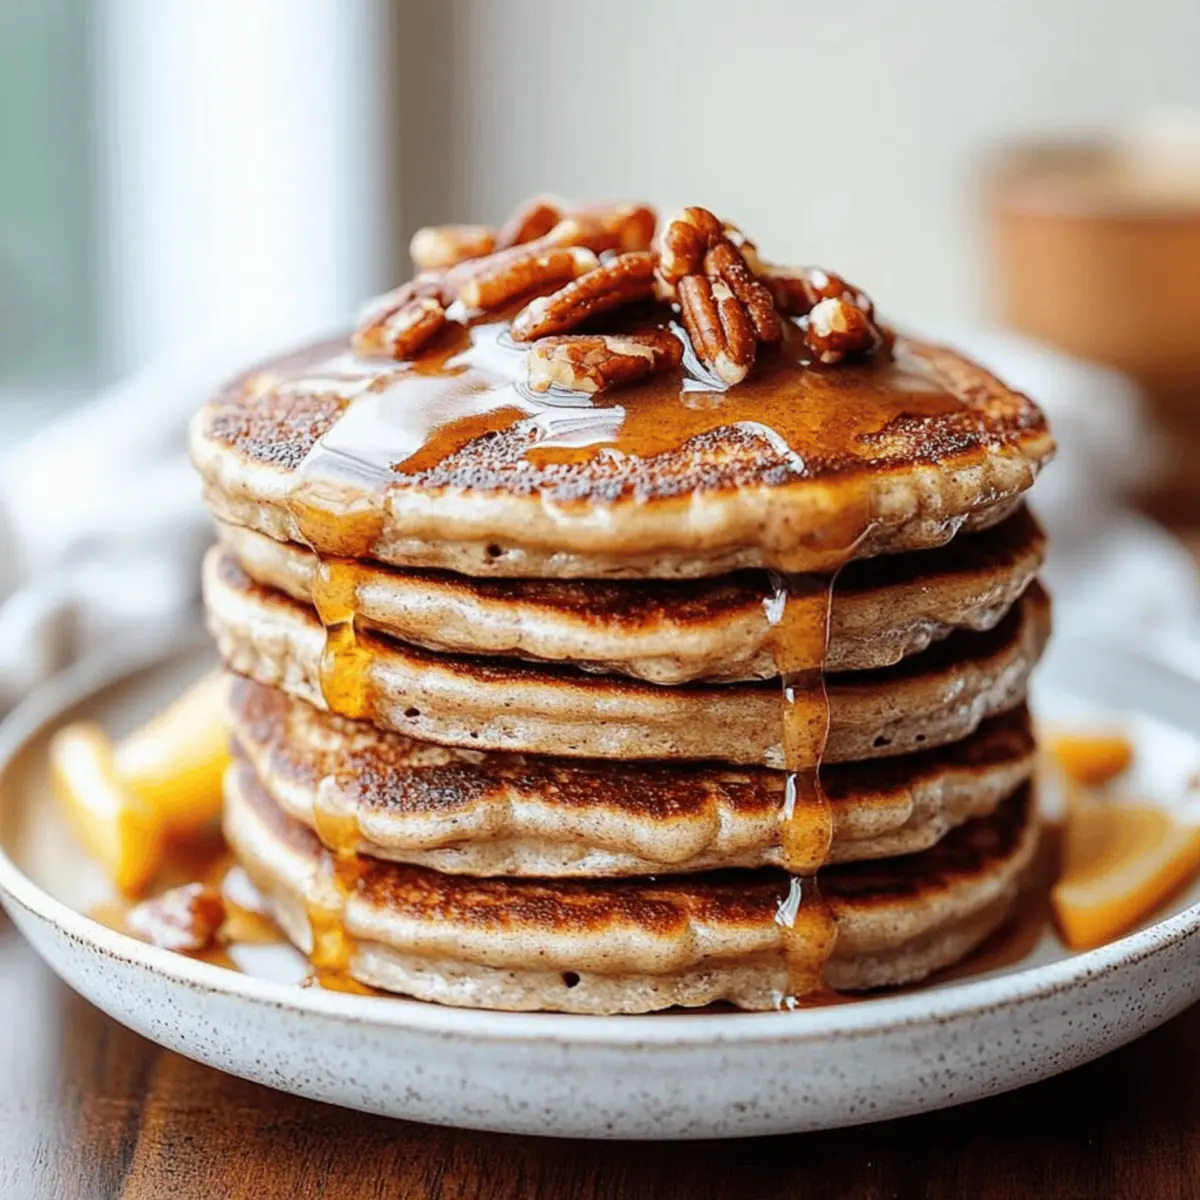
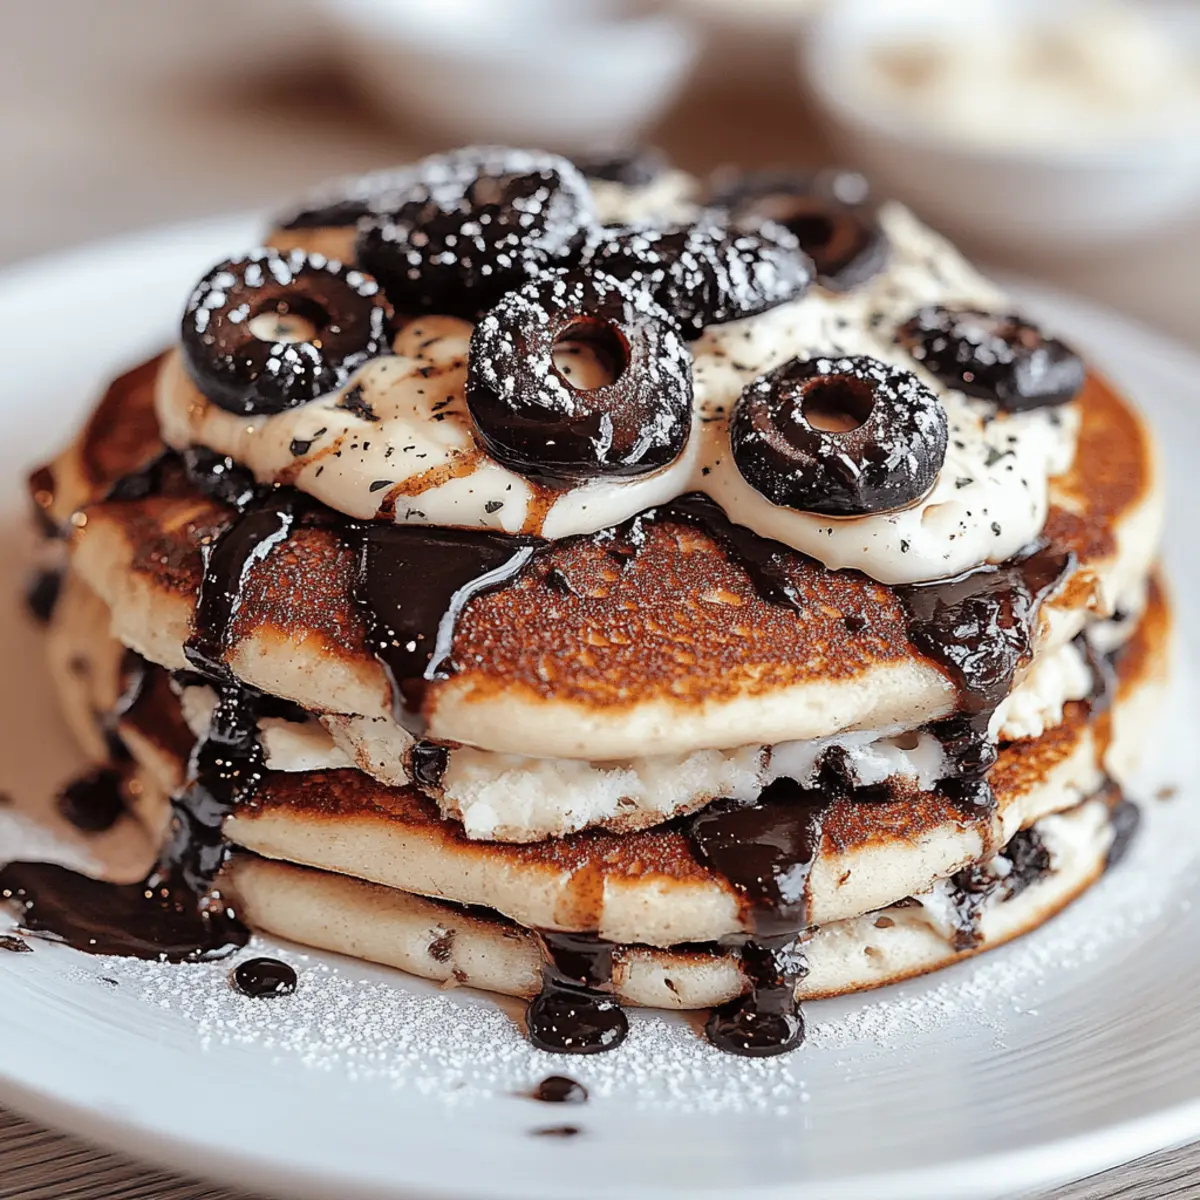
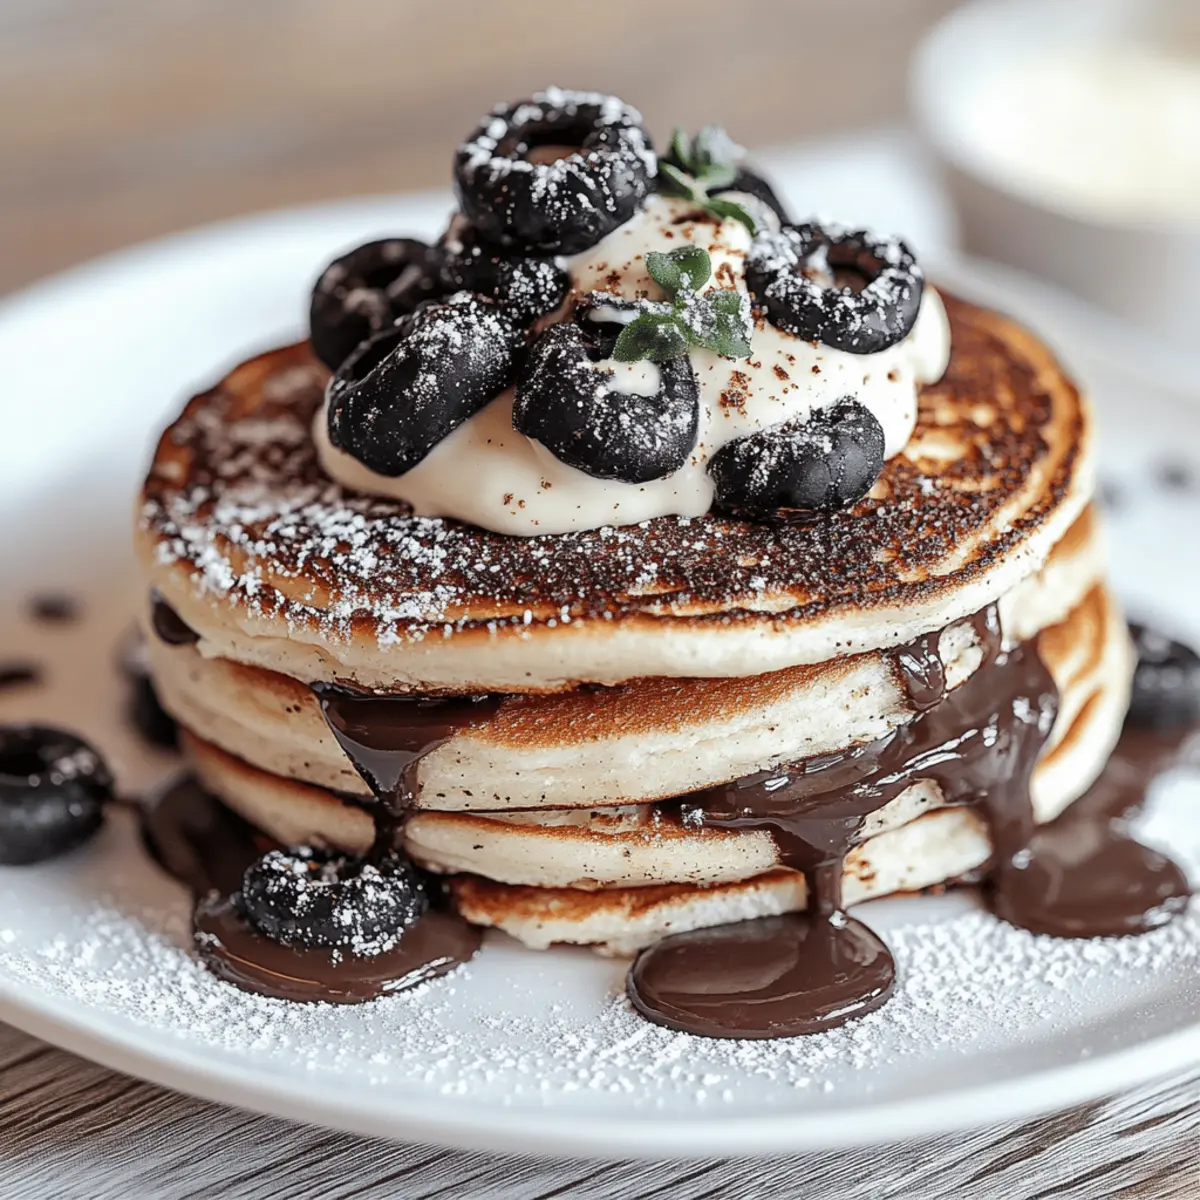
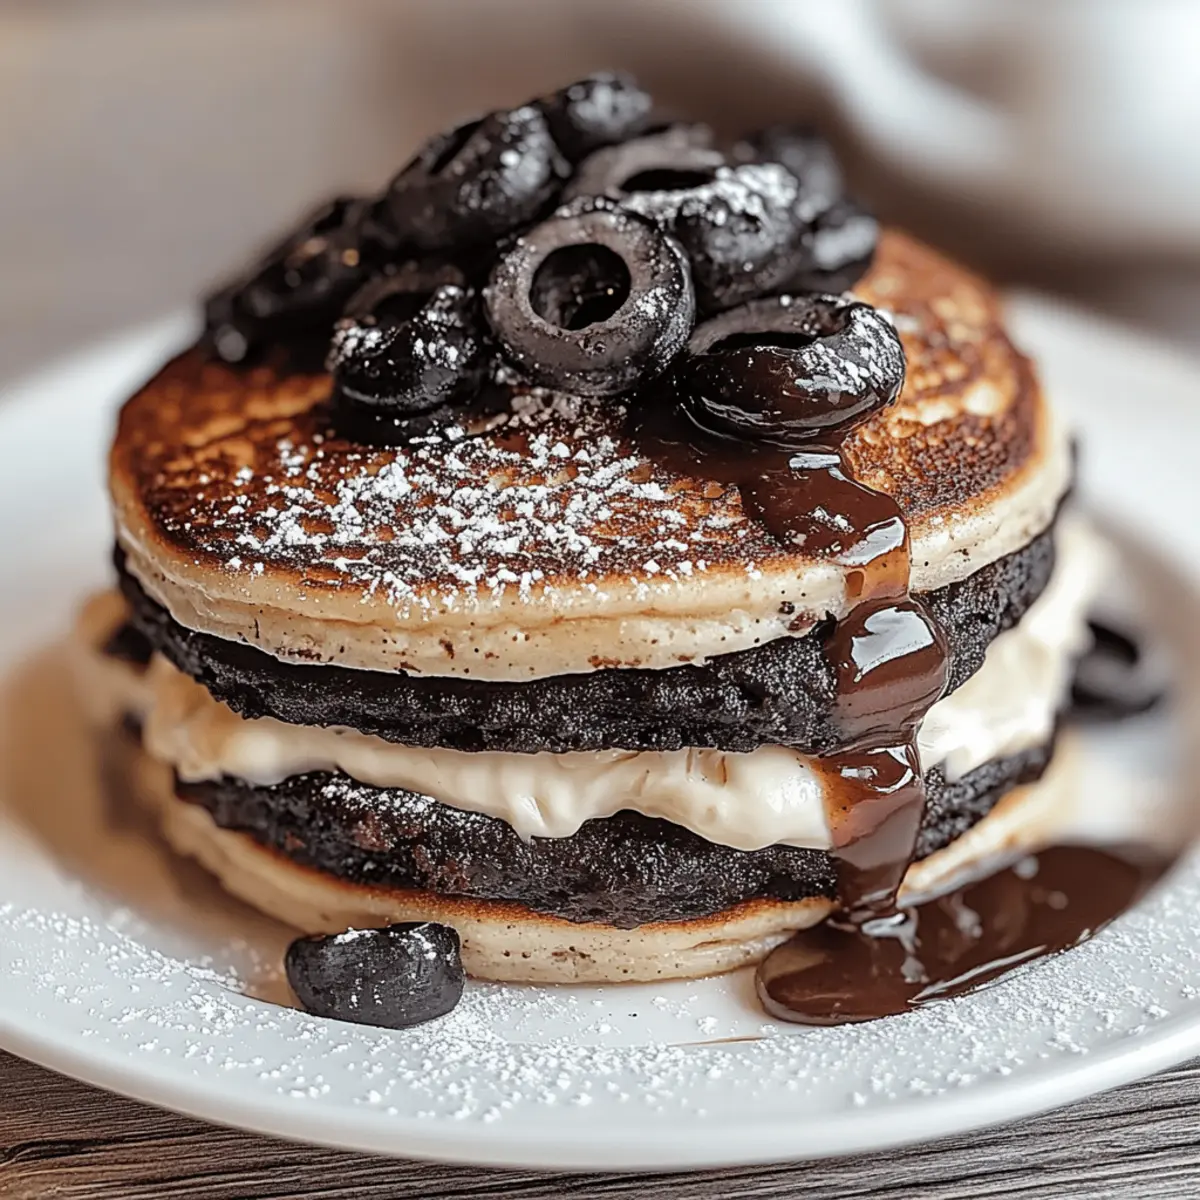
Irresistible Pecan Zucchini Bundt Cake That Delights Every Bite
This Pecan Zucchini Bundt Cake is a delightful blend of sweet and nutty flavors, transforming simple ingredients into a stunning dessert.
- bundt pan
- Mixing Bowl
- Whisk
- spatula
Batter Ingredients
- 2 large eggs (adds richness and binds ingredients)
- 1 cup granulated sugar (balances flavors)
- 1/2 cup vegetable oil (keeps the cake moist)
- 1 1/2 cups all-purpose flour (provides structure)
- 1 teaspoon baking powder (ensures the cake rises)
- 1 teaspoon baking soda (enhances leavening)
- 1/2 teaspoon salt (enhances flavor)
- 1 teaspoon ground cinnamon (adds warmth)
- 1 1/2 cups grated zucchini (squeeze out moisture)
- 1 teaspoon vanilla extract (enhances sweetness)
- 1/2 cup raisins (optional, adds sweetness)
- 1/2 cup chopped nuts (optional, adds crunch)
Baking Instructions
- Preheat your oven to 350°F (175°C) and grease and flour your bundt pan.
- In a large bowl, whisk together 2 eggs, 1 cup of sugar, and 1/2 cup of oil until smooth.
- Mix in 1 1/2 cups of flour, 1 teaspoon of baking powder, 1 teaspoon of baking soda, 1/2 teaspoon of salt, and 1 teaspoon of cinnamon until just combined.
- Fold in 1 1/2 cups of grated zucchini and 1 teaspoon of vanilla extract carefully.
- Stir in raisins and chopped nuts if using, keeping the mixture fluffy.
- Pour batter into the prepared bundt pan and level it off.
- Bake for approximately 45 minutes, or until edges are golden and a toothpick comes out clean.
- Cool in the pan for 10 minutes before inverting onto a wire rack to cool completely.
For best results, grate zucchini finely, use room temperature ingredients, and avoid overmixing for a fluffy texture.