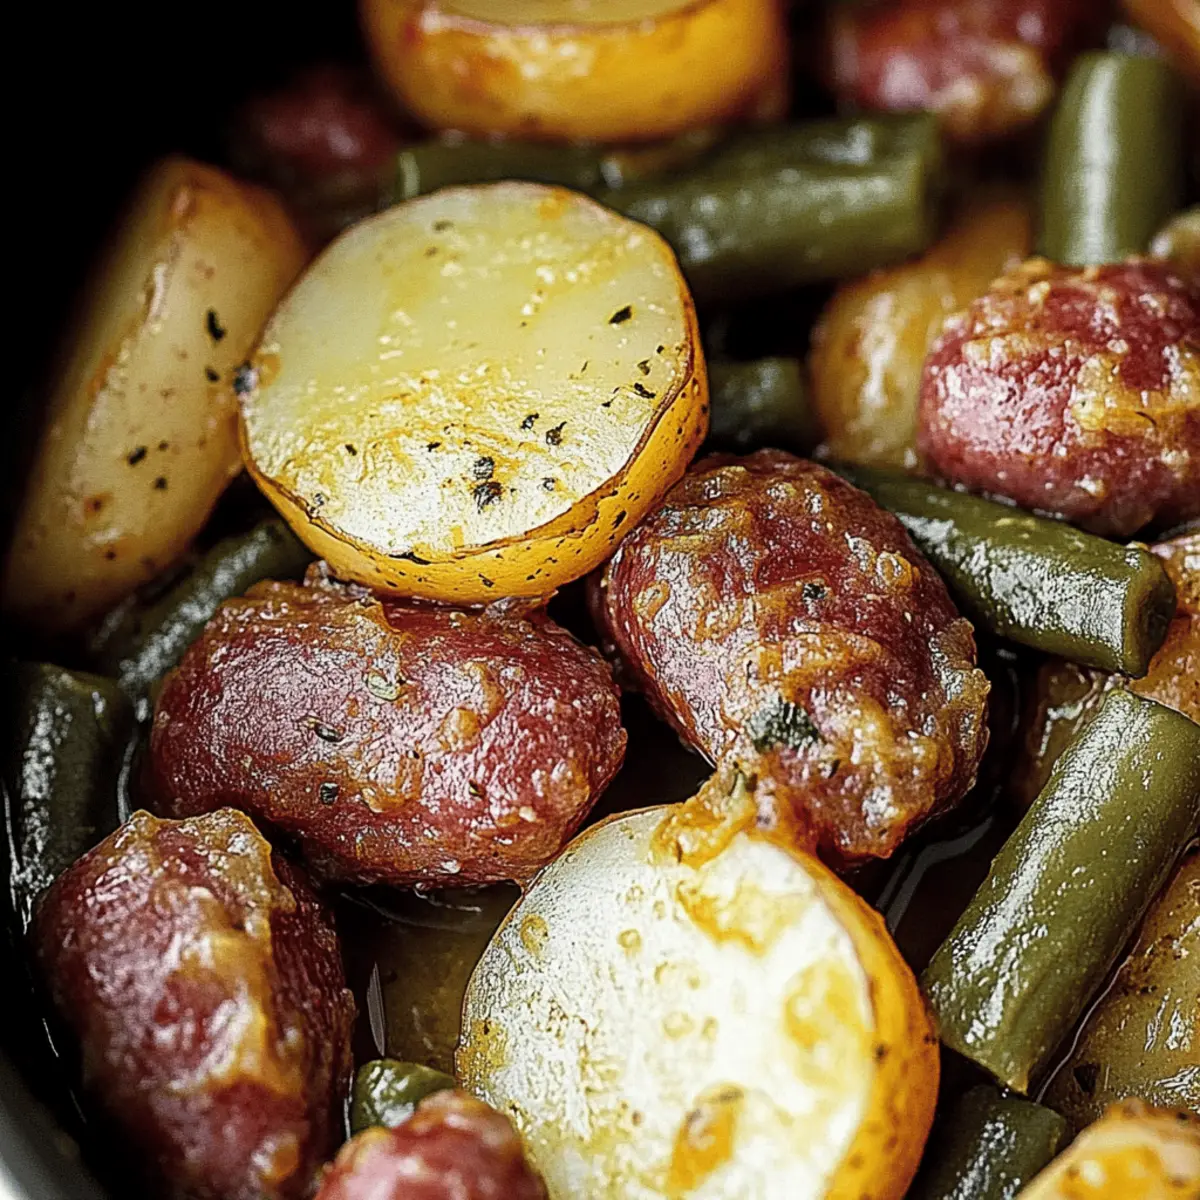
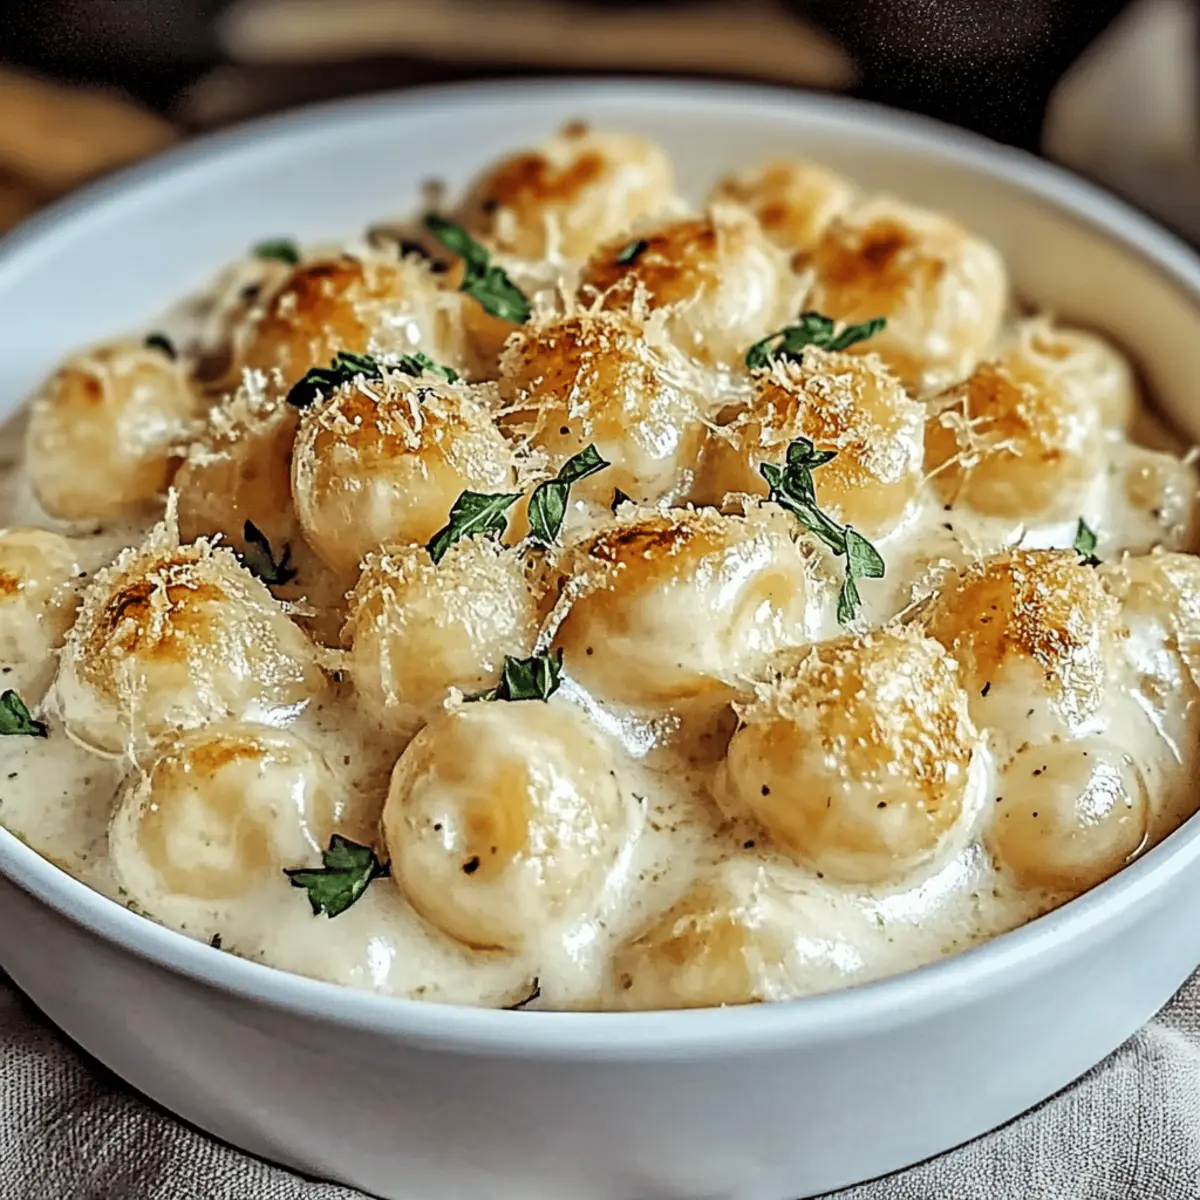
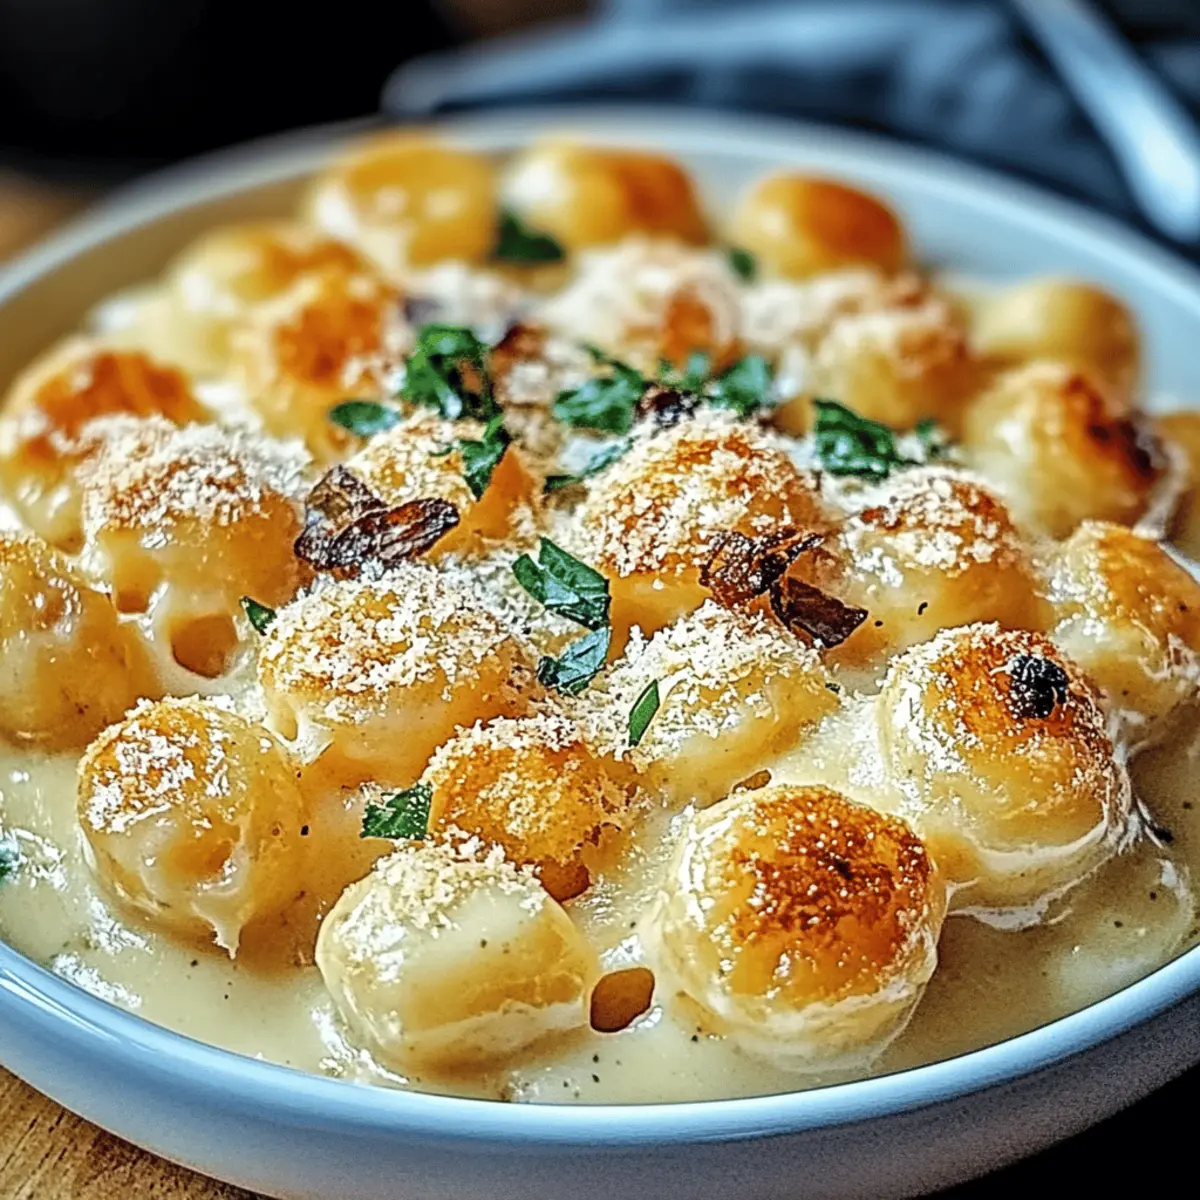
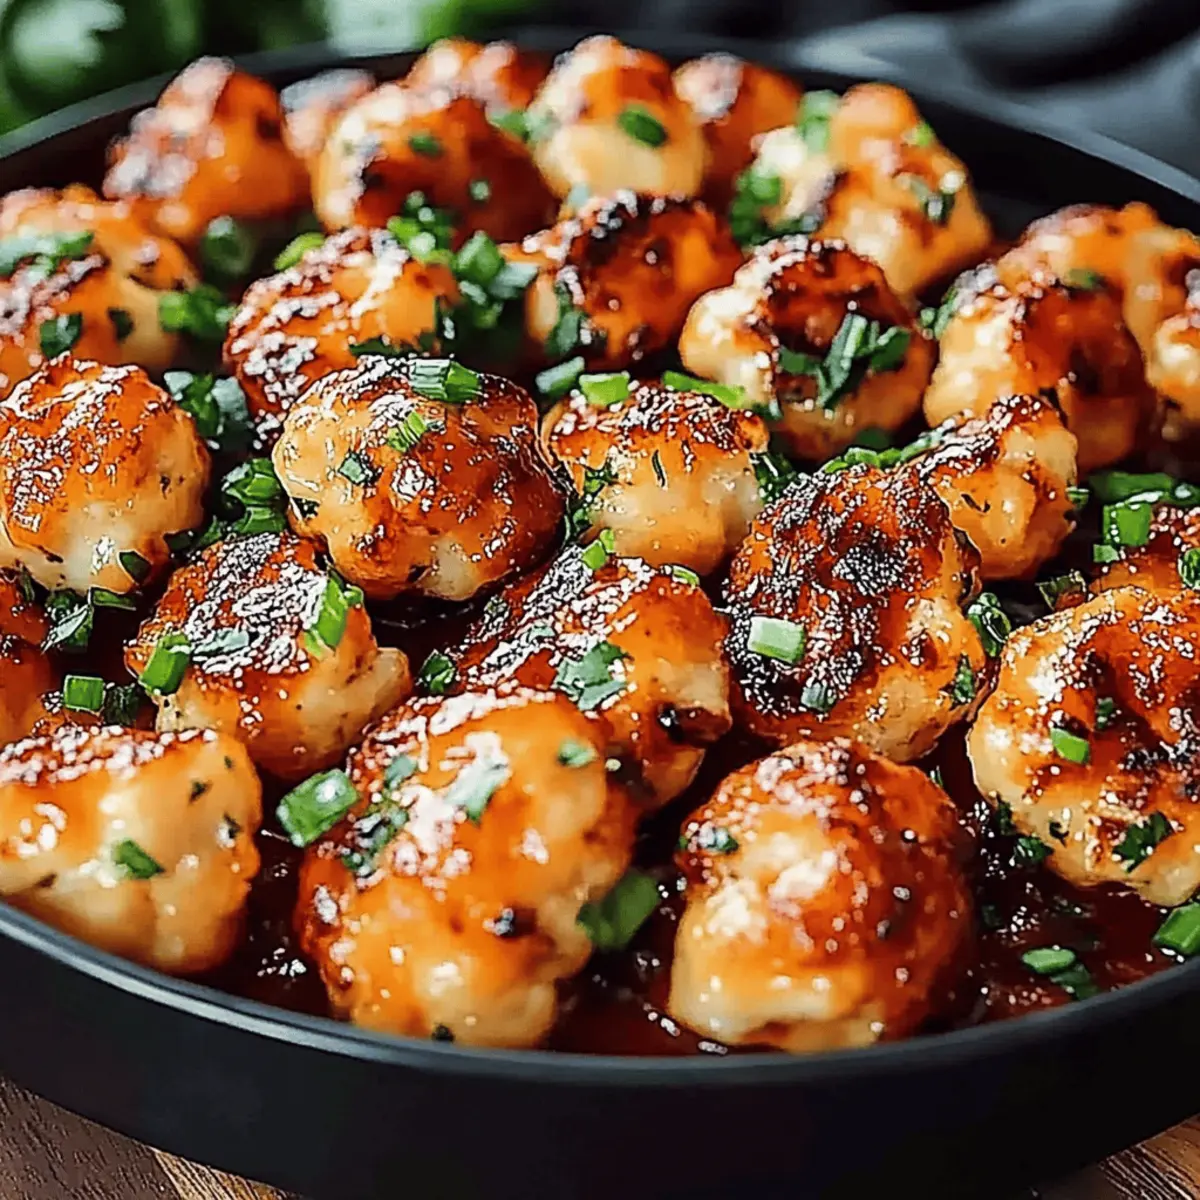
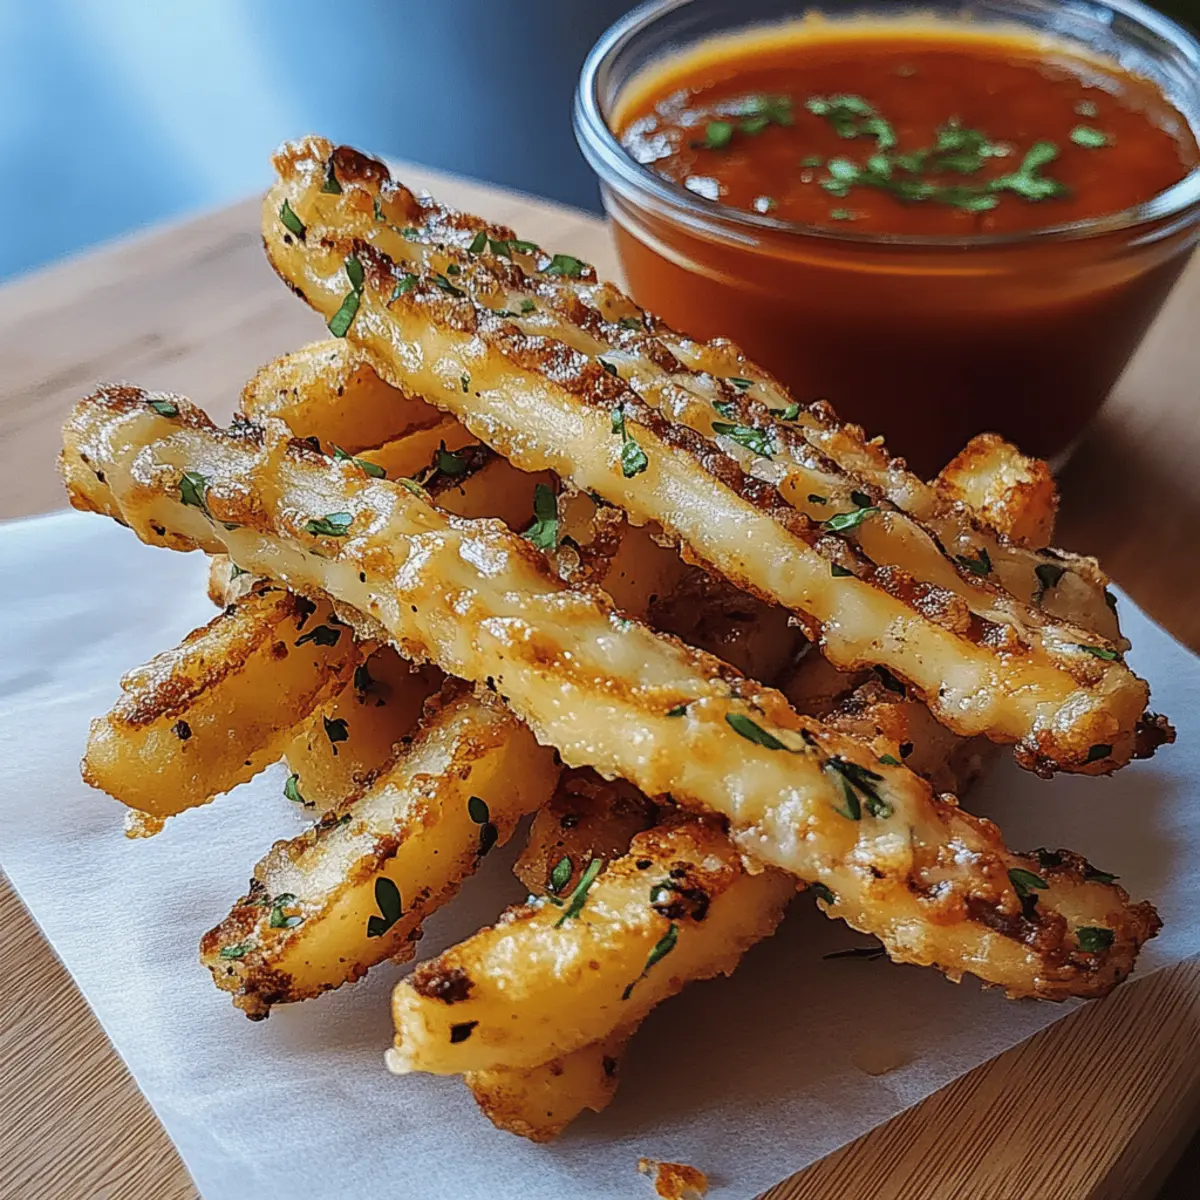
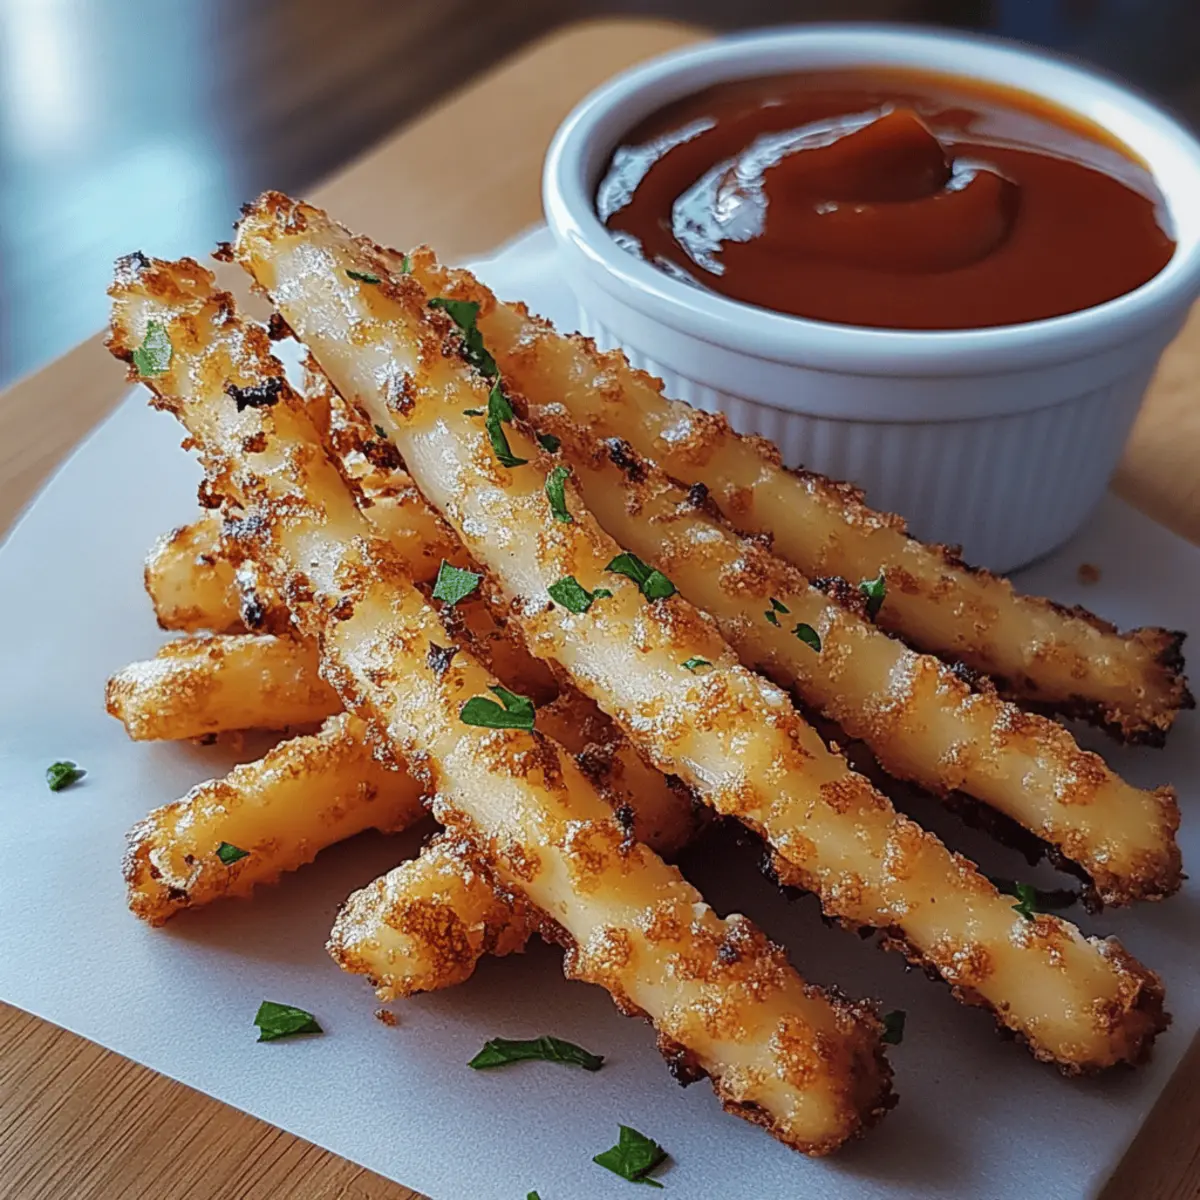
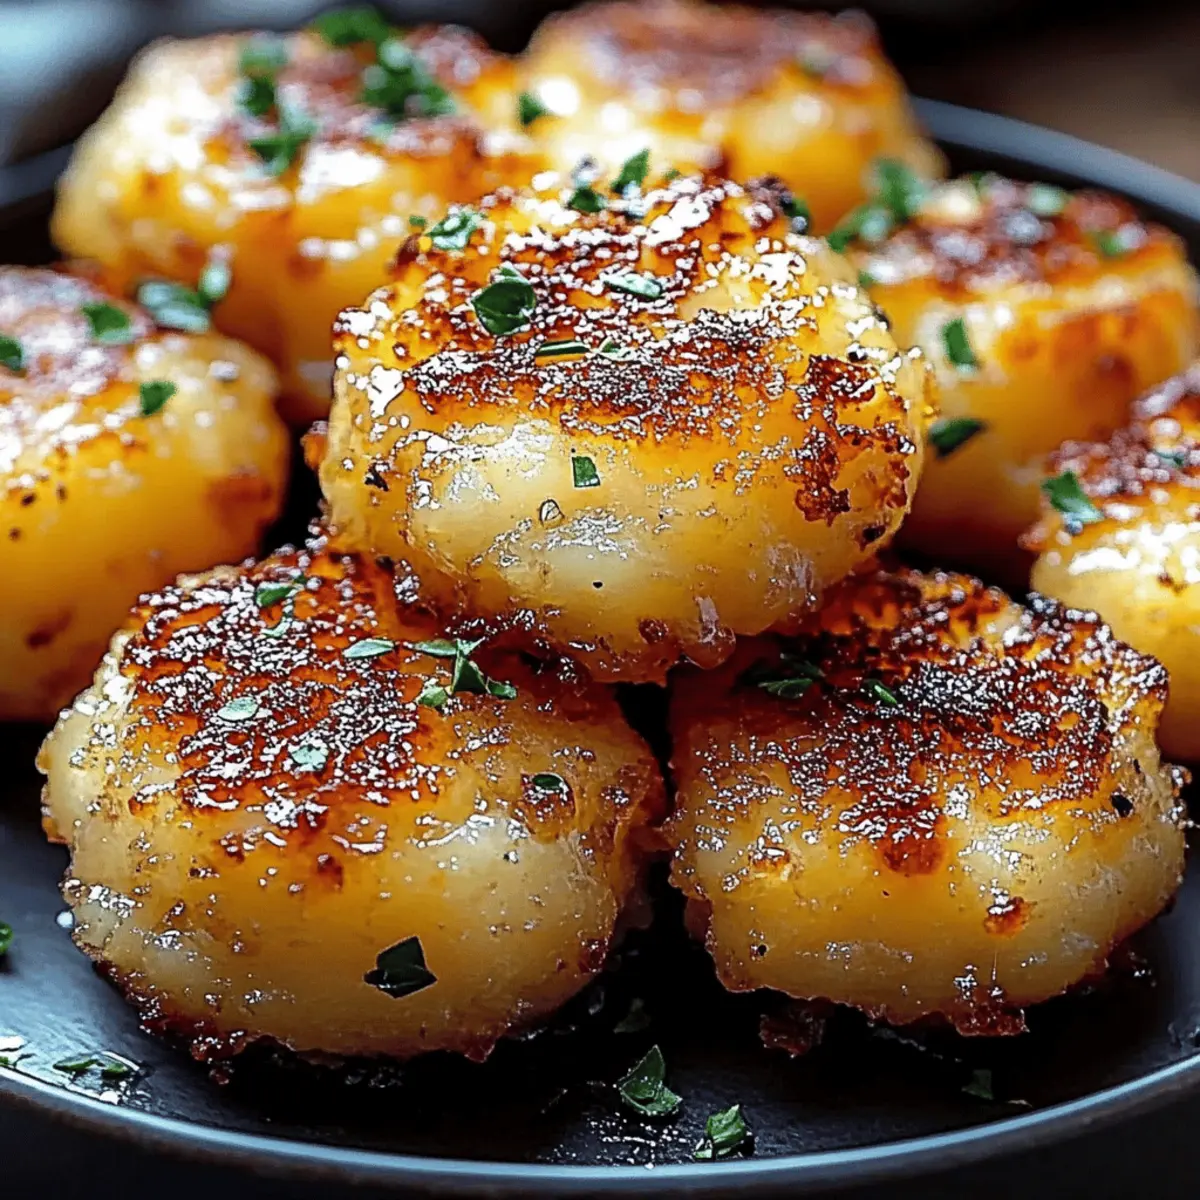
As I reached into the pantry, I discovered a 2-pound bag of baby potatoes begging to be transformed into something special. Enter my Crispy Garlic Parmesan Potatoes—a delightful side that’s not only outrageously simple but also irresistibly satisfying. With golden exteriors and a cheesy finish, these crispy bites are the perfect antidote to fast food fatigue. The best part? They’re ready in less than an hour and require only a handful of ingredients, making them a great go-to for busy weeknights or weekend gatherings. Imagine the smiles around the table as everyone digs into these mouthwatering gems! So, are you ready to elevate your potato game? Let’s dive into this delightful recipe!
Why Are These Potatoes So Irresistible?
Crispy, golden perfection: You’ll achieve a delightful crunch on the outside while keeping the insides tender and fluffy.
Simple ingredients: With just a few pantry staples, you can whip up a side dish that elevates any meal.
Versatile serving: Perfect as a side for any protein or enjoyed as a snack on their own with your favorite dipping sauce.
Quick and easy: Ready in under an hour, these potatoes are ideal for busy weeknights or last-minute gatherings.
Flavor-packed goodness: The garlic and Parmesan combo creates a savory explosion that satisfies even the pickiest eaters.
Why not try pairing them with a refreshing salad or some grilled vegetables for a complete meal? Enjoy the lively crunch of these Crispy Garlic Parmesan Potatoes—we promise they’ll become a staple in your kitchen!
Crispy Garlic Parmesan Potatoes Ingredients
For the Potatoes
• Baby potatoes – 2 pounds of these small gems ensure even cooking and a delightful texture.
• Olive oil – 4 tablespoons help achieve that crispy, golden exterior everyone loves.
• Garlic, minced – 4 cloves add a fragrant kick that elevates the dish to pure deliciousness.
• Garlic powder – 1 teaspoon enhances the garlic flavor, giving you a robust taste in every bite.
• Onion powder – 1 teaspoon adds depth and sweetness, perfectly complementing the garlic.
• Smoked paprika – 1 teaspoon introduces a subtle smokiness that rounds out the flavor profile.
• Dried oregano – 1 teaspoon provides an aromatic touch that brings a hint of earthiness to the dish.
• Salt – 1 teaspoon can be adjusted to your taste; it’s essential for enhancing all the flavors.
• Black pepper – ½ teaspoon for a touch of heat that balances the richness of the cheese.
For the Topping
• Parmesan cheese – ½ cup grated adds a decadent cheesy crust that’s simply irresistible on these crispy bites.
• Fresh parsley – 2 tablespoons, chopped, offer a fresh, vibrant garnish that brightens up your dish.
These Crispy Garlic Parmesan Potatoes are sure to be a hit, turning any meal into a moment of joy!
Step‑by‑Step Instructions for Crispy Garlic Parmesan Potatoes
Step 1: Preheat the Oven
Start by preheating your oven to 425°F (220°C). This temperature is perfect for achieving that desired crispy texture. While your oven heats up, gather your ingredients and get ready to whip up these delightful Crispy Garlic Parmesan Potatoes!
Step 2: Prepare the Potatoes
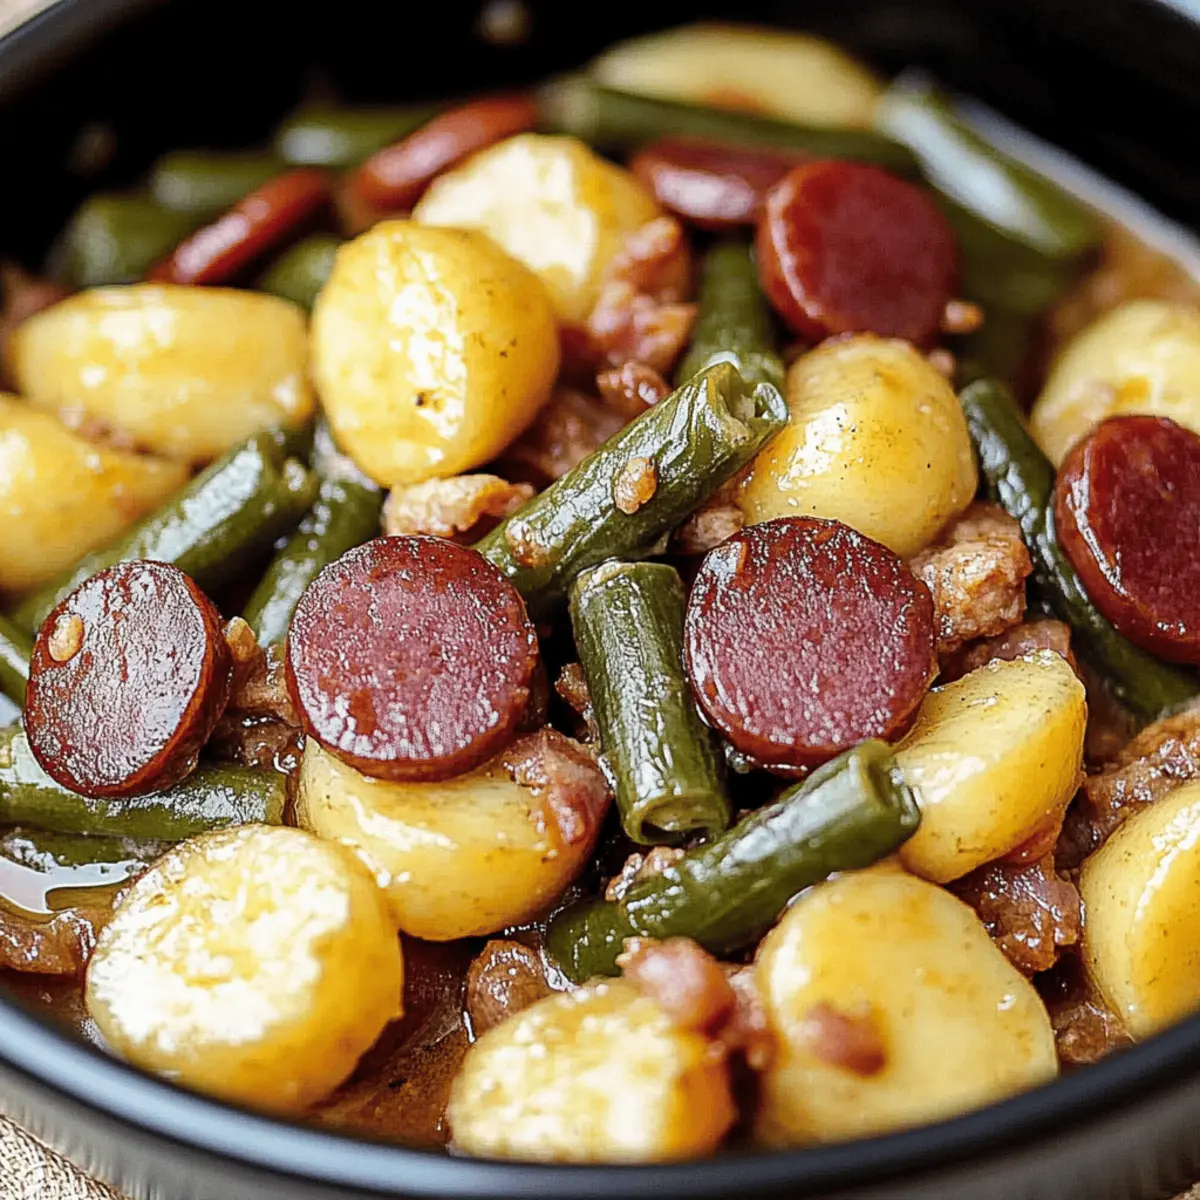
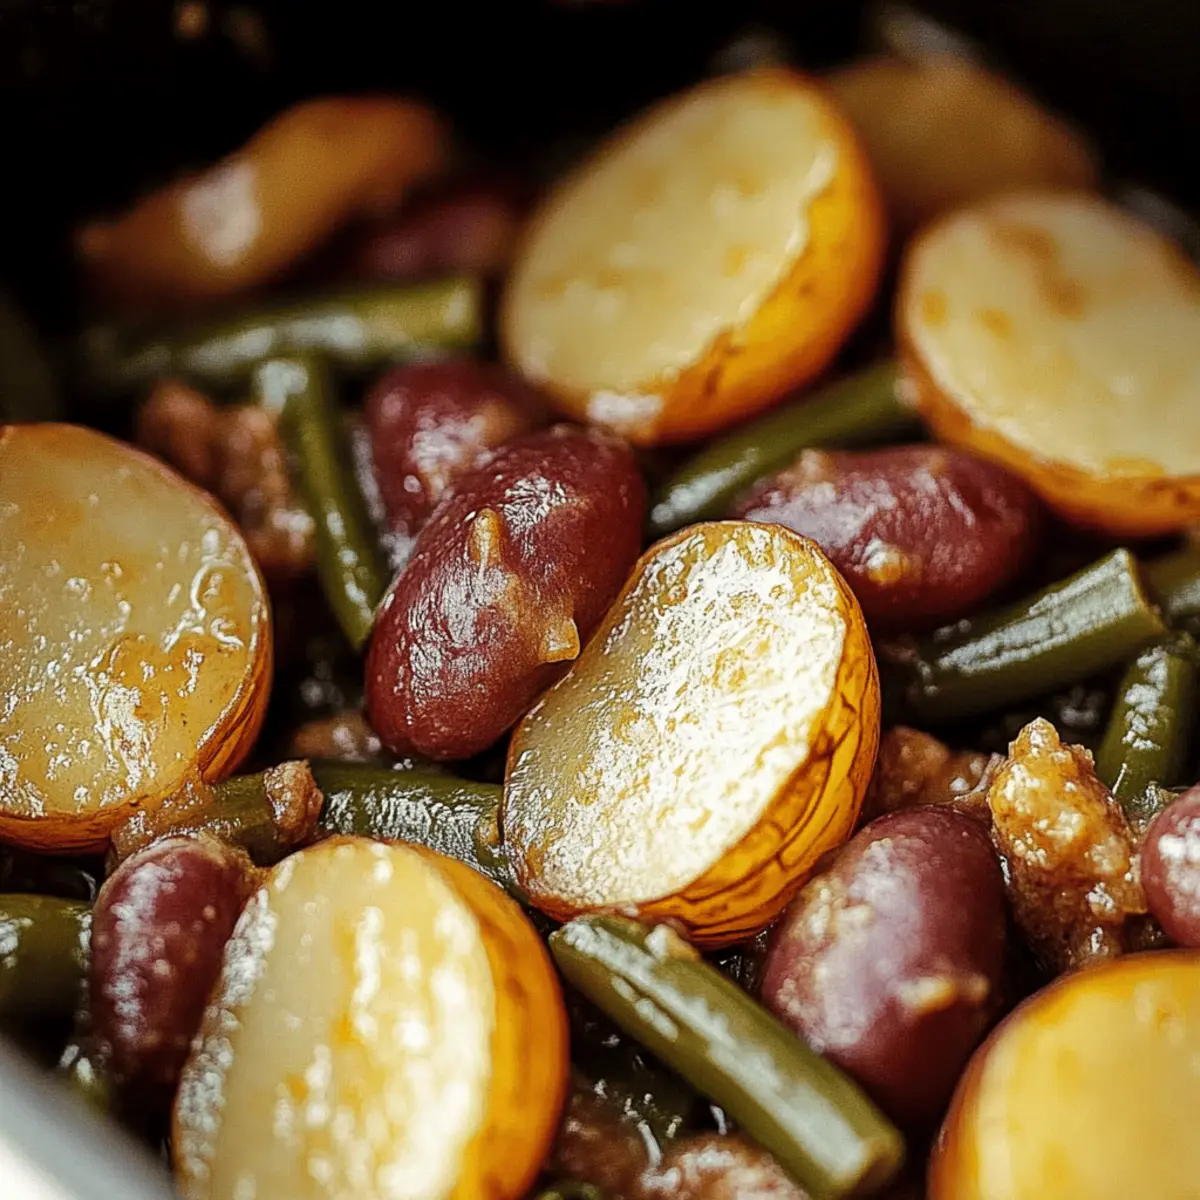
Wash the 2 pounds of baby potatoes under cold water, scrubbing away any dirt. Pat them dry with a towel, and if using larger Yukon Gold potatoes, cut them into quarters. Keep the baby potatoes whole or halved for a lovely bite-sized treat that’s easy to prepare!
Step 3: Boil the Potatoes
In a large pot, cover the prepared potatoes with cold water and add a pinch of salt. Bring the water to a boil over high heat, then reduce to a simmer for 10-15 minutes until the potatoes are fork-tender. This step ensures your potatoes are soft inside while remaining firm on the outside.
Step 4: Drain and Steam
After boiling, drain the potatoes in a colander and let them sit for a few minutes. This steaming process helps eliminate excess moisture, which is key to achieving that perfect crispy finish when you roast the potatoes in the oven.
Step 5: Mix the Seasoning
In a large mixing bowl, combine 4 tablespoons of olive oil, 4 cloves of minced garlic, 1 teaspoon of garlic powder, 1 teaspoon of onion powder, 1 teaspoon of smoked paprika, 1 teaspoon of dried oregano, 1 teaspoon of salt, and ½ teaspoon of black pepper. Whisk until everything is well combined and fragrant.
Step 6: Coat the Potatoes
Once your potatoes have cooled slightly, add them to the bowl with the seasoning mixture. Gently toss the potatoes until they are evenly coated in the flavorful marinade, ensuring every bite of your Crispy Garlic Parmesan Potatoes is bursting with taste.
Step 7: Prepare the Baking Sheet
Line a large baking sheet with parchment paper or lightly grease it to prevent sticking. This step is crucial for ensuring even roasting and easy cleanup. Spread the seasoned potatoes out in a single layer, making sure they have plenty of space to crisp up.
Step 8: Roast the Potatoes
Place the baking sheet in your preheated oven and roast the potatoes for 25-30 minutes. Flip them halfway through for even browning. You’ll know they’re ready when they start to turn golden brown and you can already smell the wonderful aroma filling your kitchen!
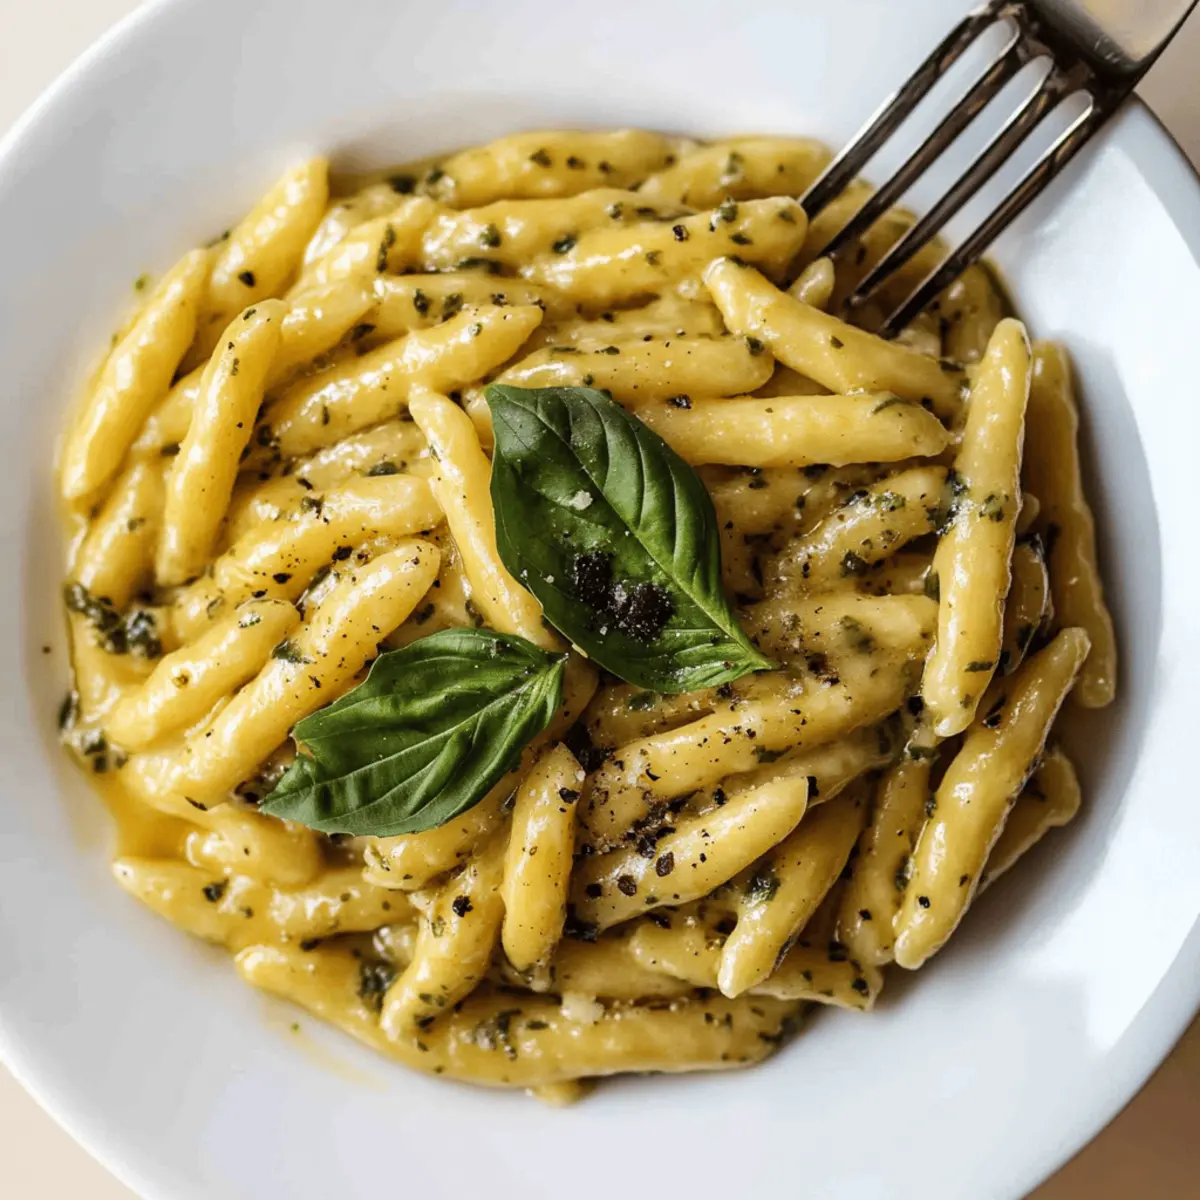
Step 9: Add the Parmesan
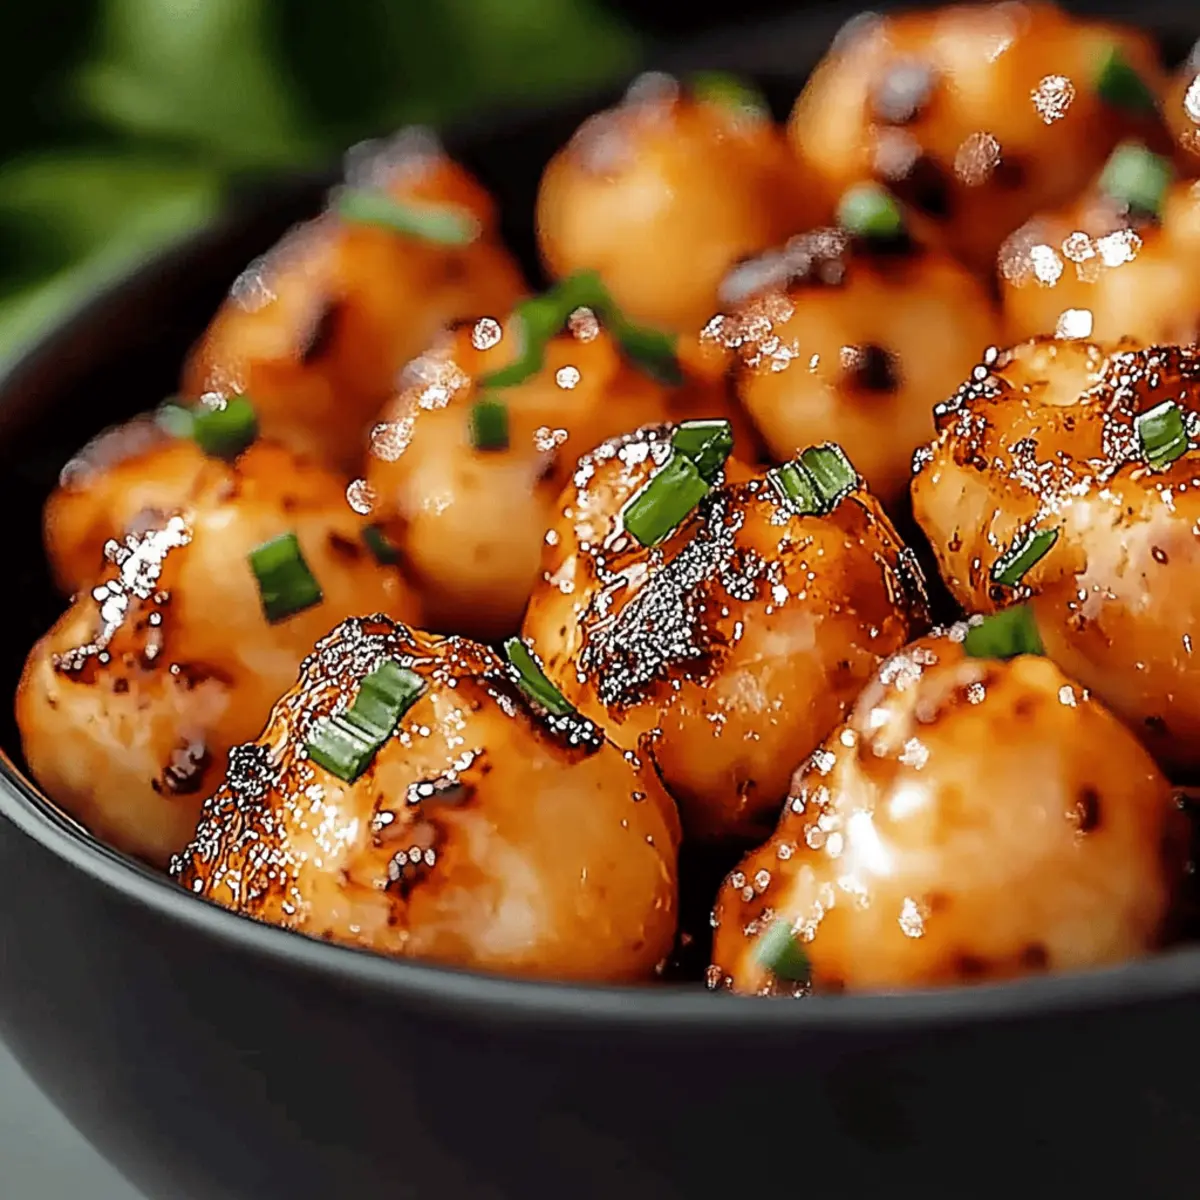
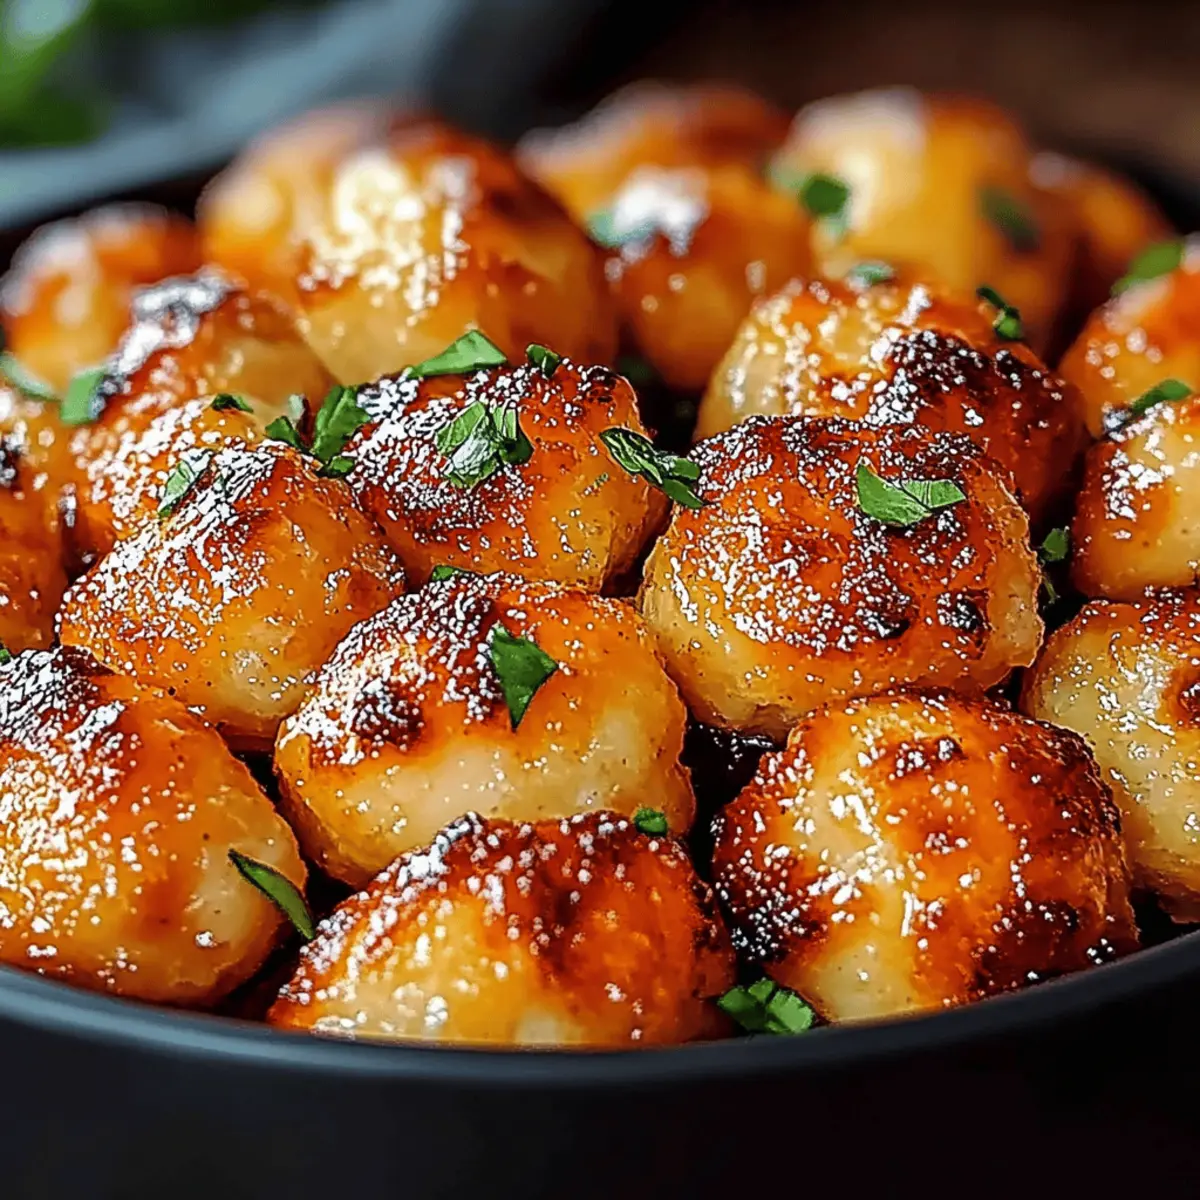
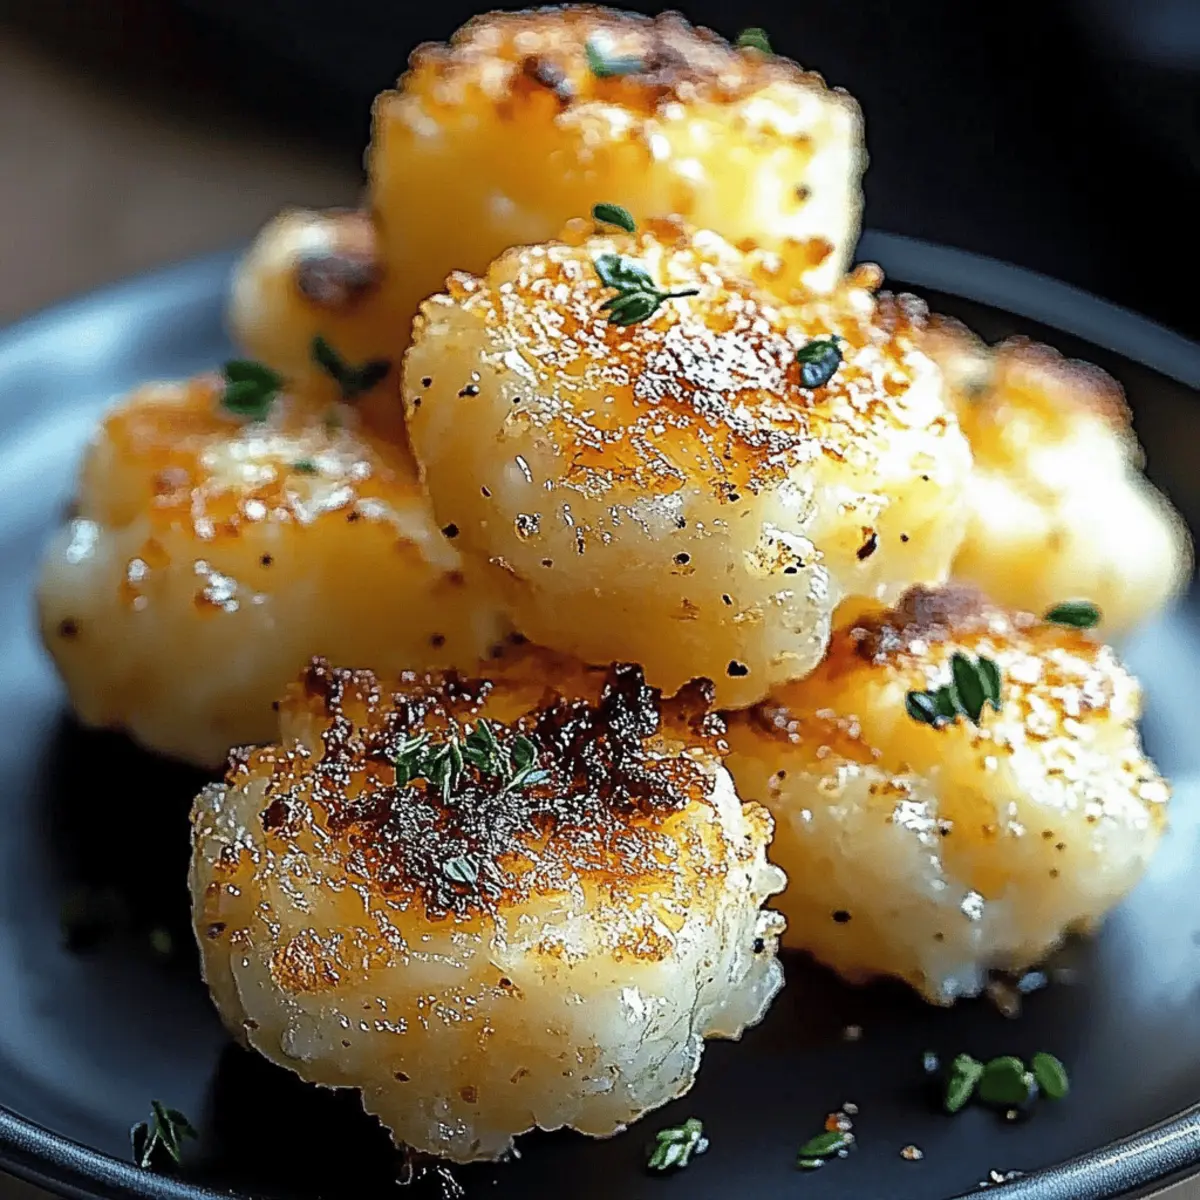
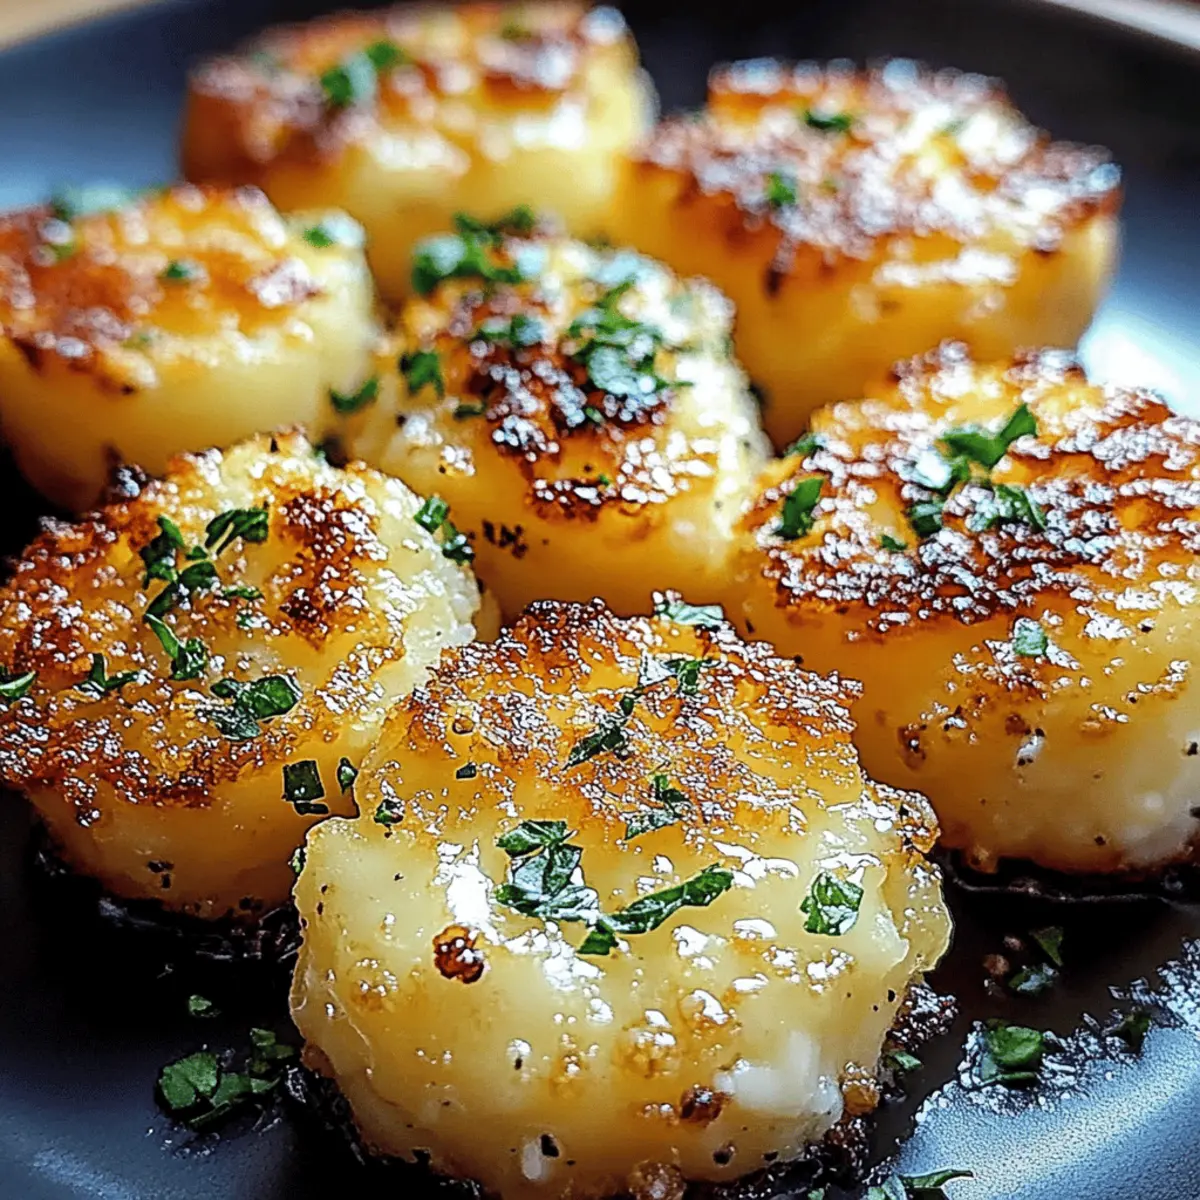
Once the potatoes are golden and crispy, carefully remove them from the oven. Immediately sprinkle ½ cup of grated Parmesan cheese over the hot potatoes. This cheese will melt slightly, creating a deliciously gooey, savory topping that is the highlight of these Crispy Garlic Parmesan Potatoes.
Step 10: Finish Baking
Return the baking sheet to the oven for an additional 5 minutes, allowing the Parmesan to melt and bubble. Keep an eye on them during this time to prevent the cheese from burning, as you want that perfect melt without any charred bits.
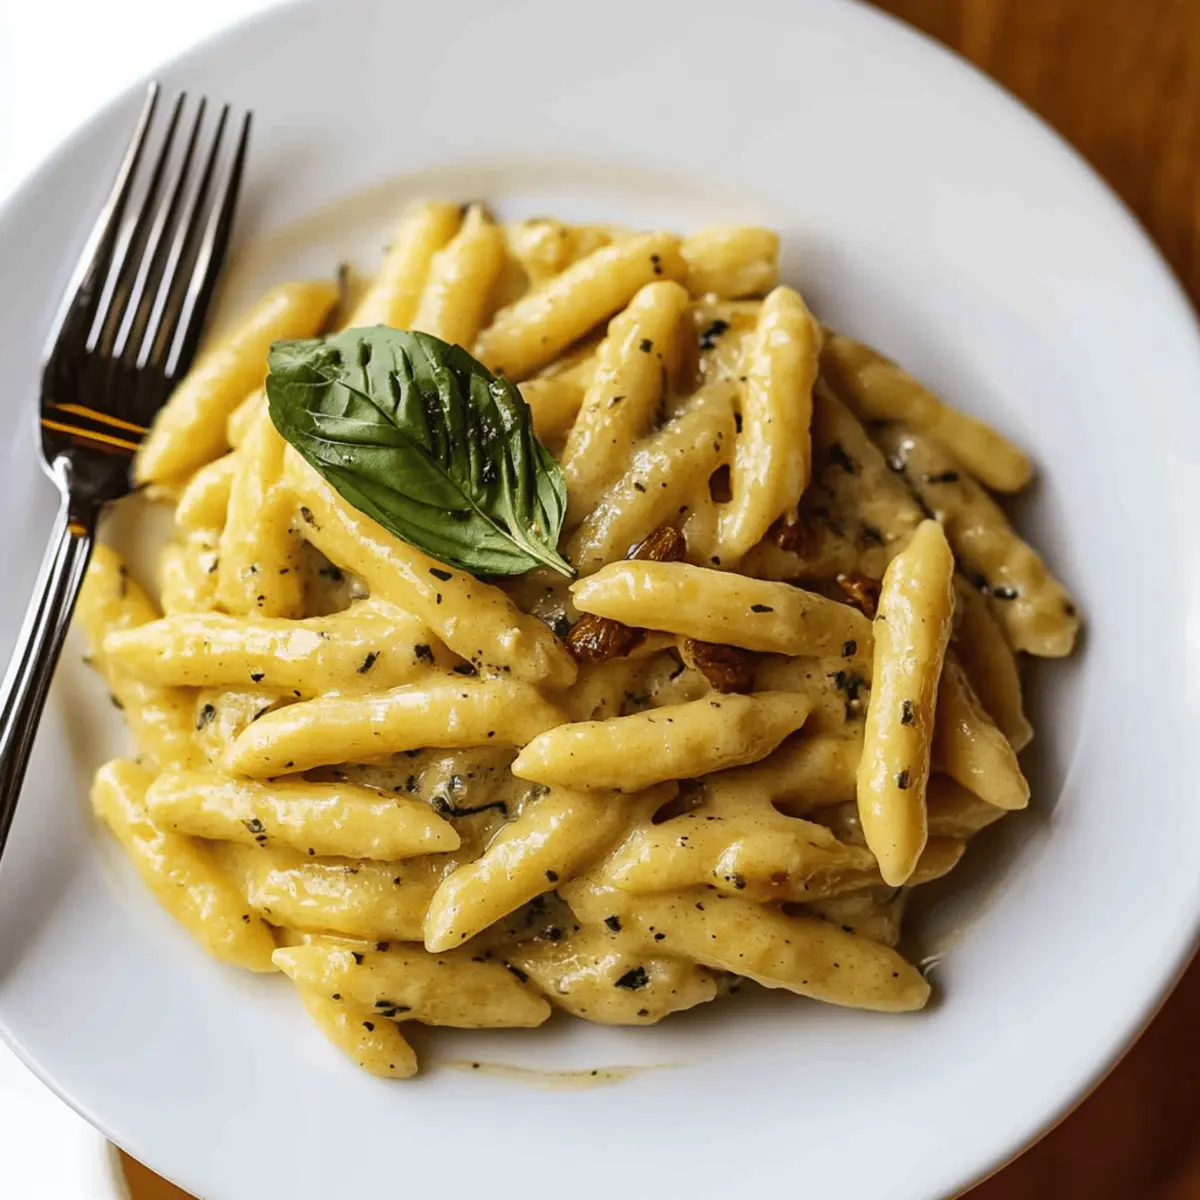
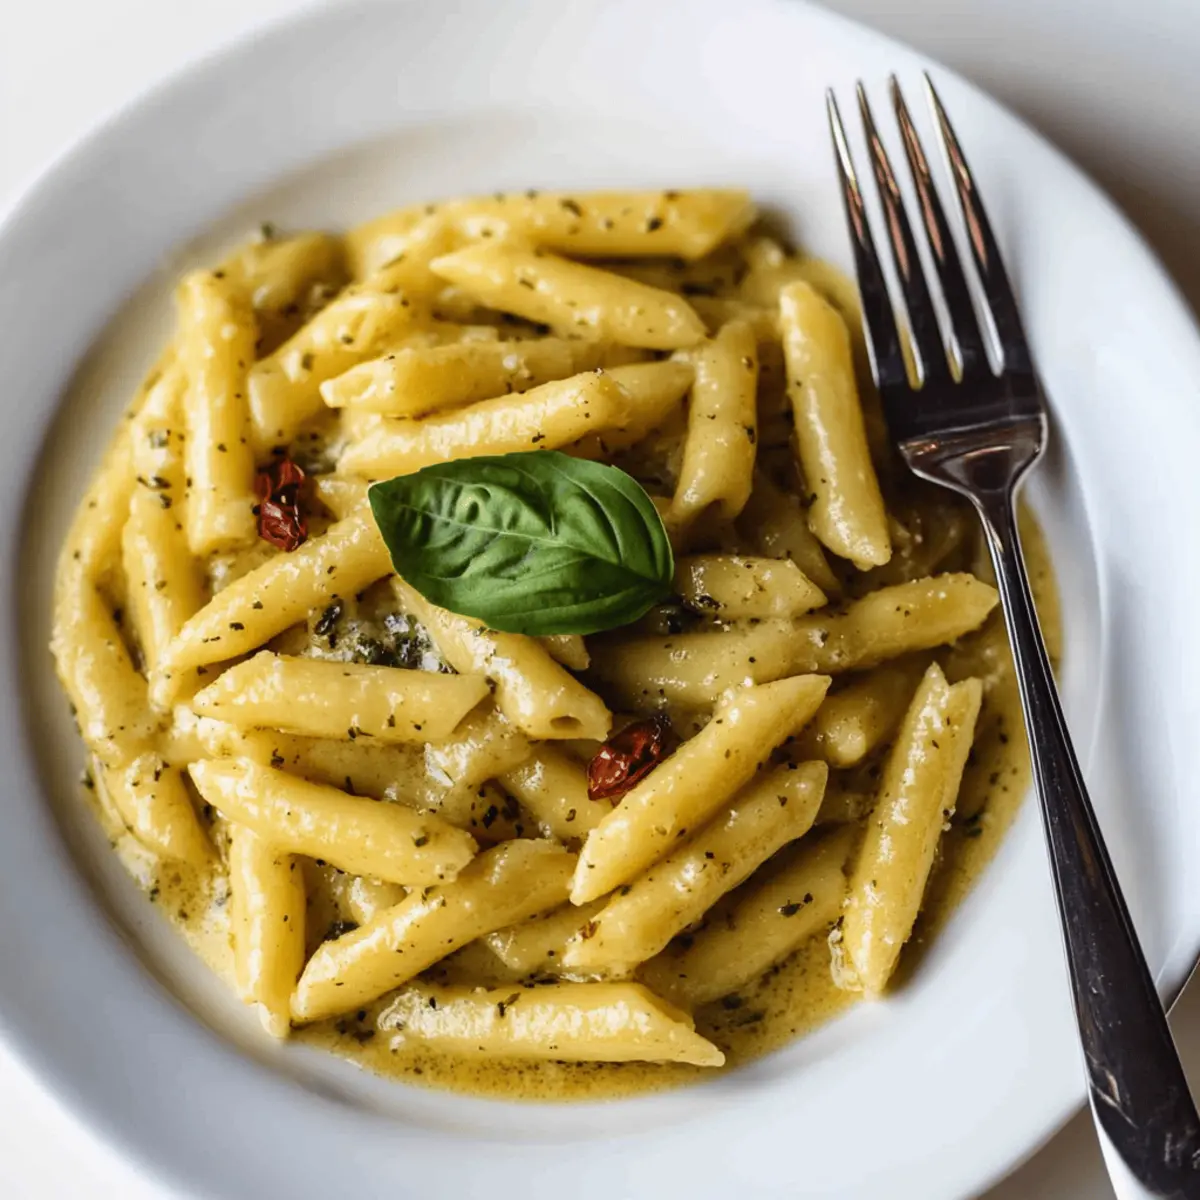
Step 11: Garnish and Serve
Once the cheese is bubbling, remove the baking sheet from the oven. Transfer your crispy garlic Parmesan potatoes to a serving dish and sprinkle them with 2 tablespoons of chopped fresh parsley for a pop of color and added freshness.
Step 12: Enjoy the Goodness
Serve your hot, crispy garlic Parmesan potatoes as a delightful side dish or snack. They are perfect on their own or paired with your favorite dipping sauce, bringing smiles to everyone at the table!
What to Serve with Crispy Garlic Parmesan Potatoes
Imagine a bustling kitchen filled with the heavenly aroma of roasting garlic and melting cheese—perfectly paired with these delightful potatoes.
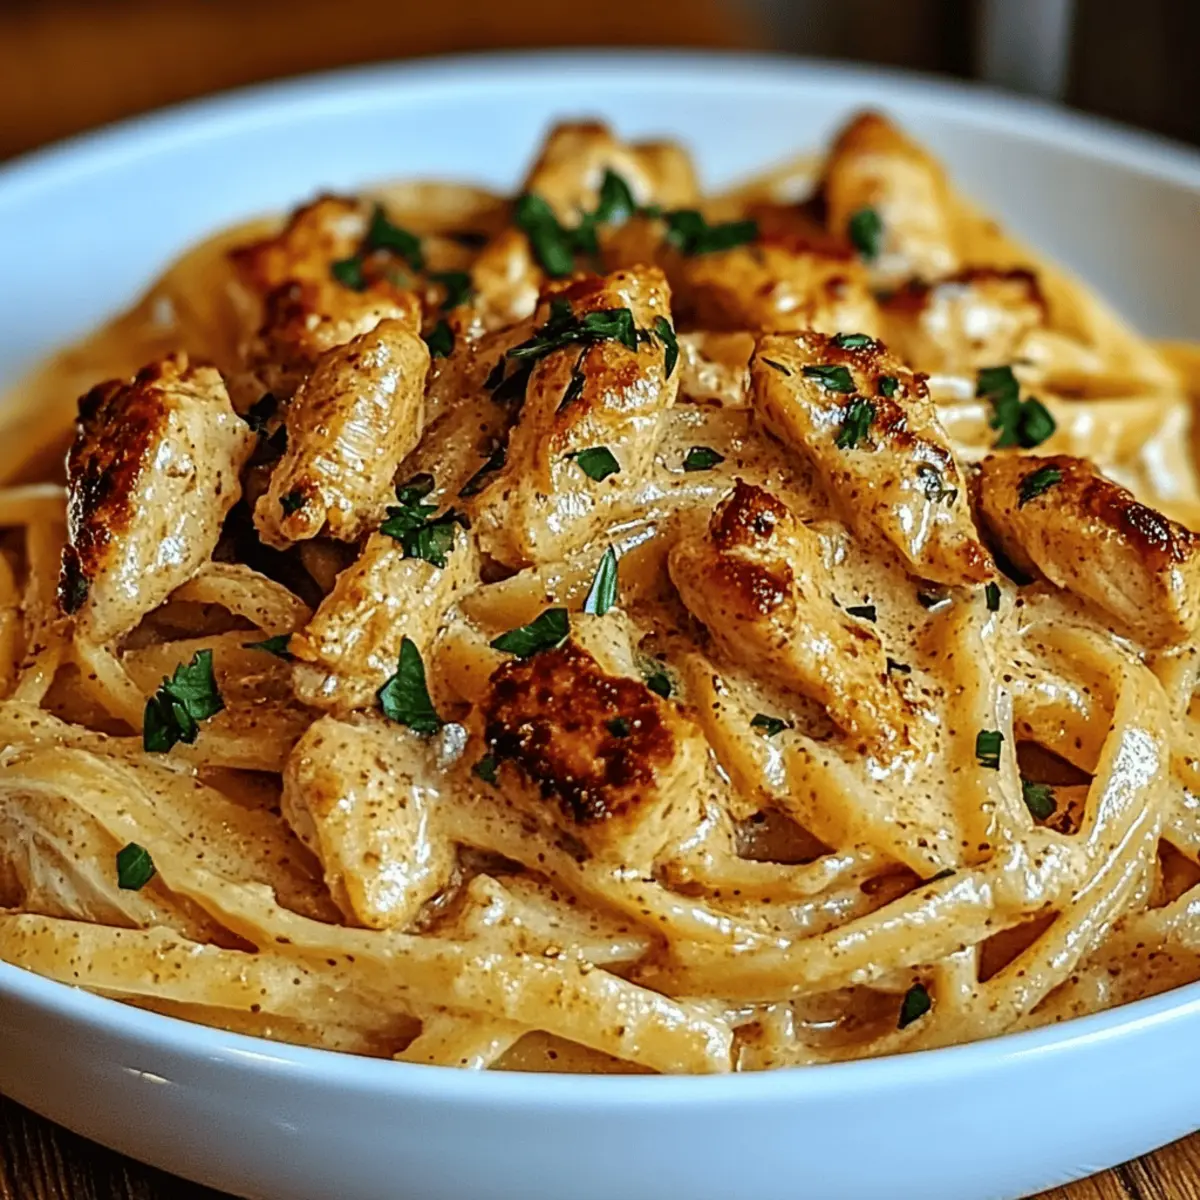
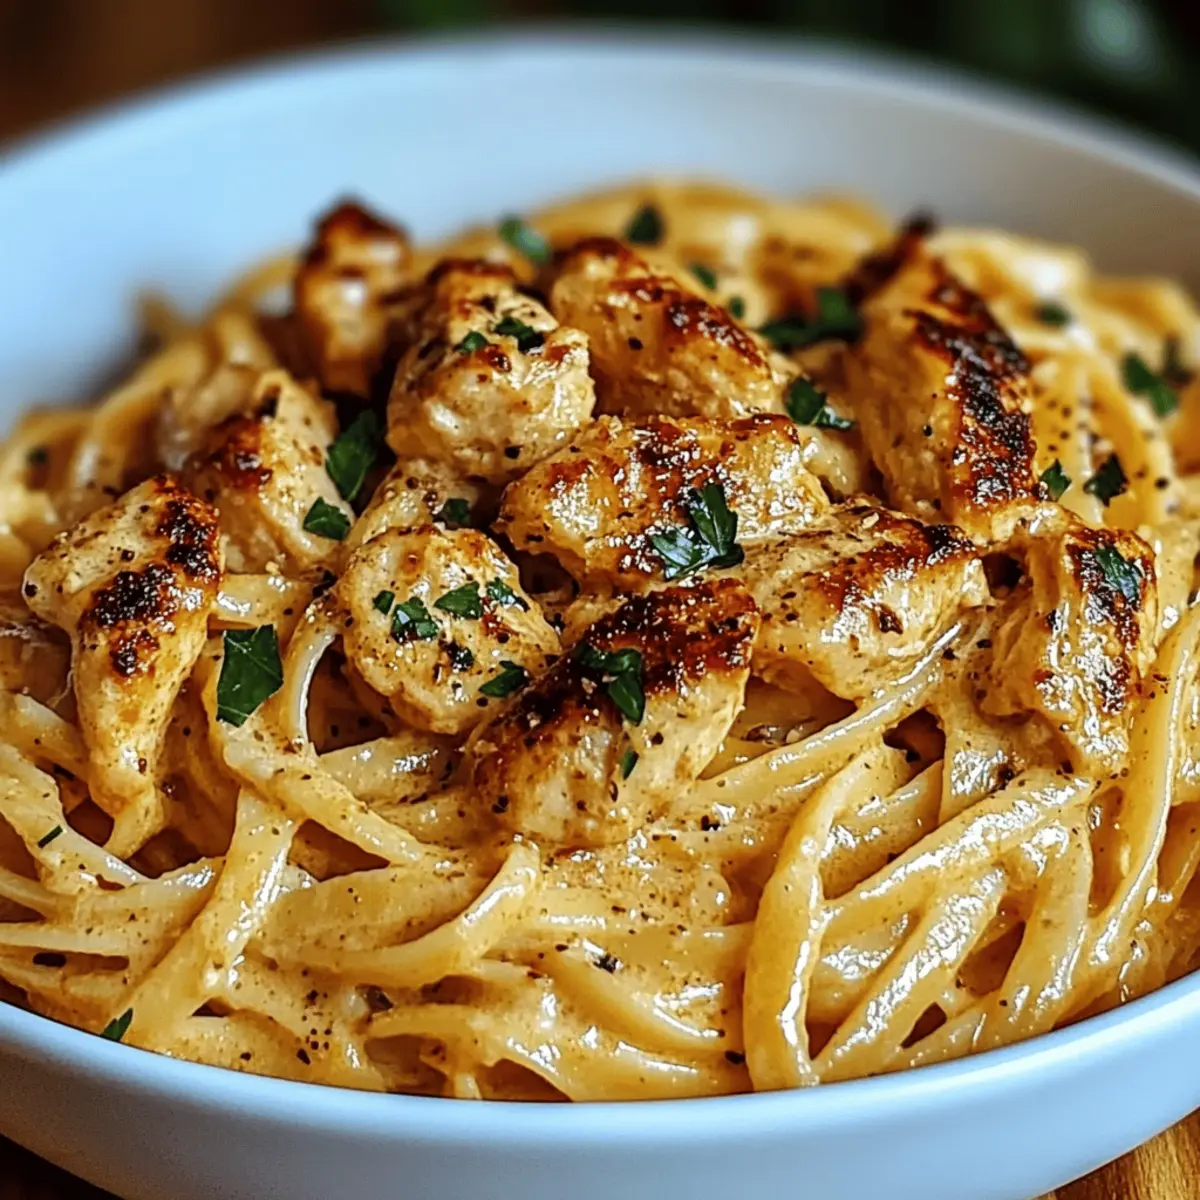
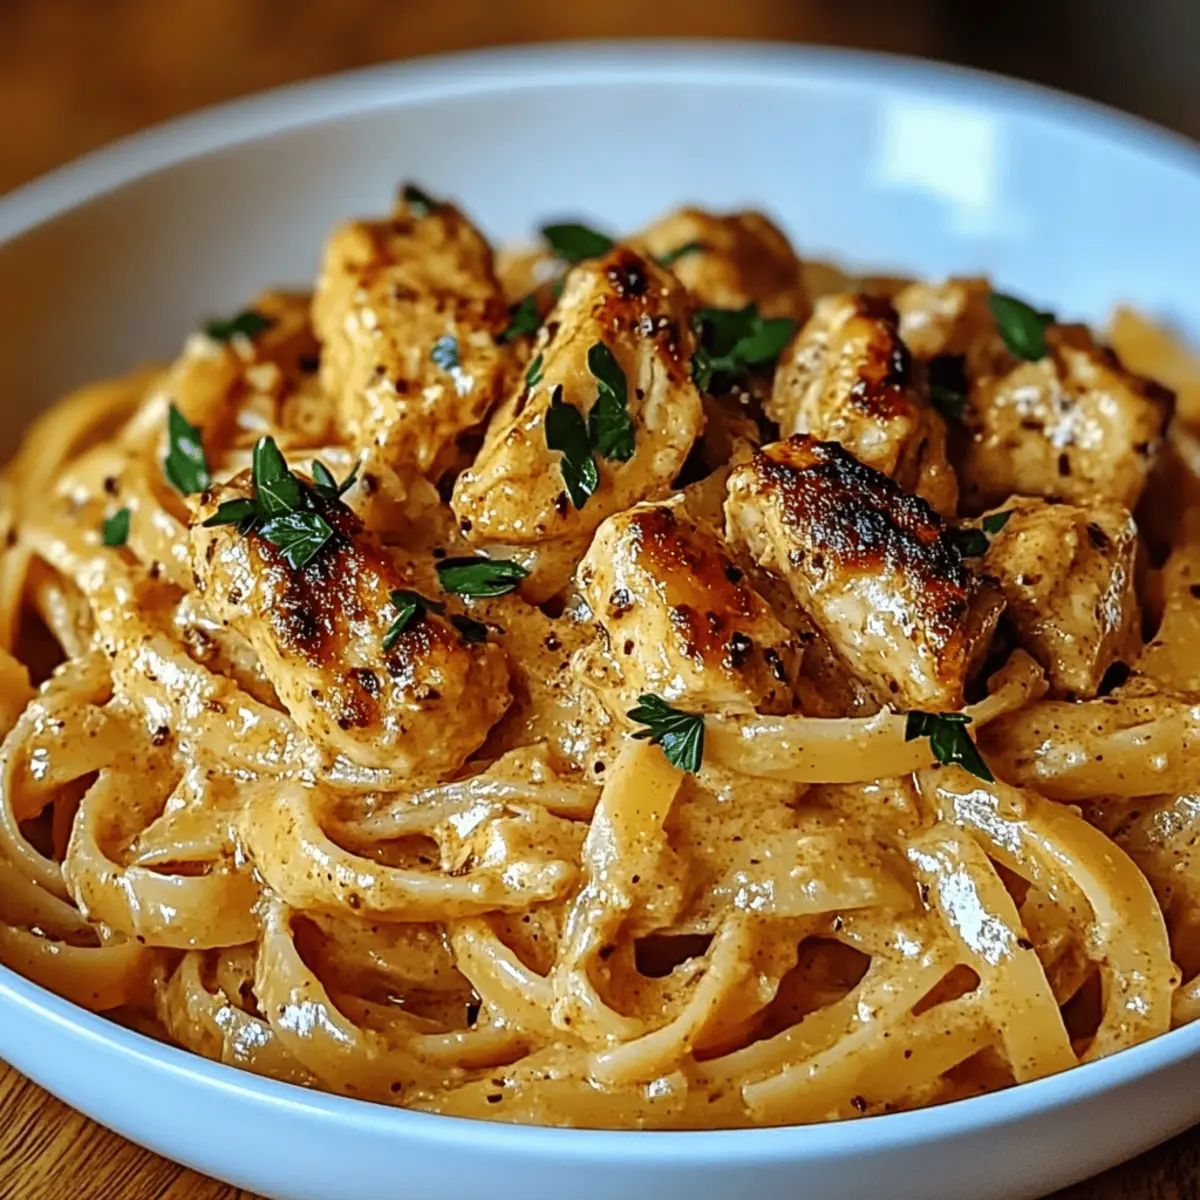
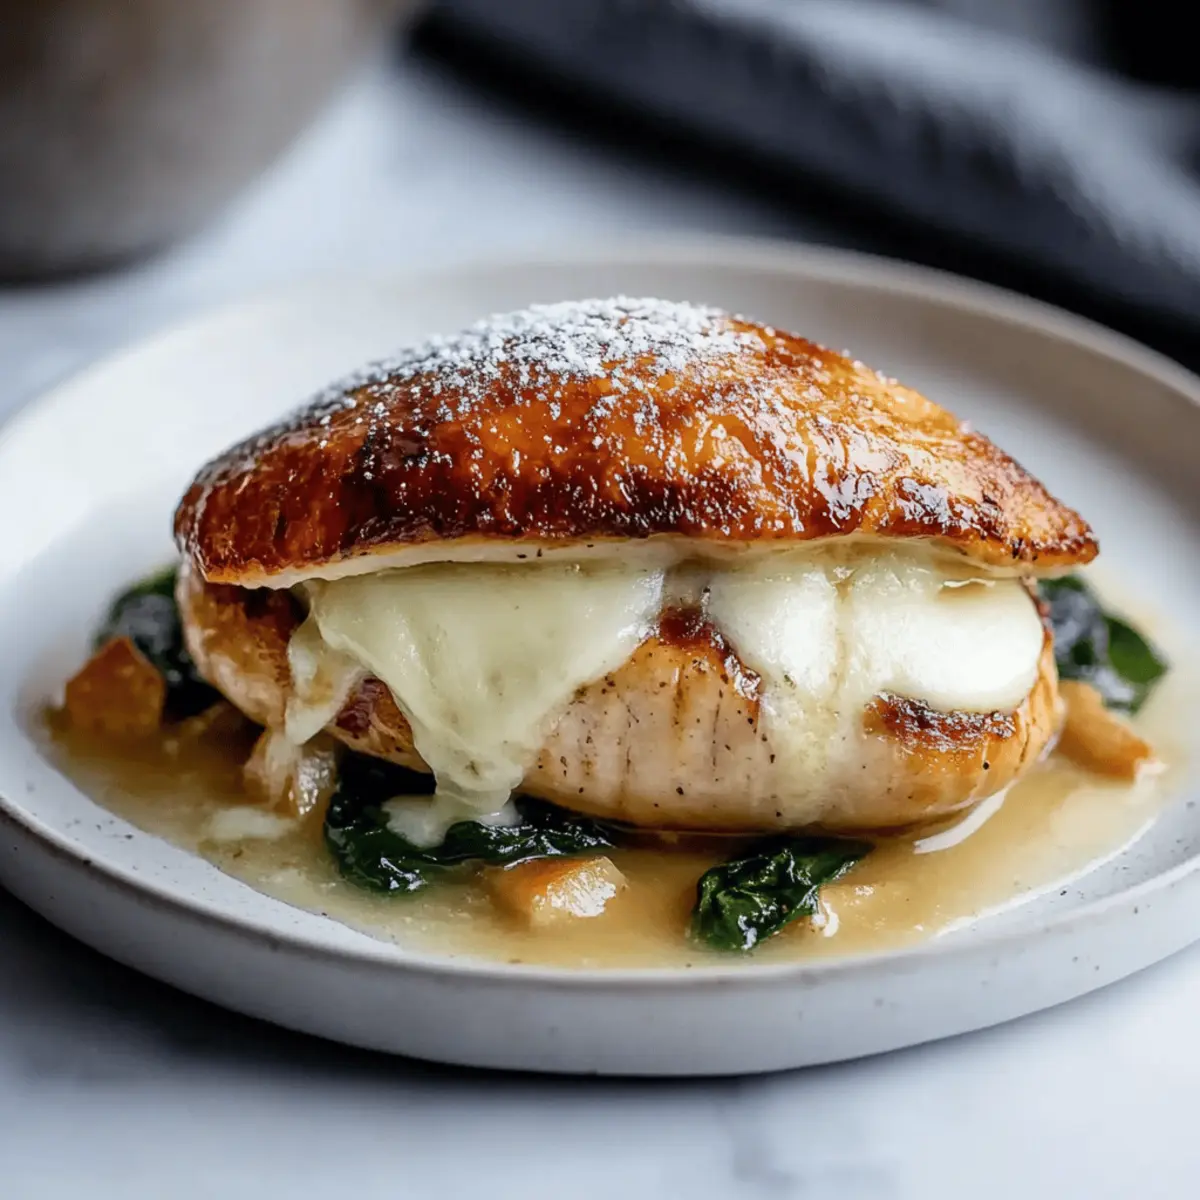
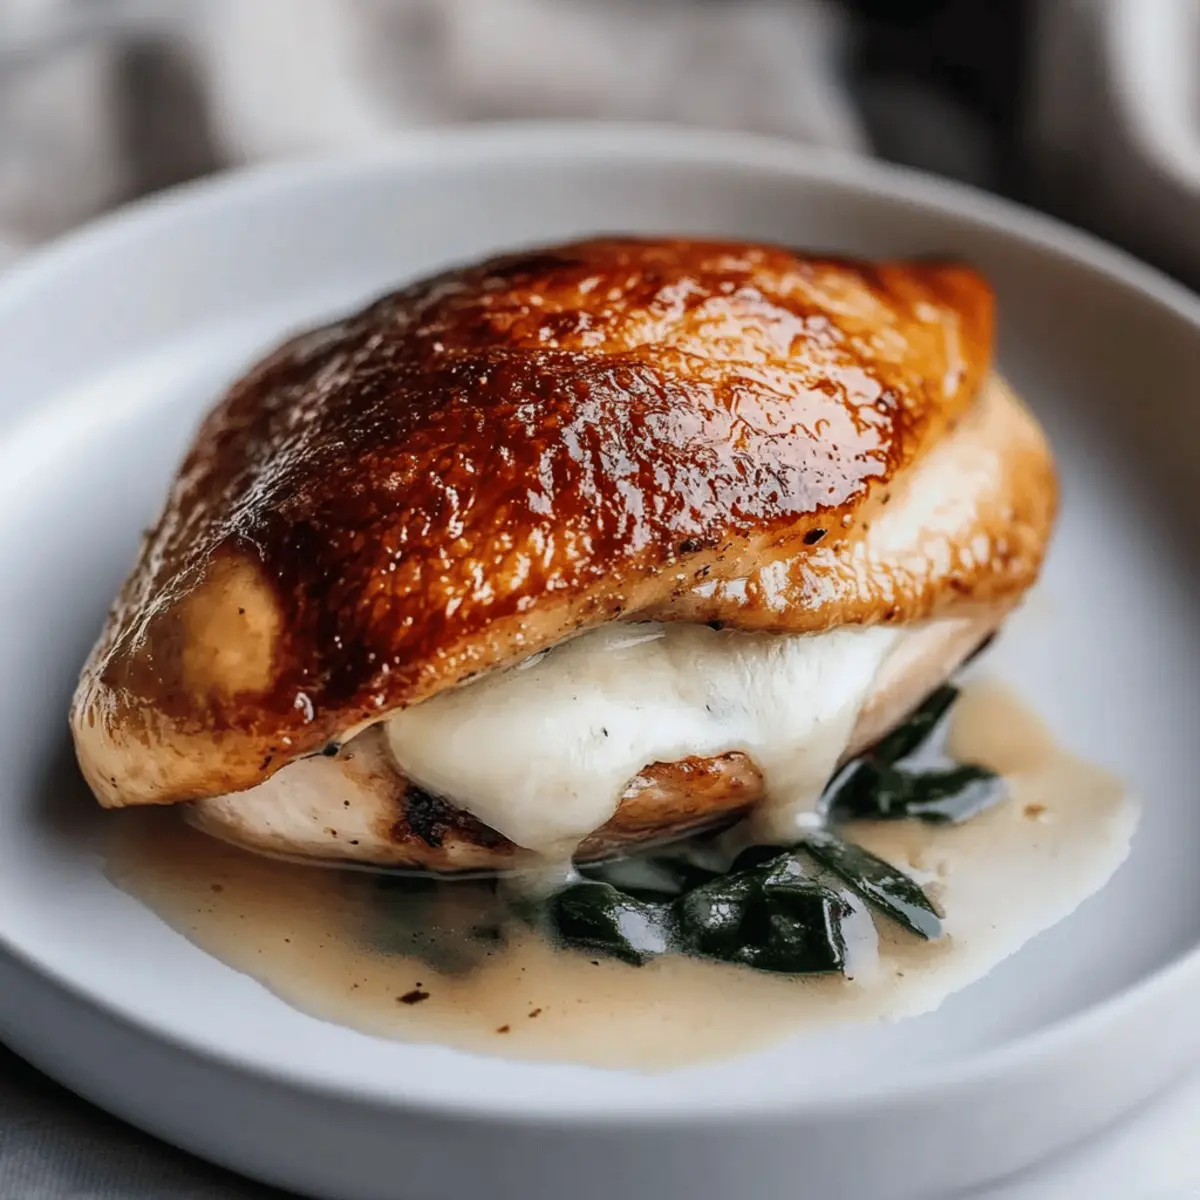
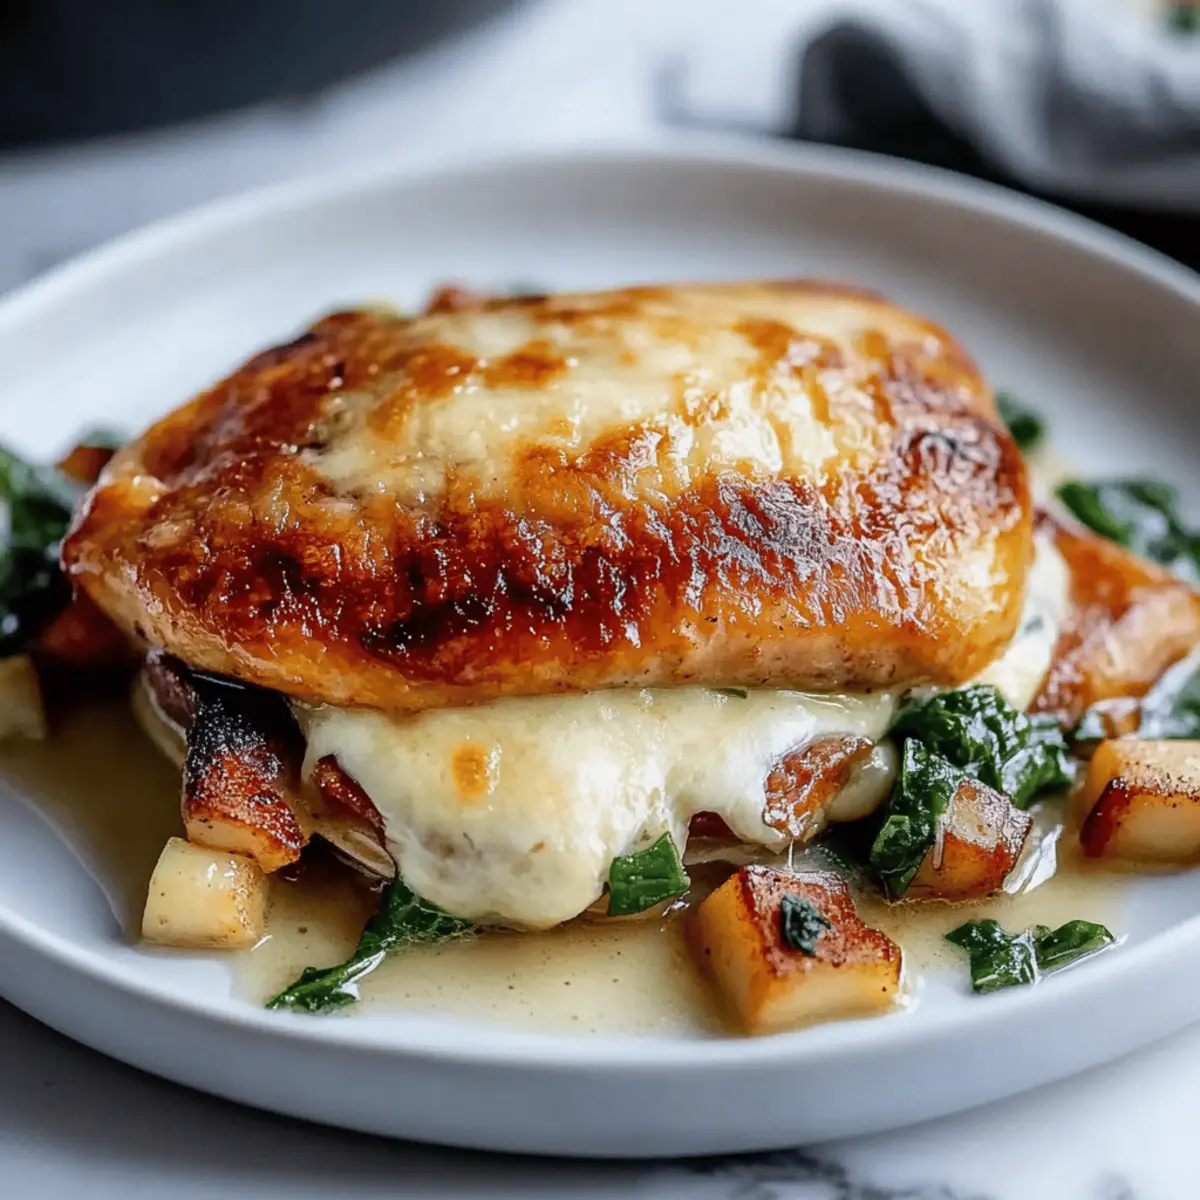
- Grilled Chicken: Juicy, herb-marinated chicken complements the crispy, garlicky bites while adding a protein boost to your meal.
- Caesar Salad: Crisp romaine and creamy dressing balance out the warm, cheesy potatoes, creating a vibrant plate that delights the senses.
- Roasted Vegetables: A medley of seasonal vegetables, like bell peppers and zucchini, adds color and freshness to your table, enhancing the overall experience.
- Creamy Coleslaw: Chill your meal with crunchy, tangy coleslaw, providing a refreshing contrast to the hot, crispy Parmesan potatoes.
- Steamed Asparagus: Tender asparagus spears, lightly seasoned, enrich the dish with their vibrant green color and delicate flavor.
- Beef Tenderloin: Savory, perfectly cooked beef tenderloin pairs beautifully with the flavor-packed potatoes, elevating your dining experience to gourmet status.
- Sparkling Lemonade: This refreshing beverage brightens your palate while its citrus notes enhance the flavors of the garlic and spices.
- Chocolate Mousse: End your meal on a sweet note with luscious chocolate mousse—a creamy dessert that perfectly rounds out the savory goodness of your main dishes.
Expert Tips for Crispy Garlic Parmesan Potatoes
• Choose the Right Potatoes: Opt for baby potatoes or small Yukon Golds for even cooking and the ideal texture. Larger potatoes can be cut into smaller chunks for uniformity.
• Don’t Skip the Steaming: After boiling, let the potatoes sit in the colander to steam off excess moisture. This step is key to achieving the perfect crispy exterior without sogginess.
• Even Coating is Key: When tossing the potatoes with the seasoning mix, ensure they are evenly coated. This allows every delightful bite of your Crispy Garlic Parmesan Potatoes to be flavor-packed.
• Space Them Out: Arrange the potatoes in a single layer on the baking sheet without overcrowding. Crowded potatoes can lead to steaming instead of roasting, hindering that golden crispiness.
• Watch the Cheese: Add the Parmesan towards the end of the baking time to prevent burning. A gently melted layer of cheese will provide that irresistible flavor without the char.
• Serve Hot and Fresh: Enjoy these potatoes right after baking for maximum crispness. Pair them with a dipping sauce for an even more delightful experience!
How to Store and Freeze Crispy Garlic Parmesan Potatoes
Room Temperature: These potatoes are best enjoyed fresh, but if you need to store them, keep them at room temperature for up to 2 hours after cooking.
Fridge: Store leftover Crispy Garlic Parmesan Potatoes in an airtight container in the fridge for up to 3 days. To reheat, place them in a preheated oven at 375°F (190°C) for 10-15 minutes until warmed through.
Freezer: For longer storage, freeze the cooked potatoes in a single layer on a baking sheet, then transfer to a freezer-safe container after they’re solid. They can be stored for up to 2 months. Reheat directly from the freezer!
Reheating: For the best results, reheat in the oven to regain that crispiness. Avoid microwaving, as it can make the potatoes soggy. Enjoy your crispy goodness!
Make Ahead Options
These Crispy Garlic Parmesan Potatoes are perfect for meal prep! You can wash, cut, and boil the baby potatoes up to 24 hours in advance. Just store them in an airtight container in the refrigerator to keep them fresh. When you’re ready to enjoy this delightful dish, simply transfer the cooled potatoes to a mixing bowl, toss them in the seasoning mixture, and roast as directed. This approach not only saves time during a busy weeknight but also ensures your potatoes retain their delicious texture and flavor. Just remember, they’ll be just as crispy and cheesy as if you made them from scratch!
Crispy Garlic Parmesan Potatoes Variations
Feel free to get creative and customize these potatoes to suit your taste and dietary needs!
-
Dairy-Free: Substitute nutritional yeast for Parmesan to achieve a cheesy flavor without dairy. You’ll still enjoy lots of savory goodness in each bite.
-
Spicy Kick: Add a pinch of red pepper flakes or cayenne pepper to the seasoning mix. This twist will elevate the potatoes to a fiery delight that spice lovers crave!
-
Herb-Infused: Experiment with fresh herbs like rosemary or thyme in place of oregano. This fresh, aromatic touch gives your potatoes a delightful new dimension of flavor.
-
Sweet Potato Delight: Swap half or all of the baby potatoes for diced sweet potatoes. Their natural sweetness will create a lovely contrast to the savory seasonings.
-
Lemon Zest Boost: Incorporate the zest of one lemon into the seasoning mix for a bright, citrusy flavor that lifts the dish. A hint of lemon freshness can work wonders!
-
Crunchy Toppings: For added texture, sprinkle breadcrumbs or crushed crackers over the top before the final bake. This will add an extra crunch that is simply irresistible.
-
Garlic Lovers’ Dream: Increase the minced garlic to 6 or more cloves and eliminate the garlic powder for an extra garlicky punch. Perfect for those who can’t resist that bold flavor!
Why not pair your Crispy Garlic Parmesan Potatoes with a hearty salad, like a refreshing Caesar or a zesty Mediterranean mix, to bring even more flavor to your meal? These variations offer endless possibilities to make this dish uniquely yours!
Crispy Garlic Parmesan Potatoes Recipe FAQs
How do I choose ripe baby potatoes?
Absolutely! For the best flavor and texture, look for firm baby potatoes without any dark spots or blemishes. They should feel smooth and have a vibrant color. If any are soft or have sprouted, it’s best to avoid those.
What’s the best way to store leftovers?
Store your leftover Crispy Garlic Parmesan Potatoes in an airtight container in the fridge for up to 3 days. When you’re ready to enjoy them again, simply reheat in a preheated oven at 375°F (190°C) for about 10-15 minutes. This will help restore their lovely crispiness!
Can I freeze the Crispy Garlic Parmesan Potatoes?
Yes! To freeze, first allow them to cool completely. Then arrange the cooked potatoes in a single layer on a baking sheet and place them in the freezer until solid. Once frozen, transfer them to a freezer-safe container or bag and store for up to 2 months. When you’re ready to eat, you can reheat them directly from the freezer!
What if my potatoes aren’t getting crispy?
If your potatoes aren’t achieving that desired crispiness, double-check that you thoroughly steamed them after boiling—the moisture can trap steam and lead to soggy potatoes. Additionally, make sure to spread them out in a single layer when roasting. Crowding the pan can result in steaming rather than roasting.
Are these potatoes safe for my pet?
While potatoes are safe for dogs in small amounts, avoid using any seasonings or additives when preparing them for your furry friends. Unfortunately, the garlic and onion present here can be harmful to pets, so it’s best to keep these Crispy Garlic Parmesan Potatoes just for human enjoyment!
Can I modify the recipe for dietary restrictions?
Absolutely! For a dairy-free version, you can substitute the Parmesan cheese with a plant-based alternative or nutritional yeast for a cheesy flavor without the dairy. If you need to avoid gluten, rest assured this recipe is naturally gluten-free—just make sure any additional sauces or dips you choose are also gluten-free!
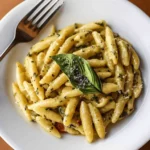
Crispy Garlic Parmesan Potatoes for Irresistible Crunch

Crispy Garlic Parmesan Potatoes are a delightful side that’s simple, satisfying, and irresistibly crunchy.
- Large Pot
- Mixing Bowl
- Baking Sheet
- Colander
- Whisk
For the Potatoes
- 2 pounds baby potatoes (small gems ensure even cooking)
- 4 tablespoons olive oil (helps achieve crispy exterior)
- 4 cloves garlic, minced (adds fragrant kick)
- 1 teaspoon garlic powder (enhances garlic flavor)
- 1 teaspoon onion powder (adds depth and sweetness)
- 1 teaspoon smoked paprika (introduces subtle smokiness)
- 1 teaspoon dried oregano (provides aromatic touch)
- 1 teaspoon salt (essential for enhancing flavors)
- 0.5 teaspoon black pepper (adds touch of heat)
For the Topping
- 0.5 cup Parmesan cheese (grated adds cheesy crust)
- 2 tablespoons fresh parsley (chopped, for garnish)
Step-by-Step Instructions for Crispy Garlic Parmesan Potatoes
- Preheat your oven to 425°F (220°C).
- Wash the baby potatoes under cold water and pat dry.
- In a large pot, cover potatoes with cold water and add a pinch of salt. Boil, then simmer for 10-15 minutes until fork-tender.
- Drain the potatoes in a colander and let them sit to steam off excess moisture.
- In a mixing bowl, combine olive oil, minced garlic, garlic powder, onion powder, smoked paprika, dried oregano, salt, and black pepper. Whisk until well combined.
- Add the cooled potatoes to the bowl with seasoning and toss until evenly coated.
- Line a baking sheet with parchment paper or grease it. Spread potatoes in a single layer.
- Roast the potatoes for 25-30 minutes, flipping halfway through.
- Remove from oven and sprinkle grated Parmesan cheese over hot potatoes.
- Return to oven for an additional 5 minutes until Parmesan is melted.
- Garnish with chopped fresh parsley before serving.
- Serve hot with your favorite dipping sauce or as a side dish.
For maximum crispness, enjoy these potatoes right after baking. Pair with a dipping sauce for added flavor.