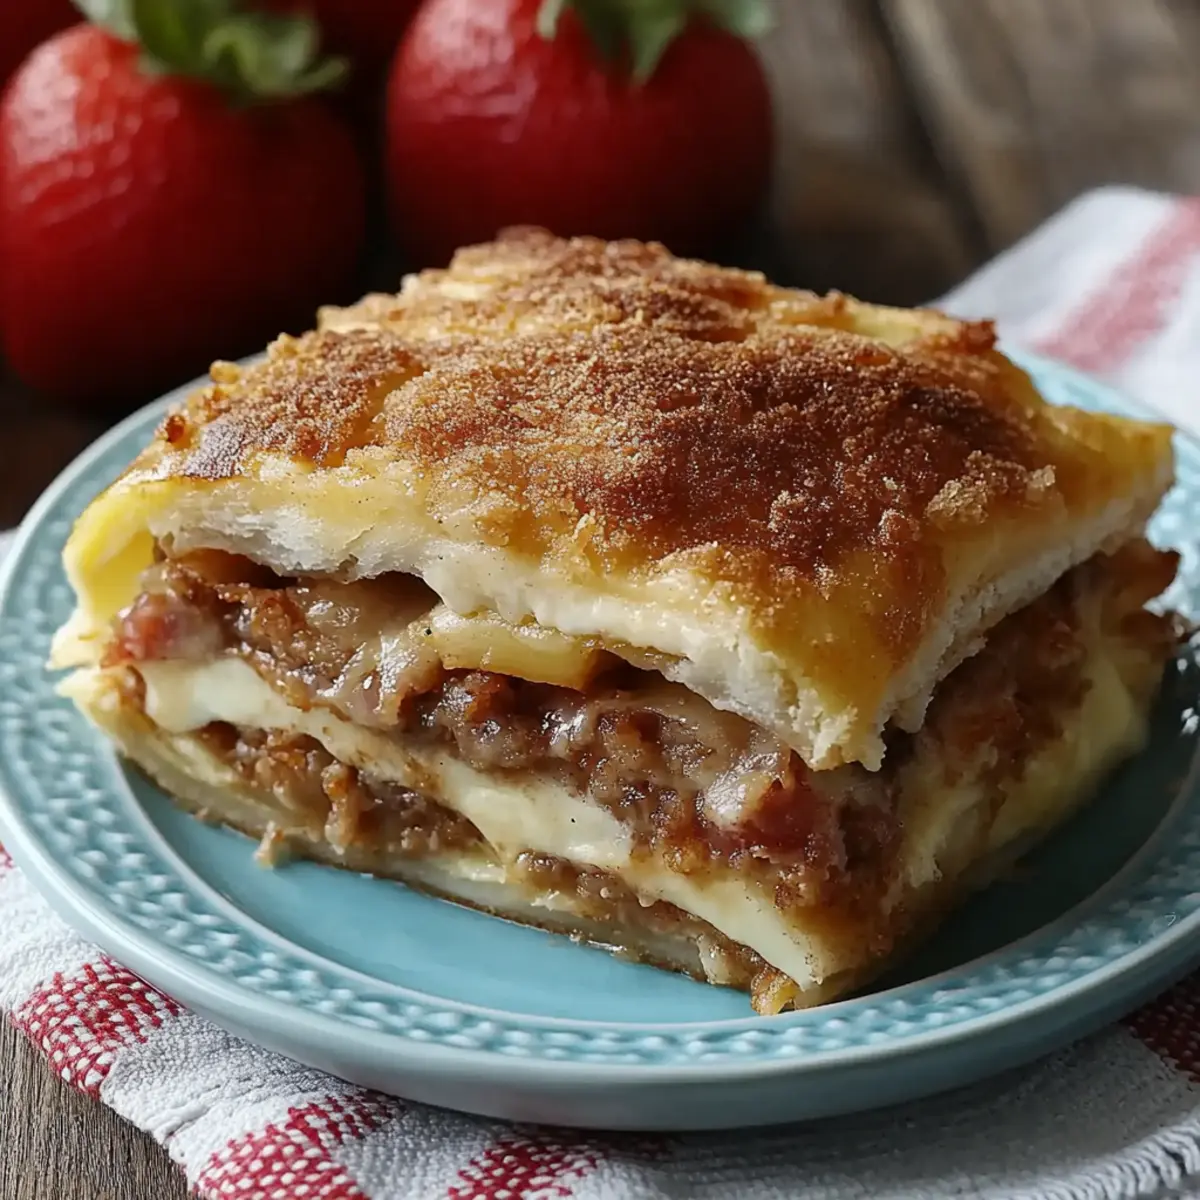
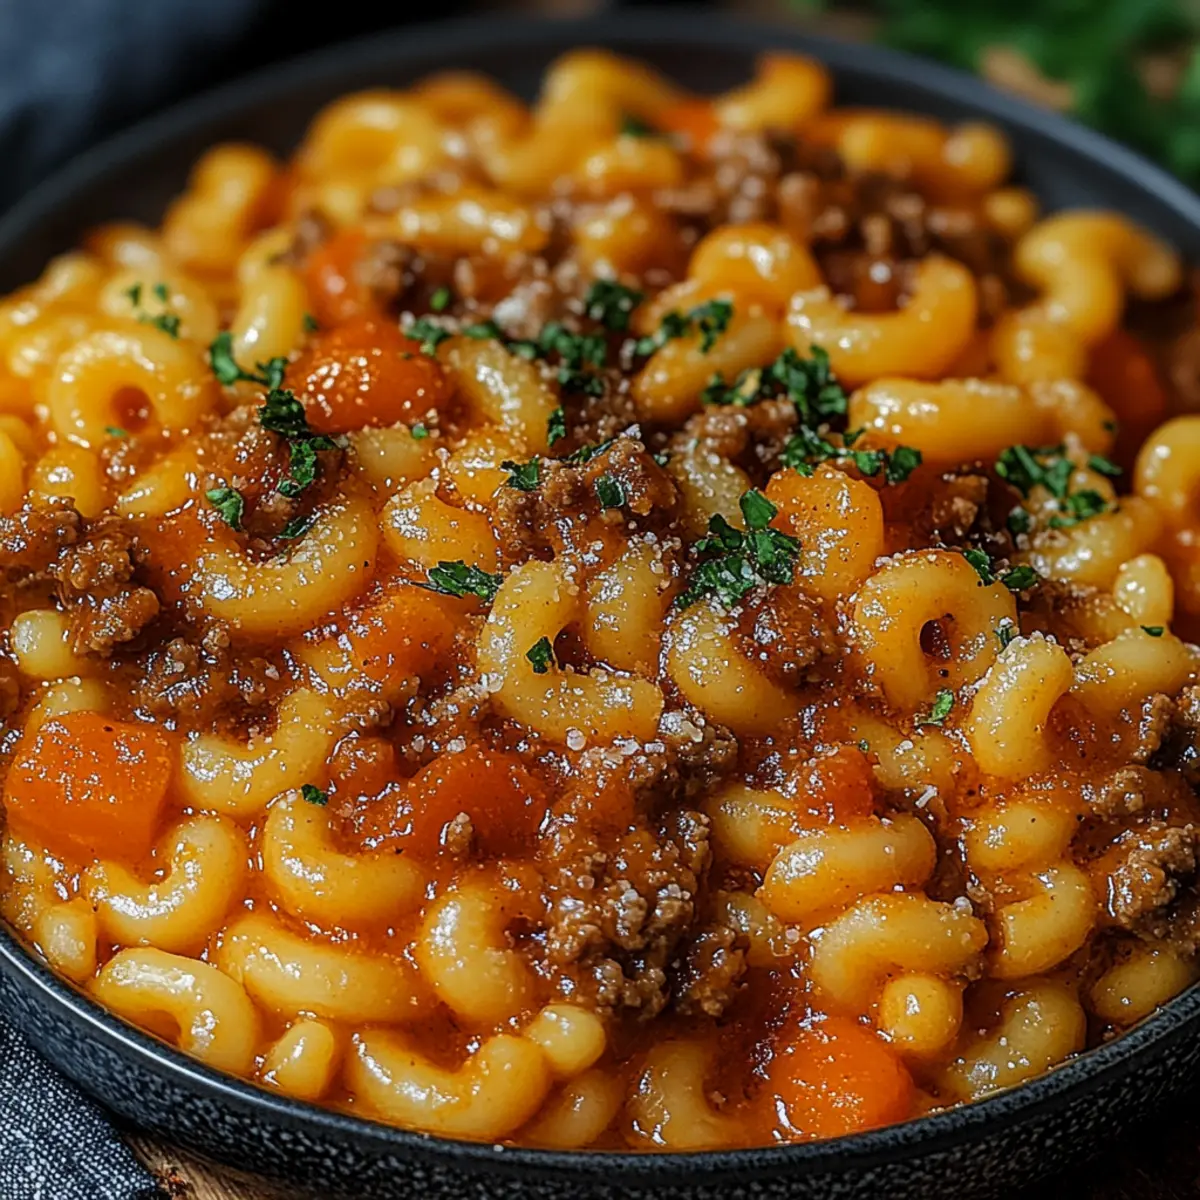
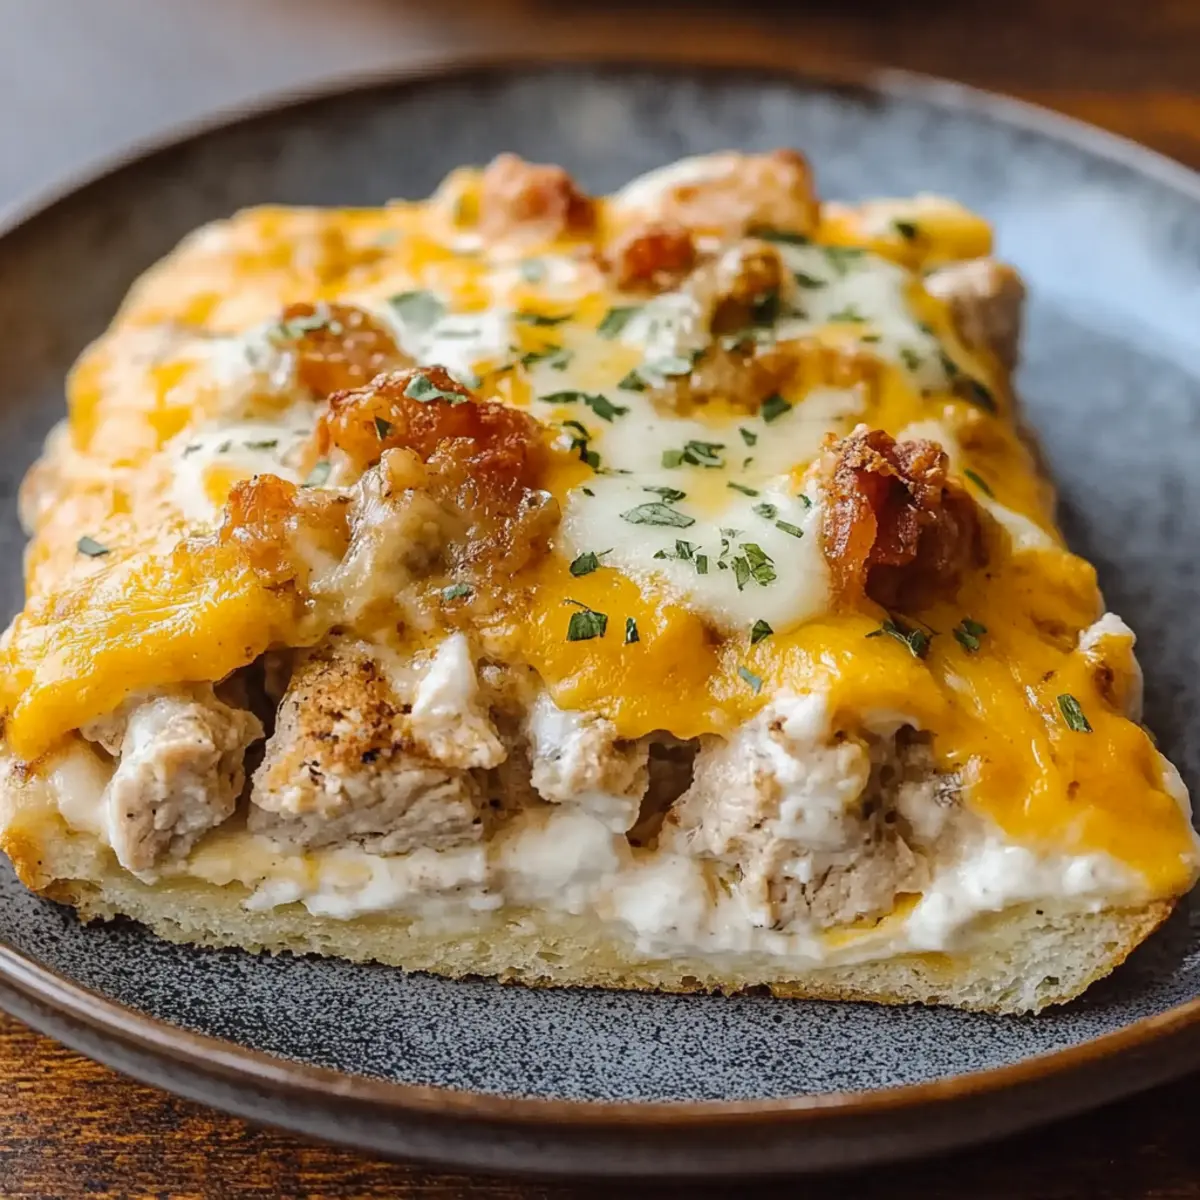
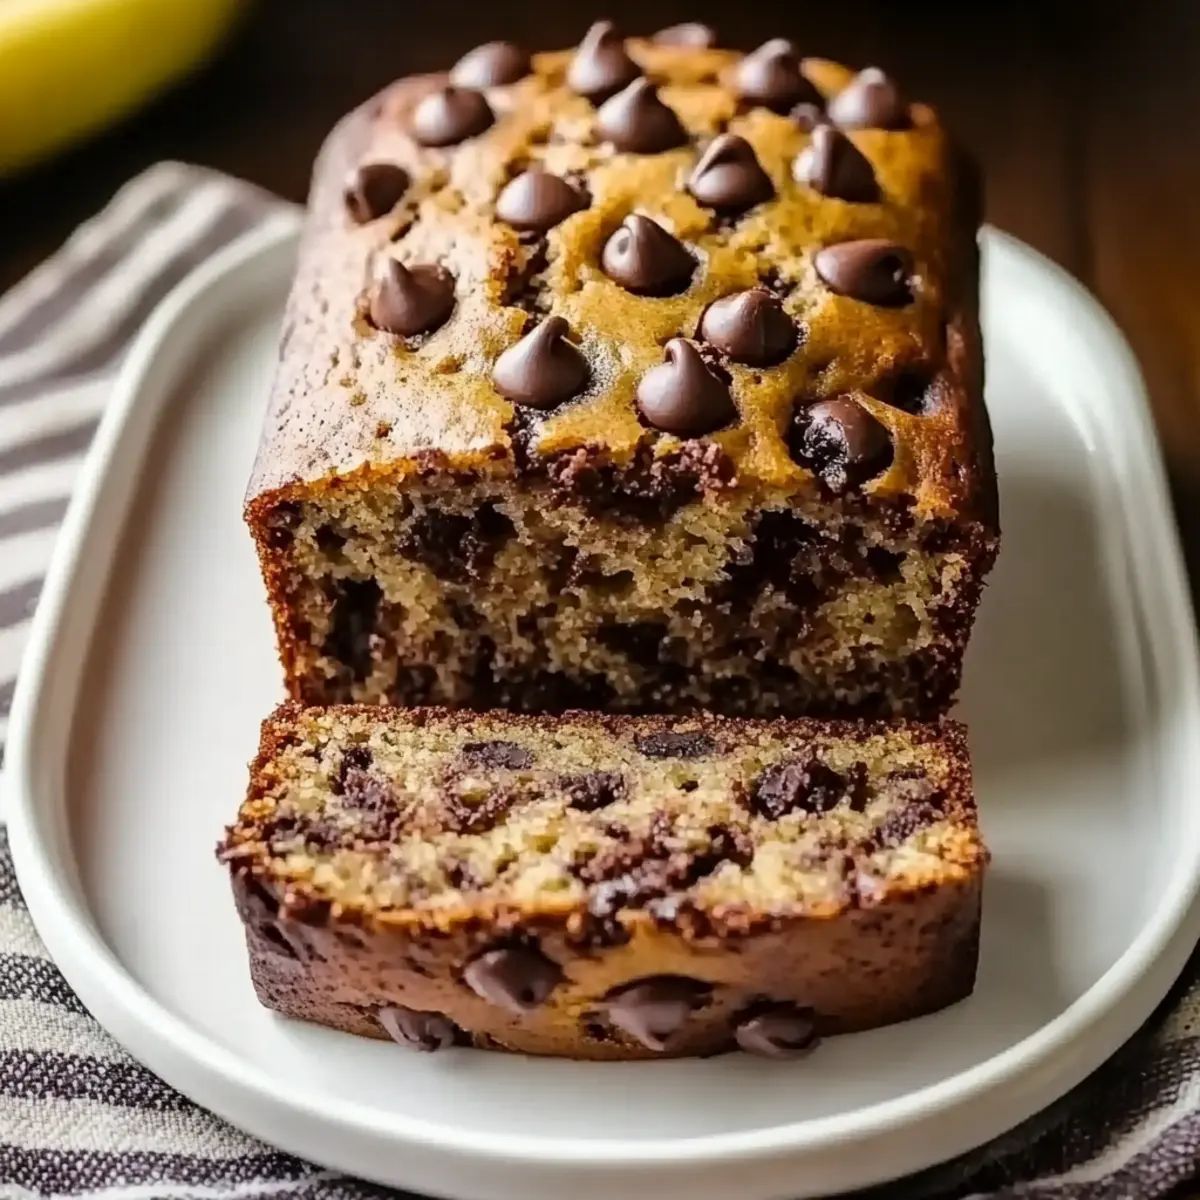
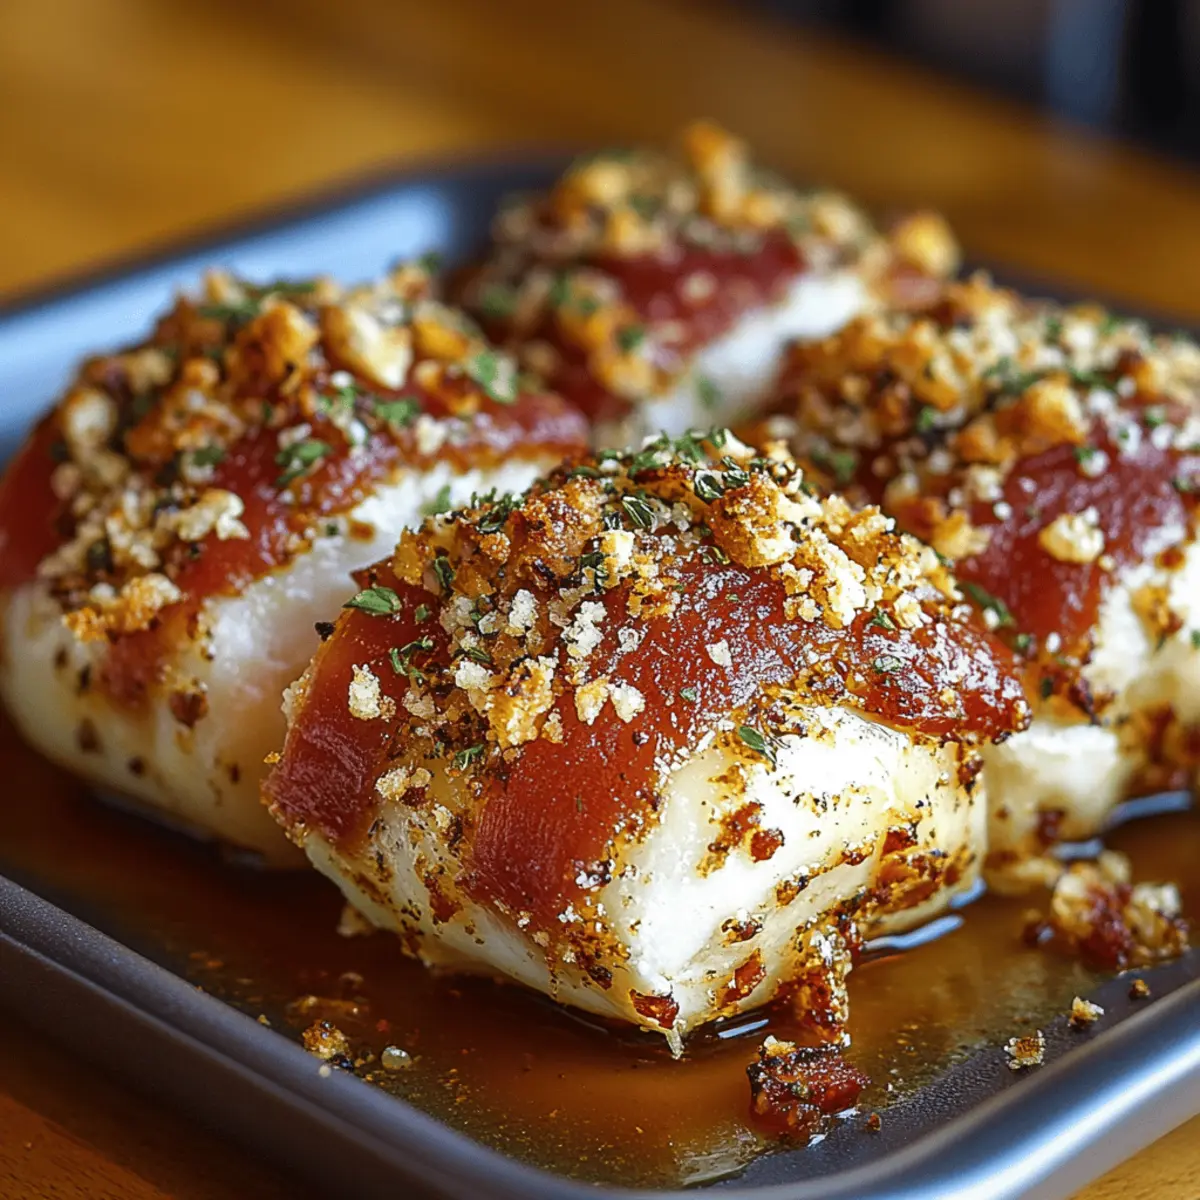
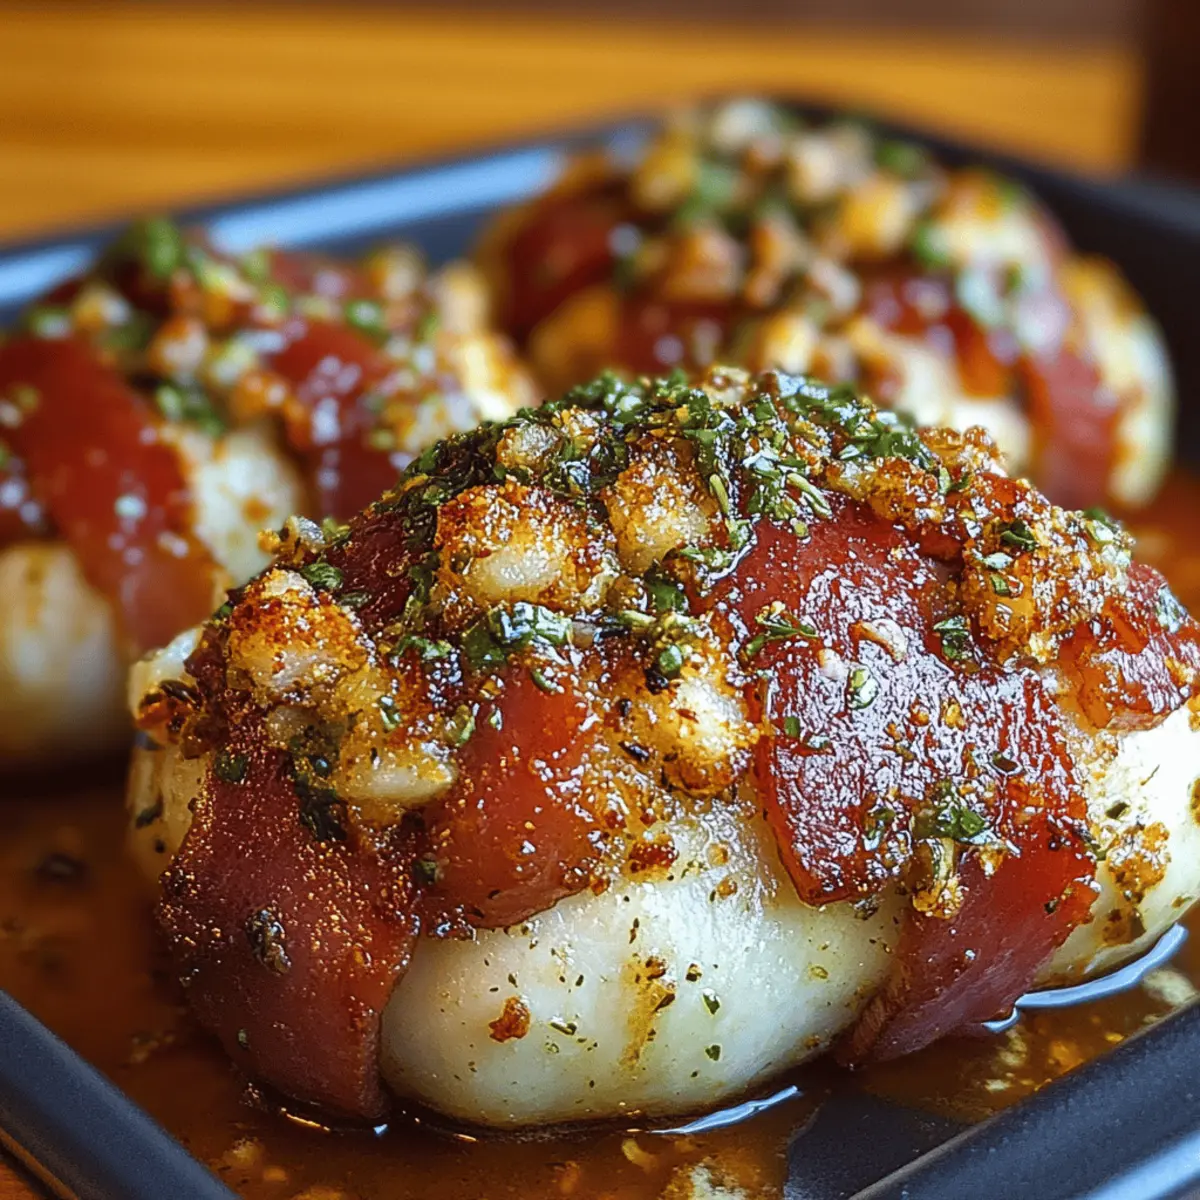
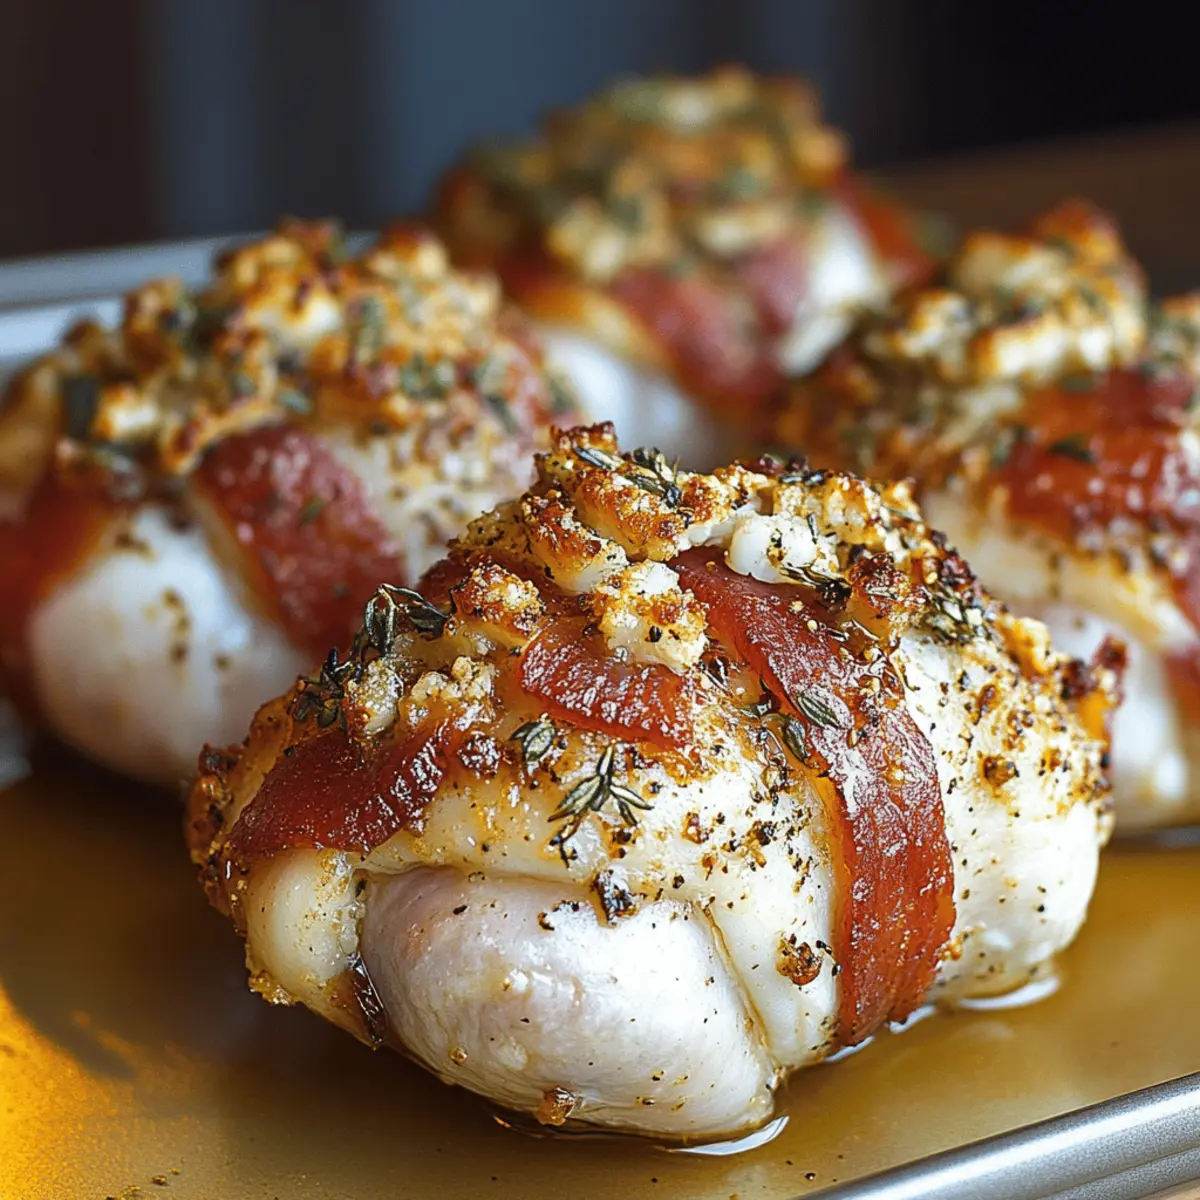
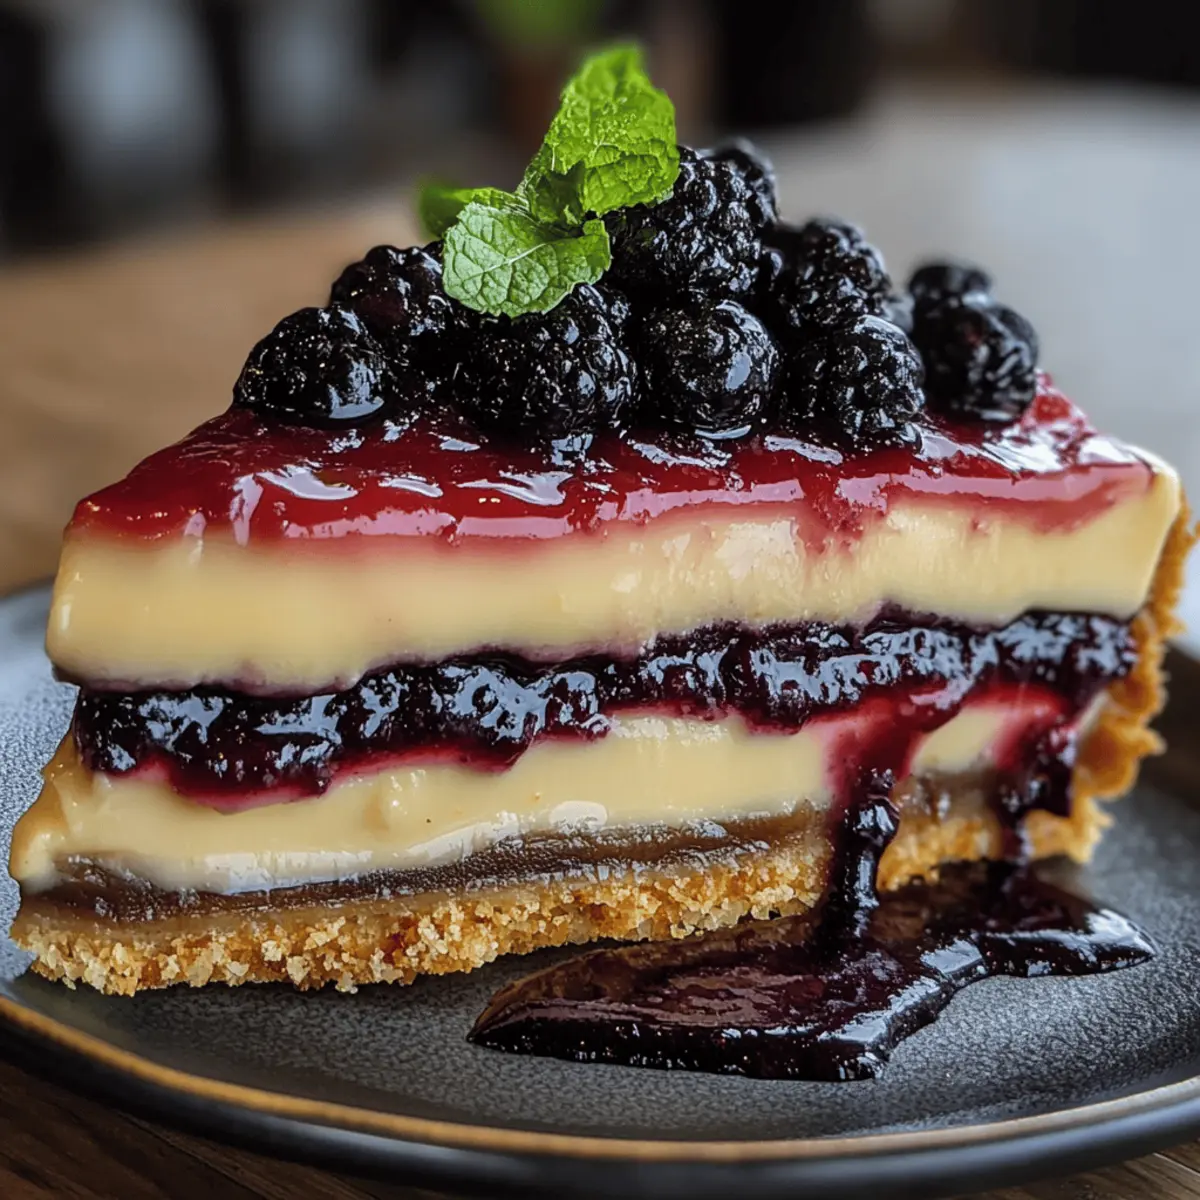
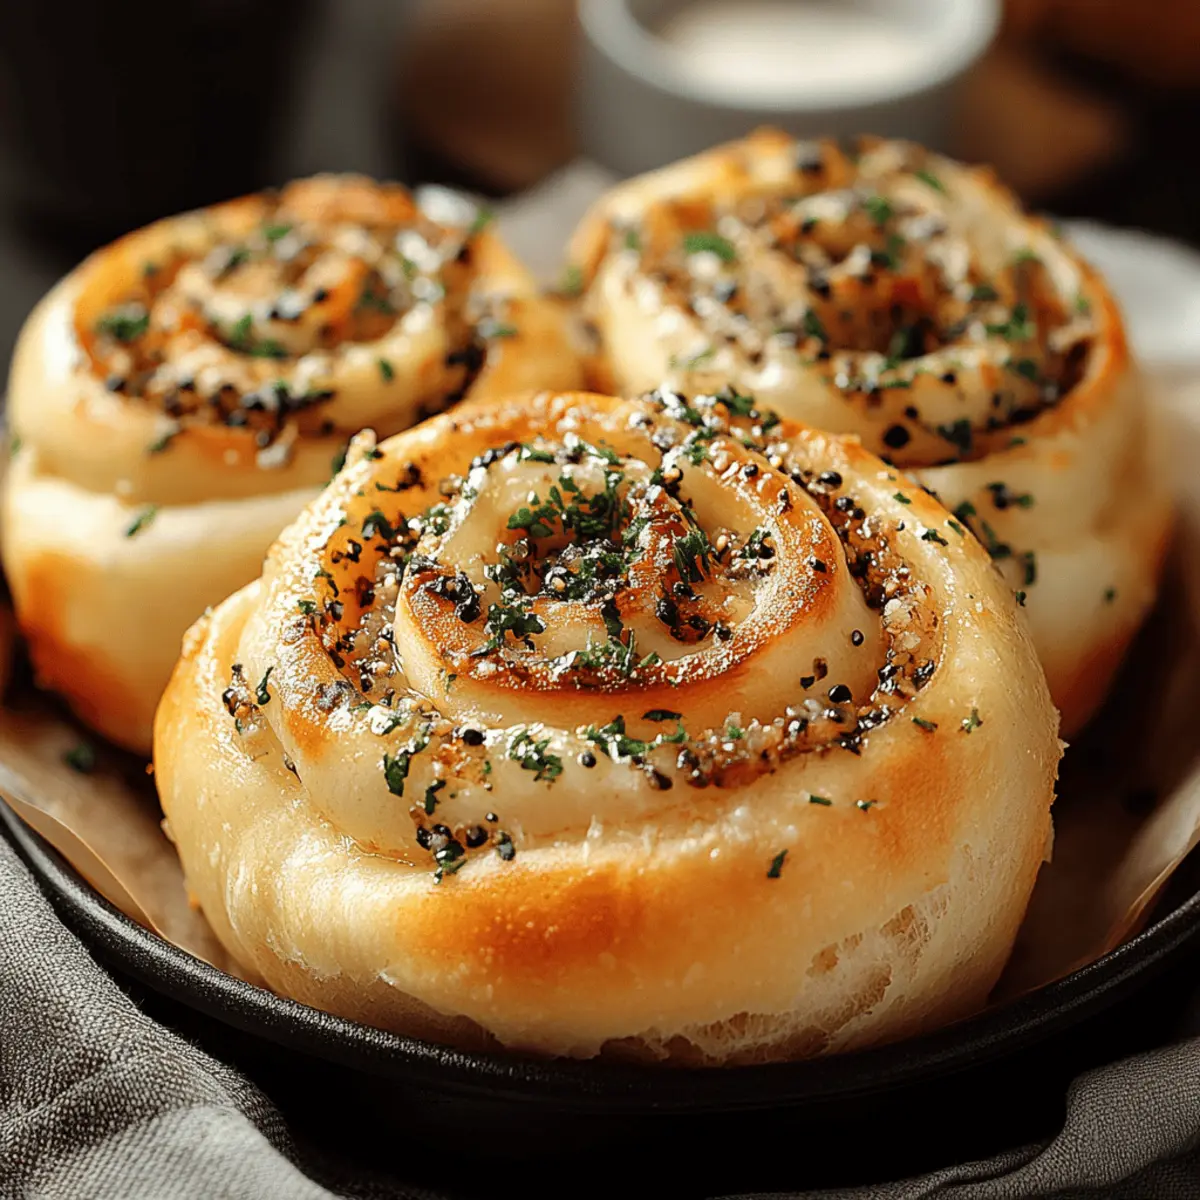
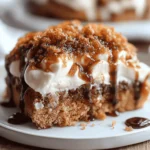
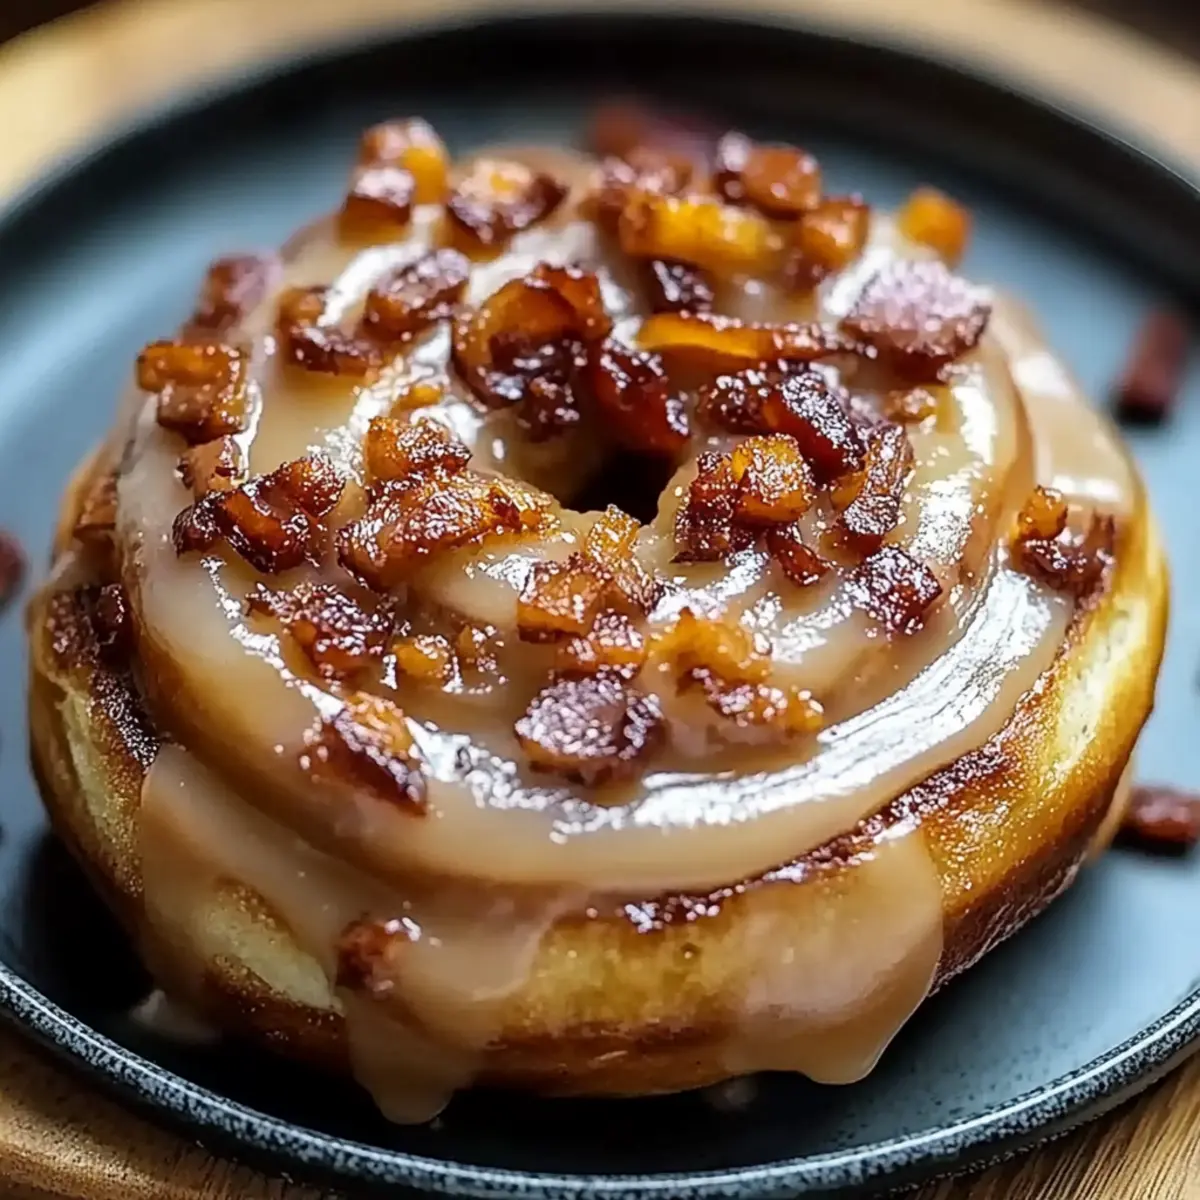
As I stood in my kitchen, the warm scent of cinnamon swirled around me, transporting me to cozy weekends filled with laughter and shared meals. Today, I’m diving into a delightful fusion that will elevate your breakfast game: Bourbon Maple Beef Bacon Cinnamon Rolls. This recipe brings together the comforting nostalgia of cinnamon rolls with the unexpected twist of savory beef bacon and rich bourbon-infused flavors. The beauty of these rolls lies not just in their taste, but also in their ability to impress without hours of prep—they’re a perfect indulgence for lazy brunches or festive gatherings. Plus, who can resist that heavenly glaze of maple sweetness drizzled over warm, pillowy goodness? Ready to create a mouthwatering masterpiece that will have everyone coming back for seconds? Let’s roll with it!

Why Are These Rolls So Irresistible?
Unique Flavor Profile: The combination of savory beef bacon and sweet bourbon creates a mouthwatering flavor that’s far from ordinary.
Quick Preparation: Despite the gourmet taste, these rolls require minimal fuss, making them perfect for both novice and experienced cooks.
Crowd-Pleasing Treat: Serve these at your next brunch or gathering, and watch your guests rave about the unforgettable twist they bring to traditional cinnamon rolls.
Heavenly Glaze: Topping off these rolls with a maple syrup glaze adds an extra layer of sweetness that perfectly complements the flavors below.
Make Ahead Option: You can prepare the dough in advance and refrigerate it overnight, allowing you to enjoy these delicious rolls with a time-saving twist in the morning.
Indulge in this recipe that elevates classic comfort food to a new level and keeps your kitchen filled with warm, inviting aromas!
Ingredients for Bourbon Maple Beef Bacon Cinnamon Rolls
For the Dough
• 4 cups all-purpose flour – a key ingredient for a soft, fluffy texture.
• 1/4 cup granulated sugar – enhances sweetness and helps activate the yeast.
• 1 packet (2 1/4 tsp) active dry yeast – this is essential for making the rolls rise beautifully.
• 1 teaspoon salt – balances flavors for a delicious dough.
• 1 cup whole milk, warmed – the warmth activates the yeast for a nice rise.
• 1/4 cup unsalted butter, melted – adds richness; make sure it’s not too hot to avoid killing the yeast.
• 2 large eggs – contributes to a tender, rich dough.
For the Filling
• 1/2 cup beef bacon, cooked and crumbled – adds a savory twist that pairs perfectly with sweetness.
• 1/2 cup brown sugar – provides deep, molasses-like sweetness for the filling.
• 1 tablespoon ground cinnamon – the warm spice that gives cinnamon rolls their classic flavor.
• 1/4 cup bourbon – infuses the filling with a warm, rich flavor like no other.
• 1/4 cup additional unsalted butter, softened – ensures easy spreading for the filling.
For the Glaze
• 1/4 cup powdered sugar – adds sweetness for the glaze, making it a delightful finish.
• 1/2 cup maple syrup – brings a rich flavor that harmonizes with the bourbon and bacon.
Dive into the delightful creation of these Bourbon Maple Beef Bacon Cinnamon Rolls—a warm, comforting treat that’s perfect for any occasion!
Step‑by‑Step Instructions for Bourbon Maple Beef Bacon Cinnamon Rolls
Step 1: Activate the Yeast
In a small bowl, combine the warmed milk and granulated sugar. Sprinkle the active dry yeast over the top and let it sit for 5 to 10 minutes until frothy, indicating that the yeast is active. This step is crucial for creating light and fluffy Bourbon Maple Beef Bacon Cinnamon Rolls.
Step 2: Mix Dry Ingredients
In a large mixing bowl, whisk together the all-purpose flour and salt, ensuring they are well combined. This dry mixture will provide the foundation for your dough. As you prepare, take in the comforting aroma of the flour, setting the stage for your decadent rolls.
Step 3: Combine Wet Ingredients
In a separate bowl, whisk together the melted butter, eggs, bourbon, and the activated yeast mixture. This combination will infuse your dough with rich flavors. Pour the wet ingredients into the dry ingredient bowl, stirring gently until a cohesive dough forms.
Step 4: Knead the Dough
Transfer the dough to a floured surface and knead it for about 5 minutes or until it feels smooth and elastic. You want to achieve a nice pliable texture that indicates the gluten has developed. As you knead, watch for a slight sheen forming on the surface of your dough.
Step 5: Let the Dough Rise
Place the kneaded dough in a greased bowl and cover it with a clean cloth. Allow it to rise in a warm area for about 1 hour or until it has doubled in size. The dough should feel airy and light, promising the delightful softness of your Bourbon Maple Beef Bacon Cinnamon Rolls.
Step 6: Prepare the Filling
While the dough rises, combine the brown sugar, ground cinnamon, and crumbled beef bacon in a small bowl. This mixture will create a heavenly filling that complements the sweet maple glaze and adds savory depth. Set aside for later use.
Step 7: Roll Out the Dough
Once the dough has risen, gently punch it down and roll it out on a floured surface into a rectangle, about 1/4 inch thick. This will create the perfect canvas for your filling. The rolled dough should be even, showcasing your hard work and creating excitement for what’s to come.
Step 8: Spread the Butter
Carefully spread the softened butter over the rolled-out dough, ensuring even coverage. This step is essential for allowing the filling to stick and creating moist, flavorful Bourbon Maple Beef Bacon Cinnamon Rolls. Don’t be shy—cover every inch!
Step 9: Add the Filling
Next, evenly sprinkle the cinnamon-bacon mixture over the buttered dough, gently pressing to adhere. This layer of flavor promises to bring a delightful surprise in every bite. Take a moment to bask in the aroma as you prepare for the final roll-up.
Step 10: Roll the Dough
Starting from one long side, carefully roll the dough into a tight log shape. Use your hands to maintain the shape, ensuring it holds its form. The excitement builds as you prepare to slice this beautiful log into individual pieces that will soon become your Bourbon Maple Beef Bacon Cinnamon Rolls.
Step 11: Slice and Arrange
Cut the rolled dough into 12 equal pieces and place them in a greased baking dish, giving each roll some space to expand. As you lay them out, envision the golden-brown tops that will soon emerge from the oven, filling your kitchen with warmth and sweetness.
Step 12: Second Rise
Cover the baking dish with a cloth and let the rolls rise for another 30 minutes. During this time, preheat your oven to 350°F (175°C). You’ll notice the rolls puffing up, ready to transform into the fluffy treat you crave.
Step 13: Bake the Rolls
Once the rolls have risen, place them in the preheated oven and bake for 20 to 25 minutes or until golden brown on top. This is the moment to savor—the aroma of spices and sweetness wafting through your home, promising a delightful treat ahead.
Step 14: Make the Glaze
While the rolls bake, mix the powdered sugar with maple syrup in a small bowl to create a smooth glaze. Adjust the consistency to your liking, envisioning it drizzling over the warm rolls for that perfect finishing touch.
Step 15: Glaze and Serve
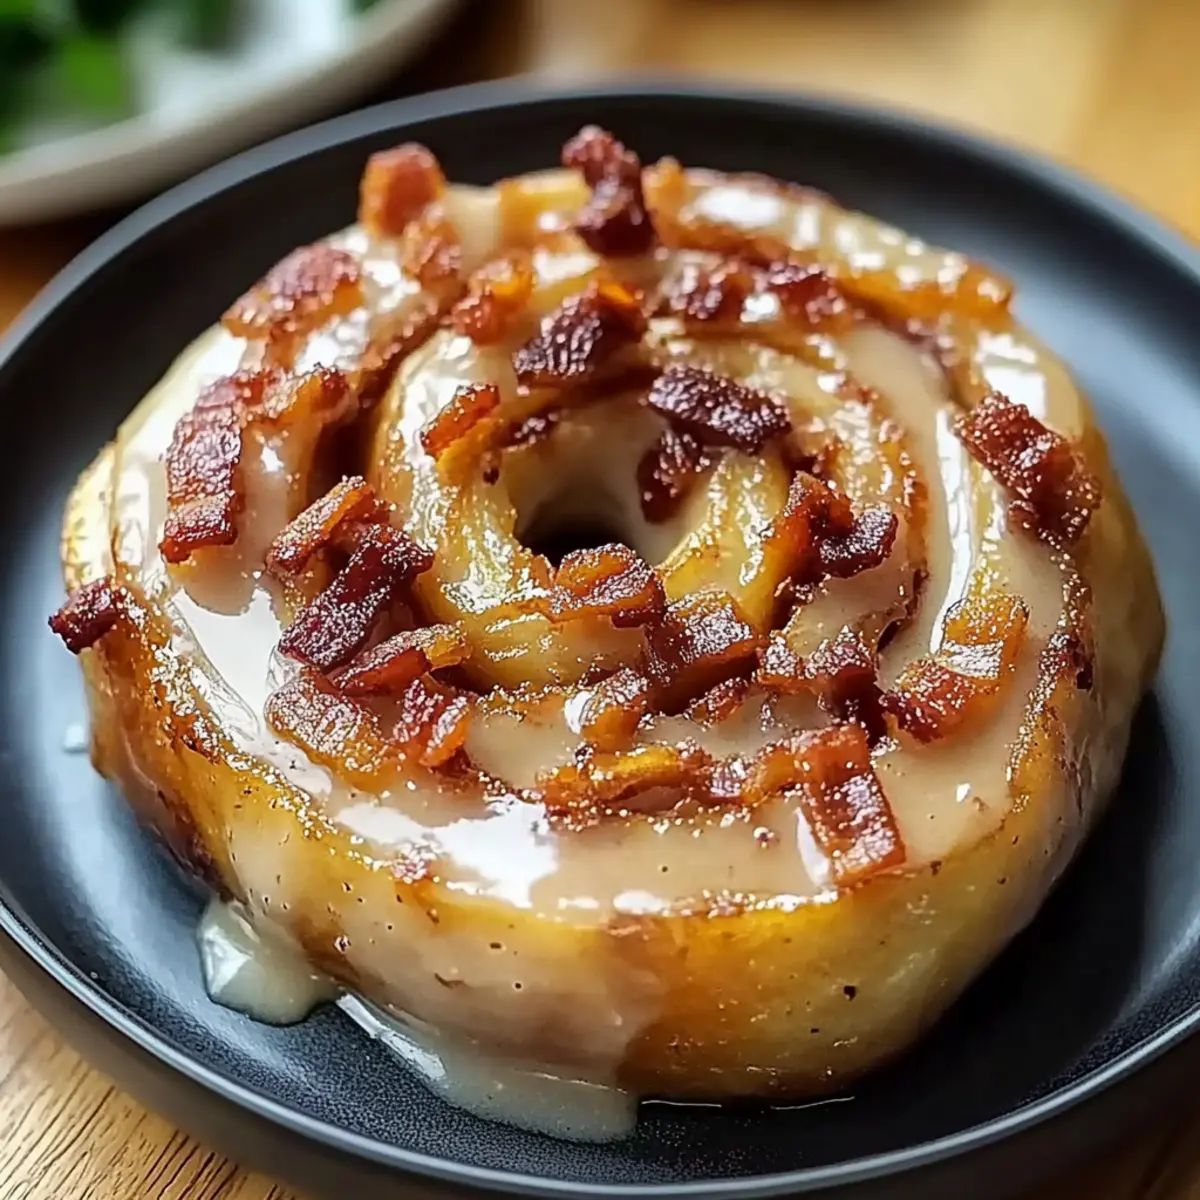
When the rolls are golden and fragrant, remove them from the oven and drizzle the maple glaze generously over the warm Bourbon Maple Beef Bacon Cinnamon Rolls. Let the glaze soak in a bit before serving to create that touch of heaven on earth!
Make Ahead Options
These Bourbon Maple Beef Bacon Cinnamon Rolls are perfect for busy mornings and make-ahead meal planning! You can prepare the dough and fill it up to 24 hours in advance. Simply follow the instructions until you’ve sliced the rolls, then cover and refrigerate them. When you’re ready to bake, let them rise for about 30 minutes on the counter while your oven preheats to 350°F (175°C). This allows for a gentle relaxation of the dough after refrigeration, ensuring they still rise beautifully. And remember, refrigerating helps maintain their quality and freshness, so you can enjoy these delightful rolls just as delicious as the day you made them!
What to Serve with Bourbon Maple Beef Bacon Cinnamon Rolls
Imagine a cozy brunch spread filled with delightful contrasts of sweet and savory that will warm your heart and tantalize your taste buds.
-
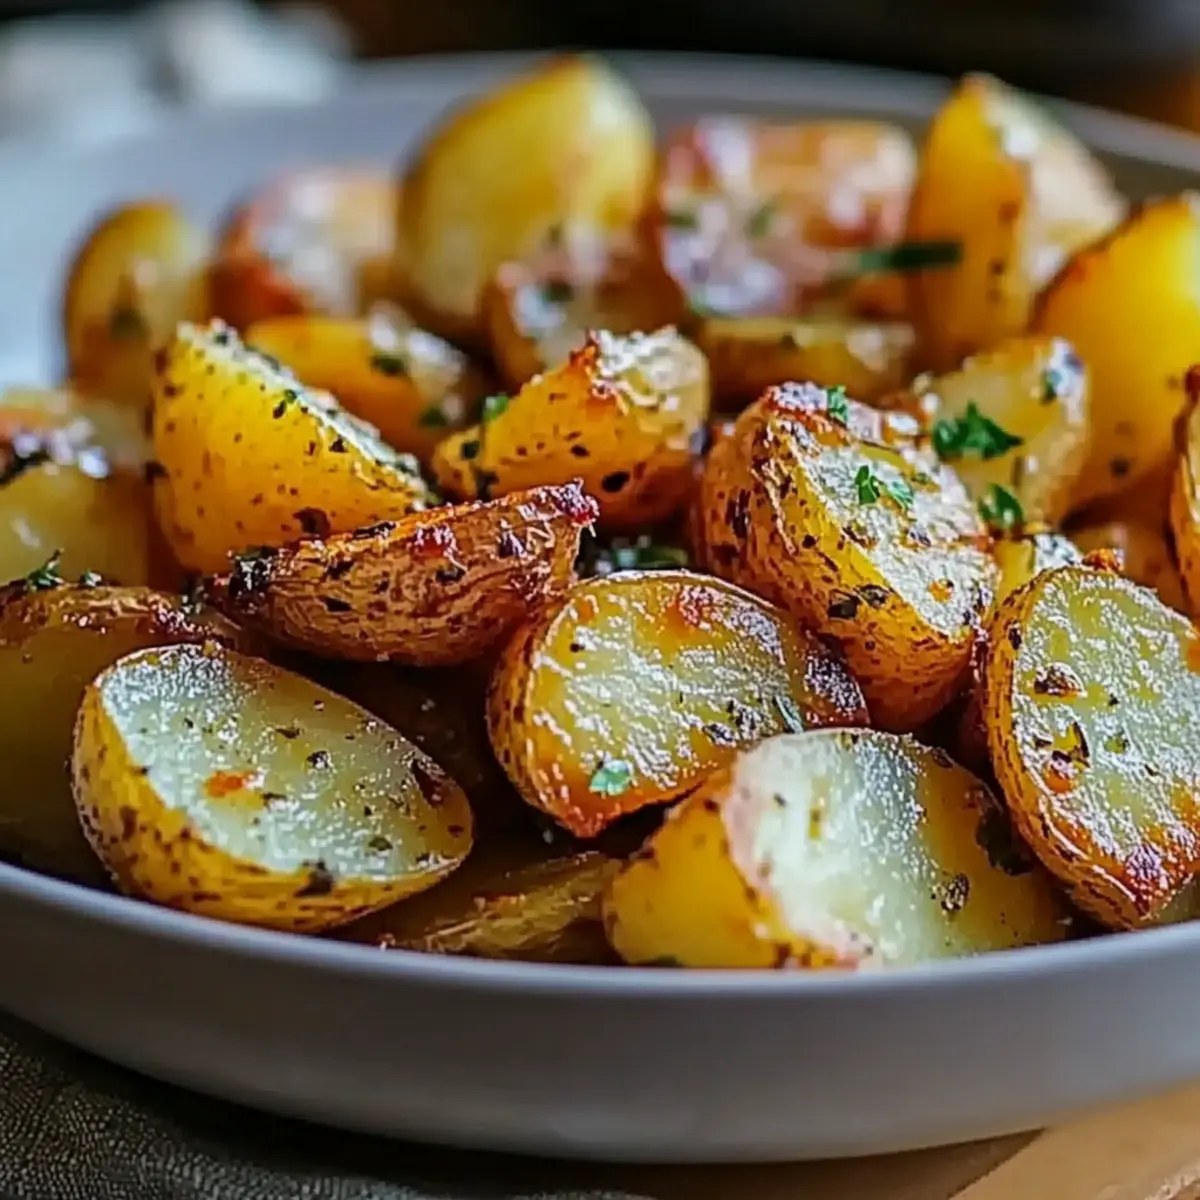
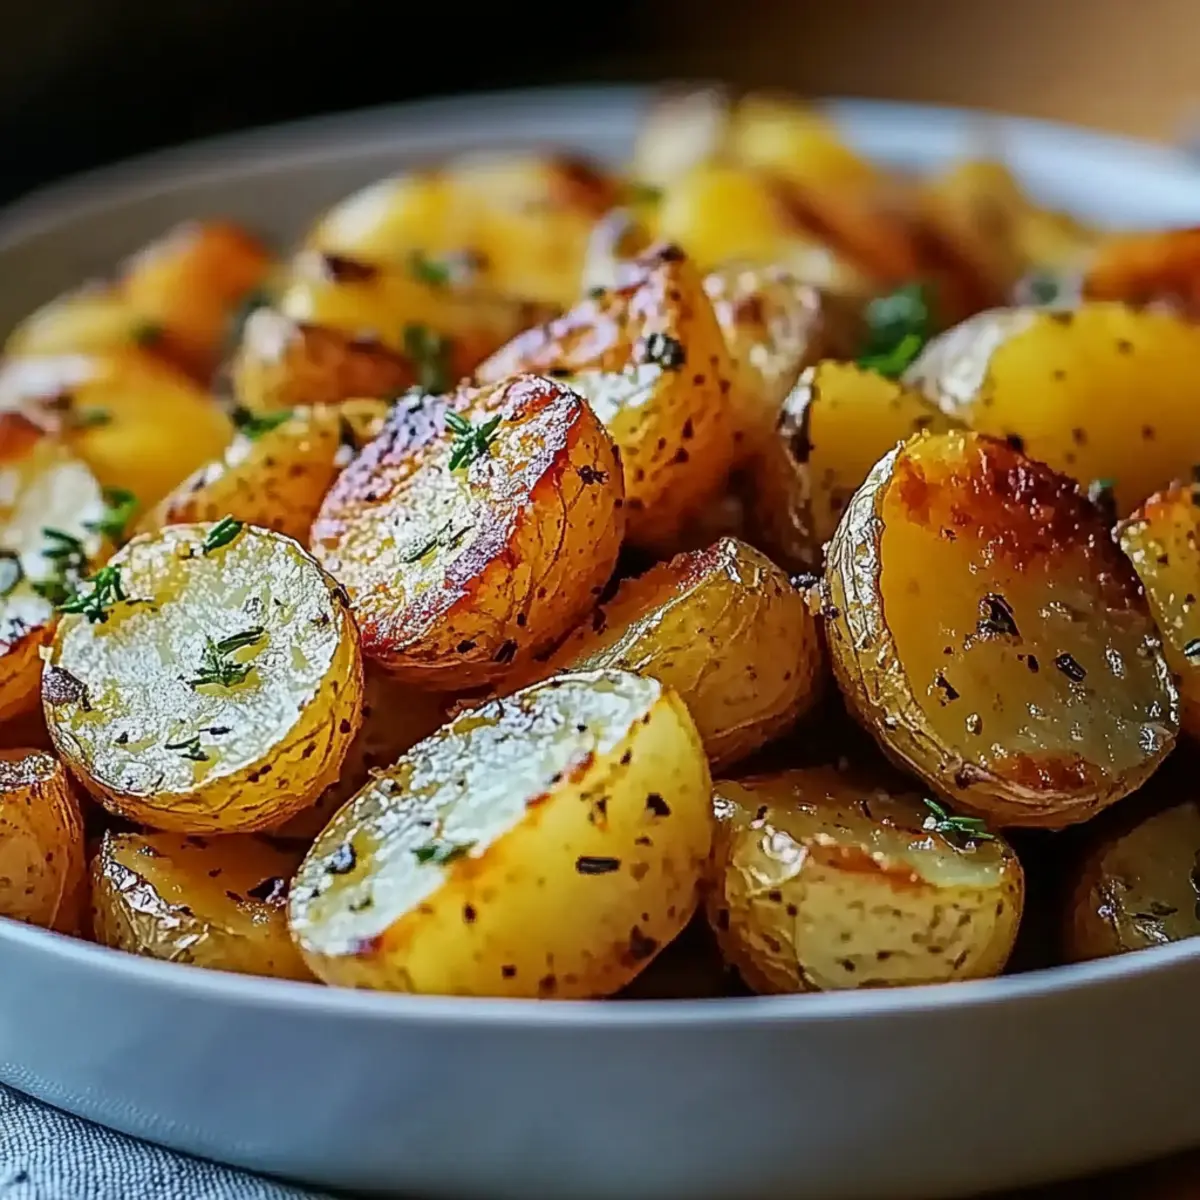
Crispy Hash Browns: These golden, crunchy potatoes complement the soft, fluffy rolls perfectly, adding a delightful texture contrast.
-
Fresh Mixed Greens Salad: A vibrant salad with a tangy vinaigrette brightens the meal, balancing the richness of the cinnamon rolls. Its fresh crunch will lighten your plate.
-
Savory Quiche: A cheesy, eggy quiche with vegetables or meats offers a satisfying warmth that harmonizes beautifully with the bourbon-infused rolls.
-
Fruit Compote: The sweet, warm burst of seasonal fruit brings an excellent tangy contrast to the rolls, enhancing their decadence without overwhelming.
-
Creamy Yogurt Parfait: Layered with fruits and granola, this parfait offers a refreshing bite alongside your sweet rolls, making it a well-rounded brunch treat.
-
Coffee or Espresso: A rich cup of coffee enhances the flavors of your cinnamon rolls, making for a comforting beverage pairing that warms the soul.
-
Maple Flavored Cocktails: Elevate your brunch experience with a cocktail that highlights maple flavors, complementing the sweet glaze of the rolls.
Each of these pairings creates a delicious meal experience that invites everyone to linger a little longer at the table, enjoying flavors that dance together in harmony.
Bourbon Maple Beef Bacon Cinnamon Rolls Variations
Feel free to get creative and make these rolls your own with these fun twists that will surely impress your taste buds!
- Dairy-Free: Substitute whole milk with almond or oat milk and use dairy-free butter to create a scrumptious, lactose-free version.
- Spicy Kick: Add chopped jalapeños or a sprinkle of cayenne pepper to the filling for a delightful heat that beautifully contrasts with the sweetness.
- Vegan: Replace eggs with flaxseed meal and use a vegan butter substitute, ensuring everyone can enjoy these irresistible rolls.
- Nutty Addition: Stir in some chopped walnuts or pecans into the filling for a delightful crunch that adds another layer of flavor and texture.
- Fruit Twist: Incorporate dried cherries or cranberries into the filling; the tartness balances the rich bacon and bourbon beautifully.
- Maple Bacon: Enhance the savory flavor by mixing in bits of maple-glazed bacon, creating an even deeper connection to that sweet and savory profile.
- Gluten-Free: Swap all-purpose flour for a gluten-free blend to cater to those with dietary restrictions while still enjoying soft and delicious rolls.
- Chocolaty Delight: Drizzle melted chocolate or sprinkle chocolate chips into the filling for a rich, decadent treat that will have everyone reaching for more!
Each variation creates an opportunity for new flavor adventures, ensuring every batch of these Bourbon Maple Beef Bacon Cinnamon Rolls is uniquely delightful. If you’re curious about other savory twists, check out our guide on heavenly glazes to make your rolls even more irresistible!
How to Store and Freeze Bourbon Maple Beef Bacon Cinnamon Rolls
Room Temperature: Store leftover rolls in an airtight container at room temperature for up to 3 days. This keeps them soft and fresh without drying out.
Fridge: If you want to extend freshness, refrigerate the rolls in an airtight container for up to 5 days. Just remember to reheat them gently before serving for that fresh-baked taste.
Freezer: For longer storage, freeze the rolls individually wrapped in plastic wrap and then placed in a freezer-safe bag for up to 2 months. Thaw in the fridge overnight, then warm in the oven before serving.
Reheating: To reheat, place the rolls in a preheated oven at 350°F (175°C) for about 10 minutes. This will help revive their fluffy texture and warm up the delicious flavors of bourbon and beef bacon.
Tips for the Best Bourbon Maple Beef Bacon Cinnamon Rolls
Perfect Yeast Activation: Ensure the milk is warm but not hot (about 110°F) to properly activate the yeast for fluffy rolls.
Knead Well: Don’t rush the kneading process; aim for at least 5 minutes to develop a smooth, elastic dough that’s key for your Bourbon Maple Beef Bacon Cinnamon Rolls.
Proper Rising: Let the dough rise in a warm, draft-free spot. If it’s too cold, the rolls won’t rise properly, leading to denser rolls.
Avoid Overfilling: When adding the filling, spread it evenly without overstuffing. Too much filling can cause spills during baking.
Monitor Baking Time: Ovens can vary, so check your rolls a few minutes early to achieve perfect golden brown tops without burning.
Enjoy the delightful twist of flavors with these tips, and impress your family with these scrumptious rolls!
Bourbon Maple Beef Bacon Cinnamon Rolls Recipe FAQs
What type of beef bacon should I use?
Absolutely! For the best flavor and texture in your Bourbon Maple Beef Bacon Cinnamon Rolls, choose high-quality beef bacon that is thick-cut. This will give you the perfect balance of savory and sweet. You can also opt for turkey bacon if you prefer a leaner alternative, but the flavor will differ slightly.
How should I store leftover rolls?
For optimal freshness, I recommend storing leftover Bourbon Maple Beef Bacon Cinnamon Rolls in an airtight container at room temperature for up to 3 days. If you want to keep them longer, transferring them to the refrigerator can extend their shelf life to about 5 days. Just reheat them gently before serving to recapture that soft, fluffy texture!
Can I freeze these cinnamon rolls?
Yes, indeed! To freeze your Bourbon Maple Beef Bacon Cinnamon Rolls, wrap each roll individually in plastic wrap and place them in a freezer-safe bag. They can last up to 3 months in the freezer. When you’re ready to enjoy them, thaw the rolls in the fridge overnight and warm them in the oven at 350°F (175°C) for about 10 minutes to revive their deliciousness.
What if my rolls don’t rise properly?
Very common! If your rolls don’t rise properly, they may have been in too cold a spot or the yeast might not have been activated well. To troubleshoot, ensure your yeast is fresh by checking the expiration date and activate it in warm (not hot) milk, ideally around 110°F (43°C). Additionally, allow your dough to rise in a warm, draft-free area. If it still doesn’t rise well, consider adding a little more warmth next time—with techniques like placing the bowl in a slightly warmed oven (turned off) or covering it with a warm towel.
Are these rolls suitable for anyone with allergies?
Very much so! However, since these Bourbon Maple Beef Bacon Cinnamon Rolls contain wheat, dairy, and eggs, they may not be suitable for those with gluten intolerance or dairy allergies. If you have dietary restrictions, consider using gluten-free flour blends and dairy alternatives for the milk and butter. Always double-check ingredient labels to ensure they meet your needs.
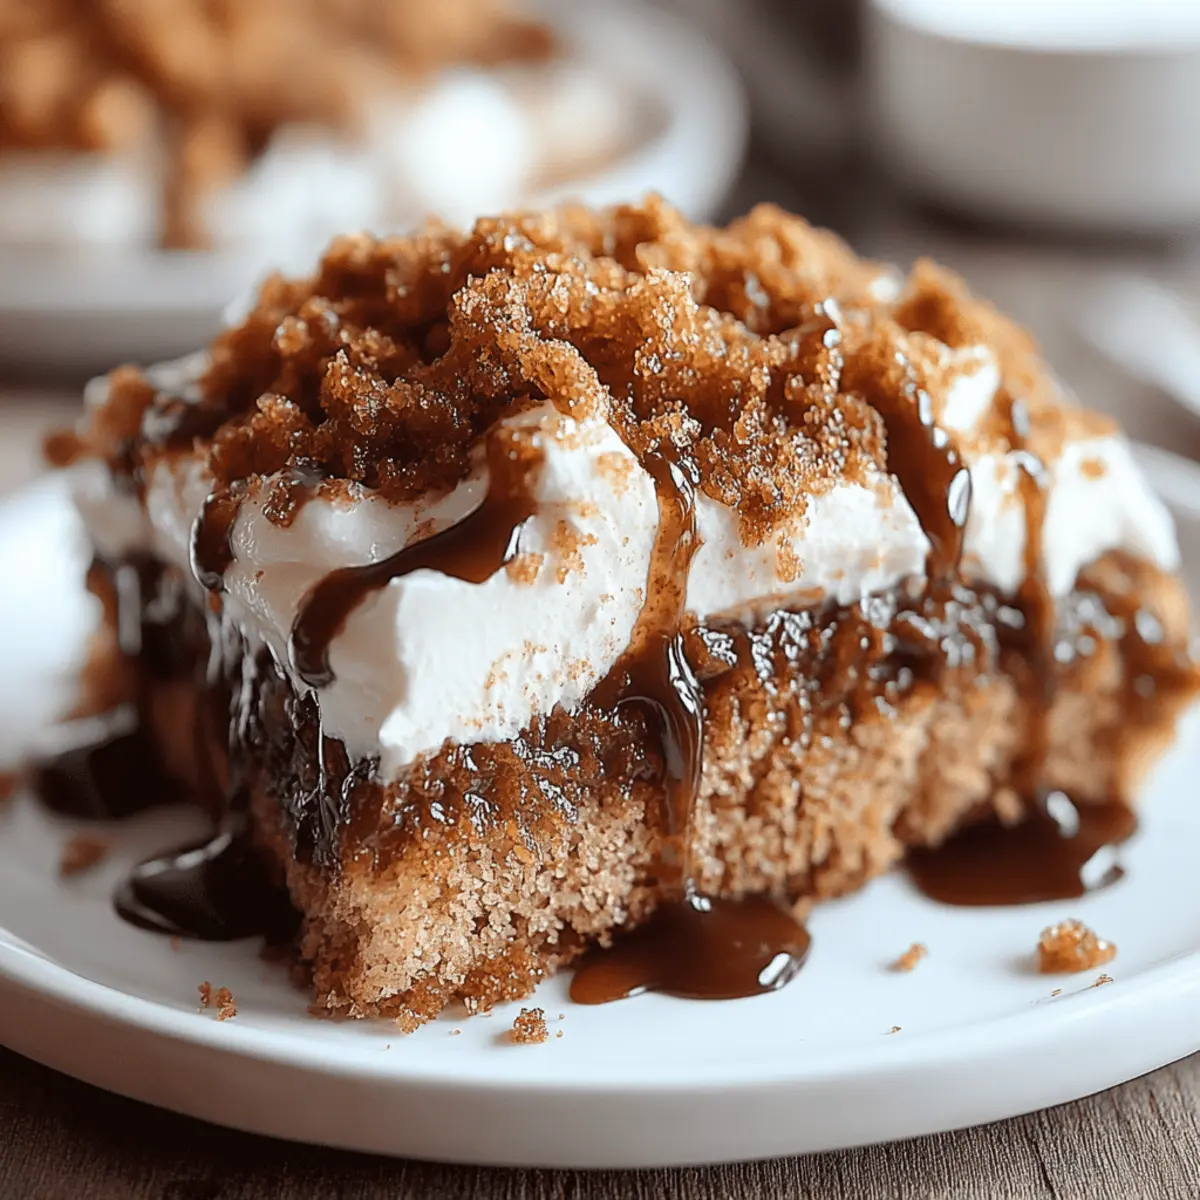
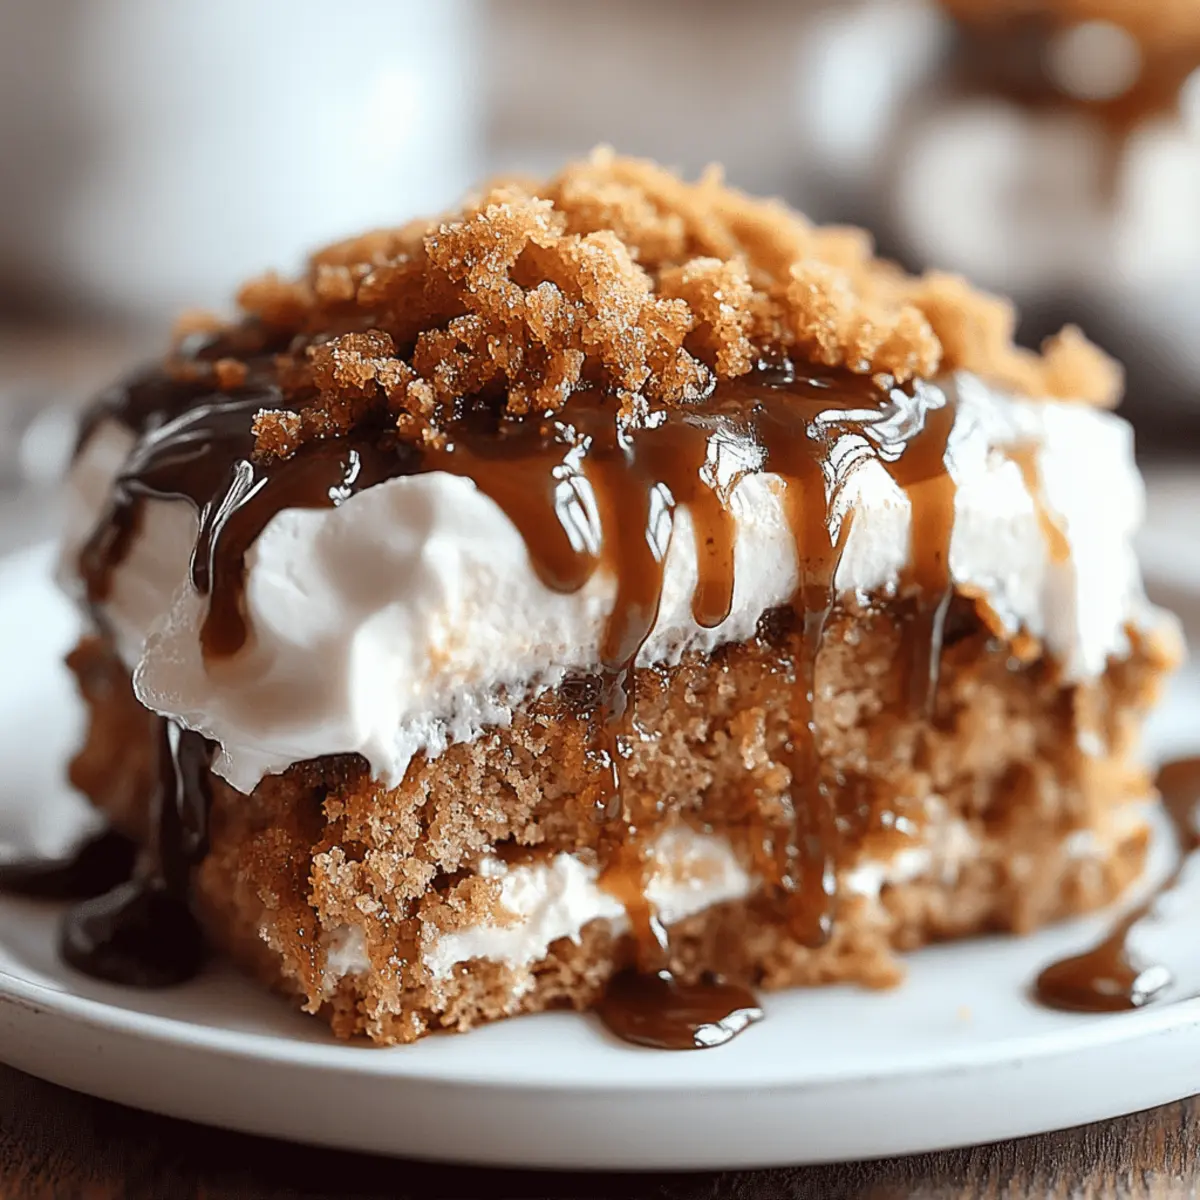
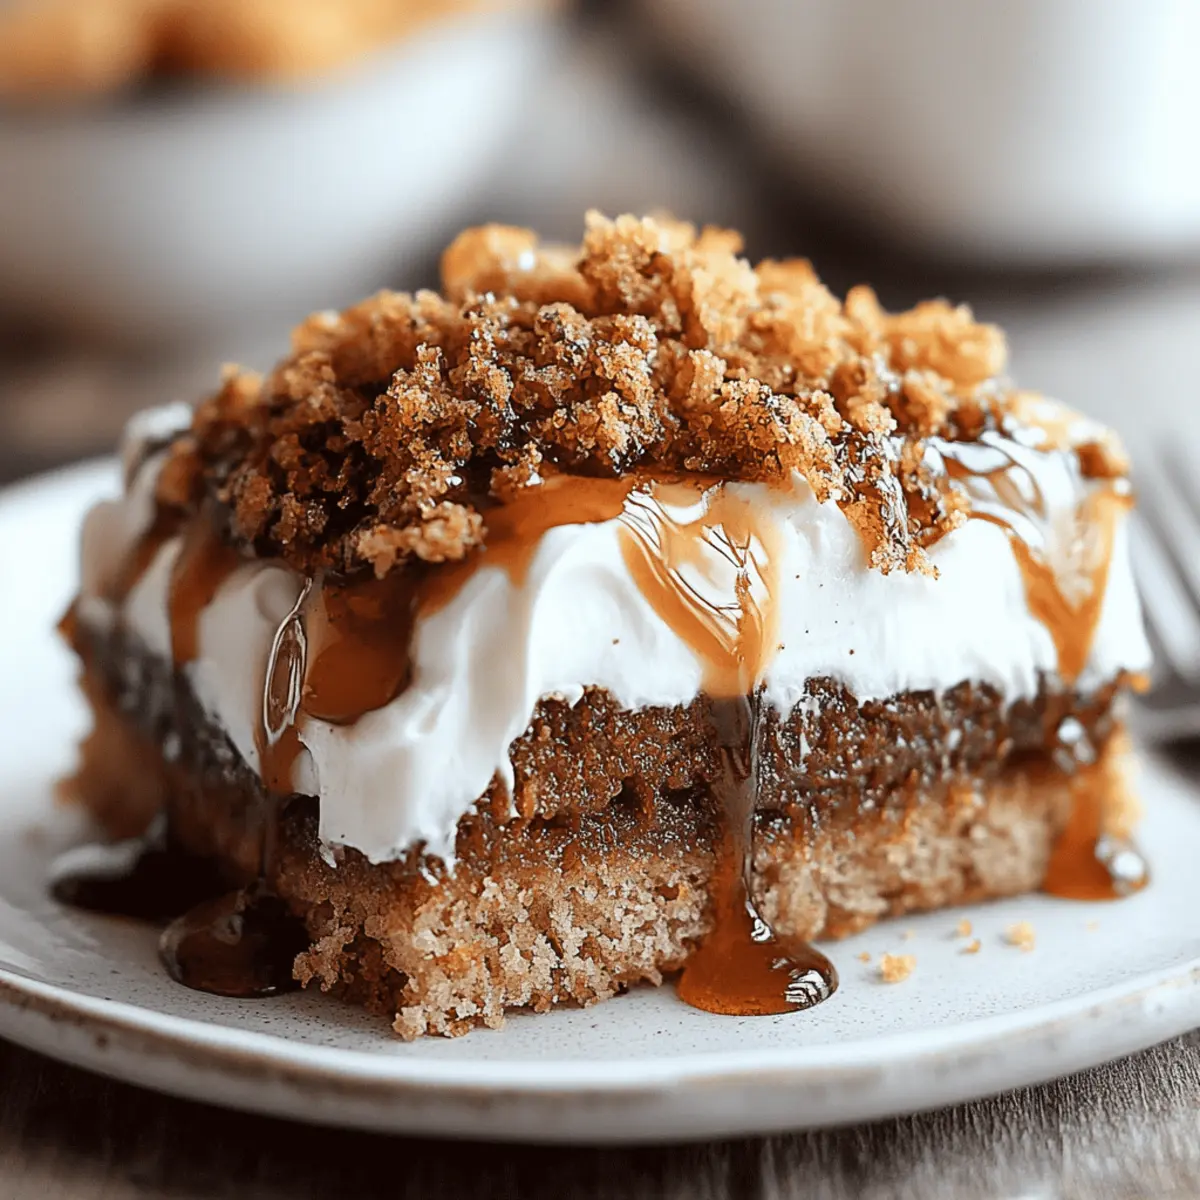
Bourbon Maple Beef Bacon Cinnamon Rolls: A Flavorful Twist
Bourbon Maple Beef Bacon Cinnamon Rolls combine savory beef bacon with sweet bourbon for a unique twist on a comforting breakfast classic.
- Mixing bowls
- Baking Dish
- Oven
- Whisk
- Rolling Pin
For the Dough
- 4 cups all-purpose flour (a key ingredient for a soft, fluffy texture.)
- 1/4 cup granulated sugar (enhances sweetness and helps activate the yeast.)
- 1 packet (2 1/4 tsp) active dry yeast (essential for making the rolls rise beautifully.)
- 1 teaspoon salt (balances flavors for a delicious dough.)
- 1 cup whole milk, warmed (the warmth activates the yeast for a nice rise.)
- 1/4 cup unsalted butter, melted (adds richness; make sure it’s not too hot to avoid killing the yeast.)
- 2 large eggs (contributes to a tender, rich dough.)
For the Filling
- 1/2 cup beef bacon, cooked and crumbled (adds a savory twist that pairs perfectly with sweetness.)
- 1/2 cup brown sugar (provides deep, molasses-like sweetness for the filling.)
- 1 tablespoon ground cinnamon (the warm spice that gives cinnamon rolls their classic flavor.)
- 1/4 cup bourbon (infuses the filling with a warm, rich flavor.)
- 1/4 cup additional unsalted butter, softened (ensures easy spreading for the filling.)
For the Glaze
- 1/4 cup powdered sugar (adds sweetness for the glaze.)
- 1/2 cup maple syrup (brings a rich flavor that harmonizes with the bourbon and bacon.)
Step-by-Step Instructions
- In a small bowl, combine the warmed milk and granulated sugar. Sprinkle the active dry yeast over the top and let it sit for 5 to 10 minutes until frothy.
- In a large mixing bowl, whisk together the all-purpose flour and salt.
- In a separate bowl, whisk together the melted butter, eggs, bourbon, and the activated yeast mixture. Pour the wet ingredients into the dry ingredient bowl, stirring gently until a cohesive dough forms.
- Transfer the dough to a floured surface and knead it for about 5 minutes or until it feels smooth and elastic.
- Place the kneaded dough in a greased bowl and cover it with a clean cloth. Allow it to rise in a warm area for about 1 hour.
- Combine the brown sugar, ground cinnamon, and crumbled beef bacon in a small bowl and set aside.
- Once the dough has risen, gently punch it down and roll it out on a floured surface into a rectangle, about 1/4 inch thick.
- Spread the softened butter over the rolled-out dough, ensuring even coverage.
- Evenly sprinkle the cinnamon-bacon mixture over the buttered dough, gently pressing to adhere.
- Starting from one long side, carefully roll the dough into a tight log shape.
- Cut the rolled dough into 12 equal pieces and place them in a greased baking dish.
- Cover the baking dish with a cloth and let the rolls rise for another 30 minutes. Preheat your oven to 350°F (175°C).
- Once the rolls have risen, place them in the preheated oven and bake for 20 to 25 minutes or until golden brown on top.
- Mix the powdered sugar with maple syrup in a small bowl to create a smooth glaze.
- Remove the rolls from the oven and drizzle the maple glaze generously over the warm rolls.
Ensure proper yeast activation and monitor baking time for best results. Avoid overfilling rolls during preparation.