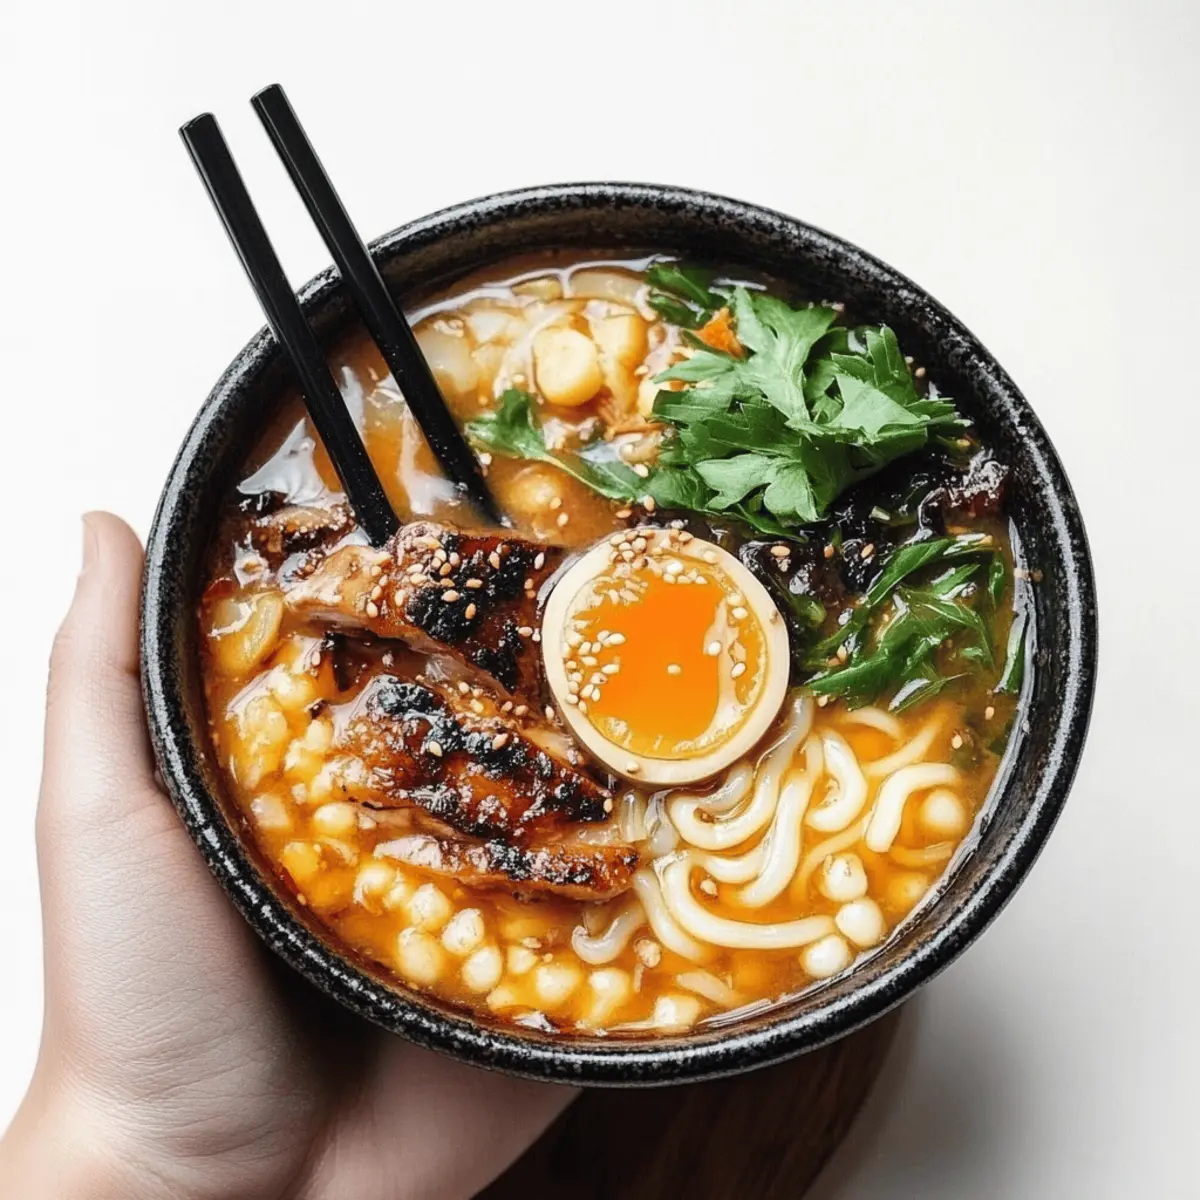
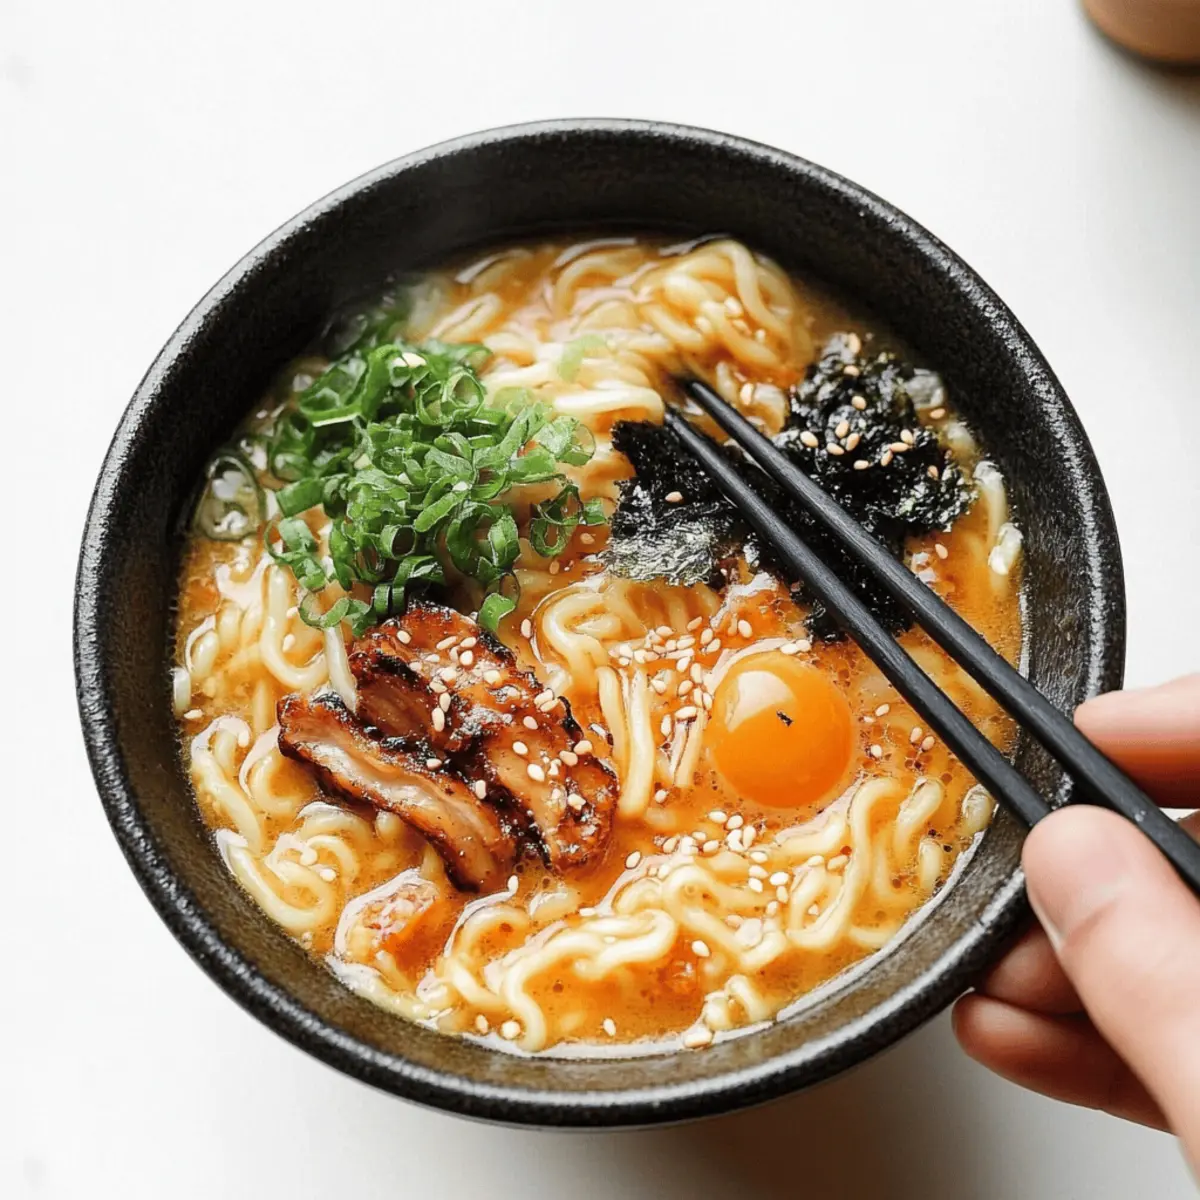
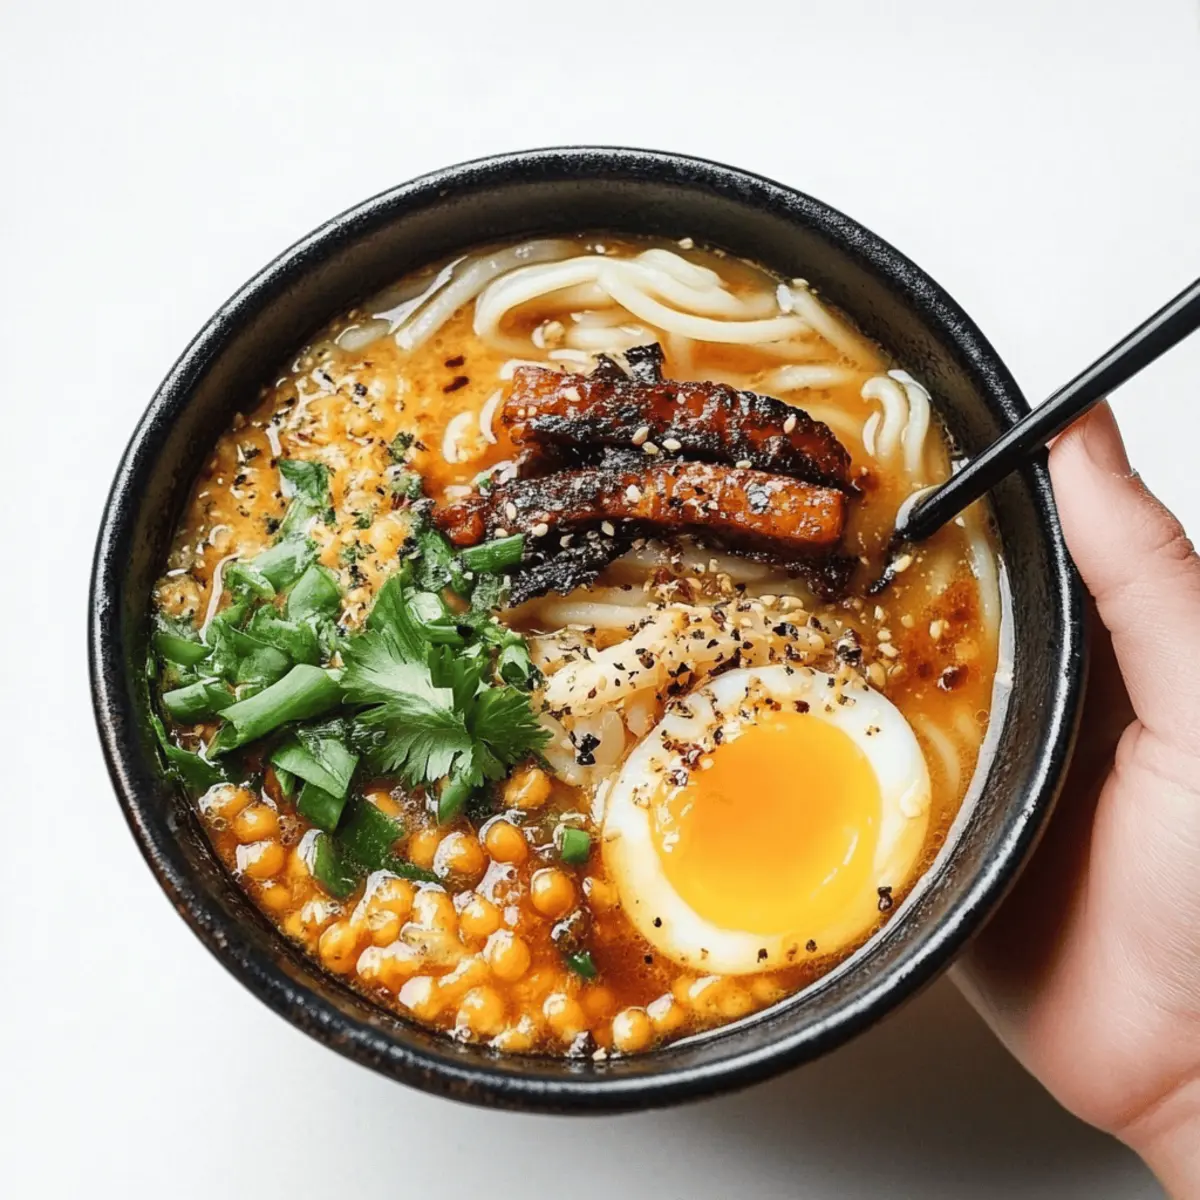
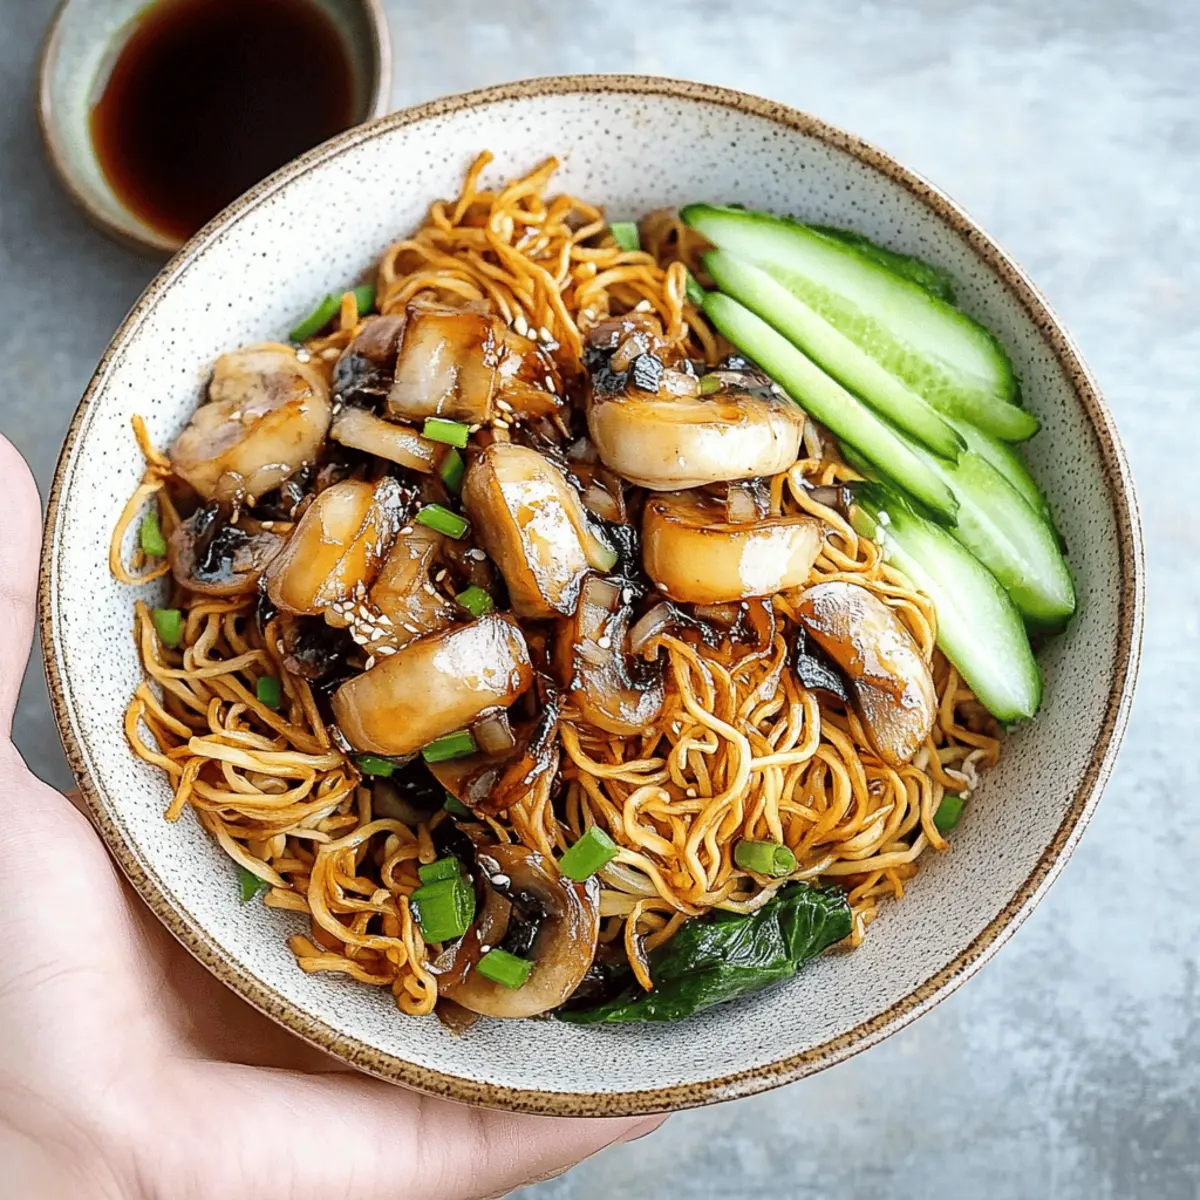
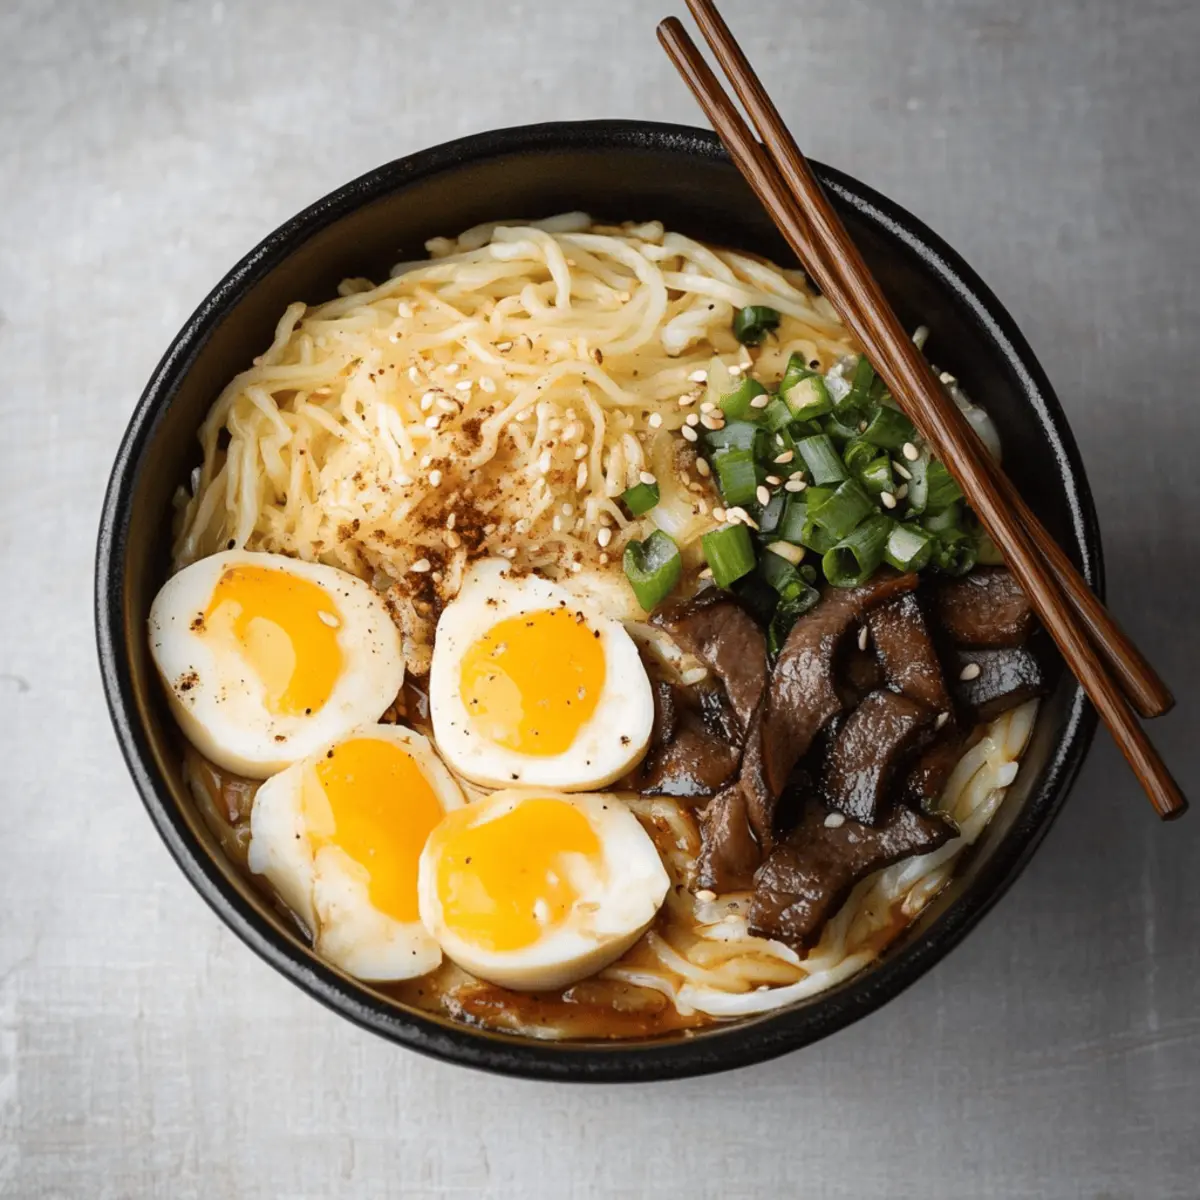
As I wandered through the bustling markets of Kyoto, the enticing aroma of rich, savory broths drew me in. I quickly discovered that a comforting bowl of Creamy Vegetarian Peanut Miso Ramen could transform my average evening into something spectacular. This delightful recipe not only keeps dinner prep under 20 minutes but also ensures you can savor a healthy, homemade meal without the hassle of takeout. The harmony of umami-packed miso combined with the nutty essence of peanut butter creates a symphony of flavors that will brighten up your weeknight menu. Plus, who can resist the colorful toppings of soft-boiled eggs, sweet corn, and vibrant bean sprouts? Ready to elevate your culinary repertoire with a bowl of this scrumptious ramen? Let’s dive in!
Why is this ramen so special?
Quick and Easy: In just 20 minutes, you can whip up this luxurious dish that rivals any restaurant bowl. Perfect for busy nights!
Unforgettable Flavor: The umami from the miso and richness of peanut butter make for an irresistible combination that will leave you wanting more.
Vegetarian Delight: This recipe is 100% vegetarian, satisfying your cravings for a hearty meal without meat while packing a punch with nutrients!
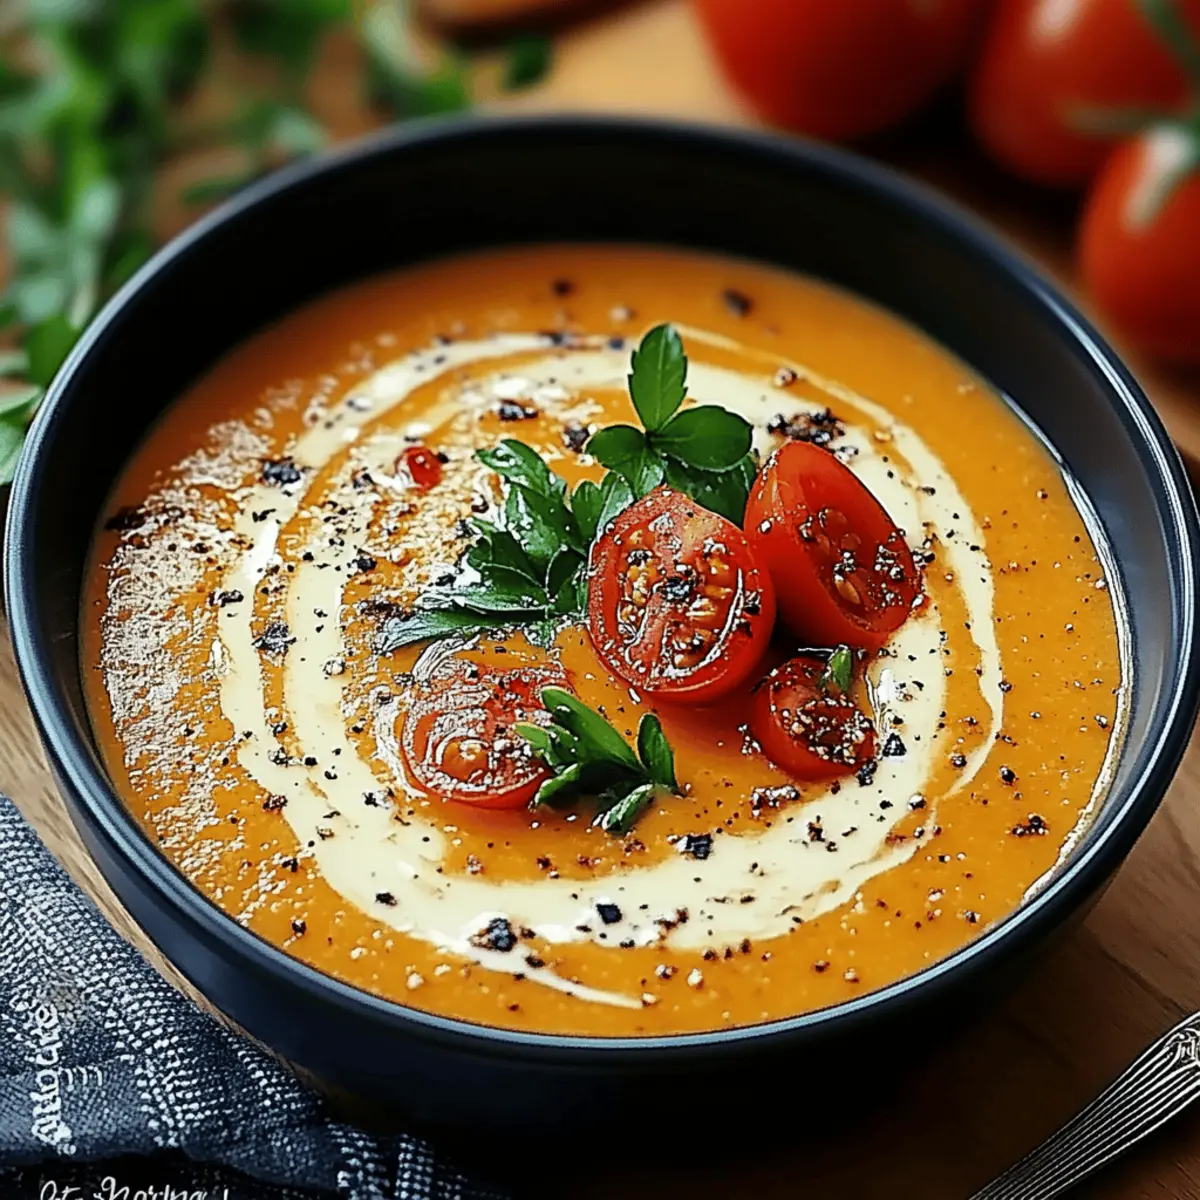
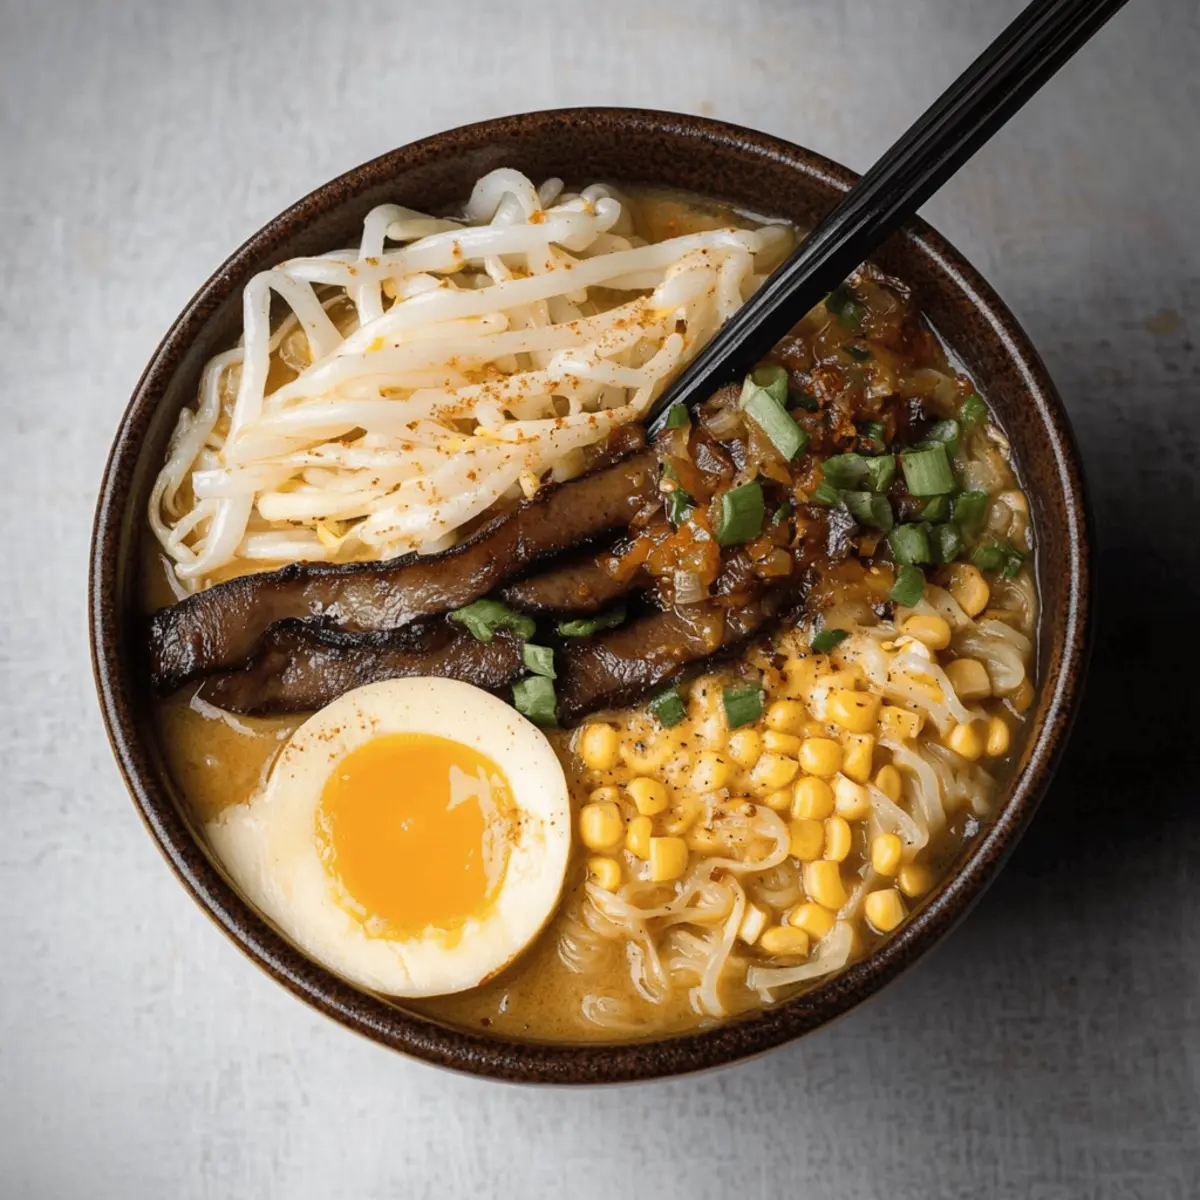
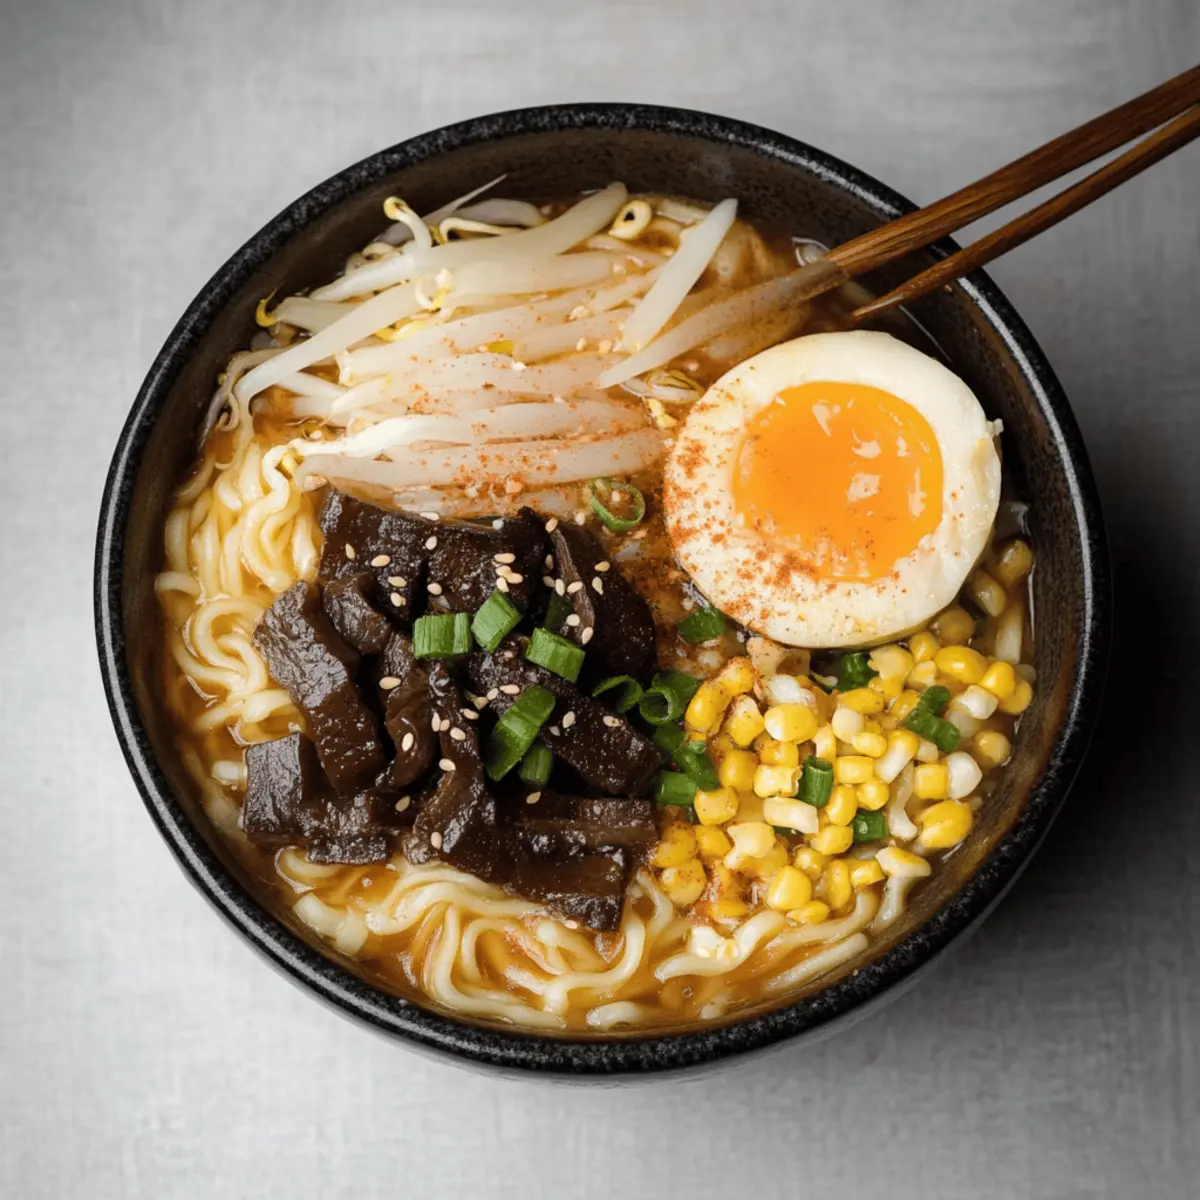
Colorful Toppings: With vibrant ingredients like sweet corn and crunchy bean sprouts, each bowl is a feast for the eyes, sure to impress family and friends.
Personalize Your Bowl: Feel free to adjust the toppings or add extra veggies to make this dish your own, ensuring you create a meal that suits your taste. For more inspiration, check out our guide on cooking with miso.
Creamy Vegetarian Peanut Miso Ramen Ingredients
For the Soup
- Vegetable oil – adds a delicious base flavor for sautéing the vegetables.
- ½ large onion, chopped – enhances aroma and gives depth to the broth.
- 1 large tomato, sliced – adds sweetness and acidity to balance flavors.
- ½ cup shiitake mushrooms – contributes an earthy richness and umami.
- 1 tablespoon garlic, minced – infuses the soup with a warm, comforting aroma.
- 5 cups water – the base to bring all the ingredients together.
- 2 tablespoons organic miso paste – provides a savory umami punch crucial for the ramen.
- 1 tablespoon smooth peanut butter – introduces a creamy texture and nutty taste to the soup.
For the Noodles and Toppings
- 2 packages dry ramen noodles – the heart of the dish, perfectly soaking up flavors.
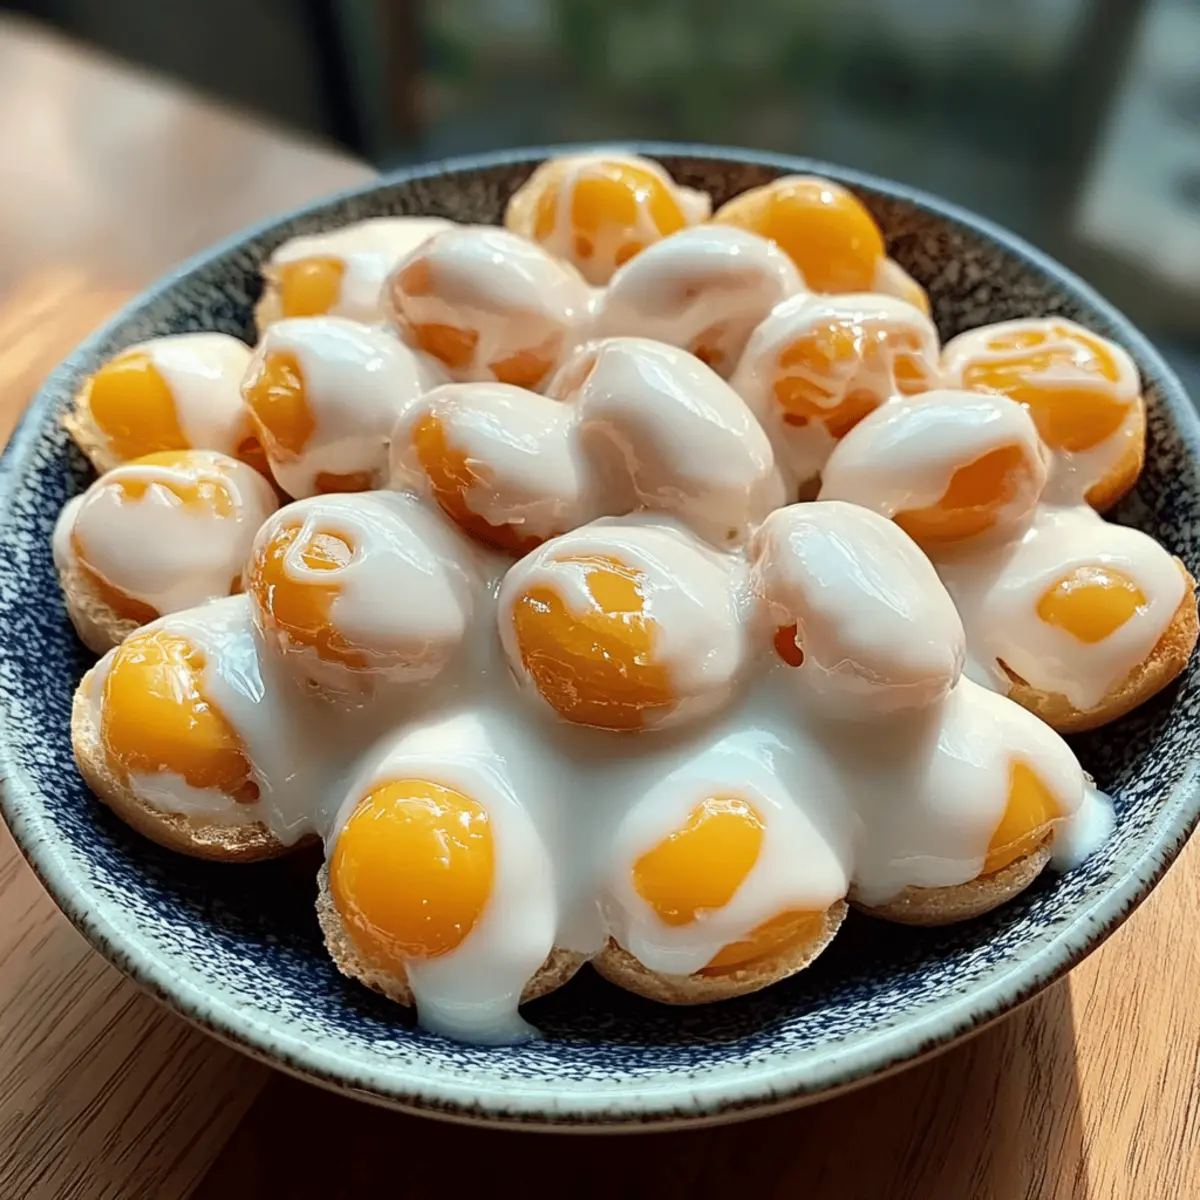
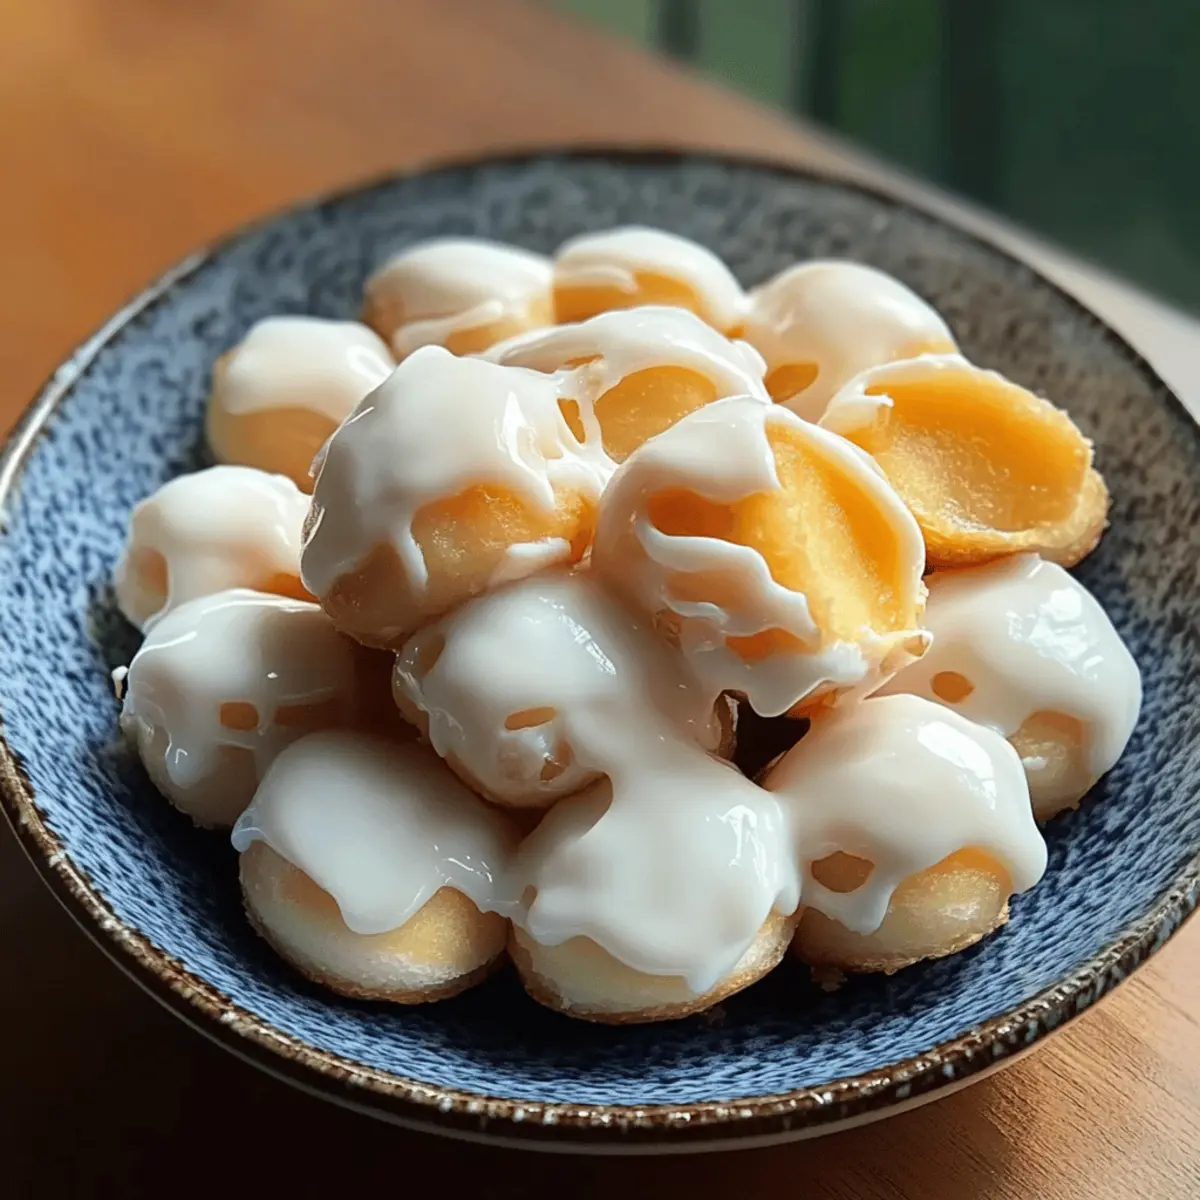
- 2 eggs, soft-boiled – they add protein and a creamy richness when broken.
- ⅓ cup frozen sweet corn, thawed – for a pop of sweetness and color.
- ½ cup bean sprouts – brings crunch and freshness to each bite.
- 1 teaspoon scallions, chopped – for a mild onion flavor and garnish.
- 1 teaspoon white sesame seeds – sprinkle on top for a delightful finish.
Get ready to enjoy your delicious bowl of Creamy Vegetarian Peanut Miso Ramen!
Step‑by‑Step Instructions for Creamy Vegetarian Peanut Miso Ramen
Step 1: Heat the Base
In a large pot over medium heat, pour in 1 tablespoon of vegetable oil and allow it to warm for about 1 minute. Once shimmering, add ½ chopped onion, 1 sliced tomato, ½ cup of shiitake mushrooms, and 1 tablespoon of minced garlic. Stir the mixture well, cooking for about 5 minutes until the tomatoes become soft and mushy, creating a fragrant base for your creamy vegetarian peanut miso ramen.
Step 2: Bring to a Boil
Next, pour in 5 cups of water into the pot and increase the heat to high. Wait for the mixture to come to a rolling boil, which should take about 5–7 minutes. As it heats, you’ll notice the delightful aromas of the sautéed vegetables melding together, setting the stage for the rich flavors that will soon follow.
Step 3: Add Miso and Peanut Butter
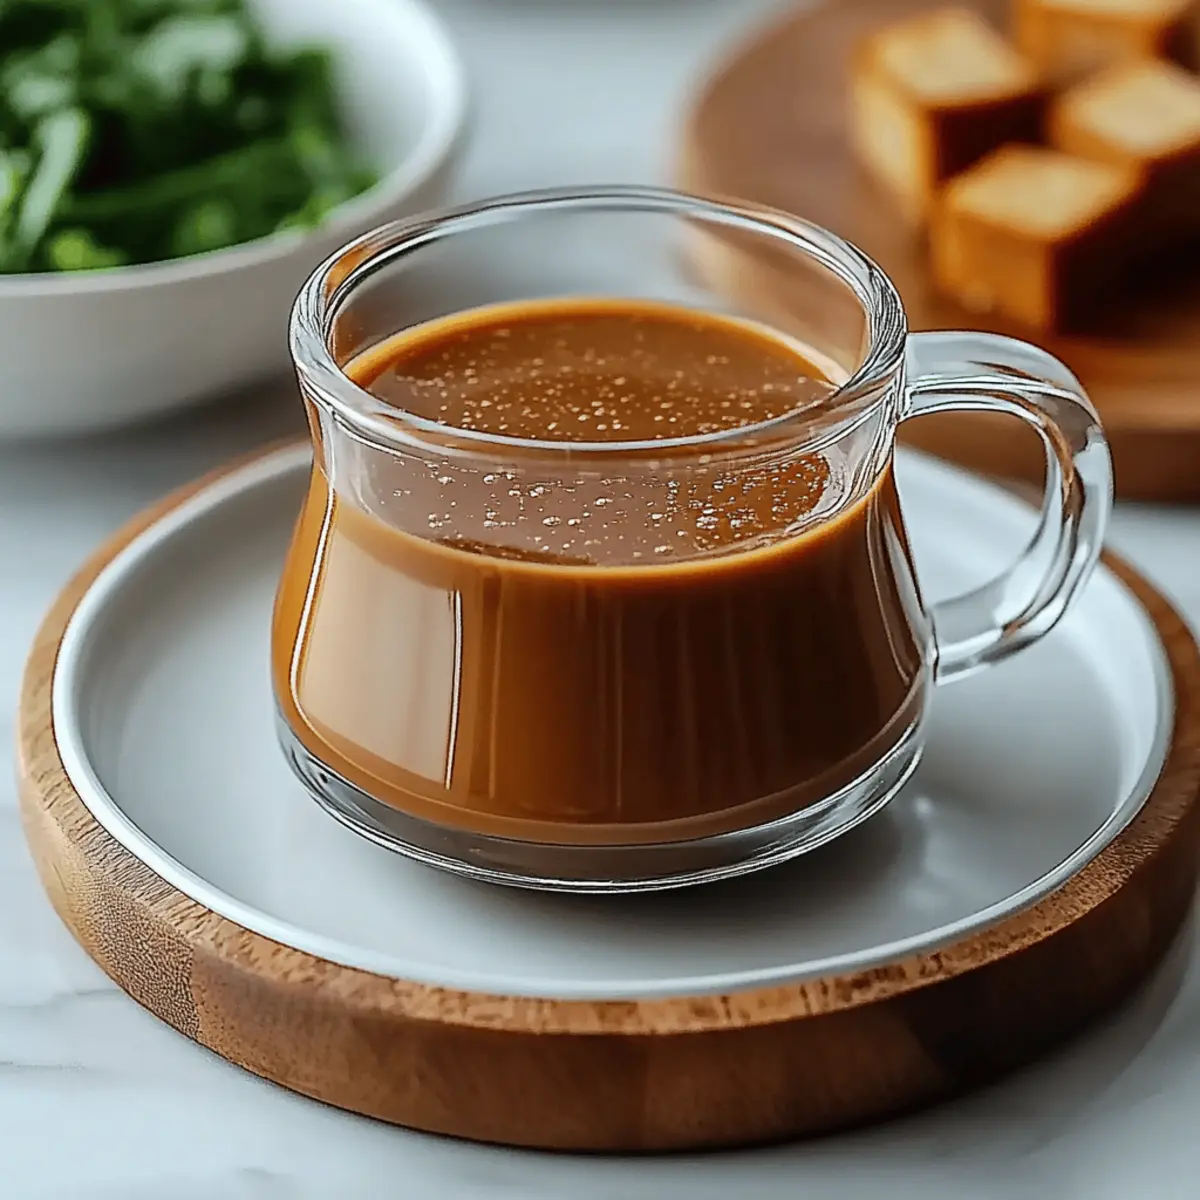
Once boiling, lower the heat to medium and stir in 2 tablespoons of organic miso paste and 1 tablespoon of smooth peanut butter. Whisk them into the broth until fully dissolved, allowing their flavors to infuse. Let the soup simmer uncovered for about 5 minutes, during which time the mixture will thicken slightly, creating a creamy texture perfect for your ramen.
Step 4: Cook the Ramen Noodles
Add 2 packages of dry ramen noodles directly into the pot with your flavorful broth. Cook for 2–3 minutes, stirring occasionally with chopsticks or a spatula to prevent sticking. You’ll know they are done when the noodles are tender and have absorbed the savory broth, creating an irresistible foundation for your creamy vegetarian peanut miso ramen.
Step 5: Serve the Ramen
Divide the creamy ramen soup, complete with noodles, evenly into two large bowls. The vibrant colors of the broth and noodles should create a beautiful contrast, enticing you to dig in. Make sure to leave some room for the lovely toppings to come!
Step 6: Add Toppings
On top of each bowl, add ⅓ cup of thawed frozen sweet corn and ½ cup of bean sprouts for a burst of flavor and crunch. Cut each soft-boiled egg in half and place one half into each bowl, allowing the yolk to create a rich sauce when mixed. Finish with a sprinkle of chopped scallions and white sesame seeds for a delightful garnish. Enjoy your comforting bowl of Creamy Vegetarian Peanut Miso Ramen!
Make Ahead Options
These Creamy Vegetarian Peanut Miso Ramen are perfect for meal prep! You can chop the onion, tomato, shiitake mushrooms, and garlic up to 24 hours in advance and store them in the refrigerator to save time. Additionally, you can cook the ramen noodles and refrigerate them for up to 3 days, just be sure to toss them with a bit of oil to prevent sticking. When you’re ready to enjoy your ramen, simply bring the broth (prepared up to 24 hours ahead as well) back to a simmer, add the noodles, and finish with the toppings. Following this method ensures you have a wholesome, delicious meal ready in minutes, just as delightful as when freshly made!
Expert Tips for Creamy Vegetarian Peanut Miso Ramen
Don’t Overcook Noodles: Keep an eye on the ramen noodles to avoid mushiness; they only need 2-3 minutes in boiling water.
Sauté for Flavor: Sauté the vegetables adequately; this step enhances the broth’s flavor base, making your creamy vegetarian peanut miso ramen truly delightful.
Adjust Miso to Taste: Start with less miso paste and add more if needed. It’s easier to increase flavor than to tone it down if it’s too salty.
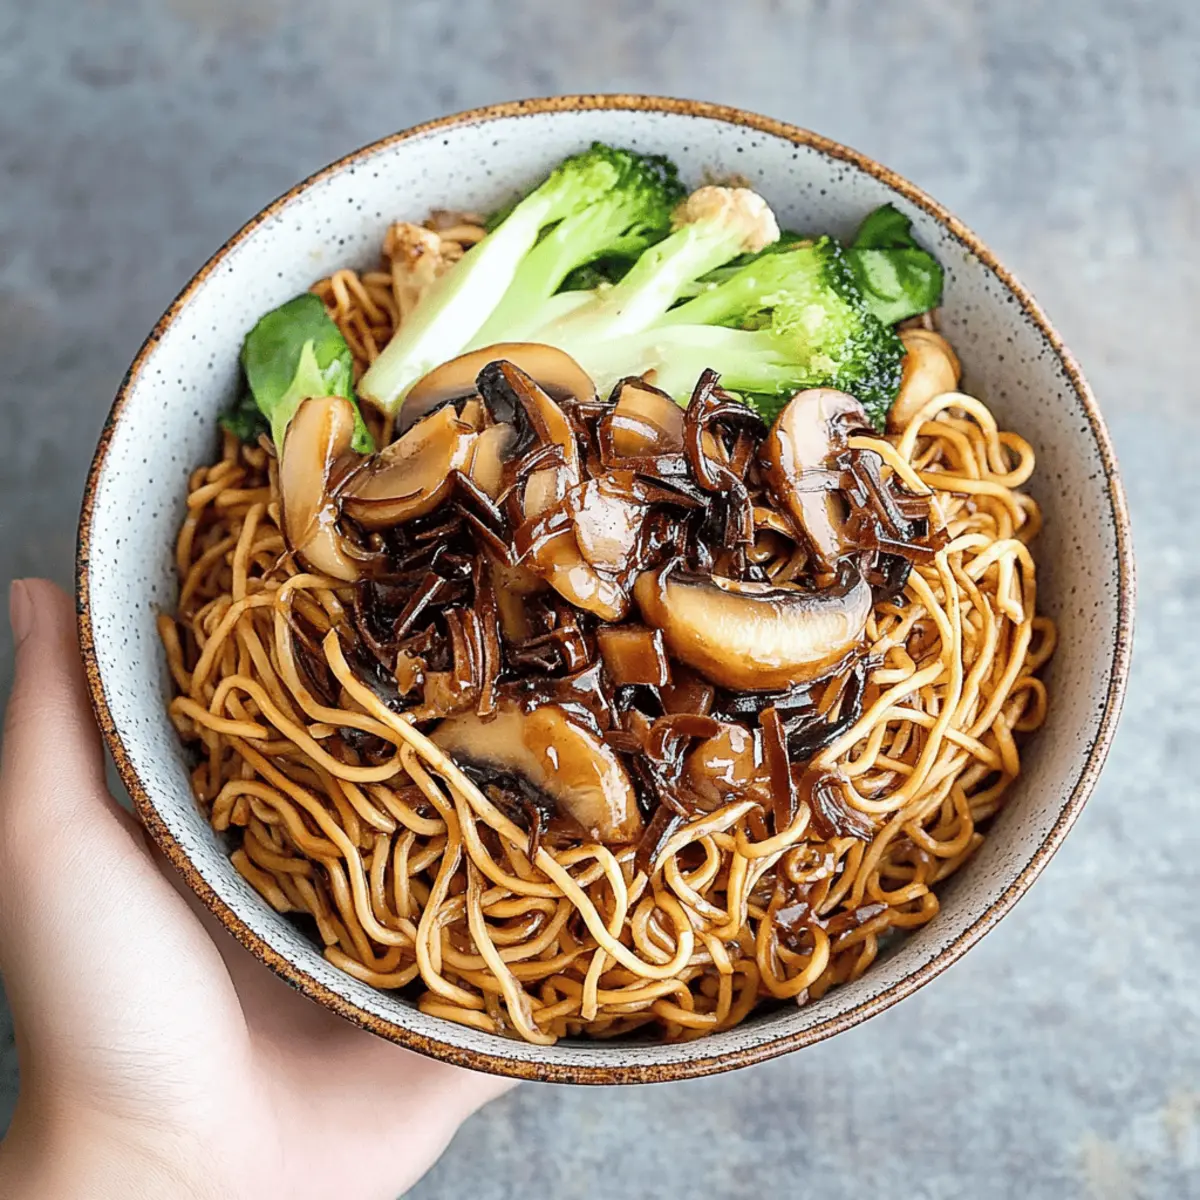
Customize Your Toppings: Feel free to be inventive with your toppings. Add greens like bok choy or even tofu for added protein to make the ramen suit your personal taste.
Use Fresh Ingredients: Opt for fresh vegetables where possible; they add a vibrant color and flavor that frozen ingredients can’t replicate.
How to Store and Freeze Creamy Vegetarian Peanut Miso Ramen
Fridge: Keep any leftover creamy vegetarian peanut miso ramen in an airtight container for up to 3 days. Store the noodles separately if possible to prevent them from becoming soggy.
Freezer: You can freeze the soup base (without noodles and toppings) for up to 2 months. Let it cool completely, then transfer to a freezer-safe container.
Reheating: To reheat, thaw overnight in the fridge, then warm in a pot over low heat until hot. You can add fresh noodles and toppings during reheating for a fresh taste.
Add Fresh Toppings: When serving leftovers, consider adding freshly boiled eggs and crisp vegetables for enhanced flavor and texture!
What to Serve with Creamy Vegetarian Peanut Miso Ramen
Elevate your dining experience with delightful accompaniments that enhance the comforting essence of this creamy ramen.
-
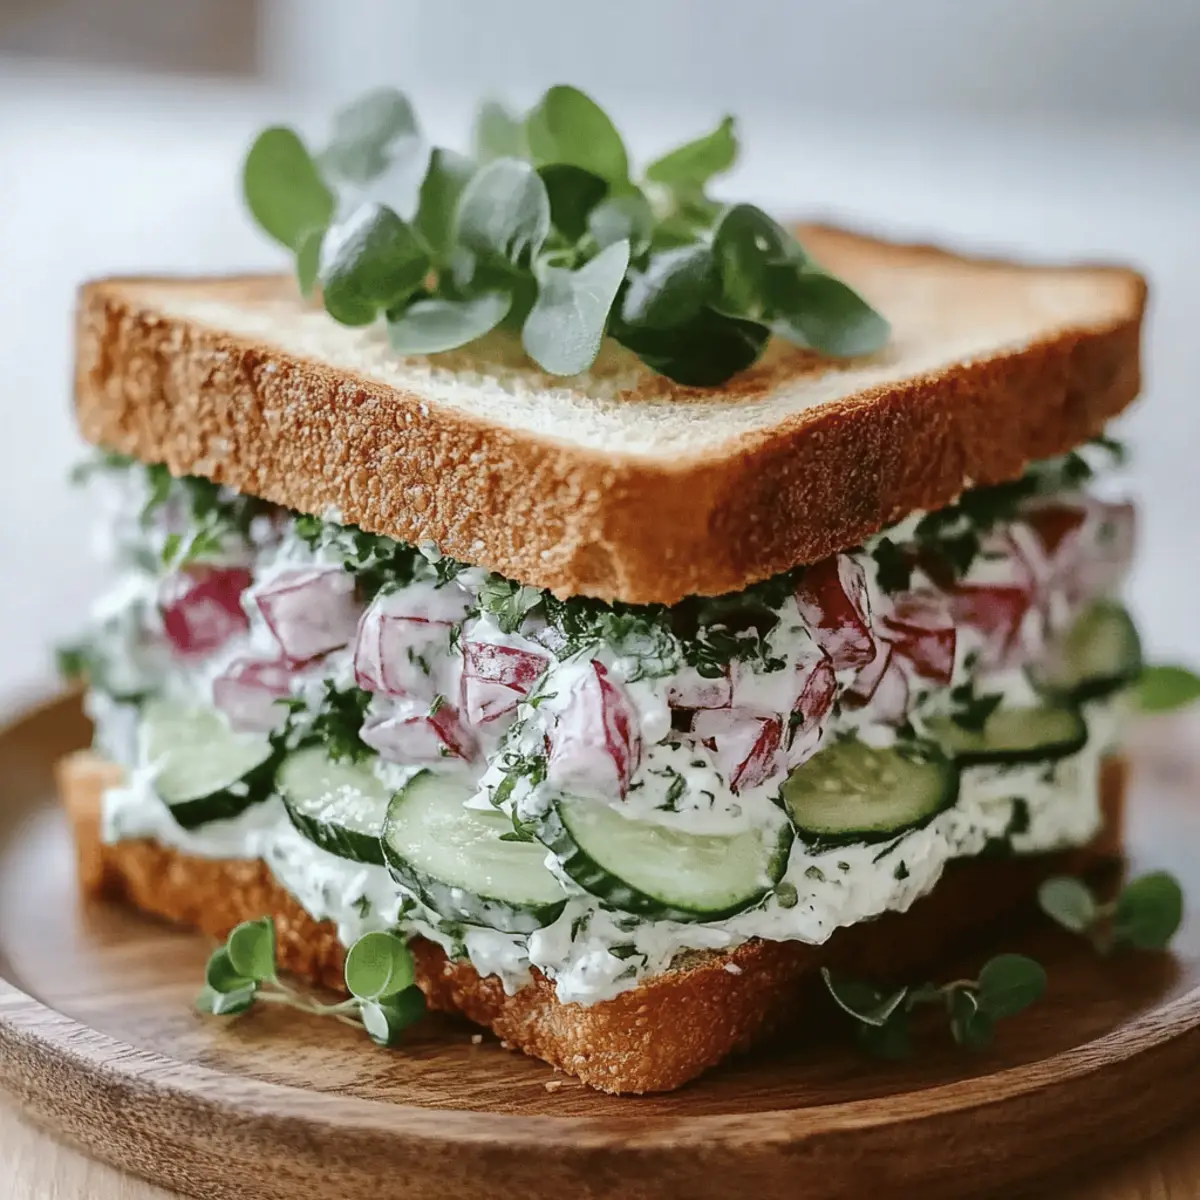
Garlic Bread: Perfect for soaking up the rich broth, garlic bread adds a satisfying crunch that complements the creamy texture of the ramen.
-
Asian-style Salad: A light and fresh salad with sesame dressing provides a refreshing contrast to the savory noodles, making every bite a delightful bliss.
-
Kimchi: The tangy zest of kimchi adds exciting layers of flavor to your meal, elevating your ramen experience with its heat and crunch.
-
Edamame: Steamed and lightly salted, edamame lends a charming bite-sized snack that complements the umami of the ramen and satisfies hunger beautifully.
-
Crispy Tempura: Light and airy tempura vegetables provide an addictive crunch that pairs well with the soft noodles while introducing a touch of artistry.
-
Chilled Sake: The subtle warmth of a premium sake disarms the palate, setting a serene vibe for the bold flavors of your creamy vegetarian peanut miso ramen.
-
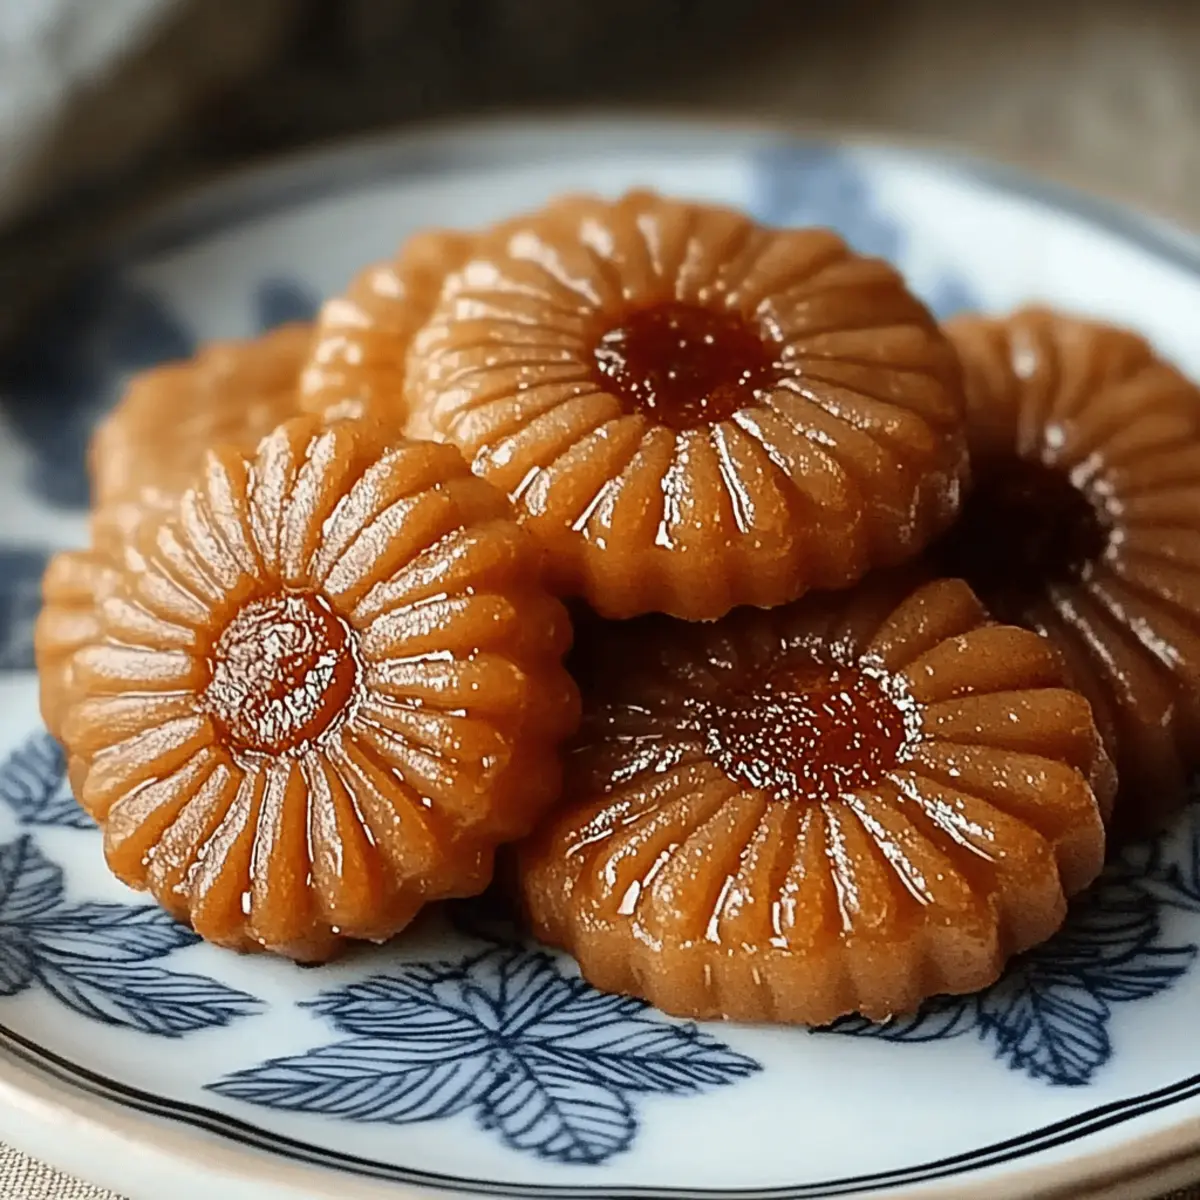
Chocolate Mochi: Finish off your meal on a sweet note with chewy chocolate mochi, which provides a delightful contrast to the savory dish.
Creamy Vegetarian Peanut Miso Ramen Variations
Feel free to explore these delightful twists to make the recipe truly your own!
- Gluten-Free: Use gluten-free ramen noodles or zucchini noodles for a lighter, veggie alternative.
- Extra Creamy: Add a splash of coconut milk for a tropical, velvety texture that enhances the peanut flavor wonderfully.
- Spicy Kick: Stir in a teaspoon of chili paste or sriracha for those who crave a little heat in their ramen experience.
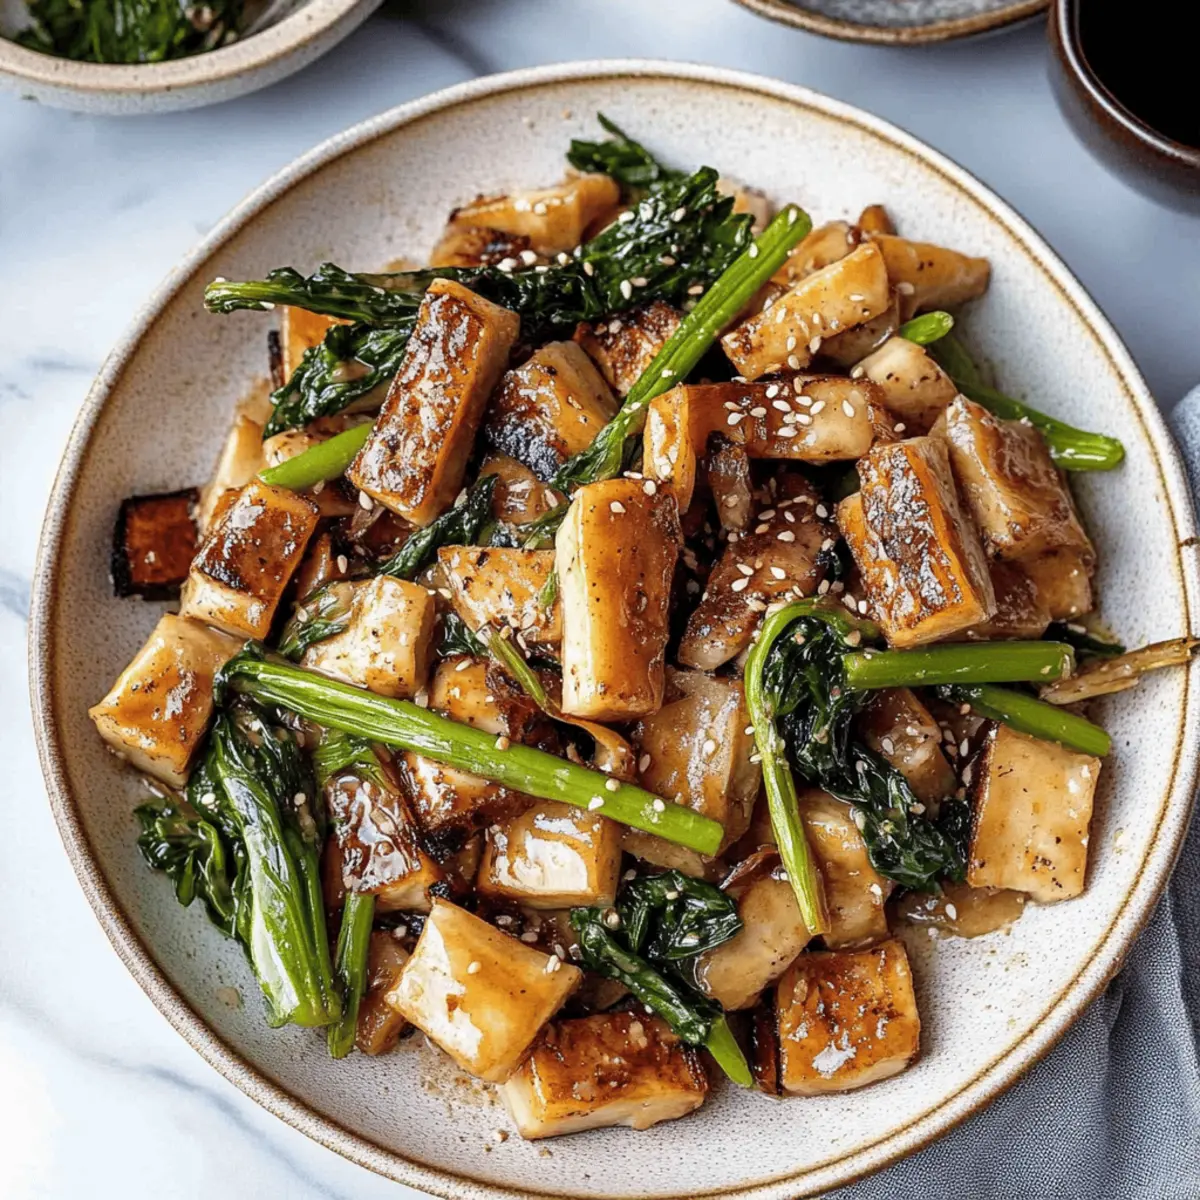
- Protein Boost: Toss in cubed tofu or tempeh during the simmering stage for extra plant-based protein and a satisfying meal.
- Herb Infusion: Add a handful of fresh cilantro or basil just before serving for a fragrant note that brings life to your bowl.
- Savory Aromatics: Enhance the broth with a splash of soy sauce or a dash of sesame oil for an extra layer of umami.
- Veggie Power: Incorporate seasonal vegetables like spinach, bok choy, or bell peppers—these can cook quickly and add vibrant color.
- Noodle Variants: Experiment with soba or udon noodles for an interesting twist on the classic ramen, offering unique textures and flavors.
Embrace creativity and tailor this dish to suit your palate. For added veggie inspiration, explore our guide on seasonal vegetables in ramen to elevate your bowl further!
Creamy Vegetarian Peanut Miso Ramen Recipe FAQs
How do I choose ripe vegetables for this ramen?
Absolutely! For the best flavors, select vegetables that are fresh and vibrant. Look for onions that are firm and unblemished, tomatoes that feel slightly soft to the touch for sweetness, and shiitake mushrooms with moist, dark caps—avoid any with dark spots or wilting.
What’s the best way to store leftover ramen?
Very good question! Store leftover creamy vegetarian peanut miso ramen in an airtight container, ideally in the fridge for up to 3 days. To keep the noodles firm and avoid sogginess, it’s best to store the noodles separately from the broth.
Can I freeze creamy vegetarian peanut miso ramen?
Indeed! You can freeze the soup base (without noodles and toppings) for up to 2 months. Just let it cool completely, then transfer it to a freezer-safe container. When you’re ready to enjoy it, simply thaw it overnight in the fridge and reheat on low heat.
What should I do if the broth is too salty?
No worries! If you find the broth a bit too salty, add a splash of water or low-sodium vegetable broth while reheating—it will dilute the saltiness. You can also stir in some more vegetables to absorb some of that saltiness while enhancing flavor!
Are there any allergy considerations I should be aware of?
Absolutely! This recipe contains peanuts, so it’s essential to consider nut allergies. If you’re cooking for anyone with nut allergies, you might want to use tahini or sunflower seed butter as a substitute for peanut butter, though it will alter the flavor a bit.
How long does the broth need to simmer for the best flavor?
For optimal flavor development, I recommend allowing the broth to simmer uncovered for about 5 minutes after adding the miso paste and peanut butter. This gives the ingredients time to meld together beautifully, resulting in a rich and creamy bowl of ramen. Enjoy your cooking adventure!
Indulge in Creamy Vegetarian Peanut Miso Ramen Bliss

This Creamy Vegetarian Peanut Miso Ramen is a quick, healthy recipe that combines savory miso and nutty peanut butter for a delicious meal.
- Large Pot
For the Soup
- 1 tablespoon vegetable oil (adds a delicious base flavor for sautéing the vegetables)
- ½ large onion, chopped (enhances aroma and gives depth to the broth)
- 1 large tomato, sliced (adds sweetness and acidity to balance flavors)
- ½ cup shiitake mushrooms (contributes an earthy richness and umami)
- 1 tablespoon garlic, minced (infuses the soup with a warm, comforting aroma)
- 5 cups water (the base to bring all the ingredients together)
- 2 tablespoons organic miso paste (provides a savory umami punch crucial for the ramen)
- 1 tablespoon smooth peanut butter (introduces a creamy texture and nutty taste to the soup)
For the Noodles and Toppings
- 2 packages dry ramen noodles (the heart of the dish, perfectly soaking up flavors)
- 2 eggs soft-boiled (adds protein and a creamy richness when broken)
- ⅓ cup frozen sweet corn, thawed (for a pop of sweetness and color)
- ½ cup bean sprouts (brings crunch and freshness to each bite)
- 1 teaspoon scallions, chopped (for a mild onion flavor and garnish)
- 1 teaspoon white sesame seeds (sprinkle on top for a delightful finish)
Step-by-Step Instructions
- In a large pot over medium heat, pour in 1 tablespoon of vegetable oil and allow it to warm for about 1 minute. Add ½ chopped onion, 1 sliced tomato, ½ cup of shiitake mushrooms, and 1 tablespoon of minced garlic. Stir and cook for about 5 minutes until the tomatoes are soft.
- Pour in 5 cups of water into the pot and increase the heat to high. Wait for the mixture to come to a rolling boil, which should take about 5–7 minutes.
- Once boiling, lower the heat to medium and stir in 2 tablespoons of organic miso paste and 1 tablespoon of smooth peanut butter. Whisk until fully dissolved and let the soup simmer uncovered for about 5 minutes.
- Add 2 packages of dry ramen noodles directly into the pot. Cook for 2–3 minutes, stirring occasionally to prevent sticking until noodles are tender.
- Divide the creamy ramen soup with noodles evenly into two bowls. Make room for toppings.
- On top of each bowl, add ⅓ cup of thawed sweet corn and ½ cup of bean sprouts. Cut each soft-boiled egg in half and place one half in each bowl. Finish with chopped scallions and white sesame seeds.
Customize toppings as desired. Fresh ingredients yield the best flavor and color.