
As I stood in my kitchen, the tantalizing aroma of vanilla cake was taking me back to those childhood birthday parties filled with laughter and sweet treats. Today, I’m thrilled to share my homemade spin on Starbucks Copycat Birthday Cake Pops that will turn any ordinary day into a mini celebration! These adorable, bite-sized delights not only allow you to indulge your sweet tooth but are also a breeze to whip up with just a box of cake mix and a handful of pantry staples. Whether you're hosting a get-together or simply craving something sweet, these Birthday Cake Pops are the perfect treat—quick to prepare and sure to impress everyone with their charming presentation. Who wouldn't want a pop of happiness on a stick? Ready to channel your inner cake pop artist and create something delightful today?
Why Are Birthday Cake Pops So Fun?
Delightful and cute, these cake pops are the life of any party! Easy to make, you only need a box of cake mix and minimal effort to create these festive treats. Versatile in flavor, you can customize them to suit any celebration or taste preference. Perfect for sharing, they cut down on cake mess while delivering all the joy. If you love other sweet treats, consider trying my Apple Pecan Cake or Carrot Cake as more delightful alternatives! Embrace your creativity with these Birthday Cake Pops and turn any day into a celebration!
Birthday Cake Pops Ingredients
Get ready to create some sweet magic with these delightful Birthday Cake Pops!
For the Cake
- vanilla cake mix – this is the base of your pops, delivering that classic birthday flavor.
- neutral oil – helps keep the cake moist; sub with applesauce for a healthier twist!
- milk or water – use milk for a richer taste, but water works if you're in a pinch.
- large eggs – binds the ingredients together; opt for flax eggs for a vegan version!
- unsalted butter – adds creaminess; always good to keep it softened for easy mixing.
For the Buttercream
- powdered sugar – sweetens your buttercream; sift it for a smoother texture.
- vanilla extract – enhances the flavor; make sure to use pure vanilla for the best results.
- pinch salt – brings out the sweetness; don’t skip it!
- milk – use this to achieve your desired buttercream consistency; add little by little as needed.
For Decorating
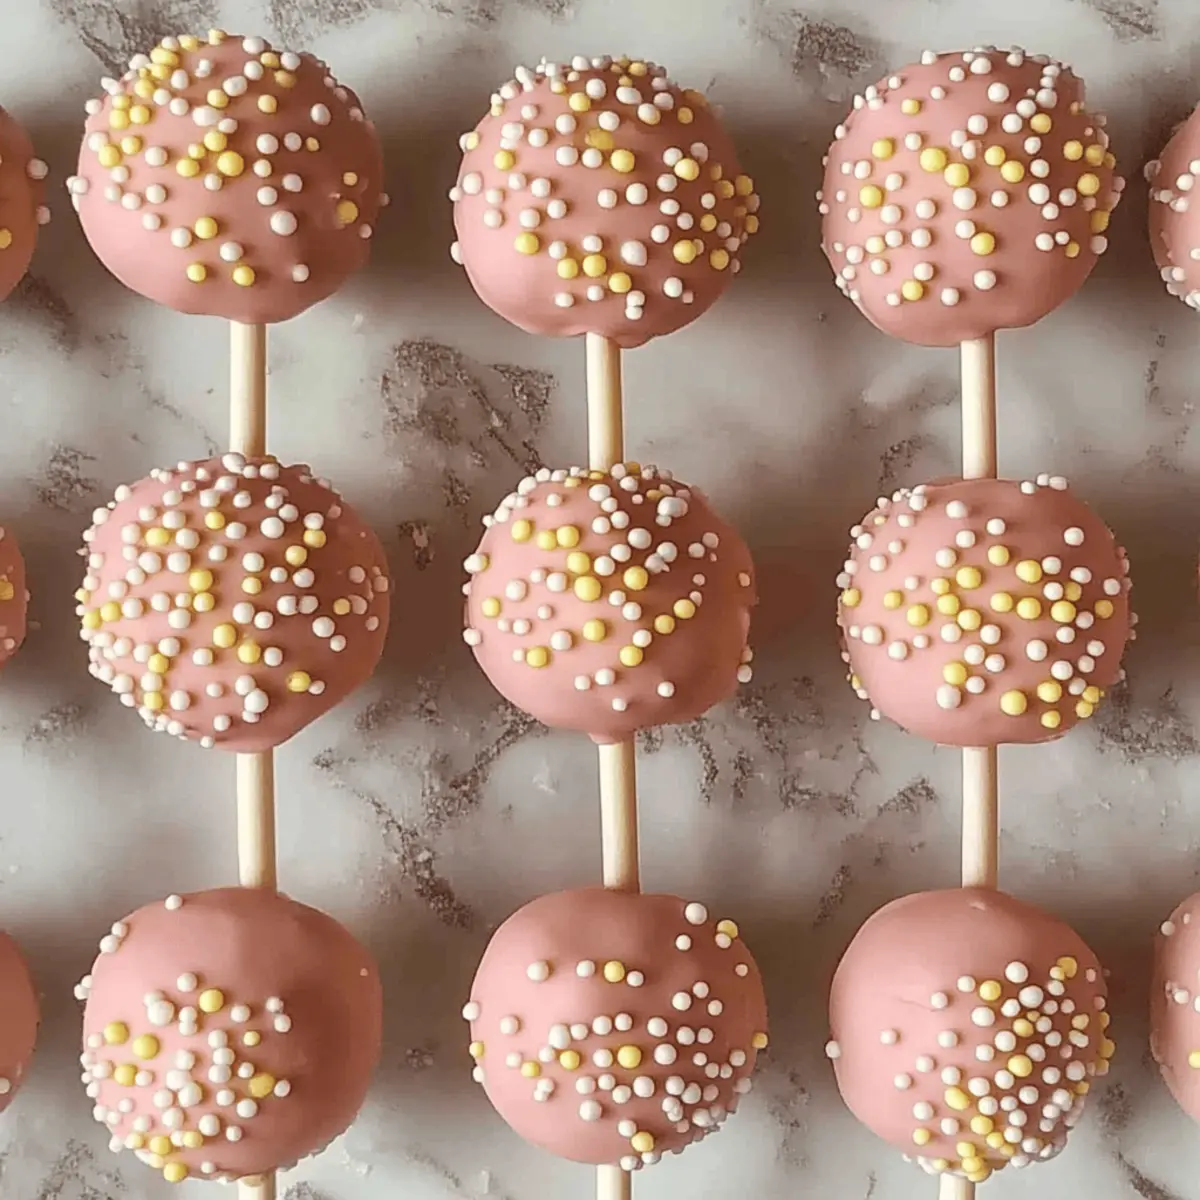
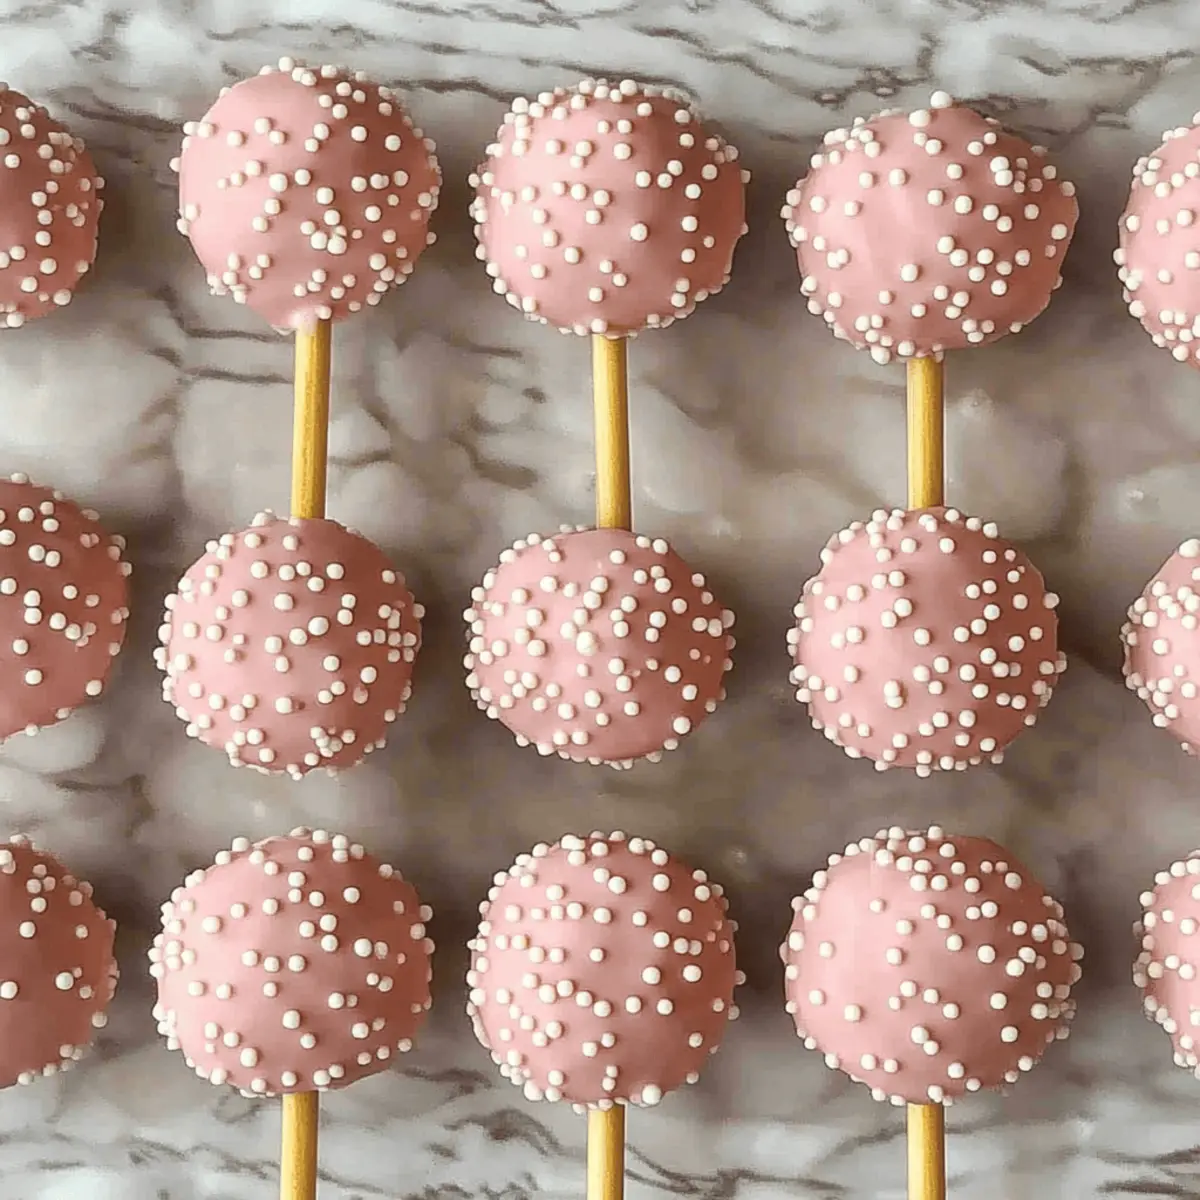
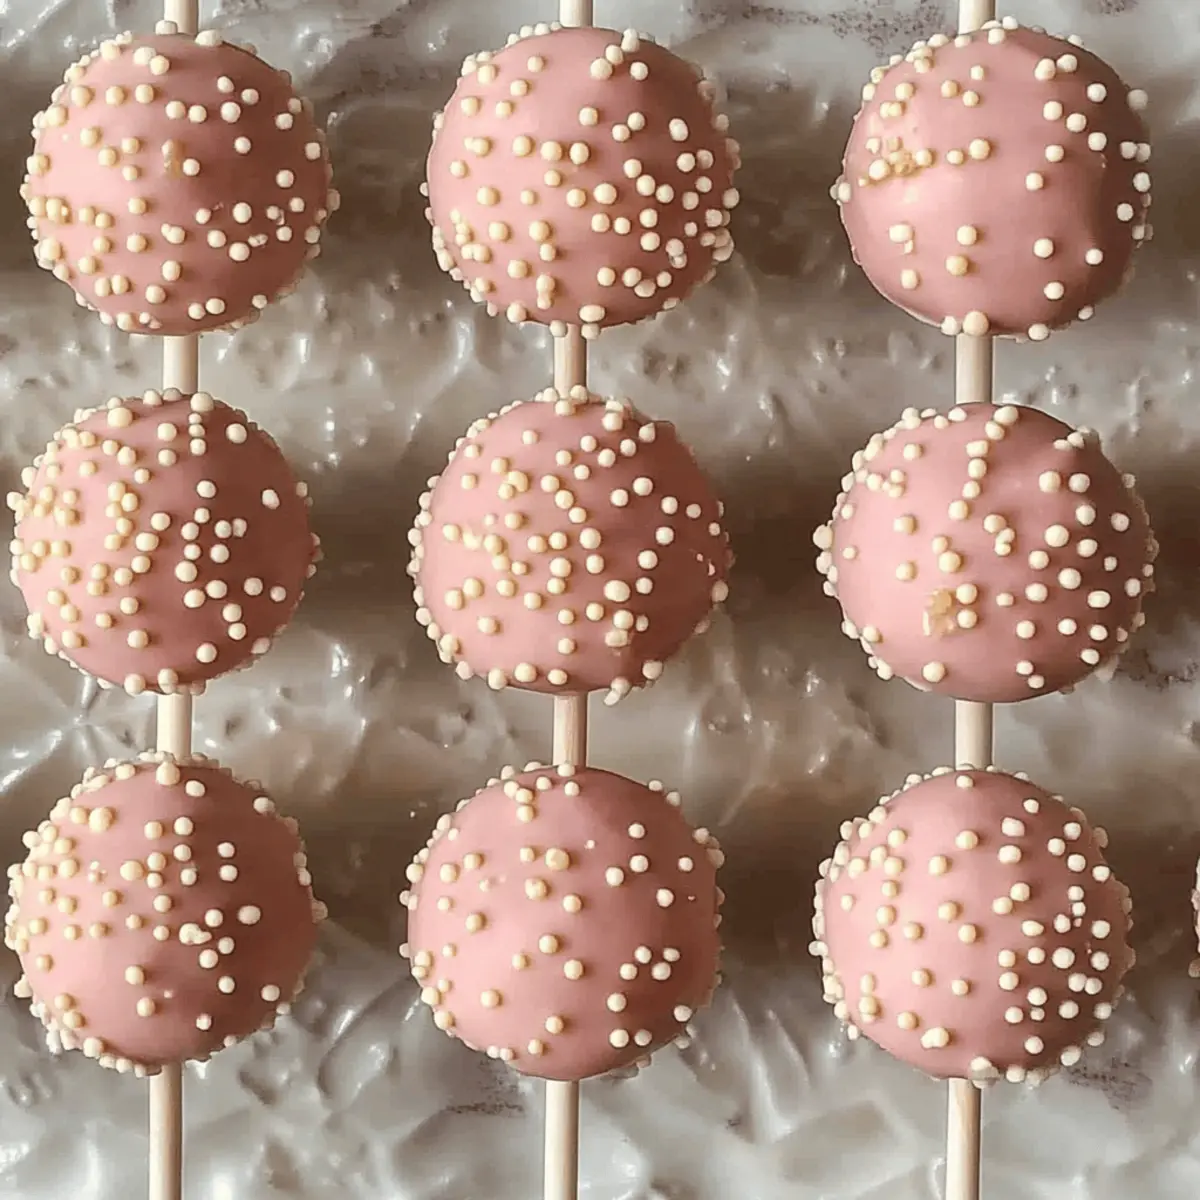
- candy melts – this colorful layer coats your cake pops, making them irresistible.
- white nonpareils or sprinkles – finish off your pops with a festive crunch and color!
These Birthday Cake Pops are not just delicious but also a fun way to celebrate any occasion with your loved ones!
Step‑by‑Step Instructions for Birthday Cake Pops
Step 1: Preheat the Oven
Begin by preheating your oven to between 325℉ and 350℉ (162-175℃); check the cake mix box for specific guidance based on your pan size. Ensure your oven is ready before mixing the batter, as this will help your Birthday Cake Pops bake evenly and rise beautifully.
Step 2: Prepare the Cake Batter
In a large mixing bowl, combine the vanilla cake mix, neutral oil, milk (or water), eggs, and softened unsalted butter. Use an electric mixer or whisk to blend until the mixture is smooth and well combined, resembling a thick batter. Once mixed thoroughly, pour this delightful batter into a greased or lined cake pan of your choice.
Step 3: Bake the Cake
Bake the cake in the preheated oven for approximately 25-30 minutes or until a toothpick inserted into the center comes out clean. Start checking for doneness about 2-4 minutes before the suggested bake time. A perfectly baked cake will be golden brown and spring back when gently pressed.
Step 4: Crumble the Cake
Once fully baked, remove the cake from the oven and transfer it into a large mixing bowl while it’s still warm. Use your mixer or your hands to crumble the cake into fine pieces, ensuring no large chunks remain. This crumbled texture will be the base for your glorious Birthday Cake Pops.
Step 5: Prepare the Buttercream
In a separate small mixing bowl, whisk together the powdered sugar, vanilla extract, a pinch of salt, and just enough milk to create a smooth, spreadable buttercream. This creamy mixture adds sweetness and binds the cake crumbs together, so ensure it's fluffy and well mixed before proceeding.
Step 6: Combine Cake and Buttercream
Add the smooth buttercream mixture to the crumbled cake and mix well until everything is fully incorporated. Use your hands or a spatula to ensure an even blend, creating a sticky dough-like consistency that will hold its shape when formed into balls for your Birthday Cake Pops.
Step 7: Shape Cake Balls
With your hands, roll the cake mixture into balls roughly 1¼ inches (3 cm) in diameter, weighing about 30g each. This is a fun step where you can make them uniform in size for an appealing presentation. Place each rolled cake ball onto a parchment-lined baking sheet.
Step 8: Chill the Cake Balls
Place the baking sheet with the cake balls in the freezer for about 15 minutes. This chilling time is crucial as it helps the cake balls firm up, making them easier to work with when inserting the lollipop sticks later for your delightful Birthday Cake Pops.
Step 9: Prepare the Candy Coating
While the cake balls chill, melt a small amount of candy melts in a microwave-safe bowl according to the package instructions. Heat gently in short bursts, stirring frequently until smooth and fully melted. This candy coating will give your pops their vibrant colors and delicious sweetness.
Step 10: Insert Lollipop Sticks
Once the cake balls are chilled, dip the tip of each lollipop stick into the melted candy melts and carefully insert it halfway into each cake ball. This helps the stick adhere nicely when you coat the entire cake ball, ensuring no pops fall apart during dipping.
Step 11: Chill Again
Return the cake pops to the freezer for another 15 minutes. This extra chilling lets the candy melts set quickly, making the coating process easier and preventing the cake balls from sliding down the sticks when you dip them later.
Step 12: Bring to Room Temperature
After chilling, take the cake pops out of the freezer and allow them to sit at room temperature for about 10 minutes. This step allows the cake balls to warm slightly, making them less likely to break apart during the next dipping phase of your Birthday Cake Pops.
Step 13: Melt Remaining Candy Melts
Melt the remaining candy melts in a bowl until you achieve a smooth, thin consistency, perfect for dipping. If it appears too thick, you can stir in a teaspoon of vegetable oil to get that ideal silky texture that will coat your pops beautifully.
Step 14: Dip the Cake Pops
Gently dip each cake pop into the melted candy, swirling it to ensure it gets fully coated. Make sure to submerge the pop completely, covering the entire cake ball. This is where the magic happens, as each pop transforms into a colorful treat ready for decoration.
Step 15: Remove Excess Coating
After dipping, carefully tap the stick on the edge of the bowl to let any excess candy melt drip off. This will prevent a thick coating from forming and give your Birthday Cake Pops a smooth, even finish. Set each coated pop upright for decorating.
Step 16: Decorate Quickly
Before the candy coating dries, quickly sprinkle your colorful nonpareils or sprinkles over the pops as a charming finishing touch. This is a whimsical step that allows you to add a personal flair to your Birthday Cake Pops—so feel free to get creative!
Step 17: Let Them Dry
Lastly, place the finished cake pops into a styrofoam block or Holder to keep them upright while they dry completely. Allow them to set for at least 30 minutes, ensuring the candy coating hardens beautifully and supports all your hard work for a delightful treat ready to share!

Make Ahead Options
These Birthday Cake Pops are perfect for meal prep enthusiasts! You can prepare the cake batter and bake it up to 24 hours in advance; simply store it in an airtight container in the fridge to keep it moist. Additionally, the crumbled cake can be mixed with buttercream and rolled into balls up to 3 days ahead—just keep them refrigerated. When you're ready to finish, take them out, chill briefly, dip in candy melts, and decorate. This advance prep allows you to enjoy these delightful treats with minimal effort on busy days, ensuring your Birthday Cake Pops are just as delicious and festive as if made fresh!
What to Serve with Birthday Cake Pops
Dreaming of a delightful dessert table that pairs perfectly with your charming Birthday Cake Pops?
- Light Fruit Salad: A refreshing mix of seasonal fruits adds a touch of brightness, balancing the sweetness of the cake pops perfectly.
- Sparkling Lemonade: The bubbly, zesty flavors of sparkling lemonade will elevate your sweet treats, offering a fun party vibe.
- Mini Cheesecakes: These creamy bites provide a contrasting texture; pair with fruit compote for a sophisticated twist.
- Chocolate Dipped Pretzels: The salty crunch of these pretzels mingles beautifully with the sweetness of the cake pops, creating a delightful contrast.
- Frozen Yogurt Parfaits: Layered with berries and granola, these light and creamy desserts complement the fun essence of birthday cake pops.
- Coffee or Espresso: Enhance your treat experience by serving a cup of rich coffee, providing a delightful contrast to the sweet flavors.
- Caramel Sauce: Drizzling some decadent caramel sauce over your pops takes indulgence to a new level, offering an elegant touch.
- Birthday Ice Cream Cake: If you're celebrating a special day, why not add a classic birthday cake for the ultimate sweet setup?
- Chocolate Milk: This nostalgic drink brings back memories, pairing wonderfully with sweet treats for a whimsical finish!
How to Store and Freeze Birthday Cake Pops
Fridge: Store your Birthday Cake Pops in an airtight container in the fridge for up to 1 week. This keeps them fresh and prevents them from drying out.
Freezer: For longer preservation, freeze the pops by placing them in a single layer on a baking sheet before transferring to a freezer-safe bag or container. They can be stored for up to 2 months.
Thawing: To enjoy frozen Birthday Cake Pops, remove them from the freezer and let them sit at room temperature for about 20-30 minutes. This helps maintain their delightful texture and flavor.
Reheating: If you'd like to enjoy the candy coating’s shine, briefly reheat them in the microwave for a few seconds. Avoid overheating to maintain their delightful shape!
Expert Tips for Birthday Cake Pops
-
Use Room Temperature Ingredients: Ensure that your eggs and butter are at room temperature for a smoother batter and better incorporation with the cake mix in your Birthday Cake Pops.
-
Don't Overbake: Keep an eye on the cake while baking; if baked too long, it can become dry. Check for doneness a few minutes before the timer goes off.
-
Keep Cake Balls Firm: Chill the cake balls thoroughly before dipping to prevent them from breaking apart. This is crucial for making sturdy and delightful Birthday Cake Pops.
-
Heat Candy Melts Gradually: Melt your candy melts in short intervals, stirring often, to avoid scorching. A smooth consistency ensures an even coating on your pops.
-
Be Quick with Decorating: Work swiftly when adding sprinkles; the candy coating dries fast. Getting creative during this step is a great way to personalize each pop!
Birthday Cake Pops Variations
Feel free to let your creativity shine as you transform these Birthday Cake Pops into something uniquely yours!
-
Gluten-Free: Use a gluten-free cake mix to make this delightful treat suitable for those with gluten sensitivities. It’s just as tasty!
-
Dairy-Free: Substitute the butter and milk with plant-based alternatives like coconut oil and almond milk for a dairy-free option.
-
Flavor Twist: Add your favorite extract, like almond or lemon, to the cake mixture for a refreshing flavor twist that surprises and delights.
-
Add-Ins: Incorporating mini chocolate chips or colorful sprinkles into the cake mixture not only adds great texture but also bursts of flavor in every bite.
-
Chocolate Coating: Swap the candy melts for dark or milk chocolate for an indulgent twist. This rich coating adds depth and goes wonderfully with the vanilla cake inside.
-
Mini Pops: Instead of traditional-sized pops, make mini cake pops by rolling smaller balls for bite-sized treats perfect for parties!
-
Express Yourself: Decorate with themed sprinkles or edible glitter to match holiday or special occasion colors, making your cake pops as festive as the event.
-
Spicy Kick: For a surprise flavor, add a dash of cayenne or chili powder to the cake mix, giving your pops a fun and unexpected heat that tantalizes the taste buds.
Whichever variation you choose, these Birthday Cake Pops will always be a cheerful addition to your celebrations! If you're looking for more delightful dessert ideas, try my Pineapple Cake or indulge in my delicious Carrot Cake Cheesecake for an unbeatable treat!
Birthday Cake Pops Recipe FAQs
What is the best way to select ripe ingredients for Birthday Cake Pops?
Absolutely! For the best Birthday Cake Pops, ensure all ingredients, especially the eggs and butter, are at room temperature. This will help achieve a smoother batter. When using milk, go for whole milk or milk alternatives for added richness, while your vanilla extract should ideally be pure, as it provides superior flavor.
How should I store my Birthday Cake Pops?
You can store your Birthday Cake Pops in an airtight container in the fridge for up to 1 week. This keeps them fresh and prevents them from drying out. If you’d like to keep them longer, place them in the freezer once fully set. They will stay fresh for up to 2 months when wrapped in plastic wrap and stored in a freezer-safe container.
Can I freeze Birthday Cake Pops? If yes, how?
Yes! To freeze your Birthday Cake Pops, place them in a single layer on a baking sheet. Allow them to freeze until firm (about 1 hour), then transfer the pops to a freezer-safe bag or container. Seal tightly, making sure to remove as much air as possible to prevent freezer burn. When ready to enjoy, let them thaw at room temperature for about 20-30 minutes.
What should I do if my cake pops crumble or fall apart?
If your Birthday Cake Pops are crumbling, it might be due to insufficient moisture in the cake mixture. To troubleshoot, mix in a little more buttercream until the mixture holds together easily. Ensure you chill the cake balls sufficiently before dipping, as this helps them maintain their shape during the coating process. Additionally, make sure to insert the lollipop sticks gently to avoid breaking the pops.
Are Birthday Cake Pops safe for children with allergies?
Very! While Birthday Cake Pops are fun, be mindful of allergies. The cake mix and candy melts often contain gluten and dairy. To make allergy-friendly pops, consider using gluten-free cake mix and dairy-free candy melts. Always read labels thoroughly to ensure all ingredients match dietary needs, especially if sharing with children.
Deliciously Fun Birthday Cake Pops to Celebrate Any Occasion
Ingredients
Equipment
Method
- Preheat your oven to between 325℉ and 350℉ (162-175℃); check the cake mix box for specific guidance based on your pan size.
- In a large mixing bowl, combine the vanilla cake mix, neutral oil, milk, eggs, and softened unsalted butter; blend until smooth.
- Pour the batter into a greased or lined cake pan.
- Bake for approximately 25-30 minutes or until a toothpick comes out clean; start checking for doneness a few minutes before the timer goes off.
- Once baked, crumble the cake into a bowl while still warm, ensuring no large chunks remain.
- In a separate bowl, whisk together powdered sugar, vanilla extract, salt, and milk to create a smooth buttercream.
- Combine the buttercream with the crumbled cake until fully incorporated, creating a sticky dough-like consistency.
- Roll the mixture into balls about 1¼ inches in diameter and place them on a parchment-lined baking sheet.
- Chill the cake balls in the freezer for about 15 minutes.
- Melt a small amount of candy melts according to package instructions until smooth.
- Dip the tip of each lollipop stick into the melted candy and insert halfway into each cake ball.
- Chill again for another 15 minutes before bringing them to room temperature for about 10 minutes.
- Melt the remaining candy melts until smooth, adding oil if necessary for consistency.
- Dip each cake pop into the melted candy, ensuring it gets fully coated.
- Tap the stick on the edge of the bowl to remove excess coating.
- Quickly sprinkle colorful nonpareils or sprinkles over the pops before the coating dries.
- Place the finished cake pops in a styrofoam block or holder to dry completely for at least 30 minutes.


Leave a Reply