Appetizer
-
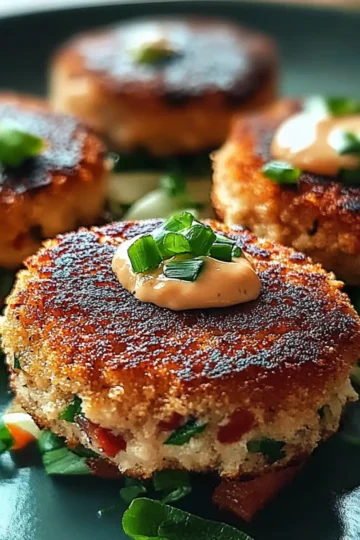
Irresistibly Crispy Spicy Tuna Cakes for Quick Comfort Food
-
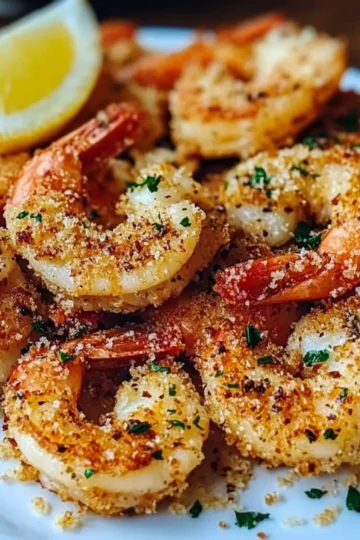
Crispy Air Fryer Garlic Parmesan Shrimp in Just 25 Minutes
-
Irresistible Ham and Cheese Puff Pastry Swirls in 35 Minutes
-
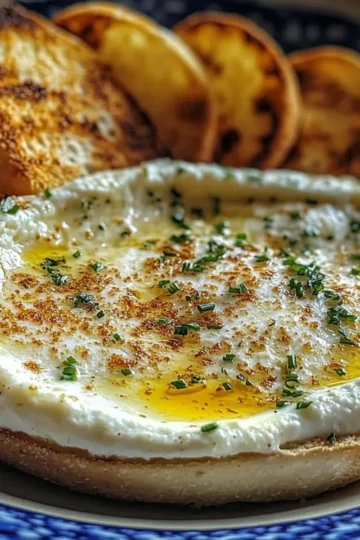
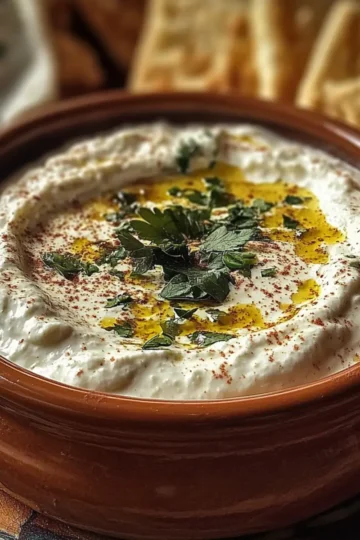
Irresistibly Creamy Roasted Garlic Bread Dip You’ll Love
-
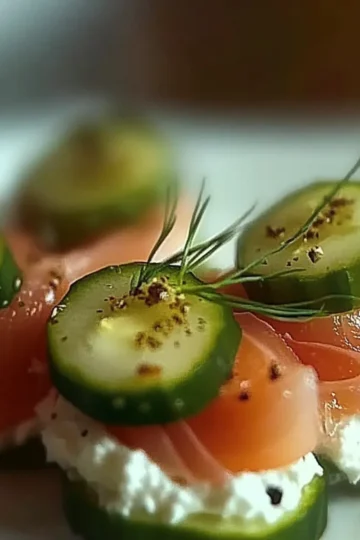
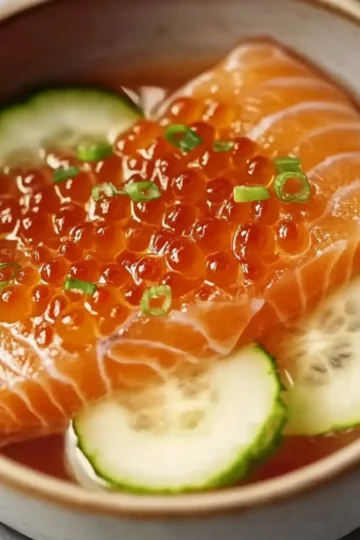
Delicious Cucumber Bites with Smoked Salmon to Impress Friends
-
Creamy Mexican White Cheese Dip for Your Next Taco Night
-
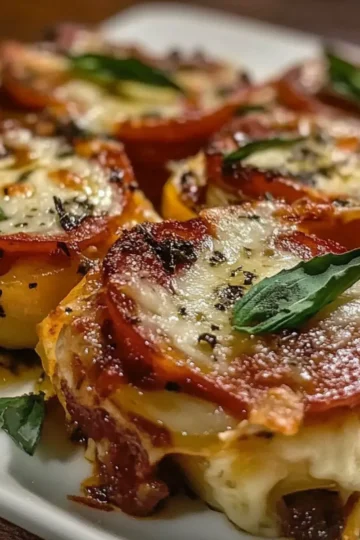
Cheesy Baked Italian Pizza Roses for Fun Family Nights
-
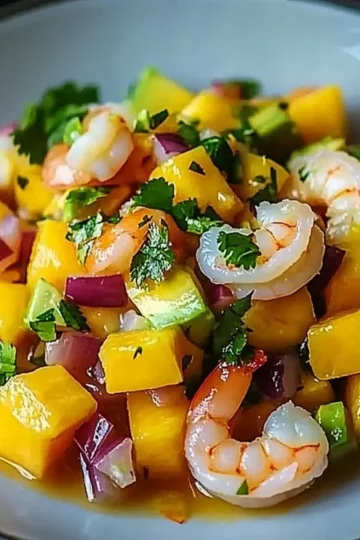
Fresh Mango Shrimp Ceviche with Avocado for a Zesty Kick
-
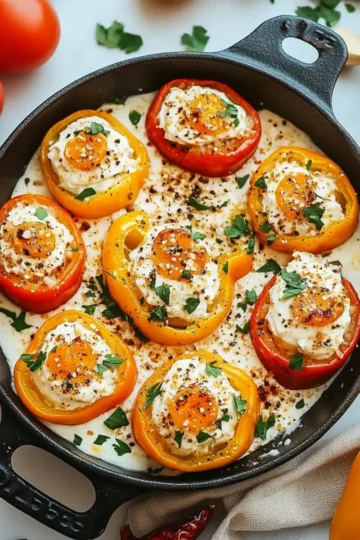
Cream Cheese Stuffed Mini Peppers: Your New Favorite Appetizer
-
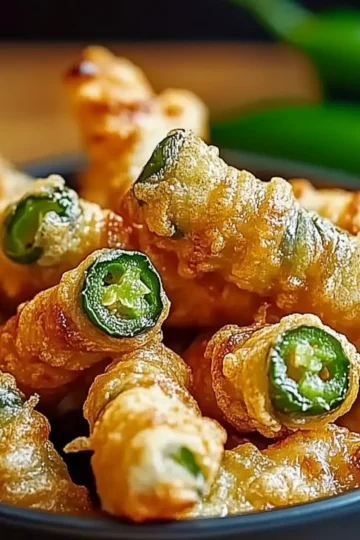
Jalapeño Popper Eggrolls Bacon-Wrapped Bites That Wow!
-
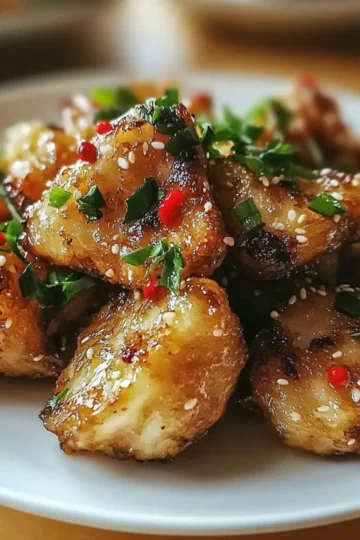
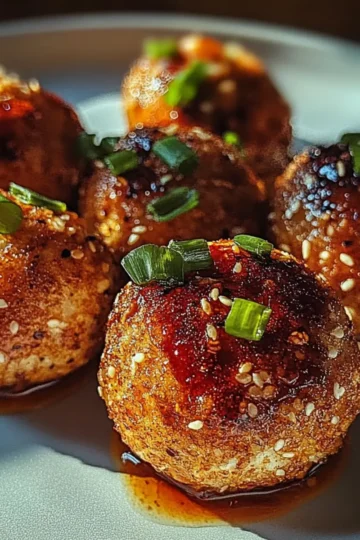
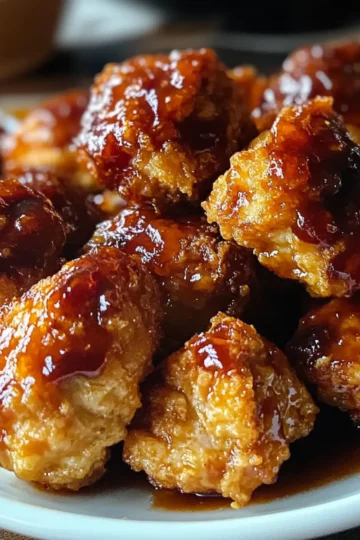
Crispy Salt & Pepper Chicken Bites That Wow Every Time
-
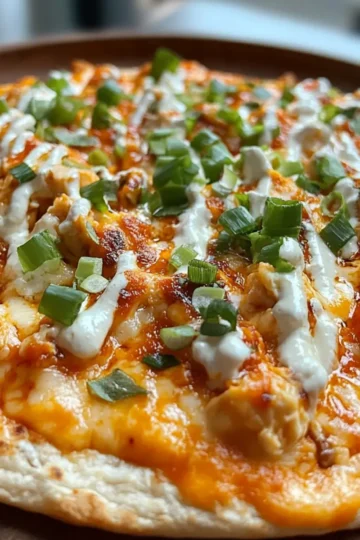
Irresistibly Creamy High-Protein Buffalo Chicken Dip Delight
-
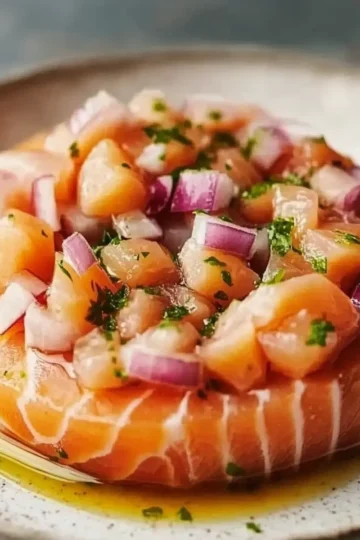
Fresh and Zesty Salmon Tartare That Dazzles the Taste Buds
-
Oven-Baked Salmon Sushi Bites for a Cozy Night In
-
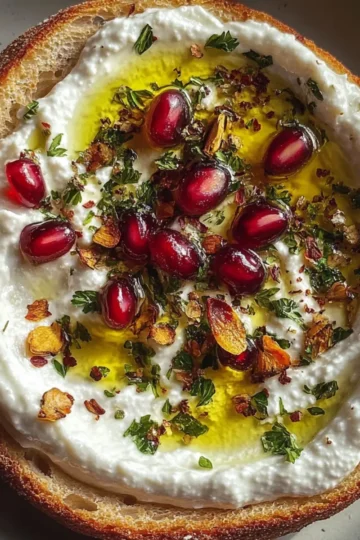
Delicious Pomegranate Pistachio Feta Dip to Brighten Your Table
-
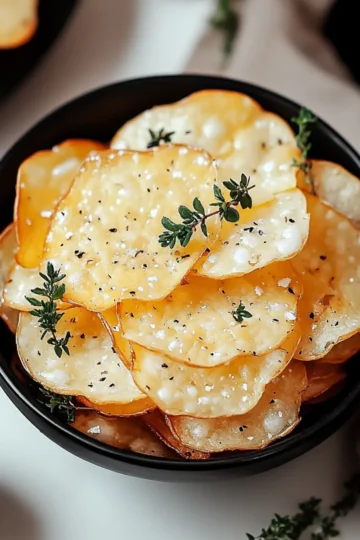
Cottage Cheese Chips for a Crunchy, Guilt-Free Snack!
-
Spicy Jalapeno Popper Twists That Everyone Will Love
-
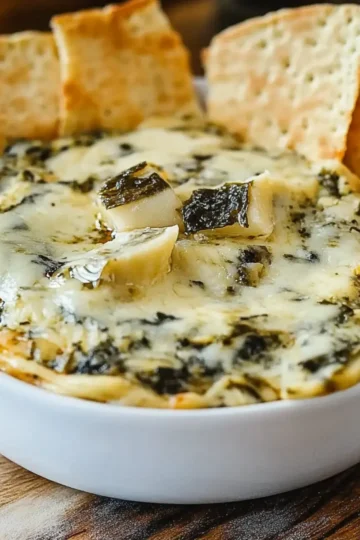
Creamy Crockpot Spinach Artichoke Dip for Perfect Parties
-
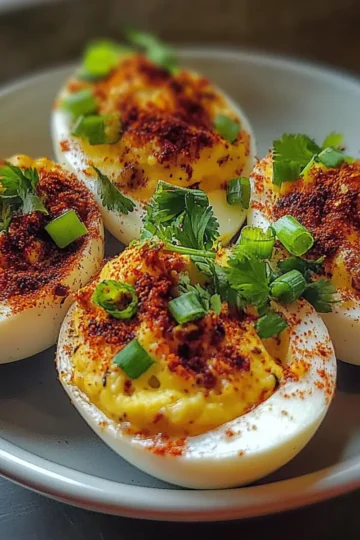
Spicy Chili Garlic Deviled Eggs to Wow Your Guests
-
Soft Pretzel Bites That Are Irresistibly Chewy and Fun
-
Crispy Air-Fried Tofu Balls That Will Crush Your Cravings
-
Savory Cheddar Bay Beef Sausage Balls for Irresistible Snacking
-
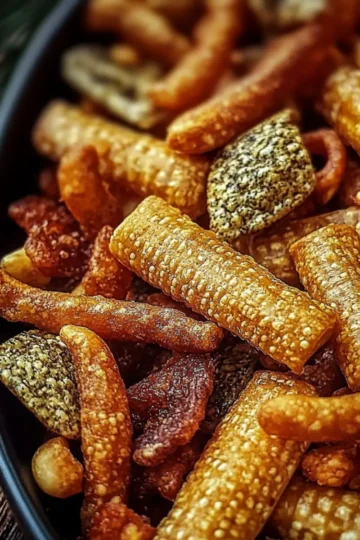
Dill Pickle Chex Mix: A Tangy Snack You Can’t Resist
-
Spicy Jalapeno Corn Fritters That Will Wow Your Taste Buds
-
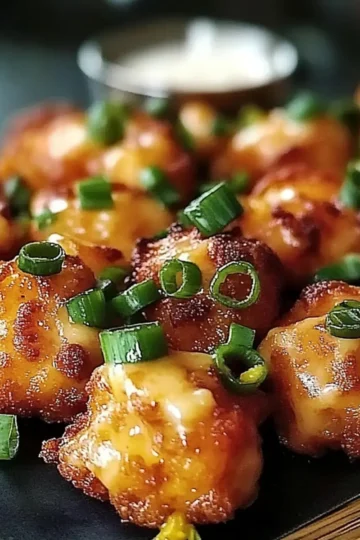
Crispy Air Fryer Honey BBQ Chicken Bites You'll Love
-
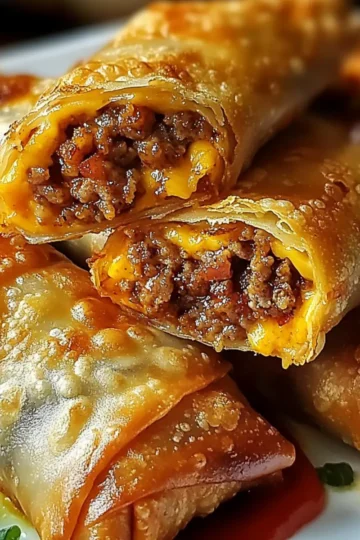
Cheeseburger Eggrolls: Crispy, Cheesy Bliss in Every Bite
-
Savor the Crunch: Irresistible Cheeseburger Eggrolls Recipe
-
Savory Salmon Crudo with Zesty Citrus Soy Dressing Delight
-
Crispy Baked Southwest Chicken Eggrolls for Perfect Dipping
-
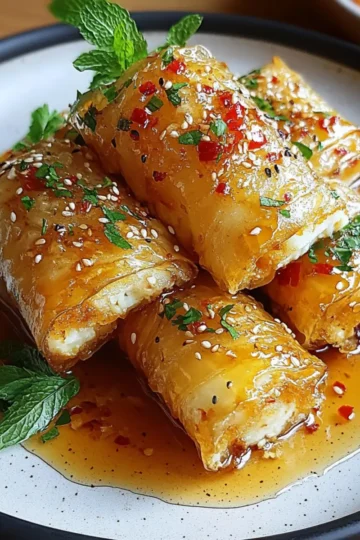
Oven Fried Feta Rolls with Chili Honey: Crispy Delight Awaits
-
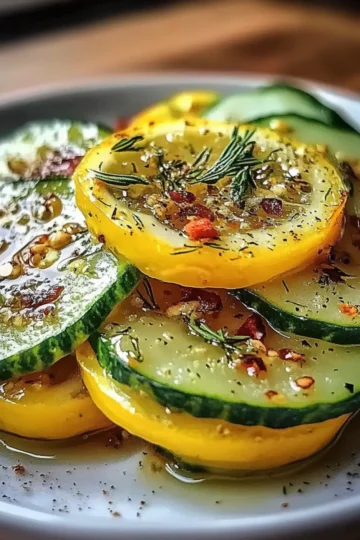
Crispy Cucumber Snack with Tangy Lemon Drizzle Delight
-
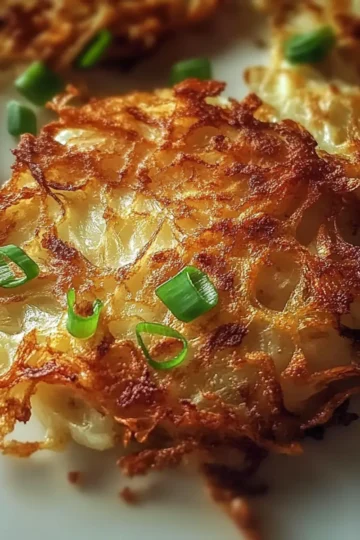
Crispy Cabbage Pancakes: A Crunchy Twist on Comfort Food
-
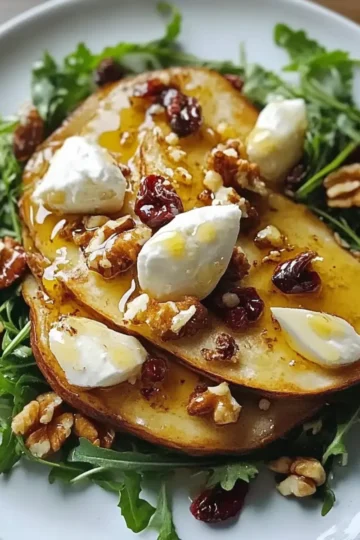
Delicious Pear and Arugula Salad with Honey Vinaigrette Recipe
-
Savory Pan-Fried Chicken Dumplings for Cozy Night In
-
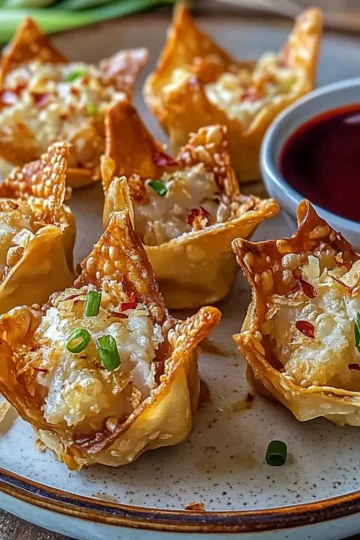
Irresistibly Crispy Crab Rangoon Bombs You’ll Devour
-
Savory French Onion Sausage Rolls That Steal the Show
-
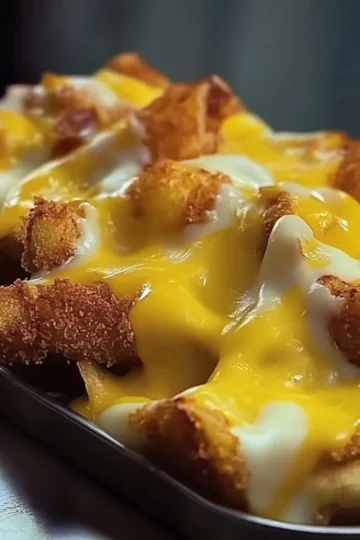
Cheesy Crispy Chicken Fries That Will Change Your Snack Game
-
Delicious Pizza Roses That Will Wow Your Family and Friends
-
Savory Cheddar Bay Sausage Balls for Easy Party Snacking
-
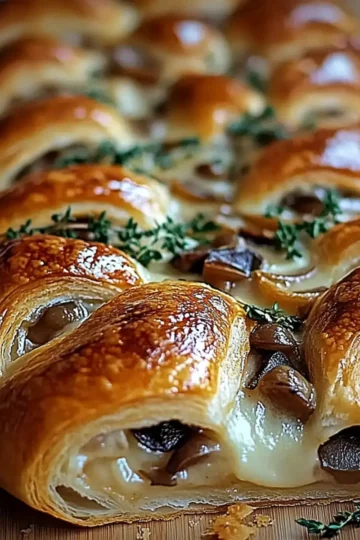
Savory Mushroom & Gruyère Puff Pastry Braid for Cozy Nights
-
Irresistible Bacon Brie Crescent Wreath for Cozy Gatherings
-
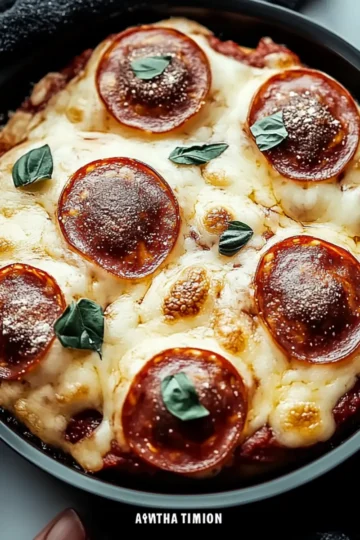
Irresistible Cheesy Pepperoni Pizza Bombs for Easy Snacking