As I tossed the last of the ingredients together, a wave of nostalgia washed over me. Growing up, Caesar salad was a staple on our dinner table, but it was the dressing that always stole the show. Today, I’m excited to share my homemade Caesar Dressing, a quick and easy recipe that transforms any meal into a special occasion. With only ten minutes of prep time, this creamy concoction combines the richness of mayonnaise with the tang of Dijon mustard and red wine vinegar, creating a flavor that’s truly unforgettable. Plus, it’s a healthier alternative to store-bought options, ensuring you know exactly what’s in your dressing. Perfect for drizzling over crisp salads or dipping fresh veggies, this Caesar Dressing will have everyone asking for seconds! What’s your favorite way to enjoy this classic flavor?
Why is Caesar Dressing a Game Changer?
Simplicity at its finest: With just ten minutes of prep, you can whip up this flavorful dressing without any complicated steps.
Rich, Bold Flavor: The unique blend of Dijon mustard and Parmesan cheese gives this dressing a robust taste that elevates every bite of your salad.
Versatile Usage: Not just for salads! This Caesar Dressing also works wonders as a dip for veggies or as a sandwich spread—endless possibilities await!
Healthier Alternative: Say goodbye to store-bought dressings packed with preservatives. This homemade version not only tastes better, but you also know exactly what’s inside.
Crowd Pleaser: Whether it’s a weekday dinner or a party, this dressing will impress your guests and family alike—everyone loves a classic!
For more ideas on how to use this tangy dressing, check out my other salad recipes!
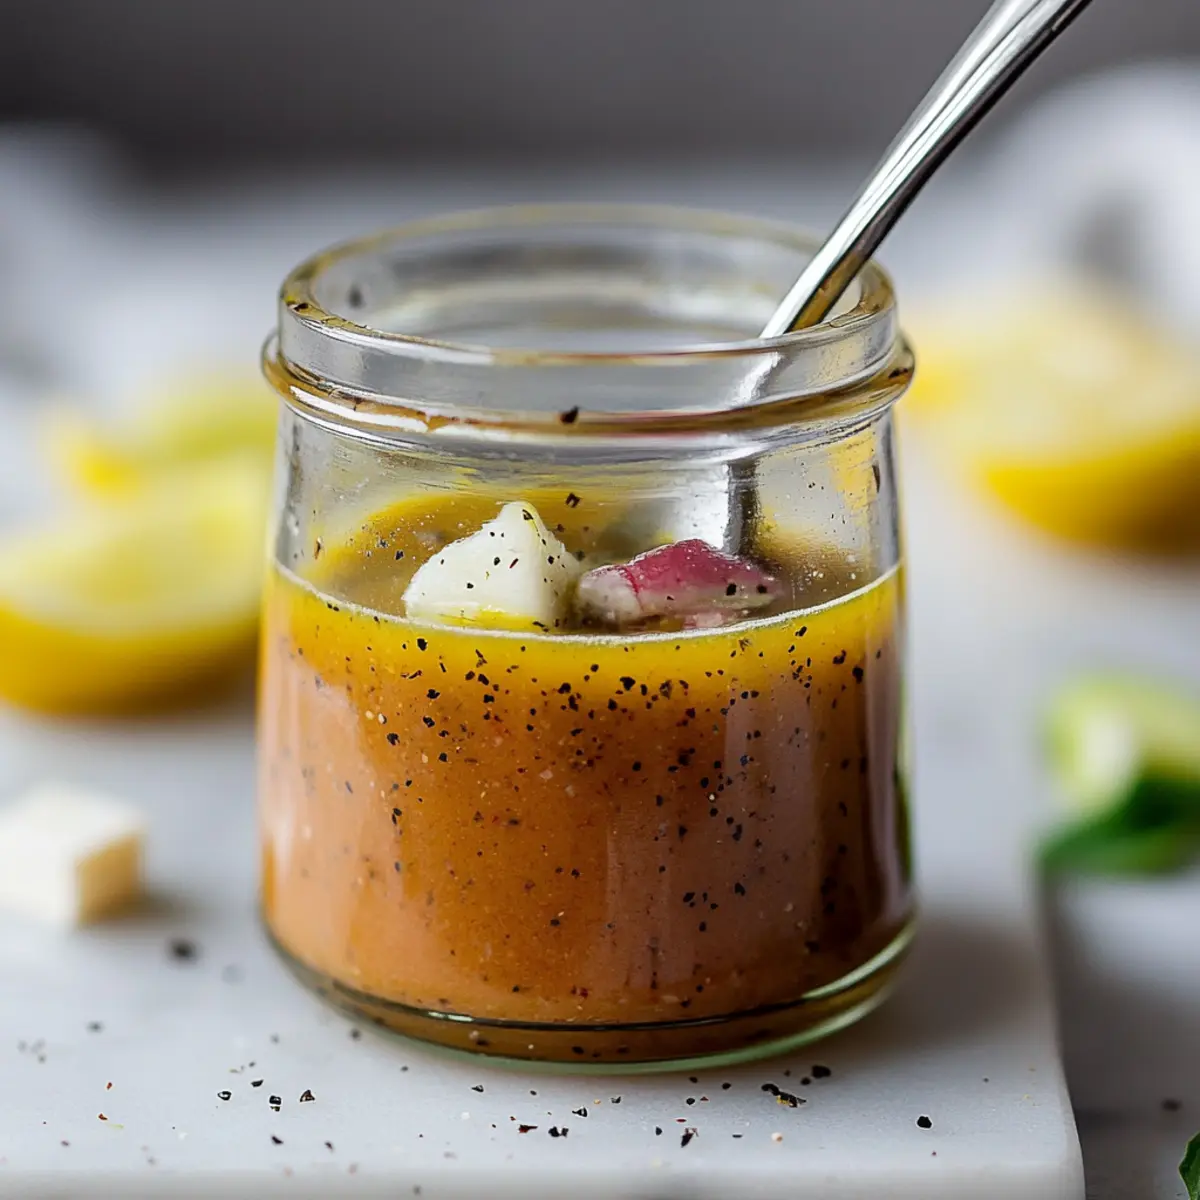
Caesar Dressing Ingredients
• Discover the key ingredients for a creamy Caesar Dressing.
For the Base
- Mayonnaise – Acts as the creamy foundation, giving the dressing its luscious texture.
- Dijon Mustard – Adds a zesty kick that balances the richness of the mayonnaise.
For the Flavor
- Red Wine Vinegar – Brings a tangy brightness that elevates all the flavors.
- Worcestershire Sauce – Introduces a deep, savory umami note that’s essential for classic Caesar taste.
- Capers – Offer a burst of briny flavor that complements the creamy base.
For Garnish
- Grated Parmesan Cheese – Always a must for that unmistakable Caesar flavor and deliciously cheesy finish.
- Salt and Pepper – Essential for seasoning; adjust to taste for the perfect flavor profile.
With these simple ingredients, creating your own Caesar Dressing is not only achievable but incredibly rewarding! Enjoy drizzling this delicious dressing on your favorite salads or using it as a dip to elevate your meals.
Step‑by‑Step Instructions for Caesar Dressing
Step 1: Combine the Base Ingredients
In a mixing bowl, measure out 1/2 cup of creamy mayonnaise, then add 2 tablespoons of Dijon mustard, 2 tablespoons of tangy red wine vinegar, and 1 tablespoon of savory Worcestershire sauce. Use a whisk or fork to mix them together vigorously until they create a smooth and well-blended base, which should only take about 1-2 minutes.
Step 2: Add the Flavorful Touch
Next, incorporate 1 tablespoon of chopped capers into your dressing mixture. Stir them in gently to ensure even distribution, which should take another minute. You’ll notice the mixture gaining both texture and flavor from the briny capers, enhancing the overall complexity of your Caesar Dressing.
Step 3: Introduce the Parmesan
Now, take 1/4 cup of grated Parmesan cheese and sprinkle it into the bowl. With your whisk or fork, diligently mix the cheese into the dressing until fully combined. The cheese adds a delightful creaminess and a distinctive flavor that will make the Caesar Dressing truly memorable; this should take about 1 minute of mixing.
Step 4: Season to Perfection
Finally, taste your dressing and season it with salt and pepper to your liking. Start with a pinch of salt and a few cracks of black pepper, then whisk again to blend. Adjust the seasoning gradually, tasting as you go, until you achieve the perfect balance of flavors, which should take about 2 minutes.
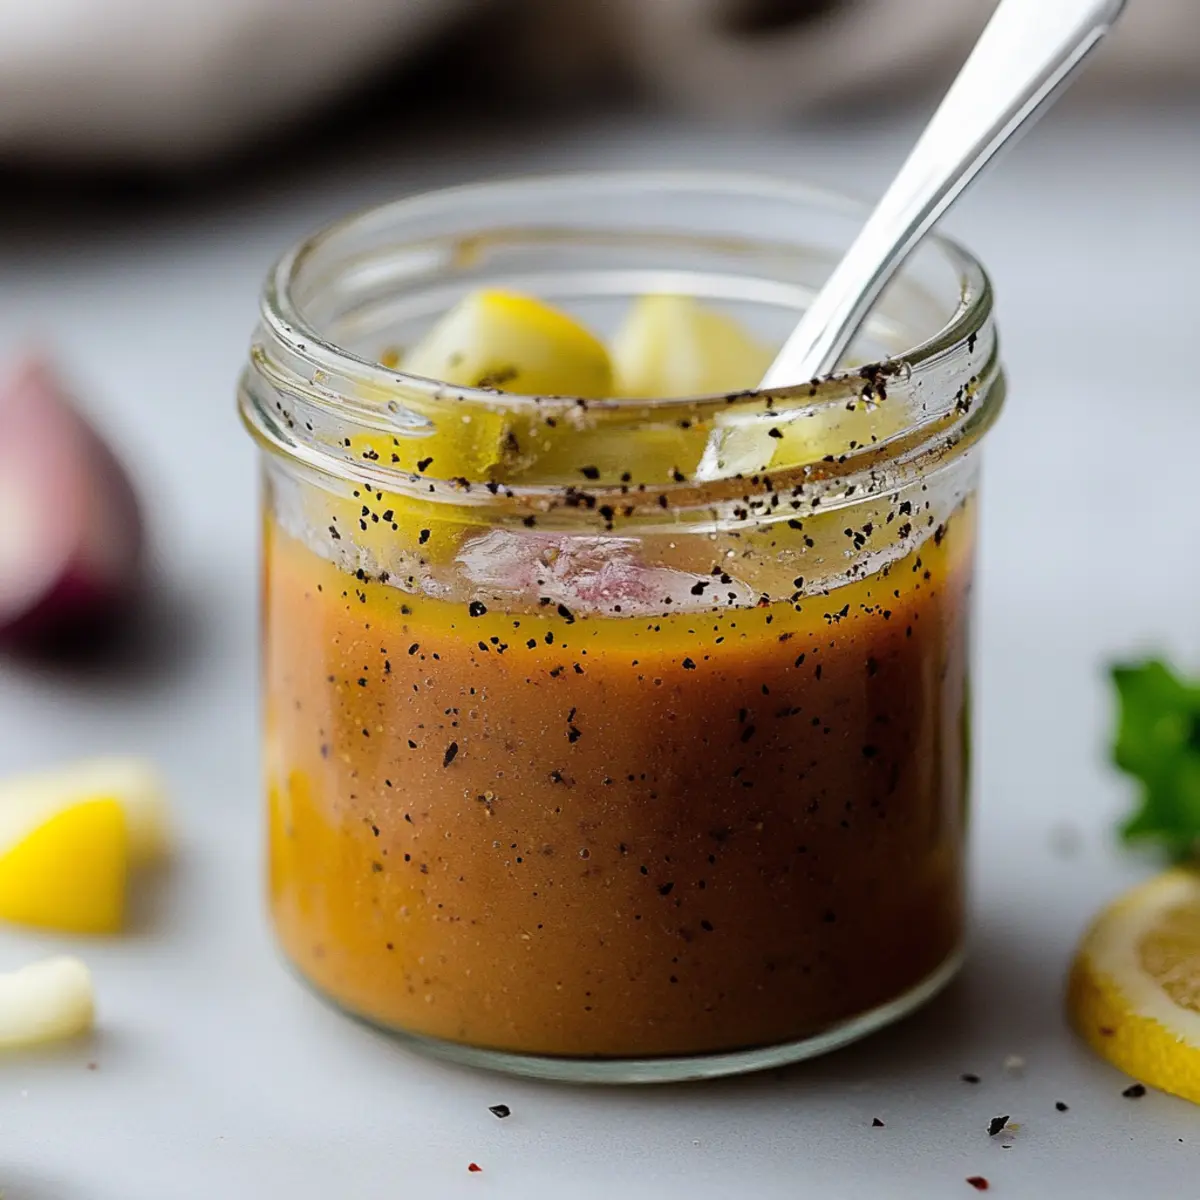
Step 5: Chill for Maximum Flavor
Once fully combined, transfer the Caesar Dressing into an airtight container or a jar with a lid. Allow it to chill in the refrigerator for at least 30 minutes. This resting time will let the flavors meld beautifully, intensifying the overall taste before serving on your fresh salads or as a dip.
Expert Tips for Perfect Caesar Dressing
-
Use Fresh Ingredients: Freshly grated Parmesan and quality mustard make a noticeable difference in flavor and texture over pre-packaged options.
-
Balance the Flavors: Taste your dressing before serving; you can always adjust the salt, pepper, or vinegar to achieve your desired tanginess for a perfect Caesar Dressing.
-
Whisk Thoroughly: Mixing well ensures a silky texture. If the dressing seems too thick, add a splash of water or extra vinegar to achieve your desired consistency.
-
Chill Time Matters: Allowing the dressing to chill for at least 30 minutes lets the flavors bloom, enhancing the overall experience and depth of taste.
-
Experiment with Add-ins: Don’t hesitate to get creative! Try adding minced garlic, anchovy paste, or fresh herbs for an extra kick to your Caesar Dressing.
Enjoy crafting this delightful dressing that not only enhances your salads but also brings joy to your mealtime!
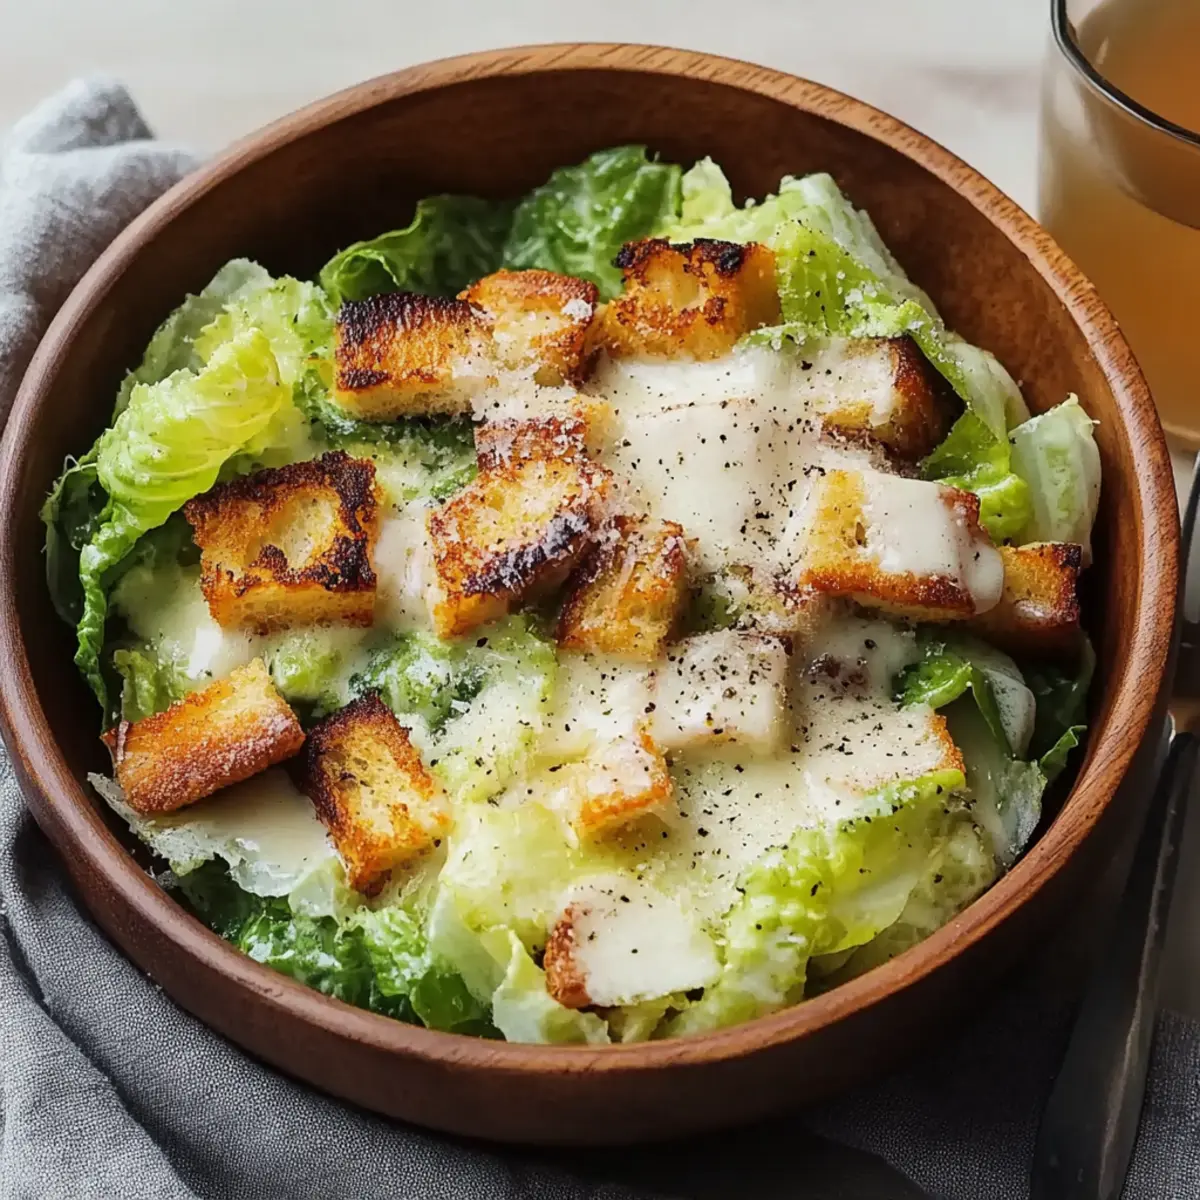
What to Serve with Caesar Dressing
As you prepare to drizzle this creamy delight over your dishes, envision the perfect accompaniments that will enhance every bite.
-
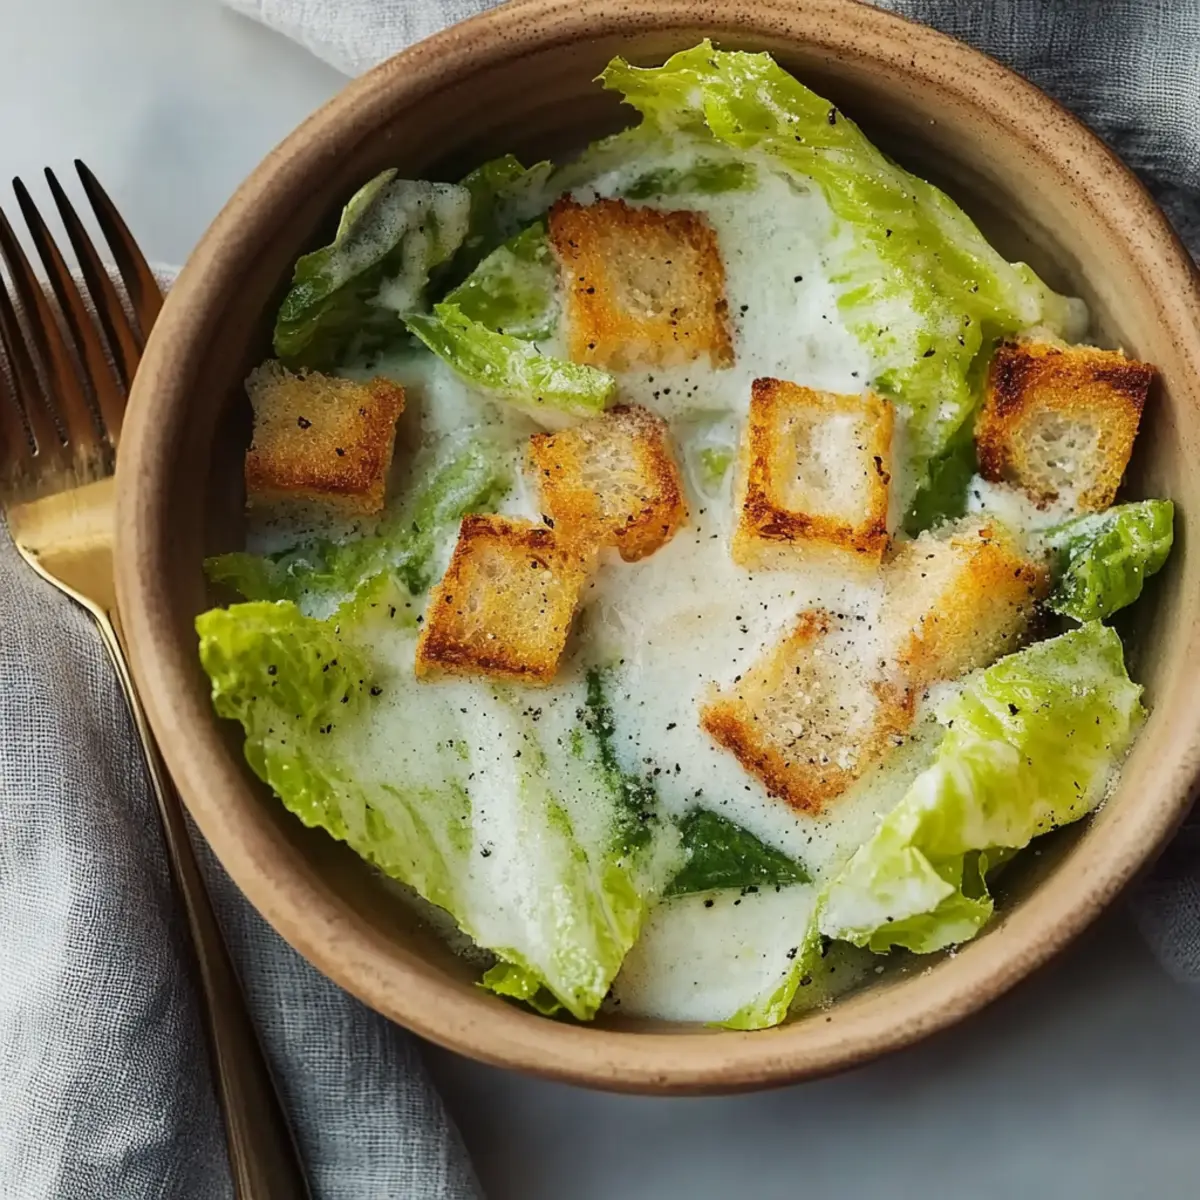
Crispy Romaine Lettuce: The classic pairing, its crunchy texture and fresh flavor provide the perfect base for your creamy dressing. Toss it together for a refreshing salad experience.
-
Grilled Chicken Breast: Juicy and flavorful, grilled chicken adds hearty protein that complements the dressing’s tanginess, making for a satisfying meal. This combination is especially delightful on a warm evening.
-
Garlic Bread: With its buttery crunch and savory garlic notes, garlic bread turns an ordinary meal into a cozy feast, adding a comforting element alongside the zesty dressing.
-
Roasted Vegetables: Caramelized and tender, roasted veggies bring a lovely sweetness that balances the salty richness of the Caesar Dressing, creating a well-rounded plate.
-
Quinoa Salad: Light yet filling, a quinoa salad packed with veggies can be elevated with this Caesar Dressing, offering a nutritious and flavorful option for health-conscious diners.
-
Caesar Pasta Salad: Incorporating this zesty dressing into a pasta salad delivers a delightful twist, blending rich flavors with satisfying textures for a friendly summer gathering.
-
Sparkling Lemonade: The refreshing and slightly tart taste of sparkling lemonade makes for a bubbly drink that beautifully contrasts the creamy dressing, enhancing the flavor profile of your meal.
-
Chocolate Mousse: End your meal on a sweet note with rich chocolate mousse, its velvety texture providing a delightful dessert that’s a perfect conclusion to a classic Caesar-themed dinner.
Caesar Dressing Variations & Substitutions
Get ready to tailor this delicious Caesar Dressing to match your tastes and dietary needs!
-
Dairy-Free: Substitute mayonnaise with a dairy-free mayo or avocado for a creamy, plant-based option. You’ll still get that rich texture with fewer calories!
-
Vegan: Use a vegan mayo and leave out the Parmesan or try nutritional yeast for a cheesy flavor without dairy. Perfect for anyone daring to explore plant-based delights!
-
Gluten-Free: Ensure your Worcestershire sauce is gluten-free and enjoy this dressing without worry, making it a delightful addition to any gluten-free meal.
-
Spicy Kick: Add a dash of hot sauce or a sprinkle of red pepper flakes for an exciting kick that will awaken your taste buds. Perfect for those evenings when you crave a little extra heat!
-
Garlic Lovers: Incorporate minced garlic or 1 teaspoon of garlic powder for an added depth of flavor that enhances every component of the dressing. This is a wonderful way to elevate your classic Caesar.
-
Creaminess Boost: Mix in a tablespoon of Greek yogurt for an even creamier texture and a tangy twist, making your dressing lighter but still incredibly satisfying.
-
Herb Infusion: Fresh herbs like dill, basil, or parsley can be chopped and added for a vibrant twist, creating a fresh, garden-inspired Caesar Dressing that’s utterly delightful!
-
Anchovy Lovers: For traditionalists, adding a mashed anchovy fillet into the mix will enhance the umami flavor and give that classic Caesar its signature taste. Just a little goes a long way!
These variations and substitutions are sure to inspire your culinary creativity, so dive in and enjoy making this Caesar Dressing uniquely yours!
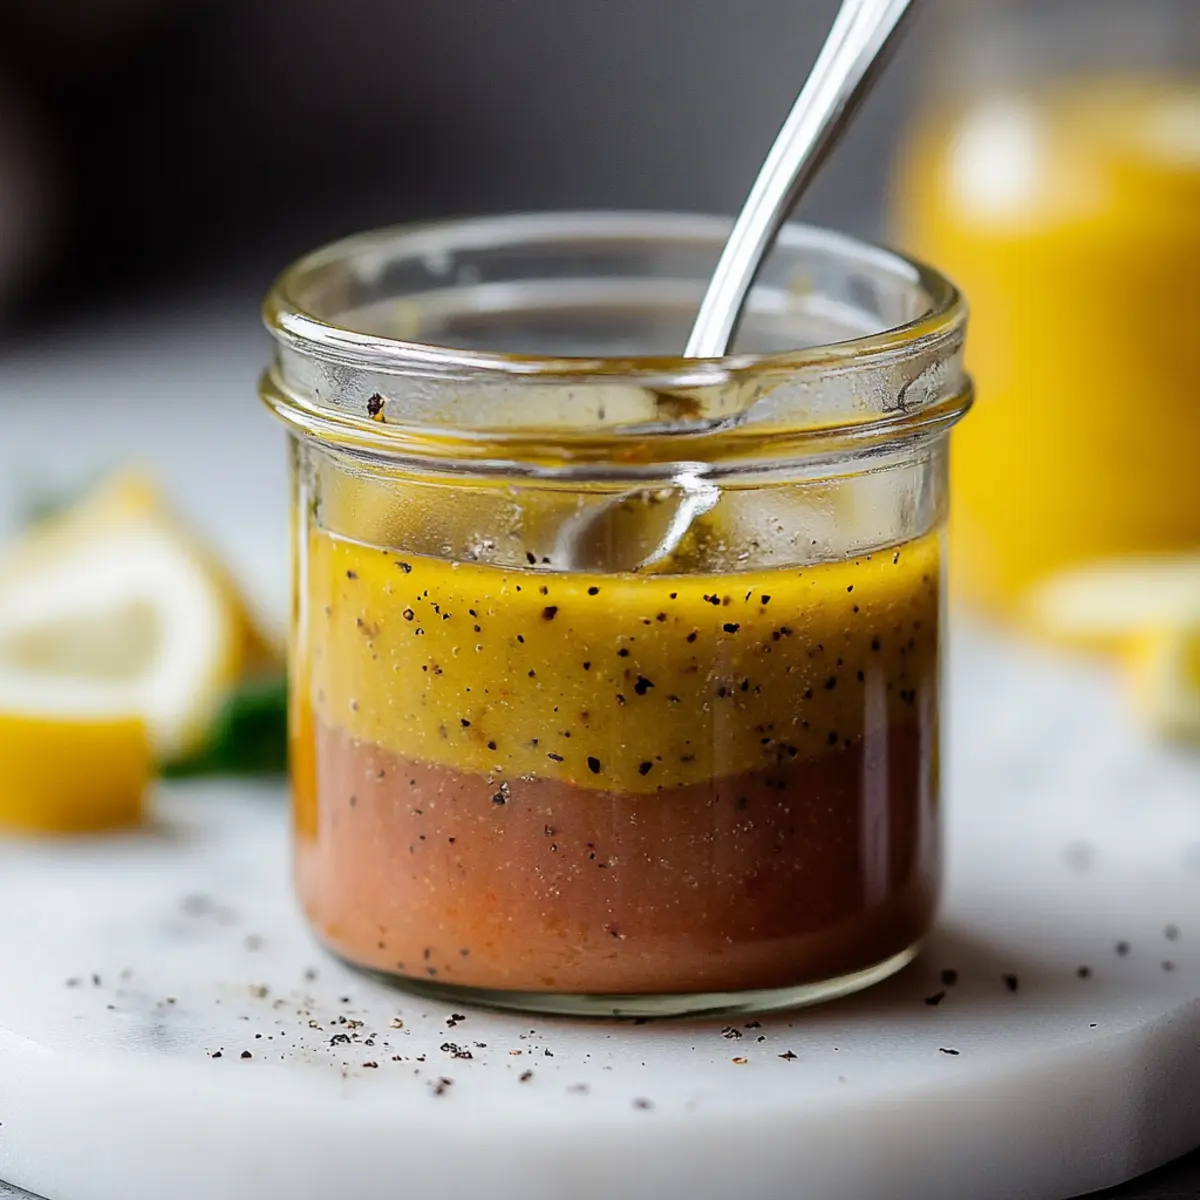
How to Store and Freeze Caesar Dressing
Fridge: Store your Caesar Dressing in an airtight container in the refrigerator for up to 1 week. This helps preserve its fresh flavor and creamy texture.
Freezer: For longer storage, freeze the dressing in ice cube trays. Once frozen, transfer cubes to a freezer bag and use within 3 months for optimal taste.
Thawing: When ready to use frozen Caesar Dressing, simply thaw it in the fridge overnight or on the countertop for a few hours. Stir well before serving to regain its creamy consistency.
Reheating: While not typically needed, if your dressing separates, whisk it together again until smooth. Enjoy this delightful homemade Caesar Dressing fresh over your salads!
Make Ahead Options
These Caesar Dressing preparations are perfect for busy home cooks looking to save time! You can prepare the dressing up to 3 days in advance, making mealtime a breeze during hectic weeks. Simply mix together the mayonnaise, Dijon mustard, red wine vinegar, Worcestershire sauce, and chopped capers as outlined in the recipe. Store the mixture in an airtight container in the refrigerator, which helps retain its creamy texture and fresh flavor. Before serving, stir in the grated Parmesan cheese and season with salt and pepper to taste; this ensures it’s just as delicious as if you made it fresh! Enjoy easy salads or festive dips without the last-minute rush!

Caesar Dressing Recipe FAQs
How do I choose the best mayonnaise for my Caesar Dressing?
Absolutely! Opt for a quality mayonnaise that uses eggs and oil for a richer flavor. Avoid low-fat or light mayo, as they can affect the creaminess of your dressing. Look for a brand that you enjoy, as the base flavor is essential to the final taste.
How should I store my homemade Caesar Dressing?
Very well! Keep your Caesar Dressing in an airtight container in the refrigerator. It will stay fresh for up to 1 week. Be sure to seal it tightly to prevent any moisture or other food flavors from altering its taste.
Can I freeze Caesar Dressing for later use?
You can! For freezing, pour the dressing into ice cube trays and let it freeze completely. Once solid, transfer the cubes to a resealable freezer bag. It’s best used within 3 months for the best quality. When you’re ready, thaw the cubes in the fridge overnight or on the countertop for a few hours and give it a good stir before serving.
What should I do if my Caesar Dressing is too thick?
If you find your dressing is thicker than you’d like, simply add a splash of water or red wine vinegar and whisk it until it reaches your desired consistency. Start slowly, adding just a little at a time to avoid making it too runny.
Is this dressing safe for those with allergies?
It’s essential to check for allergen ingredients! This recipe contains mayonnaise, which usually includes eggs. If anyone has an egg allergy, consider a vegan mayonnaise alternative. Always double-check other ingredients like Worcestershire sauce, as some brands may contain fish sauce.
How do I know if my ingredients are fresh enough?
Check for visual signs! Fresh mayonnaise should have a creamy consistency without any strange separation, Dijon mustard should be smooth, and spices like Parmesan should be flavorful without any dark spots or off-odors. If in doubt, taste a small amount to ensure everything is still good!
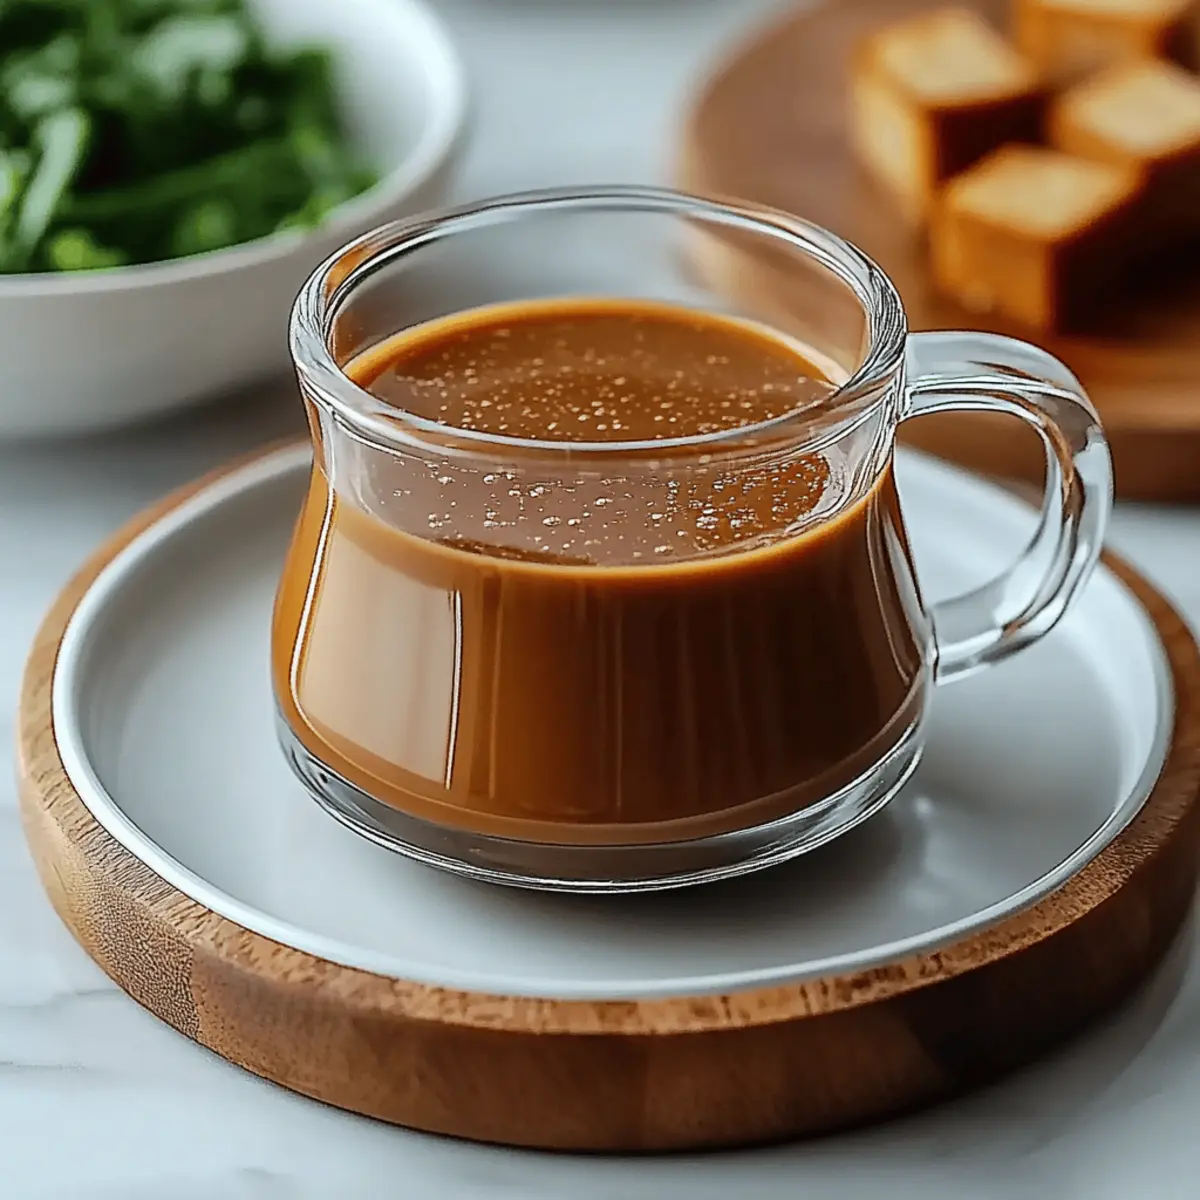
Creamy Caesar Dressing to Elevate Your Homemade Salads

This homemade Caesar Dressing is a quick and easy recipe that transforms any meal into a special occasion with its rich flavor.
- Mixing Bowl
- Whisk
- Airtight Container
For the Base
- 1/2 cup Mayonnaise (Acts as the creamy foundation.)
- 2 tablespoons Dijon Mustard (Adds a zesty kick.)
For the Flavor
- 2 tablespoons Red Wine Vinegar (Brings a tangy brightness.)
- 1 tablespoon Worcestershire Sauce (Introduces a deep, savory umami note.)
- 1 tablespoon Chopped Capers (Offers a burst of briny flavor.)
For Garnish
- 1/4 cup Grated Parmesan Cheese (Adds distinctive flavor.)
- to taste Salt (Essential for seasoning.)
- to taste Pepper (Essential for seasoning.)
Caesar Dressing Instructions
- Combine the base ingredients in a mixing bowl: mayonnaise, Dijon mustard, red wine vinegar, and Worcestershire sauce. Whisk until smooth.
- Add chopped capers and stir gently to distribute evenly.
- Sprinkle grated Parmesan cheese into the bowl and mix until fully combined.
- Season with salt and pepper to taste, adjusting as necessary.
- Chill the dressing in the refrigerator for at least 30 minutes before serving.
This dressing is perfect for salads, as a veggie dip, or a sandwich spread. Use fresh and quality ingredients for the best flavor.