Dessert
-
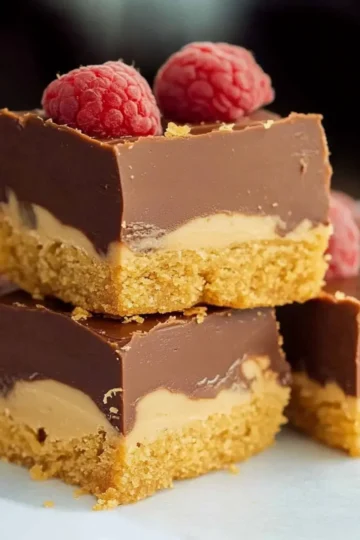
Irresistibly Creamy No-Bake Peanut Butter Bars You'll Love
-
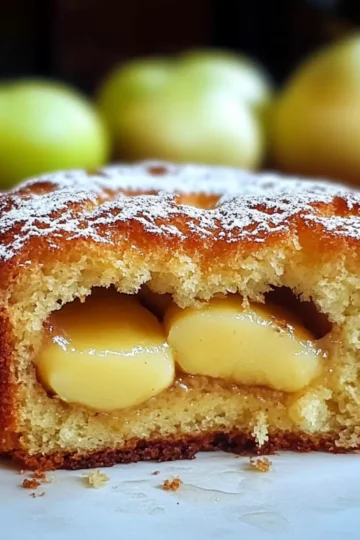
Deliciously Moist Italian Pear Cake You'll Love to Bake
-
Decadent Chocolate Custard Cruffins You Can't Resist
-
Decadent Millionaire’s Shortbread Sandwich Cookies to Indulge
-
Decadent Mint Chocolate Chip Truffles You Can Make at Home
-
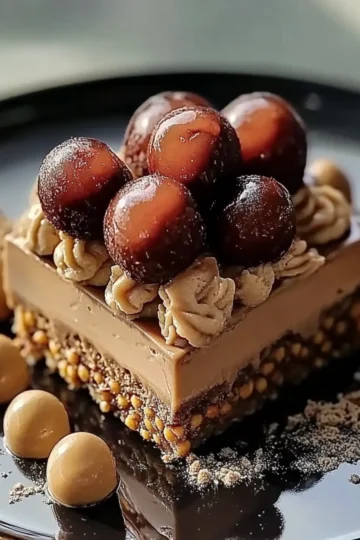
Decadent Chocolate Caramel Toffee Crunch Cake Bliss
-
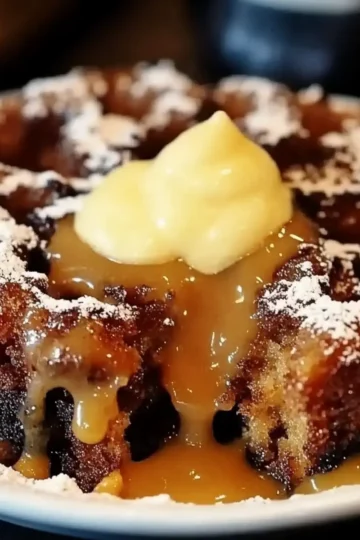
Irresistible Sticky Date Self-Saucing Pudding for Cozy Nights
-
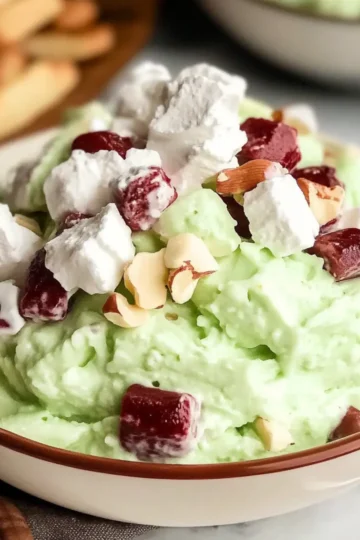
Creamy Watergate Fluff Salad That Will Wow Your Tastebuds
-
Delicious High Protein Blueberry Cake Donuts You’ll Love
-
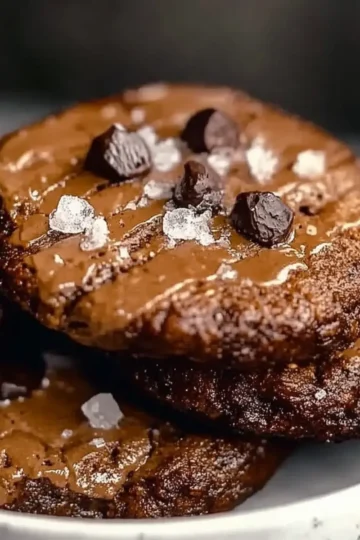
Irresistibly Chewy Brownie Cookies You’ll Crave Daily
-
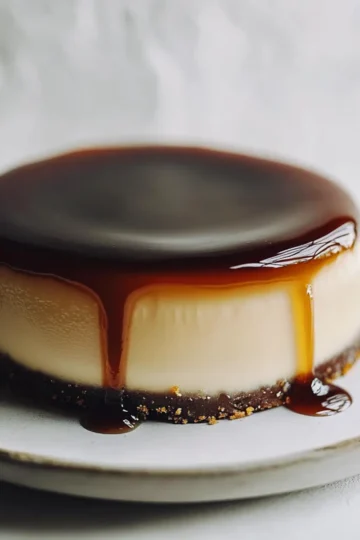
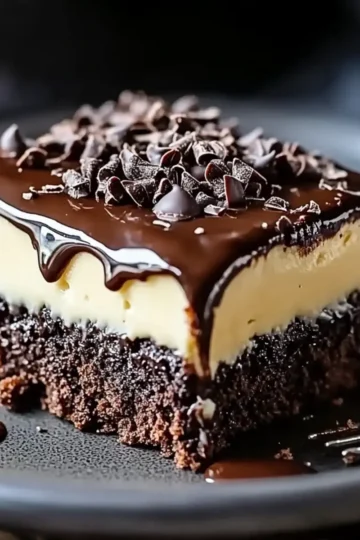
Decadent Chocoflan: A Sweet Surprise That Delights!
-
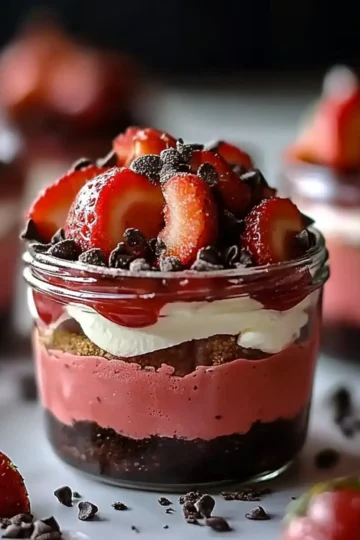
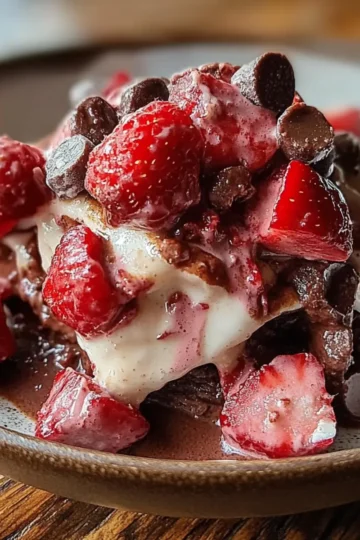
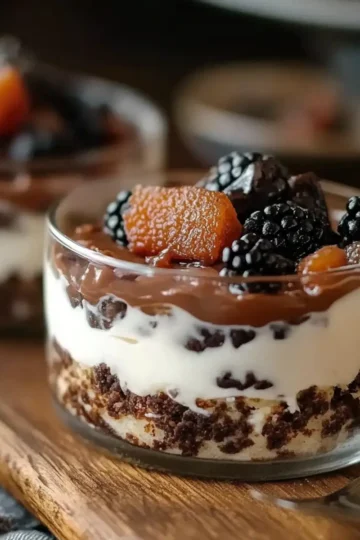
Decadent Chocolate Strawberry Mousse Cake Parfaits You'll Love
-
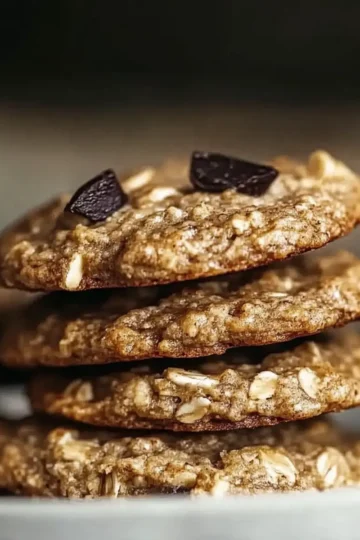
Deliciously Soft Banana Oat Cookies for Guilt-Free Snacking
-
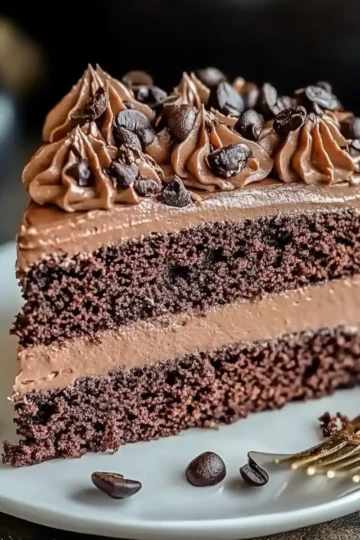
Decadent Rich Coffee Chocolate Cake You'll Love to Bake
-
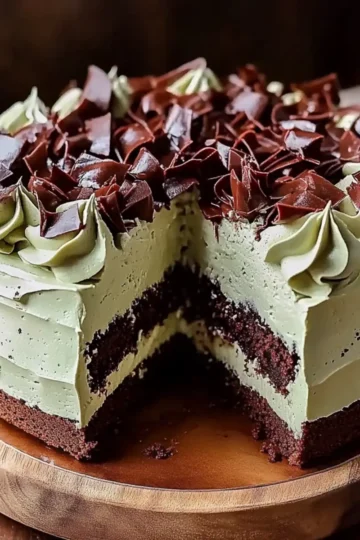
Irresistibly Moist Chocolate Mint Cake for Sweet Moments
-
Decadent Chocolate Strawberry Greek Yogurt Clusters to Savor
-
Refreshing Strawberry Sorbet That Will Brighten Your Day
-
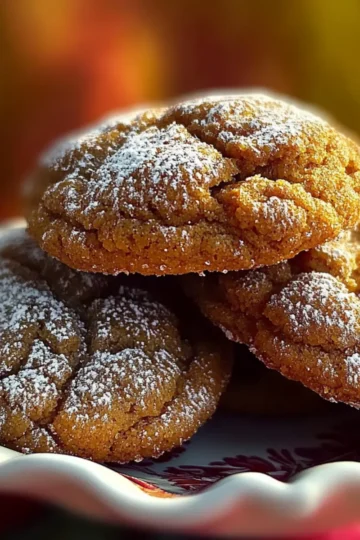
Festive Buttery Spiced Christmas Cookies for Joyful Munching
-
Decadent Chocotorta: Your New Favorite No-Bake Dessert
-
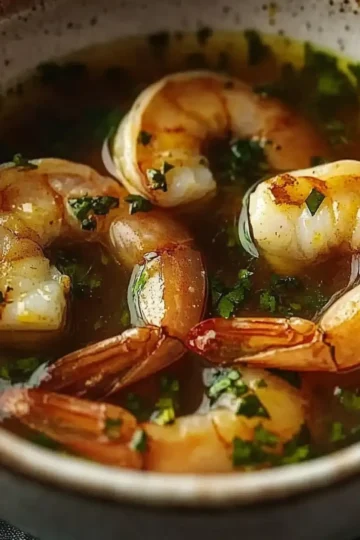
Revitalize Your Day with Miso-Ginger Lemon Shrimp Detox Broth
-
Indulge in Irresistible Chocolate Ooey Gooey Cake Bliss
-
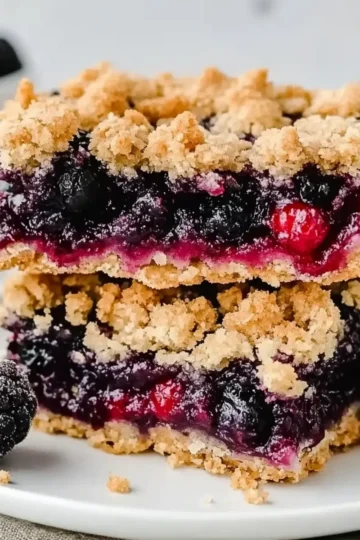
Delicious Vegan Berry Crumble Bars Your Sweet Tooth Will Love
-
Deliciously Hidden Veggie-Loaded Chocolate Muffins
-
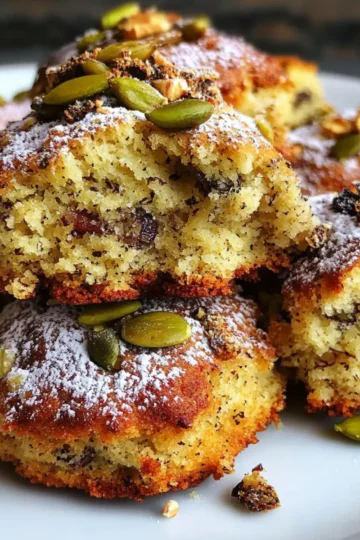
Irresistibly Chewy Salted Honey Pistachio Cookies Recipe
-
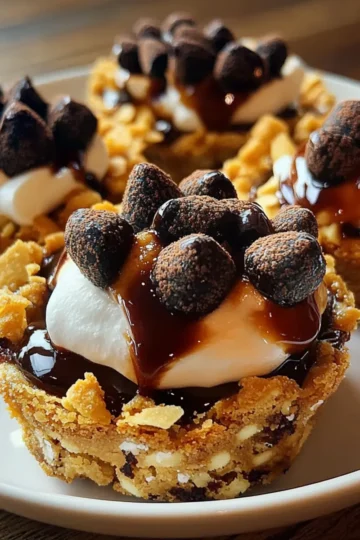
S’mores Cookie Cups: The Ultimate Cozy Dessert Delight
-
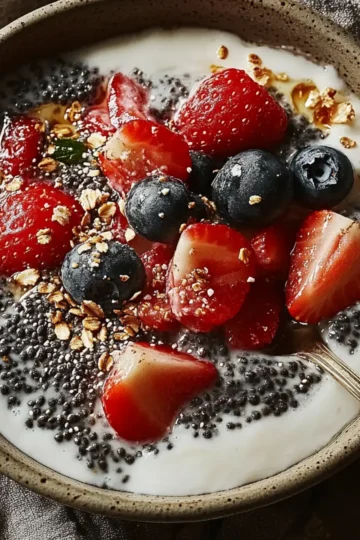
Indulge in Creamy Vegan Gluten-Free Chia Pudding Bliss
-
Decadent Chocolate Turtle Cake for Sweet Moments Together
-
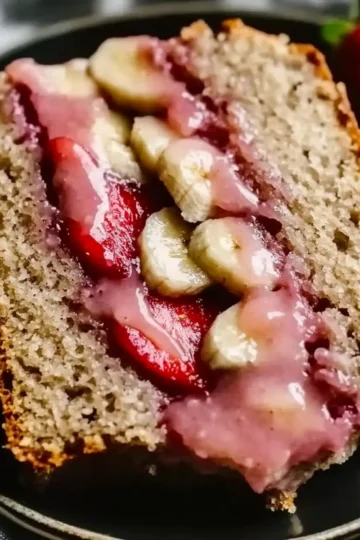
Deliciously Soft Strawberry Banana Bread for Ultimate Comfort
-
Decadent Pistachio Chocolate Lava Cakes for Sweet Moments
-
Delicious Strawberry Cheesecake Protein Balls for Guilt-Free Snacking
-
Indulge in Creamy Tiramisu Chia Pudding Bliss
-
Indulge in Decadent Chocolate-Orange Bliss Cake Today
-
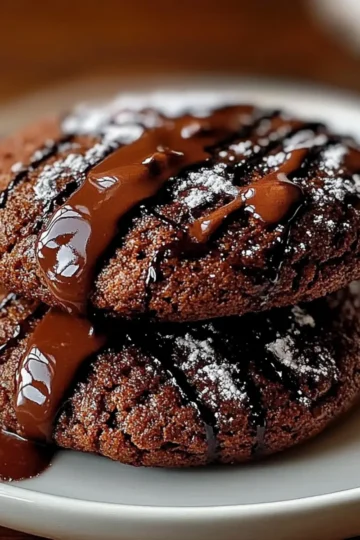
Gooey Chocolate Ganache Cookies That Melt in Your Mouth
-
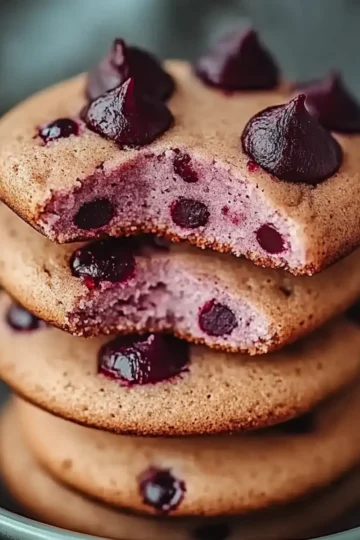
Sweet Maraschino Cherry Chocolate Chip Cookies to Devour
-
Sour Cream Chocolate Loaf Cake That's Decadently Moist and Rich
-
Decadent Strawberry Cream Cheese Danish for Blissful Mornings
-
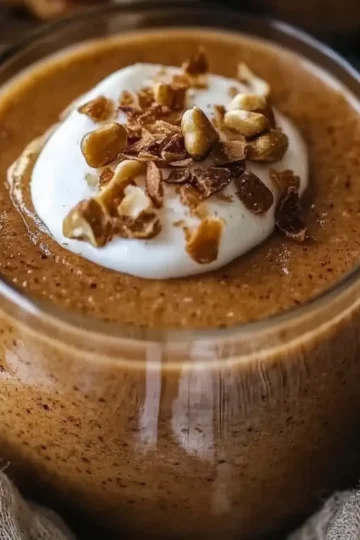
Delightful Pumpkin Pie Greek Yogurt Chia Pudding Recipe
-
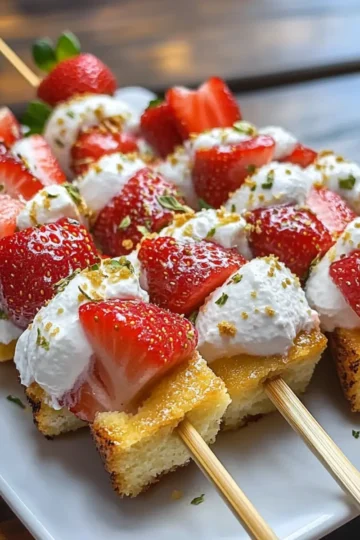
Delicious Strawberry Shortcake Kabobs for Sweet Summer Fun
-
Cranberry Orange Cream Cheese Pastry Straws for Festive Bliss
-
Deliciously Sweet Pink Cinnamon Rolls You Need to Try
-
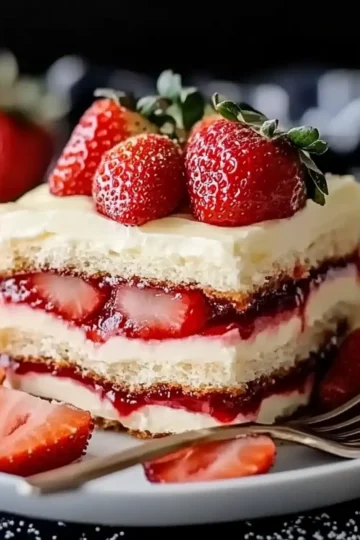
Delicious Strawberry Tiramisu for Sweet Spring Indulgence
-
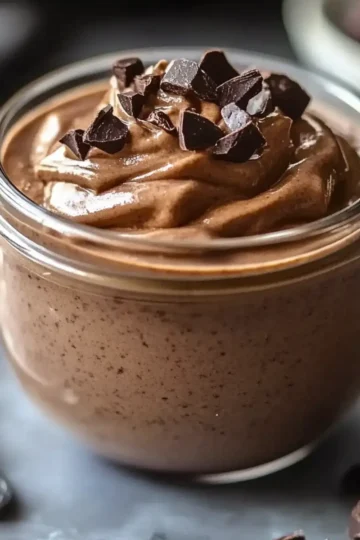
Decadent Low Carb Protein Pudding for Guilt-Free Indulgence