Dessert
-
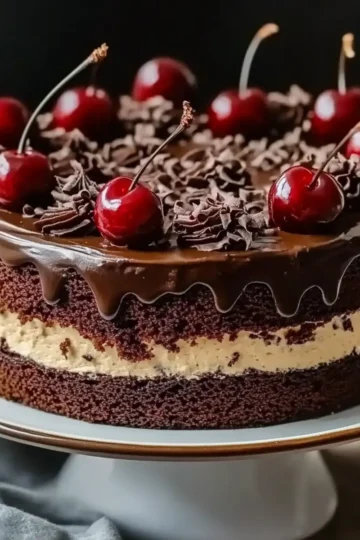
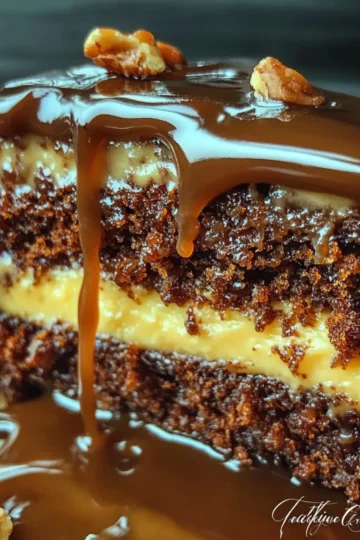
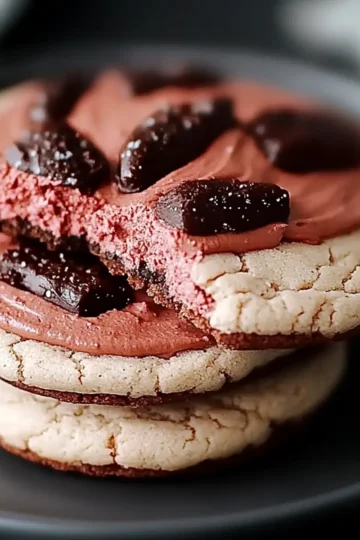
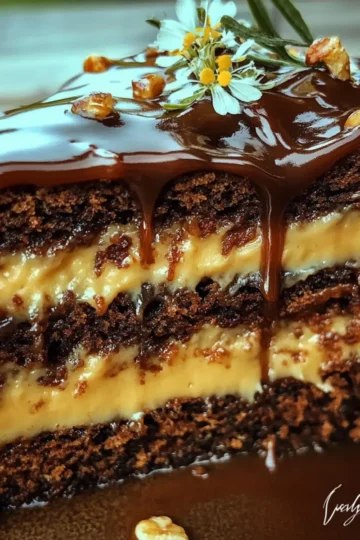
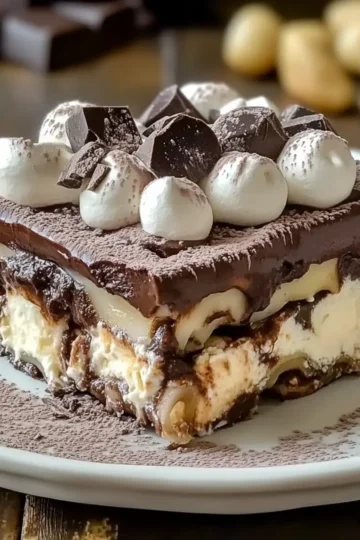
Indulge in Black Forest-Inspired Chocolate Mascarpone Cake
-
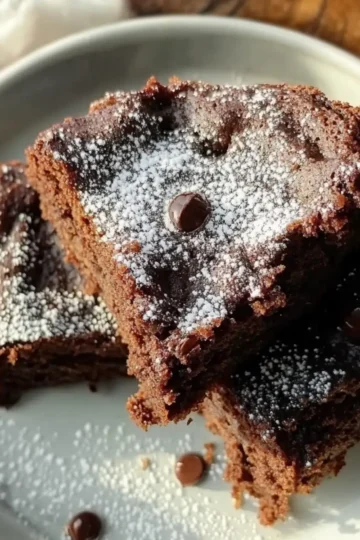
Decadent Heart Shaped Brownies to Melt Your Heart
-
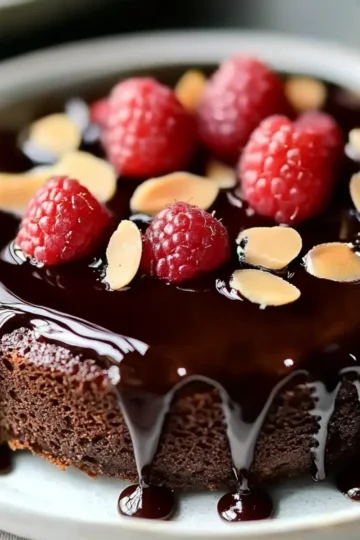
Decadent Gluten Free Vegan One Bowl Chocolate Cake Delight
-
Indulge Guilt-Free: Your Healthy Girl Treat Guide
-
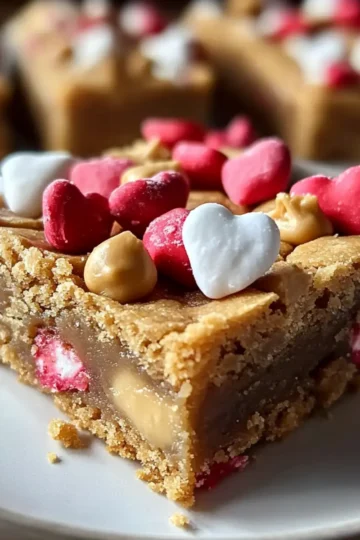
Irresistibly Chewy Peanut Butter Cookie Bars for Everyone
-
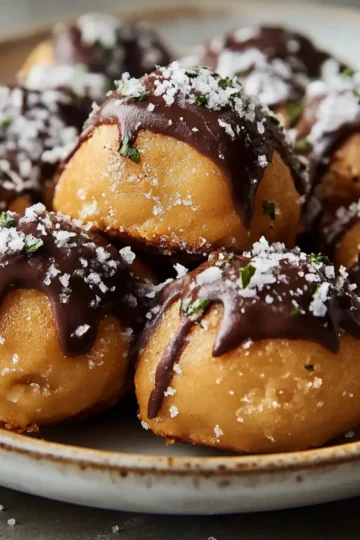
No-Bake Chocolate Peanut Butter Protein Balls for Quick Energy
-
Elegant German Chocolate Glitzertorte: A Showstopper Dessert
-
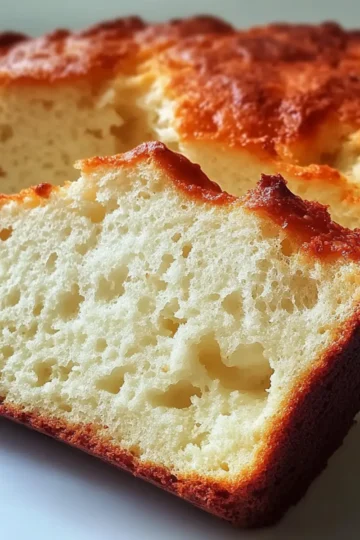
Yogurt Bread Gluten-Free Zero Carb Option for Guilt-Free Indulgence
-
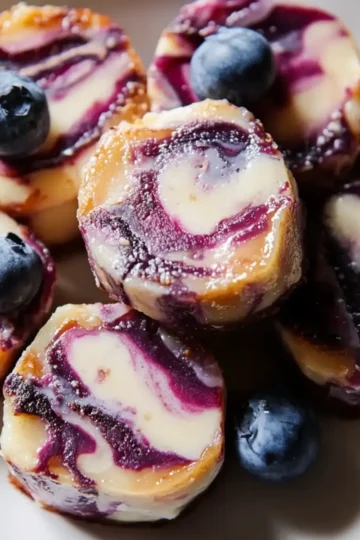
Delicious Blueberry Swirl Yogurt Bites for a Sweet Treat
-
Delicious Chocolate Covered Strawberry Cookies You’ll Love
-
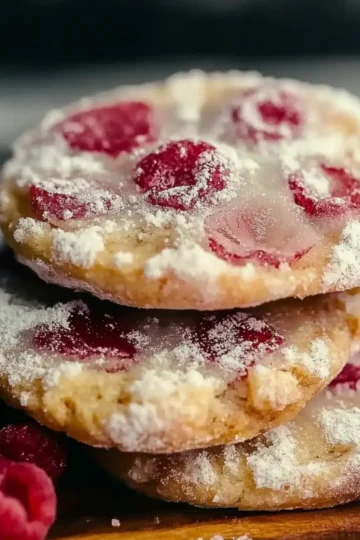
Delightful Raspberry Sugar Cookies to Brighten Your Day
-
Irresistible Cake Pops You Can Make at Home Today
-
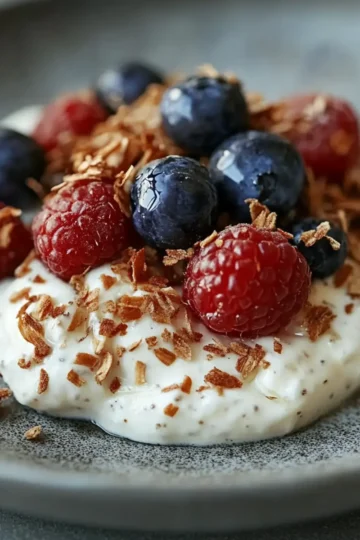
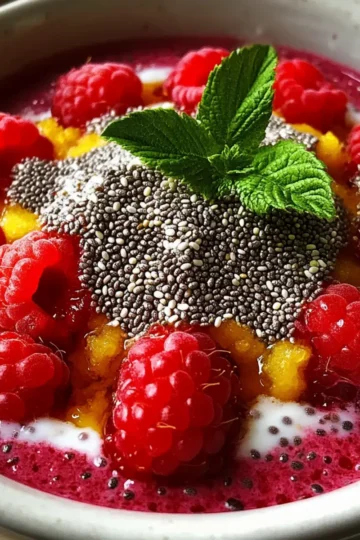
Creamy Vegan Raspberry Chia Pudding You’ll Love
-
Decadent Chocolate Cake That’ll Bring You Joy
-
Decadent German Chocolate Glitzertorte to Wow Your Guests
-
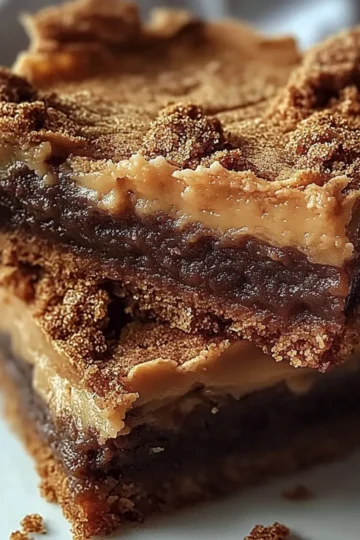
Biscoff Blondies Chewy Cookie Butter Dessert Bars That Wow!
-
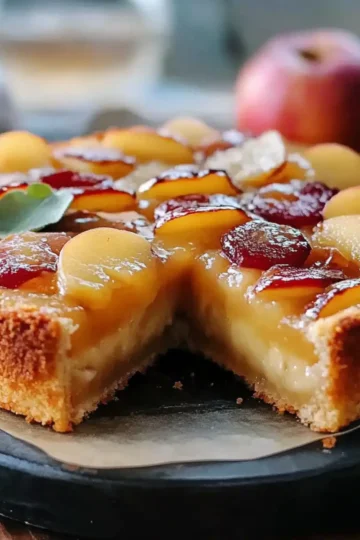
Irresistibly Moist Apple Cake with Just 3 Ingredients
-
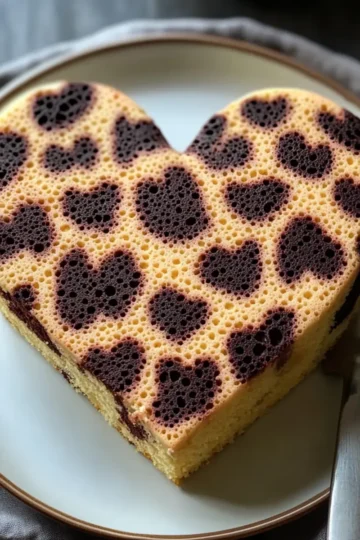
Cheetah Print Heart Cake: A Fun Twist for Your Sweet Tooth
-
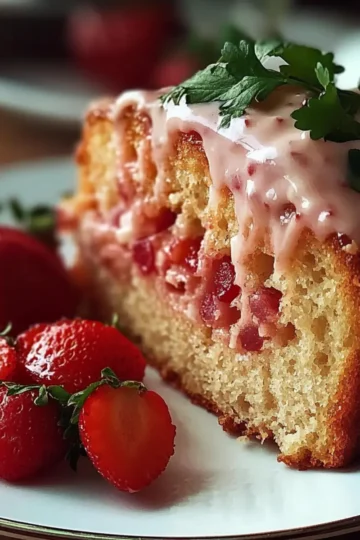
Moist Strawberry Milkshake Pound Cake That Dances with Flavor
-
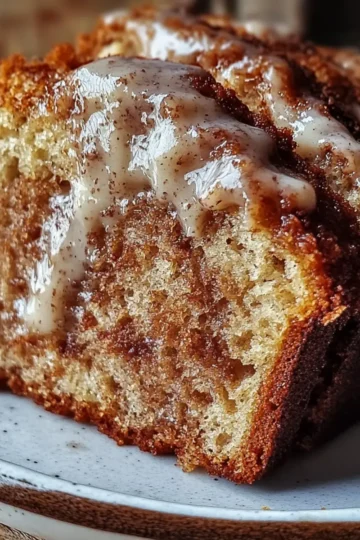
Cozy Up with This Irresistible Spiced Eggnog Loaf Recipe
-
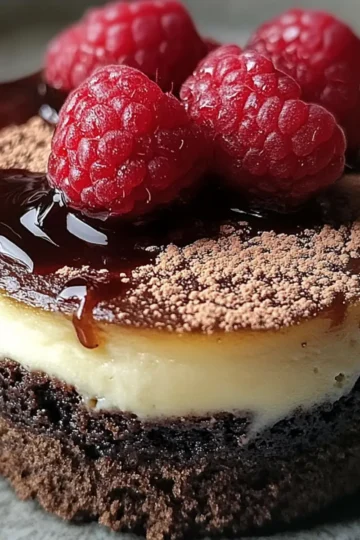
Indulge in Decadent Dark Chocolate Raspberry Cheesecake Today
-
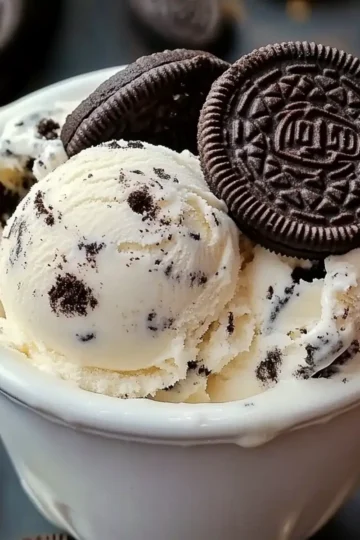
Decadent Ninja Creami Oreo Cookie Ice Cream You'll Love
-
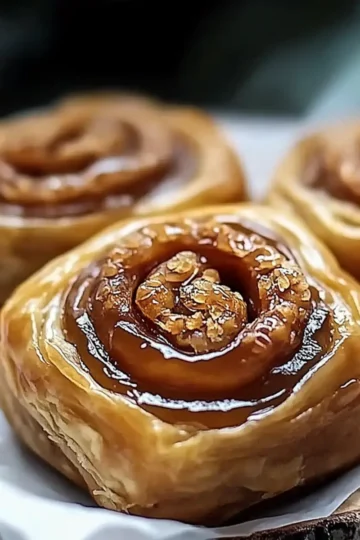
Guess What’s Baking: Divine Old-Fashioned Caramel Rolls!
-
Zesty Lemon Meltaway Cookies That Melt in Your Mouth
-
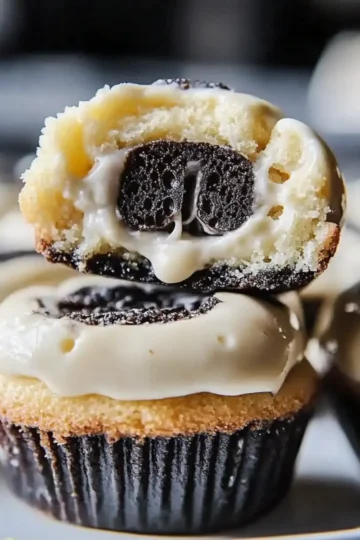
Delightful Oreo Cheesecake Bites Perfect for Any Sweet Tooth
-
Decadent Chocolate Mousse Brownies That Wow Every Bite
-
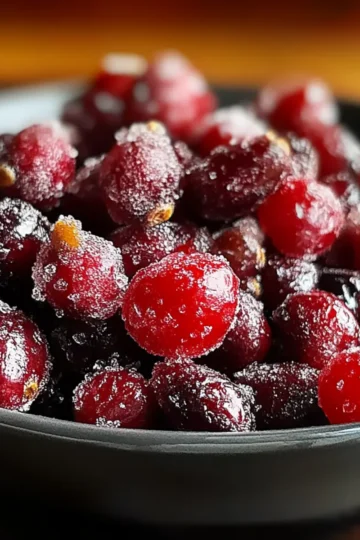
Irresistibly Sweet Candied Cranberries for Any Occasion
-
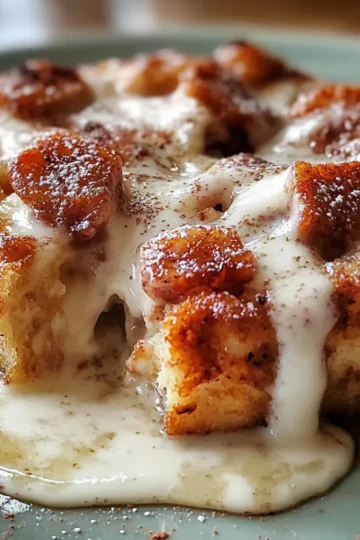
Creamy Eggnog Donut Bread Pudding to Celebrate the Holidays
-
Deliciously Crunchy Cinnamon-Spiced Candied Cranberries
-
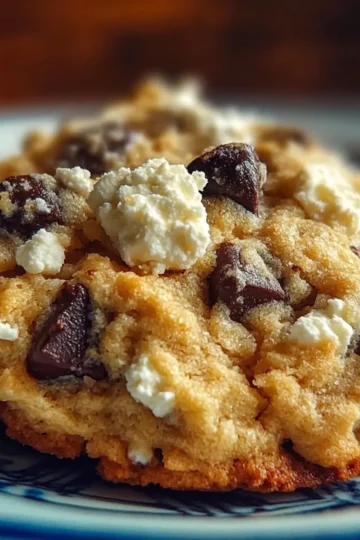
Cottage Cheese Cookie Dough That's Irresistibly Delicious
-
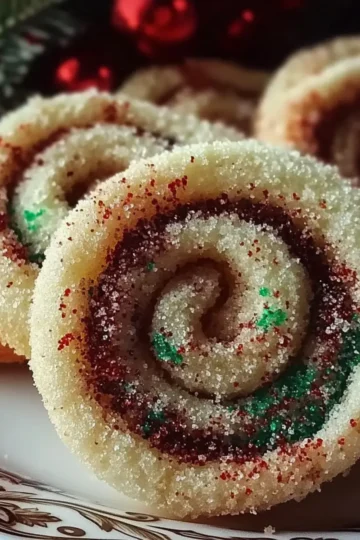
Delicious Christmas Pinwheel Cookies to Brighten Your Holidays
-
Delicious Christmas Pinwheel Cookies to Brighten Your Holidays
-
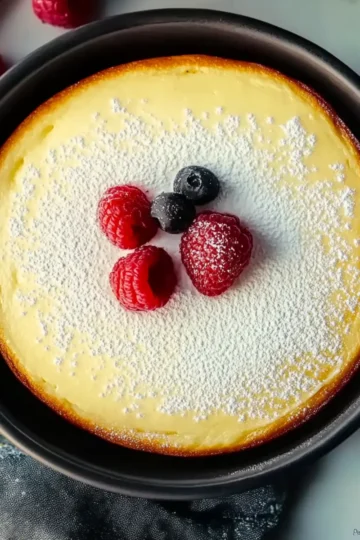
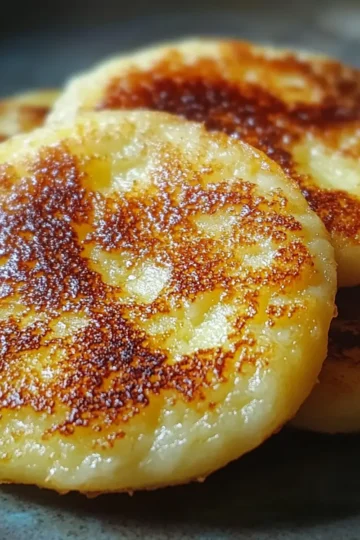
Deliciously Easy Creamy Yogurt Cake for Sweet Moments
-
Delightful Candied Cranberries for Festive Flavor Bliss
-
Delicious Golden Flaky Berry Puff Pastry Twists to Savor
-
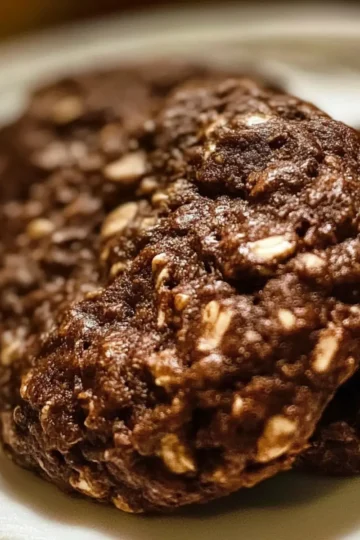
Irresistible Chocolate Oatmeal Cookies with Sweet Crunch
-
Decadent Hot Chocolate Lasagna That Will Melt Your Heart
-
Indulge in Chocolate Cherry Cheesecake Truffles Bliss
-
Indulge in Delicious Hot Cocoa Cookies That Spark Joy
-
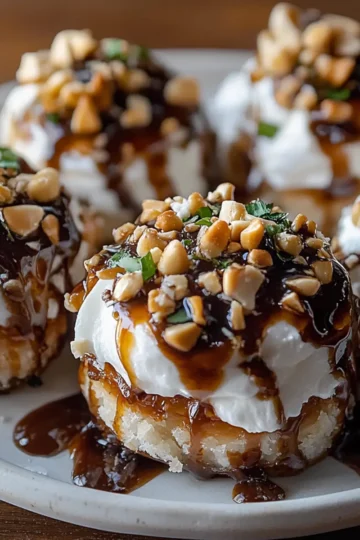
Frozen Greek Yogurt Peanut Butter Bites for Sweet Indulgence
-
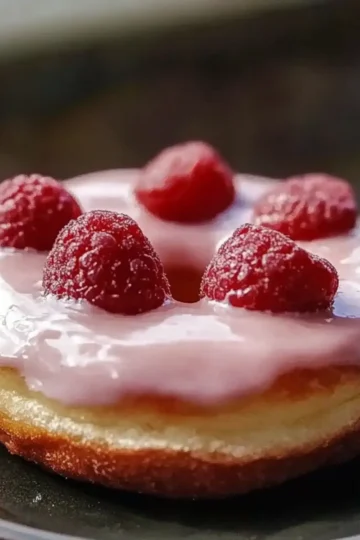
Delicious Valentine's Day Strawberry Donuts to Sweeten Your Day
-
Decadent Crème Brûlée Cookies You’ll Want to Bake Today