Dessert
-
Delicious Strawberry Shortcake Cheesecake Truffles to Adore
-
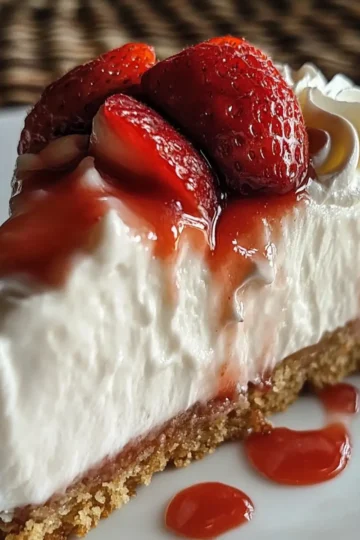
Irresistible Strawberry Topped Cheesecake for Sweet Moments
-
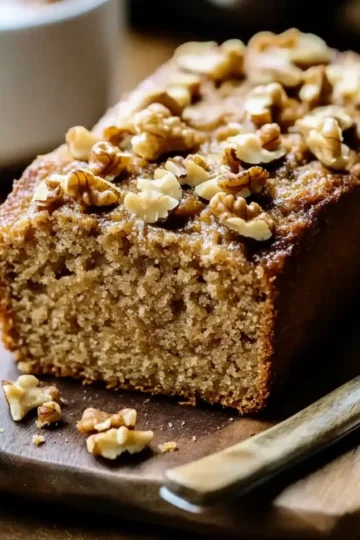
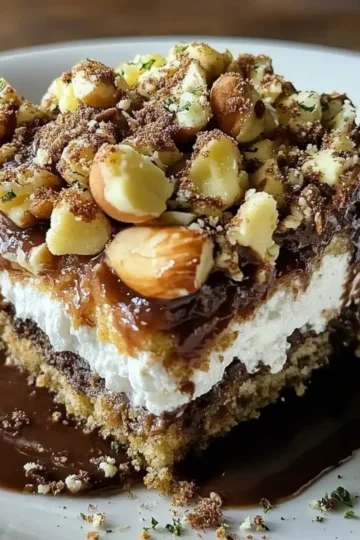
Deliciously Moist Coffee And Walnut Loaf for Cozy Evenings
-
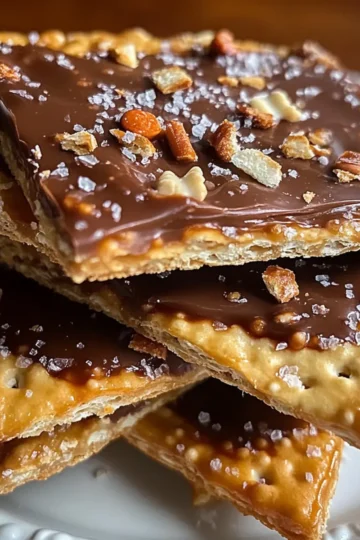
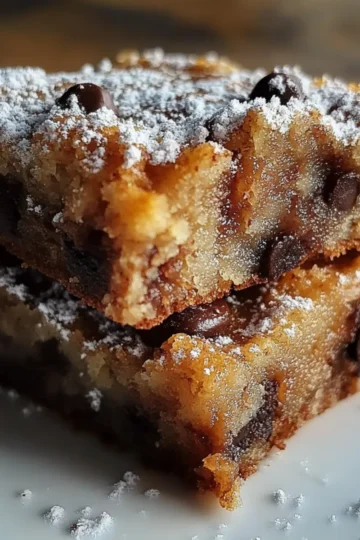
Keto Christmas Saltine Toffee: A Festive Sweet Treat
-
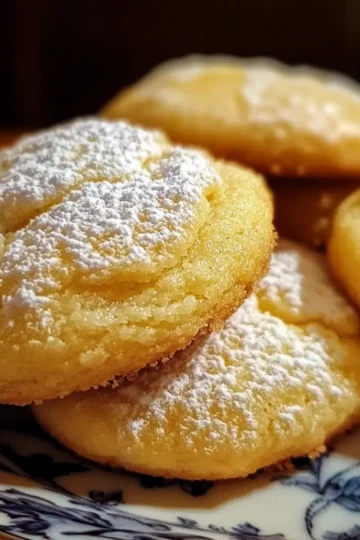
Lemon Sugar Cookies That Spark Joy With Every Bite
-
Decadent Butter Pecan Cake Loaf with Cream Cheese Icing
-
Gingerbread Cake with Cinnamon Molasses Frosting Magic
-
Valentine's Chocolate Chip Cookies: Love in Every Bite
-
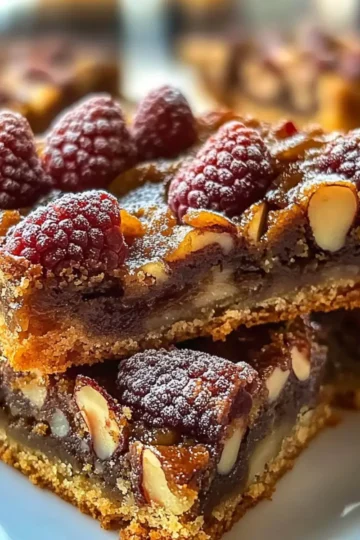
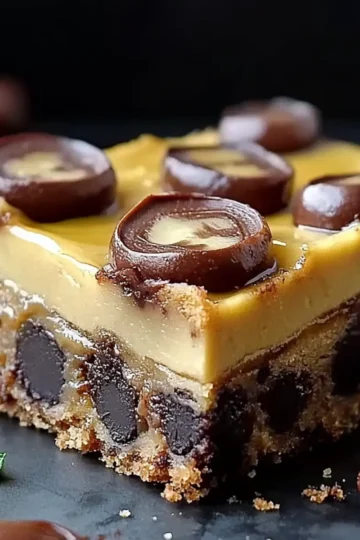
Delicious Keto Pecan Square: A Guilt-Free Sweet Treat!
-
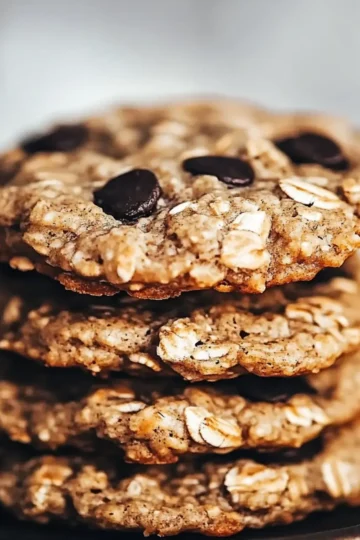
Protein Oatmeal Cookies That Satisfy Your Sweet Cravings
-
Indulge in Festive Cinnamon Swirl Eggnog Bread Pudding Delight
-
Savor the Sweetness of Pink Coconut Snowball Cake Bars
-
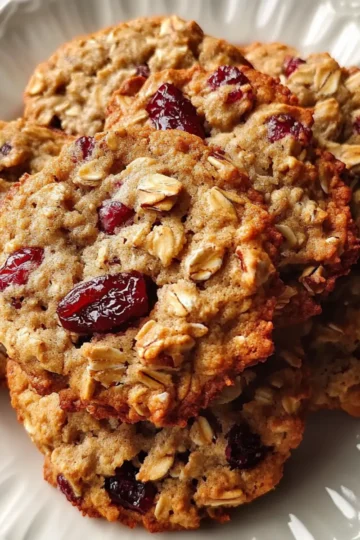
Delicious Oatmeal Cranberry Pecan Cookies for Cozy Nights
-
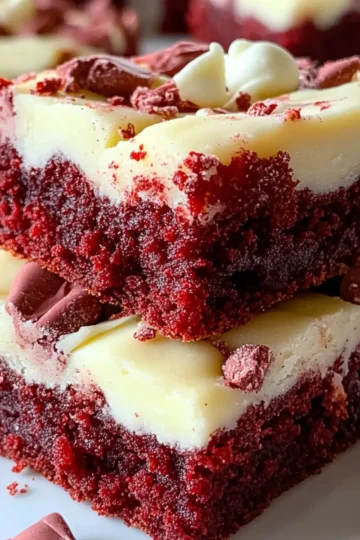
Decadent Red Velvet Cookie Bars with Cream Cheese Frosting
-
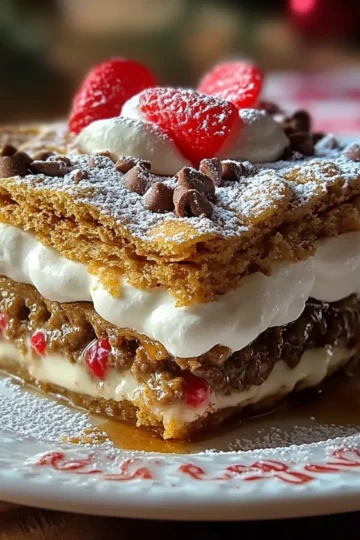
Decadent Christmas Cookie Lasagna That Will Wow Your Guests
-
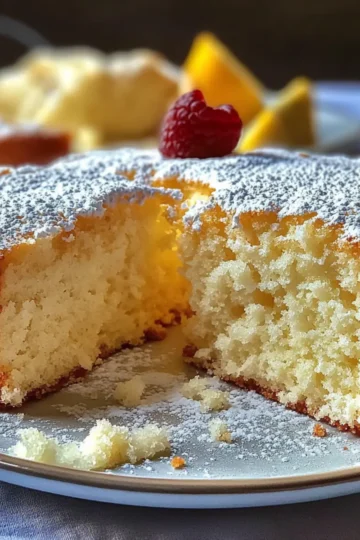
Light & Fluffy Yogurt Cloud Cake for Your Sweet Cravings
-
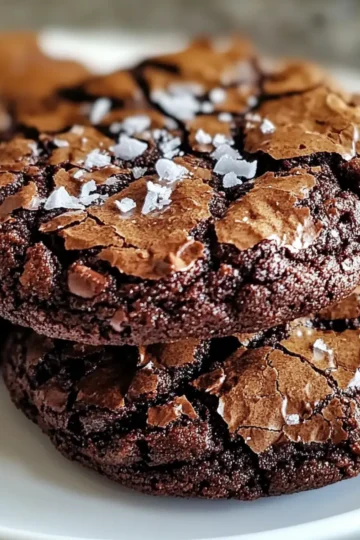
Irresistible Chocolate Brownie Cookies for Sweet Moments
-
Irresistible Christmas Cherry Fluff for Holiday Cheer
-
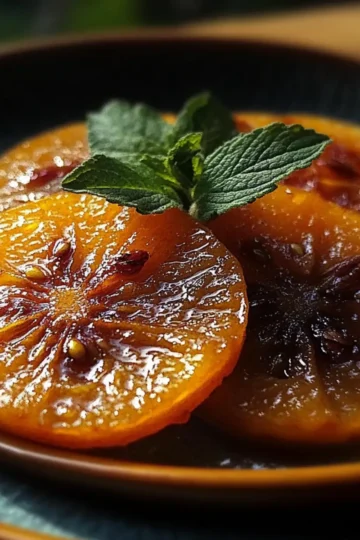
Sweet and Zesty Glazed Candied Oranges for a Delightful Treat
-
Irresistibly Soft Chocolate Chip Banana Bars You’ll Love
-
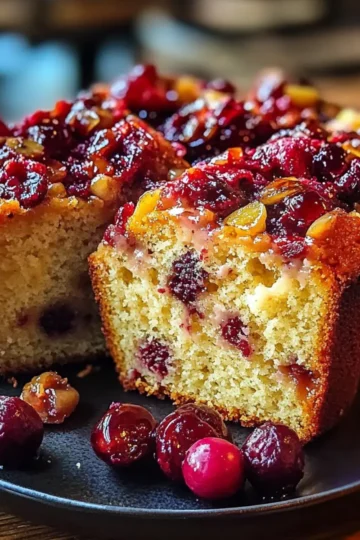
Cranberry Orange Mini Loaves Bursting with Flavor and Joy
-
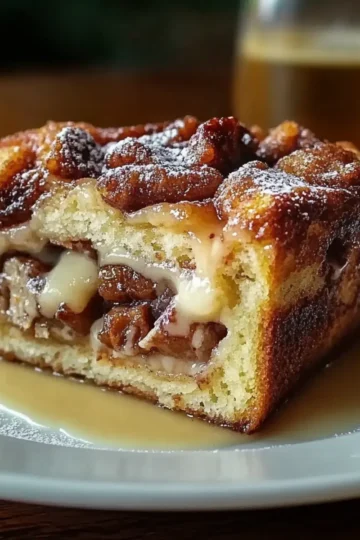
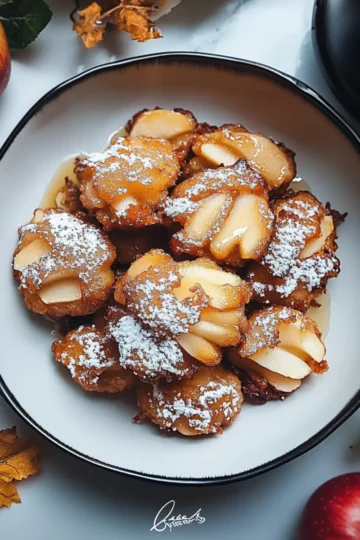
Delicious Baked Apple Fritters to Brighten Your Day
-
Indulge Guilt-Free with Cream Cheese Oreo Protein Balls
-
Creamy High Protein Cannoli Dip That's Pure Indulgence
-
Trinidad Coconut Sweet Bread: A Caribbean Comfort Treat
-
Decadent Cookie Lasagna with Whipped Chocolate Cream
-
Delicious Banana Bread Cookies for Cozy Moments at Home
-
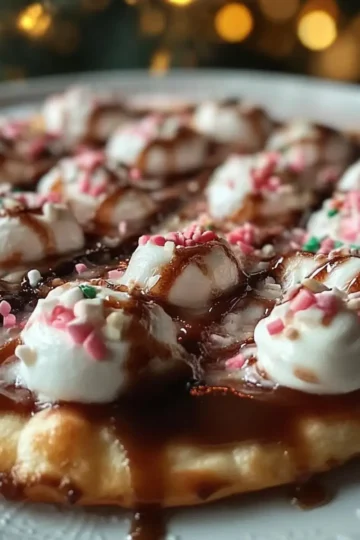
Holiday Treat: Irresistible Candy Cane Pizza Delight
-
Decadent Fudgy Banana Bread Brownies You Can’t Resist
-
Decadent Vanilla Banana Walnut Cake to Delight Your Senses
-
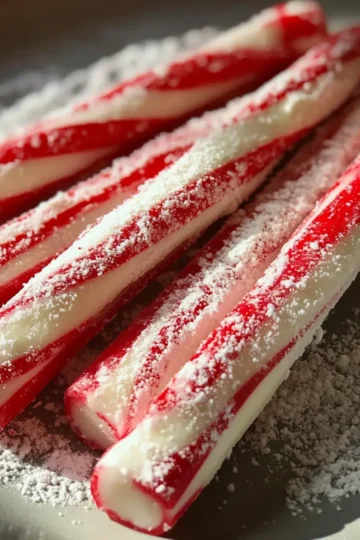
Delicious Christmas Peppermint Sticks for Festive Gatherings
-
Irresistible Christmas Shortbread Cookies for Cozy Moments
-
Irresistible Festive Spiced Christmas Cookies You’ll Love
-
Irresistible Spiced Orange Clove Cookies with Zesty Glaze
-
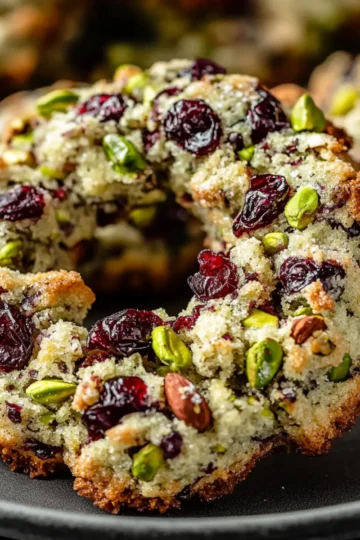
Delicious Pistachio Cranberry Wreath Cookies for Sweet Moments
-
Delicious No-Bake Dubai Chocolate Balls for Sweet Cravings
-
Irresistible White Chocolate Peppermint Cookies Recipe
-
Indulge in Cozy Grinch Hot Chocolate for a Festive Treat
-
Sicilian Whole Orange Cake: A Zesty Slice of Sunshine
-
Deliciously Light Karpatka Cake to Impress Your Guests
-
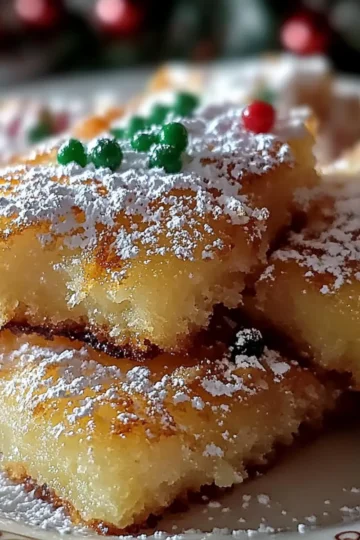
Deliciously Light Lemon Custard Cake for Sweet Celebrations
-
Deliciously Fun Reindeer Food Christmas Puppy Chow Recipe