Dessert
-
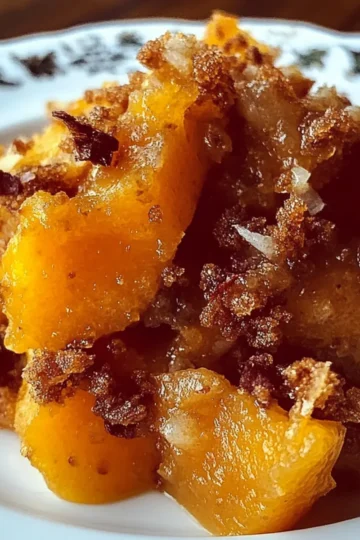
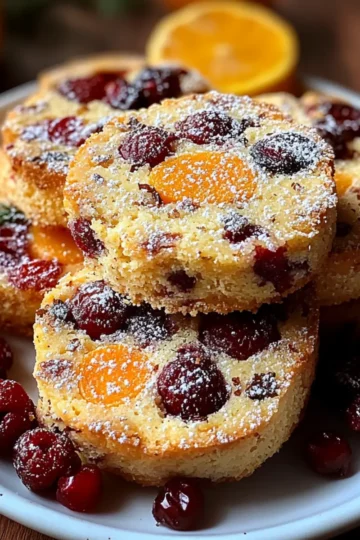
Cozy Butternut Squash Apple Bake for Autumn Comfort
-
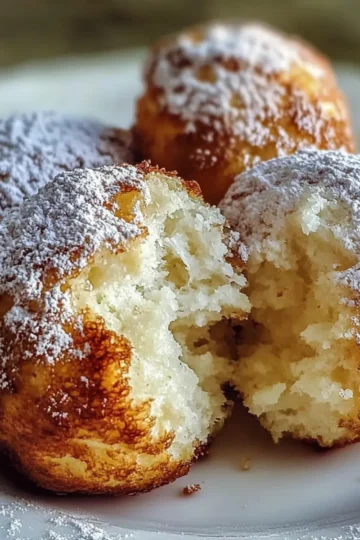
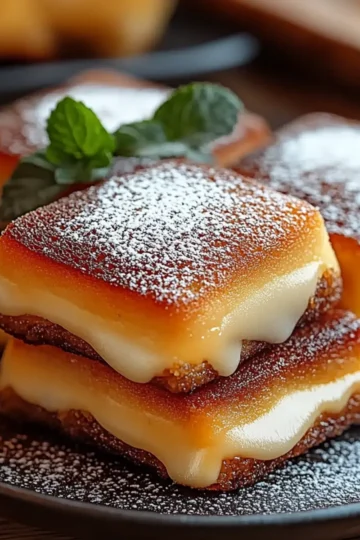
Irresistibly Soft Ricotta Almond Pillows You’ll Love
-
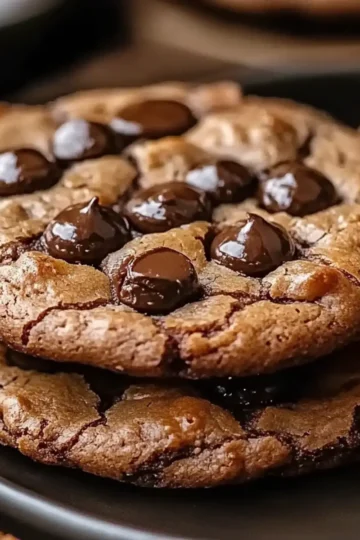
Irresistibly Soft Coffee Butter Cookies for Coffee Lovers
-
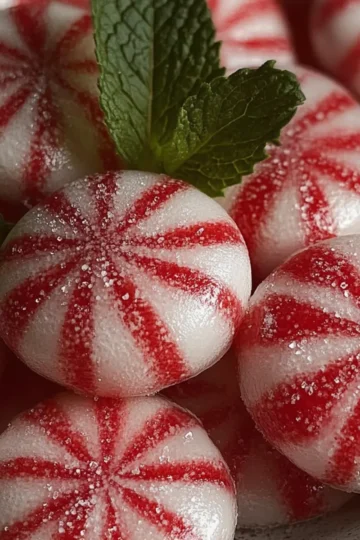
Melt-in-Your-Mouth Christmas Peppermints to Sweeten the Season
-
Irresistibly Soft Christmas Sugar Cookies for Festive Cheer
-
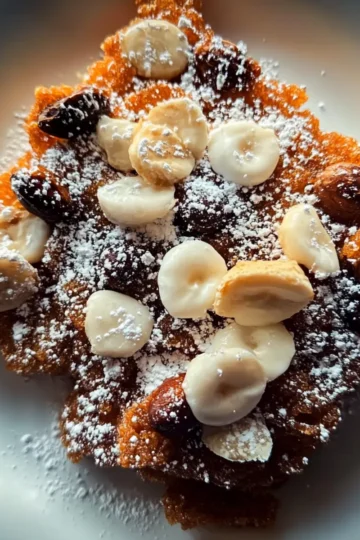
Crunchy Praline Delight: Irresistibly Nutty and Sweet Treat
-
Decadent Cherry Pistachio Cheesecake That Wows Every Bite
-
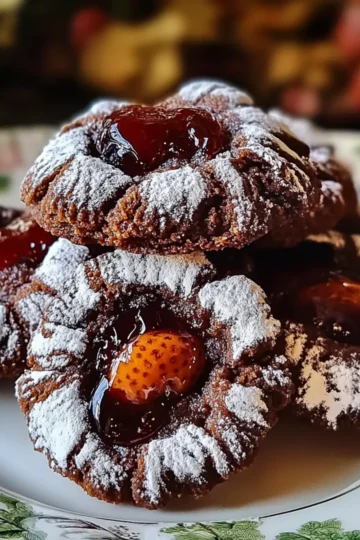
Irresistibly Soft Chocolate Thumbprint Cookies You’ll Love
-
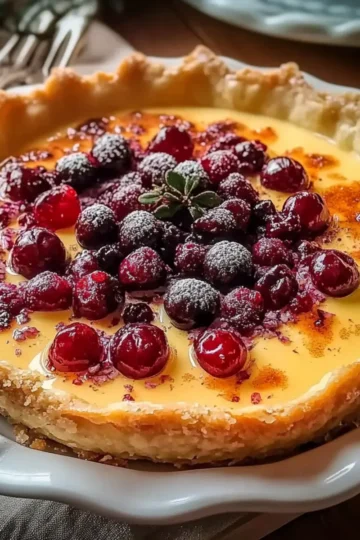
Irresistible Cranberry Custard Pie for Cozy Gatherings
-
Delicious Christmas Tree Cake Macarons to Brighten Your Holidays
-
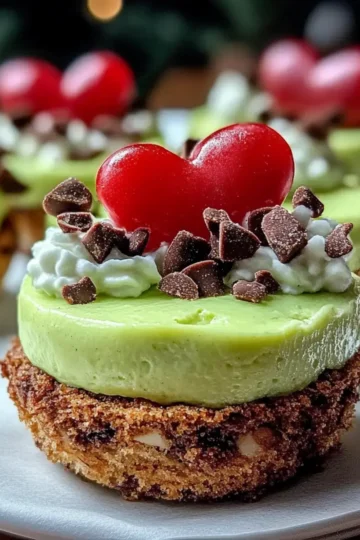
Delightful Grinch Mini Cheesecakes for Holiday Cheers
-
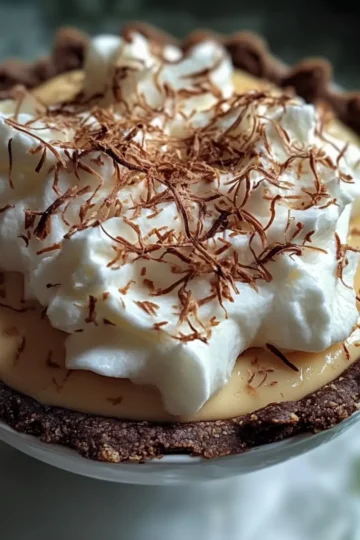
Irresistibly Creamy German Chocolate Pie You'll Crave
-
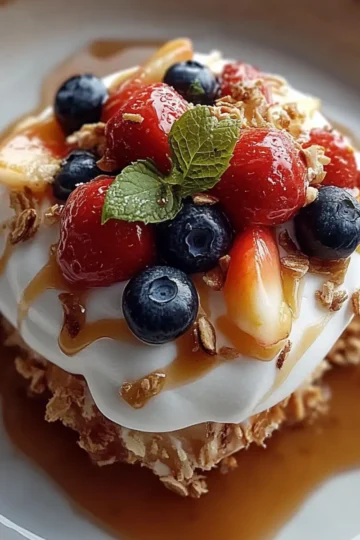
Caramel Crunch Cheesecake Fruit Salad: A Sweet Delight!
-
Deliciously Easy Christmas Yule Log Sheet Cake Delight
-
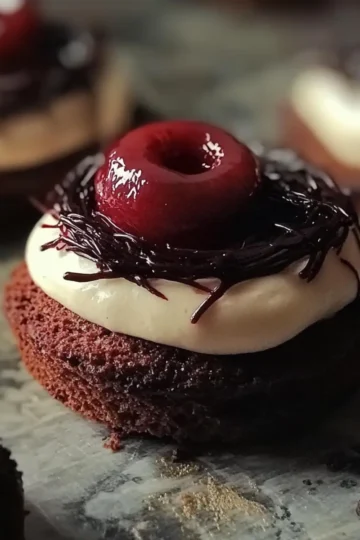
Decadent Black Forest Christmas Cookies to Delight You
-
Nutella Gingerbread Men: Festive Treats to Delight Your Tastebuds
-
Indulge in This Puff Pastry Crown Filled with Chocolate Delight
-
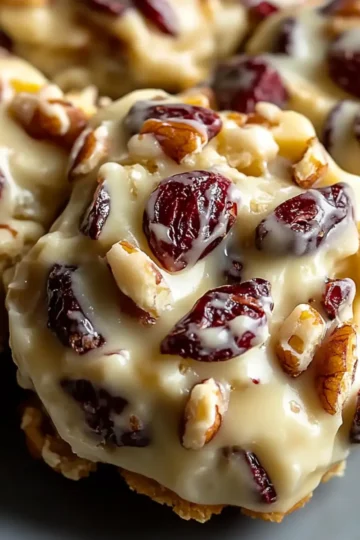
Delicious White Chocolate Cranberry Pecan Clusters You’ll Love
-
Indulge in Baklava-Custard Christmas Wreath Magic
-
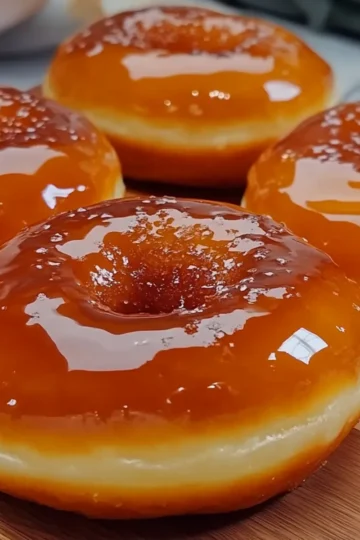
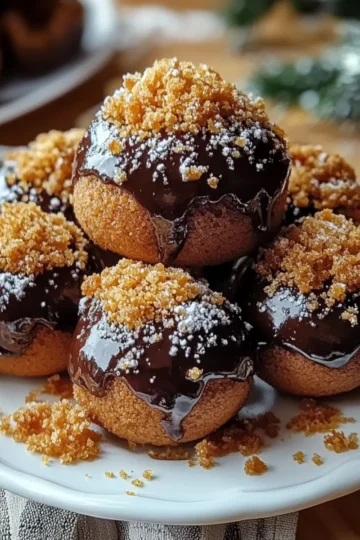
Irresistible Caramelized Crème Brûlée Donuts to Indulge In
-
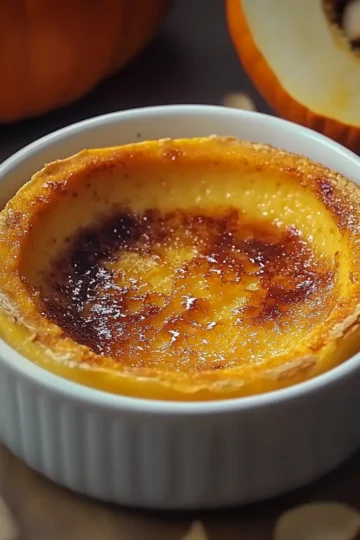
Creamy Pumpkin Crème Brûlée for an Unforgettable Fall Treat
-
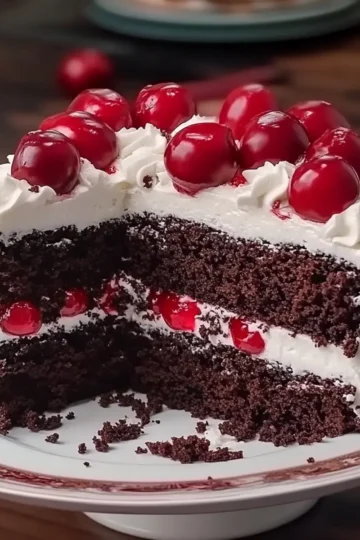
Decadent Black Forest Cake That’ll Impress Everyone!
-
Delightful Christmas Reindeer Macarons You’ll Love to Make
-
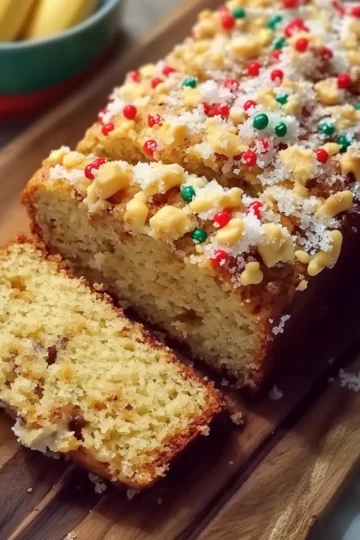
Irresistible Brown Butter Sugar Cookie Banana Bread Bliss
-
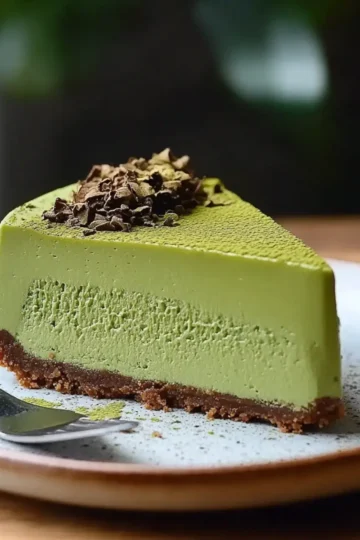
Decadent Matcha Japanese Cheesecake That Melts in Your Mouth
-
Heavenly Coconut Cloud Cake for Sweet Coconut Lovers
-
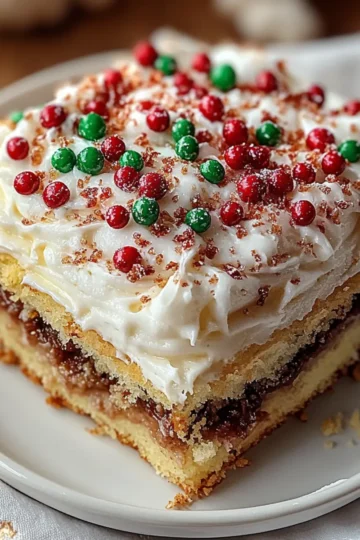
Irresistibly Festive Christmas Sugar Cookie Bars to Savor
-
Indulge in Dark Chocolate Peppermint Mousse Tart Bliss
-
Delightful Homemade Peppermint Patties to Brighten Your Day
-
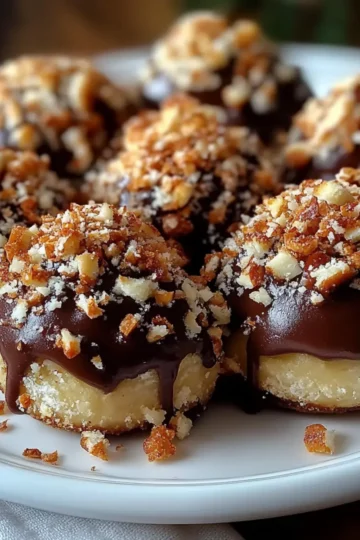
Irresistible Chocolate-Dipped Bourbon Balls with a Nutty Crunch
-
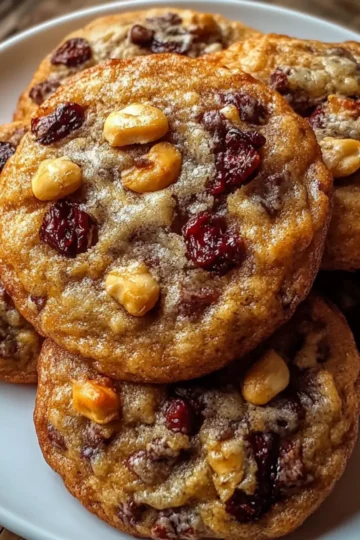
Chewy Spiced Cranberry Cookies with Walnuts to Delight Your Tastebuds
-
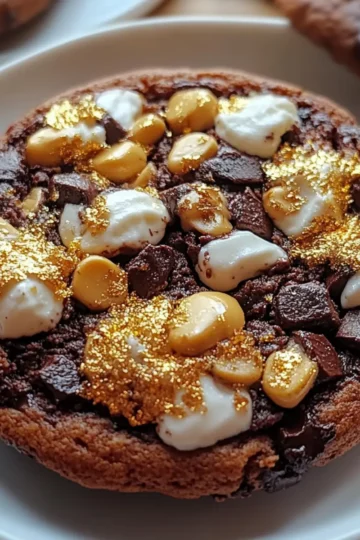
Decadent Hot Chocolate Cookies with Mini Marshmallows Bliss
-
Delightful Candy Cane Whipped Shortbread Cookies for the Holidays
-
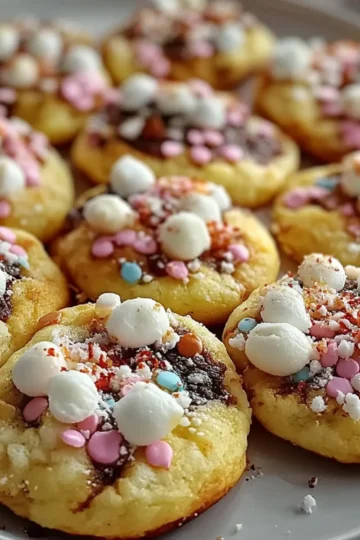
Irresistible Little Debbie Cake Cookies for Sweet Moments
-
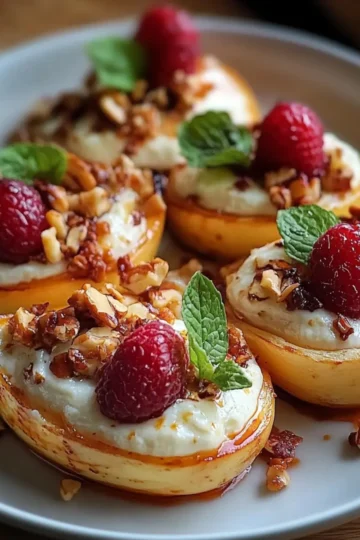
Delicious Baked Pears with Goat Cheese, Honey, and Cranberries
-
Decadent Spiced Gingerbread Truffles with Chocolate Bliss
-
Delicious Shiroi Koibito Cookies to Sweeten Your Day
-
Cozy Cranberry Orange Shortbread for a Sweet Snack Attack
-
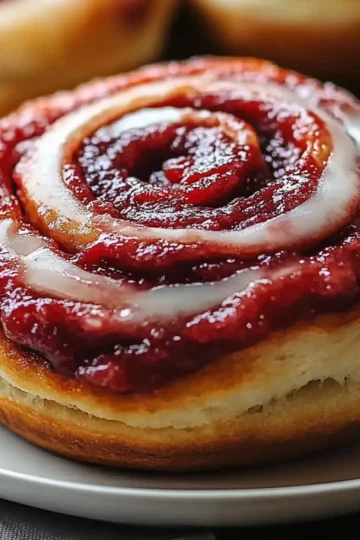
Melt-in-Your-Mouth Red Velvet Cinnamon Rolls Recipe
-
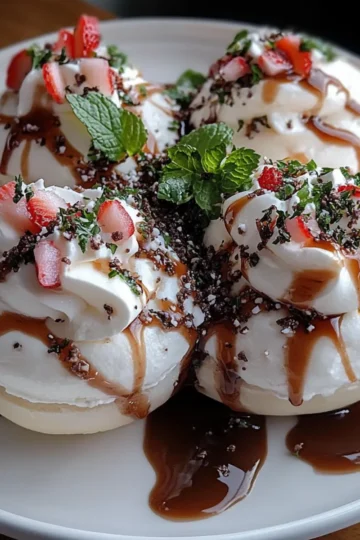
Crispy Peppermint Meringues with Chocolate Drizzle Delight
-
Decadent Espresso Chocolate Fudge Cookies You'll Love
-
Delight in Christmas Cookie Lush: A Festive Dessert Dream