Dessert
-
Decadently Thick Bakery Style Chocolate Chip Cookies to Savor
-
Irresistibly Creamy French Custard Pie with Apples Recipe
-
Irresistibly Creamy Banana Pudding That Reminds You of Home
-
Irresistibly Sweet Burnt Honey Pie for Cozy Evenings
-
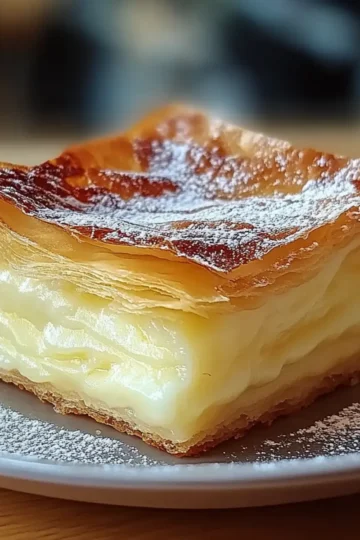
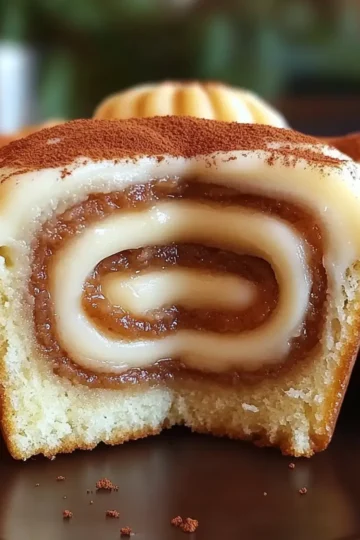
Delightful Vanilla Custard Puff Pastry Cake to Savor
-
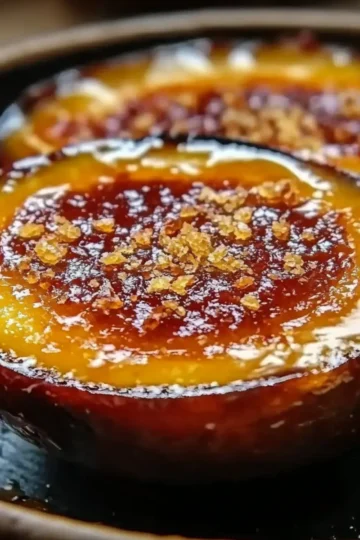
Decadent Japanese Sweet Potato Crème Brûlée You’ll Love
-
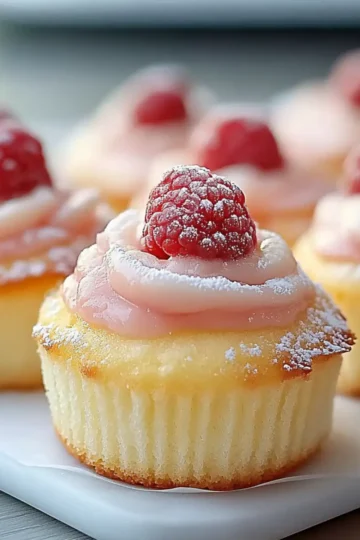
Fluffy Japanese Cotton Cheesecake Cupcakes for a Dreamy Treat
-
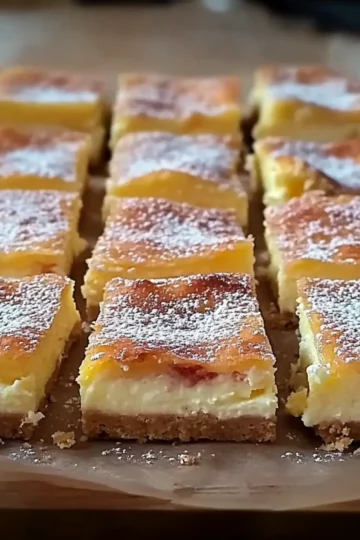
Delicious Vanilla Custard Cream Squares for Sweet Moments
-
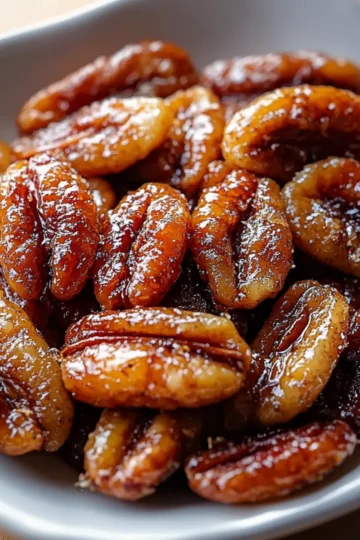
Sweet and Spicy Crockpot Fireball Whisky Candied Pecans
-
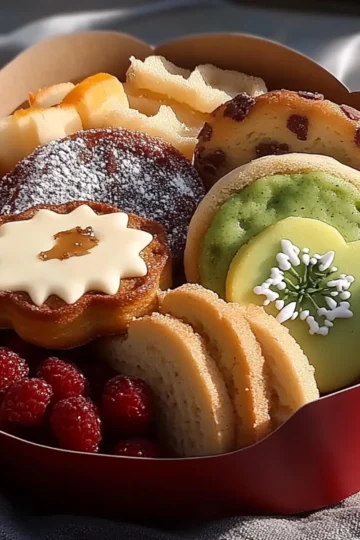
Delightful Butter Cookie Box Perfect for Gifting or Sharing
-
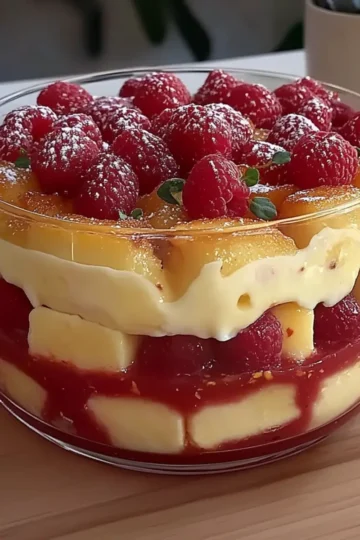
Decadent Raspberry and Almond Trifle for Home Chefs
-
Irresistible Chocolate & Orange Punchcake to Delight Your Tastebuds
-
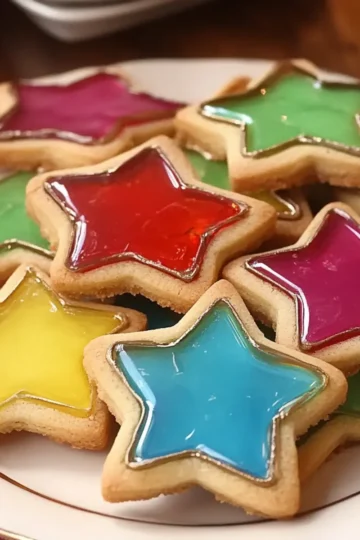
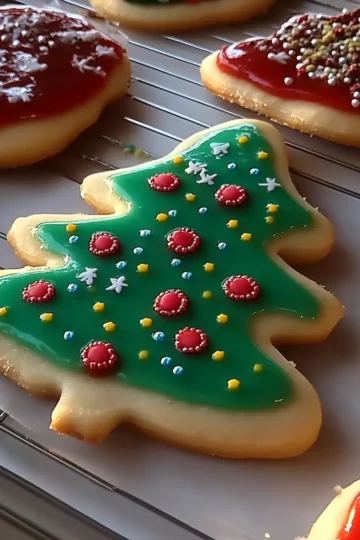
Delicious Stained Glass Cookies for a Sweet Surprise
-
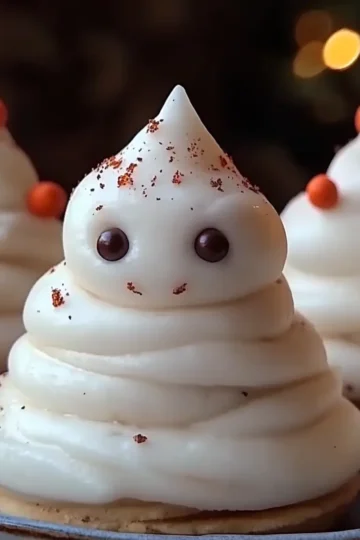
Delightful Meringue Snowmen Cookies to Sweeten Your Holidays
-
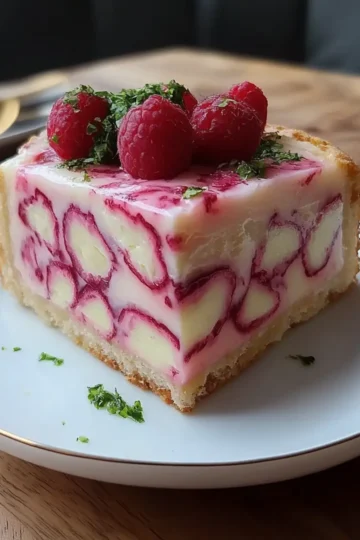
Irresistible Raspberry Cheese Cake Made Easy at Home
-
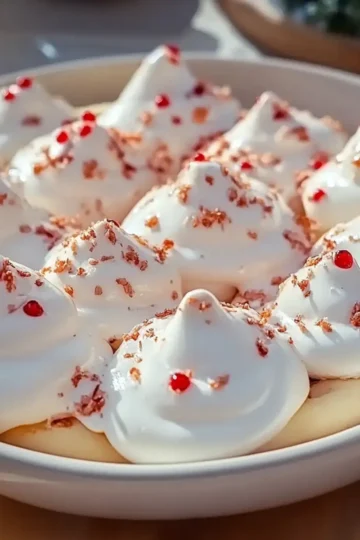
Irresistible Peppermint Meringues for Sweet Festive Moments
-
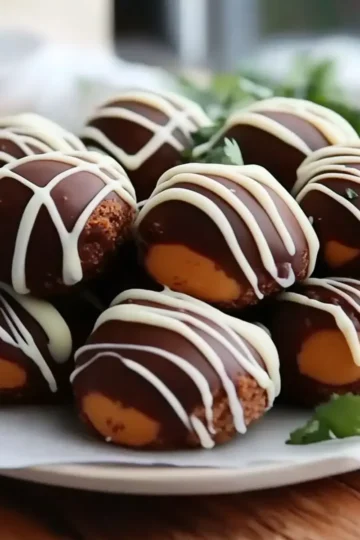
Deliciously Irresistible Nutter Butter Truffles Recipe
-
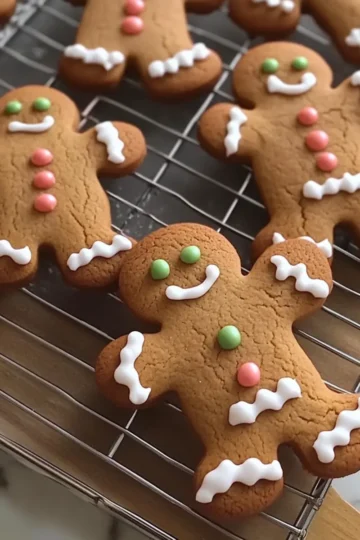
Irresistible Gingerbread Man Cookies for Festive Joy
-
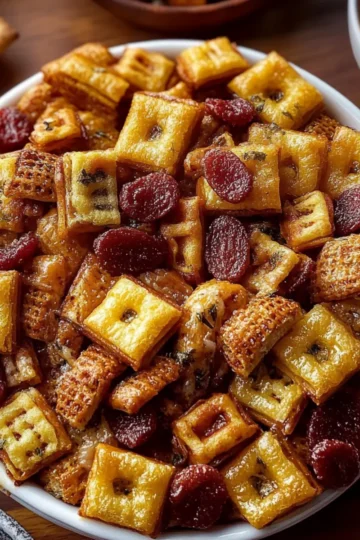
Cozy Up with Homemade Pumpkin Spice Chex Mix Delight
-
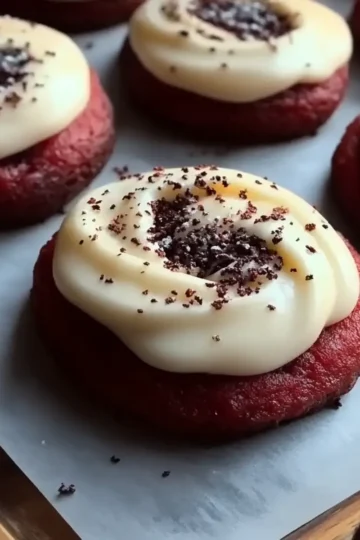
Crumbl Copy Cat Red Velvet Cupcake Cookies to Indulge In
-
Delicious Crumbl Cookies Copycat That Will Wow Your Friends
-
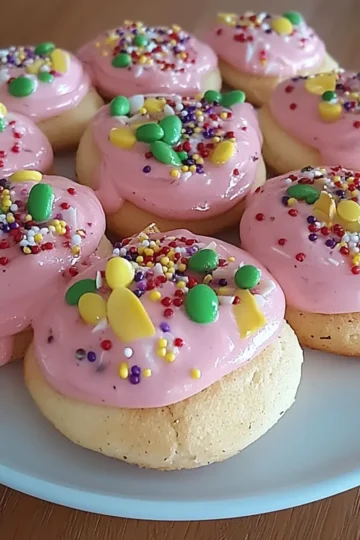
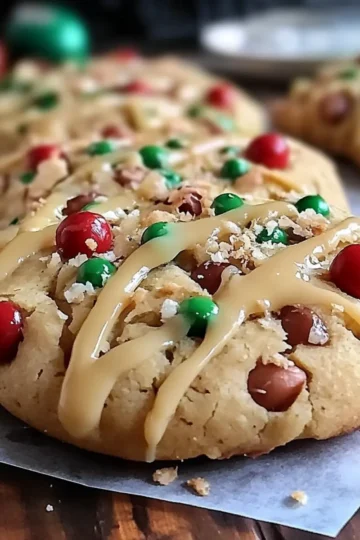
Thick NYC Christmas Cookies That Fill Your Home with Joy
-
Sweet and Fluffy Sugar Cookie Icing for Perfect Decor Treats
-
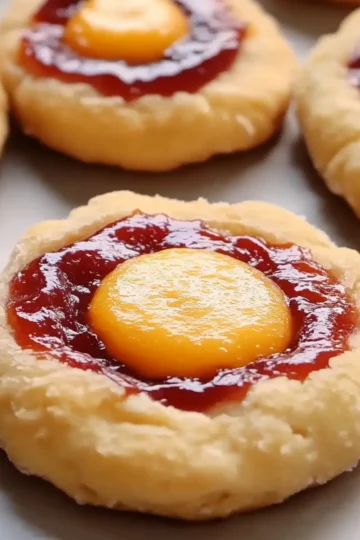
Thumbprint Cookies That Will Melt in Your Mouth
-
Delightful Spring Flower Shortbread Cookies to Brighten Your Day
-
Irresistibly Creamy Coconut Truffles You Can Make Today!
-
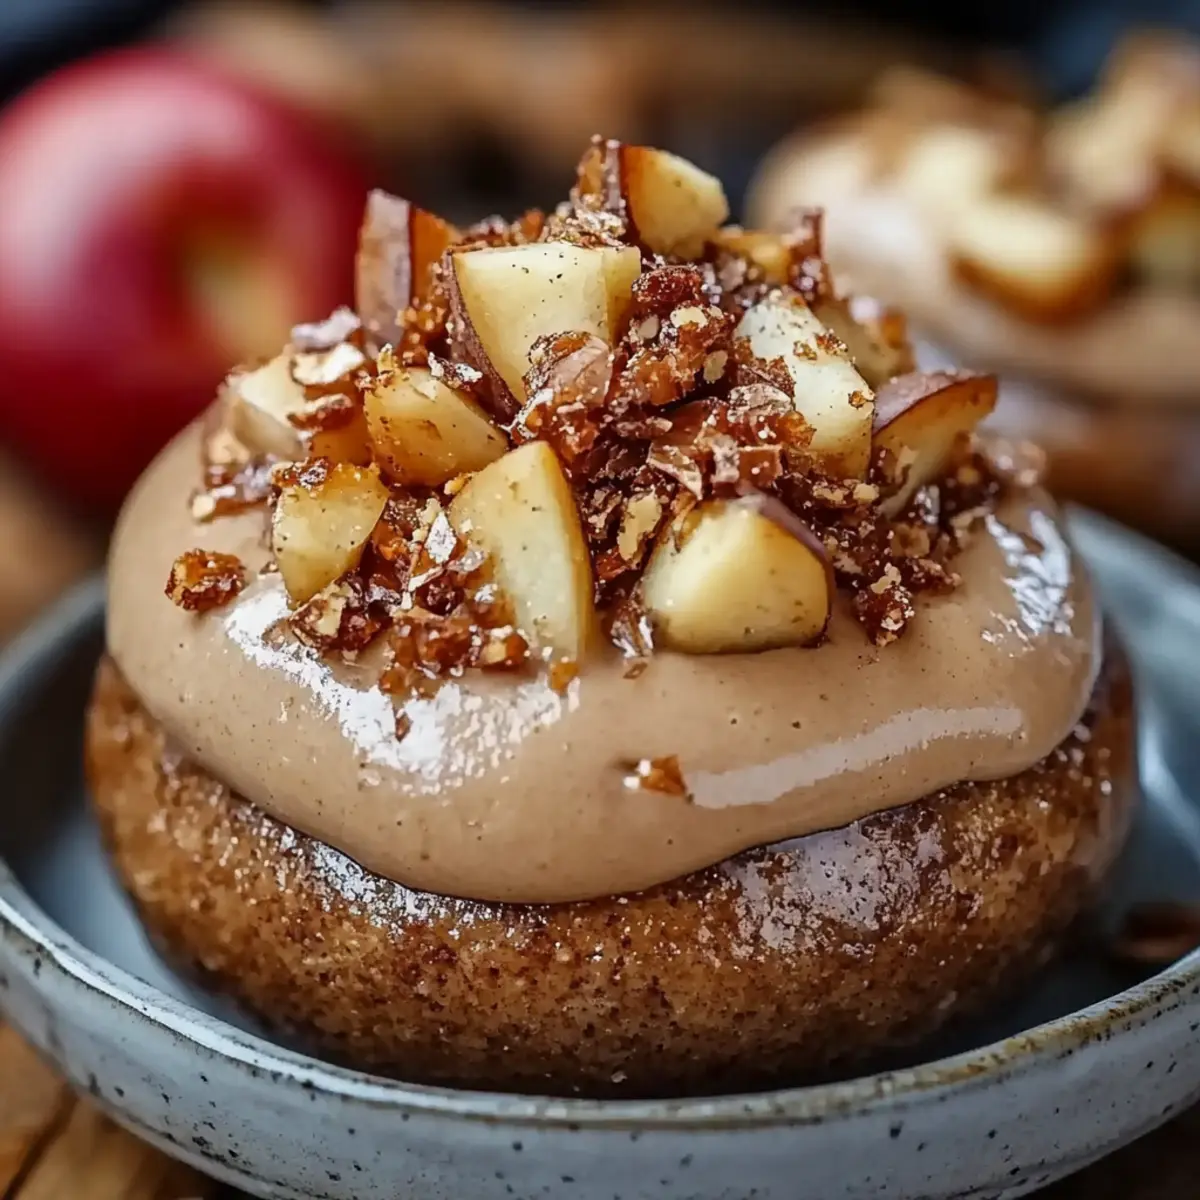
Delicious Apple Cheesecake Buns with Sweet Glaze and Crumble
-
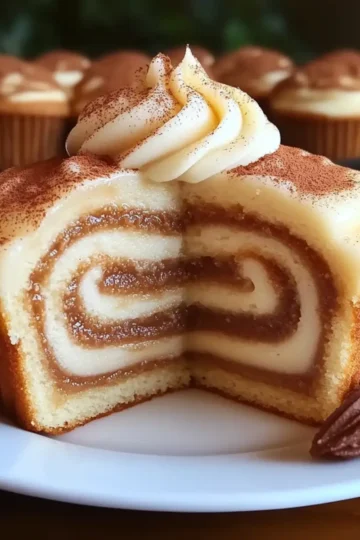
Cinnamon Roll Cupcakes With Swirl Frosting That Wow
-
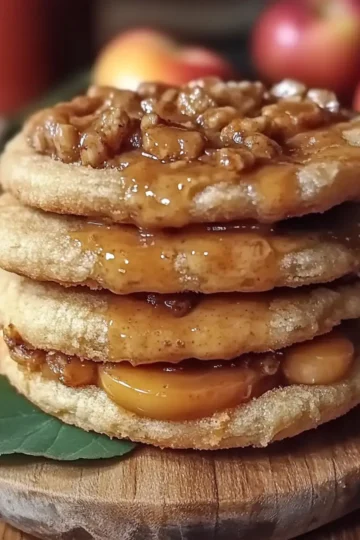
Salted Caramel Apple Pie Cookies That Warm the Heart
-
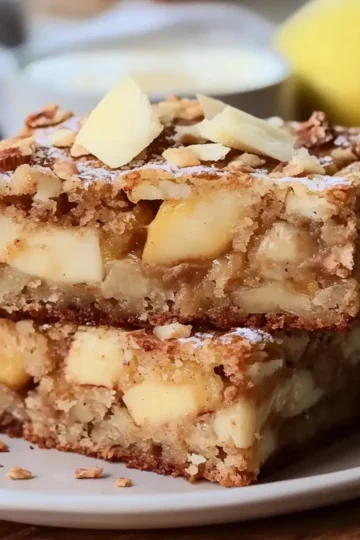
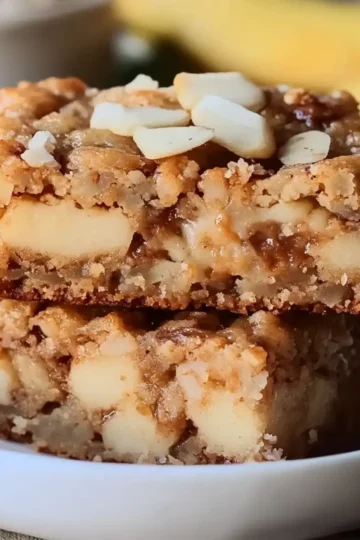
Deliciously Moist Apple Brownies Perfect for Baking Lovers
-
Indulge in Creamy Pistachio Tiramisu for a Sweet Escape
-
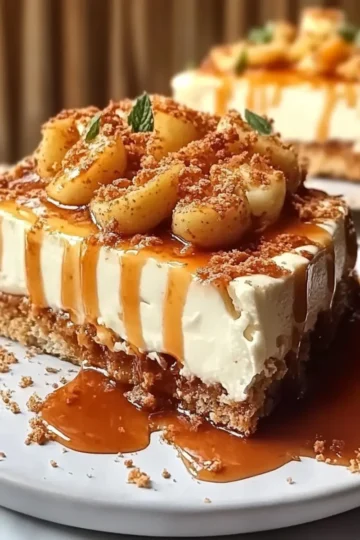
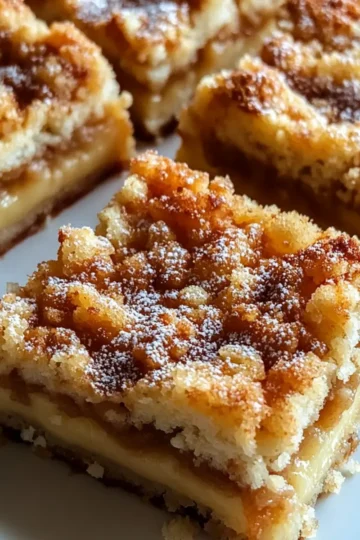
Delicious Caramel Apple Cheesecake Bars You’ll Crave!
-
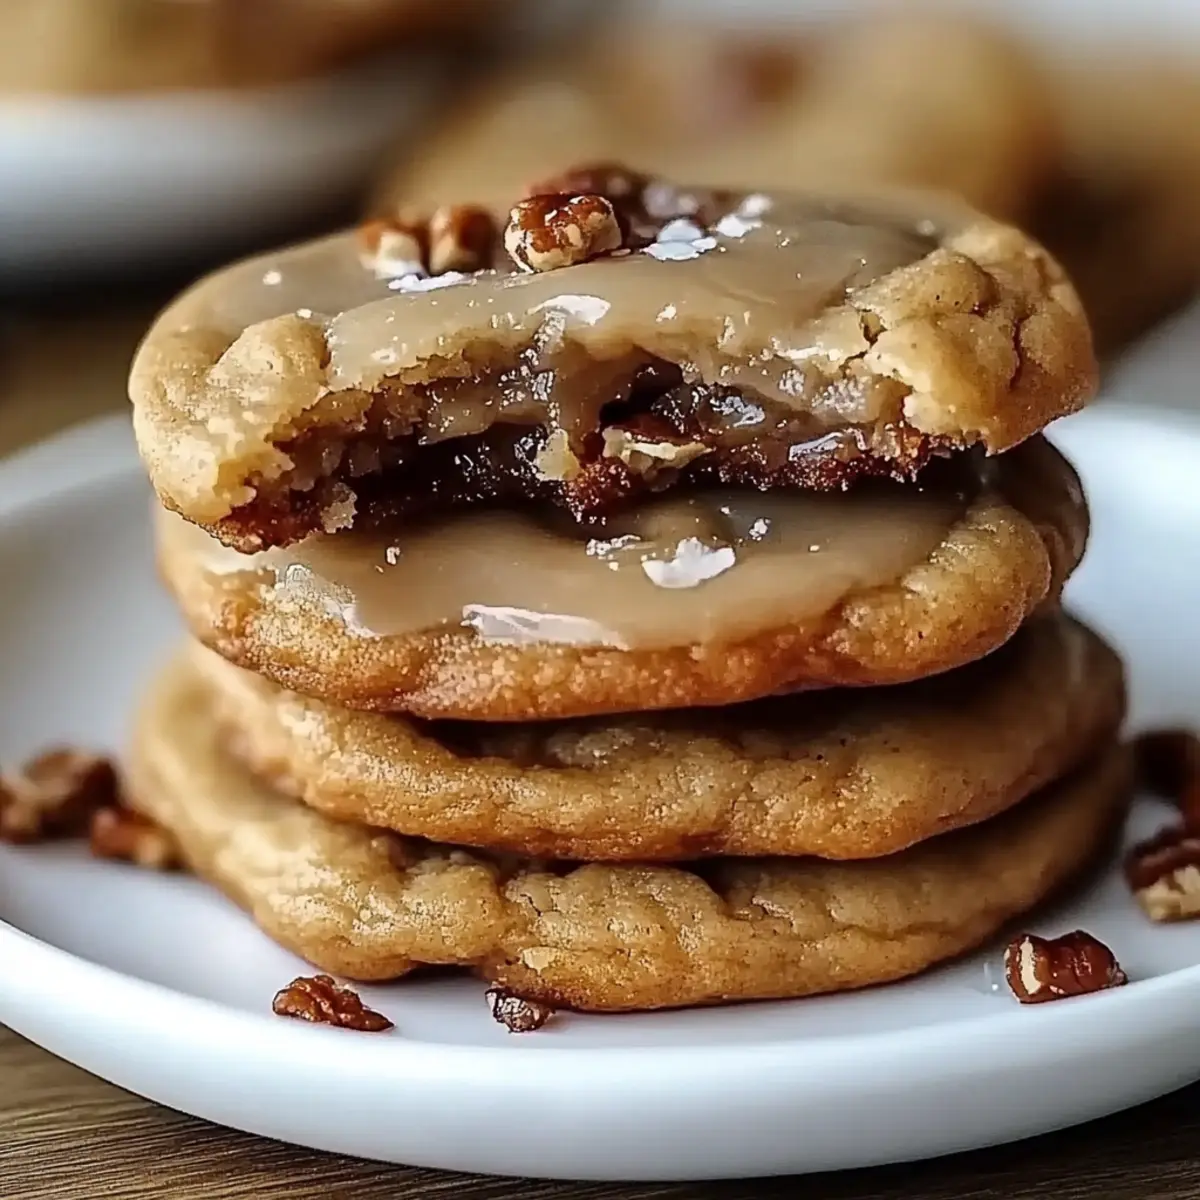
Deliciously Soft Pecan Pie Cookies for Sweet Moments
-
Cinnamon Roll Cupcakes: A Cozy Twist on a Classic Treat
-
Deliciously Soft Apple Brownies That Will Steal Your Heart
-
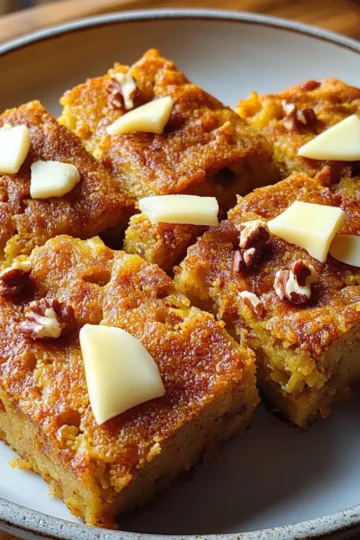
Deliciously Spiced Baked Pumpkin Blondies You’ll Love
-
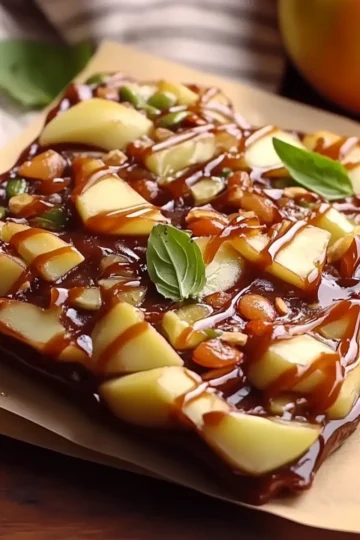
Irresistibly Crunchy Caramel Apple Bark You’ll Love
-
Irresistible Maple Brown Sugar Cookies for Sweet Moments
-
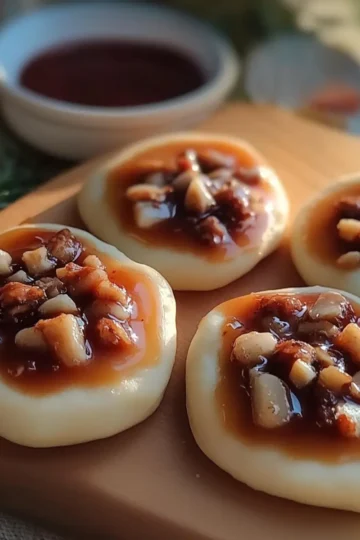
Apple Pie Truffles: A Cozy Taste of Fall in Every Bite
-
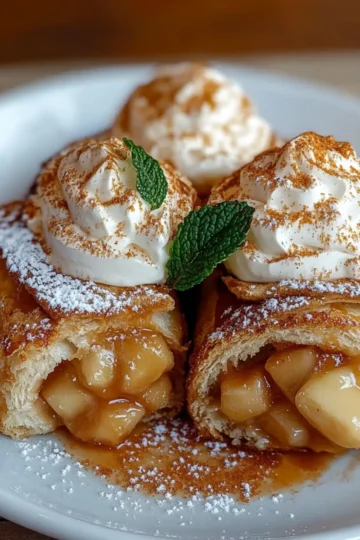
Sweet & Crunchy Air Fryer Apple Pie Bombs You’ll Love
-
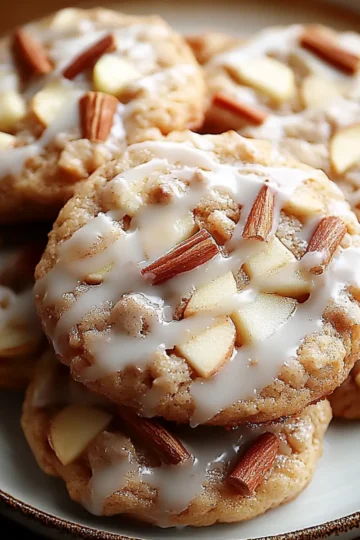
Delicious Apple Cinnamon Cookies with Maple Glaze Treats
-
Deliciously Gooey Apple Crumb Bars You Must Try Today