Dessert
-
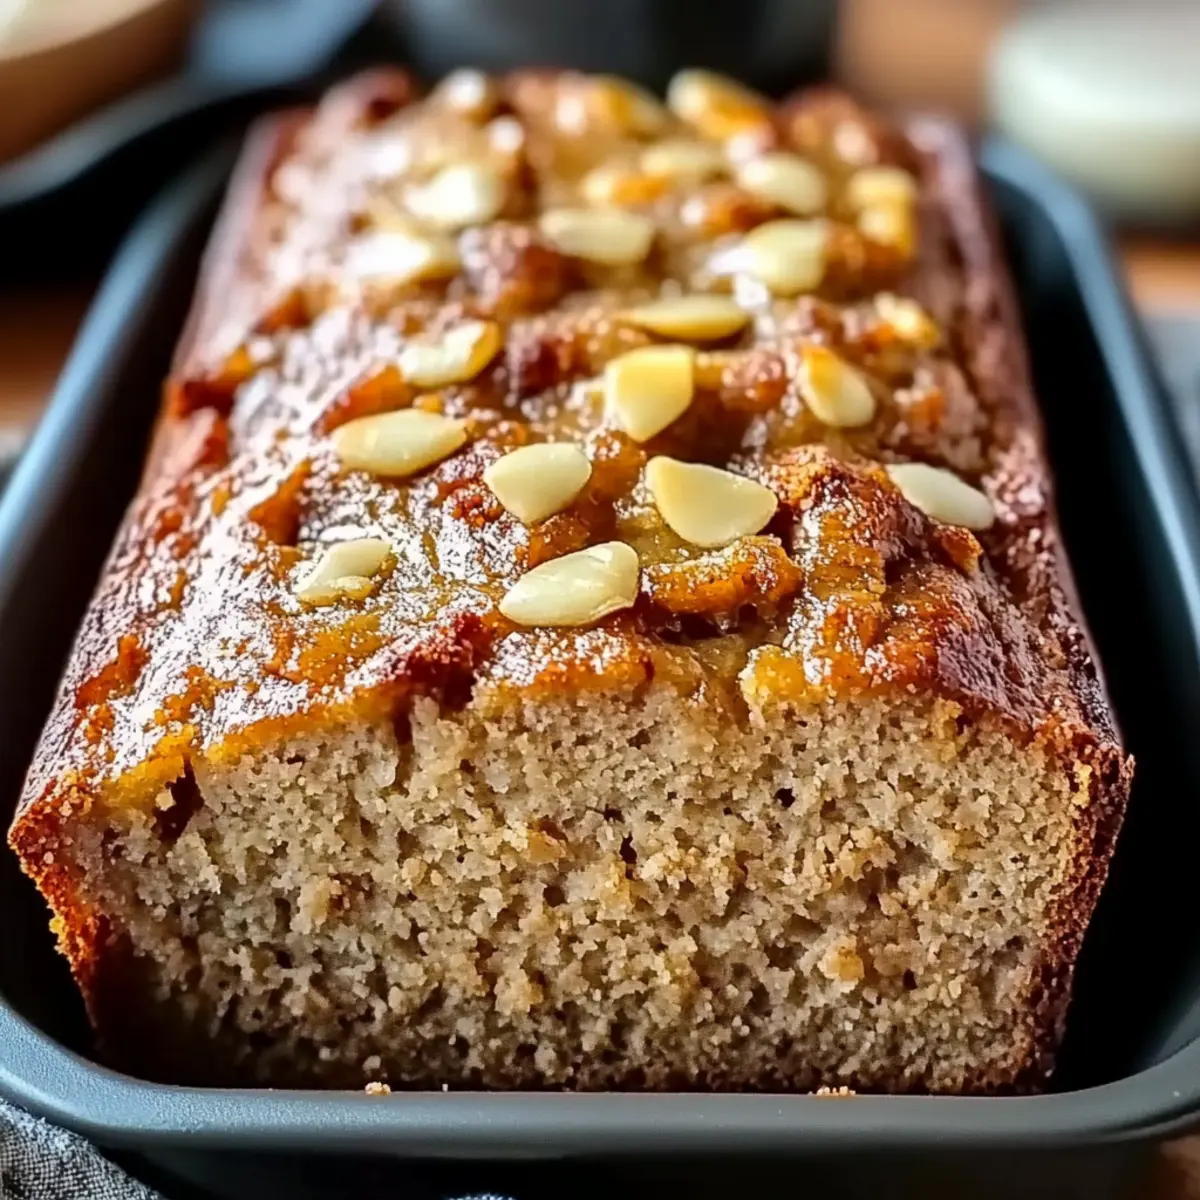
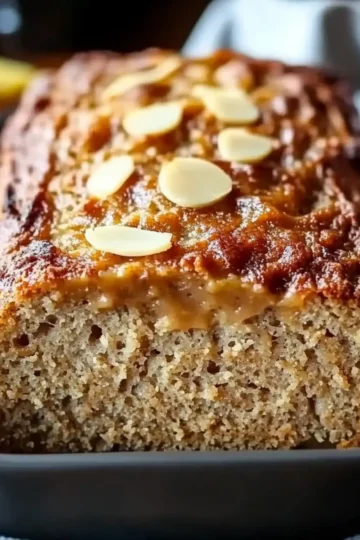
Irresistibly Moist Banana Bread with Sour Cream Delight
-
Moist Banana Bread with Sour Cream for Cozy Mornings
-
Fried Bananas with Cinnamon Butter Sauce: A Sweet Bliss
-
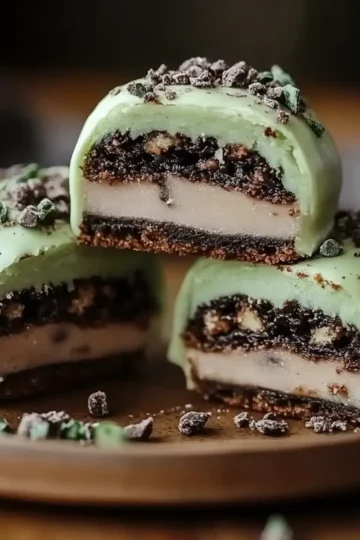
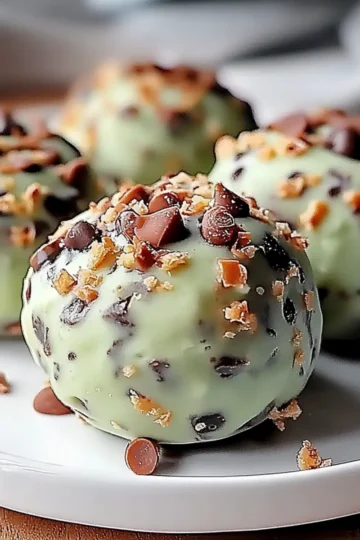
Decadent Mint Oreo Truffles That Melt in Your Mouth
-
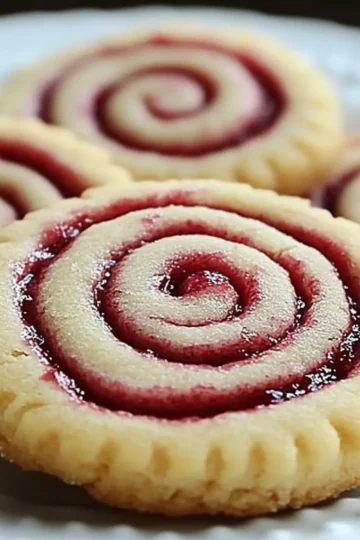
Delicious Raspberry Swirl Shortbread Cookies You'll Adore
-
Delicious Mint Chocolate Chip Protein Balls for Energy Boost
-
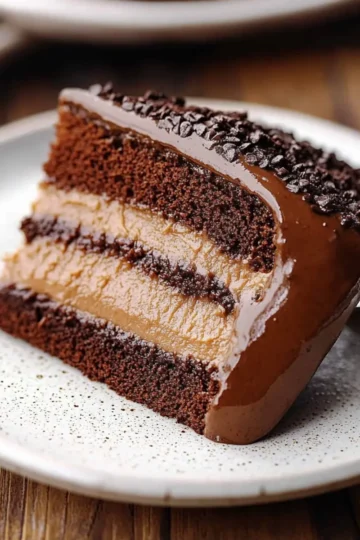
Indulge in Heavenly Dark Chocolate Mousse Cake Bliss
-
Irresistible Caramelized Baked Apple Samoas for Sweet Moments
-
Indulge in Decadence with Sugar Cookie Cheesecake Delight
-
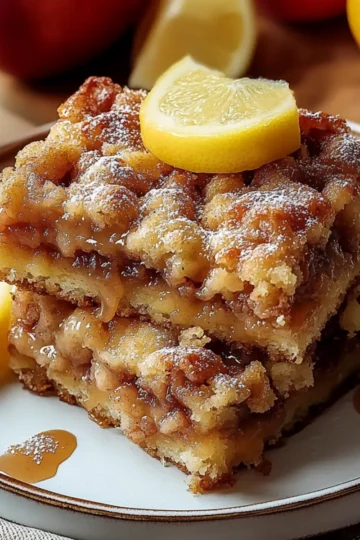
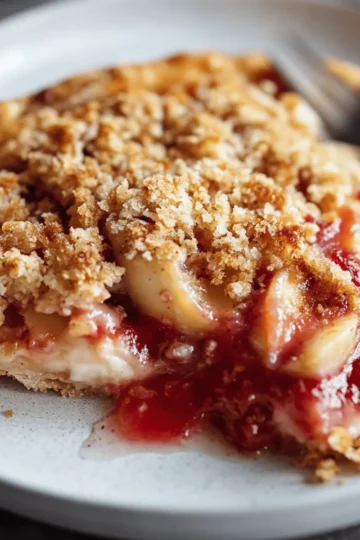
Irresistible Apple Pie Bars for Cozy Dessert Moments
-
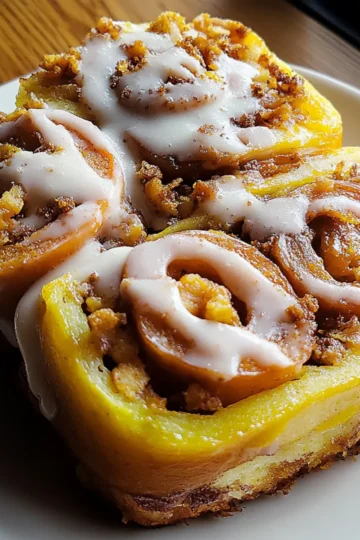
Soft Pumpkin Cinnamon Rolls with Creamy Maple Frosting Delight
-
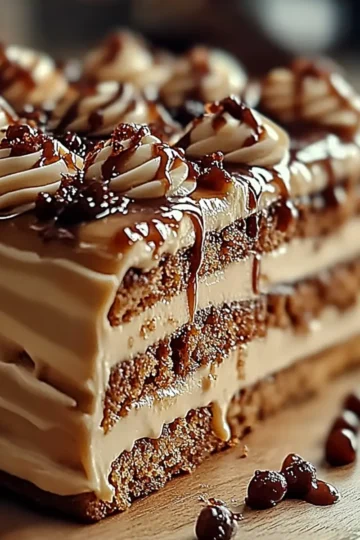
Decadent Caramel Coffee Buttercream Cake You Can’t Resist
-
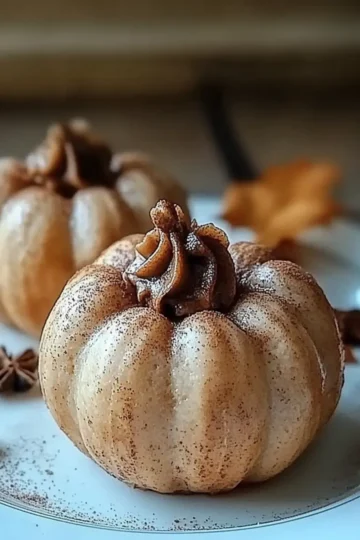
Adorable Peanut Butter Pumpkins that Are Perfect for Fall
-
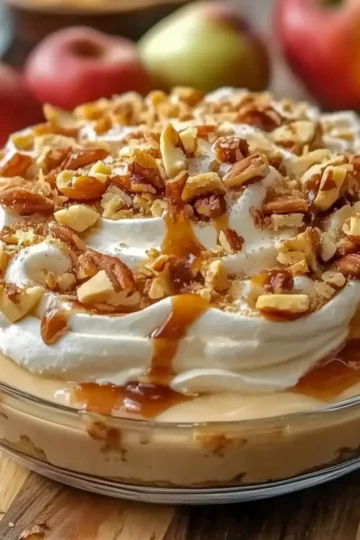
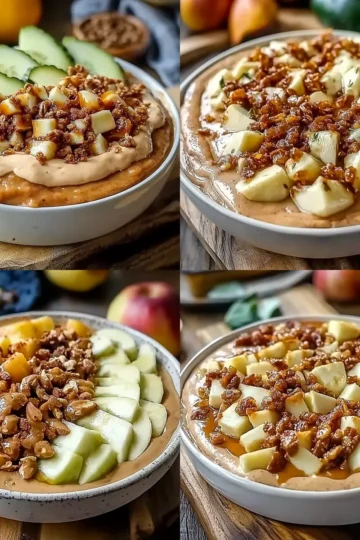
Indulge in Caramel Apple Cheesecake Dip for Easy Entertaining
-
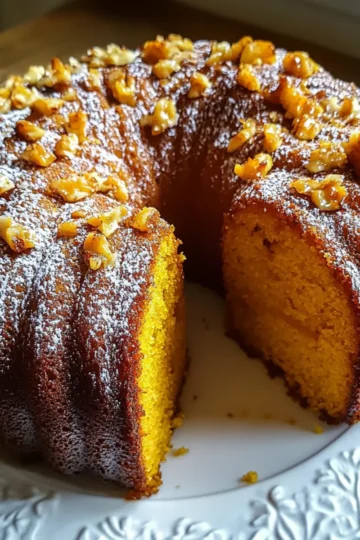
Irresistible Pumpkin Rum Cake to Warm Your Fall Evenings
-
Indulge in Moist Chocolate Chip Banana Bread Bliss
-
Irresistibly Creamy Caramel Apple Dip You'll Love
-
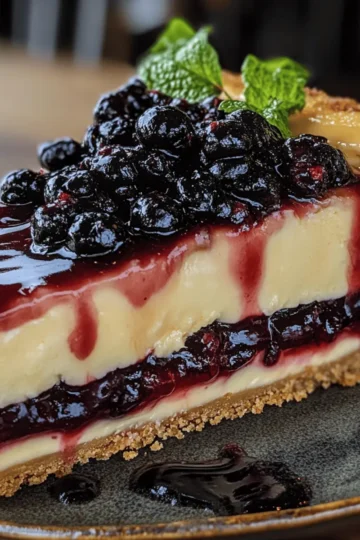
Delight in This Blueberry Bliss Cheesecake Dream
-
Deliciously Sweet Rhubarb Crisp: Your New Favorite Dessert
-
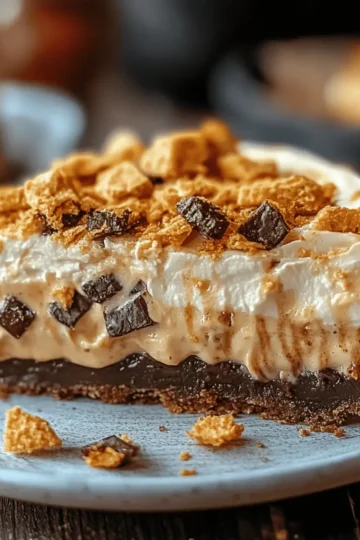
Irresistible Butterfinger Peanut Butter Pie You’ll Crave!
-
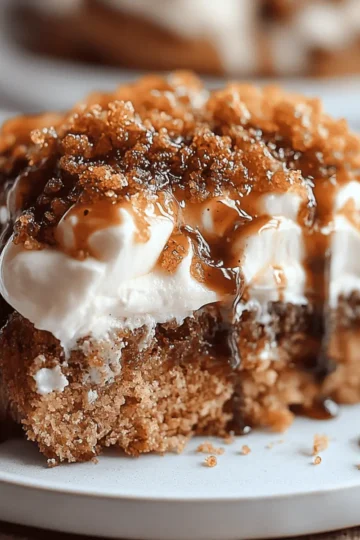
Irresistible Gingerbread Poke Cake for Cozy Days
-
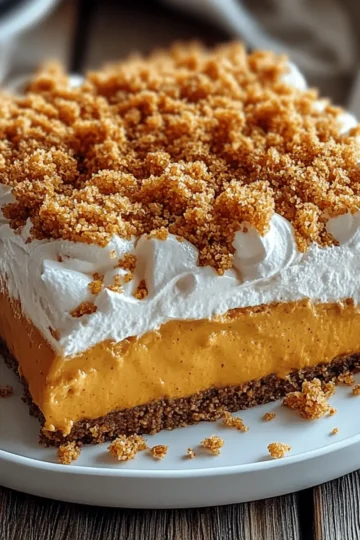
Irresistible No Bake Pumpkin Spice Delight in Just 20 Minutes
-
Decadent Caramel Ritz Cracker Christmas Cookies Delight
-
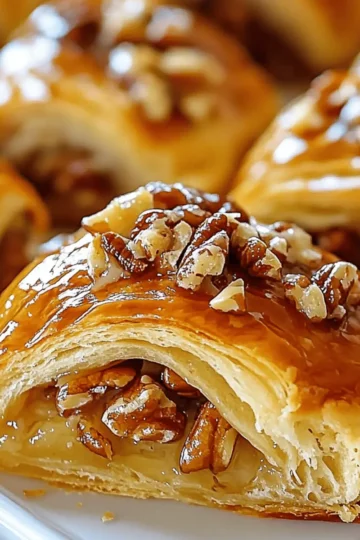
Pecan Pie Crescent Rolls for Effortless Holiday Indulgence
-
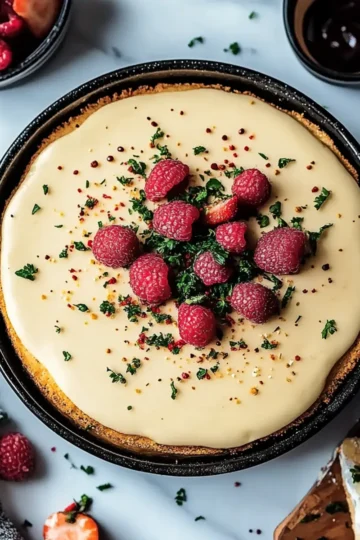
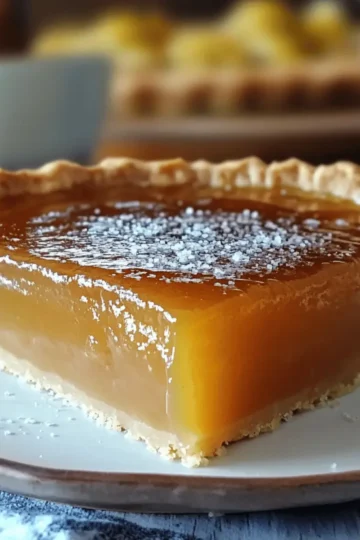
Sweet & Salty Salted Honey Pie for Cozy Gatherings
-
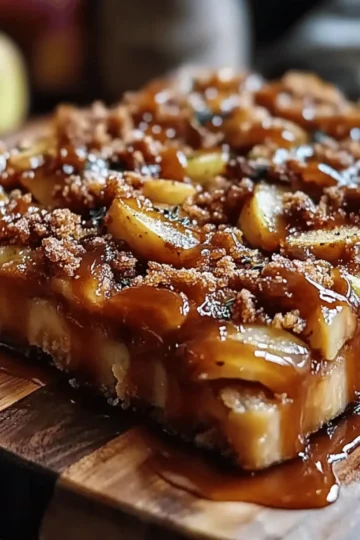
Irresistible Salted Caramel Apple Bars for Fall Cravings
-
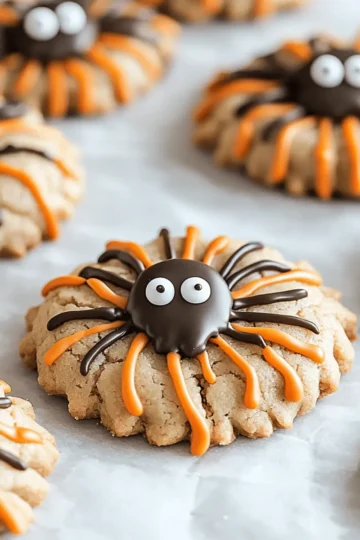
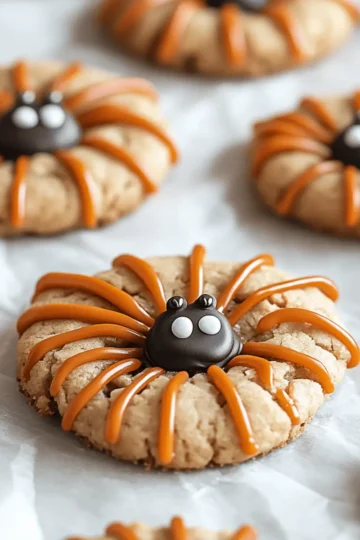
Spooky Spider Cookies That Will Wow Your Halloween Guests
-
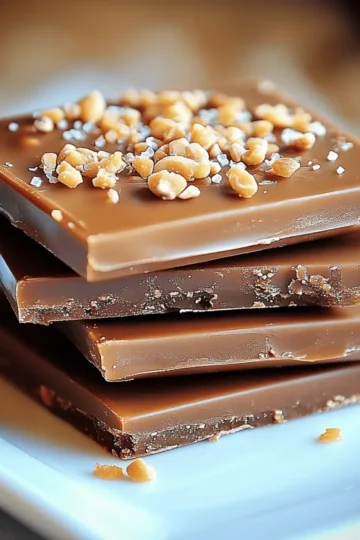
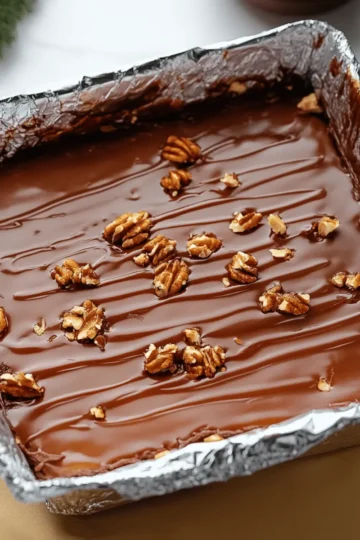
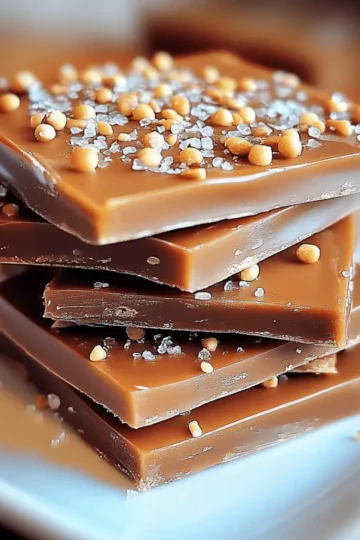
Irresistible Toffee Recipe That Will Wow Your Taste Buds
-
Heavenly Pumpkin Custard Cake That Melts in Your Mouth
-
Spooky Spider Cookies That’ll Thrill Your Halloween Bash
-
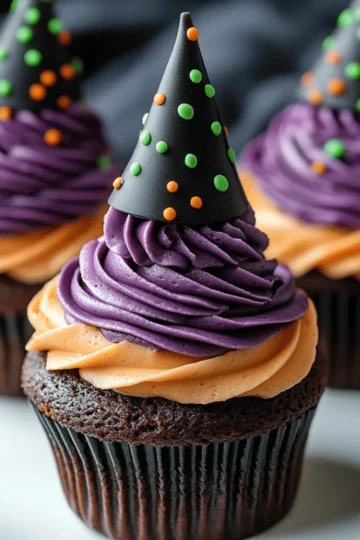
Witch Hat Cupcakes: Spooktacular Treats for Halloween Fun
-
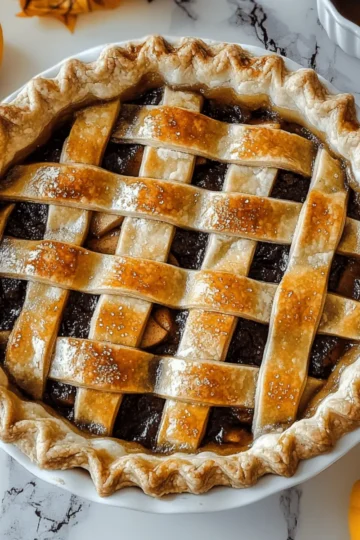
Delicious Poison Apple Pie: A Spooky Twist on Tradition
-
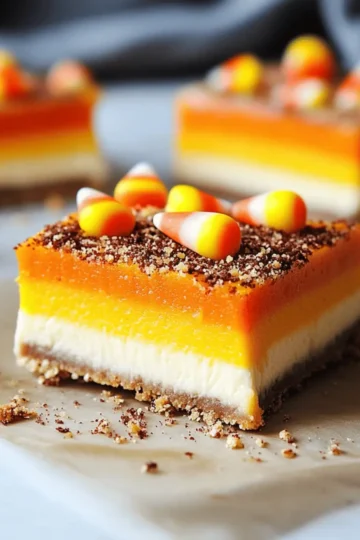
Candy Corn Cheesecake Bars That Will Thrill Your Taste Buds
-
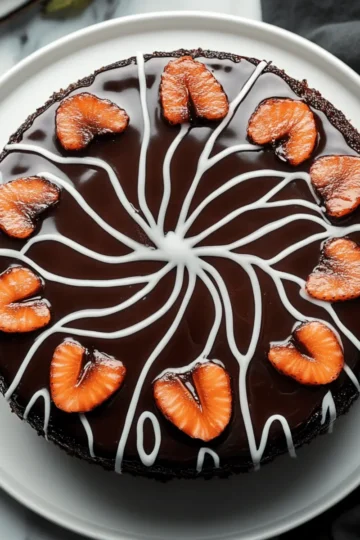
Decadent Spiderweb Chocolate Cake for a Spooky Treat
-
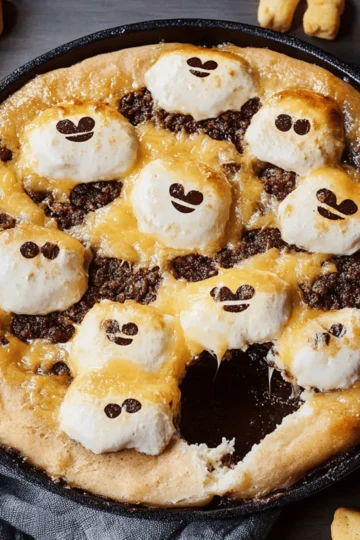
Indulge in Irresistible Ghost S'mores Dip for Spooky Fun
-
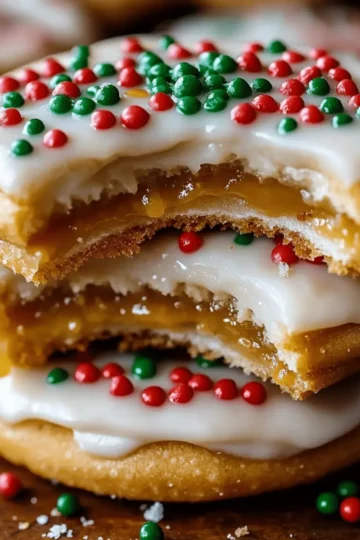
Delightful Candy Cane Cookies for a Festive Treat
-
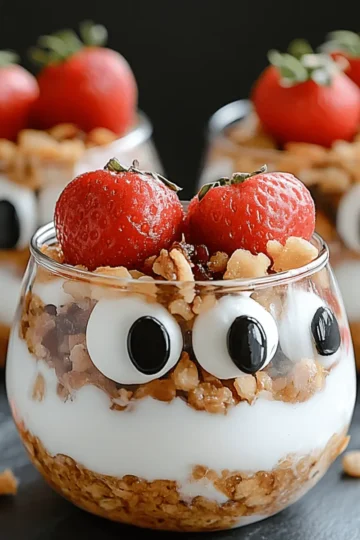
Ghostly Yogurt Parfaits to Haunt Your Breakfast Routine
-
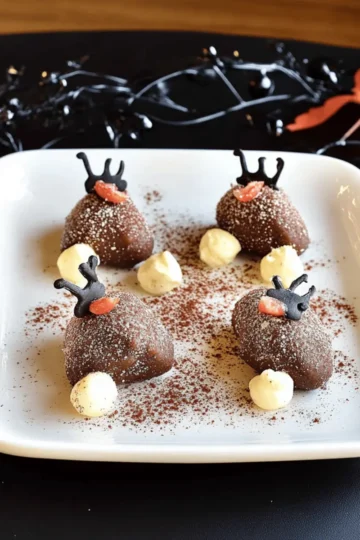
Delicious Strawberry and Chocolate Fudge Mice to Impress
-
Heavenly Christmas Toffee: A Sweet Holiday Delight
-
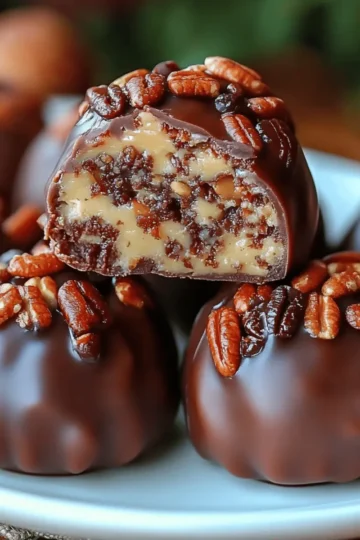
Irresistible Pecan Pie Balls That Will Delight Your Tastebuds
-
Delicious No-Bake Pecan Pie Balls for Sweet Craving Fix
-
Irresistible Toffee: Easy Homemade Candy Bliss