Dessert
-
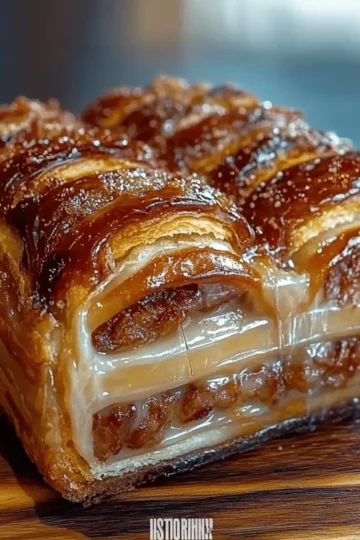
Wisconsin Apple Kringle: A Cozy Bake to Brighten Your Day
-
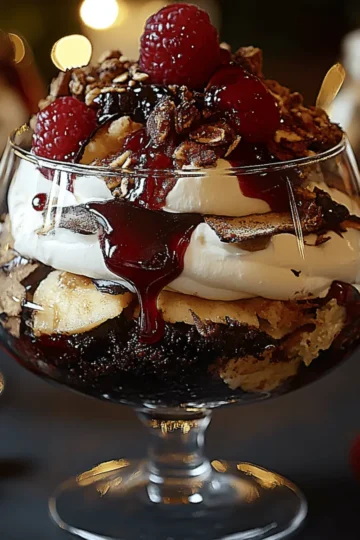
Decadent Black Forest Trifle to Sweeten Your Day
-
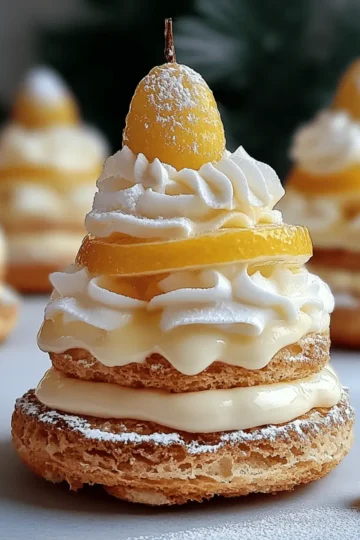
Dreamy Lemon Cream Puffs: A Sweet Twist on Classic Delights
-
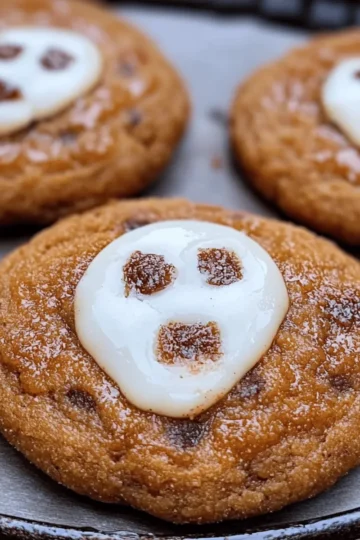
Spooky Ghost Brown Butter Pumpkin Cookies for Fall Fun
-
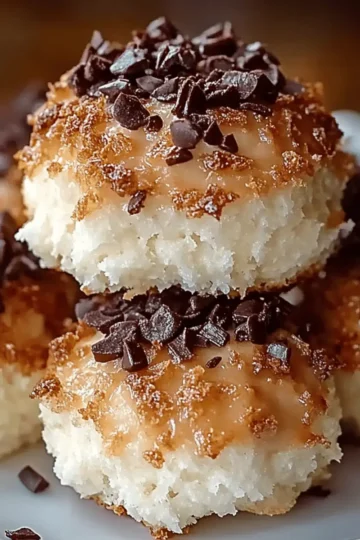
No-Bake Moose Farts: Sweet Treats for Instant Joy
-
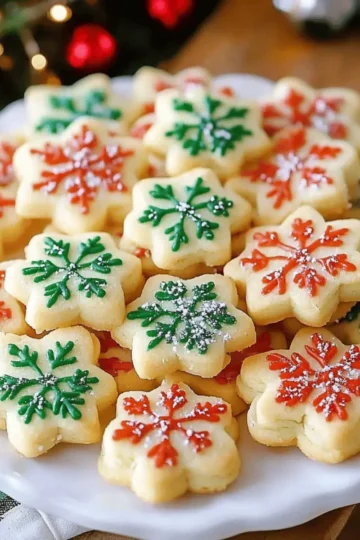
Delightful Buttery Spritz Cookies That Melt in Your Mouth
-
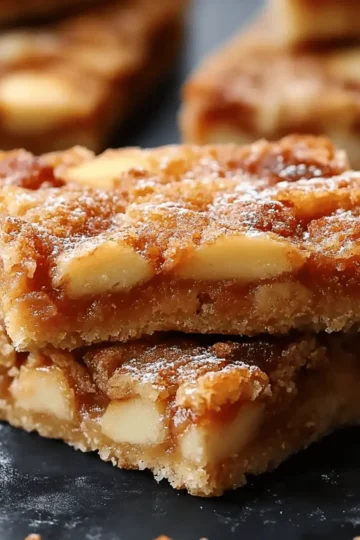
Irresistible Apple Snickerdoodle Bars for Cozy Moments
-
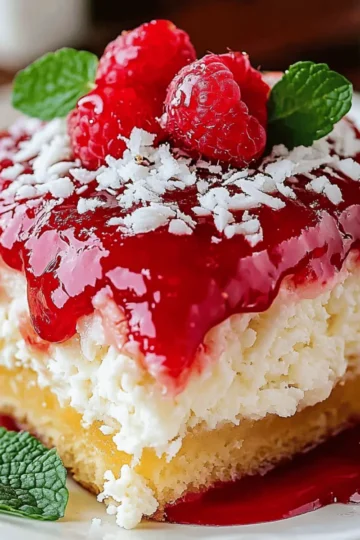
Delightful Raspberry Zinger Poke Cake for Sweet Moments
-
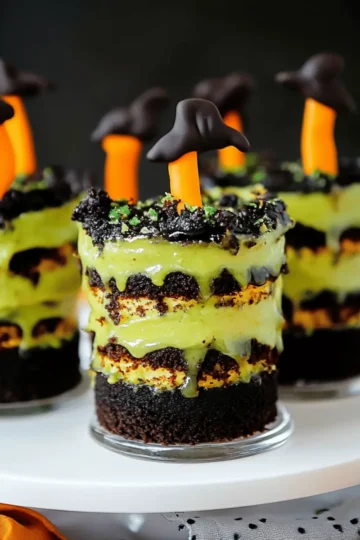
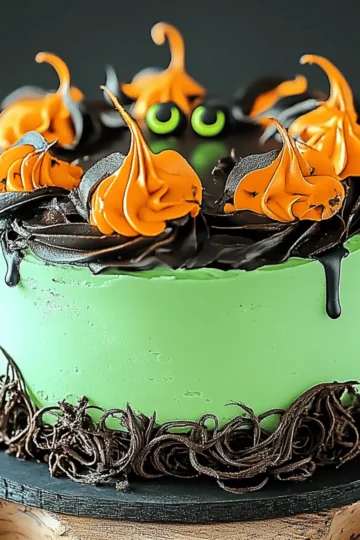
Witches' Brew Halloween Cake Jars: A Spooky Sweet Delight
-
Delicious Homemade Christmas Toffee for Holiday Treats
-
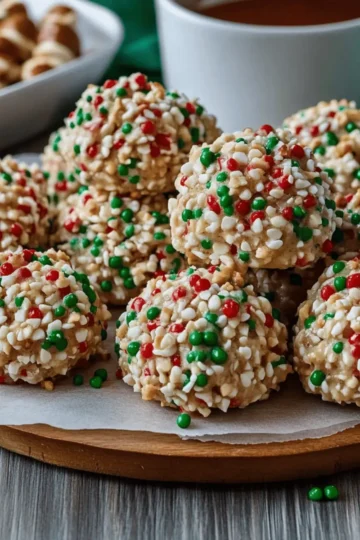
Irresistible Chocolate Rice Krispie Balls for Your Sweet Cravings
-
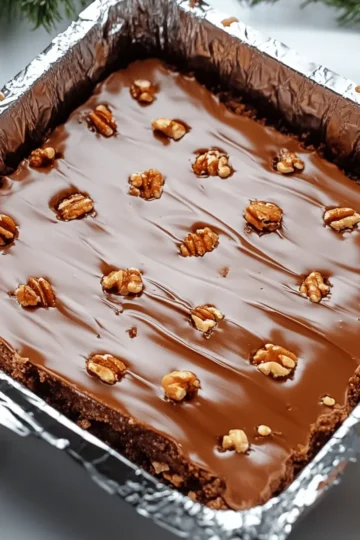
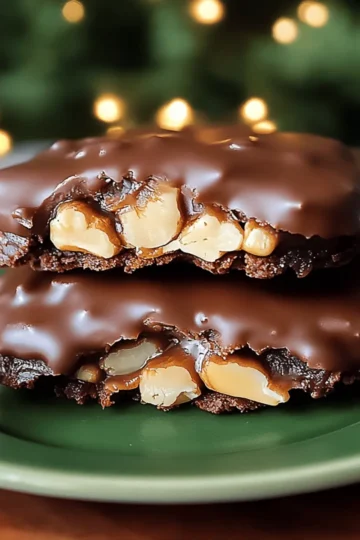
Delicious Christmas Pecan Turtles for Sweet Holiday Treats
-
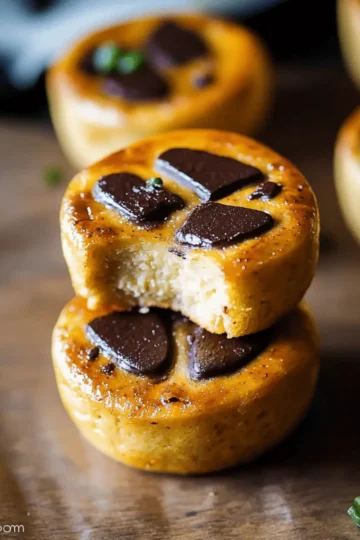
Delightful Frankenstein Mini Cheesecakes for Spooky Treats
-
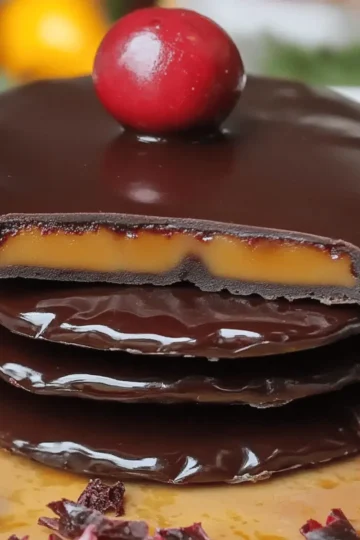
Decadent Chocolate Covered Cranberry Sauce Delight
-
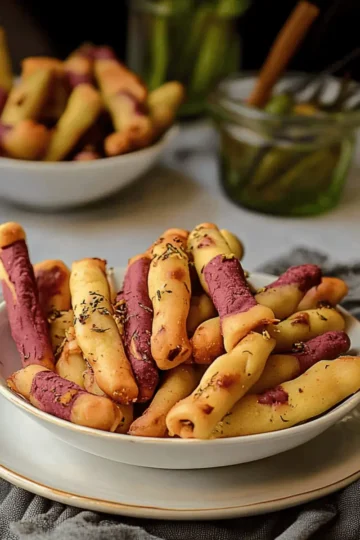
Deliciously Spooky Creepy Witch Finger Cookies for Halloween
-
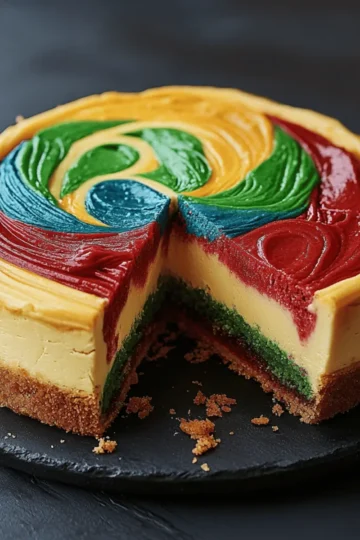
Hogwarts Houses Butterbeer Swirl Cheesecake for Magical Moments
-
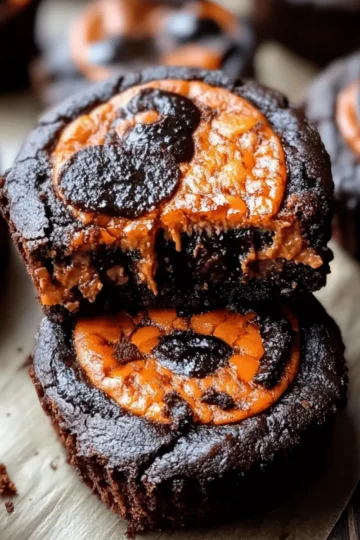
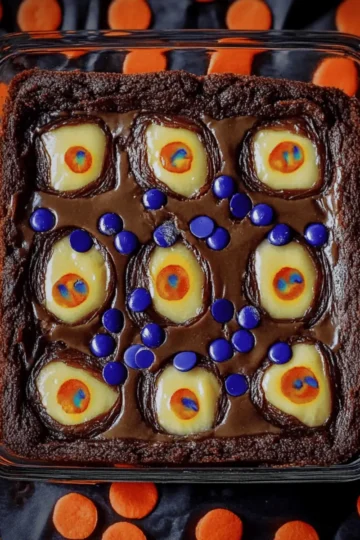
Halloween Oreo Cookie Boo Brownies That Spell Delicious Fun
-
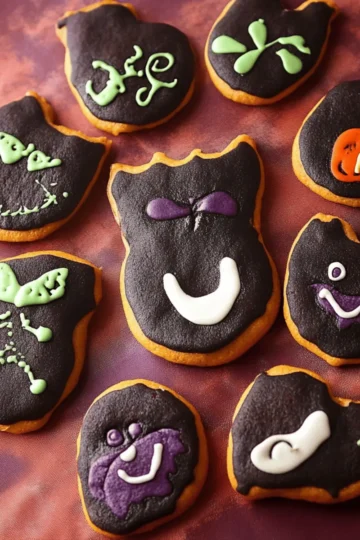
Sweet Spooky Halloween Decorated Cookies to Impress Your Guests
-
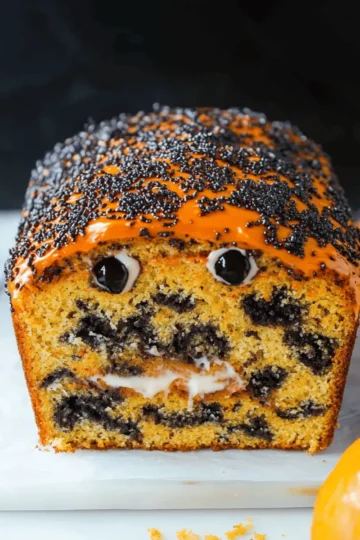
Delightful Orange and Black Halloween Marble Cake Recipe
-
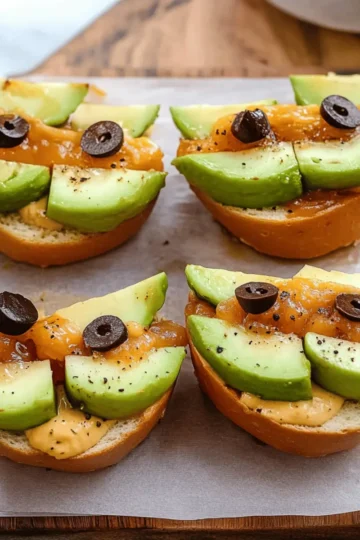
Create Fun Green Apple Monsters for a Spooky Snack Attack
-
Monster Mash Brownies: Indulge in Spooktacular Flavor!
-
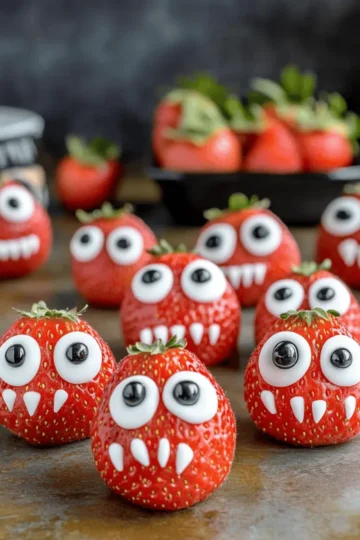
Strawberry Halloween Monsters That Will Wow Your Guests
-
Strawberry Halloween Monsters That Will Wow Your Guests
-
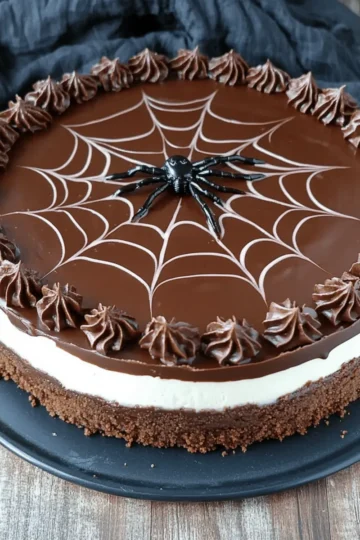
Irresistibly Creamy Chocolate Spiderweb Cheesecake Delight
-
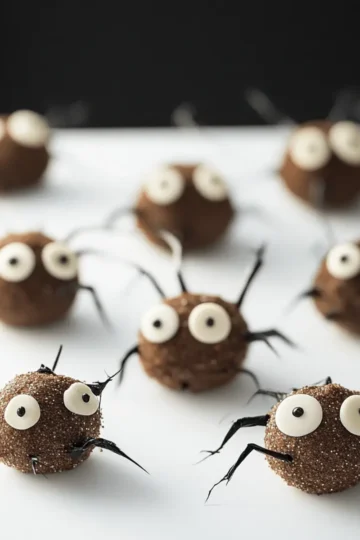
Halloween Monster Energy Balls That Will Thrill Your Taste Buds
-
Fabulous Mini Pumpkin Cheesecake Jack-O’-Lanterns to Savor
-
Witch’s Cauldron Cheesecake: A Spellbinding Treat to Share
-
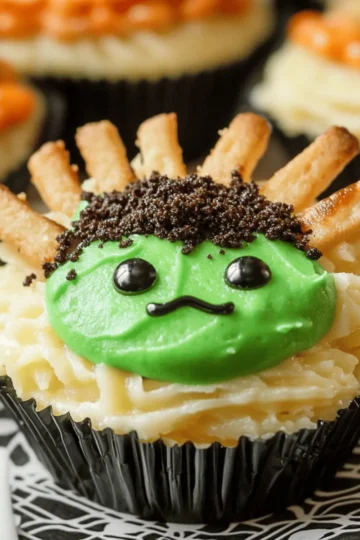
Delicious Monster Cupcakes That Will Thrill Your Taste Buds
-
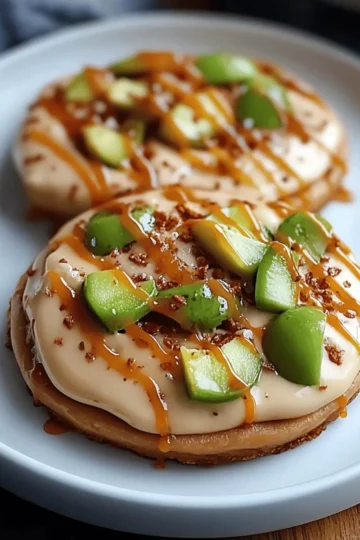
Crumbl Caramel Apple Cookies That Bring Fall Home
-
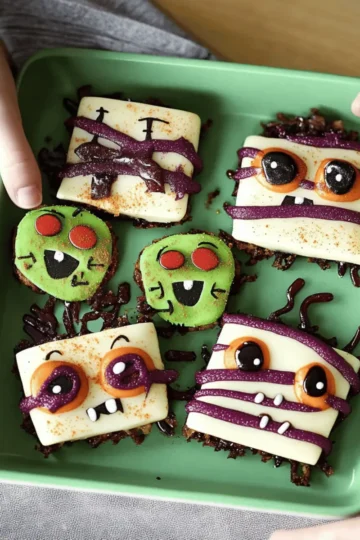
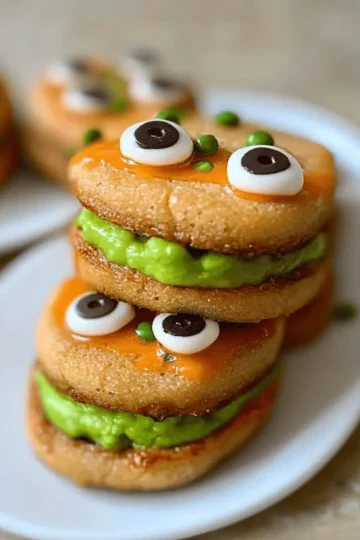
Deliciously Spooky Monster Sandwich Cookies for Halloween Fun
-
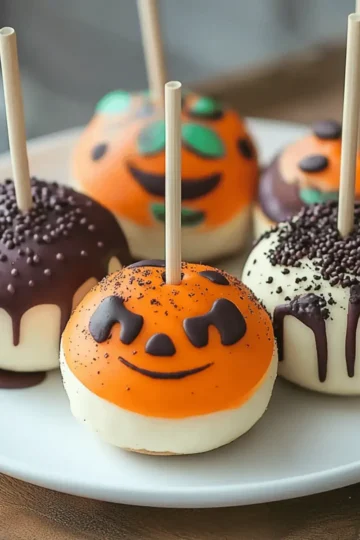
Deliciously Spooky Halloween Cake Pops Your Kids Will Love
-
Delicious Halloween Brookies to Sweeten Your Spooky Season
-
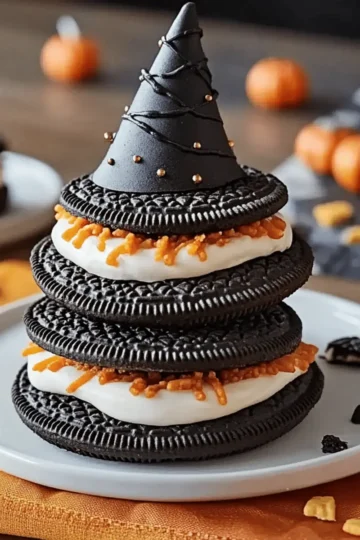
Deliciously Spooky Oreo Witch Hat Cookies for Halloween Fun
-
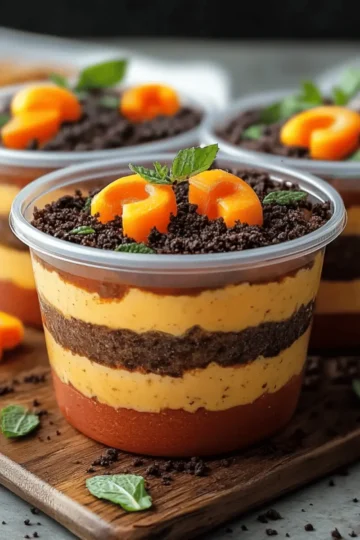
Delicious Pumpkin Patch Dirt Cups Perfect for Fall Treats
-
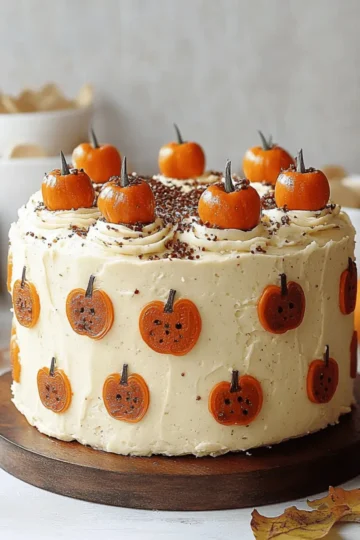
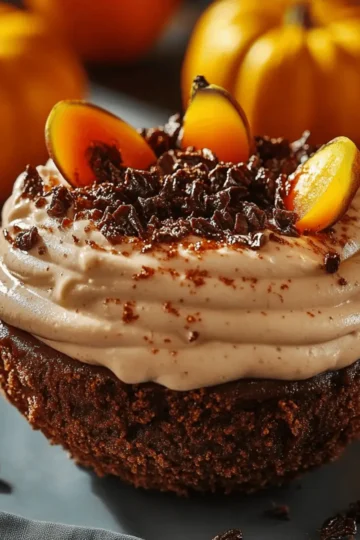
Delicious Vegan Pumpkin Spice Cake for Cozy Fall Vibes
-
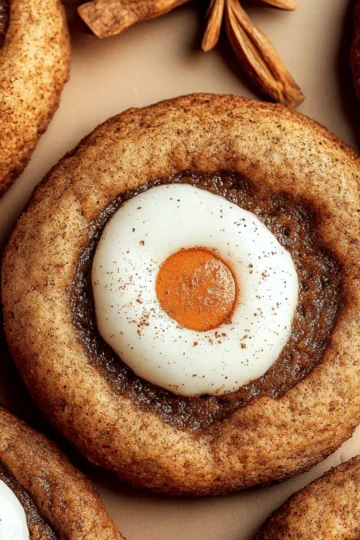
Delicious Pumpkin Sugar Cookies with Cream Cheese Frosting
-
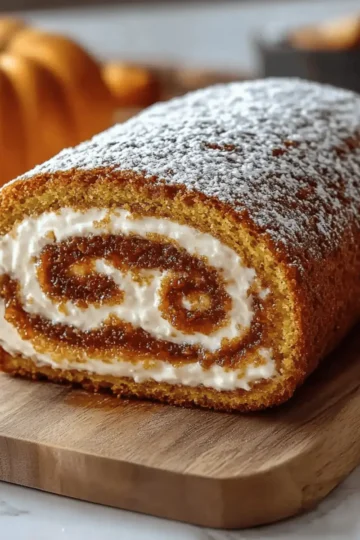
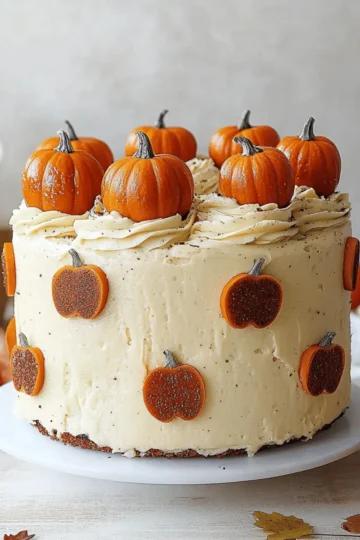
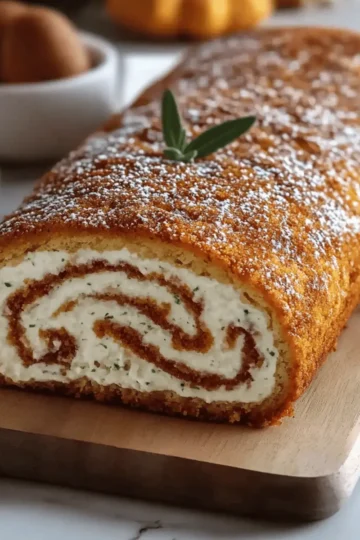
Irresistible Fall Pumpkin Spice Roll Cake with Creamy Filling
-
Irresistibly Creamy Pumpkin Cheesecake Dip with Crumbled Dirt
-
Delicious Pumpkin Cheesecake Cookies for Cozy Days
-
Irresistibly Moist Vegan Pumpkin Spice Cake for Fall Bliss
-
Fall Pumpkin Spice Roll Cake: Slice into Cozy Comforts
-
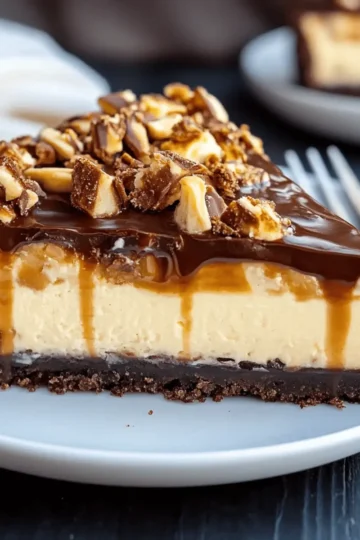
Indulge in Irresistible Snickers Cheesecake Delight