Dessert
-
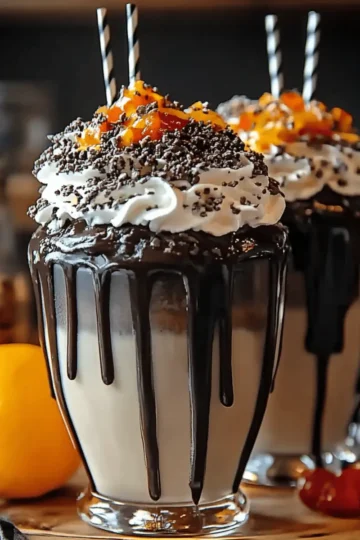
Indulge in a Spooky Black Halloween Milkshake Delight
-
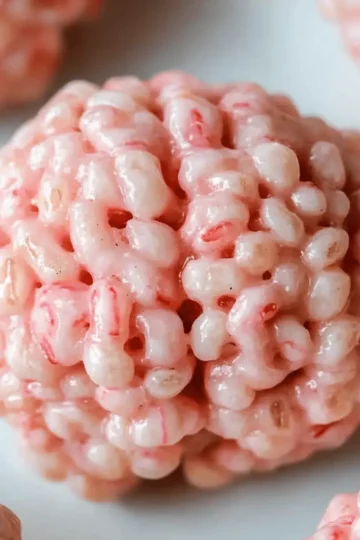
Spookingly Delicious Ghost Popcorn Balls for a Fun Treat
-
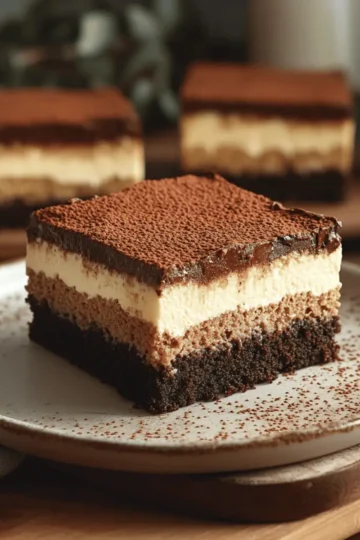
Decadent Tiramisu Brownies That Will Wow Your Taste Buds
-
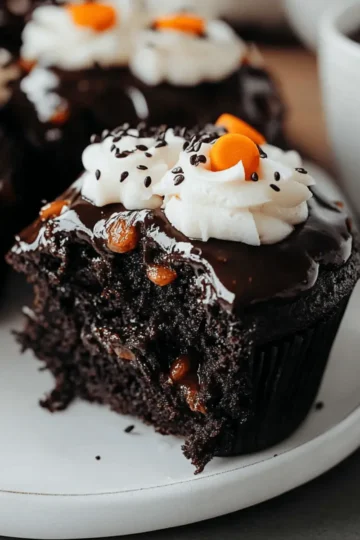
Decadent Black Velvet Cupcakes That Wow Every Taste Bud
-
Chewbacca Brownies: Irresistibly Fun and Deliciously Decadent
-
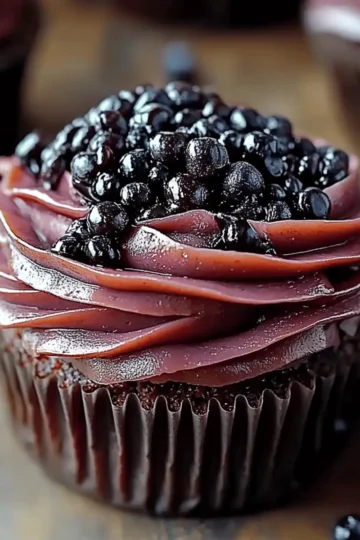
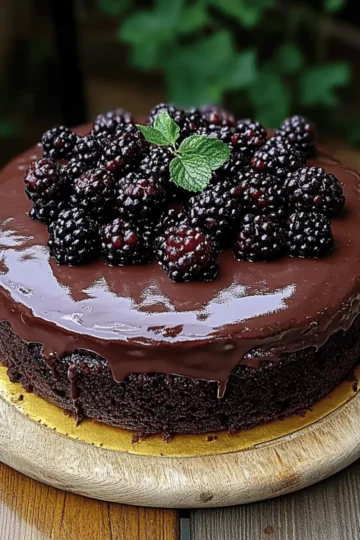
Indulge in Dark Chocolate Blackberry Cupcakes Bliss
-
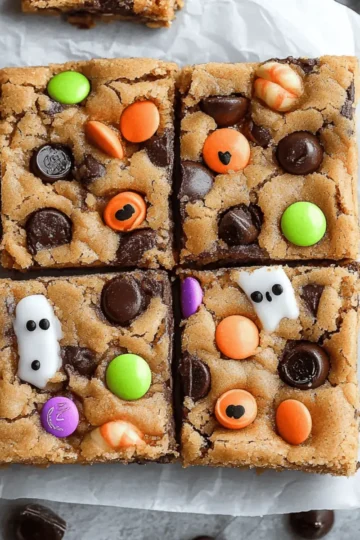
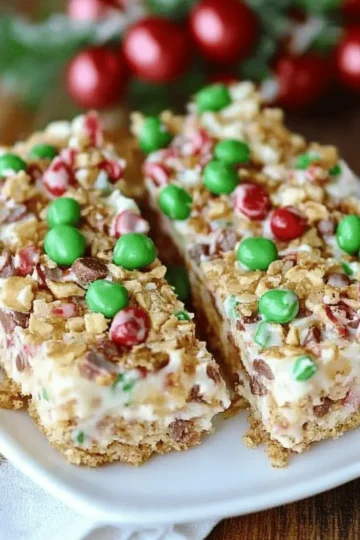
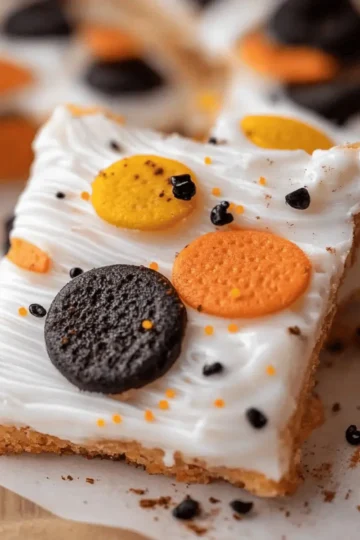
Delicious Halloween Candy Cookie Bars to Satisfy Your Cravings
-
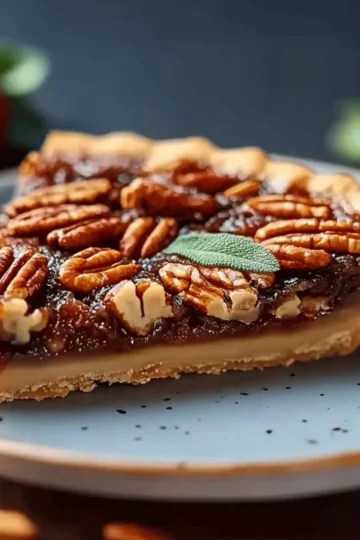
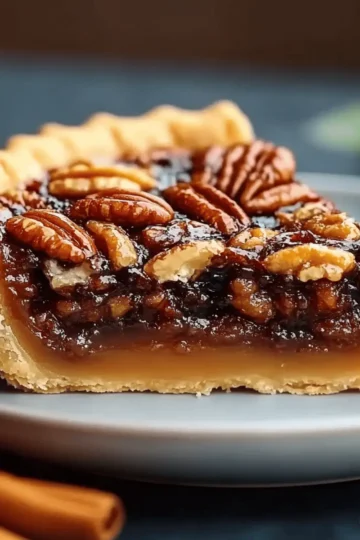
Decadent Pecan Pie That Will Melt in Your Mouth
-
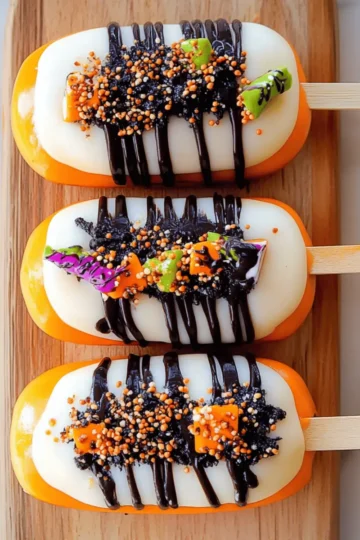
Delicious Halloween Cakesicles That Wow Every Party Guests
-
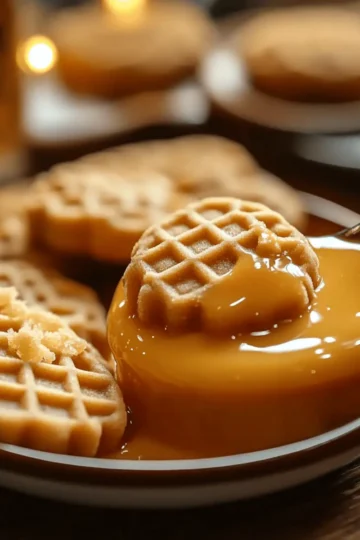
Delightful Hufflepuff Honeycomb Butterbeer Treats Recipe
-
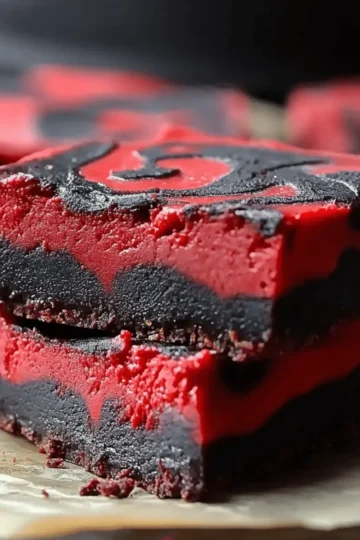
Irresistible Vampire Fudge: A Sinful Sweet Treat to Try!
-
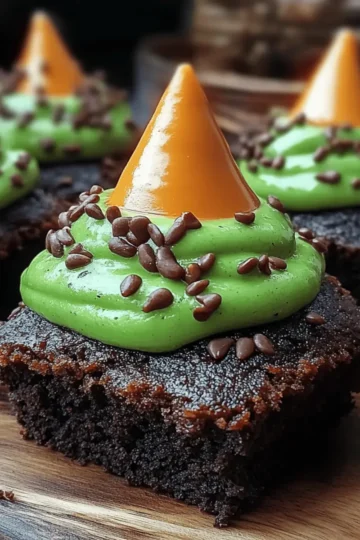
Wicked Witch Hat Brownies: Spooktacular Treats to Delight!
-
Decadent Crockpot Chocolate Lava Cake You’ll Love at Home
-
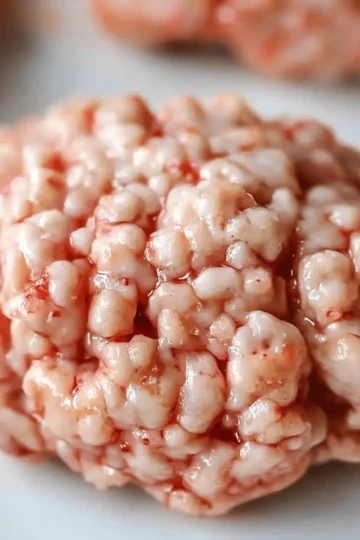
Spooky Marshmallow Rice Bubbles Halloween Brains Treats
-
Delicious Marshmallow Rice Bubbles Halloween Brains Recipe
-
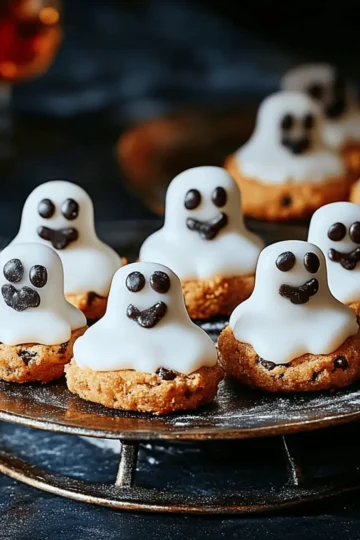
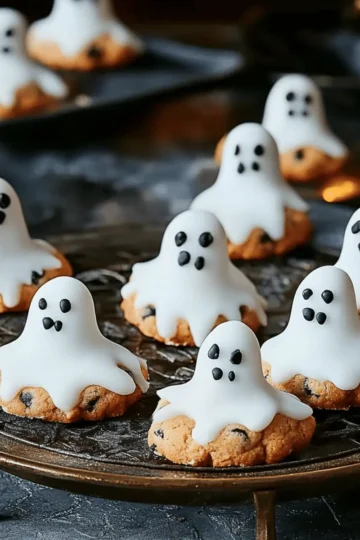
Ghost Cookies That Haunt Your Taste Buds with Delight
-
Delicious Ghost Cookies That Haunt Your Taste Buds
-
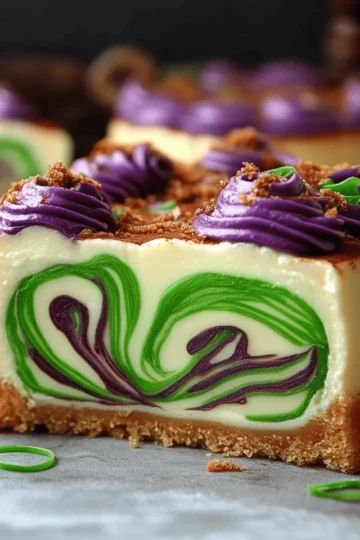
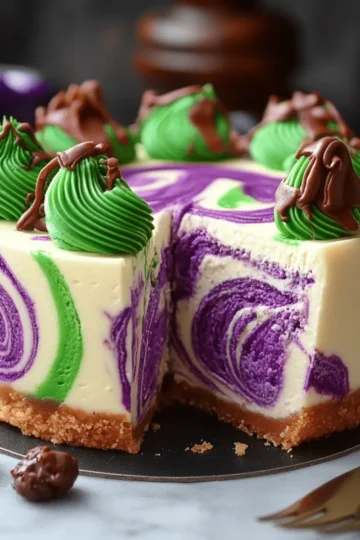
Magical Polyjuice Potion Swirl Cheesecake Recipe Delight
-
Magical Polyjuice Potion Swirl Cheesecake Delight
-
Delicious No Bake Avalanche Cookies You’ll Crave Year-Round
-
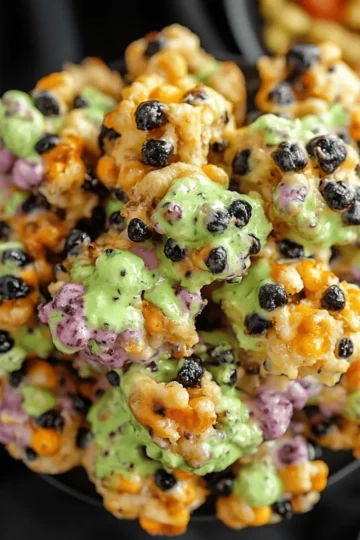
Delightful Hocus Pocus Halloween Popcorn for Spooky Snacking
-
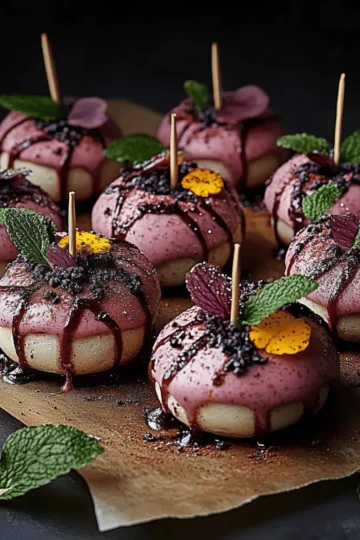
Delicious Forbidden Forest Blackberry Cheesecake Pops to Delight
-
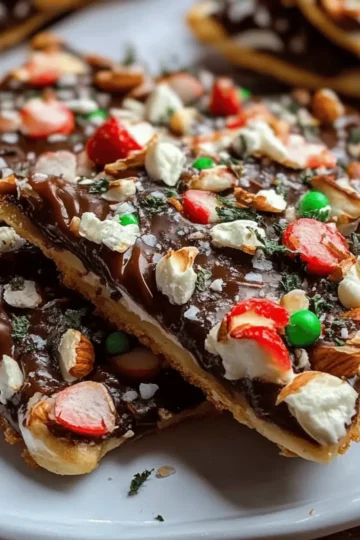
Irresistible Peppermint Dark Chocolate Pretzel Bark Bliss
-
Marshmallow Pretzel Treats with M&M’s: Sweet & Salty Bliss
-
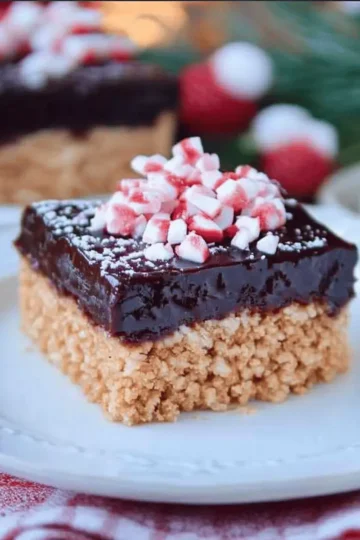
Irresistible Chocolate Peppermint Rice Crispy Bars to Delight
-
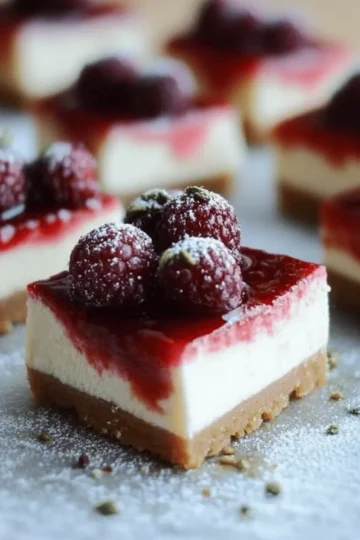
Delicious No-Bake Christmas Cheesecake Bars to Sweeten Your Holiday
-
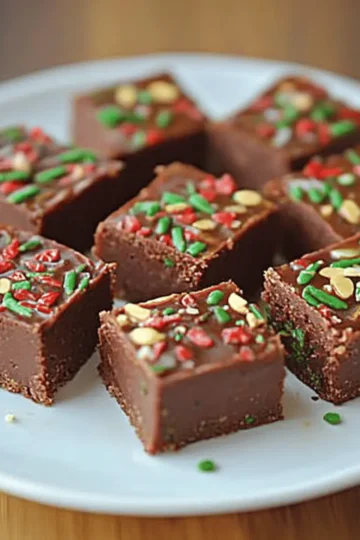
Decadent Fudge: Irresistible Chocolate Bliss for All
-
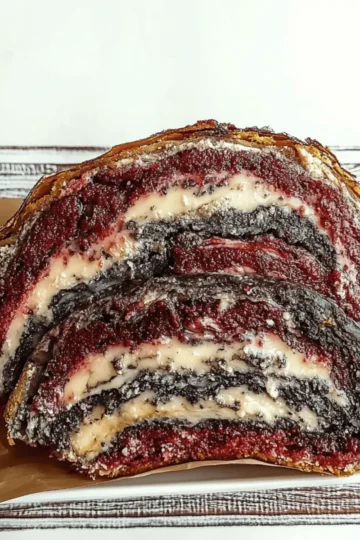
Indulge in Blackberry Velvet Gothic Cake for a Decadent Treat
-
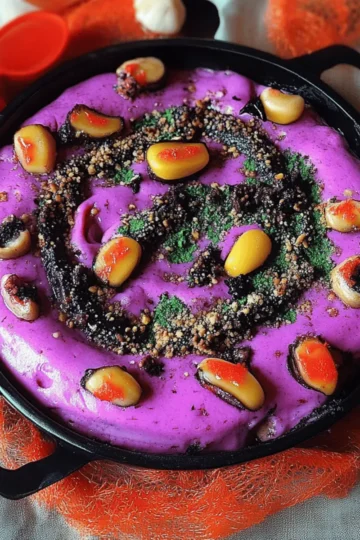
Create a Festive Spooky Dunkaroo Dip for Halloween Fun
-
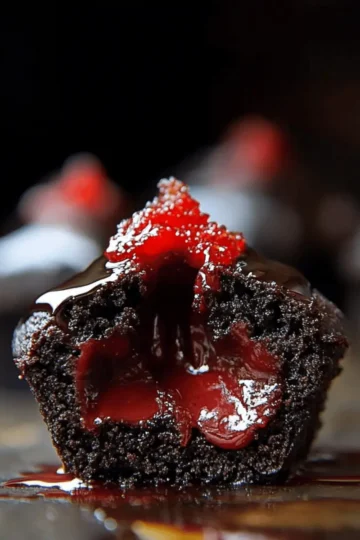
Bleeding Black Cupcakes: A Spooky Treat That Delights!
-
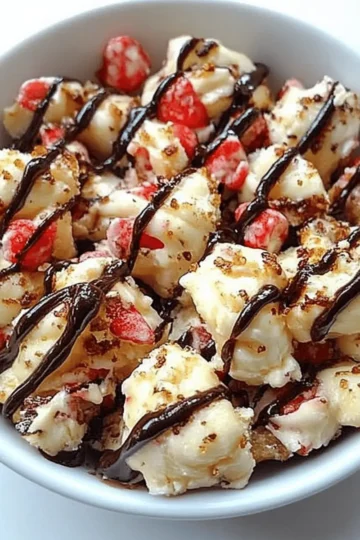
White Chocolate Oreo Bark That Will Wow Your Taste Buds
-
Fearless Vampire Bread: A Spooky Twist for Homemade Fun
-
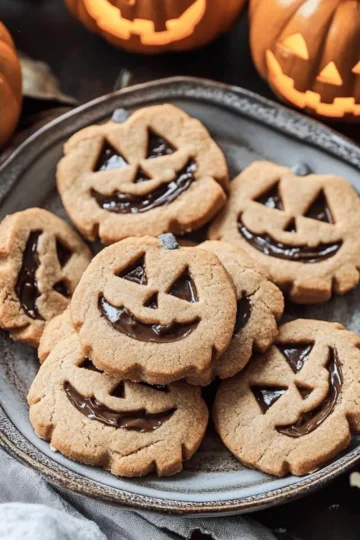
Delicious Milk Chocolate Stuffed Jack-O’-Lantern Cookies Recipe
-
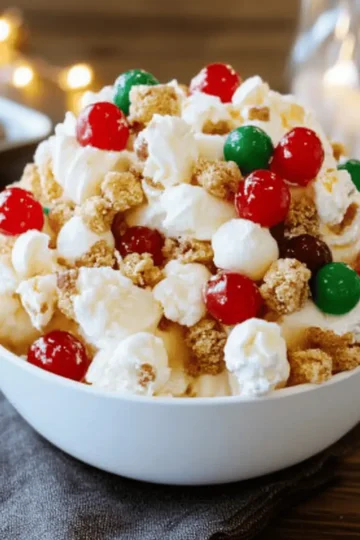
Christmas Popcorn: A Sweet & Crunchy Holiday Delight
-
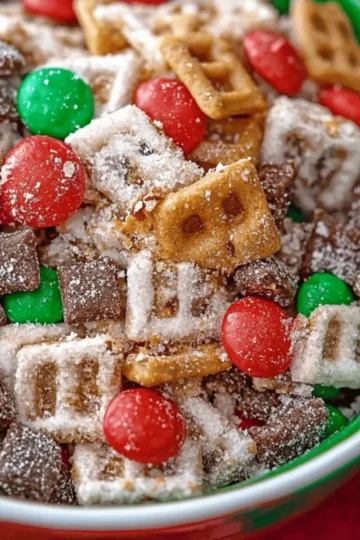
Delicious Reindeer Chow: The Perfect Holiday Snack Delight
-
Delicious Halloween Pretzels That Will Wow Your Guests
-
Decadent Pecan Pie: Your New Family Favorite Dessert
-
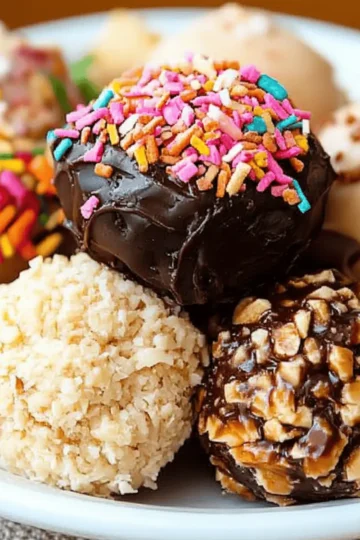
Irresistibly Creamy Cheesecake Balls for Your Sweet Cravings
-
No-Bake Ritz Cracker Cookies That Crush Your Sweet Cravings
-
Peppermint Bark Popcorn for a Festive Sweet Treat!
-
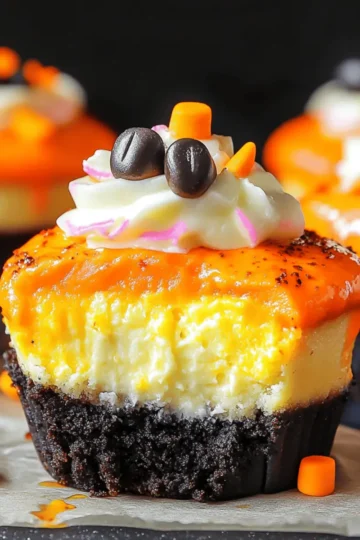
Delicious Mini Candy Corn Cheesecakes to Wow Your Guests
-
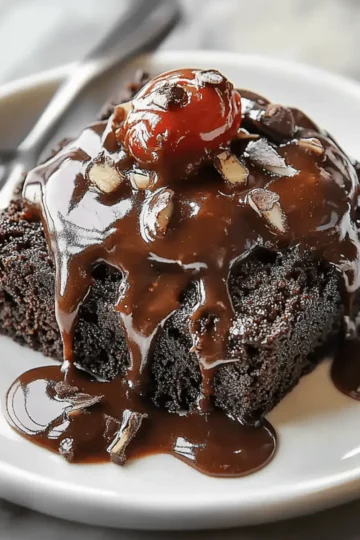
Halloween Graveyard Chocolate Poke Cake You Must Try This Season