Main Dishes
-
Cheesy Ranch Chicken: Quick Comfort for Busy Nights
-
Savor the Comfort of Creamy Beef and Shells in 30 Minutes
-
Savory Crockpot Chicken Cacciatore That Tastes Like Italy
-
Delicious Bacon Ranch Chicken: Your New Slow Cooker Favorite
-
Creamy Beef Noodle Casserole Your New Comfort Food Delight
-
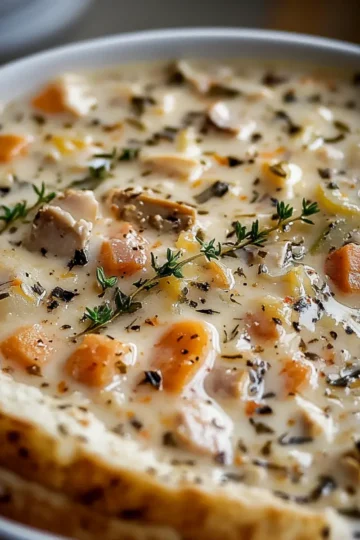
Creamy Chicken Wild Rice Soup That Warms Your Soul
-
Cheesy Ground Beef Tater Tot Casserole: Comfort Food Bliss
-
Bright and Zesty Detox Chicken Lime Rice Soup Delight
-
Sliced Steak with Roasted Baby Potatoes and Carrots Bliss
-
Ultimate Spaghetti Meat Sauce for Cozy Home Dinners
-
Savory Caramelized Leek Pizza w/ Spicy Honey Bliss
-
Savory Crockpot Ham and Potato Casserole for Cozy Nights
-
Mediterranean Diet Steak Bowl: Fresh Flavor in Every Bite
-
Baked Cod in Coconut Lemon Cream Sauce: A Tropical Delight
-
Savory Cioppino: An Easy Seafood Delight for Home Cooks
-
Hearty Old Fashioned Chili for Cozy Nights In
-
Hearty Slow-Simmered Spicy Tex-Mex Chili for Cozy Nights
-
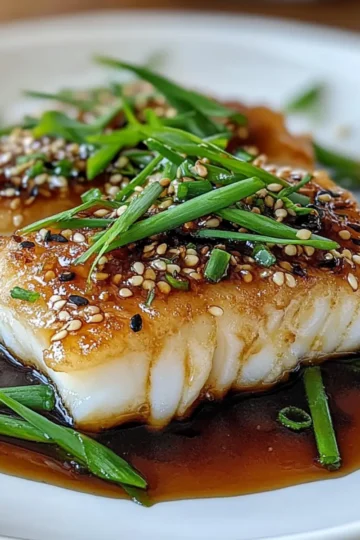
Irresistibly Flaky Cod With Ginger Soy Glaze in 20 Minutes
-
Savory Slow Cooker Chili for Cozy Family Nights
-
Savor Garlic Shrimp & Spinach Linguine in 30 Minutes
-
Irresistible One-Pan Honey BBQ Chicken Rice in Under an Hour
-
BBQ Chicken Sweet Potato Bowl – A Flavorful Twist You'll Love
-
Savory Teriyaki Shrimp Rice Bowls for a Happy Dinner
-
Easy Beef Stroganoff: A Creamy Comfort Food Delight
-
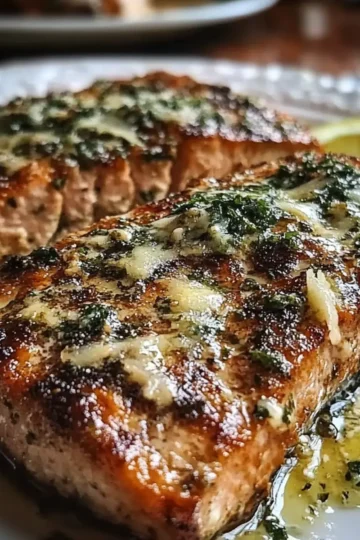
Savory Applesauce Pork Tenderloin for Comforting Dinners
-
Delicious Chicken Caprese Flatbread Ready in 25 Minutes
-
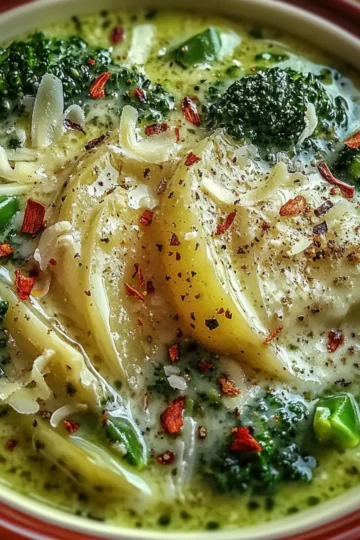
Creamy Keto Broccoli Spinach Soup for Cozy Nights
-
Parmesan-Basil Air Fryer Salmon: Quick and Flavorful Delight
-
Irresistible Pepperoni Pizza Quesadillas in Just 26 Minutes
-
Savory Beef Enchilada Casserole for Cozy Family Nights
-
Savor Shrimp and Sausage Foil Packs for Easy Grilling Fun
-
Hearty Slow-Simmered Beef Chili That Warms Your Soul
-
Irresistible Pizza Burger Pie: A Slice of Comfort Delight
-
Delicious Shrimp and Spinach Stuffed Pasta Rolls to Savor
-
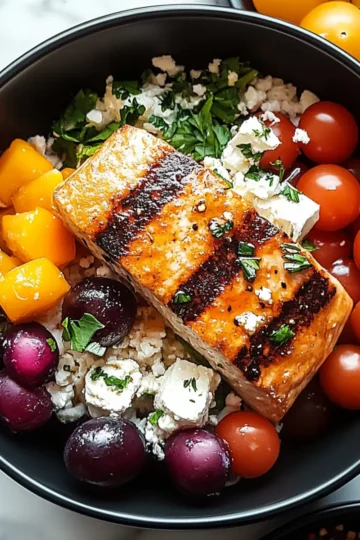
Healthy Mediterranean Salmon Bowl for a Flavorful Fall Feast
-
Crispy Air Fryer Chicken Thighs for Easy Weeknight Wins
-
Savory Garlic Butter Shrimp Scampi Pasta You’ll Love
-
Savory Stuffed Bell Peppers That Wow Every Dinner Table
-
Crispy Air Fryer Parmesan Cod: Quick, Tasty Dinner Delight
-
Hearty Crockpot Chili Colorado for Cozy Nights In
-
Creamy Ground Beef Stroganoff for Cozy Nights In
-
Creamy Wholesome Tomato Soup with Cheddar Bay Dumplings