Main Dishes
-
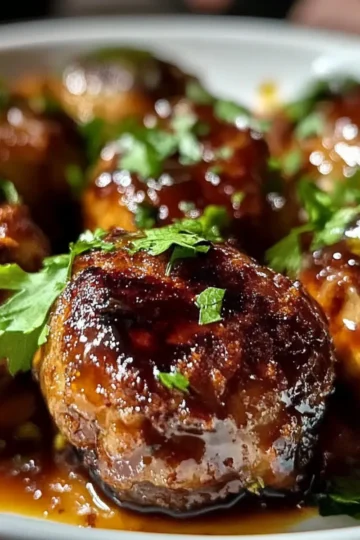
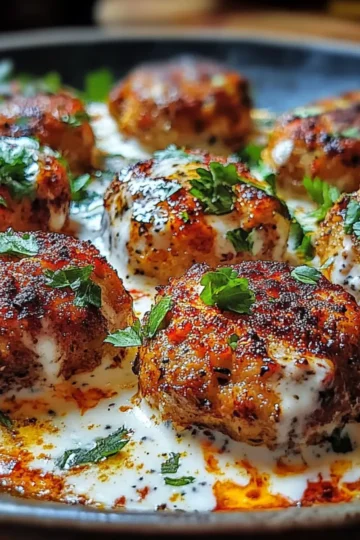
Baked Juicy Smoky Chipotle Meatballs for Flavor Lovers
-
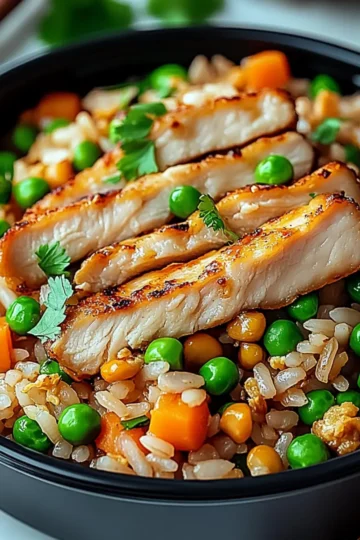
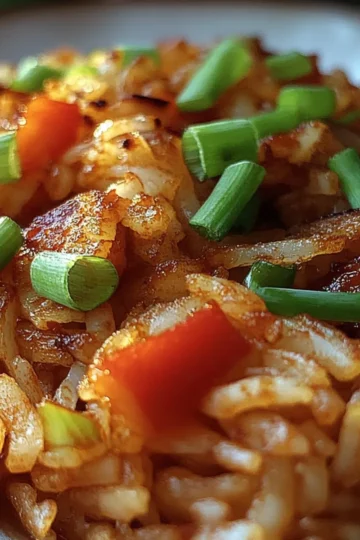
High Protein Crispy Garlic Chicken Fried Rice You’ll Crave
-
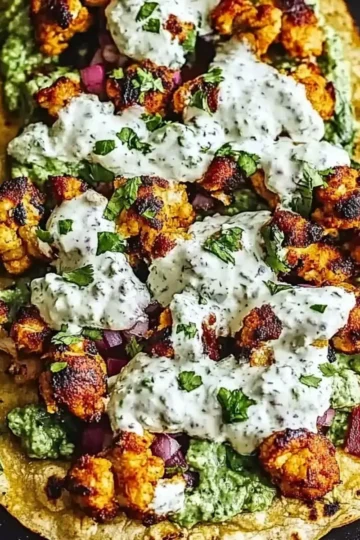
Irresistible Cauliflower Tacos with Cilantro Lime Crema
-
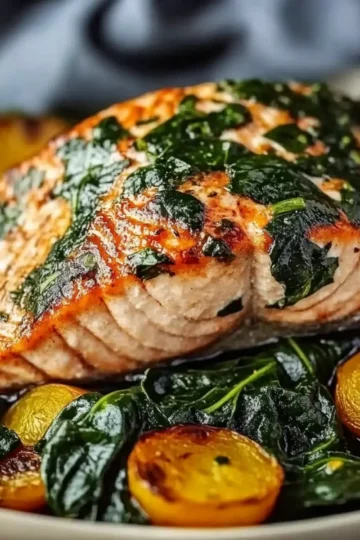
Delicious Spinach Stuffed Salmon for a Cozy Dinner Night
-
Savor Every Bite of Thai Peanut Chicken Buddha Bowl
-
Hearty Spicy Cajun Jailhouse Rice That'll Spice Up Dinner
-
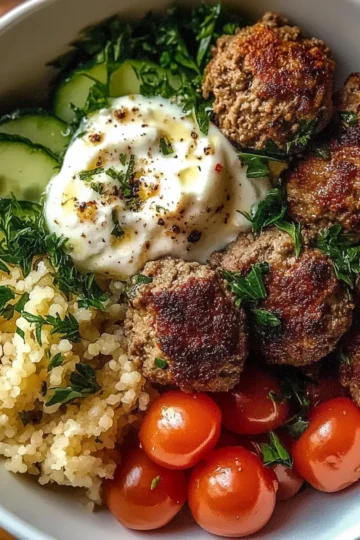
Savor the Flavor: Easy Greek Meatball Bowl Recipe
-
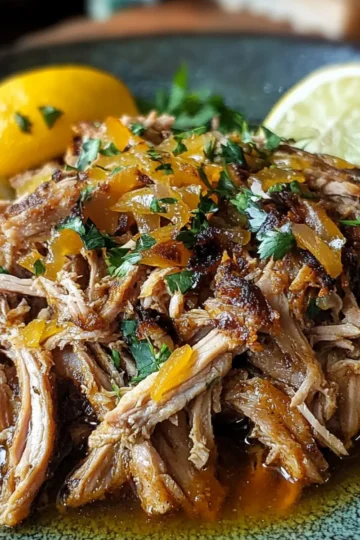
Slow Cooker Pork Carnitas for the Perfect Taco Night
-
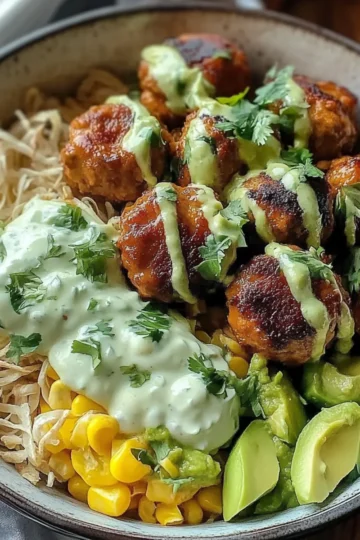
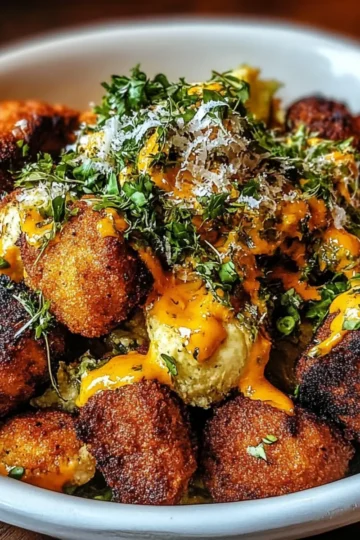
Barbecue Meatball Bowls with Avocado Goddess Sauce Bliss
-
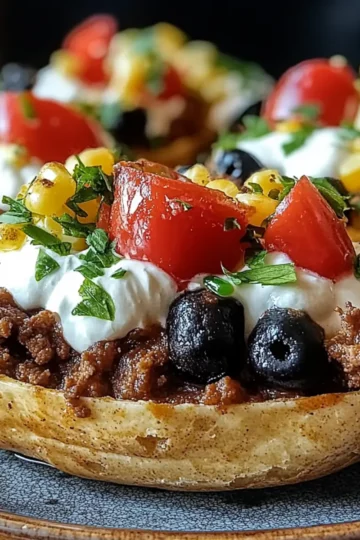
Satisfy Your Cravings with Taco Loaded Baked Potatoes
-
Sweet and Spicy Honey Sriracha Glazed Salmon Bowls
-
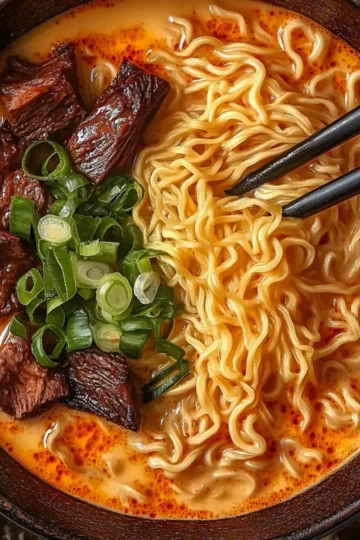
Spicy Korean Ramen with Grilled Beef and Creamy Sauce Bliss
-
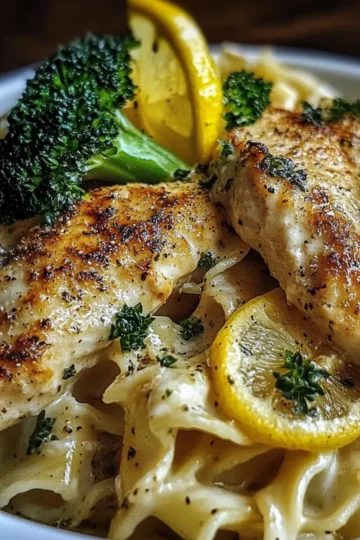
Cowboy Butter Lemon Bowtie Chicken with Broccoli Delight
-
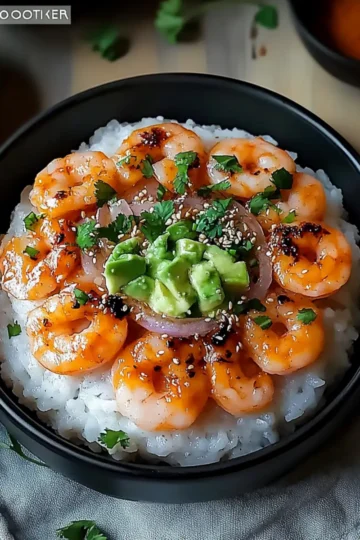
Delicious Shrimp Rice Bowls with Spicy Mayo You’ll Love
-
Savory Shrimp Rice Bowls with Spicy Mayo You'll Love
-
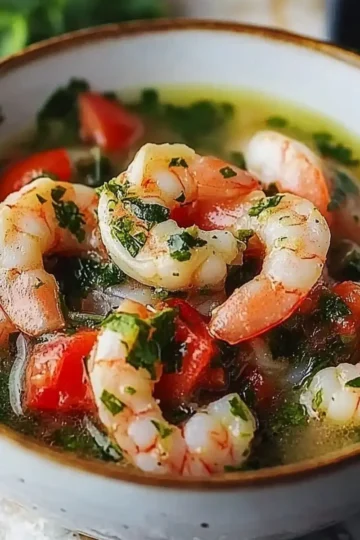
Delicious Shrimps in Culichi Salsa for Vibrant Flavor Lovers
-
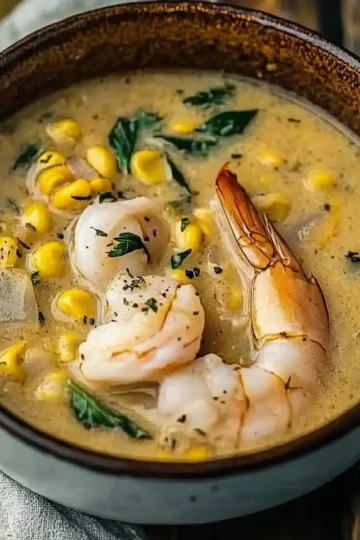
Creamy Shrimp and Corn Soup That Warms Your Soul
-
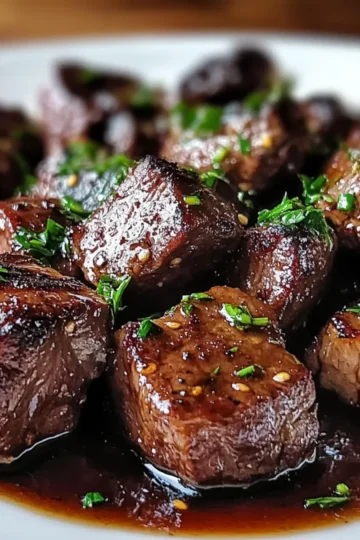
Savor Healthy Clean High Protein Garlic Balsamic Steak Bites
-
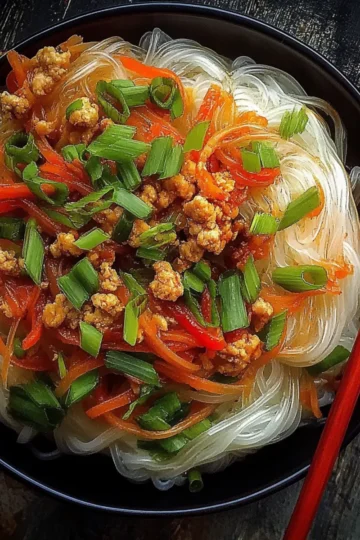
Savory Ground Chicken Sweet Chili Noodles in 30 Minutes
-
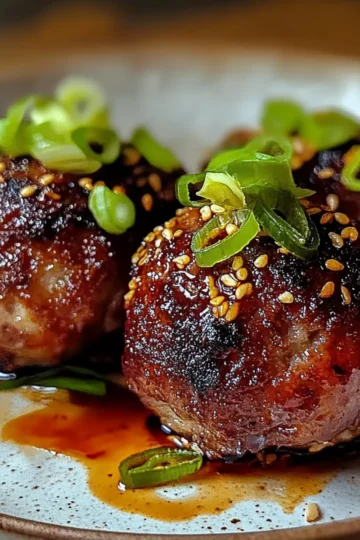
Savory Korean BBQ Meatballs for a Flavorful Family Feast
-
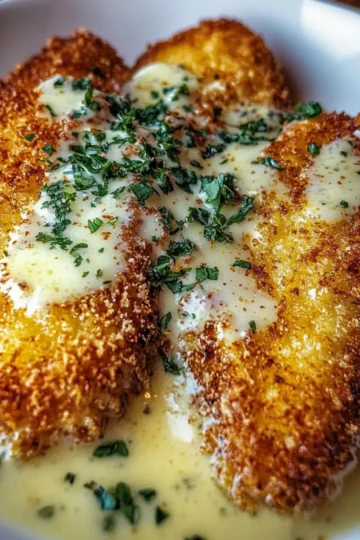
Crispy Parmesan Chicken with Rich Garlic Sauce You’ll Crave
-
Sweet Chili Chicken Bowl with Zesty Coconut Lime Drizzle Magic
-
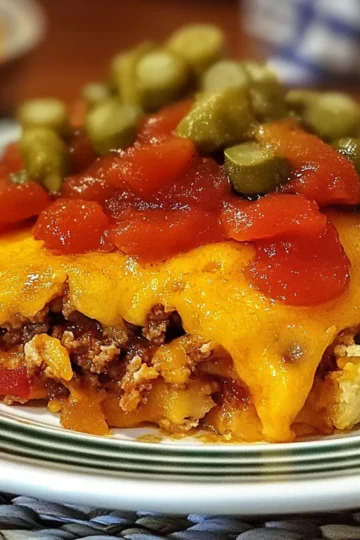
Savory Hearty Baked Cowboy Casserole for Cozy Nights
-
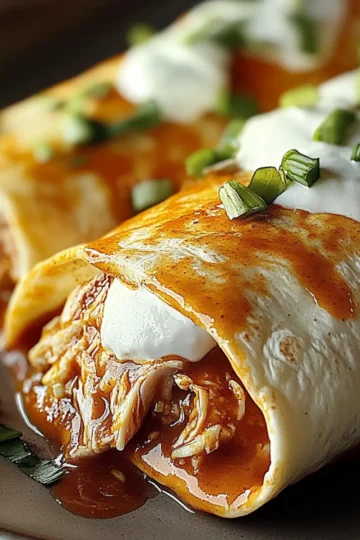
Savory Cheesy Buffalo Chicken Burritos for the Ultimate Feast
-
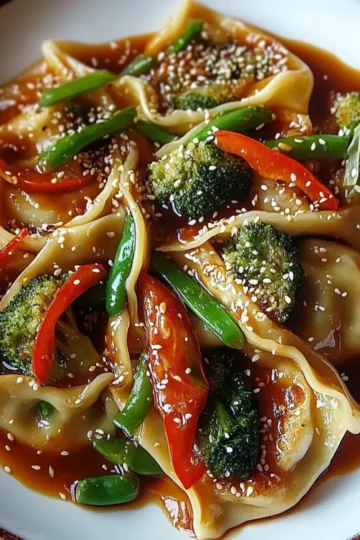
Deliciously Easy Potsticker Stir Fry in 30 Minutes!
-
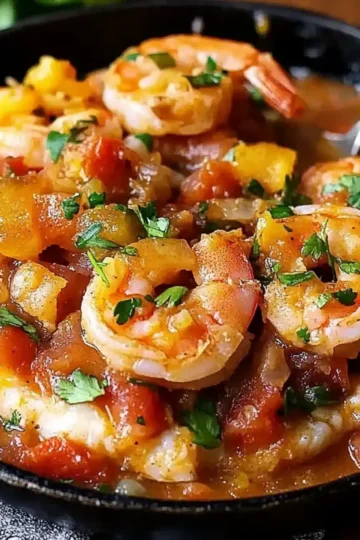
Savory Shrimp Etouffee: A Cozy Cajun Delight at Home
-
Savory Scallops and Shrimp in Garlic Butter Sauce Bliss
-
Savory Juicy Baked Cheeseburger Meatloaf that Comforts the Soul
-
Savor the Flavor: Garlic Shrimp Mofongo Made Easy
-
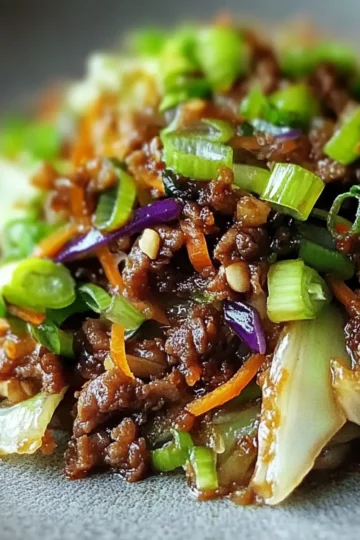
Savor the Flavor: Low-Carb Mongolian Ground Beef and Cabbage
-
Savory Spicy Salmon Sushi Bake for a Cozy Night In
-
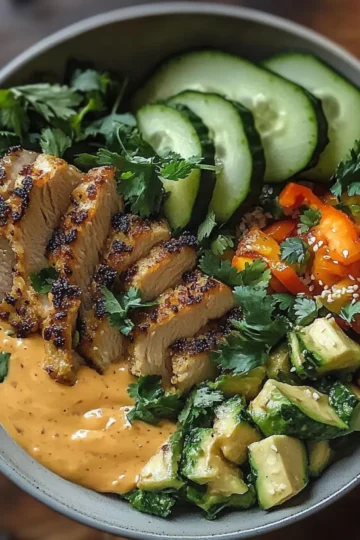
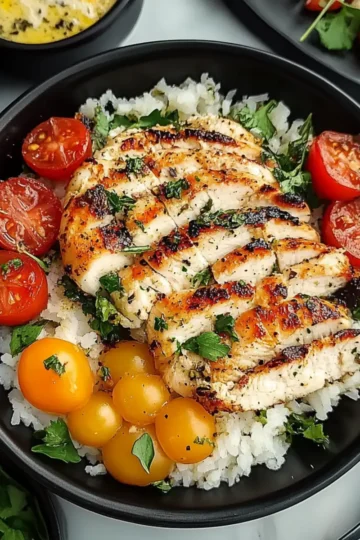
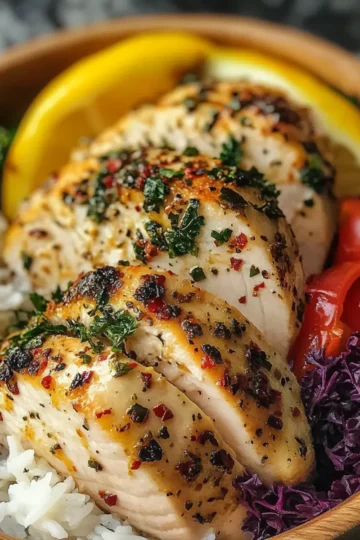
Savor the Flavor with Healthy Greek Chicken Bowls
-
Sweet and Spicy Ground Beef Hot Honey Bowl Delight
-
High Protein Ground Beef Power Bowls for a Energizing Meal
-
Zesty Healthy Lemon Garlic Chicken Meal Prep Bowls You'll Love
-
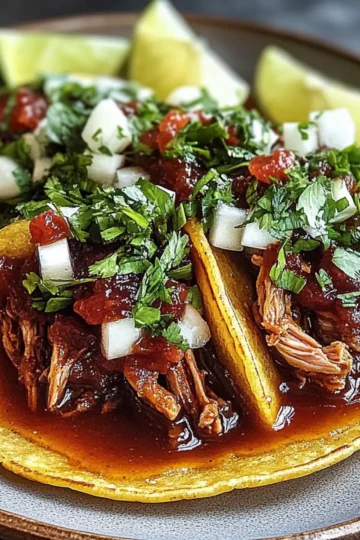
Irresistible Crock Pot Birria Tacos for Your Next Craving
-
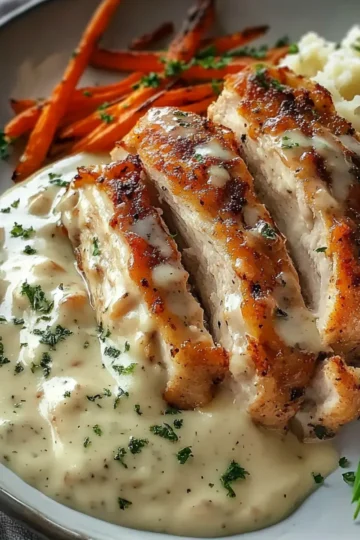
Creamy Herb Chicken with Mashed Potatoes and Glazed Carrots Delight
-
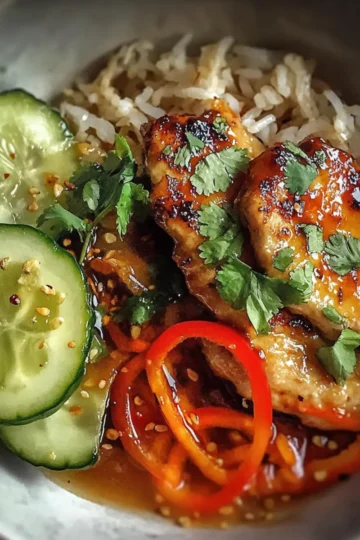
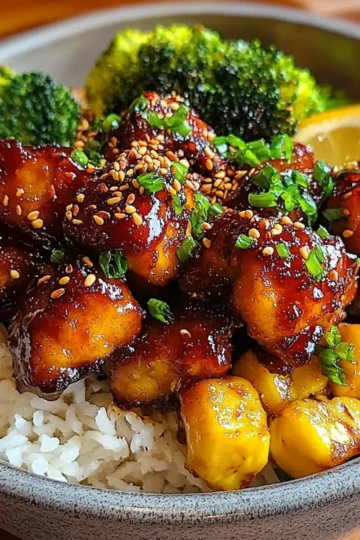
Spicy Sweet Honey Sriracha Chicken Broccoli Bowls for Dinner Bliss
-
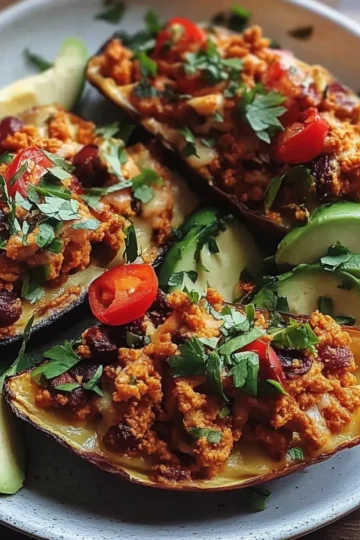
Avocado Turkey Chili Stuffed Sweet Potatoes to Savor
-
Buffalo Bites Bowl with Crispy Potatoes & Shaved Brussels Bliss
-
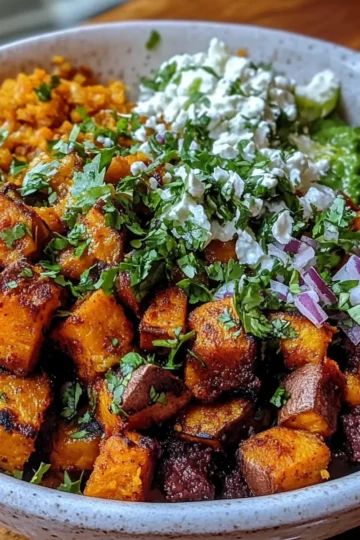
Sweet Potato Taco Bowl: A Flavorful Comfort for Any Day
-
Savory Chicken Kofta with Creamy Garlic Yogurt Sauce Delight