Main Dishes
-
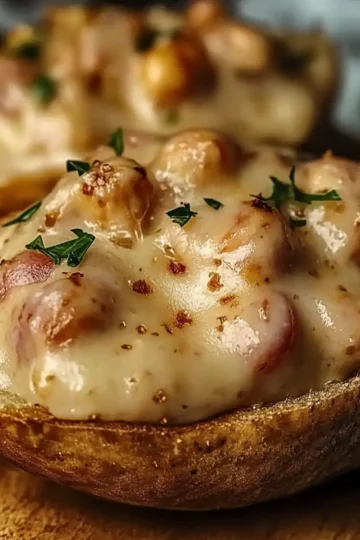
Mouthwatering Southern-Style Seafood Stuffed Potatoes Bliss
-
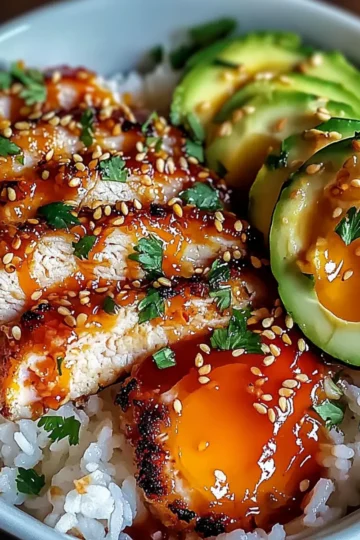
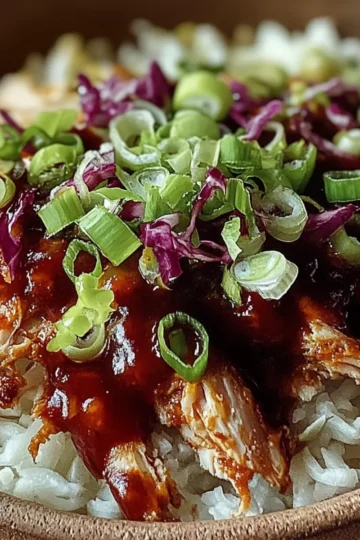
Delicious Sweet Chili Chicken Rice Bowls for Your Next Meal!
-
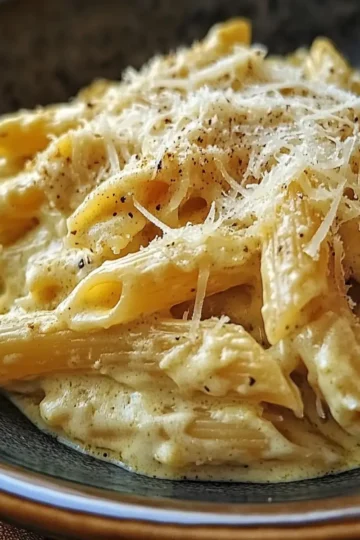
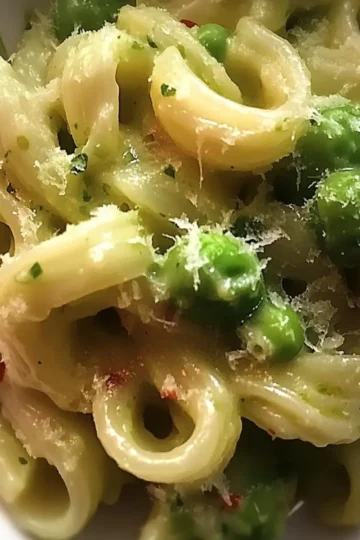
Decadent Creamy Italian Three-Cheese Pasta for Cozy Nights
-
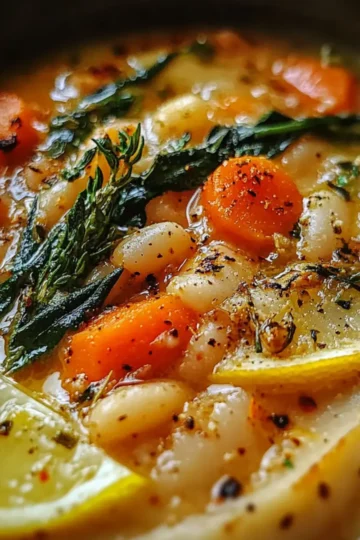
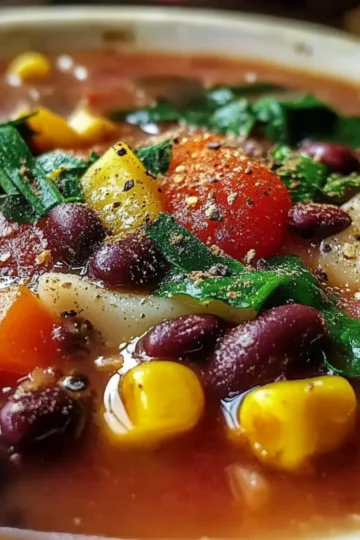
Savor Cozy Rosemary & Garlic White Bean Soup Delight
-
Crockpot Pulled Pork Bowls: Comfort Food Made Easy
-
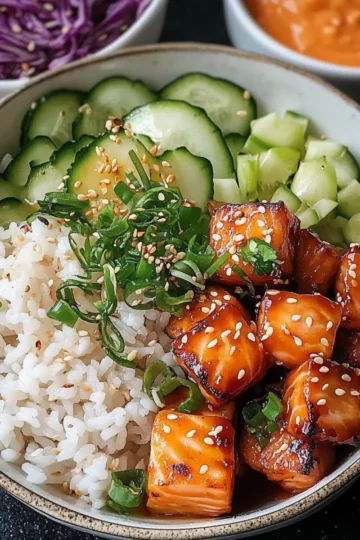
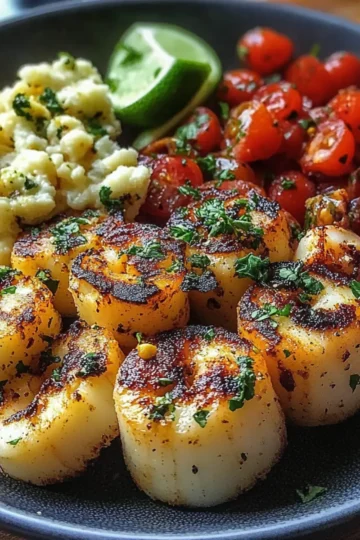
Savory Bang Bang Salmon Bites Bowls You’ll Crave Again!
-
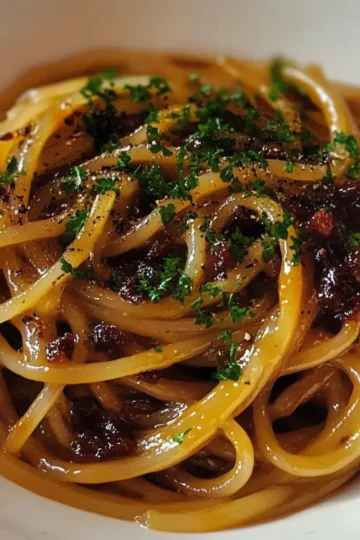
Savory Caramelized Onion Pasta with Chilli Oil Bliss
-
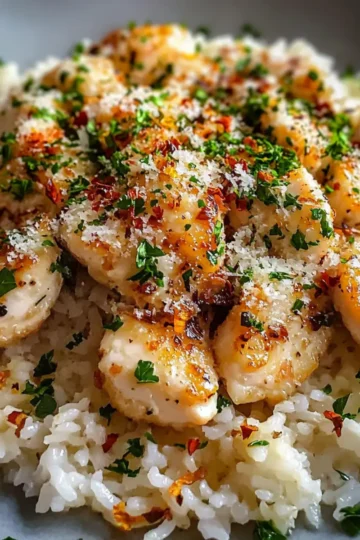
Savor Chicken Scampi with Garlic Parmesan Rice Tonight
-
Savor Every Bite: High-Protein Chicken Ranch Quesadilla
-
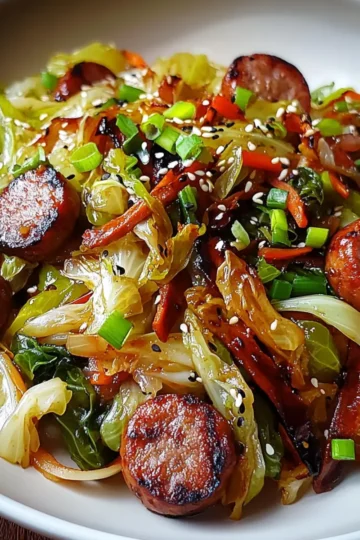
Satisfying Sausage and Cabbage Stir Fry in Just 35 Minutes
-
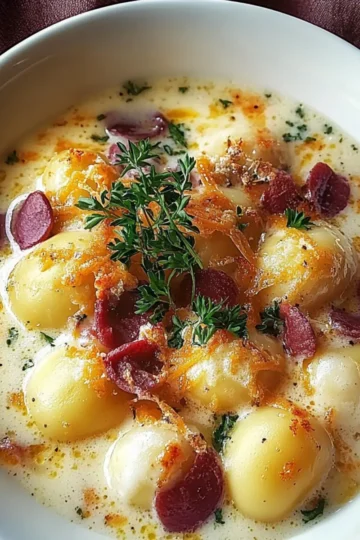
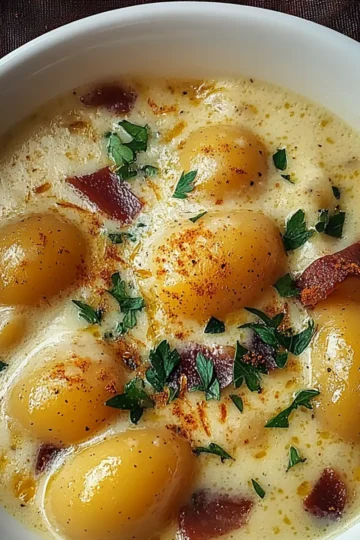
Cozy Up with Delicious Bacon Cheddar Gnocchi Soup
-
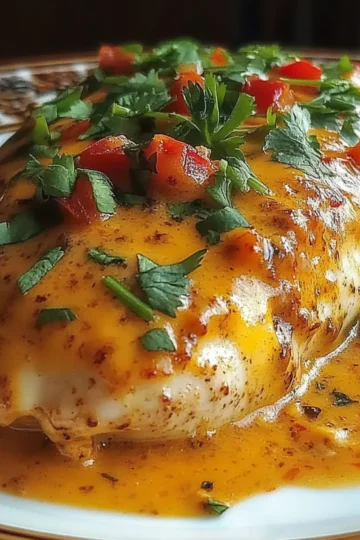
Savor the Flavor: Irresistible Baked Queso Chicken Recipe
-
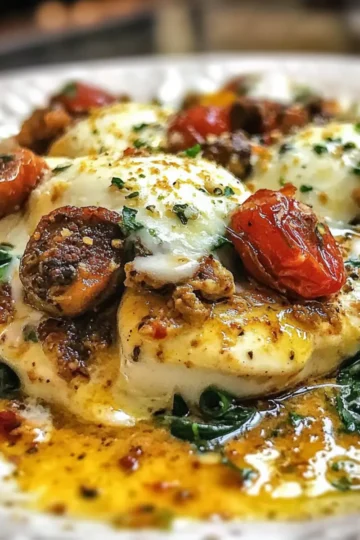
Delicious Chicken Spinach Mushroom Low Carb Oven Dish Magic
-
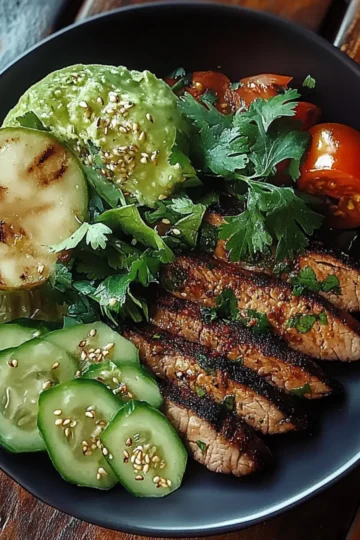
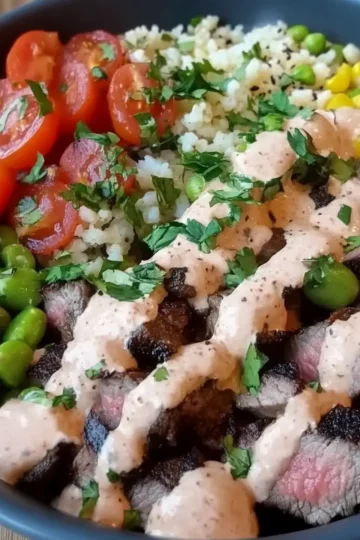
Savor This Grilled Steak Bowl with Sauce & Grilled Zucchini
-
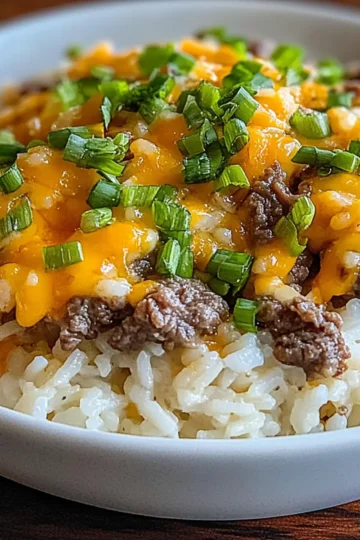
Creamy Garlic Butter Beef and Cheddar Rice You'll Love
-
Savory Chicken Fajita Meal Prep Bowls for Easy Weeknight Dinners
-
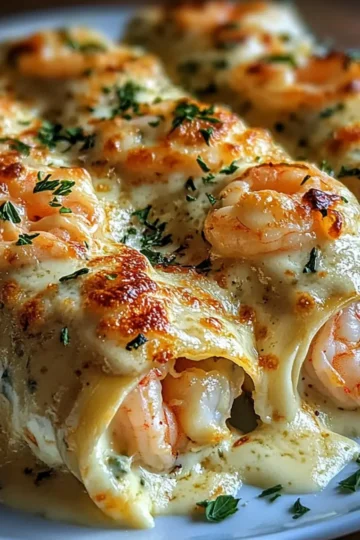
Irresistible Cheesy Shrimp Alfredo Roll-Ups You’ll Love
-
Irresistible Cheesy Shrimp Alfredo Roll-Ups You’ll Love
-
Zesty Cilantro Lime Shrimp Bowl for a Fresh Dinner Twist
-
Creamy Bacon Cheddar Gnocchi Soup to Warm Your Soul
-
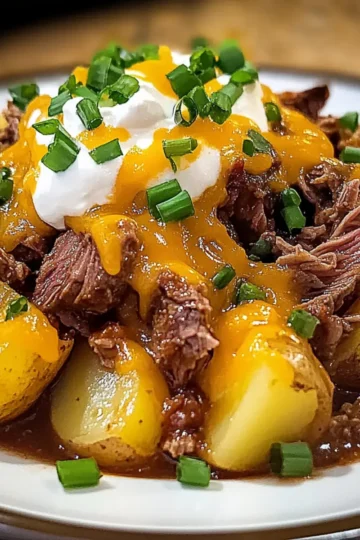
Crockpot Loaded Steak and Potato Bake You'll Crave All Day
-
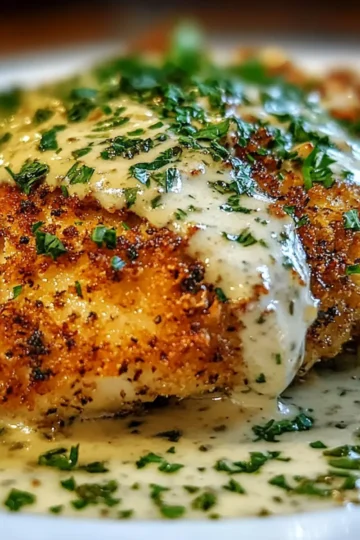
Crispy Herb-Crusted Chicken Romano with Creamy Sauce Delight
-
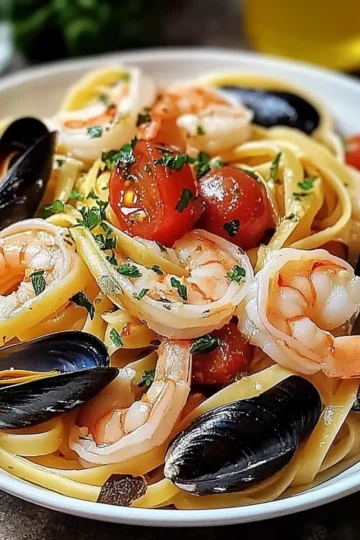
Delicious Seafood Pasta with Linguine, Shrimp, and Mussels
-
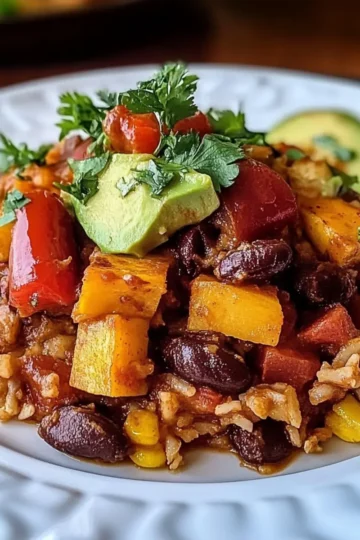
Savory Rice and Bean Casserole with Sweet Potatoes Delight
-
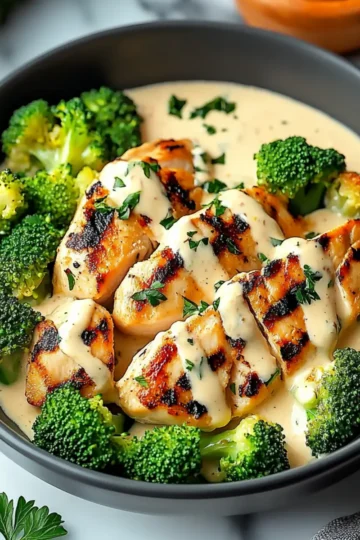
Savor Grilled Chicken & Broccoli Bowls with Creamy Garlic Sauce
-
High-Protein Veggie Bake with Cottage Cheese: Healthy Delight!
-
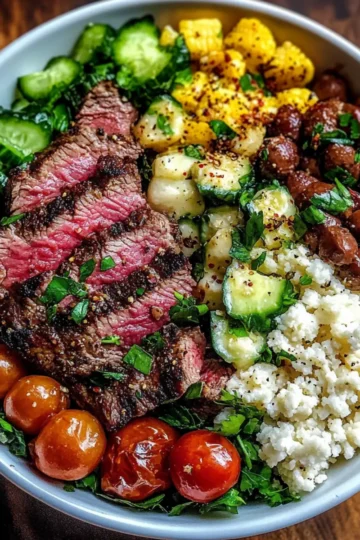
Savor Every Bite: Healthy Mediterranean Steak Bowl Recipe
-
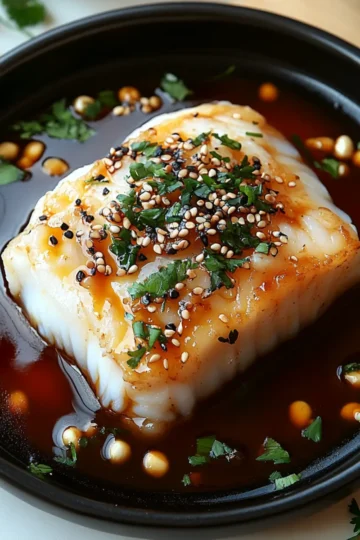
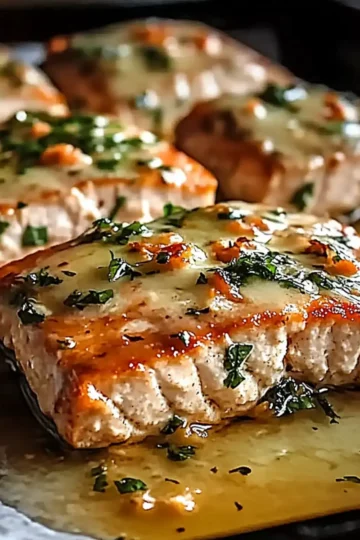
Savory Ginger Soy-Glazed Cod for Quick Weeknight Dinners
-
Delicious Honey Baked Salmon That's a Breeze to Make
-
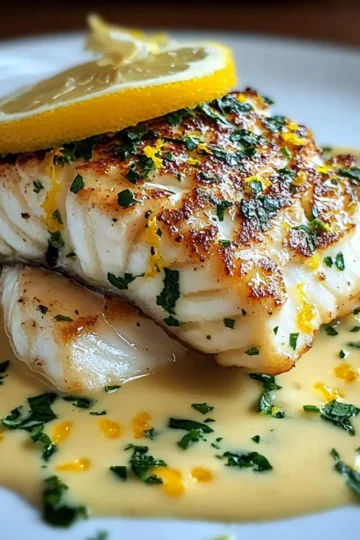
Halibut with Zesty Lemon Beurre Blanc to Brighten Your Dinner
-
Zesty Lemon Beurre Blanc Halibut for a Fresh Dinner Delight
-
Garlic Butter Lobster Linguine: A Delightful Pasta Escape
-
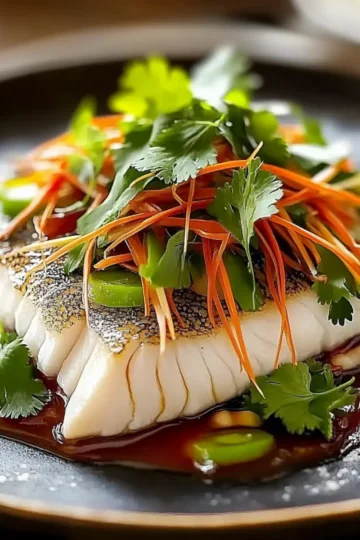
Steamed Fish with Ginger and Soy Sauce for a Tasty Glow-Up
-
Hearty Chilli Con Carne for Cozy Home Cooking Nights
-
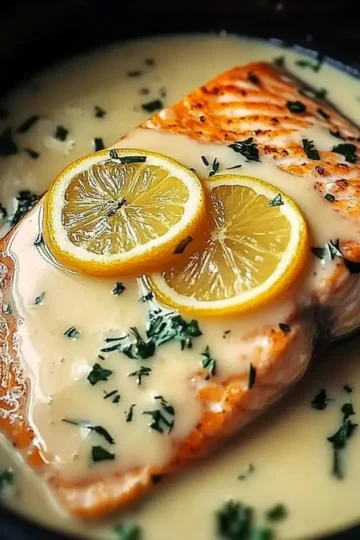
Irresistibly Creamy Lemon Garlic Salmon Piccata Recipe
-
Deliciously Creamy Broccoli Pasta in Just 25 Minutes
-
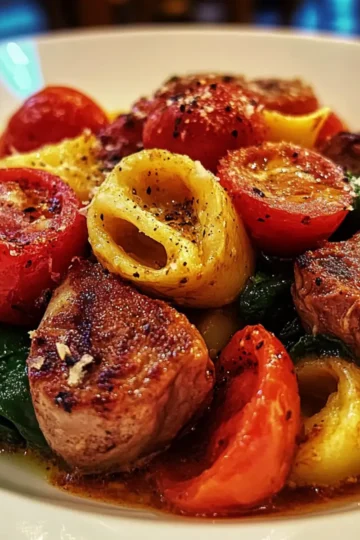
One-Pan Steak Bite Tortellini: Quick Comfort in Every Bite
-
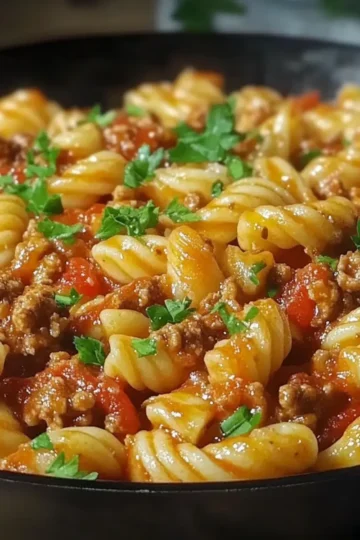
Deliciously Easy Minced Beef Trottole Pasta for Cozy Nights
-
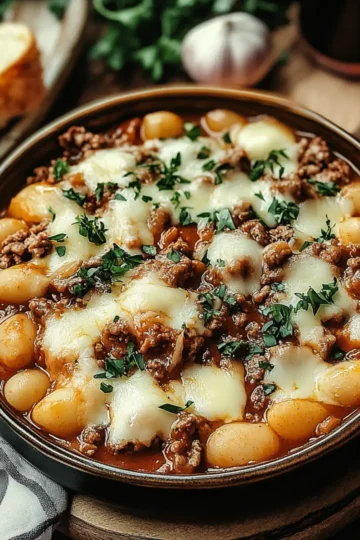
Indulge in Comfort: Creamy Beef and Shells Delight
-
Spice Up Dinner with Irresistible Chilli Garlic Fried Rice
-
Irresistibly Flavorful Million Dollar Soup You'll Love
-
Savor Every Bite: Homemade Southwest Steak Bowl Bliss