Main Dishes
-
Blueberry Thyme Chicken: A Sweet and Savory Dinner Delight
-
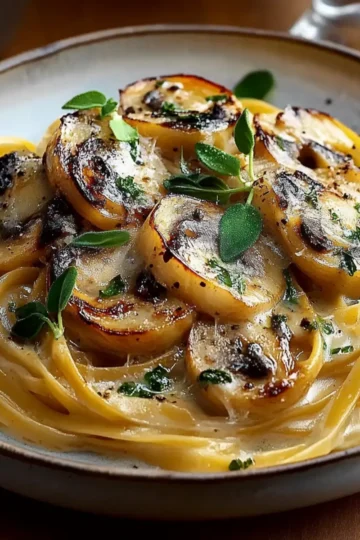
Comforting Caramelized Leek and Mushroom Gruyere Pasta Delight
-
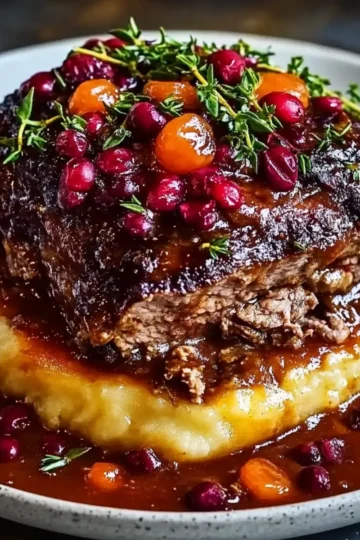
Savory Slow-Braised Beef Roast with Tangy Cranberry Glaze
-
Sweet Potato Goat Cheese Sage Pasta for Cozy Nights
-
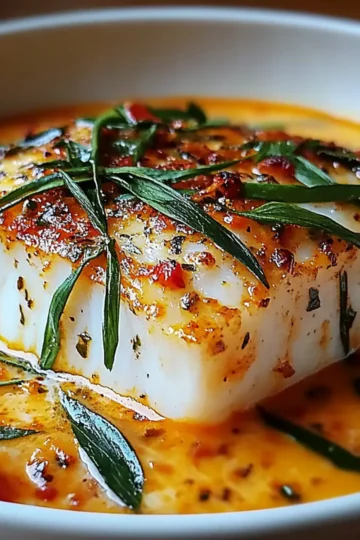
Savor the Comfort of Cod in Roasted Red Pepper Sauce
-
Savory Chicken Apple Sausage One Pan Pasta in 30 Minutes
-
Hearty Irish Stew With Mashed Potatoes for Cozy Nights
-
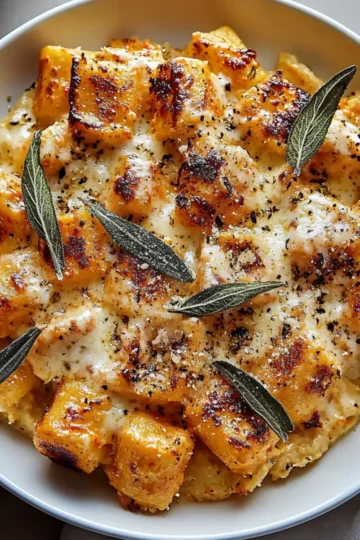
Creamy Pumpkin Risotto with Bacon & Parmesan Bliss
-
Comforting Italian Penicillin Soup That Heals the Soul
-
Creamy Crock Pot Crack Potato Soup for Cozy Nights
-
Carne Guisada: Comforting Beef Stew Bursting with Flavor
-
Delicious Caramelized Onion Butternut Squash Tart Recipe
-
Irresistibly Spicy Hatch Chile Enchiladas That Wow Your Taste buds
-
Savory Turkey Meatballs in Creamy Pumpkin Sage Sauce
-
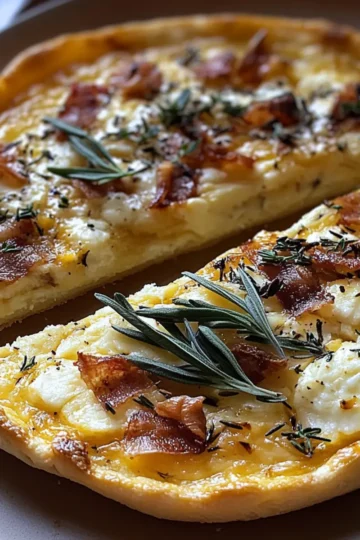
Delicious Pumpkin Ricotta & Caramelized Onion Tart Recipe
-
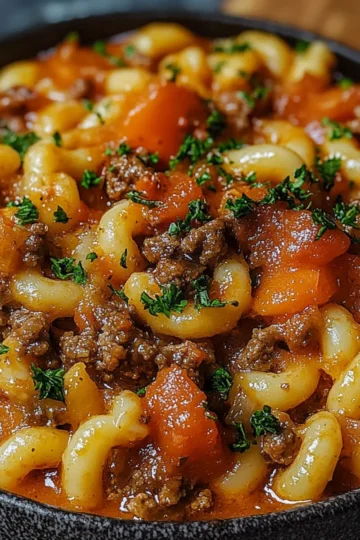
Goulash That Warms the Soul: Comfort Food in 30 Minutes
-
Deliciously Easy Mini Baked Chicken Tacos Your Family Will Love
-
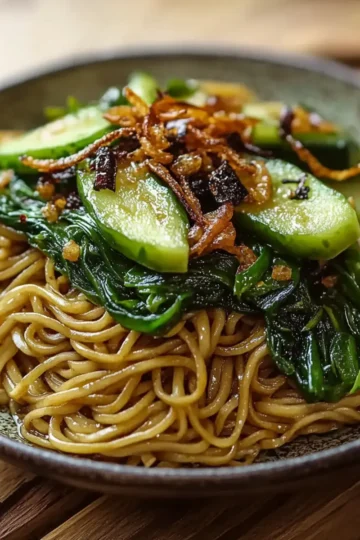
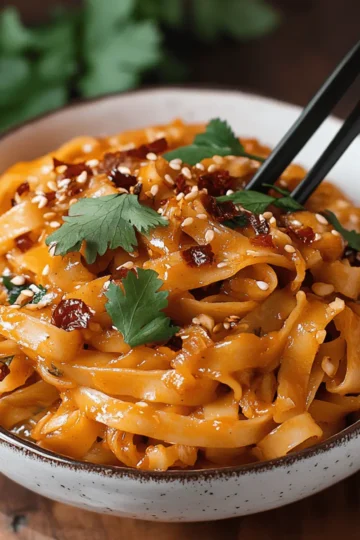
Delicious Scallion Oil Noodles in Just 25 Minutes
-
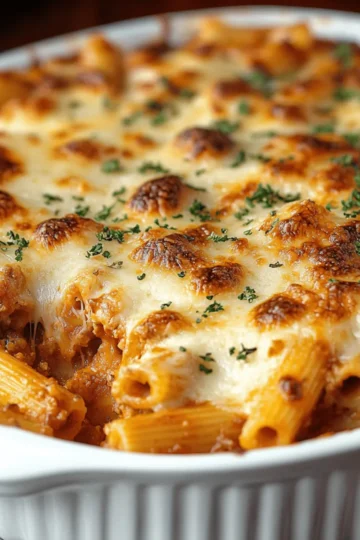
Delicious Stuffed Shells with Meat for Cozy Dinners
-
Hearty Caldo de Res: A Comforting Family Classic
-
Creamy Potato Soup That'll Warm Your Soul
-
Sancocho Dominicano: A Flavorful Journey to Comfort Food Heaven
-
Heavenly Rotisserie Chicken Pho That Will Warm Your Soul
-
Irresistibly Creamy Baked Mac and Cheese You’ll Crave!
-
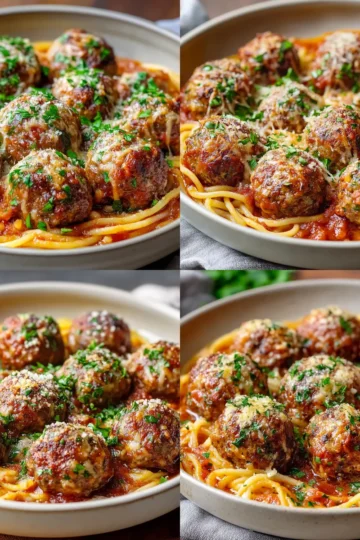
Savory Italian Meatballs that Bring Comfort Home
-
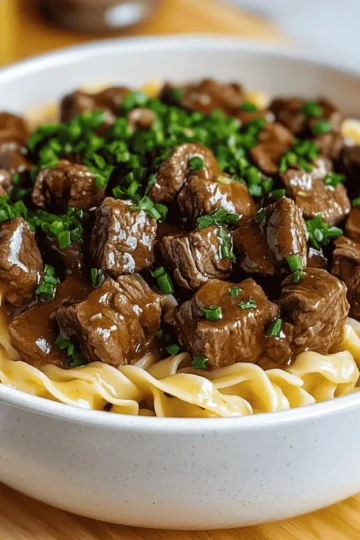
Savory Beef Tips and Noodles for Cozy Weeknight Dinners
-
Delicious Baked Teriyaki Salmon in Just 30 Minutes
-
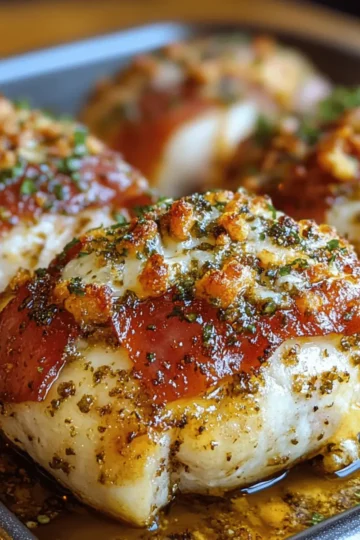
Savor the Flavor of Bacon-Wrapped Garlic Parmesan Chicken
-
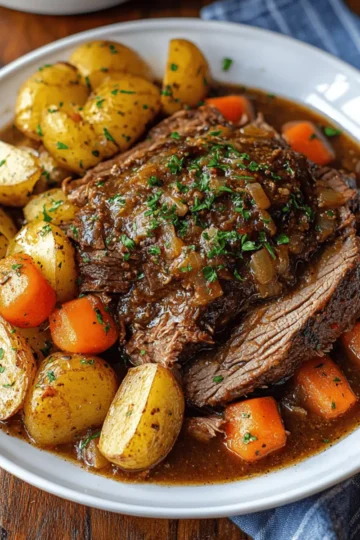
Savory Slow Cooker Pot Roast That Melts in Your Mouth
-
Irresistible Mini Pizzas in Just 20 Minutes for a Quick Treat
-
Cheesy Baked Rigatoni Pasta: Comforting Family Favorite
-
Delicious Peanut Noodles: A Quick, Satisfying Meal Upgrade
-
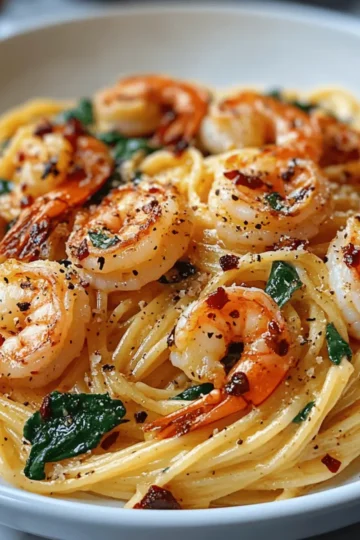
Delicious Tuscan Shrimp Pasta in Just 30 Minutes
-
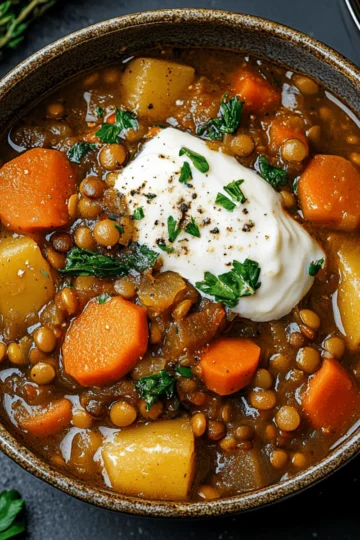
One-Pot Vegetable & Lentil Stew: A Cozy Comfort Meal
-
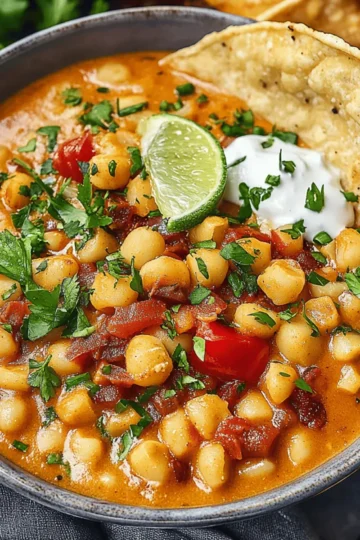
Luscious White Chickpea Chili for Cozy Nights In
-
Crispy Buttermilk Chicken Fried Steak: Comfort on Your Plate
-
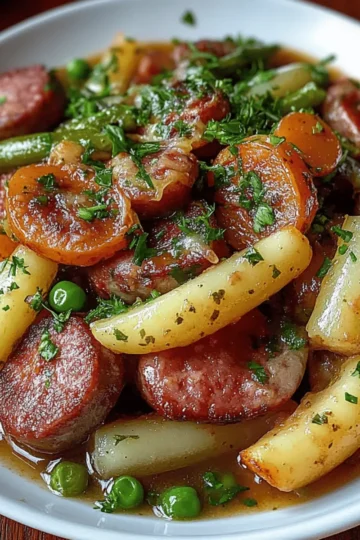
Crockpot Kielbasa and Green Beans: Comfort in Every Bite
-
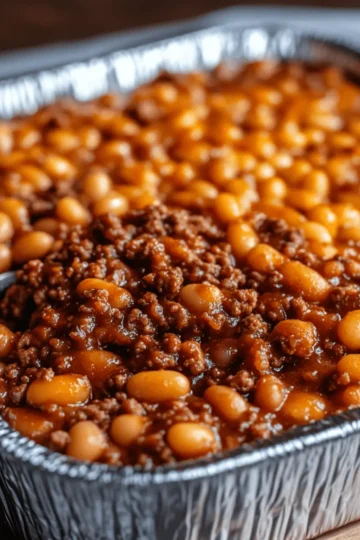
Delicious Baked Beans & Ground Beef Casserole for Comfort Cravings
-
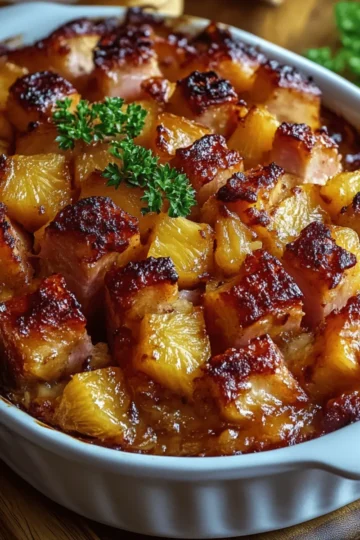
Savory Brown Sugar Pineapple Ham Bake for a Cozy Dinner
-
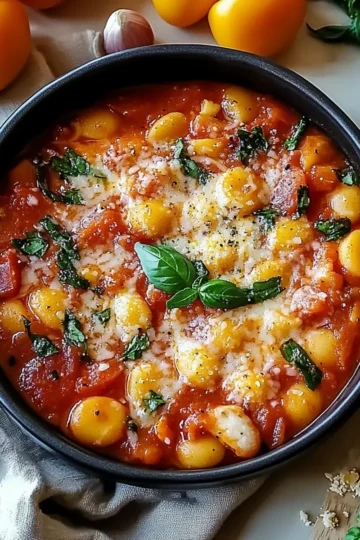
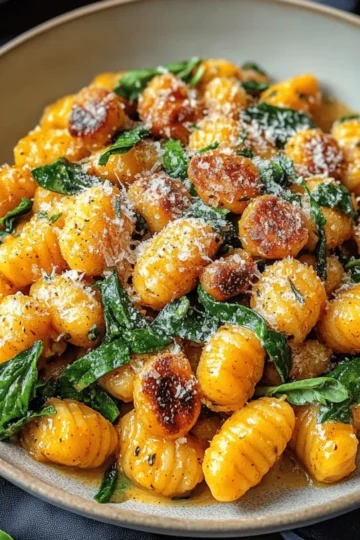
Creamy Pumpkin Gnocchi: A Cozy Fall Favorite You'll Love
-
Savor the Comfort of Hearty Chicken and Vegetable Stew
-
Lentil and Rice Stuffed Cabbage Rolls: Comfort in Every Bite