Main Dishes
-
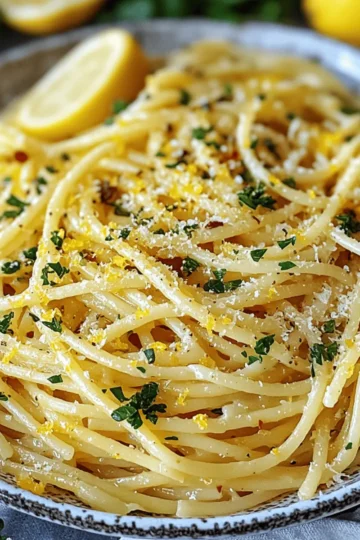
Zesty Italian Lemon Garlic Pasta Ready in 30 Minutes
-
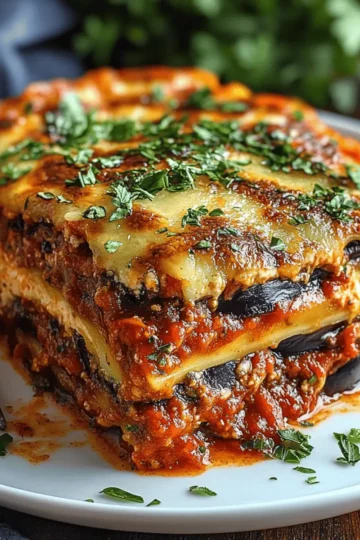
Savory Vegetarian Eggplant Lasagna to Delight Your Taste Buds
-
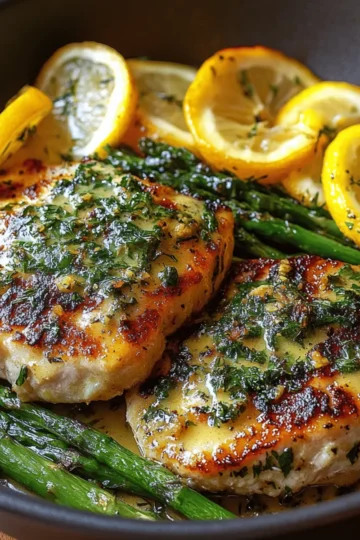
Lemon and Dill Butter Garlic Bliss for Chicken Lovers
-
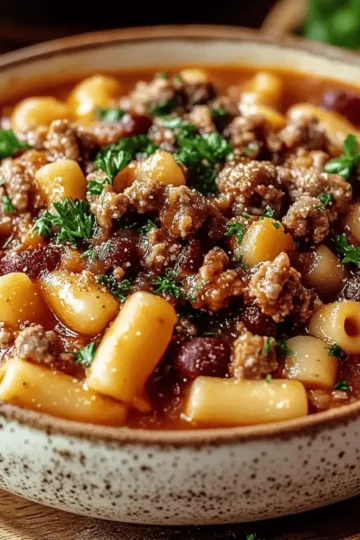
Ultimate Comfort: Crockpot Lasagna Soup You'll Love
-
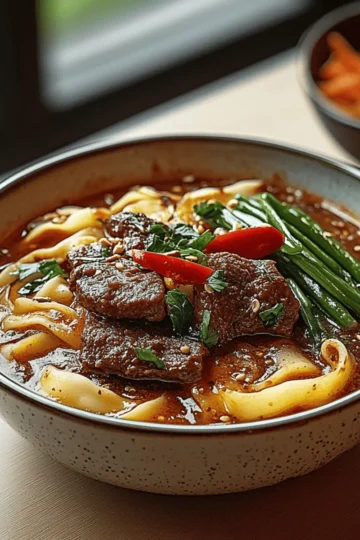
Savory Slow Cooker Beef Ramen Noodles to Savor All Day
-
Savory Lamb Shank with Rosemary: Comfort Food Bliss
-
Zesty Lemon Herb Chicken and Rice for Cozy Family Dinners
-
Cheesy Ranch Potatoes and Smoked Beef Sausage Delight
-
Garlic Butter Beef Bites That Melt in Your Mouth
-
Delicious Spinach Lasagna Roll-ups for Cozy Family Dinners
-
Savory Slow Cooker Chicken Burrito Bowls for Easy Meals
-
Crispy Baked Chicken Tenders That Melt in Your Mouth
-
Crispy Honey Garlic Glazed Salmon That's Simply Irresistible
-
Irresistible Cheesy Cajun Garlic Chicken Rotini Skillet
-
Delicious Chicken Bowl with Black Beans, Corn, & Creamy Sauce
-
Elevate Your Feast with Garlic Thanksgiving Turkey Magic
-
Melt-in-Your-Mouth Cheesy Chicken and Rice Casserole
-
Savory Garlic Parmesan Cheeseburger Bombs Your Family Will Love
-
Savory General Tso’s Chicken Made Easy at Home
-
Delicious Honey Sesame Chicken Made Easy at Home
-
Irresistible Teriyaki Chicken Rice Bowl You Can Make Tonight
-
Delicious Caribbean Vegetable Curry for Cozy Nights
-
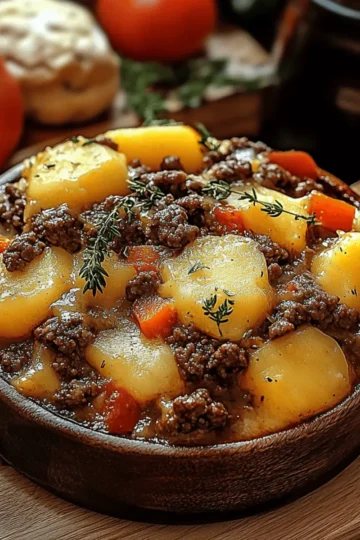
Comforting Hamburger Potato Casserole That Heals the Soul
-
Savory Olive Garden Pasta That Beats Fast Food Any Day
-
Spooktacular Jack-O-Lantern Halloween Pizza for Family Fun
-
Heavenly Cod and Potatoes in Creamy Rosemary Sauce
-
Delicious Mississippi Chicken: Slow Cooker Comfort Food Bliss
-
Easy Crockpot BBQ Chicken for a Perfect Family Dinner
-
Mouthwatering Crock-Pot Shredded Beef Tacos You’ll Love
-
Monster Face Pizza: Fun Family Dinner with a Creative Twist
-
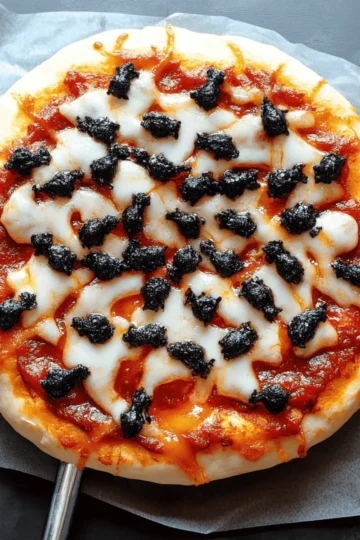
Delicious Spider Web Pizza for a Spooky Treat at Home
-
Melty Spaghetti Brain Bake: Comfort Food with a Twist
-
Spaghetti Brain Bake: A Fun, Cheesy Twist for Dinner
-
Zombie Guts Stuffed Shells That Don't Scare Your Taste Buds
-
Maple Dijon Chicken & Roasted Sweet Potato Bowls Bliss
-
Irresistibly Tender Apple Cider Glazed Chicken Recipe
-
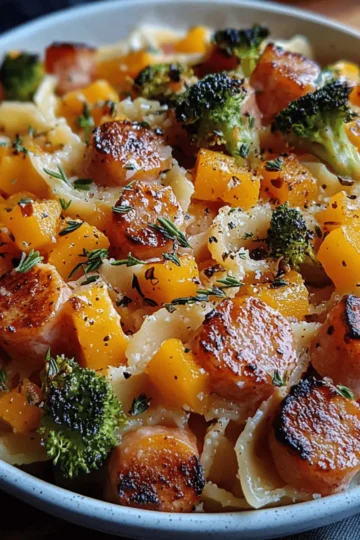
Savor the Season with Autumn Sausage Pasta Squash Delight
-
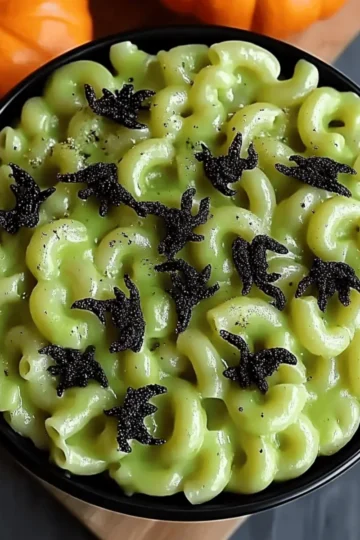
Spooky Halloween Monster Mac and Cheese for a Frightful Feast
-
Savory Satay Beef Noodle Soup to Wow Your Taste Buds
-
Savory Autumn Chicken Dinner with Sweet Potatoes and Apples
-
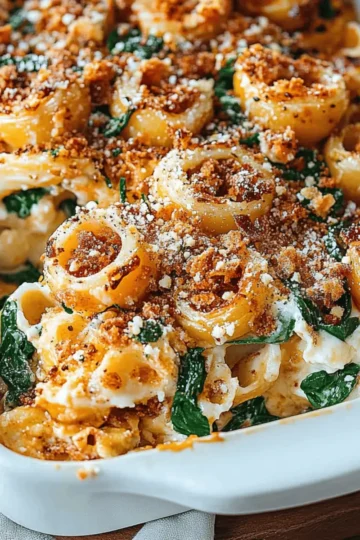
Creamy Pumpkin Feta Pasta: A Cozy Fall Delight
-
Delicious Ground Turkey Zucchini Casserole for Cozy Nights