salad
-
Elevate Your Eats with High Protein Power Bowl Ideas
-
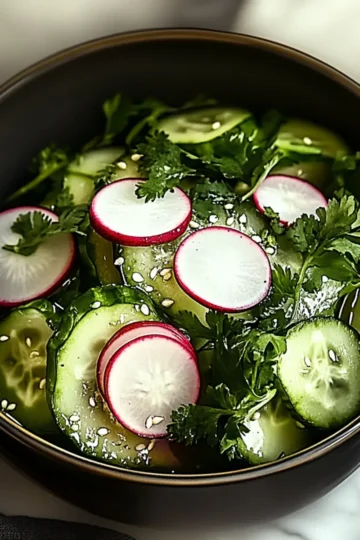
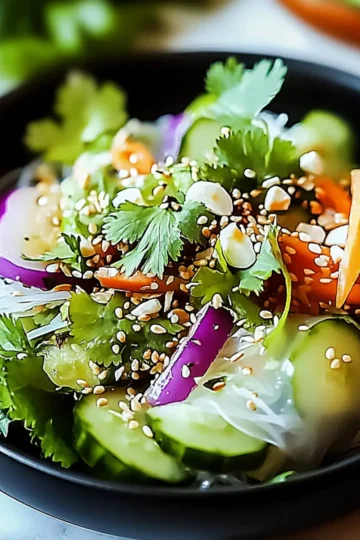
Fresh and Crispy Korean Cucumber Salad to Brighten Your Day
-
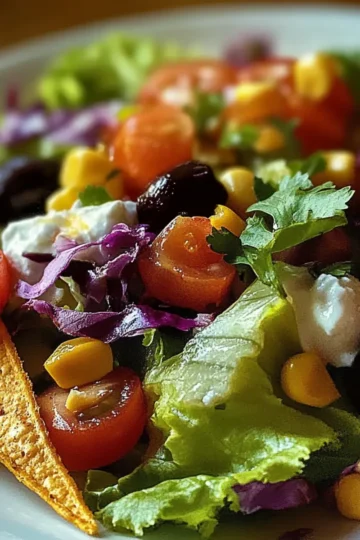
Zesty Spicy Southwest Salad That Will Wow Your Taste Buds
-
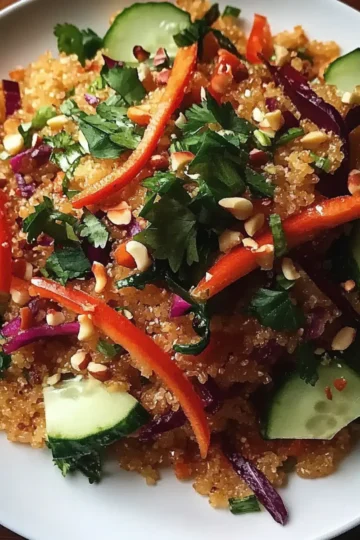
Thai Quinoa Crunch Salad That Bursts with Flavor and Freshness
-
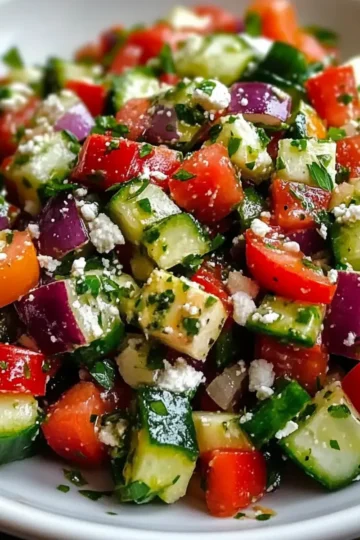
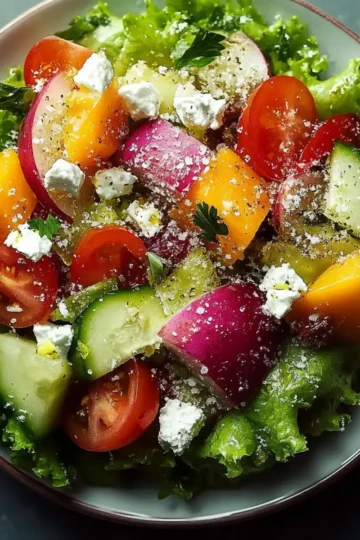
Zesty Mediterranean Chopped Salad for Fresh Flavor Cravings
-
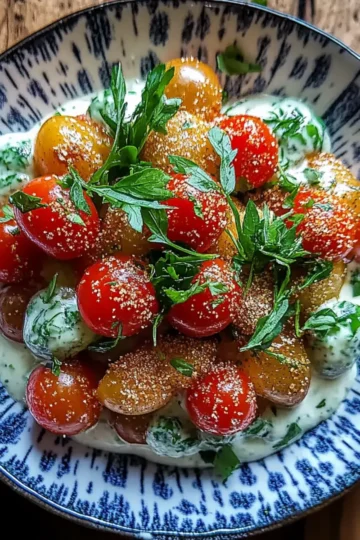
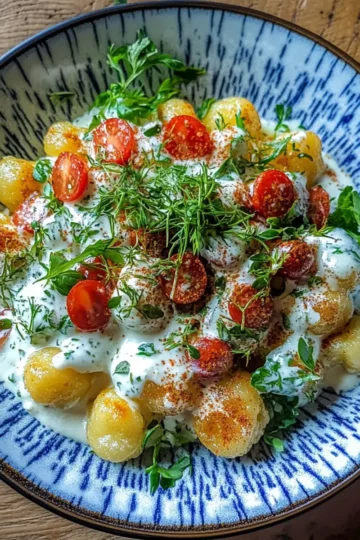
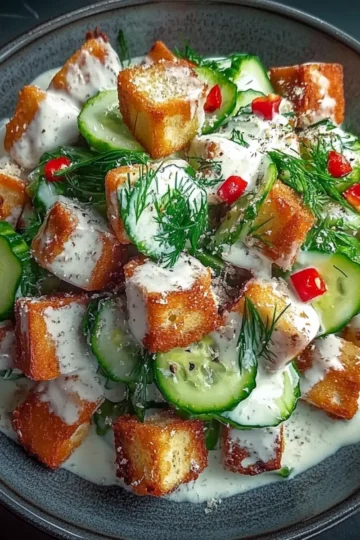
Crunchy Gnocchi Salad with Yogurt Dressing to Wow Your Tastebuds
-
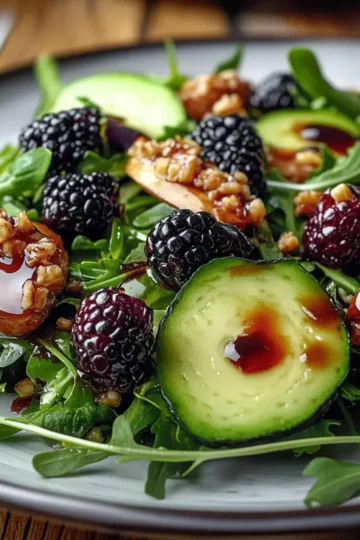
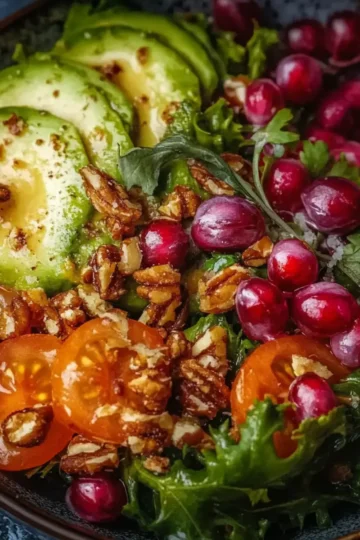
Fresh Blackberry Avocado Arugula Salad for a Flavor Boost
-
Crispy Gnocchi Salad with Creamy Yogurt Dressing Delight
-
Flavor-Packed Tuna Pasta Salad for Quick, Healthy Meals
-
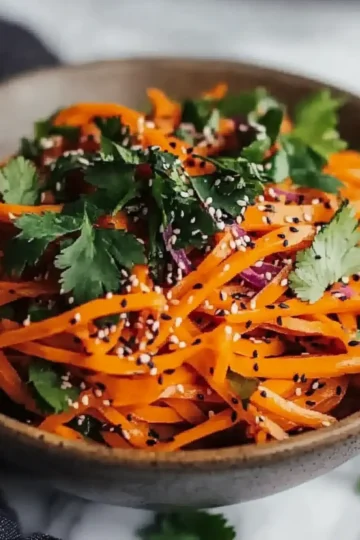
Crunchy Asian Raw Carrot Salad to Brighten Your Table
-
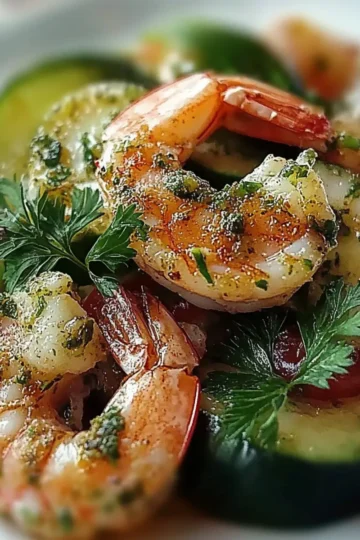
Zesty Fresh Cucumber Shrimp Salad for Refreshing Delight
-
Zesty Cape Cod Salad: Fresh Flavors for Any Occasion
-
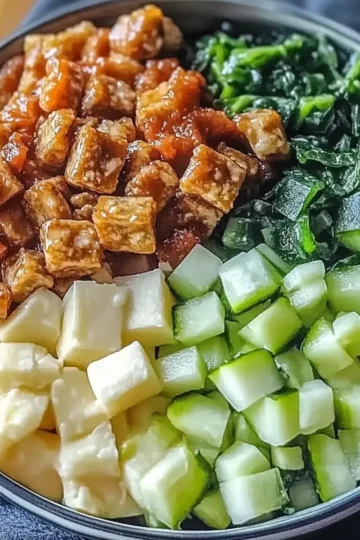
Delightful Creamy Asian Cucumber Salad with Crispy Tofu
-
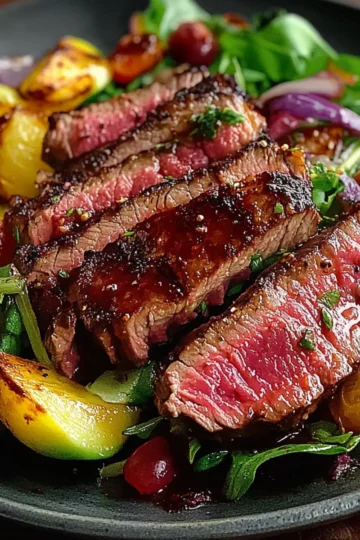
Savor the Flavor: Juicy Grilled Steak Salad Bliss
-
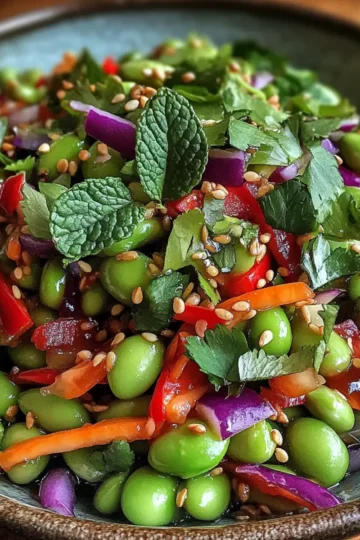
Brighten Your Day with Crunchy Asian Edamame Salad
-
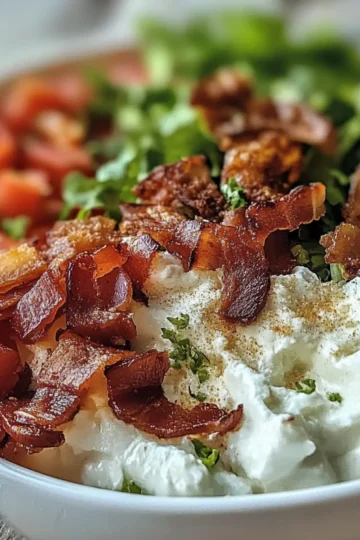
High Protein BLT Cottage Cheese Bowl for a Flavorful Twist
-
Heal Your Cravings with Spring Roll Salad & Spicy Ginger Dressing
-
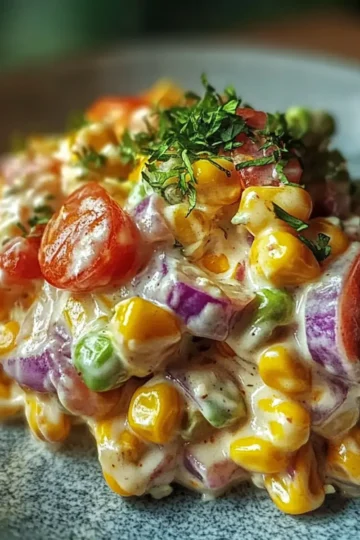
Shoepeg Corn Salad: A Refreshing Twist on Classic Flavor
-
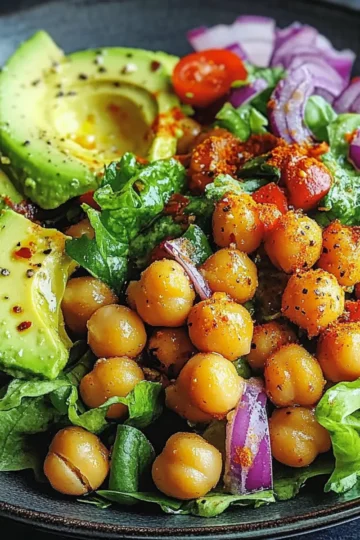
Divorce Salad with Spicy Chickpeas and Tangy Avocado Magic
-
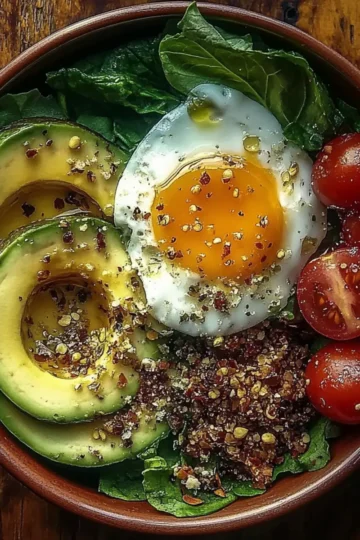
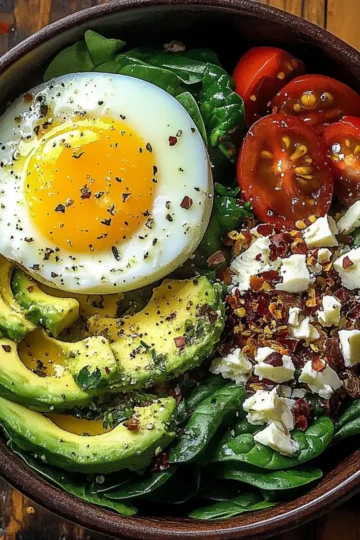
Power Salad Avocado Egg Spinach Fuel Bowl for Energizing Meals
-
Energizing Power Salad Avocado Egg Spinach Fuel Bowl Delight
-
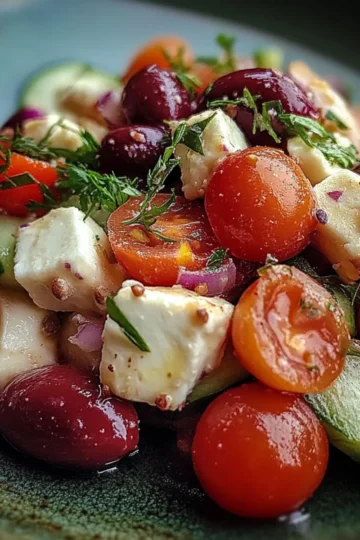
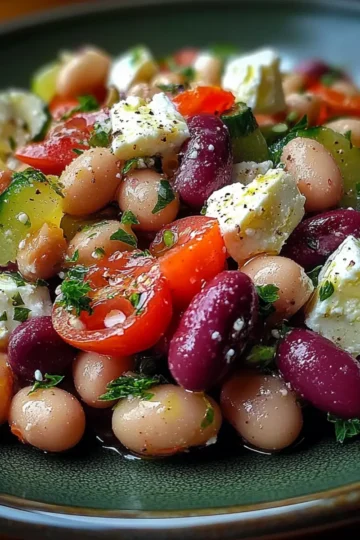
Mediterranean Bean Salad With Feta for a Fresh Flavor Burst
-
Vibrant Mediterranean Bean Salad With Feta for a Flavor Boost
-
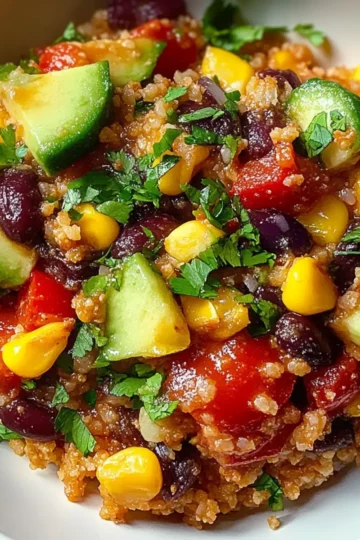
Savor the Flavor: Vibrant Tex Mex Quinoa Salad Recipe
-
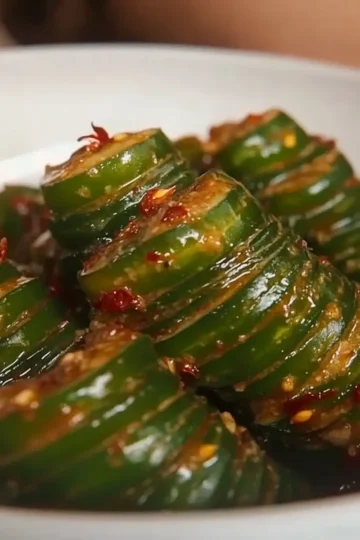
Zesty Spicy Spiral Cucumber Salad for a Fresh Kick
-
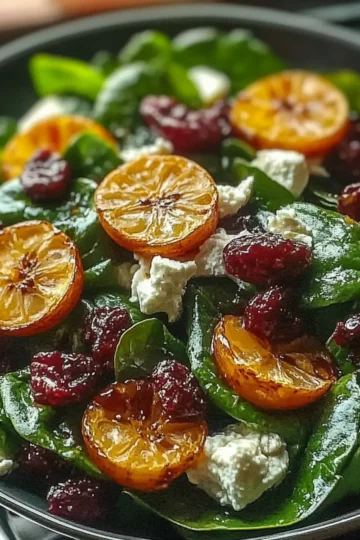
Deliciously Festive Christmas Cranberry Spinach Salad
-
Zesty Quinoa and Kale Salad with Avocado Dressing Bliss
-
Crunchy Raw Carrot Salad with Honey-Lemon Dressing Delight
-
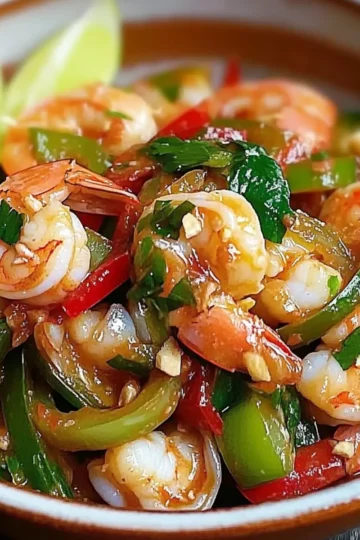
Zesty Spicy Thai Shrimp Salad That Will Wow Your Taste Buds
-
Festive Crunchy Christmas Salad: A Joyful Holiday Delight
-
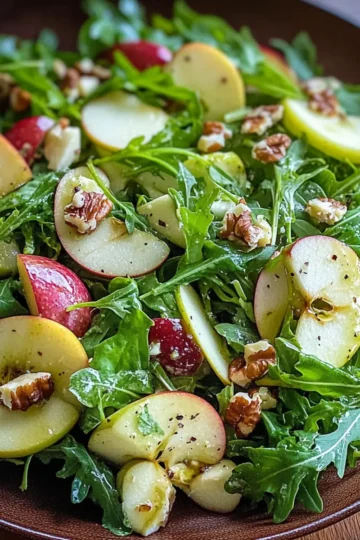
Crunchy Apple Arugula Salad: A Fresh Burst of Flavor
-
Revitalize Your Meals with Zesty Crunchy Divorce Salad
-
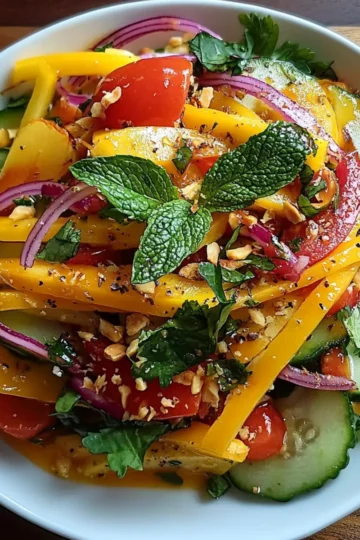
Zesty Thai Mango Salad For a Refreshing Taste Bud Adventure
-
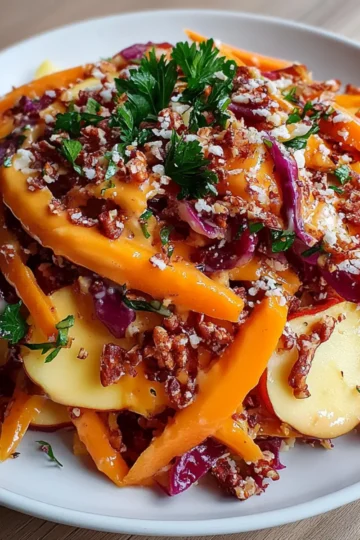
Crunchy Apple Carrot Salad with Creamy Citrus Dressing Delight
-
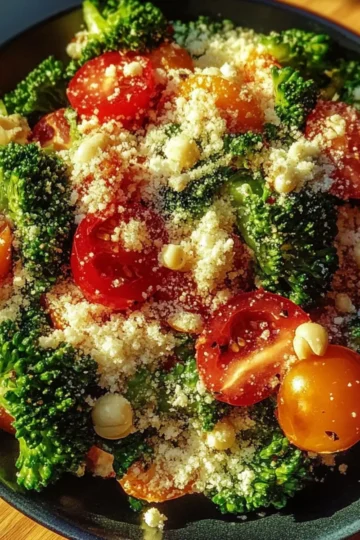
Broccoli Apple Crunch Salad: A Refreshing Twist for You
-
Winter Fruit Salad with Cinnamon Vanilla Dressing Bliss
-
Tropical Fruit Salad with Citrus Zest for a Refreshing Treat
-
Fresh and Crunchy Apple Cranberry Salad You’ll Love
-
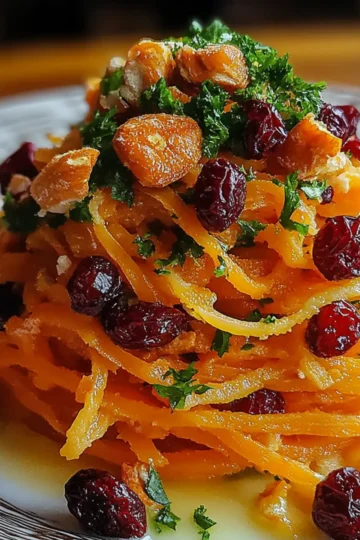
Heavenly Roasted Sweet Potato and Baby Kale Salad Delight
-
Harvest Honeycrisp Apple and Feta Salad for Fall Bliss
-
Glow Quinoa Bowls: Your Cozy Autumn Flavor Escape
-
Spooky Delights: Festive Halloween Salad That's a Treat!