salad
-
Broccoli Bacon Salad with Raisins and Cheddar Cheese Delight
-
Fresh and Vibrant Garden Salad to Brighten Your Day
-
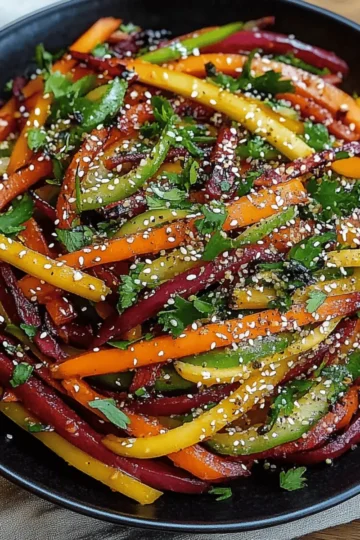
Bright and Crunchy Carrot Sesame Salad to Freshen Your Day
-
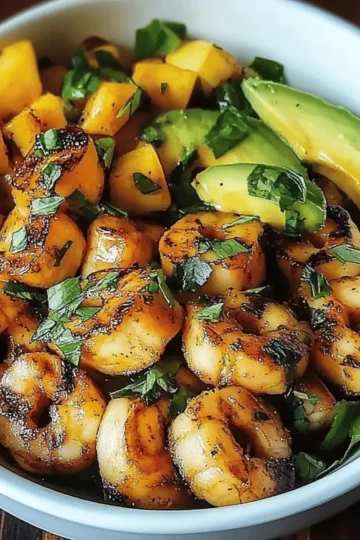
Savory Shrimp Avocado Mango Bowls for Fresh Flavor Bliss
-
Delicious Korean Spinach Salad: Traditional & Modern Twists
-
Refreshing Pineapple Cucumber Salad for Your Summer Table
-
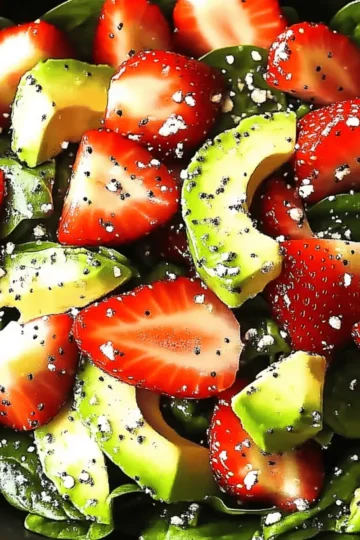
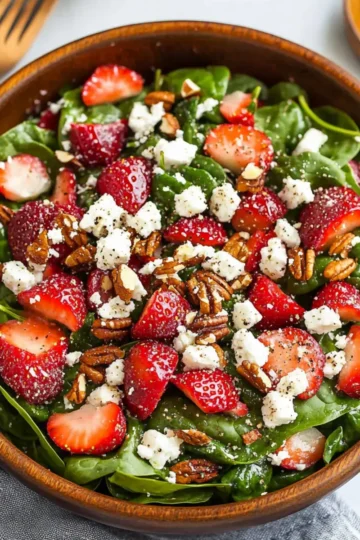
Delicious Strawberry Avocado Spinach Salad for a Fresh Boost
-
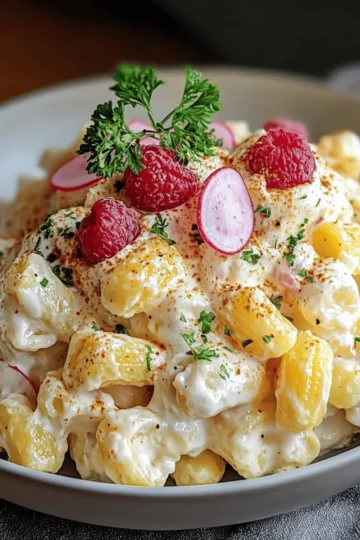
Creamy American Macaroni Salad That Everyone Will Love
-
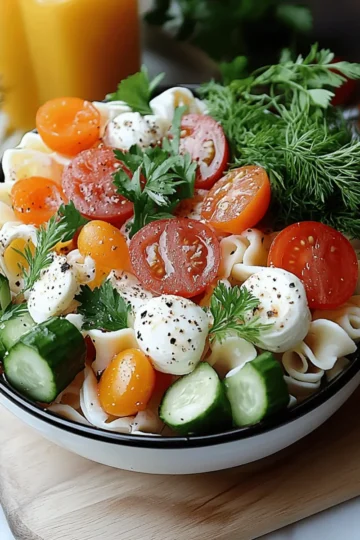
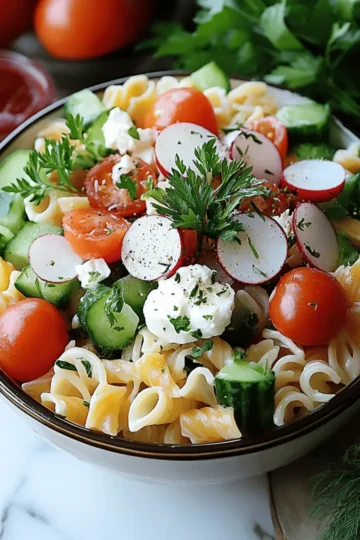
Delicious Layered Pasta Salad for Easy Summer Gatherings
-
Layered Pasta Salad: A Colorful Delight for Your Table
-
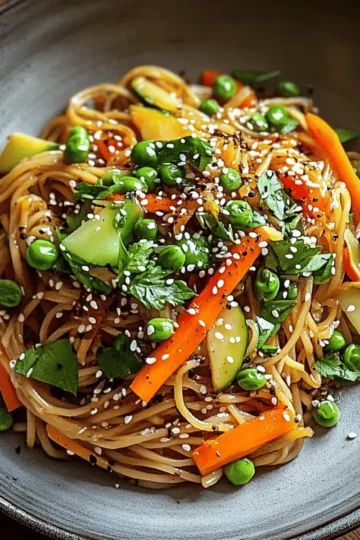
Savory Cold Teriyaki Noodles Salad for a Refreshing Bite
-
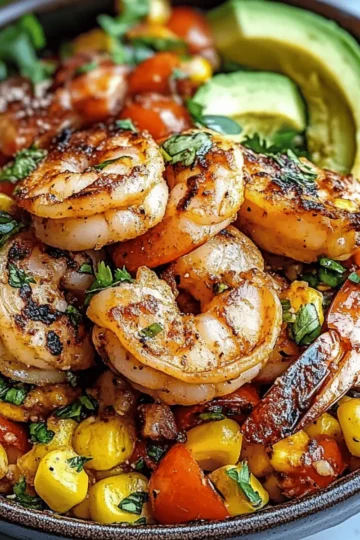
Zesty Avocado Corn Salad With Grilled Shrimp Delight
-
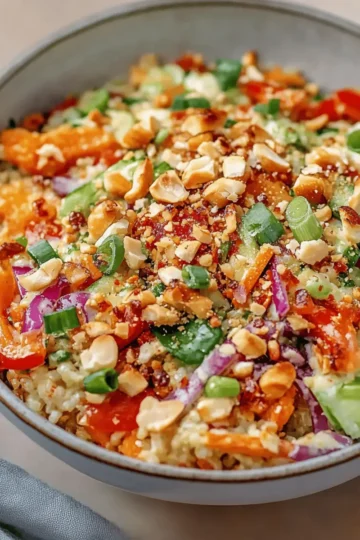
Crunchy Thai Peanut Salad that's Bursting with Flavor
-
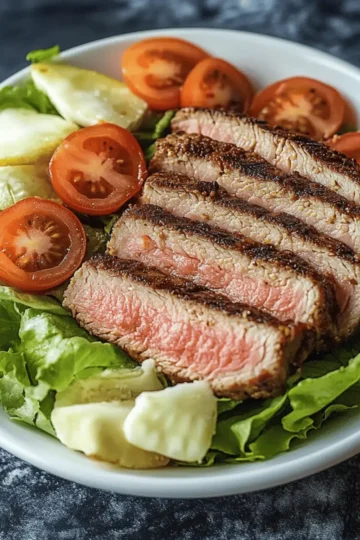
Delicious Thai Steak Salad with Fresh Herbs and Zesty Flavor
-
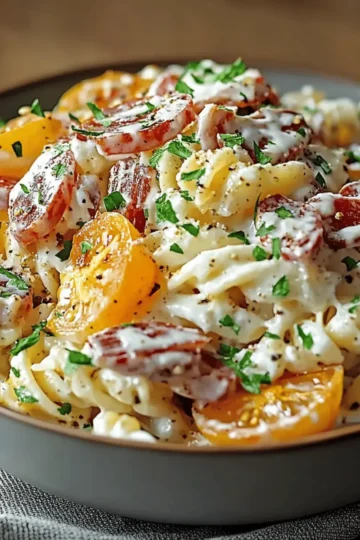
Creamy Bacon Ranch Pasta Salad: A Flavorful Crowd-Pleaser
-
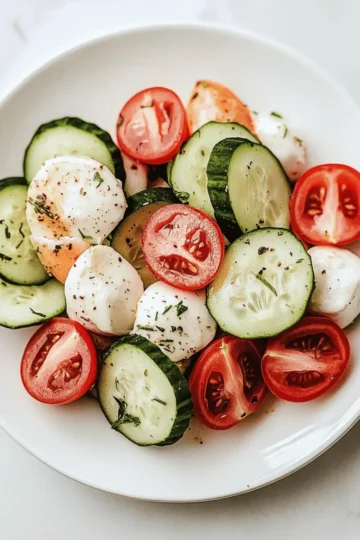
Delicious Fresh Cucumber Caprese Salad for Your Summer Feasts
-
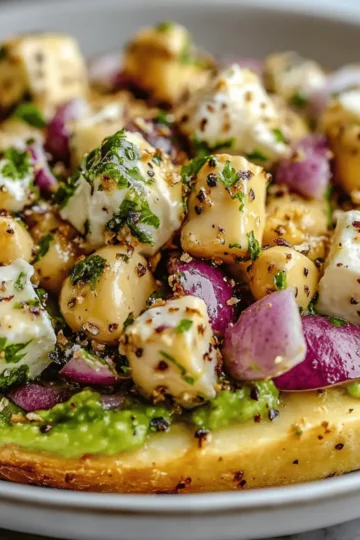
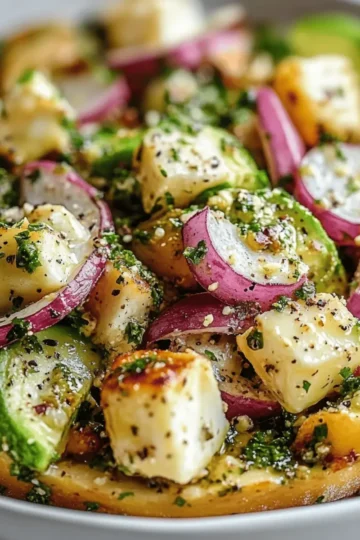
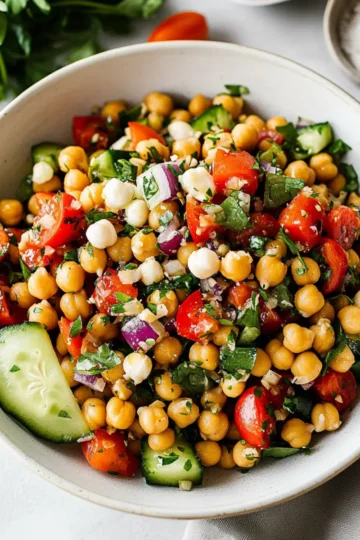
Chickpea Feta Avocado Salad: A Fresh and Zesty Delight
-
Chickpea Feta Avocado Salad: Fresh Flavor in Every Bite
-
Juicy Honey-Orange Chicken Salad for a Fresh Weeknight Meal
-
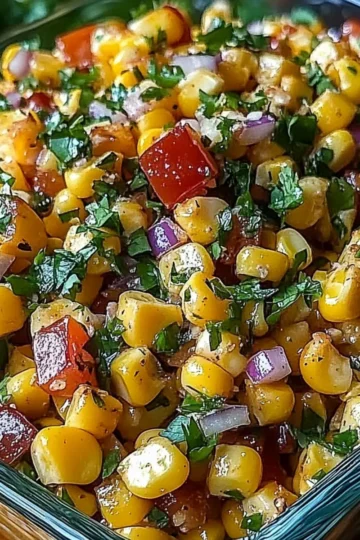
Zesty Grilled Corn Salad for the Best Summer Flavor Burst
-
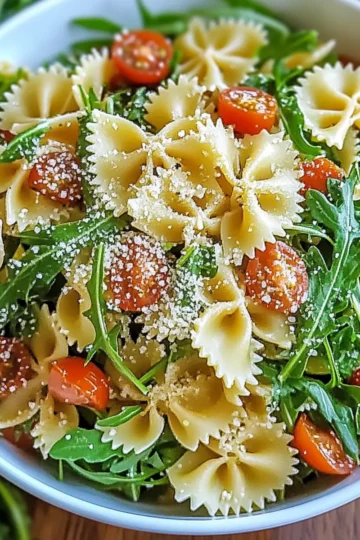
Zesty Lemon Arugula Pasta Salad for a Refreshing Twist
-
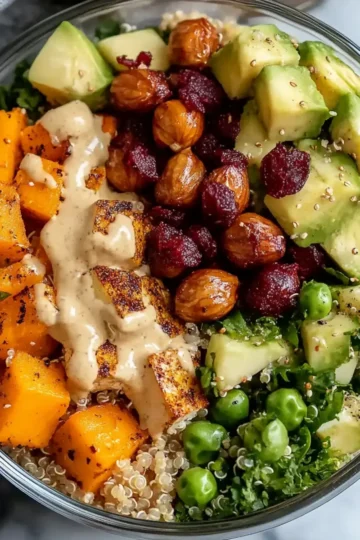
Delicious Harvest Grain Bowl with Maple Vinaigrette Bliss
-
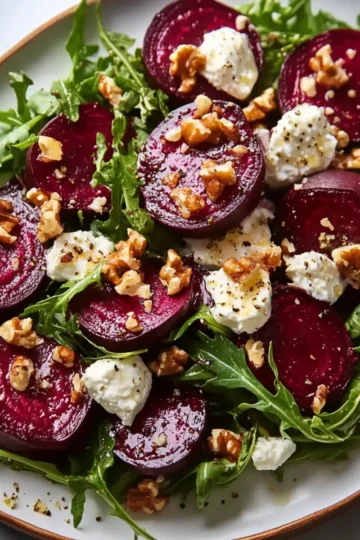
Easy Roasted Beet Arugula Salad Recipe for a Fresh Twist
-
Easy Harvest Quinoa Bowl with Creamy Tahini Dressing
-
Delicious Harvest Quinoa Bowl with Creamy Tahini Dressing
-
Creamy Southern Potato Salad for a Perfect Summer Side
-
Refreshingly Simple Mediterranean Chickpea Salad for Everyone
-
Refreshing Spinach Strawberry Salad That's Simply Irresistible
-
Refreshing Cucumber Sweet Pepper Salad: Quick and Easy Delight
-
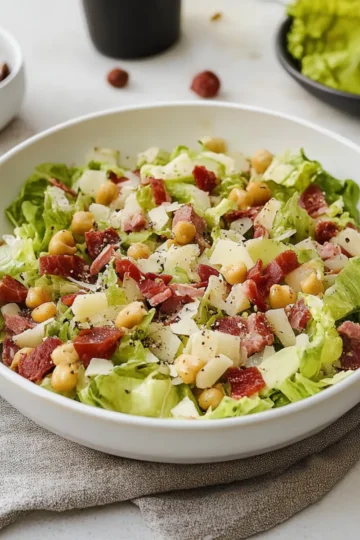
Famous La Scala Chopped Salad: The Best Homemade Twist
-
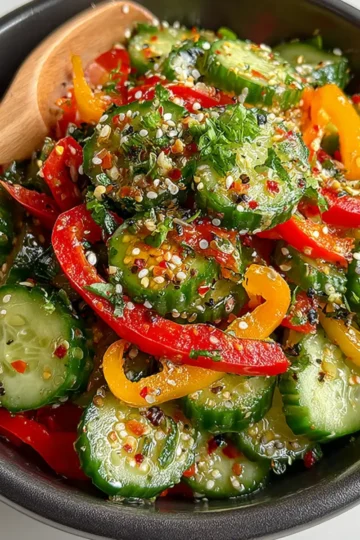
The Best Cucumber and Bell Pepper Salad You'll Crave This Summer
-
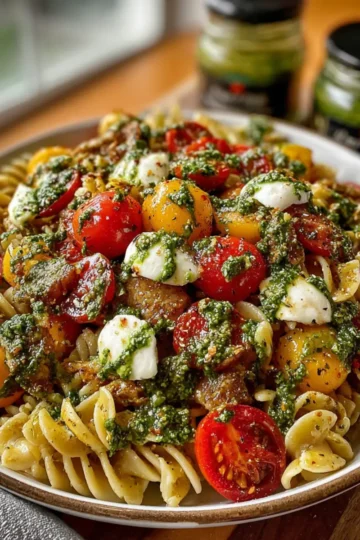
Easy Light Pesto Caprese Pasta Salad You'll Love for Summer!
-
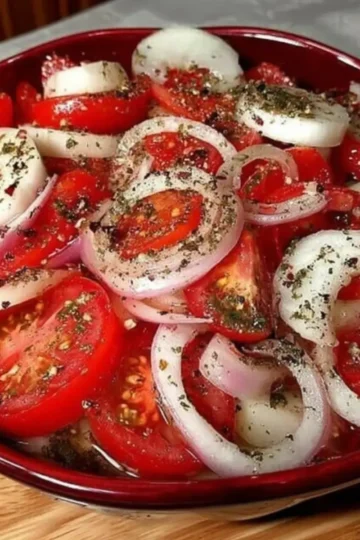
Zesty Marinated Cucumbers, Onions, and Tomatoes Delight
-
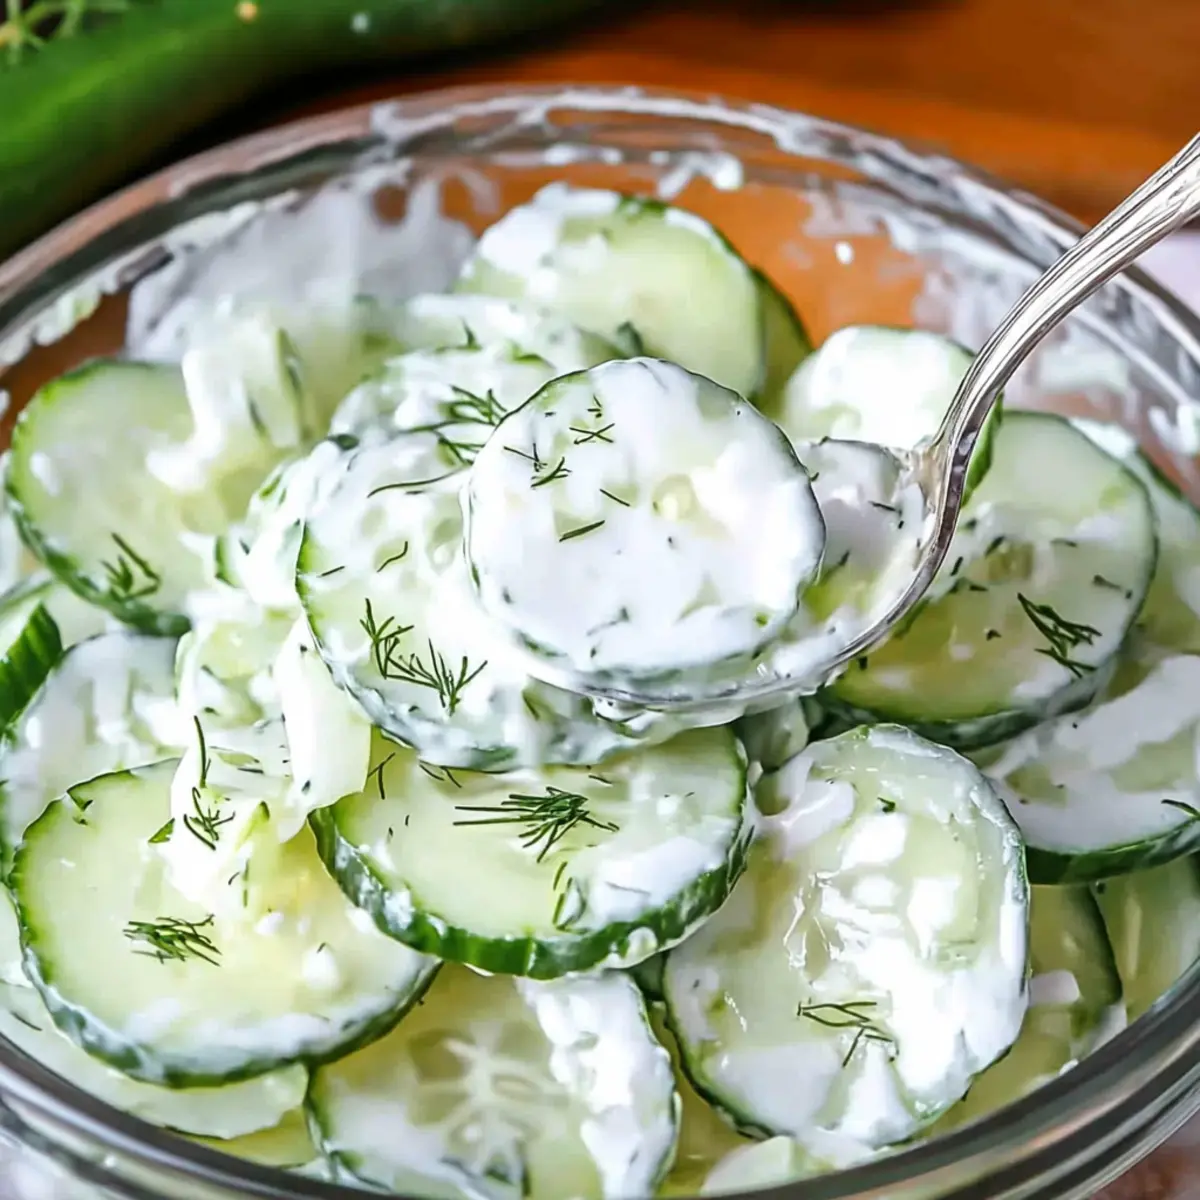
Irresistibly Easy Creamy Cucumber Salad for Hot Days
-
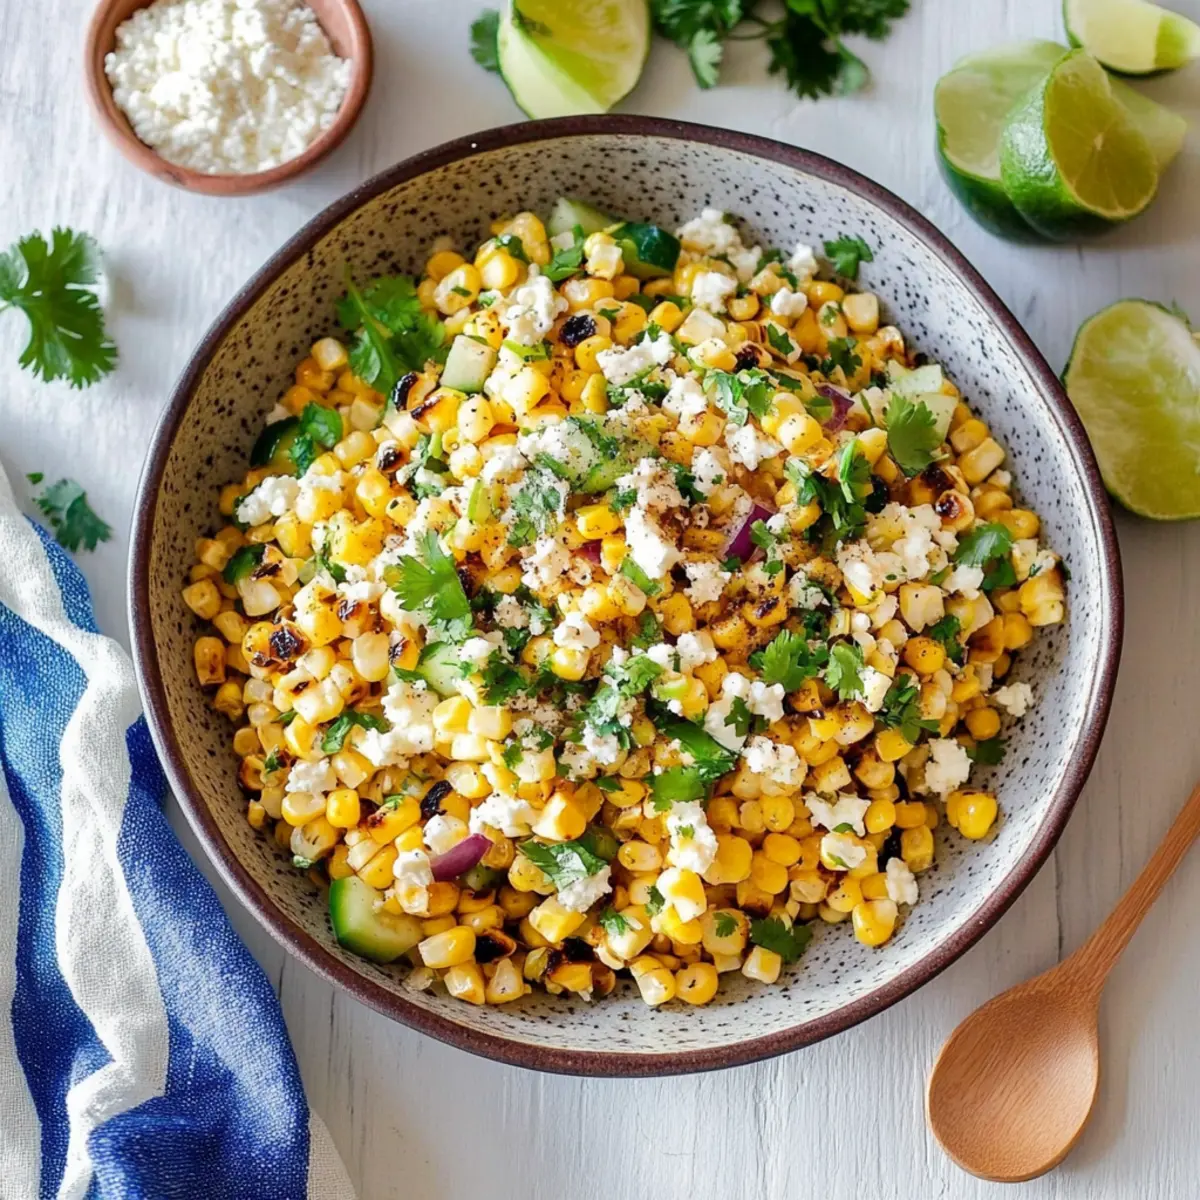
Easy and Zesty Mexican Street Corn Salad Perfect for Summer!
-
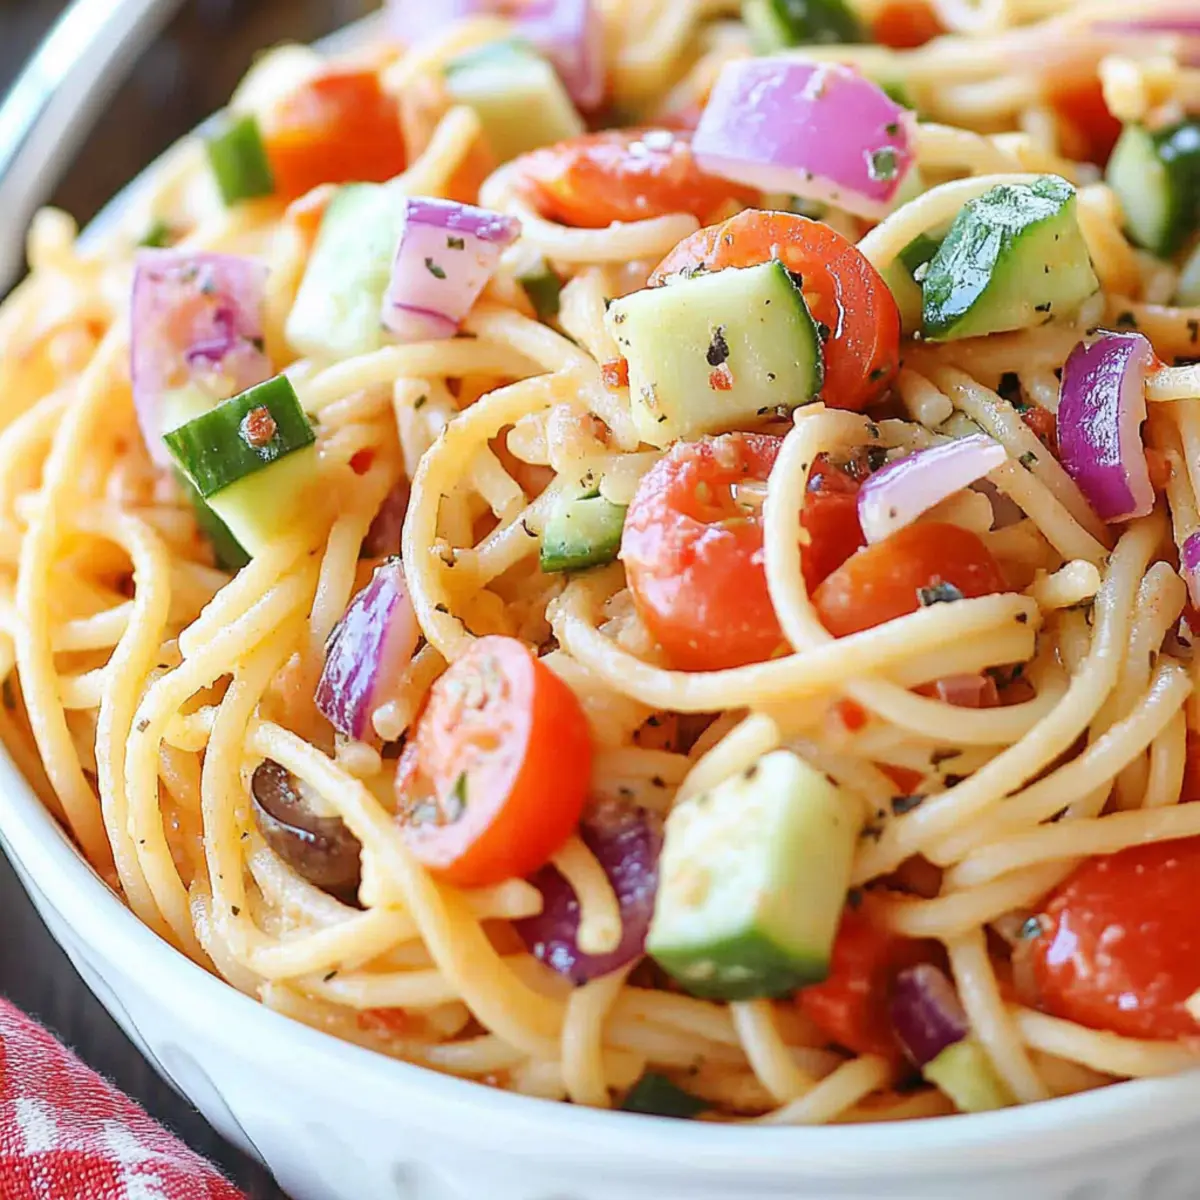
Irresistibly Fresh Spaghetti Salad for Perfect Summer Days
-
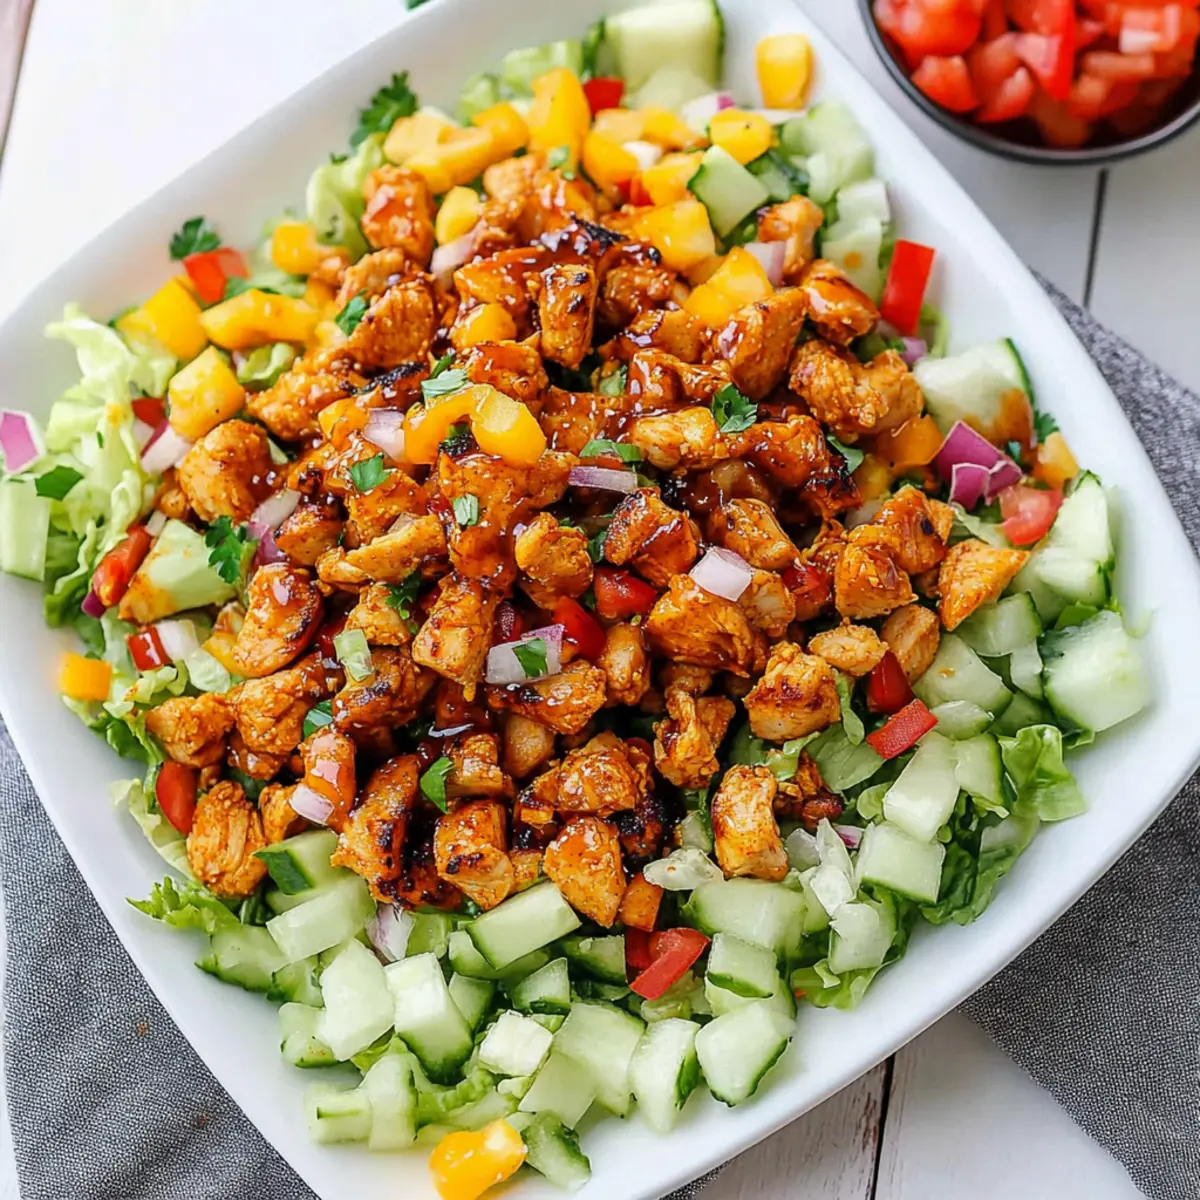
Irresistibly Spicy Honey Hot Chicken Salad for Lunch Cravings
-
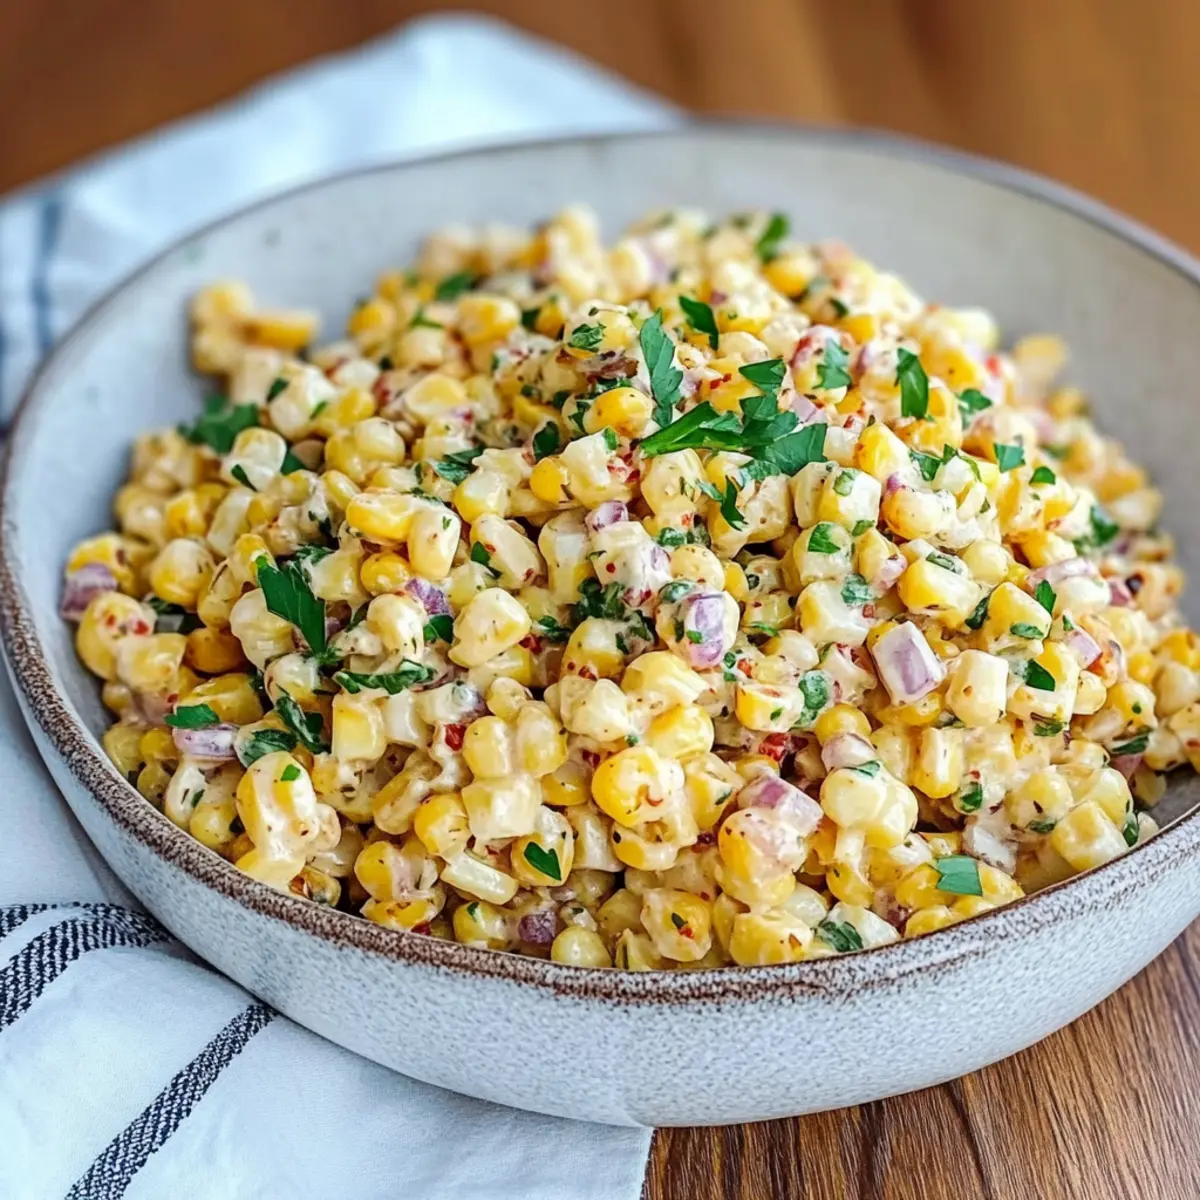
Irresistibly Creamy Crack Corn Salad Everyone Will Love
-
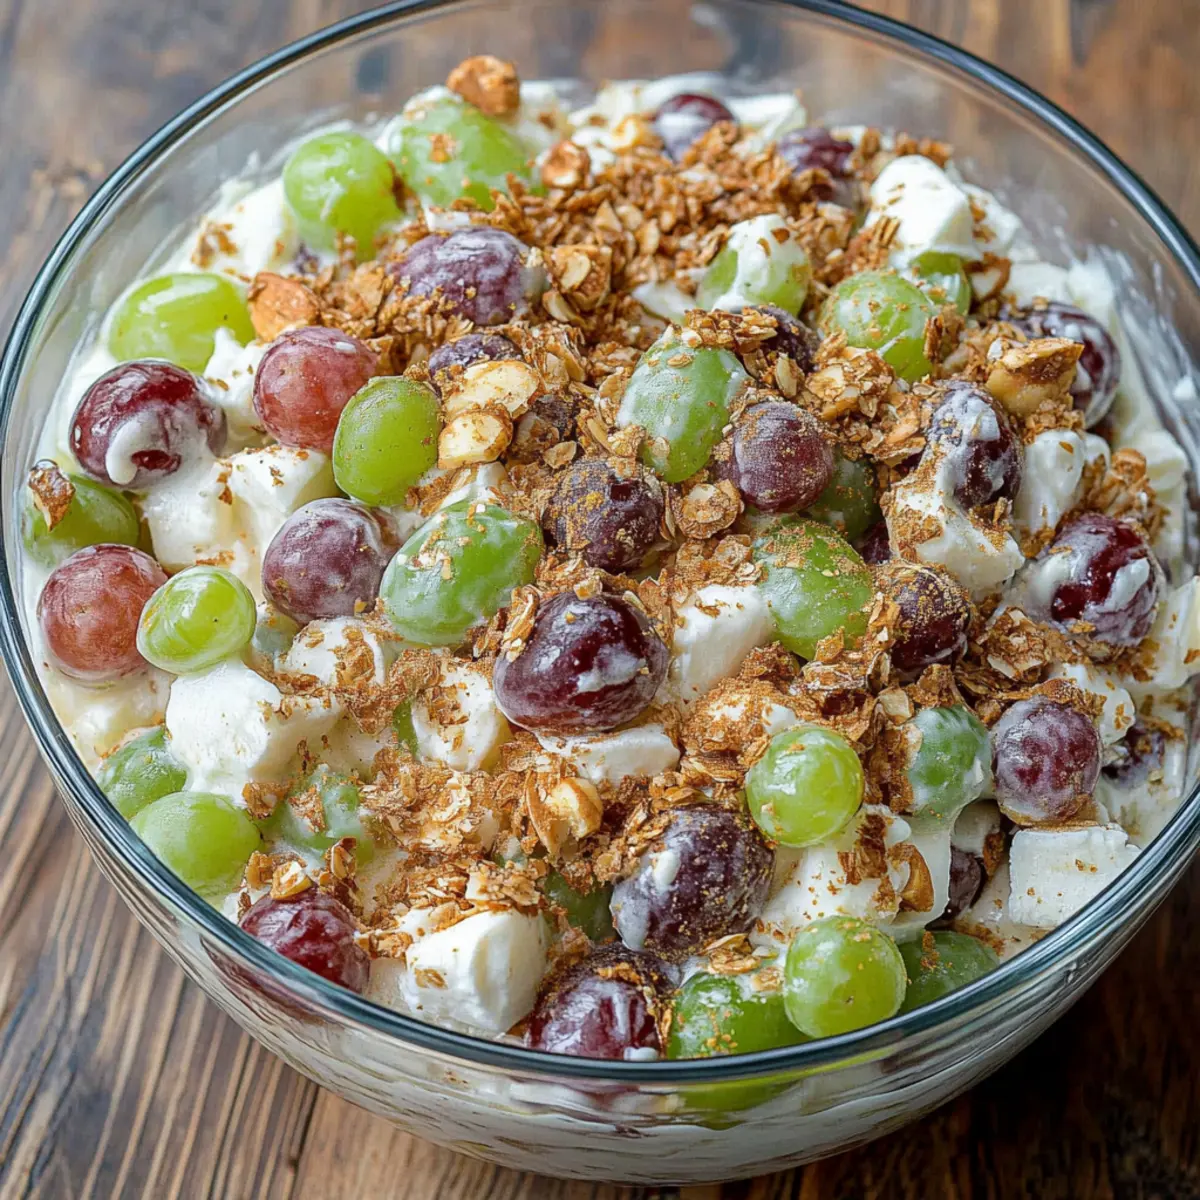
Creamy Grape Salad: The Best No-Cook Side Dish Delight
-
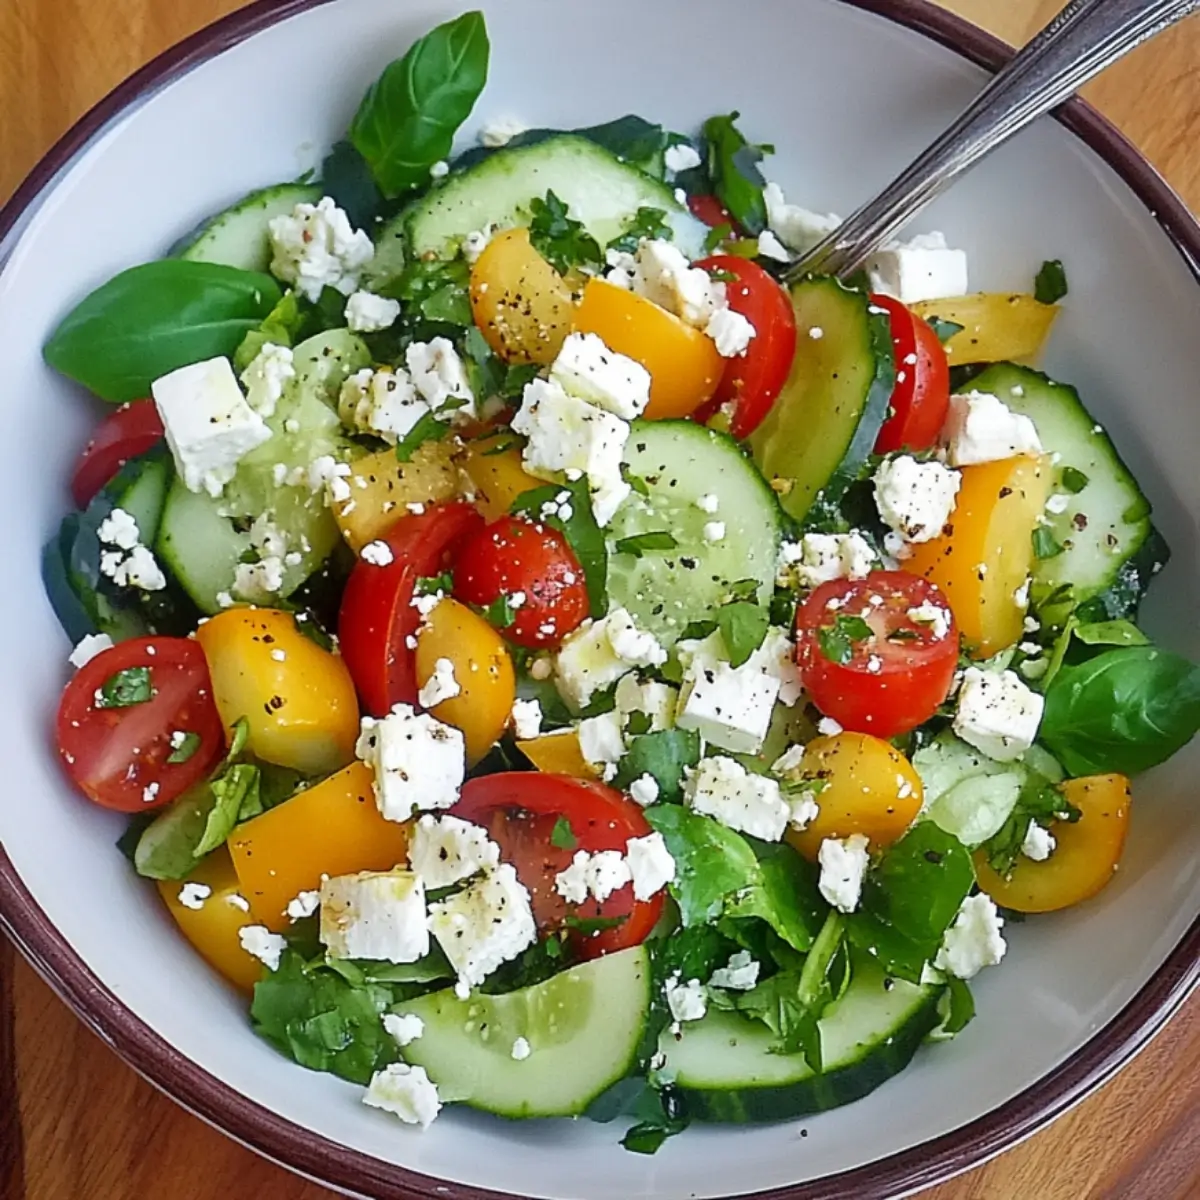
Absolutely Fabulous Greek Salad: A Refreshing Healthy Delight
-
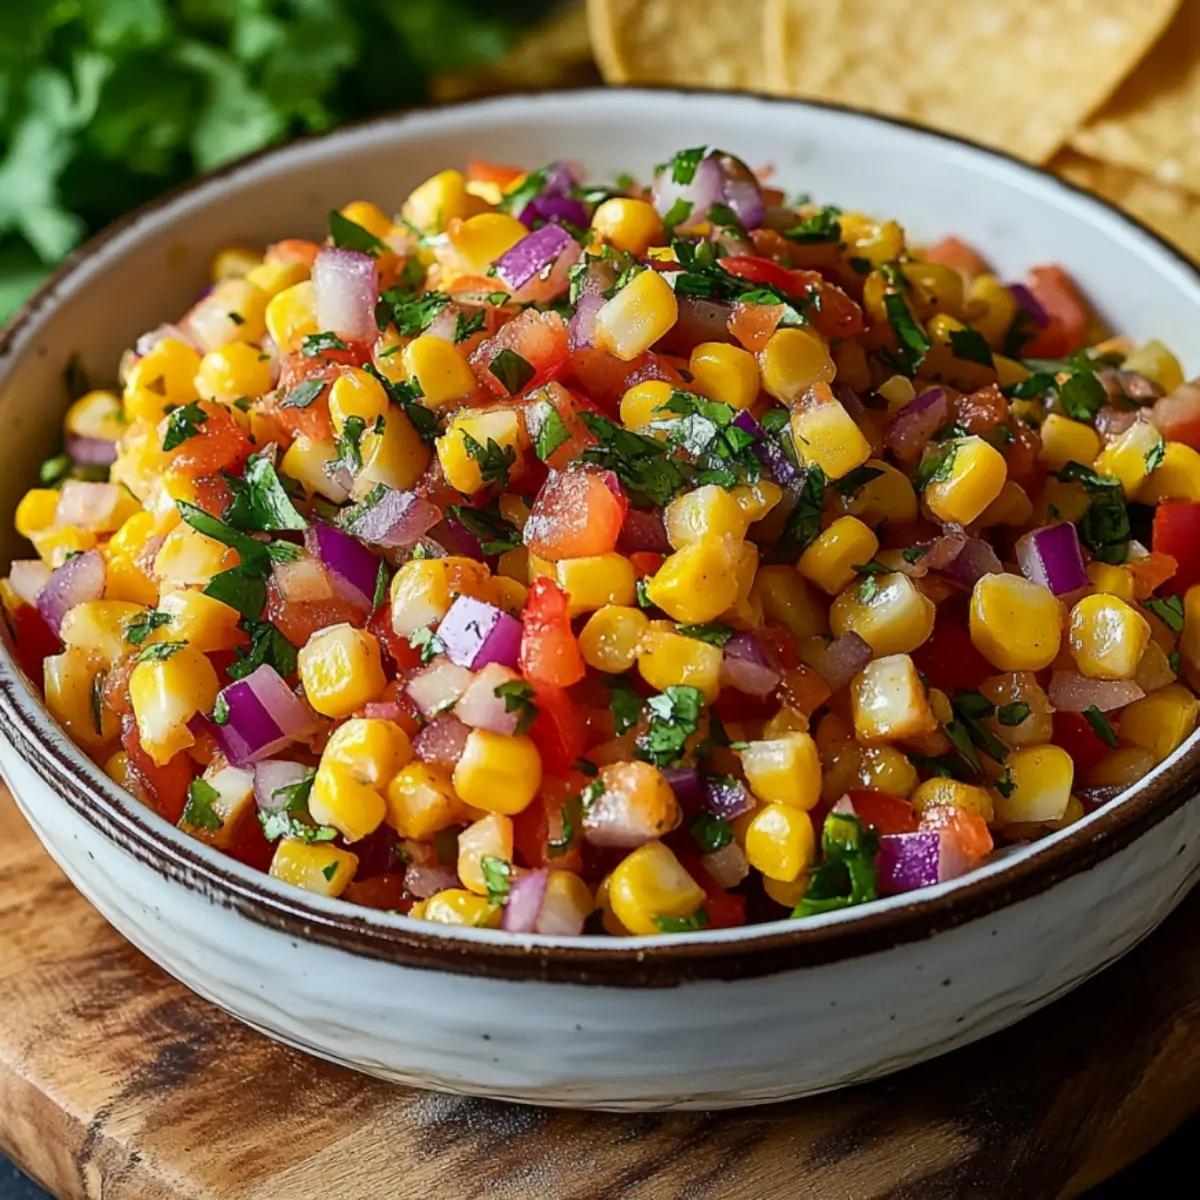
Easy Corn Salsa: A Fresh Twist for Flavorful Summer Dishes
-
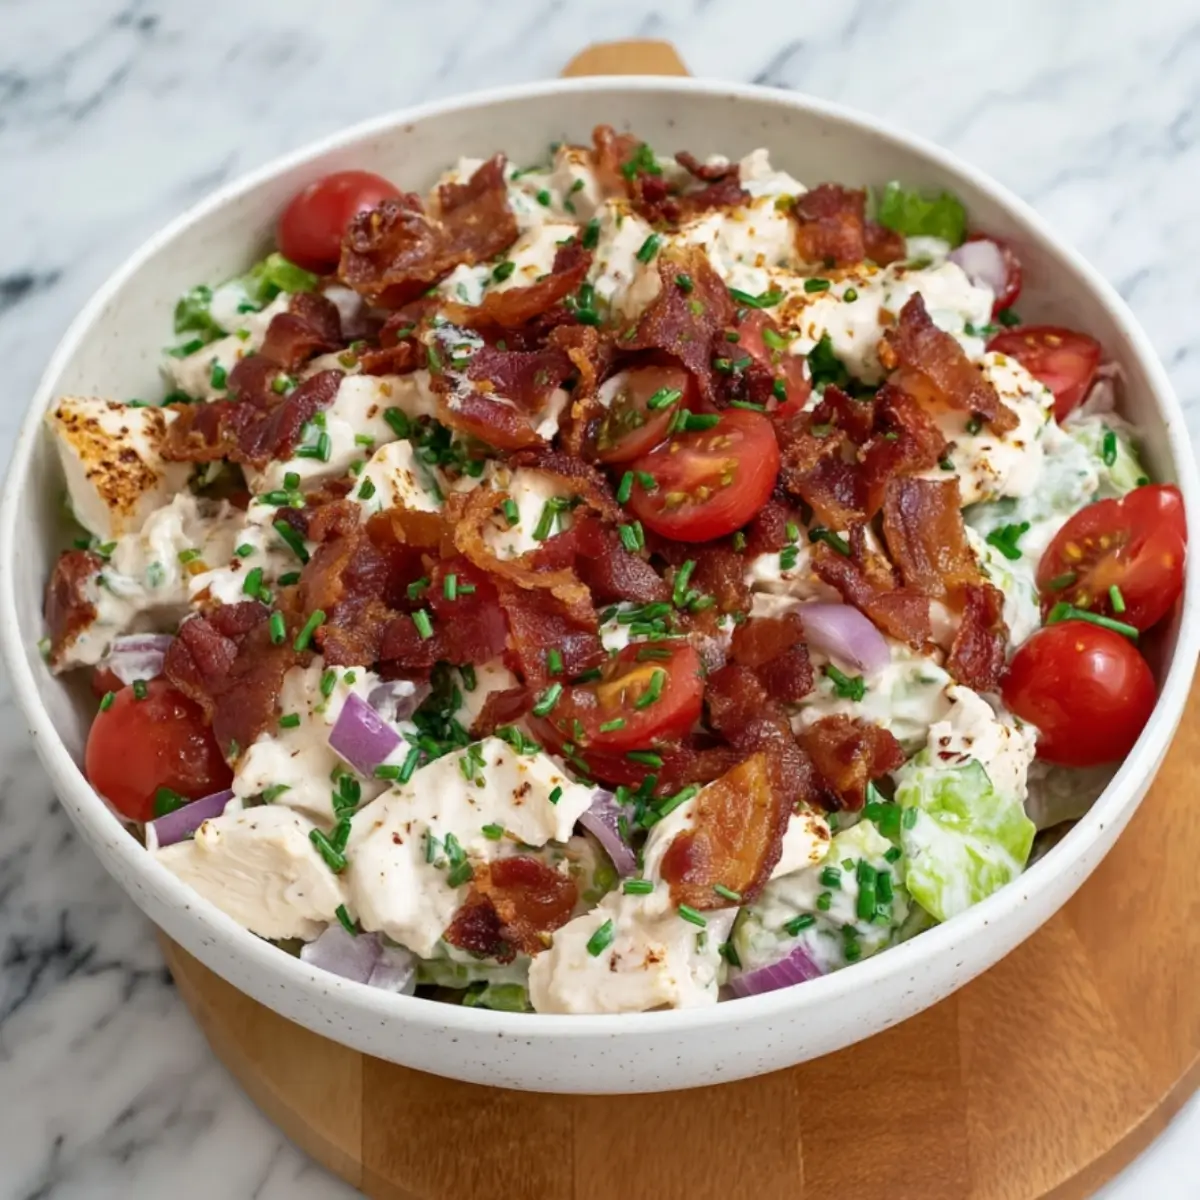
Easy Healthy BLT Chicken Salad for Guilt-Free Meal Prep