The first time I took a bite of Cheesy Hatch Chile Rellenos, I was transported to a sun-soaked kitchen in New Mexico, where vibrant flavors came alive with every delicious crunch. This recipe is my go-to for a quick yet impressive dish that’s perfect for any occasion. Not only is it deeply satisfying, but it also blends the smoky heat of hatch chiles with melty Oaxaca cheese, making it an instant crowd-pleaser. Imagine filling your home with tantalizing aromas while whipping up these delightful stuffed chiles in just over an hour! Whether you’re hosting friends or simply treating yourself to a gourmet meal at home, this dish promises warmth and comfort. Are you ready to dive into a delightful cooking adventure?
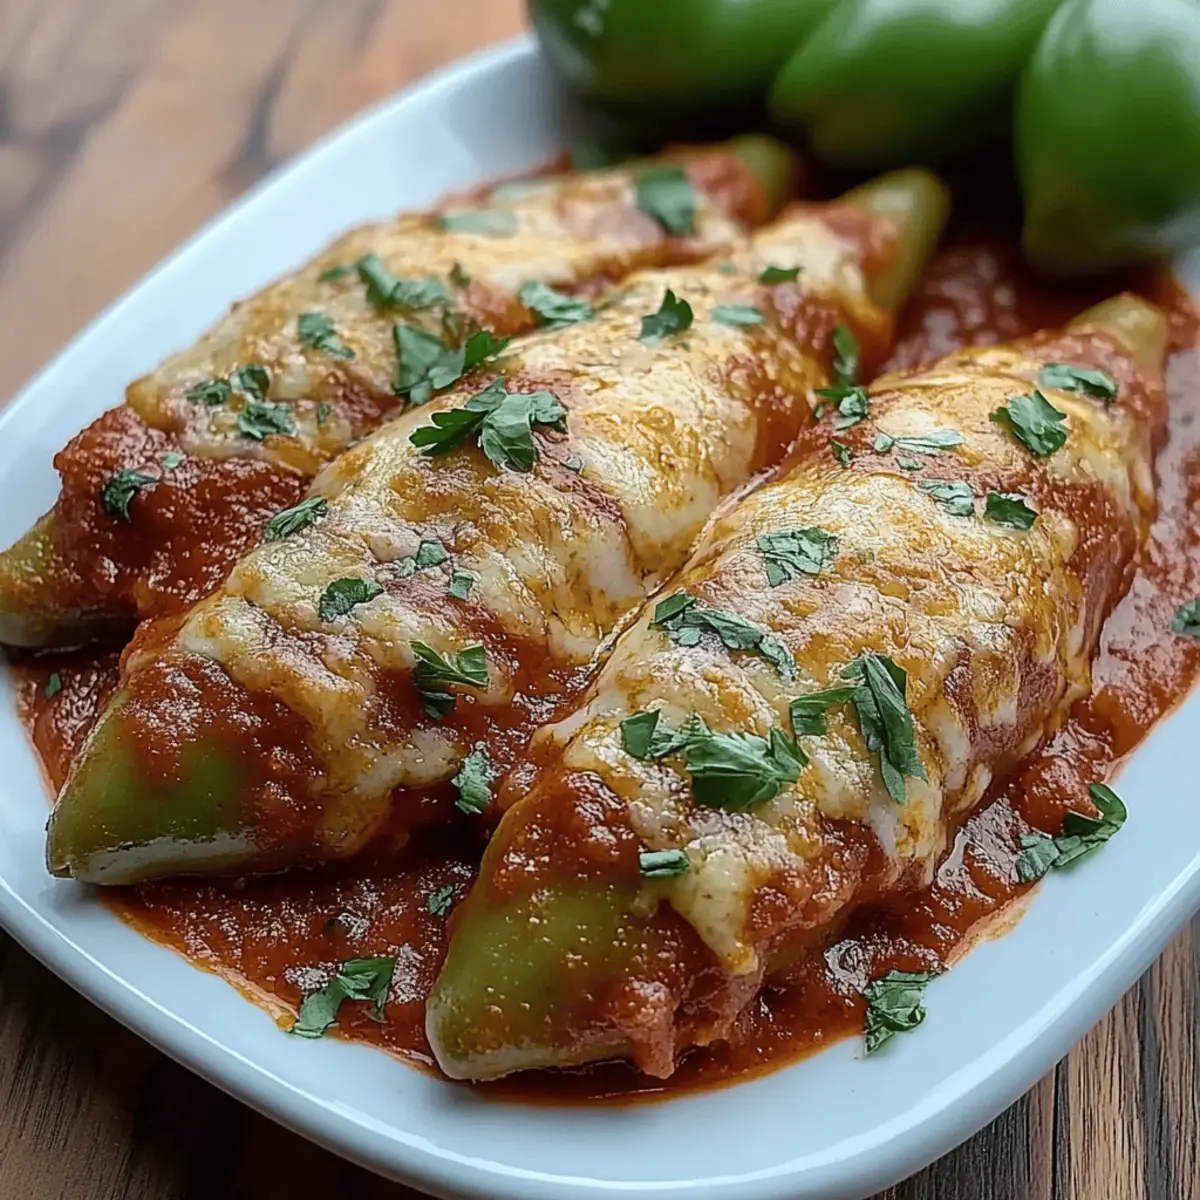
Why are Cheesy Hatch Chile Rellenos irresistible?
Flavor Explosion: The combination of smoky hatch chiles and melted Oaxaca cheese creates a delightful burst of flavor in every bite.
Easy to Make: This recipe is designed for home cooks of all skill levels. With just a bit of prep and cooking time, you’ll impress friends and family!
Crowd-Pleasing: These Cheesy Hatch Chile Rellenos are sure to delight at gatherings, making them the perfect dish for any event, from game nights to festive celebrations.
Versatile Delight: Feel free to customize the heat with optional jalapeños, allowing each batch to meet your taste perfectly. Why not explore more flavors with other stuffed chili options?
Comforting Meal: Serve with a fresh tomato sauce for an added touch of comfort. It's like a warm hug on a plate!
So gather your ingredients and prepare for a flavorful fiesta that’s both satisfying and unforgettable. Enjoy!
Cheesy Hatch Chile Rellenos Ingredients
• Get ready to indulge in a delightful culinary experience with these mouthwatering Cheesy Hatch Chile Rellenos!
For the Chiles
• 8 hatch green chiles – These chiles provide a unique smoky flavor that makes the dish special.
For the Filling
• 8 to 10 oz Oaxaca cheese – Choose this melting cheese for a creamy and delicious interior.
For the Batter
• 6 large eggs – Separated, the whites create a light batter for frying.
• ⅔ cup all-purpose flour – Essential for dredging the chiles before frying.
• 1 teaspoon salt – Enhances the flavors of all the ingredients.
• 1 teaspoon garlic powder – Adds depth and savory notes to the dish.
For Frying
• Vegetable oil – Use this for frying the chiles to achieve that golden, crispy texture.
For the Sauce
• 5 medium tomatoes – Fresh tomatoes create a vibrant sauce that complements the chiles beautifully.
• 1 small white onion – This adds sweetness and richness to the sauce.
• 5 garlic cloves – Fresh garlic infuses the sauce with a robust flavor.
• 2 tablespoon chopped cilantro – Fresh cilantro brightens the sauce and adds a lovely herbal note.
• 1 teaspoon salt – Balances the flavors in the sauce.
• ¼ cup sliced jalapeños (optional) – Customize the heat level for your taste buds!
Now that you have all your ingredients ready, let's embark on this delightful cooking adventure together!
Step‑by‑Step Instructions for Cheesy Hatch Chile Rellenos
Step 1: Broil the Chiles
Preheat your oven's broiler and line a baking sheet with foil. Place the hatch green chiles on the sheet and broil for 5–10 minutes until the skins are blackened and blistered. Flip the chiles and broil for another 5–10 minutes, monitoring closely to achieve an even char, signaling they're ready for peeling.
Step 2: Steam the Chiles
Carefully remove the chiles from the oven and transfer them to a gallon-sized ziplock bag. Seal the bag and let the chiles steam for 10–15 minutes, which will make the skins easier to peel off. You'll notice the skins loosening as they cool, a perfect cue for the next step in making your Cheesy Hatch Chile Rellenos.
Step 3: Peel and Prepare the Chiles
Once the chiles are cool enough to handle, gently peel off the charred skins. Cut a slit down one side of each chile and carefully remove the seeds. This step is essential to ensure the smooth melting of Oaxaca cheese when you stuff them, setting your Cheesy Hatch Chile Rellenos up for success.
Step 4: Stuff the Chiles
Generously fill each peeled chile with the Oaxaca cheese, aiming for plenty of gooeyness when they cook. After stuffing, seal each chile with 1–2 toothpicks to prevent the cheese from spilling out during frying. This little trick helps keep the indulgent flavors intact in your Cheesy Hatch Chile Rellenos.
Step 5: Prepare the Egg Batter
In a mixing bowl, beat the egg whites on high speed until stiff peaks form, which should take about 3–5 minutes. Reduce the mixer speed and gently incorporate the yolks into the whites, creating a light and foamy batter. Set this delightful mixture aside for coating your stuffed chiles.
Step 6: Mix the Dredge
In a shallow dish, mix the all-purpose flour, 1 teaspoon of salt, and garlic powder together. This dredge will provide a crispy exterior for your Cheesy Hatch Chile Rellenos. Make sure the mixture is well-combined for even coverage when you coat the stuffed chiles before frying.
Step 7: Heat the Oil
In a deep pan, heat vegetable oil to 350°F (175°C), ensuring it's hot enough for frying. A thermometer is handy for accuracy. Once the oil is ready, prepare to coat your stuffed chiles and fry them to golden perfection, visualizing that crispy outer layer.
Step 8: Fry the Chiles
Dredge each stuffed chile in the flour mixture, then dip it into the egg batter until fully coated. Carefully place them in the hot oil, frying for 2–3 minutes on one side until golden brown. Flip each chile and fry for another 2–3 minutes, cooking in batches to avoid crowding for optimal heat distribution.
Step 9: Drain the Chiles
Once golden and crispy, carefully remove the fried chiles from the oil and let them drain on paper towels. This step absorbs excess oil, leaving you with a crispier texture for your Cheesy Hatch Chile Rellenos that everyone will love.
Step 10: Prepare the Tomato Sauce
In a blender, combine ripe tomatoes, the chopped white onion, garlic cloves, cilantro, and 1 teaspoon of salt. If desired, add sliced jalapeños for an extra kick. Blend until smooth, creating a vibrant sauce that will complement the chiles beautifully.
Step 11: Heat the Sauce
Transfer the blended sauce to a medium saucepan. Heat over medium until it begins to boil, then reduce to a low simmer to allow the flavors to meld. This preparation time ensures a deliciously rich sauce that pairs perfectly with your Cheesy Hatch Chile Rellenos.
Step 12: Serve and Enjoy
Plate your hot, fried chiles rellenos and generously pour the warm tomato sauce over them. Serve immediately, inviting friends and family to experience this flavorful dish. The combination of crispy chiles, melty cheese, and fresh sauce will surely make your gathering unforgettable!

Make Ahead Options
These Cheesy Hatch Chile Rellenos are perfect for meal prep enthusiasts! You can prepare the chiles by broiling and peeling them up to 24 hours in advance. Once prepped, stuff them with Oaxaca cheese and seal with toothpicks, then store them in an airtight container in the refrigerator. When you're ready to fry, simply whisk the egg whites and yolks, dredge the chiles in flour, and fry them fresh for that delightful crispiness. To keep flavors fresh, blend the tomato sauce ahead and refrigerate it for up to 3 days. Just reheat the sauce while frying the chiles, allowing you to savor restaurant-quality results with minimal effort, perfect for busy weeknights!
Expert Tips for Cheesy Hatch Chile Rellenos
Peeling Made Easy: Carefully steam the charred chiles in a ziplock bag for 10-15 minutes to make peeling effortless and preserve the flavor.
Don’t Overcrowd: Fry the chiles in batches rather than all at once. This prevents overcrowding, ensuring they cook evenly and achieve that desired crispiness.
Seal It Well: Use toothpicks to securely seal stuffed chiles. This keeps the melting Oaxaca cheese from escaping while frying, making your Cheesy Hatch Chile Rellenos truly indulgent.
Watch the Oil Temperature: Maintaining the oil at 350°F (175°C) is crucial for achieving that perfect golden color. Use a thermometer for accuracy and avoid sogginess.
Serve Fresh: Enjoy the chiles as soon as they’re plated with the sauce for the best experience. The combination of textures—crispy outside and gooey inside—will make your dish memorable!
What to Serve with Cheesy Hatch Chile Rellenos
Elevate your meal with delightful accompaniments that enhance the vibrant flavors of these stuffed chiles.
- Cilantro Lime Rice: The zesty flavors of lime and the freshness of cilantro perfectly complement the rich, cheesy goodness.
- Fresh Corn Salad: A crunchy, sweet side that brings a burst of freshness, balancing the richness of the chiles. Toss in some avocado for a creamy twist!
- Black Bean Salsa: This hearty mixture adds protein and a delicious contrast of textures, making every bite feel more complete.
- Guacamole: The creaminess of ripe avocados pairs beautifully with the crispiness of the fried chiles, bringing a touch of luxury to your plate.
- Mexican Street Corn (Elote): The smokiness and sweetness of this treat will enhance the flavor journey of your Cheesy Hatch Chile Rellenos.
- Chilled Beer or Mexican Lager: A cold drink, like a light beer, cuts through the richness, creating a well-rounded experience.
- Flan or Tres Leches Cake: End your meal on a sweet note! These desserts offer a creamy, indulgent touch that contrasts the savory chiles.
- Spicy Pickled Vegetables: Add some zing with a side of pickled veggies, bringing an extra layer of flavor to your dinner table.
Each of these suggestions brings its own magic, enhancing the experience of devouring your Cheesy Hatch Chile Rellenos in comfort and joy!
Cheesy Hatch Chile Rellenos Variations
Ready to tweak your recipe for Cheesy Hatch Chile Rellenos and make it uniquely yours? Let's explore some exciting variations to elevate your cooking adventure!
- Dairy-Free: Substitute the Oaxaca cheese with a cashew cheese or any dairy-free cheese alternative for a creamy, vegan twist.
- Spicy Kick: Add more sliced jalapeños or even some diced serrano peppers to the stuffing for a fiery flavor that'll thrill spice lovers!
- Roasted Veggies: Mix in sautéed bell peppers or zucchini with the cheese filling for extra texture and a vibrant touch. Their sweetness balances the chiles beautifully.
- Herb Infusion: Incorporate fresh herbs like basil or oregano into your filling for an aromatic boost that complements the smoky chiles perfectly.
- Baked Option: If you're looking to cut down on frying, bake the stuffed chiles at 375°F (190°C) until golden and crisp, about 25-30 minutes. The flavors meld wonderfully in the oven!
- Cheese Blend: Experiment with a blend of cheeses—like cheddar or pepper jack—for added richness and a nuanced flavor profile in every bite.
- Savory Sauces: Change up the tomato sauce by blending in roasted red peppers or black beans for a heartier, more complex sauce that elevates the dish to new heights.
- Crunchy Topping: Before serving, sprinkle some crushed tortilla chips or breadcrumbs over the top of your chiles for an extra crunchy finish that’s utterly satisfying.
With these variations, you'll not only keep your meals exciting but also showcase your creative flair in the kitchen! Enjoy mixing things up, and don’t forget to check out more captivating stuffed chili recipes for additional inspiration.
How to Store and Freeze Cheesy Hatch Chile Rellenos
Fridge: Store leftover Cheesy Hatch Chile Rellenos in an airtight container for up to 3 days. Reheat in the oven at 350°F (175°C) for about 15 minutes to restore crispness.
Freezer: Freeze cooked chiles in a single layer on a baking sheet before transferring to a freezer-safe bag. They can be frozen for up to 3 months, maintaining their flavor and texture.
Reheating: When ready to enjoy, heat frozen chiles directly from the freezer at 375°F (190°C) for 20-25 minutes until heated through and crispy.
Sauce Storage: Store any leftover tomato sauce separately in the fridge for up to 5 days or freeze for up to 3 months; this keeps the flavors fresh for your next meal!
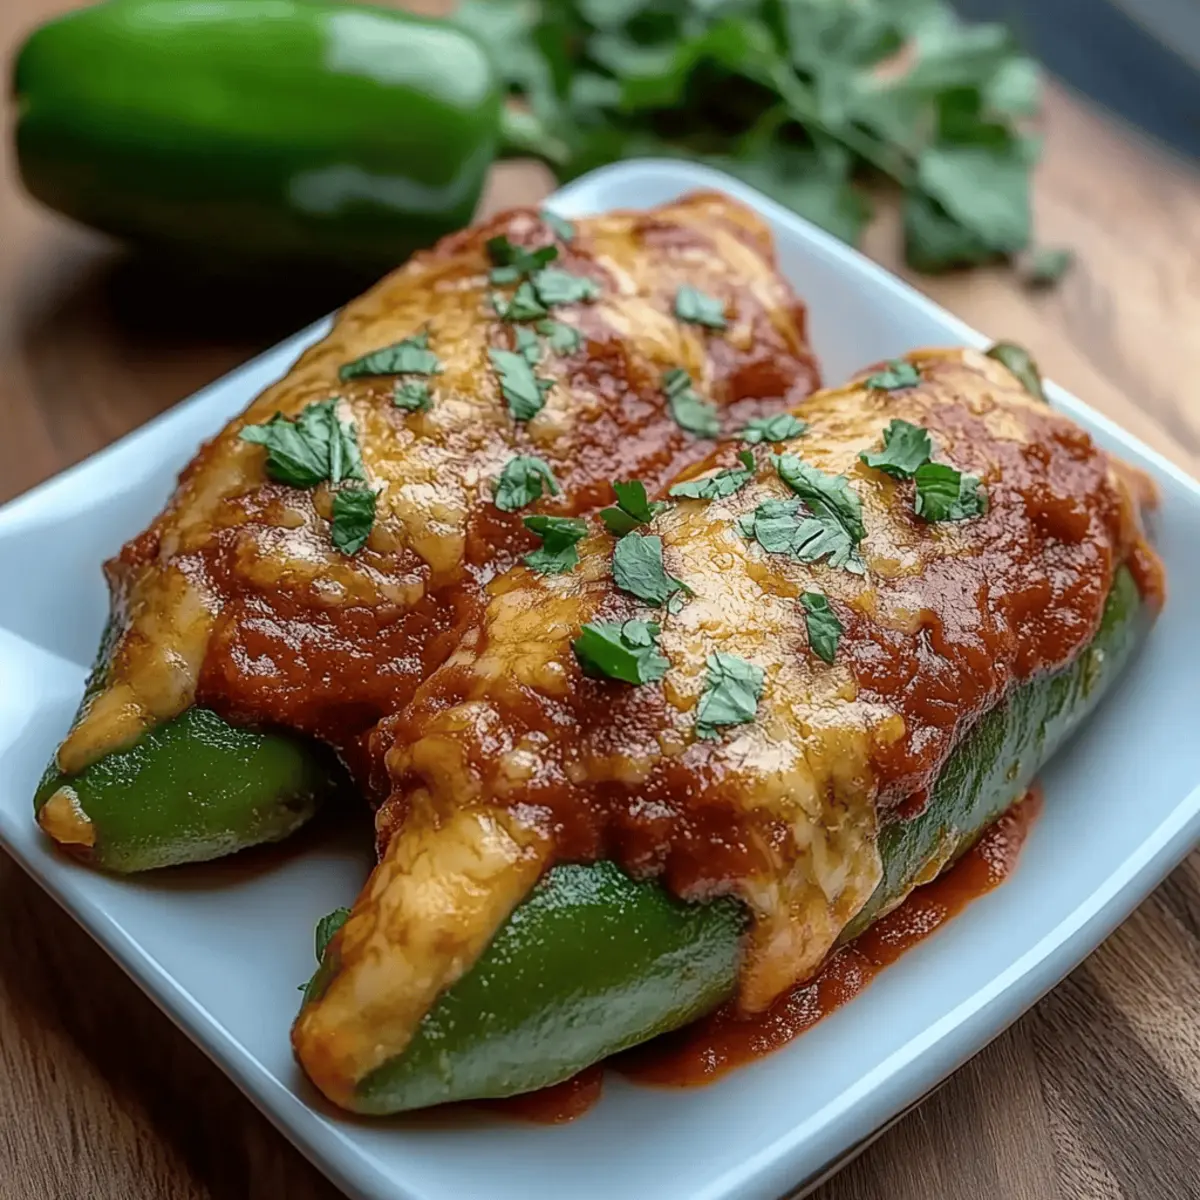
Cheesy Hatch Chile Rellenos Recipe FAQs
How do I choose the best hatch green chiles?
Absolutely! When selecting hatch green chiles, look for those that are firm and bright in color, free from dark spots or blemishes. The skins should feel slightly glossy. If possible, go for whole chiles instead of cut ones to ensure the best flavor and juiciness.
How should I store leftover Cheesy Hatch Chile Rellenos?
Store any leftovers in an airtight container in the fridge for up to 3 days. To reheat and restore that beautiful crispness, place them in the oven at 350°F (175°C) for about 15 minutes. This method helps maintain the delicious texture and taste!
Can I freeze Cheesy Hatch Chile Rellenos?
Absolutely! To freeze, first allow the fried chiles to cool. Then, lay them out in a single layer on a baking sheet and freeze until solid. After that, transfer them to a freezer-safe bag and they can be stored for up to 3 months. When you're ready to enjoy, heat them directly from the freezer at 375°F (190°C) for 20-25 minutes until heated through and crispy.
What if my chiles burst while frying?
No worries! If your Cheesy Hatch Chile Rellenos burst during frying, it’s usually due to overcrowding in the pan or not sealing them properly with toothpicks. To avoid this next time, ensure that the chiles are well-stuffed but not overly packed, and fry them in smaller batches for even cooking.
Are there any dietary considerations for this recipe?
Great question! This recipe contains eggs and dairy, which are common allergens. If you're looking for alternatives, you can use dairy-free cheese options and a flaxseed mixture as a substitute for eggs. This dish is not pet-friendly, especially due to the spices and fried items, so keep it safely out of reach from furry friends!
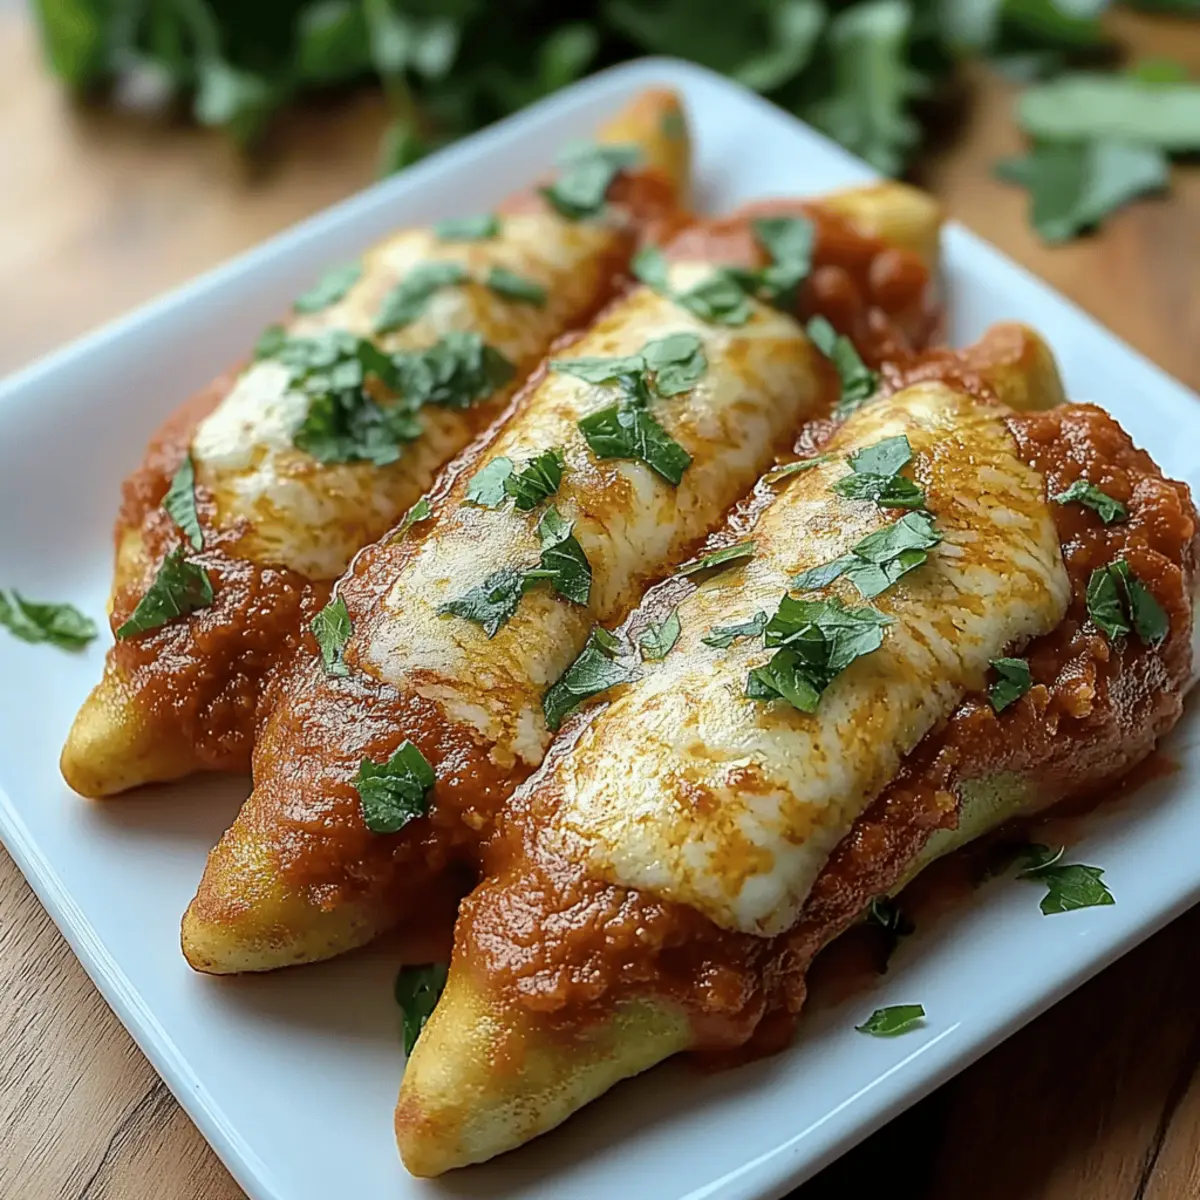
Mouthwatering Cheesy Hatch Chile Rellenos to Savor Tonight
Ingredients
Equipment
Method
- Preheat oven's broiler, line a baking sheet with foil, and broil chiles for 5-10 minutes until blistered. Flip and broil for another 5-10 minutes.
- Transfer chiles to a ziplock bag and steam for 10-15 minutes.
- Peel skins off charred chiles, cut a slit and remove seeds.
- Stuff chiles with Oaxaca cheese and seal with toothpicks.
- Beat egg whites until stiff peaks, then gently fold yolks in to create batter.
- Mix flour, salt, and garlic powder in a shallow dish for dredging.
- Heat vegetable oil in a deep pan to 350°F (175°C).
- Dredge stuffed chiles in flour mix and dip in egg batter, then fry until golden on both sides, about 2-3 minutes each.
- Drain fried chiles on paper towels.
- Blend tomatoes, onion, garlic, cilantro and salt until smooth for sauce.
- Heat sauce in a medium saucepan until boiling, then simmer to blend flavors.
- Serve hot chiles with warm sauce poured over them.



Leave a Reply