
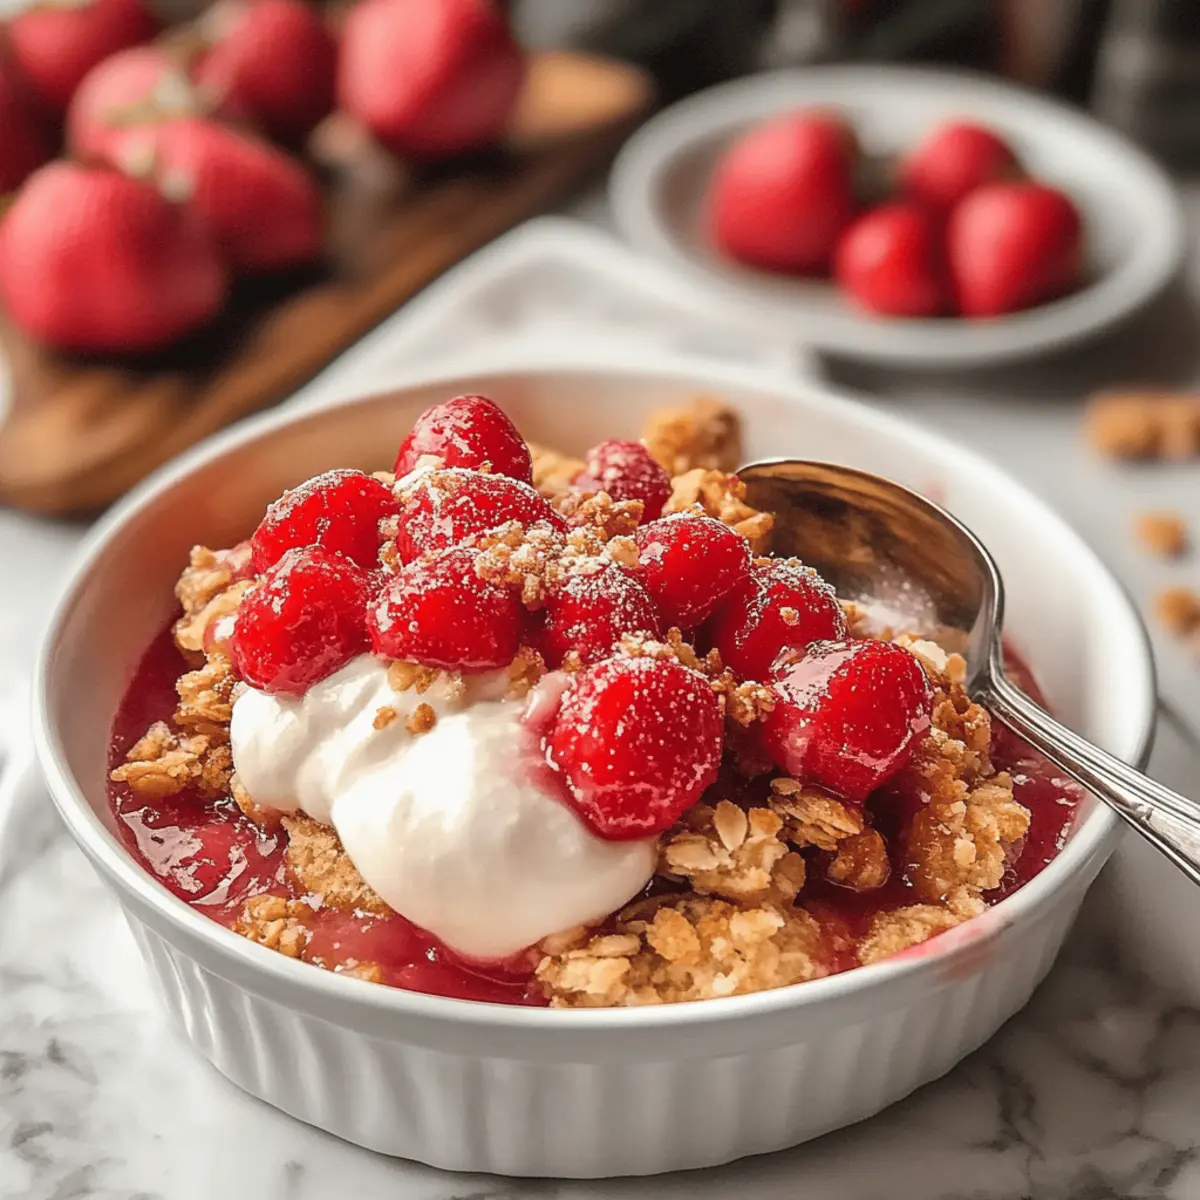
As I sifted through my pantry on a rainy afternoon, a little treasure caught my eye: a can of cherry pie filling. Suddenly, inspiration struck! I could whip up a Homemade Cherry Crumble that would fill my kitchen with the sweet, comforting scent of baking goodness. This recipe is perfect for those who crave homemade warmth in every bite, with its quick prep time and the delightful balance of tart cherries and crunchy topping. Plus, it’s a fantastic crowd-pleaser that pairs beautifully with a scoop of vanilla ice cream or a dollop of whipped cream. Are you ready to discover how easy it is to turn a few simple ingredients into a heartwarming dessert? Let’s dive into this sweet endeavor together!
Why is Cherry Crumble so Irresistible?
Comforting and Nostalgic: A warm bowl of cherry crumble is like a hug from your grandmother, bringing back memories of family gatherings and sweet summer days.
Easy to Make: With just 20 minutes of prep, you can have this delightful dessert in the oven, making it perfect for any occasion or when you're just craving something sweet.
Sweet and Tart Balance: The tartness of the cherries combined with the crumble's sweetness and crunch makes each bite a blissful experience that your taste buds will thank you for.
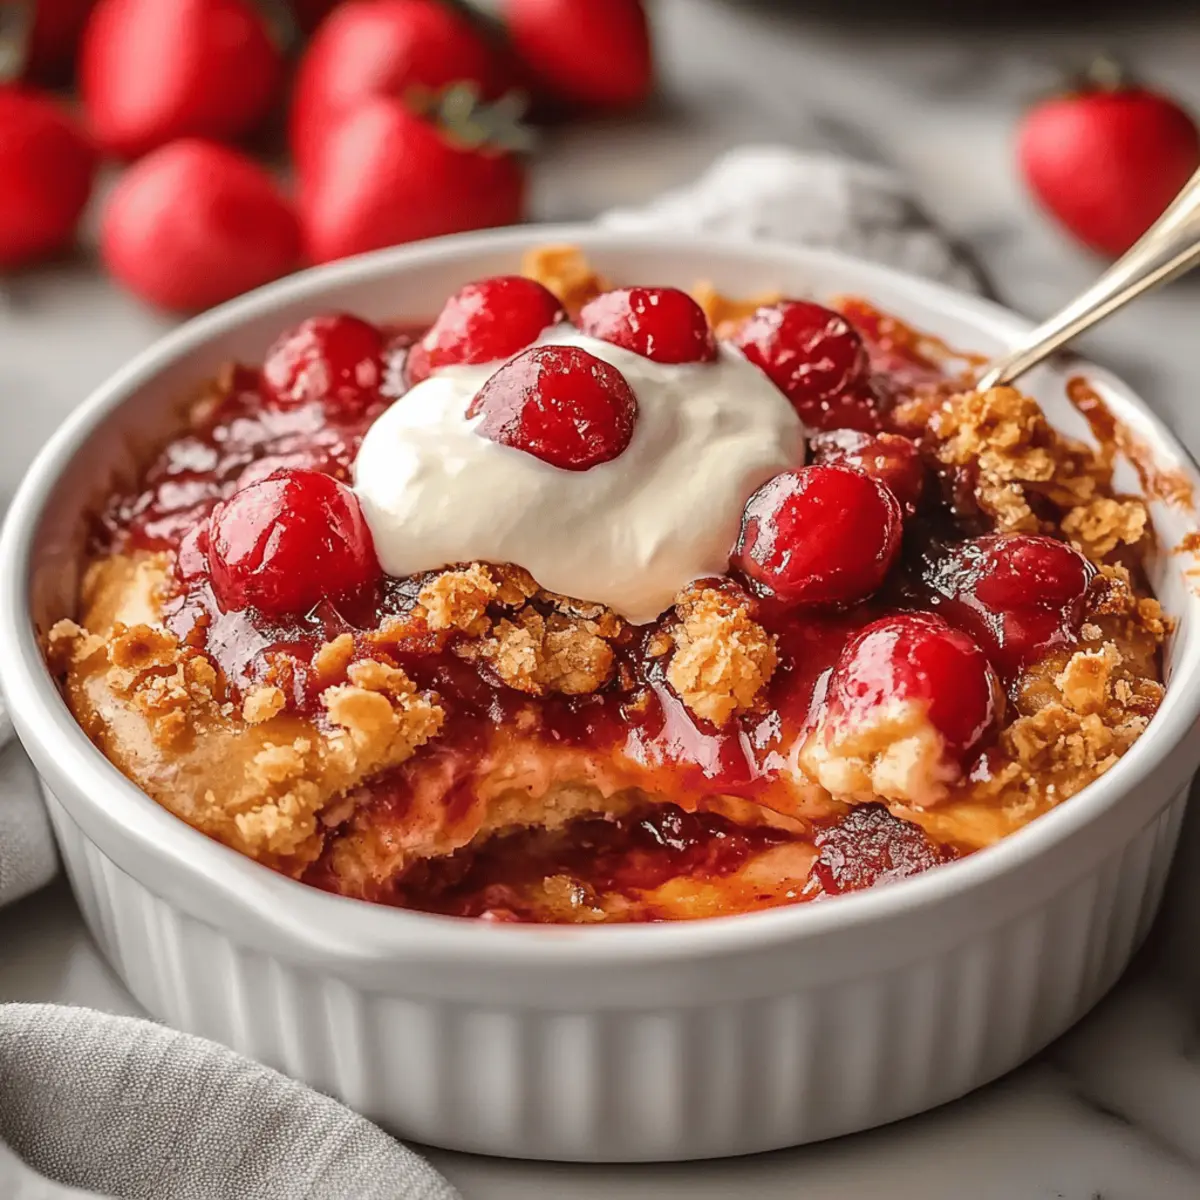
Versatile Serving Options: Whether you enjoy it warm with a scoop of vanilla ice cream or chilled with whipped cream, this crumble adapts to your preference, making it a delicious choice for everyone.
Elevate your dessert game and impress your guests with this irresistible cherry crumble that’s sure to brighten any day! Don't forget to check out our guide on how to make homemade ice cream to take this dessert to the next level!
Cherry Crumble Ingredients
For the Filling
• Cherry pie filling – This is the star of the dish, providing the fruity base for your cherry crumble.
• Granulated sugar – Adds sweetness to balance the tartness of the cherries.
• Cornstarch – Helps thicken the filling, preventing it from being too runny.
• Lemon juice – Enhances the flavor of the cherries, brightening the overall taste.
• Vanilla extract – Infuses a warm, comforting aroma into the fruit filling.
For the Crumble Topping
• All-purpose flour – Forms the base of the crumble topping, giving it structure.
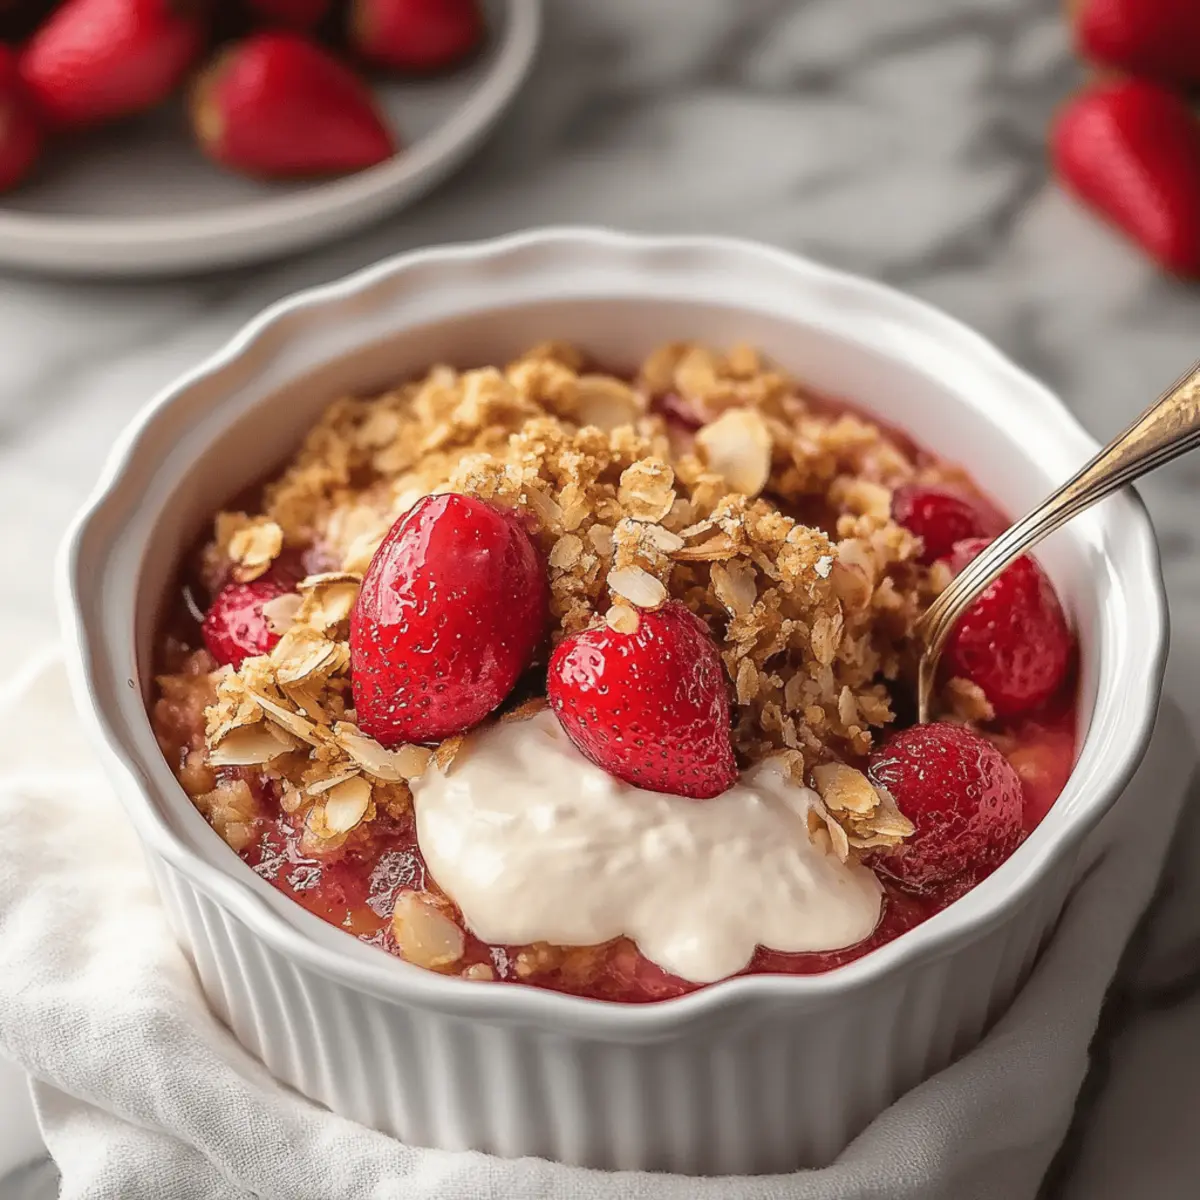
• Rolled oats – Adds a lovely chewiness and enhances the texture of the crumble.
• Brown sugar – Contributes a deeper sweetness and a hint of molasses flavor.
• Ground cinnamon – Offers a warm spice that complements the cherries beautifully.
• Salt – Balances the sweetness of the topping, enhancing overall flavor.
• Cold cubed butter – Creates a rich, crumbly texture essential for that perfect topping.
Indulge in this delightful cherry crumble that’s not only easy to prepare but also a joy to share with friends and family!
Step‑by‑Step Instructions for Cherry Crumble
Step 1: Preheat and Prepare
Preheat your oven to 375°F (190°C). While it heats up, grab a baking pan and lightly grease it if necessary to prevent sticking. This step ensures your Homemade Cherry Crumble will bake evenly and release easily when done.
Step 2: Mix the Filling
In a large mixing bowl, combine 21 oz of cherry pie filling, 1 cup of granulated sugar, 3 tablespoons of cornstarch, 2 tablespoons of lemon juice, and 1 teaspoon of vanilla extract. Stir well until all ingredients are fully incorporated. This mixture will create a deliciously sweet and thick cherry filling for your crumble.
Step 3: Prepare the Crumble Topping
In another bowl, mix together 1 cup of all-purpose flour, ½ cup of rolled oats, ½ cup of brown sugar, ½ teaspoon of ground cinnamon, and ¼ teaspoon of salt. Then, add ½ cup of cold cubed butter, and use your hands or a pastry cutter to blend until you achieve coarse, crumbly textures. This topping will bring that irresistible crunch to your Cherry Crumble.
Step 4: Assemble the Dish
Spread the cherry pie filling evenly in your prepared baking pan, making sure it's consistent across the surface. Once the filling is set, give it a light drizzle of the mixture you prepared. This will help meld the flavors beautifully as it bakes, blending that sweet and tart experience perfectly.
Step 5: Add the Topping
Sprinkle the crumble topping generously over the cherry filling, ensuring even coverage from edge to edge. This will create that delightful crusty layer that contrasts beautifully with the smooth filling beneath. You’re now ready to pop your Homemade Cherry Crumble into the oven.
Step 6: Bake to Perfection
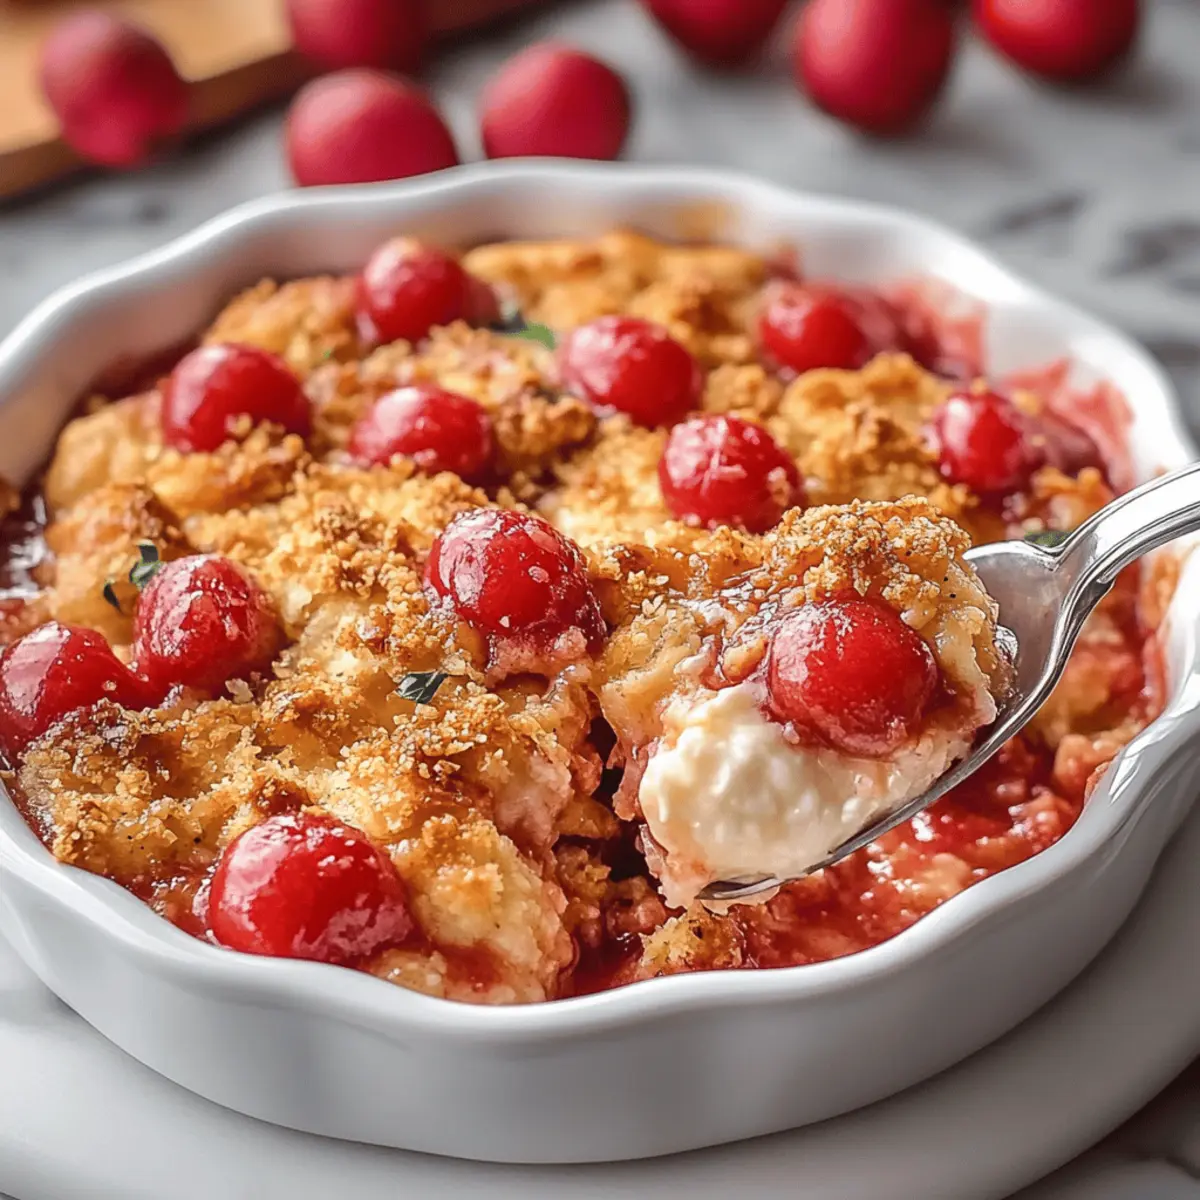
Place your baking pan in the preheated oven and bake for about 50-60 minutes. Keep an eye on it—when the filling is bubbling and the topping turns a lovely golden brown, it’s time to take it out. The aroma will certainly fill your home with inviting warmth as it bakes.
Step 7: Cool and Serve
Once baked, carefully remove the Cherry Crumble from the oven and let it cool for a few minutes. This resting period allows the filling to set slightly, making it easier to serve. Enjoy it warm or cold, paired with a scoop of vanilla ice cream or a generous dollop of whipped cream for extra indulgence.
Expert Tips for Cherry Crumble
• Use Fresh Ingredients: Always opt for high-quality cherry pie filling and fresh ingredients. This elevates the flavors and ensures a delicious cherry crumble every time.
• Don’t Overmix the Topping: When blending the crumble topping, stop as soon as you see coarse crumbs. Overmixing can lead to a dense texture instead of a light and crunchy topping.
• Avoid Runny Filling: Make sure to mix in the cornstarch properly to thicken the filling. If it looks too watery, you may need a tad more to keep your cherry crumble from becoming soupy.
• Let It Cool Slightly: Allow your cherry crumble to cool for about 10 minutes after baking. This helps the filling set, making it easier to serve and enjoy!
• Experiment with Spices: Don’t be afraid to add a pinch of nutmeg or ginger to the crumble topping for a delightful twist on flavor that pairs beautifully with the cherries.
Elevate your next dessert with these tips and enjoy the rich, comforting experience of a homemade cherry crumble!
Make Ahead Options
These delicious Cherry Crumble treats are perfect for meal prep enthusiasts! You can prepare the cherry filling and crumble topping up to 24 hours in advance, ensuring you save precious time on busy weeknights. Simply mix the cherry pie filling with sugar, cornstarch, lemon juice, and vanilla, and store it in an airtight container in the refrigerator. For the topping, combine the dry ingredients, then cut in the cold butter and refrigerate it separately. When you're ready to bake, just layer the cherry filling in a greased pan, sprinkle the prepped crumble on top, and bake for 50-60 minutes. This way, you'll enjoy a delightful dessert that’s just as delicious as if made fresh that day!
What to Serve with Homemade Cherry Crumble
As summer fruits make their grand entrance, let’s create a delightful meal that celebrates their natural sweetness and complements the irresistible charm of your cherry crumble.
- Vanilla Ice Cream: This classic pairing elevates your crumble, offering creamy richness that contrasts beautifully with the tart cherries.
- Whipped Cream: Light and airy, a dollop of whipped cream adds a soft touch that perfectly balances the crunchy topping and juicy filling.
- Greek Yogurt: A dollop of tangy Greek yogurt brings a refreshing twist, enhancing the flavors while adding a touch of creaminess.
- Fresh Berries: Serve alongside a medley of fresh berries for a pop of color and extra fruitiness that brightens every bite.
- Coffee: A rich cup of coffee pairs wonderfully with the dessert's sweetness, creating a comforting end to your meal.
- Mint Tea: This herbal infusion refreshes the palate, making for a delightful contrast to the warmth of the cherry crumble.
- Chocolate Sauce: A drizzle of warm chocolate sauce adds an indulgent touch, balancing the tartness with rich sweetness for chocolate lovers.
- Nutty Granola: Crunchy granola sprinkled on top provides an additional layer of texture and complements the oats in the crumble.
- Caramel Sauce: A sweet caramel drizzle can offer an extra decadent layer, enhancing the crumble's flavors.
Let your homemade cherry crumble shine, and don’t hesitate to experiment with these pairings to create the perfect meal!
How to Store and Freeze Cherry Crumble
Room Temperature: Allow cherry crumble to cool completely, then cover it with foil or plastic wrap. It can stay at room temperature for up to 2 days, but beyond that, it’s best to refrigerate.
Fridge: Store covered in the fridge for up to 5 days. This will help maintain its flavor and texture while keeping it fresh for dessert cravings throughout the week.
Freezer: For longer storage, freeze tightly wrapped cherry crumble in an airtight container for up to 3 months. To reheat, simply thaw overnight in the fridge and warm in the oven at 350°F until heated through.
Reheating: Warm individual portions in the microwave for about 30-45 seconds or for 15-20 minutes in the oven for a crisp topping. Enjoy it warm with ice cream for a delightful treat!
Cherry Crumble Variations & Substitutions
Feel free to get creative and make this cherry crumble your own with these fun twists and tweaks!
-
Gluten-Free: Use a gluten-free flour blend instead of all-purpose flour to accommodate those with dietary restrictions. Your crumble will still have that inviting texture!
-
Fresh Cherries: Swap cherry pie filling for 21 oz of fresh pitted cherries, mixed with a bit of sugar and cornstarch. This adds a delightful freshness and makes the crumble even more special.
-
Nutty Crunch: Add ½ cup of chopped nuts like almonds or pecans to the crumble topping for extra crunch and a nutty flavor. This change gives your dessert a delightful surprise in every bite!
-
Vegan Option: Replace butter with coconut oil or a plant-based butter alternative. For a binding agent, try adding applesauce or mashed banana—your crumble will still taste amazing!
-
Spice It Up: Boost the flavor with ¼ teaspoon of nutmeg or ginger in the crumble mix. This will elevate the warm spices and pair beautifully with the cherries.
-
Chocolate Lovers: Incorporate ½ cup of dark chocolate chips either in the filling or sprinkled into the topping. Chocolate and cherries are a match made in dessert heaven!
-
Cinnamon Almond Sugar: Instead of plain brown sugar, use cinnamon sugar or combine granulated sugar with almond extract to lift the flavor profile and give a fragrant twist to your crumble.
-
More Fruits: Mix in other fruits such as blueberries or raspberries with the cherry filling. This will create a delightful medley and add colorful layers to your dessert.
Each of these substitutions not only enhances the flavor but also makes this cherry crumble a canvas for your culinary creativity. Pair your delicious dessert with some homemade whipped cream for extra indulgence, or serve it alongside a scoop of your favorite ice cream for a truly delightful experience! And if you want to explore even more delicious dessert options, be sure to check out our guide on how to make homemade ice cream as well!
Homemade Cherry Crumble Recipe FAQs
How do I select the right cherries for the crumble?
Absolutely! When choosing cherry pie filling, look for those varieties that have a rich color and minimal dark spots. This indicates ripeness and sweetness. If you ever decide to use fresh cherries, aim for those that are firm and glossy for the best flavor and texture in your crumble.
What’s the best way to store leftover cherry crumble?
Very! Allow your cherry crumble to cool completely, then cover it with foil or plastic wrap. It can stay at room temperature for up to 2 days. However, if you want to keep it fresh longer, store it in the fridge for up to 5 days. Just make sure to place it in an airtight container to maintain that delightful taste and texture!
Can I freeze homemade cherry crumble?
Absolutely! If you want to save some for later, tightly wrap your cherry crumble in plastic wrap and place it in an airtight container. It can stay frozen for up to 3 months. When you’re ready to enjoy it again, simply thaw it in the fridge overnight and reheat at 350°F until warmed through, ensuring that lovely crumble topping stays crunchy.
What should I do if my cherry filling turns out runny?
If you find that your filling is too runny, mix in an extra tablespoon of cornstarch to help thicken it. To do this, whisk it with a little bit of water first to create a slurry, then fold it gently into your filling. Also, ensure you’re using enough lemon juice, as it helps with the thickening process by balancing the acidity and sweetness in the cherries.
Is this cherry crumble safe for pets or those with allergies?
Very! While this homemade cherry crumble is a delightful dessert for humans, it's not suitable for pets, especially dogs, as cherries can be toxic to them in large amounts. For those with allergies, be mindful of common allergens like gluten in flour and dairy in butter. You can easily make a gluten-free version by using alternative flours and dairy-free butter. Always check ingredient labels to ensure safety!
Can I add other fruits to my cherry crumble?
Absolutely! The more the merrier! Feel free to mix in other fruits like blueberries, raspberries, or even peaches along with your cherries for a delightful fruit medley crumble. Just ensure the combined fruit filling isn’t too wet—use a little extra cornstarch if needed to keep everything just right!
Irresistible Cherry Crumble That'll Brighten Your Day
Ingredients
Equipment
Method
- Preheat your oven to 375°F (190°C) and lightly grease the baking pan.
- In a mixing bowl, combine the cherry pie filling, granulated sugar, cornstarch, lemon juice, and vanilla extract. Stir well.
- In another bowl, mix flour, rolled oats, brown sugar, cinnamon, and salt. Add cold cubed butter, blending until coarse crumbs form.
- Spread cherry filling evenly in the baking pan, then drizzle the crumble mixture over it.
- Sprinkle crumble topping over the cherry filling, ensuring even coverage.
- Bake in the preheated oven for 50-60 minutes, until the filling is bubbly and the topping is golden brown.
- Let the crumble cool for about 10 minutes before serving.


Leave a Reply