
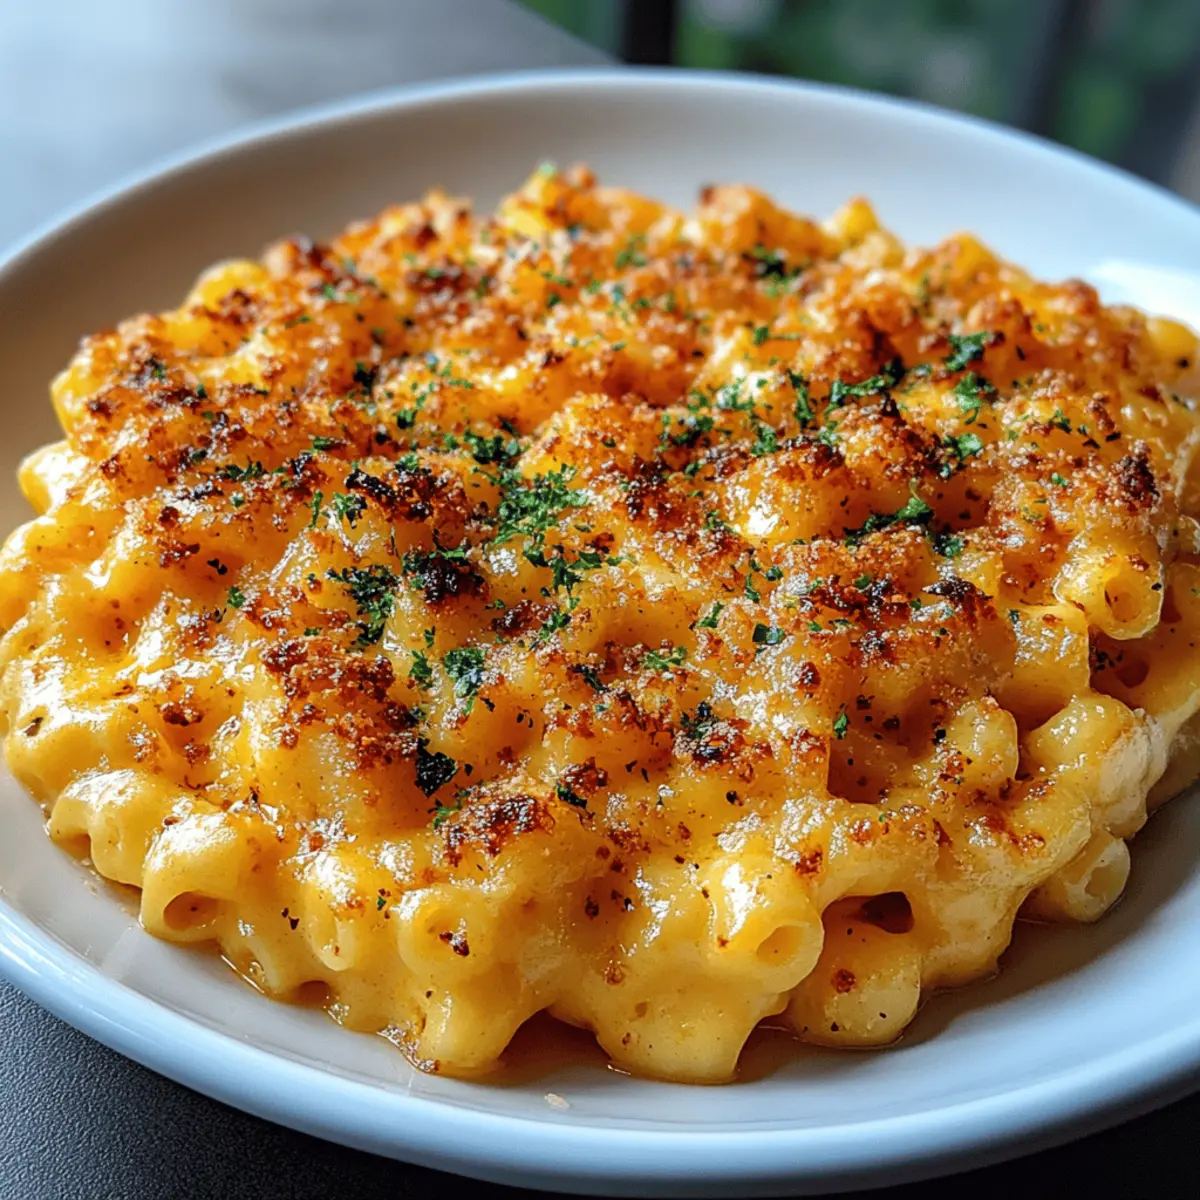
As I stood in my kitchen, the savory aroma of melting cheese wafted through the air, taking me back to childhood dinners spent around the table. This Creamy Baked Cheddar Mac-and-Cheese is more than just comfort food—it's a warm embrace after a long day. With a blend of sharp cheddar cheese and rich cream, this dish comes together in under an hour and guarantees smiles from family and friends alike. Plus, it’s incredibly forgiving; whether you're hosting a dinner party or just need a cozy night in, this versatile recipe is your go-to solution. Curious about how to elevate your macaroni and cheese game to the next level? Let’s dive into the creamy goodness!
Why is this mac-and-cheese unforgettable?
Indulgent Creaminess: There's nothing quite like the rich, velvety texture of Creamy Baked Cheddar Mac-and-Cheese that envelops each bite, making every spoonful pure bliss.
Quick and Easy: With just 50 minutes from start to finish, you can whip up this delightful dish any night of the week!
Crowd-Pleasing Classic: This recipe brings smiles to faces big and small, making it a perfect choice for gatherings or cozy family dinners.
Flexibility to Customize: You can easily adapt this dish by adding your favorite ingredients, like crispy bacon or sautéed vegetables. Don’t forget to check out my tips on perfecting cheesy pasta!
Bold Flavor Profile: The blend of sharp cheddar and spices like smoked paprika adds a unique depth that elevates traditional mac-and-cheese to new heights.
Creamy Baked Cheddar Mac-and-Cheese Ingredients
For the Pasta
• Elbow macaroni – 12 ounces, as the perfect shape for trapping that delicious sauce!
For the Cheese Sauce
• Sharp cheddar cheese – 4 cups, divided; use a mix of aged cheddar for extra flavor!
• Whole milk – 2 cups, ensures a creamy consistency in your sauce.
• Heavy cream – 1 cup, adds extra richness that transforms this dish into a comfort classic.
• Unsalted butter – ¼ cup, for a rich base of flavor in your roux.
• All-purpose flour – ¼ cup, to thicken the cheese sauce perfectly.
Seasoning and Flavoring
• Salt – 1 teaspoon, brings out the flavors of the cheese and pasta.
• Freshly ground black pepper – ½ teaspoon, adds a subtle warmth that complements the dish.
• Dry mustard powder – ½ teaspoon, gives a delightful tang and depth to the flavor.
• Smoked paprika – ¼ teaspoon, introduces a hint of smokiness that elevates the dish.
For the Topping
• Breadcrumbs (optional) – ¼ cup, for that added crunch and texture contrast on top!
This delicious Creamy Baked Cheddar Mac-and-Cheese is ready to come together, promising a delightful experience for everyone at your table!
Step‑by‑Step Instructions for Creamy Baked Cheddar Mac-and-Cheese
Step 1: Preheat the Oven
Begin by preheating your oven to 350°F (175°C). While it warms up, take a moment to lightly grease a 9x13 inch baking dish with butter to prevent sticking. This step ensures your Creamy Baked Cheddar Mac-and-Cheese will slide right out when it’s done, making for easy serving.
Step 2: Cook the Pasta
In a large pot of boiling salted water, cook the elbow macaroni according to package directions, but be sure to drain it while it’s still slightly al dente—this will enhance the texture of your dish. Once cooked, drain the pasta and set it aside, as you’ll soon incorporate it into the creamy sauce.
Step 3: Make the Roux
In a large saucepan, melt the unsalted butter over medium heat. After it melts, whisk in the flour, cooking for about 1-2 minutes until bubbly but not browned; this creates a roux that will thicken your cheese sauce. Be sure to keep whisking to achieve a smooth consistency.
Step 4: Add the Dairy
Slowly begin adding the whole milk to the roux while whisking continuously to prevent lumps. Next, introduce the heavy cream, stirring until the mixture becomes smooth and slightly thickens, which should take around 3-5 minutes. This creamy base is the foundation of your Creamy Baked Cheddar Mac-and-Cheese.
Step 5: Season the Sauce
Once your sauce is thickened, stir in the salt, black pepper, dry mustard powder, and smoked paprika. Whisk everything together until evenly combined, allowing the spices to add a punch of flavor that elevates your dish. This stage is crucial for achieving that rich taste you’re aiming for.
Step 6: Incorporate the Cheese
Gradually add in 3 cups of the shredded sharp cheddar cheese to the saucepan, stirring well until the cheese melts and the sauce is irresistibly creamy. This cheesy goodness is what makes your Creamy Baked Cheddar Mac-and-Cheese truly special, ensuring every bite is packed with flavor.
Step 7: Combine the Macaroni and Cheese Sauce
Add the cooked macaroni to your cheese sauce, stirring gently to coat every piece of pasta evenly. Make sure each elbow has a good amount of that luscious texture, as this will contribute to the overall enjoyment of the dish when baked.
Step 8: Transfer to Baking Dish
Pour the macaroni and cheese mixture into your prepared baking dish, spreading it out evenly. Take the remaining 1 cup of shredded cheddar cheese and sprinkle it generously over the top. This will create a beautifully cheesy crust once baked, making your Creamy Baked Cheddar Mac-and-Cheese even more appealing.
Step 9: Add Breadcrumb Topping
If you opted for a crunchy topping, sprinkle the breadcrumbs evenly over the cheese layer. This layer will add a delightful texture contrast, providing a satisfying crunch for your guests to enjoy alongside the creamy goodness.
Step 10: Bake to Perfection
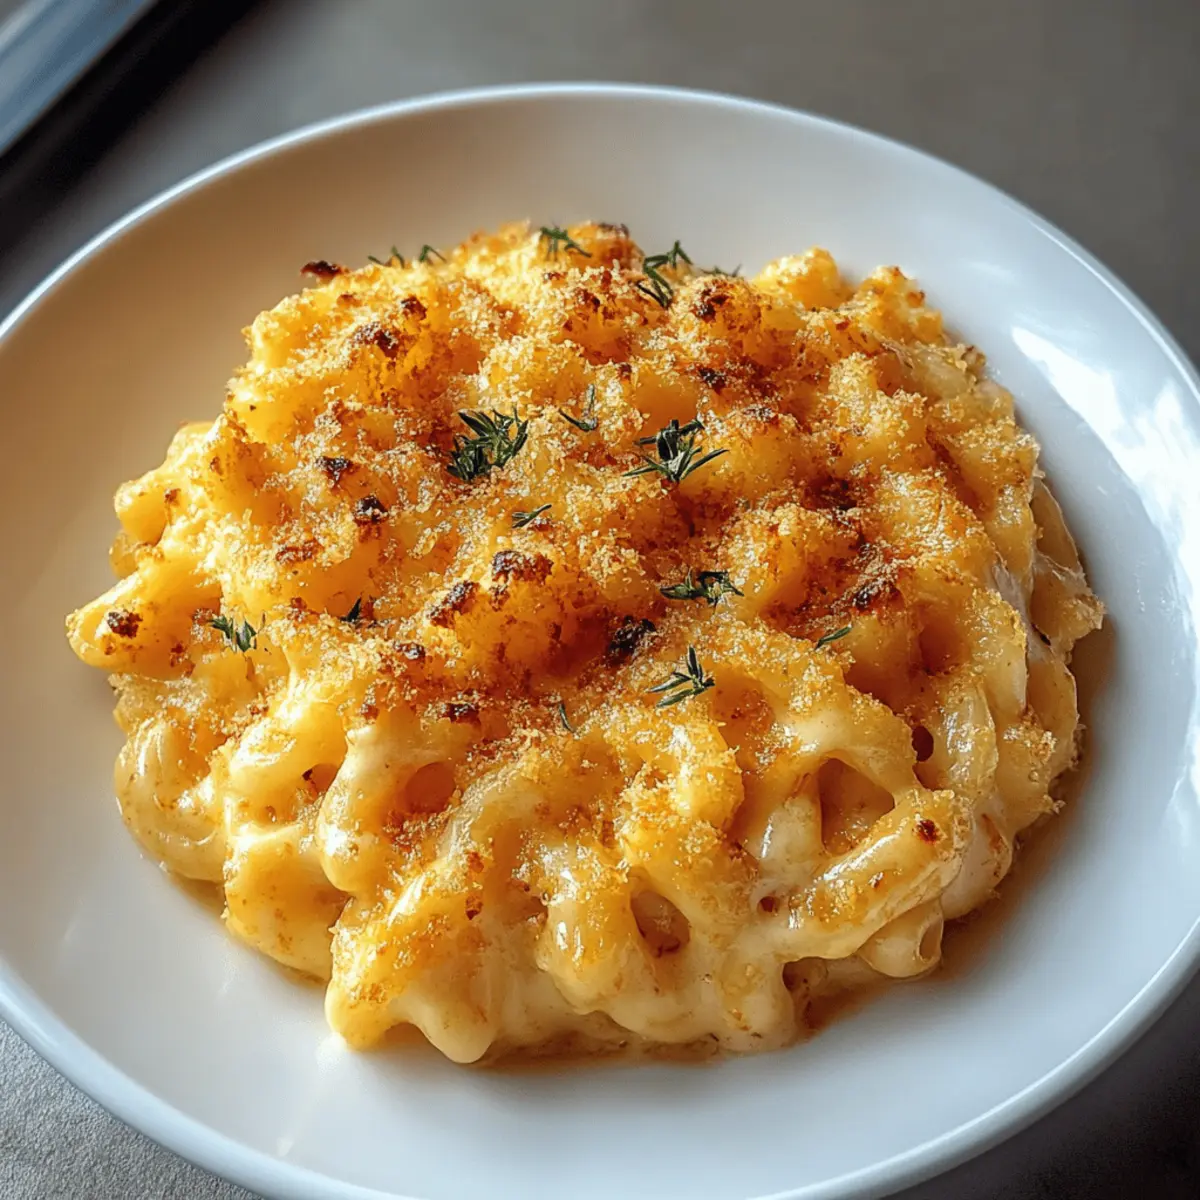
Slide the baking dish into your preheated oven and bake for 20-25 minutes. Look for the cheese to become bubbly and the top to turn a lovely golden brown, indicating that your Creamy Baked Cheddar Mac-and-Cheese is perfectly done and ready to serve.
Step 11: Let it Rest
Once out of the oven, allow your mac-and-cheese to cool for a few minutes before serving. This resting period lets the cheese sauce set slightly, making it easier to serve up hearty portions of this delicious classic.

Creamy Baked Cheddar Mac-and-Cheese Variations
Feel free to mix and match these delightful twists to make the recipe your own!
-
Veggie Boost: Add sautéed spinach, mushrooms, or broccoli for a healthy twist that enhances flavor and adds nutrition.
-
Bacon Lovers: Incorporate crispy bacon bits into the pasta mixture for an irresistible smoky flavor that pairs beautifully with cheese. A simple delight!
-
Gluten-Free: Substitute elbow macaroni with gluten-free pasta to create a dish that’s inclusive without sacrificing taste or texture. Everyone deserves comfort food!
-
Spicy Kick: Sprinkle in red pepper flakes or diced jalapeños for a zesty heat that’ll excite your taste buds. Just a hint of spice makes everything nice!
-
Cream Cheese Addition: Mix in a few ounces of cream cheese with the cheddar for an ultra-creamy consistency that’s rich and delicious. It’s a creamy hug in a dish!
-
Herbed Variation: Add fresh herbs like thyme, parsley, or chives for a burst of freshness that elevates the dish. These green accents are a lovely visual and flavor enhancement.
-
Different Cheese: Swap some cheddar with Gruyère or mozzarella for a different flavor profile and texture. Experimenting with cheeses opens up new tasty horizons!
-
Nutty Crunch: Top with crushed nuts like almonds or pecans instead of breadcrumbs for a crunchy alternative that brings a surprising depth to the dish. A moment of unexpected joy in every bite!
How to Store and Freeze Creamy Baked Cheddar Mac-and-Cheese
Fridge: Store any leftover Creamy Baked Cheddar Mac-and-Cheese in an airtight container in the refrigerator for up to 3 days. Reheat in the microwave or oven until warmed through.
Freezer: Freeze portions of the baked mac-and-cheese in freezer-safe containers or bags for up to 3 months. Thaw overnight in the fridge before reheating.
Reheating: To reheat from the fridge, microwave in 30-second intervals until hot, or bake at 350°F (180°C) for about 15-20 minutes, covering with foil to prevent drying.
Serving Tips: For best texture upon reheating, add a splash of milk to the dish before warming; it helps bring back creaminess!
Make Ahead Options
These Creamy Baked Cheddar Mac-and-Cheese are perfect for meal prep enthusiasts! You can prepare the cheese sauce and cooked macaroni up to 24 hours in advance. Just make the sauce, mix it with the pasta, and then transfer it into your baking dish without adding the final cheese topping. Cover tightly with plastic wrap and refrigerate. When you're ready to bake, simply take it out, sprinkle on the remaining cheese, and bake as directed—this will ensure the dish is just as delicious and fresh. If you need to prep even further ahead, you can freeze the assembled mac-and-cheese for up to 3 months! Just thaw in the refrigerator overnight before baking. This makes weeknight dinners a breeze!
What to Serve with Creamy Baked Cheddar Mac-and-Cheese
As you savor each creamy bite of this mac-and-cheese, let’s explore delightful additions that will round out the meal beautifully.
-
Garlicky Green Beans: These tender beans with a hint of garlic add a fresh and vibrant contrast to the rich mac-and-cheese.
-
Crispy Bacon-Wrapped Brussels Sprouts: The salty crunch of bacon complements the creaminess perfectly, bringing a delightful twist to your dinner plate.
-
Tangy Coleslaw: A zesty coleslaw topped with a light vinaigrette cuts through the richness, providing a bright and crunchy side that everyone will love.
-
Roasted Veggies: A medley of seasonal veggies adds earthy flavors and colors to your meal, enhancing the overall experience with balanced nutrition.
-
Buttery Corn on the Cob: Sweet, juicy corn slathered in butter brings a classic touch to your table, making it the perfect companion for your mac-and-cheese.
-
Chilled White Wine: A crisp, chilled Sauvignon Blanc or Chardonnay harmonizes the dish with its refreshing acidity, making every bite even more enjoyable.
-
Chocolate Chip Cookies: End on a sweet note with warm cookies; the gooey chocolate perfectly pairs with the creamy overlay of your mac-and-cheese, leaving guests craving more!
Expert Tips for Creamy Baked Cheddar Mac-and-Cheese
Perfectly Cooked Pasta: Ensure your elbow macaroni is cooked al dente; it will absorb some sauce as it bakes, keeping the pasta from becoming mushy.
Cheese Varieties: Experiment with a blend of cheeses; mixing sharp cheddar with Gruyère or fontina can add more depth and flavor to your Creamy Baked Cheddar Mac-and-Cheese.
Avoid Lumpy Sauce: Whisk continuously while adding the milk to your roux. This helps prevent lumps, ensuring a silky smooth cheese sauce.
Test Doneness: Keep an eye on the baking time; the cheese should be bubbly and golden brown. Use a toothpick to check if the mixture is hot throughout.
Resting Time: Let the baked mac-and-cheese sit for a few minutes before serving. This makes it easier to scoop and helps meld the flavors perfectly!

Creamy Baked Cheddar Mac-and-Cheese Recipe FAQs
How do I choose the best cheese for my mac-and-cheese?
Absolutely! For the creamiest Creamy Baked Cheddar Mac-and-Cheese, I recommend using sharp cheddar for its bold flavor. Mixing in cheeses like Gruyère or fontina can also give an incredible depth. Always opt for freshly shredded cheese, as pre-shredded varieties often contain anti-caking agents that can affect creaminess.
What’s the best way to store leftover mac-and-cheese?
Very simple! Store any leftover Creamy Baked Cheddar Mac-and-Cheese in an airtight container in the refrigerator, and enjoy it within 3 days. Just make sure it’s cooled down before sealing, as this helps prevent condensation and keeps it fresh.
Can I freeze mac-and-cheese, and how?
Absolutely! To freeze your Creamy Baked Cheddar Mac-and-Cheese, let it cool completely before transferring it to freezer-safe containers or bags. It should stay fresh for up to 3 months. When you're ready to enjoy it, simply thaw it overnight in the fridge, then reheat until warm throughout.
What should I do if my cheese sauce turned lumpy?
Don’t worry! If your cheese sauce goes lumpy, it’s usually due to adding cheese too quickly or not whisking enough while adding milk. To fix it, try blending the sauce with an immersion blender until smooth. Just be sure to continuously whisk when you make your roux and add dairy to prevent it from happening next time.
Are there any dietary considerations I should take into account?
Absolutely! If you're cooking for someone with lactose intolerance, consider using lactose-free milk and cheddar cheese. Additionally, for a gluten-free option, swap the all-purpose flour with a gluten-free flour blend. Always double-check labels for any allergies, especially for those who may be sensitive to dairy or certain cheese ingredients.
How can I achieve a crispy topping on my mac-and-cheese?
Very easily! For a crunchy topping, sprinkle breadcrumbs over the mac-and-cheese before baking. You can also mix the breadcrumbs with a little melted butter for extra flavor and crispness. Bake as directed, and you’ll have a delicious crunch on top to contrast with the creamy goodness below!
Irresistibly Creamy Baked Cheddar Mac-and-Cheese Delight
Ingredients
Equipment
Method
- Preheat your oven to 350°F (175°C) and lightly grease a 9x13 inch baking dish with butter.
- In a large pot of boiling salted water, cook the elbow macaroni until slightly al dente. Drain and set aside.
- In a large saucepan, melt the unsalted butter over medium heat. Whisk in the flour and cook for 1-2 minutes to create a roux.
- Slowly add the whole milk to the roux while whisking continuously, then introduce the heavy cream, stirring until smooth and slightly thickened.
- Stir in the salt, black pepper, dry mustard powder, and smoked paprika until evenly combined.
- Gradually add 3 cups of shredded sharp cheddar cheese to the saucepan, stirring until melted and the sauce is creamy.
- Add the cooked macaroni to the cheese sauce, stirring gently to coat evenly.
- Pour the macaroni and cheese mixture into the prepared baking dish and sprinkle the remaining 1 cup of cheddar cheese over the top.
- If using breadcrumbs, sprinkle them evenly over the cheese layer.
- Bake for 20-25 minutes until bubbly and golden brown.
- Let it rest for a few minutes before serving to allow the cheese sauce to set.


Leave a Reply