
As I wandered through a charming pumpkin patch, I stumbled upon an idea that would thrill any Halloween lover: a Spiderweb Chocolate Cake. This indulgent dessert isn’t just a feast for the eyes; it’s also a fun way to gather friends and family for a spooky celebration. One of the best perks of this recipe is its easy preparation—perfect for those busy days leading up to Halloween! Plus, the delight of decorating it with a web design makes it a fantastic activity for kids and adults alike. Are you ready to impress your guests with this hauntingly delicious creation? Let’s dive into the world of Halloween treats!

Why is Spiderweb Chocolate Cake a Must-Try?
Delightfully Fun: This dessert adds a whimsical touch to your Halloween festivities, making it a perfect centerpiece.
Easy Preparation: Designed for busy schedules, this cake comes together quickly so you can focus on enjoying the celebration.
Interactive Experience: Decorating the spiderweb is a fun activity for everyone; gather the kids and make it a family affair!
Rich and Decadent Flavor: The chocolate cake is not just visually captivating; its moist layers and chocolatey goodness will leave everyone craving more.
Versatile for Any Occasion: While perfect for Halloween, this cake can easily transition to other fall gatherings or spooky celebrations.
With all these terrific features, why not explore more ways to elevate your spooky treats? Check out our other Halloween dessert recipes for inspiration!
Spiderweb Chocolate Cake Ingredients
• A delightful mix for spooky celebrations!
For the Cake
- All-Purpose Flour – provides structure, ensuring the cake has just the right crumb.
- Granulated Sugar – sweetens the cake and balances the rich cocoa flavor.
- Cocoa Powder – gives the cake its deep chocolate flavor; Dutch-processed works wonderfully here.
- Baking Powder – helps the cake rise, ensuring each slice is light and fluffy.
- Baking Soda – enhances the cake's leavening while pairing perfectly with cocoa.
- Salt – amplifies the sweetness and balances flavors, a must-have in any cake recipe.
- Eggs – bind the ingredients together, adding moisture and richness.
- Buttermilk – keeps the cake moist and tender, making each bite melt in your mouth.
- Vanilla Extract – infuses a warm note to the chocolate, elevating the overall flavor.
- Vegetable Oil – adds moisture, keeping the cake soft and delicious.
For the Spiderweb Decoration
- Chocolate Ganache – this silky mixture of chocolate and cream creates a glossy finish; use dark chocolate for a richer taste.
- White Chocolate – perfect for creating the iconic spiderweb; melt and pipe out the design for maximum effect.
With these colorful components, you'll be well on your way to crafting a stunning Spiderweb Chocolate Cake that captivates both the eyes and the taste buds!
Step‑by‑Step Instructions for Spiderweb Chocolate Cake
Step 1: Preheat and Prepare
Begin by preheating your oven to 350°F (175°C). Grease and flour two 9-inch round cake pans, ensuring a smooth release when it's time to serve your Spiderweb Chocolate Cake. Prepare your ingredients by measuring out the flour, sugar, cocoa powder, baking powder, baking soda, salt, eggs, buttermilk, vanilla extract, and vegetable oil.
Step 2: Mix Dry Ingredients
In a large mixing bowl, whisk together the all-purpose flour, granulated sugar, cocoa powder, baking powder, baking soda, and salt until well combined. This will create a rich base for your Spiderweb Chocolate Cake, blending the dry ingredients evenly. Keep an eye on the texture; it should appear light and fluffy, free of lumps before moving on to the next step.
Step 3: Combine Wet Ingredients
In a separate bowl, whisk together the eggs, buttermilk, vegetable oil, and vanilla extract until smooth and creamy. Slowly incorporate this wet mixture into your dry ingredients, mixing until just combined. The batter should be silky and slightly thick, with no visible dry spots. Be careful not to overmix; you want a tender cake texture when it bakes.
Step 4: Bake the Cakes
Divide the batter evenly between the prepared cake pans. Place them in the preheated oven and bake for 30–35 minutes, or until a toothpick inserted into the center comes out clean. As the cakes rise and bake, they will release a wonderful chocolate aroma. Once done, remove them from the oven and let them cool in the pans for 10 minutes before transferring them to a wire rack to cool completely.
Step 5: Prepare the Ganache
While the cakes cool, prepare the chocolate ganache for icing. Heat heavy cream in a small saucepan over medium heat until it just begins to simmer, then pour it over chopped dark chocolate in a heat-safe bowl. Let it sit for about 5 minutes before stirring until smooth and glossy. This luxurious ganache will add depth to your Spiderweb Chocolate Cake.
Step 6: Ice the Cake
Once the cakes are completely cooled, place one layer on a serving plate. Spread a generous layer of chocolate ganache on top, then carefully place the second layer on top. Coat the entire cake with a thin layer of ganache to create a smooth base. The cake should look decadent and inviting, with a glossy chocolate layer covering every bit.
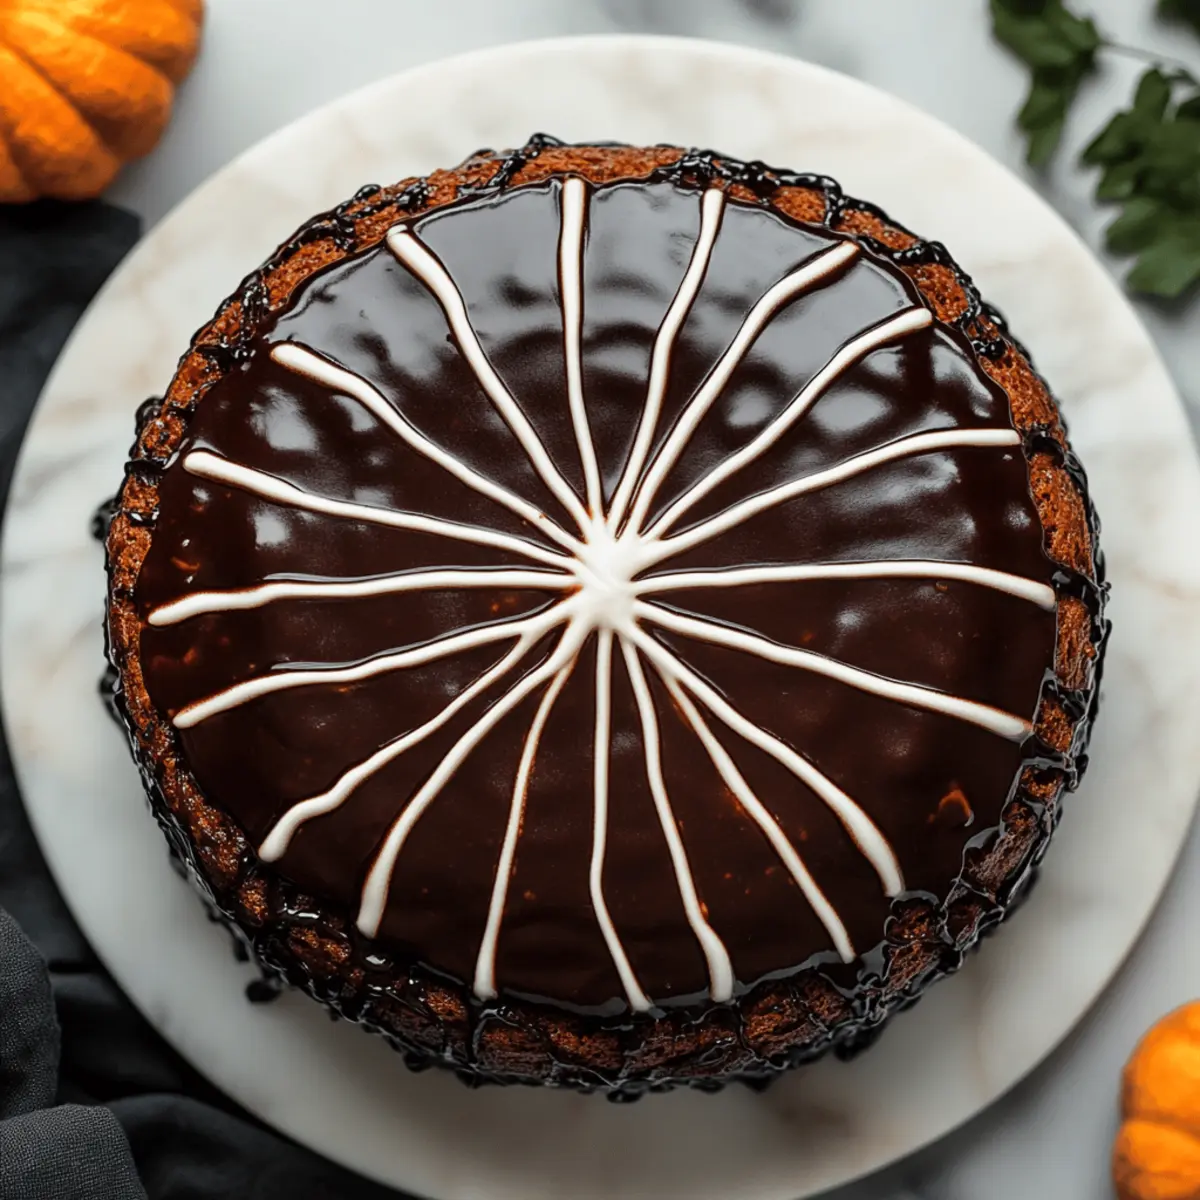
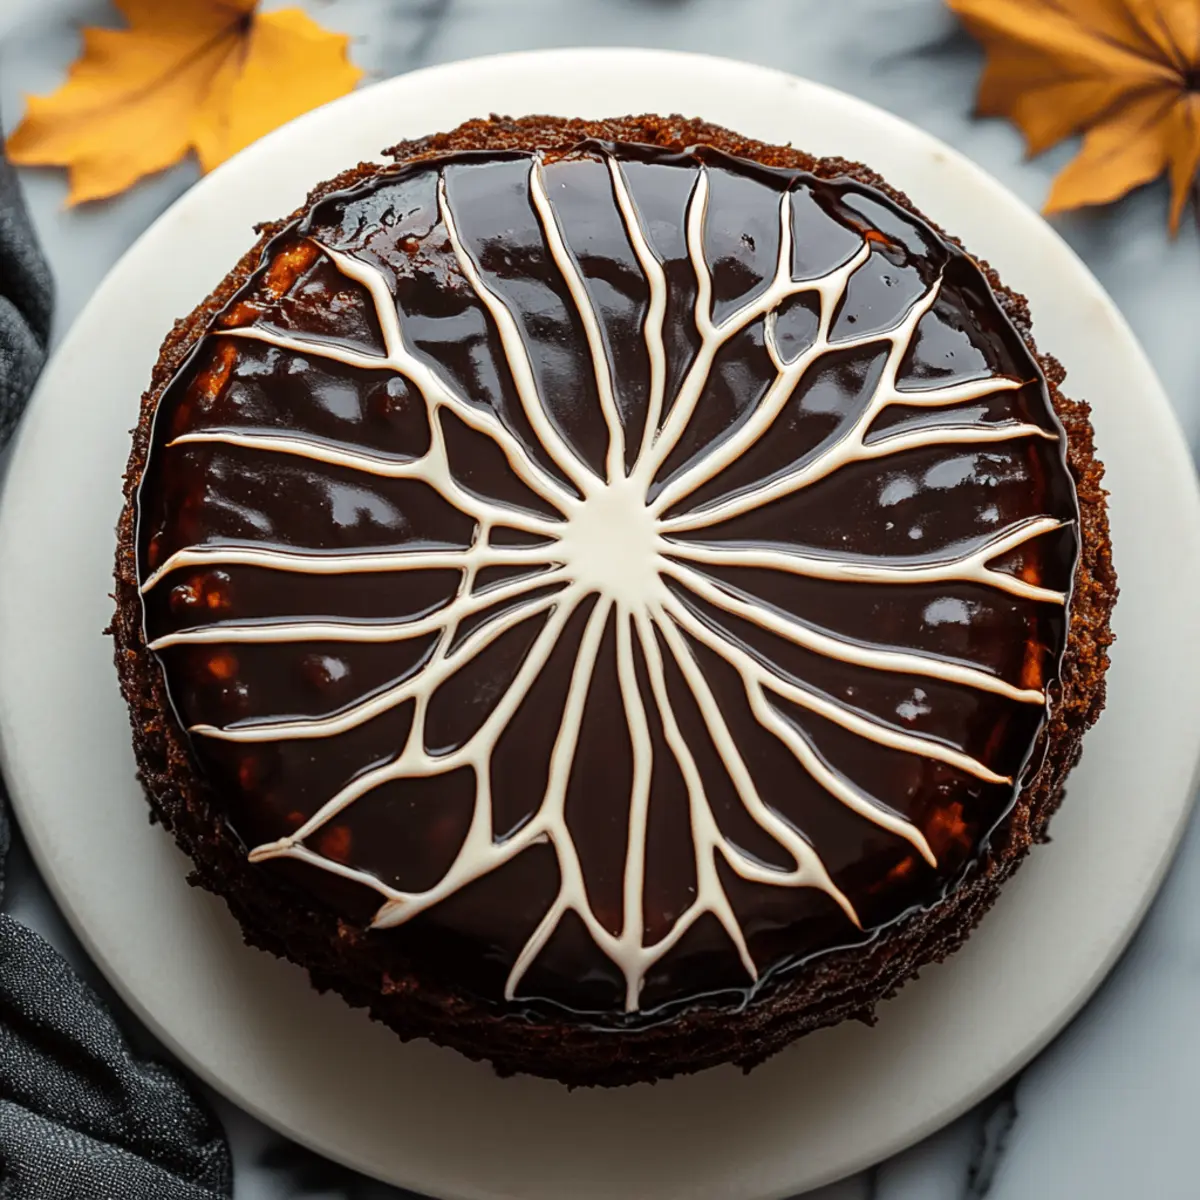
Step 7: Create the Spiderweb Decoration
To create the iconic spiderweb, melt white chocolate in a heat-safe bowl until smooth. Transfer it to a piping bag or a zip-top bag with the corner snipped off. Drizzle the white chocolate in a spiral pattern on top of the ganache, then use a toothpick to drag lines from the center outward to form the web design. This finishing touch will elevate your Spiderweb Chocolate Cake, making it a spooky attraction at any Halloween gathering.
Step 8: Serve and Enjoy
Let the decorated cake sit for at least 30 minutes to set the ganache and chocolate. Slice, serve, and watch your family and friends delight at the sight of this show-stopping Spiderweb Chocolate Cake! Remember to store any leftovers in an airtight container to maintain freshness, and feel free to make it a day in advance to save time on Halloween.
How to Store and Freeze Spiderweb Chocolate Cake
Room Temperature: Keep the decorated cake in an airtight container at room temperature for up to 3 days to maintain its softness and moisture.
Fridge: If you need to store leftovers longer, refrigerate the cake in an airtight container for up to a week. Just remember that chilling may slightly alter the texture.
Freezer: For longer storage, slice and wrap pieces of the Spiderweb Chocolate Cake tightly in plastic wrap, then place them in a freezer-safe bag. It can be frozen for up to 2 months.
Reheating: When ready to enjoy, let the cake thaw in the fridge overnight. For a warm treat, gently microwave individual slices for about 10-15 seconds, just until warmed through.
Helpful Tricks for Spiderweb Chocolate Cake
-
Measure Accurately: Using precise measurements for ingredients ensures a light and fluffy cake. Avoid overflowing scoops, especially for the flour.
-
Room Temperature Eggs: For the best texture, let eggs come to room temperature before mixing. This helps create a smoother batter for your Spiderweb Chocolate Cake.
-
Don’t Overmix: Once you combine wet and dry ingredients, mix just until combined. Overmixing can lead to a dense cake, losing that perfect softness.
-
Cool Completely: Allow the cake layers to cool completely before icing. A warm cake can cause the ganache to melt, losing the beautiful glossy finish.
-
Spooky Presentation: Enhance your spiderweb decoration by adding mini chocolate spiders or using colored sprinkles to elevate your Halloween aesthetic.
-
Storage Secrets: Keep the decorated cake in an airtight container at room temperature. This helps maintain its moistness, ensuring every slice is delightful!
What to Serve with Spiderweb Chocolate Cake?
Imagine the delight of presenting a beautifully decorated cake at your gathering, complemented by unforgettable sides that elevate your Halloween experience.
-
Spooky Sugar Cookies: These classic treats can be decorated with fun Halloween themes, adding whimsical flavors and textures that kids will love.
-
Pumpkin Spice Cupcakes: A seasonal favorite, these moist cupcakes bring warmth and spice, perfectly balancing the richness of the chocolate cake.
-
Chilling Ghostly Fruit Salad: A refreshing mix of seasonal fruits like pears and grapes, served in a ghostly fashion, lightens the table and excites the senses.
-
Caramel Apple Slices: Sweet and slightly tart, these easy-to-eat snacks are a nostalgic Halloween classic that makes everyone's taste buds dance.
-
Creepy Candy Corn Parfaits: Layer whipped cream and candy corn for a vibrant dessert that adds color and crunch, enticing everyone to dig in.
-
Witch's Brew Punch: This fun and fizzy drink adds a refreshing twist, making it a perfect pairing for the richness of your Spiderweb Chocolate Cake.
Elevate your festivities by including these delightful accompaniments that promise to delight both the eyes and the taste buds!
Make Ahead Options
These Spiderweb Chocolate Cakes are perfect for meal prep, saving you time during the bustling days leading up to Halloween! You can bake the cakes up to 24 hours in advance—just allow them to cool completely before wrapping them tightly in plastic wrap and refrigerating to maintain their moisture. Additionally, you can prepare the chocolate ganache ahead of time; simply store it in an airtight container in the fridge for up to 3 days. When you’re ready to serve, reheat the ganache slightly to achieve a smooth consistency, then ice your cake and create the spiderweb decoration. With these make-ahead tips, you'll be able to enjoy a delightful Halloween celebration with your loved ones without the last-minute rush!
Spiderweb Chocolate Cake Variations
Feel free to get creative and adapt the Spiderweb Chocolate Cake to fit your taste and occasion!
-
Gluten-Free: Substitute all-purpose flour with a gluten-free flour blend for a delightful, inclusive treat. It’s just as moist and delicious!
-
Vegan: Replace eggs with flaxseed meal and use plant-based milk instead of buttermilk. This way, everyone can enjoy the spooky delight!
-
Chocolate Ganache Twist: Add a splash of bourbon or espresso to your ganache for a flavor boost that will intrigue your guests. The depth of flavor is truly captivating!
-
Nutty Garnish: Toss in some chopped walnuts or pecans on top of your spiderweb decoration. The crunch adds a lovely texture that contrasts beautifully with the soft cake.
-
Spicy Kick: Incorporate a teaspoon of chili powder into the batter for a subtle heat that complements the chocolate perfectly. Your guests will be pleasantly surprised!
-
Dairy-Free: Use coconut cream for the ganache and almond milk in place of buttermilk. This keeps the richness while accommodating lactose intolerance.
-
Layered Treat: Try making it a layered cake by adding layers of raspberry or caramel between the cake layers. The fruity or buttery notes elevate the dessert to gourmet status!
To make your Halloween gatherings even more exciting, don’t forget to explore other festive delights like our Pumpkin Patch Cupcakes and Ghoulish Ghost Truffles for a sweet spread everyone will rave about!
Spiderweb Chocolate Cake Recipe FAQs
What type of cocoa powder should I use?
For the best flavor in your Spiderweb Chocolate Cake, I recommend using Dutch-processed cocoa powder. It gives a deeper and more balanced chocolate flavor, which is ideal for the richness of this cake.
How should I store leftovers?
Absolutely! To keep your Spiderweb Chocolate Cake fresh, store it in an airtight container at room temperature for up to 3 days. If you need to extend its shelf life, you can refrigerate it for up to a week, but do keep in mind that chilling may slightly change its texture.
Can I freeze the Spiderweb Chocolate Cake?
Yes! If you want to enjoy this spooky delight later, slice the cake and wrap individual pieces tightly in plastic wrap. Place them in a freezer-safe bag, and they will last for up to 2 months. When you're ready to indulge, simply let the slices thaw in the fridge overnight. For a cozy treat, pop a slice in the microwave for 10-15 seconds.
What if my cake doesn't rise properly?
If your Spiderweb Chocolate Cake doesn’t rise as expected, there could be a few reasons. First, ensure your baking powder and baking soda are fresh; both should be within their expiration dates. Next, avoid overmixing the batter after adding the wet ingredients; this can lead to a dense cake. Lastly, make sure your oven is properly preheated, as baking at incorrect temperatures can also affect the rise.
Can I make this cake gluten-free?
Absolutely! To make a gluten-free Spiderweb Chocolate Cake, substitute the all-purpose flour with a 1:1 gluten-free flour blend. Be sure to check that your other ingredients, like baking powder and cocoa powder, are also gluten-free. This way, everyone can enjoy a slice of the celebration!
Is this cake suitable for pets?
While the Spiderweb Chocolate Cake is a delightful treat for humans, it’s important to keep it away from furry friends. Chocolate is toxic to dogs and cats, so make sure to enjoy this treat yourself and not share with your pets for their safety.

Decadent Spiderweb Chocolate Cake for a Spooky Treat
Ingredients
Equipment
Method
- Preheat your oven to 350°F (175°C) and grease two 9-inch round cake pans.
- In a large mixing bowl, whisk together flour, sugar, cocoa powder, baking powder, baking soda, and salt.
- In another bowl, whisk eggs, buttermilk, oil, and vanilla until smooth. Combine wet and dry ingredients until just mixed.
- Divide the batter into the cake pans and bake for 30-35 minutes until a toothpick comes out clean.
- Remove from oven, let cool in pans for 10 minutes, then transfer to a wire rack to cool completely.
- Prepare chocolate ganache by heating cream, pouring it over chopped dark chocolate, and stirring until smooth.
- Once cooled, place one cake layer on a plate, add ganache, then top with the second layer. Coat the entire cake with ganache.
- Melt white chocolate, pipe into a spiderweb design on top of the ganache using a toothpick to create the web effect.
- Let the decorated cake sit for at least 30 minutes before serving for the ganache to set.


Leave a Reply