
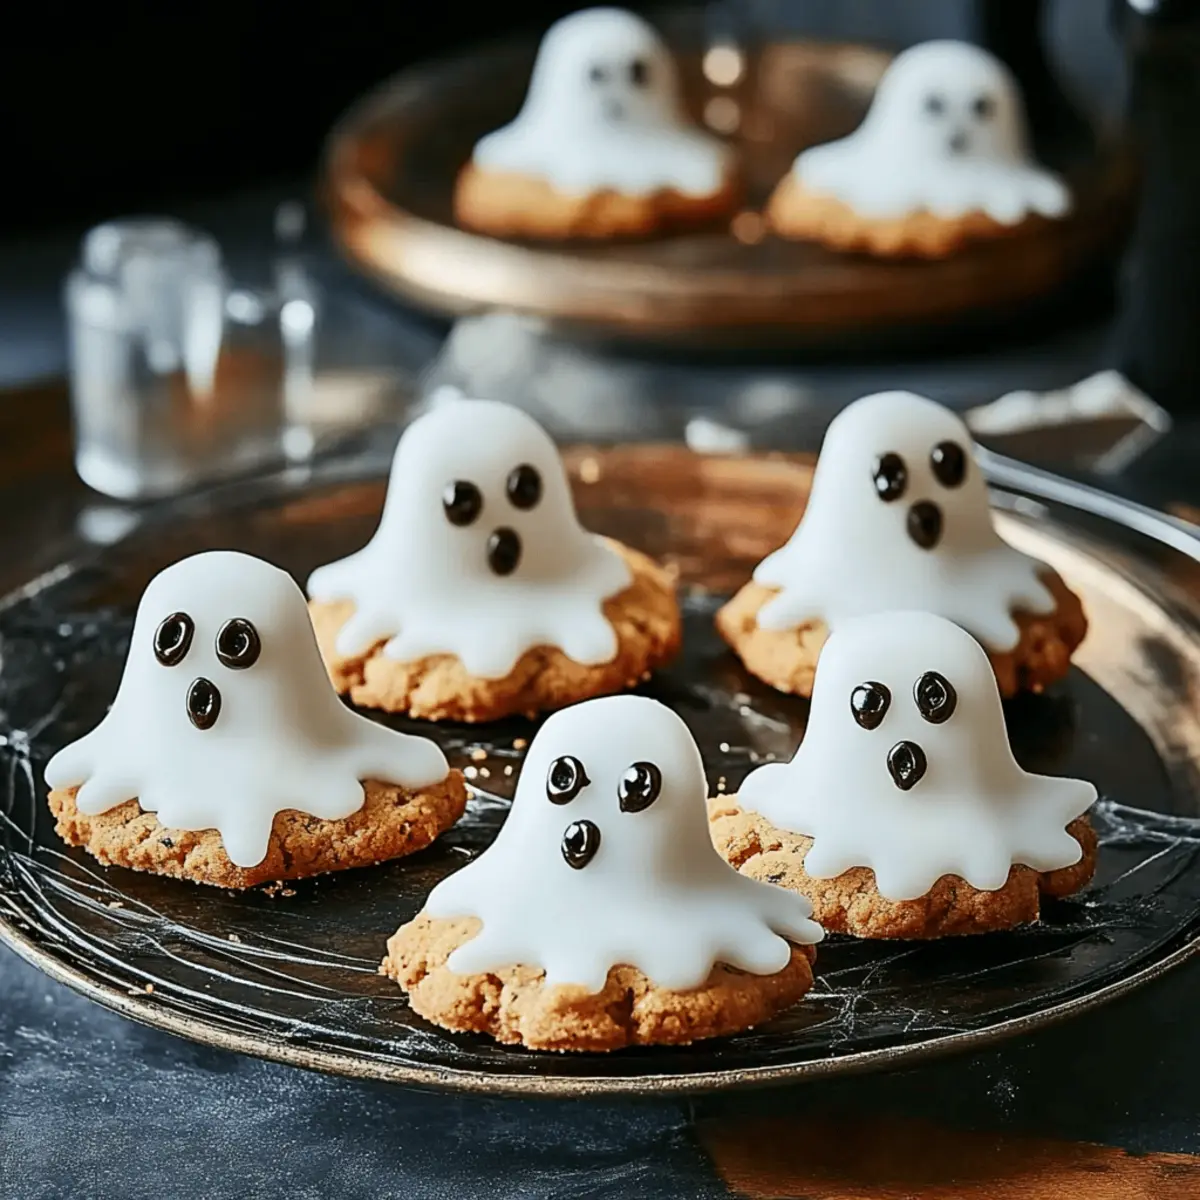
"With the autumn breeze tugging at my scarf, I couldn't resist the call of the kitchen. That's when I found myself whipping up a batch of Ghost Cookies—think charming little delights with a mischievous twist. These enchanting treats are not only a delightful way to get into the spirit of the season but also a fantastic crowd-pleaser for any gathering. What I love most about these cookies is how quick they are to make; in no time, you'll have a platter full of whimsical goodies ready to impress. Plus, they’re a fun activity for the whole family—perfect for creating cherished memories in the kitchen together. Ready to discover how a little creativity can turn an ordinary cookie into a ghostly masterpiece? Let’s dive in!"
Why are Ghost Cookies so special?
Whimsical and fun, these Ghost Cookies add a touch of enchantment to any occasion. Quick to prepare, you can whip up a batch in no time, making them a perfect treat for unexpected guests or festive gatherings. Child-friendly, this recipe invites everyone to join in the decorating fun, creating memories as sweet as the cookies themselves. Plus, versatile in flavor, you can customize them to your liking, whether you prefer classic vanilla or a rich chocolate twist. Enjoy a delightful bite of nostalgia with these spooky snacks that everyone will adore!
Ghost Cookies Ingredients
• Get ready to bake up some spooky goodness!
For the Cookie Base
- All-purpose flour – keeps your cookies light and fluffy, perfect for capturing that ghostly shape.
- Unsalted butter – gives the cookies a rich flavor; don't forget to bring it to room temperature for easy mixing.
- Granulated sugar – adds sweetness and helps achieve that lovely golden color.
- Brown sugar – enhances moisture and adds a slight caramel flavor to the cookies.
- Egg – binds all the ingredients together and adds richness to the dough.
- Vanilla extract – infuses the cookies with a warm, inviting aroma; you can use almond extract for a nutty twist!
- Baking soda – ensures your cookies rise perfectly and have a delightful texture.
- Salt – balances the sweetness and enhances the overall flavor of your Ghost Cookies.
For the Icing
- Powdered sugar – forms the sweet base for your ghostly decorations; sift it to avoid lumps for a smooth finish.
- Milk – thins the icing to the right consistency; adjust for a thicker or thinner design.
- Vanilla extract – adds a touch of flavor to your icing, elevating the overall taste of your Ghost Cookies.
- Food coloring – use black for spooky faces; let your creativity shine and have fun with different colors!
These Ghost Cookies promise to delight and inspire with their playful appearances, and you’ll find that they’re as fun to make as they are to eat!
Step‑by‑Step Instructions for Ghost Cookies
Step 1: Prep Your Ingredients
Start by gathering all your ingredients for the Ghost Cookies. Preheat your oven to 350°F (175°C), ensuring it's ready for baking. In a large mixing bowl, cream together the unsalted butter, granulated sugar, and brown sugar until light and fluffy, about 2-3 minutes. This creates a beautiful base for your cookies. Make sure your butter is at room temperature for easy mixing!
Step 2: Combine Wet Ingredients
While your mixture is fluffy, incorporate the egg and vanilla extract. Mix until everything is well combined, about 1-2 minutes. The dough should be smooth and slightly glossy. Take a moment to admire the aroma—it’s already enticing! Next, prepare to add the dry ingredients for your delicious Ghost Cookies.
Step 3: Mix in Dry Ingredients
In another bowl, whisk together your all-purpose flour, baking soda, and salt. Gradually add this flour mixture to your wet ingredients, mixing on low speed until no flour streaks remain, about 1-2 minutes. The dough will start to come together beautifully, forming a soft ball that’s perfect for shaping into ghostly forms.
Step 4: Shape the Cookies
Using a tablespoon or cookie scoop, portion out the dough and shape them into ghostly figures on a prepared baking sheet lined with parchment paper. Make sure to leave space between each cookie as they will spread slightly while baking. This is where the fun begins—create drops and curves to evoke those delightful ghost shapes!
Step 5: Bake to Perfection
Slide the baking sheet into your preheated oven and bake for 10-12 minutes, or until the edges are lightly golden. Keep an eye on them; you want a slightly soft center. Once baked, remove them from the oven and let the Ghost Cookies cool on the pan for 5 minutes before transferring them to wire racks to cool completely.
Step 6: Prepare the Icing
While your Ghost Cookies cool, whip up the icing by sifting powdered sugar into a bowl, then adding milk and vanilla extract. Stir until you achieve your desired consistency—thicker for outlining, thinner for flooding. Feel free to adjust it, so it flows effortlessly from your piping bag. It’s time to bring your cookies to life!
Step 7: Decorate Your Ghosts
Once the cookies are fully cooled, use your icing to create ghostly faces. If desired, drop in food coloring for extra flair—black eyes and mouth for spookiness! Feel free to get creative with designs and colors. This decorating step not only makes your Ghost Cookies extra special but also allows everyone to express their inner artist!
Step 8: Let It Set
After decorating, allow the icing to set at room temperature for about 30 minutes, or until hardened. This step makes it easier to stack and serve your enchanting treats. While you wait, prepare a cute serving plate for your sensational Ghost Cookies, ready to impress friends and family with your festive baking skills.
What to Serve with Ghost Cookies
Indulge in a delightful pairing experience that elevates your spooky treats into a full-blown feast.
-
Warm Apple Cider: Sipping on this cozy drink brings warmth and festivity, perfectly complementing the sweet and playful nature of Ghost Cookies. The cinnamon and nutmeg notes harmonize beautifully with the cookies’ vanilla essence.
-
Pumpkin Spice Latte: This seasonal favorite adds a rich, creamy touch that pairs wonderfully with the charming sweetness of your cookies. The warming spices make it an irresistible match for a delightful autumn day.
-
Chocolaty Milkshake: A thick and creamy milkshake introduces a luxurious texture that contrasts beautifully with the light cookie base. Serve it in fun glasses for added festive flair!
-
Spiced Nuts: A bowl of spiced nuts provides a crunchy and savory counterpoint, balancing the cookies' sweetness perfectly. The crunch adds texture while the spices echo the warm flavors of fall.
-
Fruit Salad: A refreshing fruit salad brightens up your dessert table, adding a burst of color and freshness. Juicy citrus fruits cut through the sweetness of the cookies, creating a well-rounded treat.
-
Chocolate Drizzle: Elevate your Ghost Cookies by drizzling them with melted chocolate. This extra layer of richness will enhance the flavor experience, making every bite even more delightful.
-
Halloween-Themed Treats: Consider serving additional seasonal snacks like caramel popcorn or gummy worms for a festive touch that ignites conversations and laughter. It's all about creating joyful memories around the table!
Make Ahead Options
These Ghost Cookies are perfect for busy home cooks wanting to save time while still impressing friends and family! You can prepare the cookie dough up to 24 hours in advance. Simply mix all the ingredients, shape the dough into ghostly figures, and flash freeze them on a baking sheet. Once frozen, transfer the cookies to an airtight container and refrigerate until ready to bake. When you’re ready to indulge, simply bake them straight from the fridge, adding an extra minute or two to the baking time for perfectly fluffy treats. This way, your Ghost Cookies will be just as delightful, making it easier to enjoy festive baking without the last-minute rush!
How to Store and Freeze Ghost Cookies
Room Temperature: Keep your decorated Ghost Cookies in an airtight container at room temperature, where they will stay fresh for up to 5 days. Be sure to separate layers with parchment paper to avoid sticking.
Fridge: For longer freshness, store the cookies in the fridge in a tightly sealed container for up to 10 days. Allow them to come to room temperature before serving for the best flavor.
Freezer: You can freeze unbaked dough for up to 3 months. Shape it into balls, freeze them on a baking sheet, then transfer to a freezer bag. Bake directly from frozen, adding a couple of extra minutes to the cook time.
Reheating: If you have leftover cookies that have lost their initial crispness, pop them in a preheated oven at 350°F (175°C) for 5 minutes to revive their texture and flavor before enjoying again.
Expert Tips for Ghost Cookies
-
Room Temperature Butter: Make sure your butter is softened to room temperature before creaming it with sugar. This helps achieve that light, fluffy texture essential for your Ghost Cookies.
-
Accurate Measure: Use a kitchen scale or measuring cups carefully when measuring flour and sugar. Too much or too little can affect your cookies' texture and taste.
-
Prevent Spreading: Chill your dough for 30 minutes before baking if the dough feels too soft. This helps the Ghost Cookies maintain their shape during baking.
-
Icing Consistency: Aim for a thick icing for outlines and a thinner one for flooding. Adjust with milk and powdered sugar as needed to achieve your desired consistency for decorating.
-
Creative Faces: Let your imagination run wild with designs! Experiment with different colors and patterns for the ghost faces—it’s all part of the fun in making your Ghost Cookies.
-
Storage Wisdom: Store your decorated cookies in an airtight container at room temperature. This keeps them fresh and delicious, so you can enjoy them a little longer!
Ghost Cookies Variations & Substitutions
Feel free to explore these fun twists on classic Ghost Cookies, enhancing flavors and textures to create something uniquely yours!
-
Gluten-Free: Substitute all-purpose flour with a gluten-free flour blend to keep these cookies friendly for everyone.
The ghostly shapes remain just as playful and delicious, making sure those with gluten sensitivities can join the fun without missing out! -
Dairy-Free: Swap unsalted butter with coconut oil or a dairy-free butter alternative.
This keeps the rich taste while ensuring those who are lactose intolerant can enjoy the spookiness just as much! -
Chocolate-Dipped: After icing, dip the cookies in melted dark or milk chocolate for an indulgent treat.
This extra layer creates a delightful chocolatey surprise that balances the sweetness in a wonderfully rich way! -
Nutty Twist: Add chopped walnuts or pecans into the dough for a pleasing crunch!
The toasted flavors will perfectly mingle with the sweetness, giving your Ghost Cookies an extra touch of warmth. -
Spiced Variation: Mix in a teaspoon of cinnamon or pumpkin spice into the dough for a cozy fall flavor.
This twist adds a warm, aromatic quality that makes these treats even more comforting during chilly October nights. -
Meringue Topping: Instead of icing, top each ghost with a dollop of fluffy meringue before baking.
These meringue ghosts will puff up beautifully and provide a soft, airy texture that contrasts wonderfully with the cookie base! -
Heat It Up: For a kick, mix in some finely chopped jalapeños or a pinch of cayenne pepper into the dough.
The surprising heat paired with the sweetness makes for an intriguing twist that adventurous eaters will love! -
Colorful Fun: Use various food colorings for the icing for a vibrant Halloween display!
Create a cookie ghost army with colors like pastel pinks, blues, or greens for a whimsical twist that delights both kids and adults alike.
Let your creativity run wild with these variations, guiding you to create the perfect Ghost Cookies for every taste and occasion!
Ghost Cookies Recipe FAQs
How do I know if my ingredients are ripe or suitable for use?
Absolutely! For the best results, ensure your butter is at room temperature, which typically takes about 30 minutes out of the fridge. Your egg should also be at room temperature for easy mixing. Fresh ingredients, such as the aromatic vanilla extract, enhance the cookies' flavor, so check for the expiration dates and choose ones that smell inviting.
What is the best way to store Ghost Cookies, and how long will they last?
Keep your decorated Ghost Cookies in an airtight container at room temperature for up to 5 days. If stored properly, they can also stay fresh in the fridge for up to 10 days. Just remember to let them come back to room temperature before serving, as this enhances their flavor and texture.
Can I freeze my Ghost Cookies? What’s the best method?
Very! You can freeze unbaked dough for up to 3 months. Shape your dough into balls and freeze them on a baking sheet initially. Once frozen, transfer them to a freezer bag. When you’re ready to bake, put them directly into the oven, adding an extra couple of minutes to the baking time. It’s a convenient way to have fresh cookies whenever you crave them!
What should I do if my Ghost Cookies spread too much while baking?
If your cookies spread too much, there are a couple of remedies! First, ensure your butter is softened to room temperature, not melted, as melted butter can lead to greasy cookies. If your dough feels very soft, you might want to chill it in the fridge for about 30 minutes before baking. This simple step helps maintain the ghostly shapes and creates those delightful fluffy cookies!
Are Ghost Cookies safe for pets?
No, it’s best to keep these cookies away from pets, especially since they contain ingredients like sugar and potentially chocolate if you choose to use it in flavorings. Always opt for pet-friendly treats when baking for your furry friends!
What if I have allergies to certain ingredients?
If you or your loved ones have dietary restrictions, feel free to swap out conventional ingredients with alternatives! You can use gluten-free flour for a gluten-free version of the cookies and plant-based butter or egg substitutes like applesauce for those who are vegan. Enjoying baking together is all about making it safe and delicious for everyone!
Delicious Ghost Cookies That Haunt Your Taste Buds
Ingredients
Equipment
Method
- Start by gathering all your ingredients for the Ghost Cookies. Preheat your oven to 350°F (175°C). Cream together the unsalted butter, granulated sugar, and brown sugar until light and fluffy.
- Incorporate the egg and vanilla extract, mixing until well combined and the dough is smooth.
- Whisk together the flour, baking soda, and salt in another bowl. Gradually add this to your wet ingredients, mixing until no flour streaks remain.
- Scoop the dough and shape into ghostly figures on a prepared baking sheet. Leave space between each cookie.
- Bake for 10-12 minutes or until edges are golden. Let cool on the pan for 5 minutes, then transfer to wire racks.
- Prepare the icing by sifting powdered sugar into a bowl and adding milk and vanilla extract until desired consistency is achieved.
- Once cookies are cooled, decorate with icing to create ghostly faces and let the icing set for about 30 minutes.


Leave a Reply