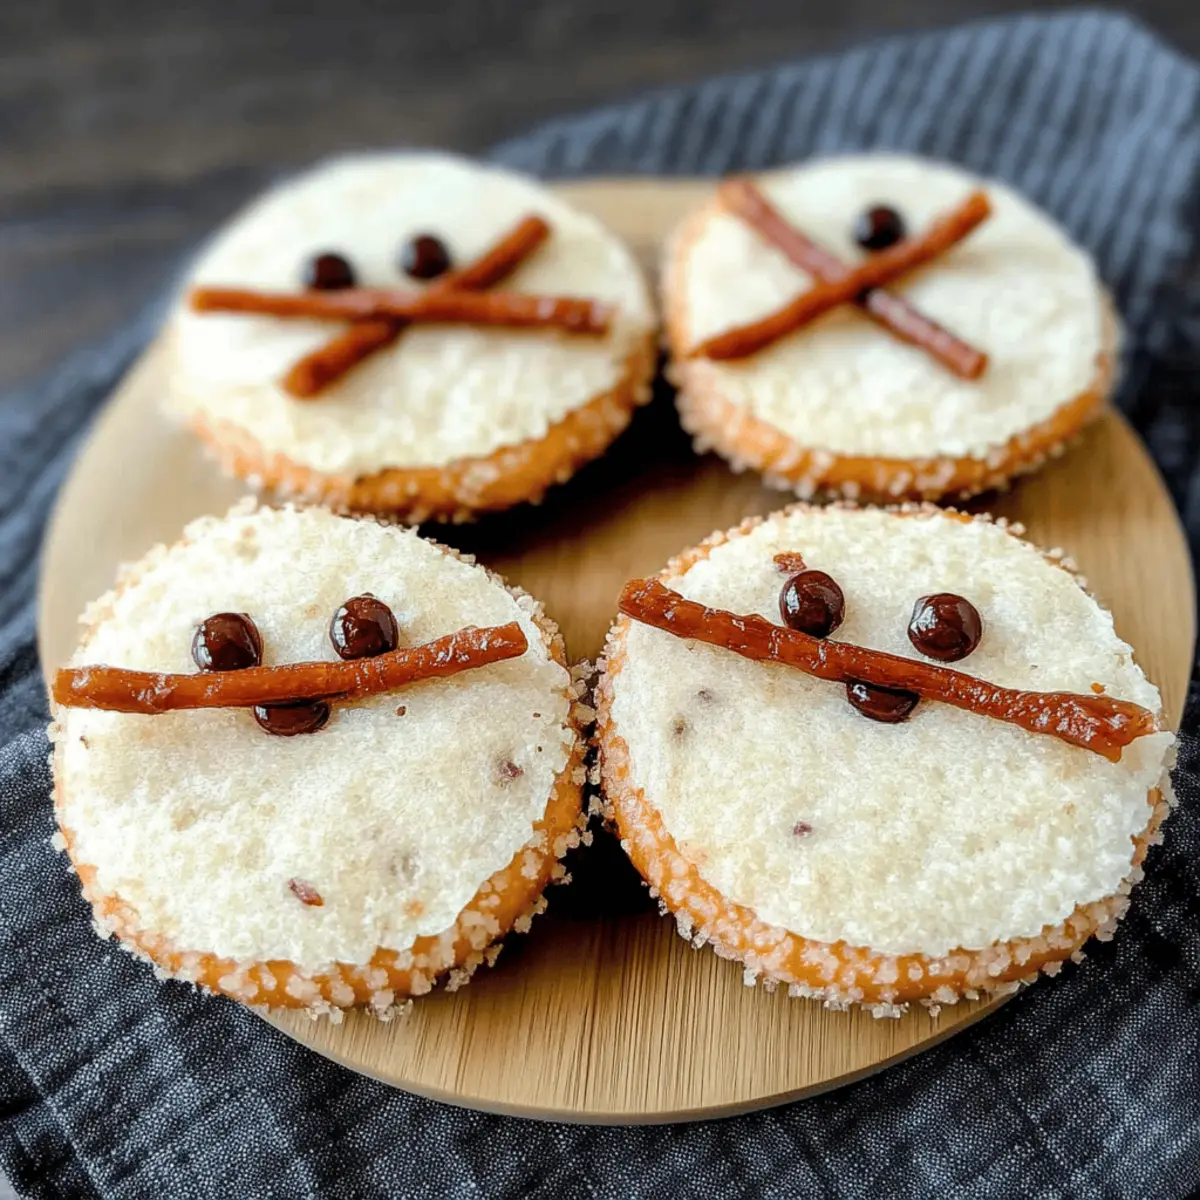
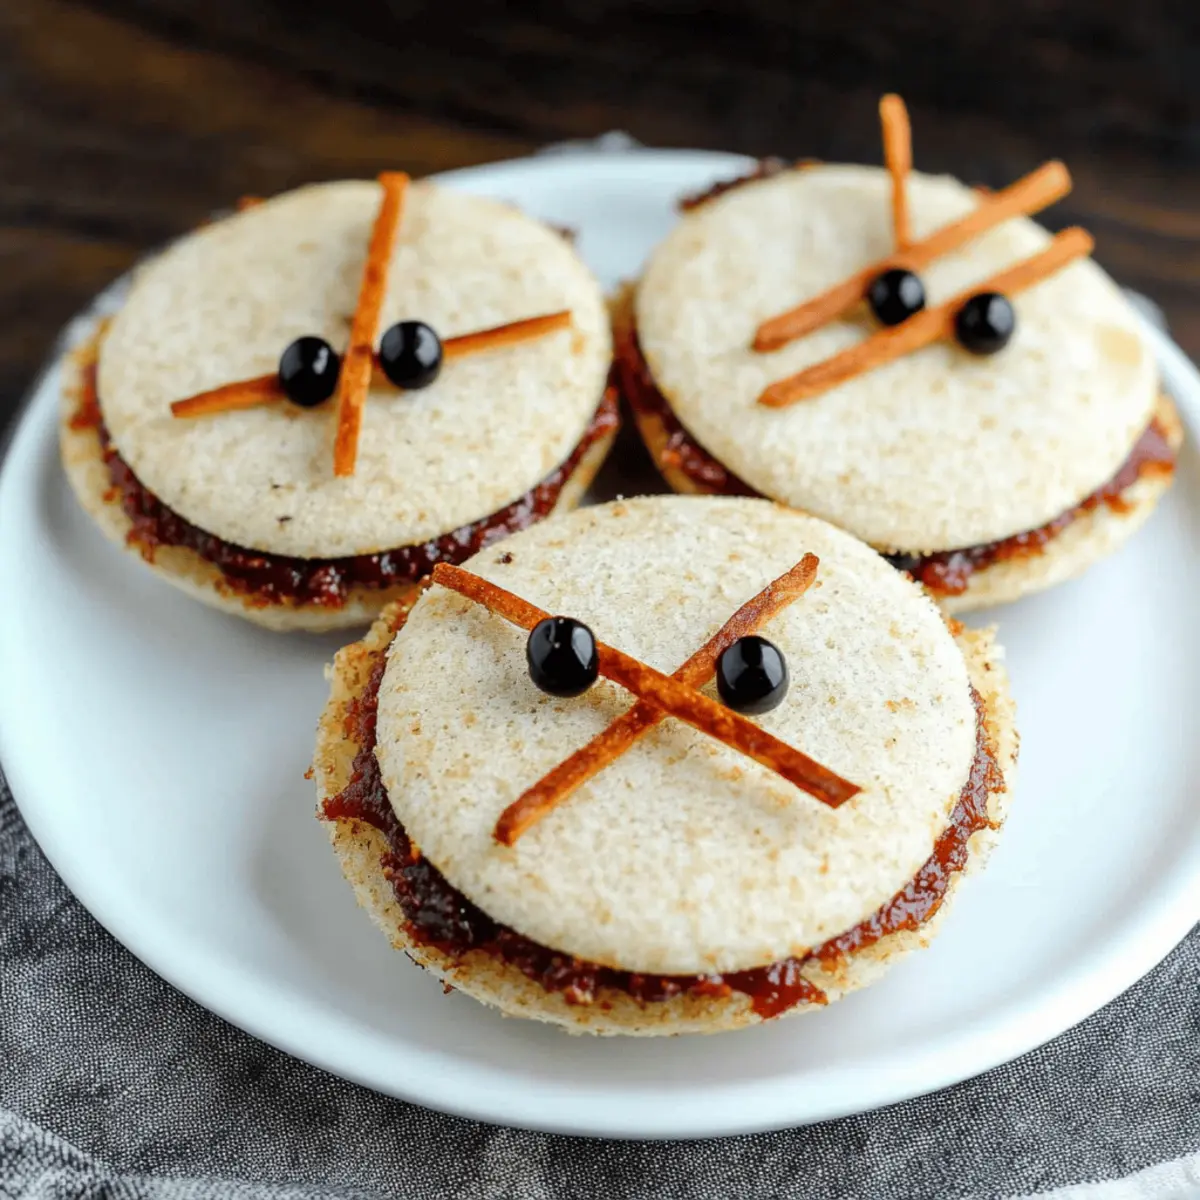
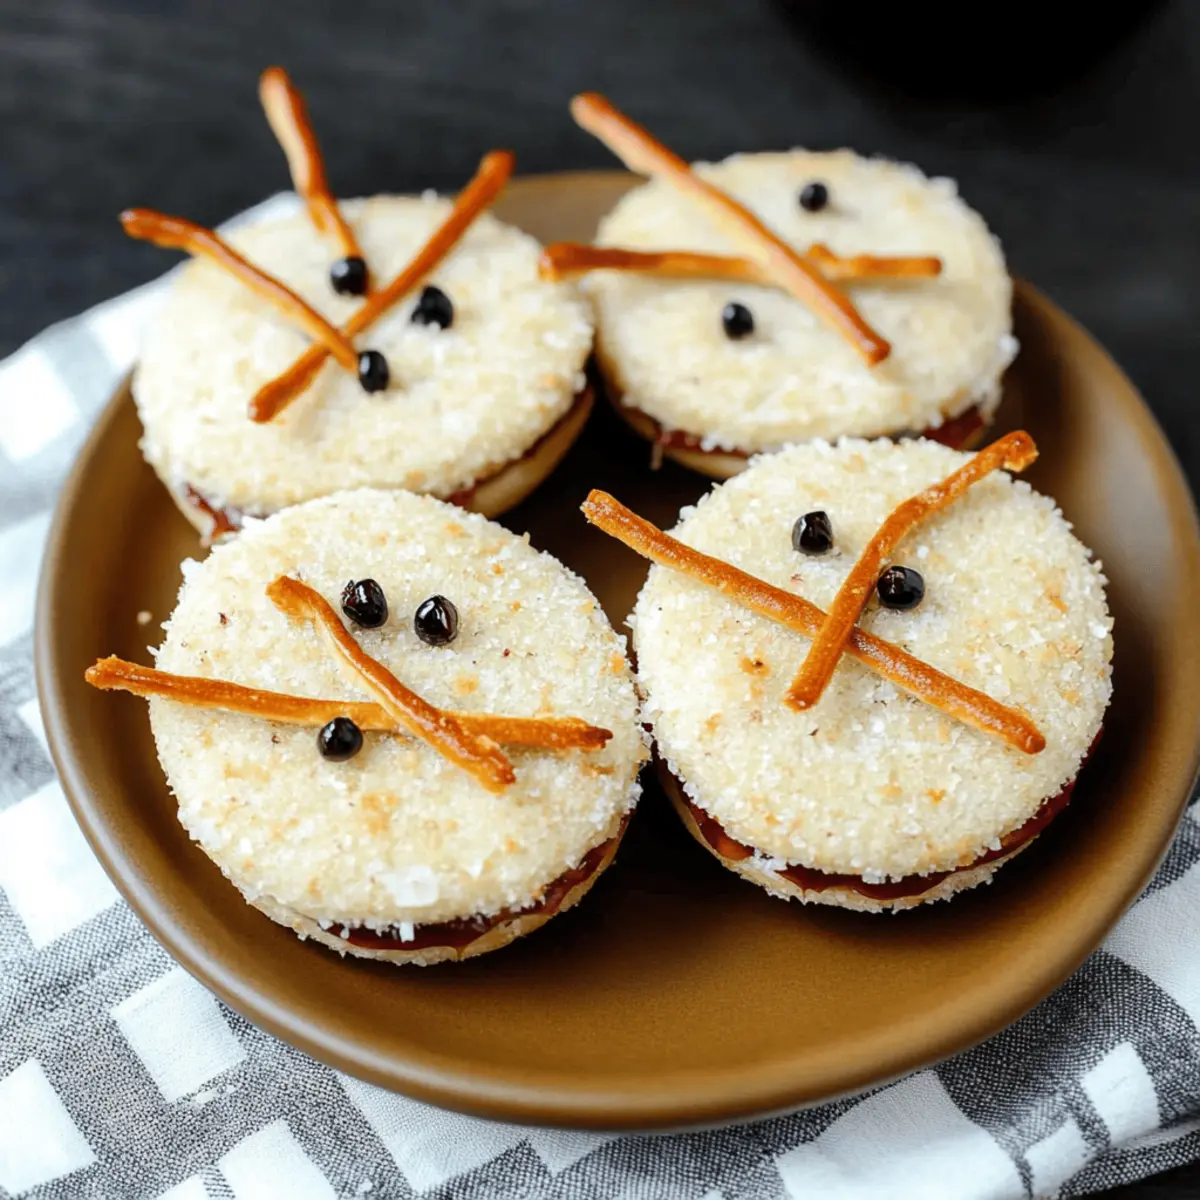
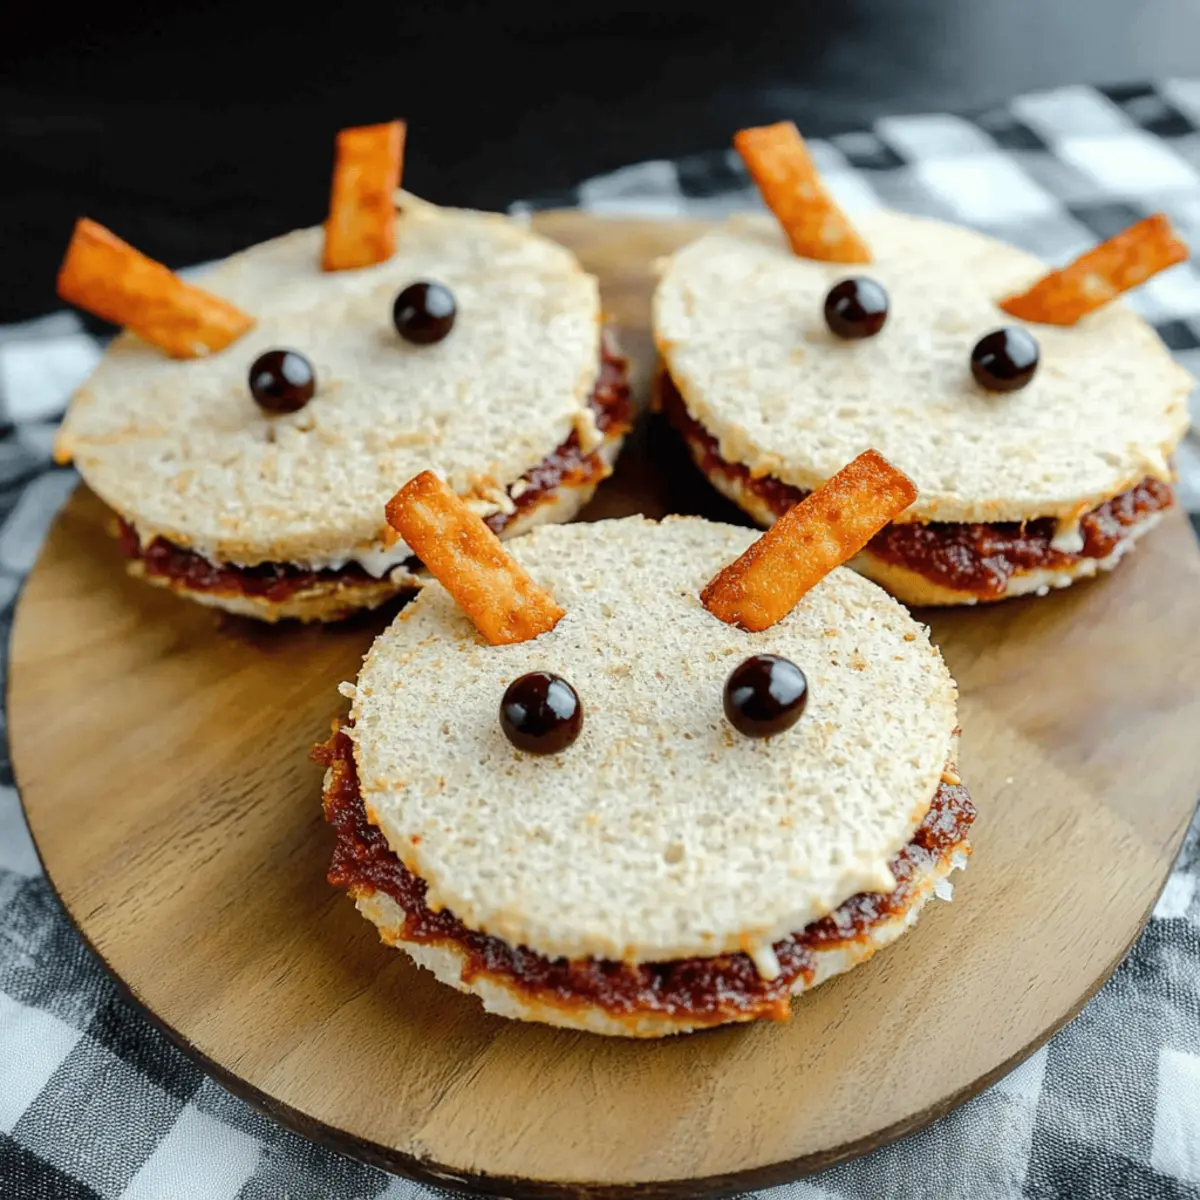
On a crisp autumn afternoon, with leaves crunching underfoot and the scent of pumpkin spice wafting through the air, I stumbled upon a delightful idea: Spooky Spider Sandwiches. These whimsical creations are perfect for celebrations or simply spicing up lunchtime. Barely taking 10 minutes to make, they are a fantastic way to engage kids and bring a bit of festive fun to your home. Plus, with the classic combination of peanut butter and jelly, these sandwiches are sure to please even the pickiest eaters. So, are you ready to embrace the creative chaos of Halloween cuisine? Let’s dive into this spooktacular recipe!

Why Make Spooky Spider Sandwiches?
Creative Fun: Transform a simple lunch into a festive masterpiece that's perfect for Halloween or any fun occasion.
Kid-Friendly: Kids will love helping with the assembly, making this a fantastic family activity.
Quick Prep: With only 10 minutes of prep time, these sandwiches are the ideal solution for busy days.
Delicious Duo: The classic peanut butter and jelly combination ensures these treats are both tasty and familiar.
Eye-Catching Appeal: The addition of candy eyes and pretzel legs makes these sandwiches a show-stopper at parties.
Give these Spooky Spider Sandwiches a try and add some fun to your family meals! For more creative ideas, check out my Halloween treats or explore easy lunchbox favorites.
Spooky Spider Sandwich Ingredients
Get ready to whip up some playful magic with these simple ingredients!
For the Sandwiches
- 8 slices bread – Use any type you like; whole grain adds a nutty flavor!
- 1 cup peanut butter – Creamy or crunchy, it's all deliciously spooky!
- 1 cup strawberry jelly – Substitute with grape jelly for a different twist.
For the Spider Legs
- 48 pretzel sticks – These add the perfect crunch and a fun texture!
For Decoration
- 16 candy eyes – These are essential for bringing your spooky spiders to life!
Now that you have the ingredients gathered, you’re one step closer to creating your delightful Spooky Spider Sandwiches. Let’s get assembling!
Step‑by‑Step Instructions for Spooky Spider Sandwiches
Step 1: Prepare the Bread
Start by placing the 8 slices of bread on a clean cutting board. Using a biscuit cutter, press down firmly to cut out the center of each slice, creating circular holes. This step adds a fun element to your Spooky Spider Sandwiches! Set aside the cut-out circles; they might even come in handy for a mini snack later.
Step 2: Spread the Peanut Butter
Take four of the bread slices and spread a generous layer of peanut butter evenly across the surface using a butter knife. Make sure to cover the entire slice for maximum flavor! The peanut butter will serve as the "glue" for your spider sandwiches. Once done, you’ll have a delightful base ready for the next step.
Step 3: Add the Jelly
Now, grab the remaining four bread slices and spread a thick layer of strawberry jelly on top of each slice. The sweet jelly complements the creamy peanut butter beautifully, creating a delicious duo. Once you finish spreading, take a moment to appreciate the beautiful colors of your Spooky Spider Sandwiches!
Step 4: Assemble the Sandwiches
Carefully place a jelly-covered slice on top of a peanut butter-covered slice, pressing down gently to combine the two. Repeat with the remaining bread slices to form the sandwiches. Ensure each sandwich is evenly assembled, and take a moment to admire your handiwork as you create these festive treats.
Step 5: Create Spider Legs
With your sandwiches assembled, it’s time to make them spooky! Take 3 pretzel sticks and gently insert them into each side of the sandwich to form spider legs. Press them in until they feel secure. The pretzels should be evenly spaced for that authentic spider look. Get creative with the angle for extra pizzazz!
Step 6: Add the Candy Eyes
To finish off your Spooky Spider Sandwiches, gently place 2 candy eyes on top of each sandwich. Position them near the center to bring your creepy crawlers to life! The candy eyes will add a whimsical touch, making these sandwiches perfect for fun lunches or Halloween parties.您的美食已经准备好了!

Make Ahead Options
These Spooky Spider Sandwiches are fantastic for busy home cooks looking to save time! You can prepare the sandwiches up to 24 hours in advance by assembling them without the pretzel legs and candy eyes. Simply spread the peanut butter and jelly on the bread, sandwich them together, and store them in an airtight container in the refrigerator. To maintain their freshness and prevent the bread from becoming soggy, it’s essential to assemble them shortly before serving. When you’re ready to serve, just stick in the pretzel legs and candy eyes for that spooky flair! You'll enjoy delightful, ready-to-go snacks that are just as delicious as if they were made fresh!
What to Serve with Spooky Spider Sandwiches
Embrace the playful spirit of Halloween with delightful side dishes that perfectly round out mealtime!
- Crunchy Veggie Sticks: Fresh carrots, cucumbers, and bell peppers add a crisp contrast, ensuring a balanced, nutritious plate.
- Creepy Cucumber Fingers: Slice cucumbers into finger shapes and use slivers of red bell pepper for “fingernails,” making them a spooky snack hit!
- Haunted Fruit Salad: A colorful mix of spooky-themed fruits like ghostly bananas and pumpkin-shaped melons provides a sweet, refreshing finish.
- Pumpkin Soup: Serve warm and creamy pumpkin soup in mini pumpkins for a festive touch, paired deliciously with your spider sandwiches.
- Spooky Snacks Platter: Create a mix of cheese cubes, olives, and crackers, perfect for grazing while enjoying the fun vibes!
- Witch’s Brew Punch: Serve a refreshing green punch with floating “eyeballs” (lychee fruits with blueberries) to elevate the Halloween experience.
- Grainy Pudding Cups: Sweeten the evening with chocolate chia pudding topped with crushed graham crackers, resembling dirt for a spooky dessert delight.
- Ghostly Meringue Cookies: Light-as-air meringue cookies shaped like ghosts are a whimsical addition that kids will love alongside the sandwiches.
- Chocolate Milkshakes: Creamy chocolate shakes topped with whipped cream and crushed cookies create a deliciously indulgent finale!
- Apple Slices with Caramel Dip: Crisp apple slices served with rich caramel dip offer a sweet bite that complements the textures of the sandwiches.
How to Store and Freeze Spooky Spider Sandwiches
Room Temperature: Keep assembled sandwiches at room temperature for up to 2 hours, especially if serving at a party. They’re best enjoyed fresh for optimal flavor and texture.
Fridge: Store any leftover Spooky Spider Sandwiches in an airtight container in the fridge for up to 3 days. This keeps them fresh for those impromptu snack cravings!
Freezer: To have some fun ready-made treats, freeze the assembled sandwiches in a single layer, wrapped tightly in plastic wrap, for up to 1 month. Thaw overnight in the fridge before serving.
Reheating: If you prefer warm sandwiches, place them in a toaster oven for a few minutes to warm them up. Just be sure to remove pretzel legs and candy eyes beforehand!
Expert Tips for Spooky Spider Sandwiches
Quality Bread: Use fresh, hearty bread for the best structure; stale bread can make the sandwiches fall apart.
Spread Evenly: Ensure your peanut butter and jelly layers are spread evenly to keep the sandwiches firm and prevent any sogginess.
Pretzel Positioning: Insert the pretzel legs at a slight angle for a creepy, realistic spider look that kids will love!
Candy Eye Placement: Make sure to center the candy eyes to maximize their spooky cuteness; this will attract kids' attention.
Creative Variations: Feel free to swap in different spreads like Nutella or almond butter to cater to different tastes while enjoying these Spooky Spider Sandwiches!
Spooky Spider Sandwiches: Fun Variations
Feel free to unleash your creativity and give these spooky treats your own personal twist!
- Nut-Free: Swap peanut butter for sunflower seed butter to keep it safe for nut allergies. It’s equally creamy and delicious!
- Whole Wheat: Opt for whole wheat or multigrain bread for a healthier twist, adding a touch of nuttiness to your sandwiches.
- Fruit-Infused: Use fruit preserves or spreads like blackberry or raspberry jelly to switch up the flavor profile and surprise the taste buds!
- Choco-Spiders: Replace strawberry jelly with chocolate spread for a rich, decadent variation that chocolate lovers will absolutely adore. The sweetness will be a hit!
- Veggie Twist: Add thinly sliced cucumbers or bell peppers to your sandwiches for a crunchy surprise that boosts nutrition and adds freshness. The colors will make them even more inviting!
- Spicy Touch: For the bold, try spreading spicy pepper jelly instead of regular jelly; it adds an exciting kick that will turn heads. Get ready for a flavor adventure!
- Monster Eyes: Instead of candy eyes, use mini marshmallows or gummy candies for a different fun look, keeping the creepy vibes alive in a playful way.
- Sweet Spider: Drizzle some honey over the peanut butter before stacking for an added layer of sweetness that kids will love. It brings a delightful sticky sweetness to the mix!
Explore these variations to elevate your Spooky Spider Sandwiches to the next level, and don’t forget to check out my Halloween treats for more festive inspirations or dive into easy lunchbox favorites for even more fun!

Spooky Spider Sandwiches Recipe FAQs
What kind of bread should I use for Spooky Spider Sandwiches?
Absolutely! For the best structure and flavor, I recommend using fresh, hearty bread such as whole grain or sourdough. If you prefer a sweeter taste, you can even use white bread. Just avoid stale bread, as it can crumble easily.
How should I store leftover Spooky Spider Sandwiches?
Great question! You can keep any leftover Spooky Spider Sandwiches in an airtight container in the fridge for up to 3 days. This way, they stay fresh and ready for a quick snack. If you're serving them at a party, it's best to keep them at room temperature for no longer than 2 hours to maintain optimal flavor and texture.
Can I freeze Spooky Spider Sandwiches?
Yes, you can! To freeze your assembled sandwiches, wrap them tightly in plastic wrap and place them in a single layer in the freezer for up to 1 month. When you're ready to enjoy, simply thaw them overnight in the fridge. For warm sandwiches, heat them in a toaster oven for a few minutes—just remember to remove the pretzel legs and candy eyes beforehand!
What if I have dietary restrictions or allergies?
When it comes to dietary considerations, you can easily modify this recipe. For peanut allergies, alternatives like sunflower seed butter or soy nut butter work wonderfully. If you're looking for a gluten-free option, choose gluten-free bread and ensure that all your ingredients comply with your dietary needs. Always check labels to avoid cross-contamination.
How do I prevent sogginess in my Spooky Spider Sandwiches?
Very good point! To prevent sogginess, I recommend spreading the peanut butter first and allowing it to form a barrier on the bread. Then, apply the jelly on the other slice. By keeping the two spreads separate until they’re assembled, you minimize moisture transfer. Enjoy your delicious creations to the last bite!
What is the best way to arrange the pretzel legs for a spooky look?
For that authentic spider look, insert the three pretzel sticks at a slight angle on each side of the sandwich. Space them evenly apart for a creepy, crawly effect. And remember, the more pretzel legs, the merrier—kids will love the extra detail!
Enjoy creating these Spooky Spider Sandwiches and embrace the festive fun!

Delicious Spooky Spider Sandwiches for a Fun Family Treat
Ingredients
Equipment
Method
- Prepare the Bread: Start by placing the 8 slices of bread on a clean cutting board. Using a biscuit cutter, press down firmly to cut out the center of each slice, creating circular holes.
- Spread the Peanut Butter: Take four of the bread slices and spread a generous layer of peanut butter evenly across the surface using a butter knife. Ensure complete coverage.
- Add the Jelly: Spread a thick layer of strawberry jelly on the remaining four bread slices, complementing the peanut butter beautifully.
- Assemble the Sandwiches: Carefully place a jelly-covered slice on top of a peanut butter-covered slice, pressing down gently to combine.
- Create Spider Legs: Insert 3 pretzel sticks into each side of the sandwich to form spider legs. Press them in until they feel secure.
- Add the Candy Eyes: Place 2 candy eyes on top of each sandwich near the center to bring them to life!


Leave a Reply