
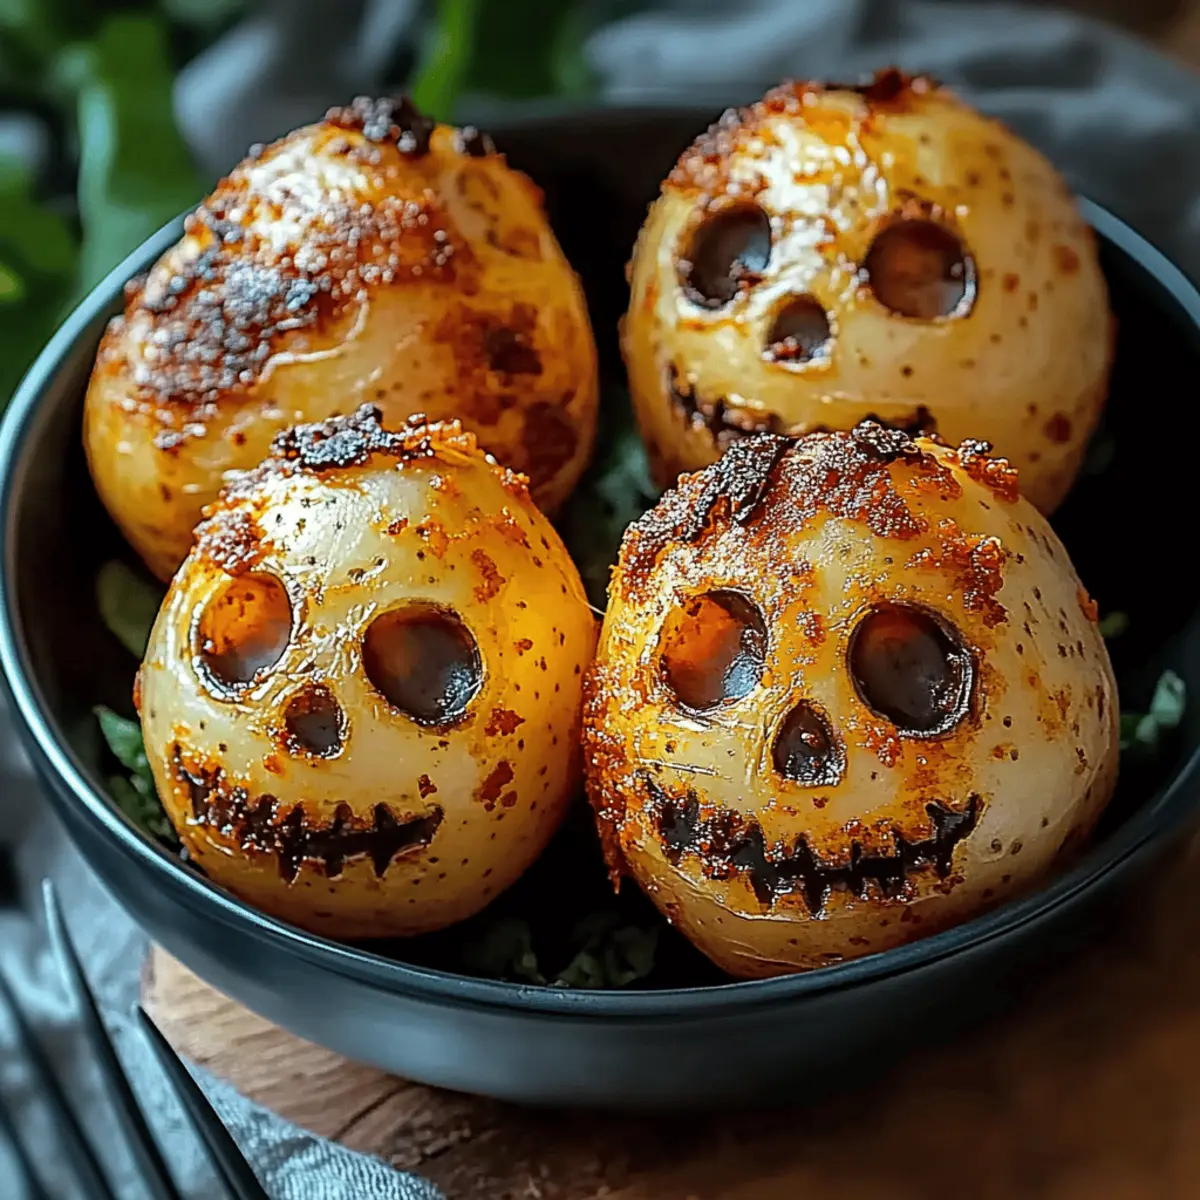
As I stood in my kitchen, the autumn air heavy with the scents of cinnamon and nutmeg, I stumbled upon a delightful surprise—mashed potatoes shaped like spooky skulls! These Spooky Skull Potatoes not only make for an eye-catching side dish, but they are also incredibly easy to whip up, ready in just 30 minutes. Imagine the fun of crafting these little ghoulish delights while bringing warmth and comfort to your table. Perfect for Halloween gatherings or simply to add a playful twist to family dinners, this recipe will surely charm both kids and adults alike. Ready to take your potato game to a hauntingly delicious level? Let's dive in!
Why Are Spooky Skull Potatoes So Fun?
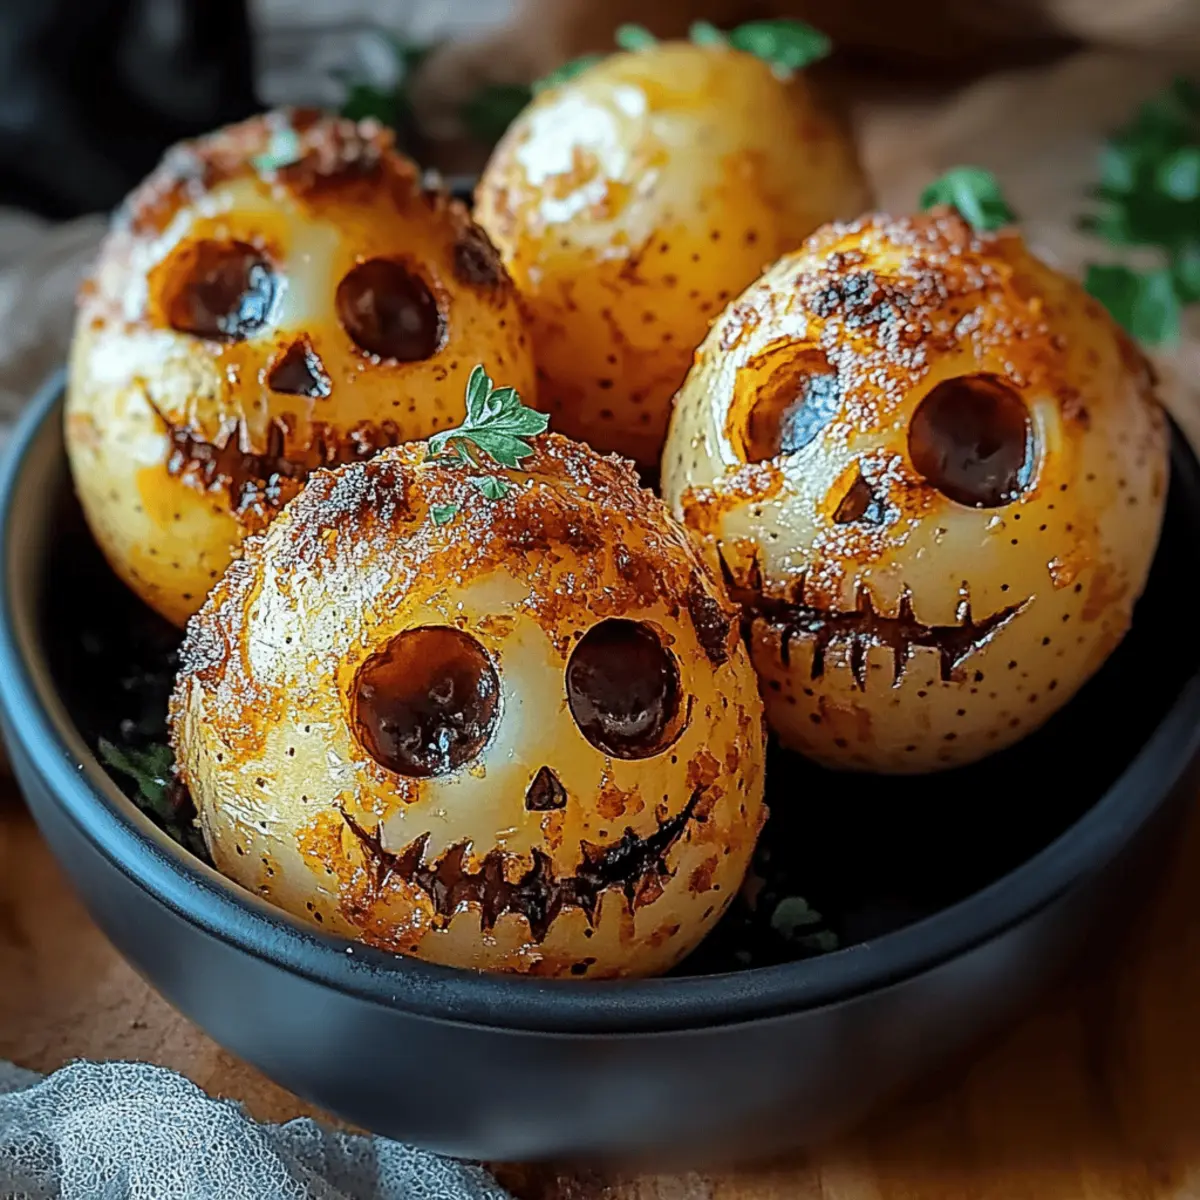
Unique Presentation: Transforming ordinary mashed potatoes into spooky skulls creates an exhilarating dish that’s sure to impress at any gathering.
Kid-Friendly: It’s a great way to engage kids in the kitchen while turning a simple side dish into a Halloween treat.
Quick and Easy: Ready in just 30 minutes, this recipe balances fun with convenience, making it perfect for busy weeknights or last-minute parties.
Flavorful Comfort: Rich, creamy potatoes paired with playful design bring both comfort and festivity to your table.
For more creative potato side dishes, check out our Cheesy Scalloped Potatoes and Baked Feta Potatoes!
Spooky Skull Potatoes Ingredients
For the Potatoes
• Russet potatoes – These large potatoes create the perfect fluffy texture for your mash.
• Heavy cream – Adds richness and creaminess for the ultimate comfort food experience.
• Butter – Enhances the flavor and gives your potatoes a delightful buttery taste.
• Salt and pepper – Essential seasonings to elevate the overall flavor of your spooky creation.
For the Decoration
• Black olives – Use these to create expressive eyes and mouths, making your skulls come to life (or rather, afterlife!).
• Fresh chives or green onions – Optional, but they add a nice pop of color and flavor as a garnish.
Crafting your own Spooky Skull Potatoes is not just a cooking task; it’s a fun project that brings joy and creativity to your kitchen!
Step‑by‑Step Instructions for Spooky Skull Potatoes
Step 1: Boil the Potatoes
Start by peeling and chopping the 4 large russet potatoes into evenly sized chunks. Place the potatoes in a pot filled with salted water, ensuring they are fully submerged. Bring the water to a boil over medium-high heat, then reduce to a simmer and cook for about 15-20 minutes until the potatoes are fork-tender and easily break apart.
Step 2: Mash the Potatoes
Once tender, drain the potatoes well and return them to the pot. Add ½ cup of heavy cream, ¼ cup of melted butter, and sprinkle in salt and pepper to taste. Use a potato masher or a hand mixer to mash the mixture until it's smooth and creamy, making sure to combine everything well. This creamy base will be the foundation of your deliciously spooky skull potatoes.
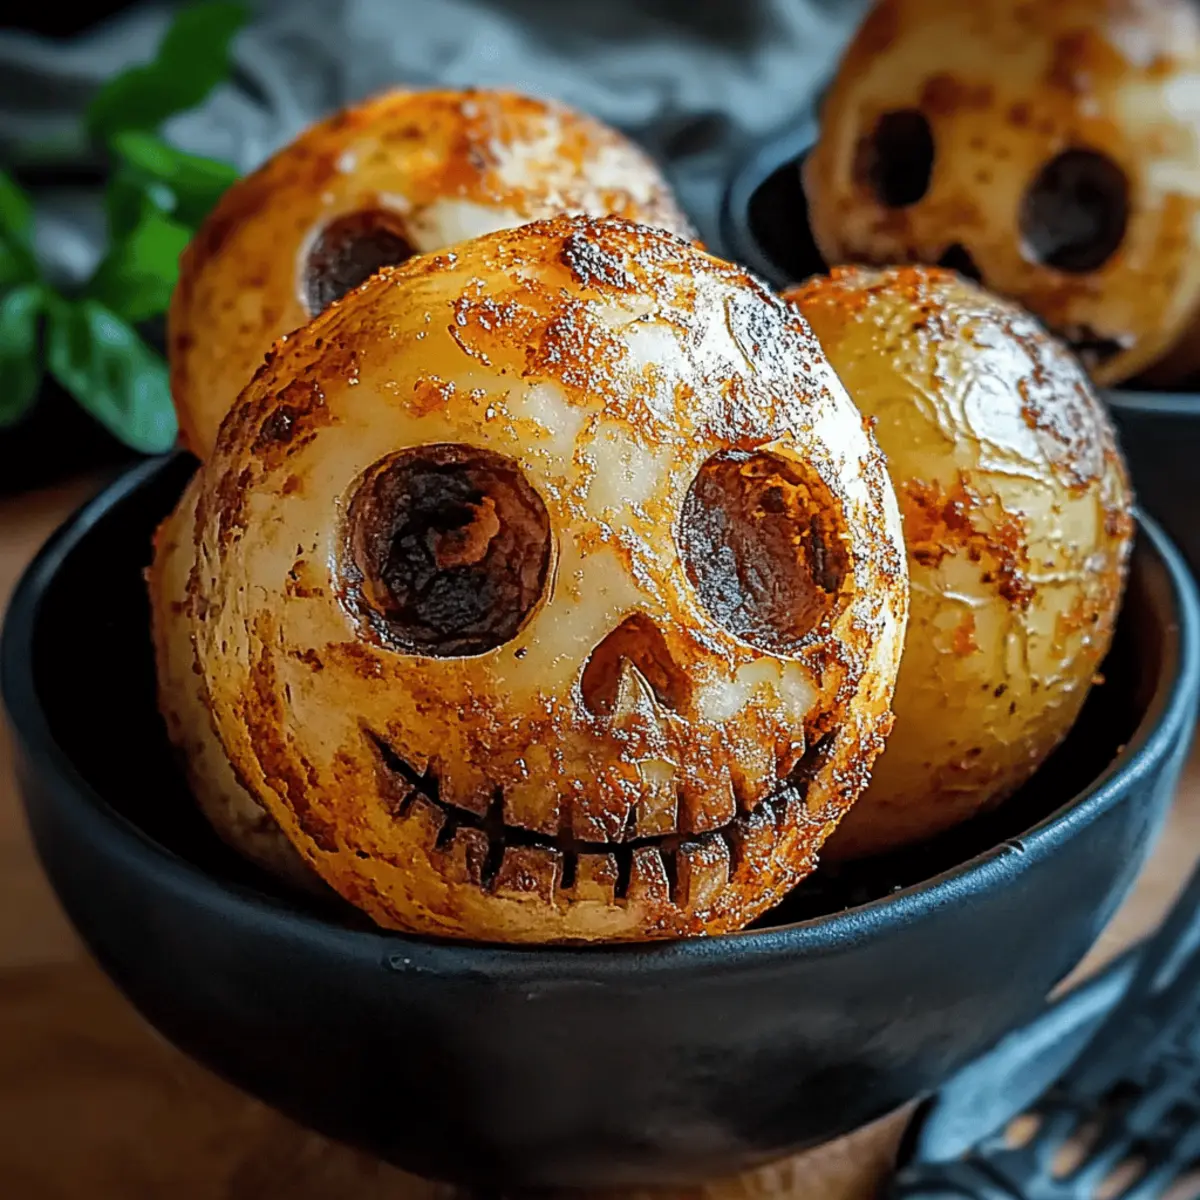
Step 3: Shape the Skulls
Prepare a skull mold or use your hands to form the mashed potatoes into skull shapes. If using a mold, pack the potato mixture tightly to maintain the shape, then carefully invert it onto a plate. If shaping by hand, sculpt the potatoes with your fingers, ensuring they have defined features. These spooky skulls should be ready to come to life!
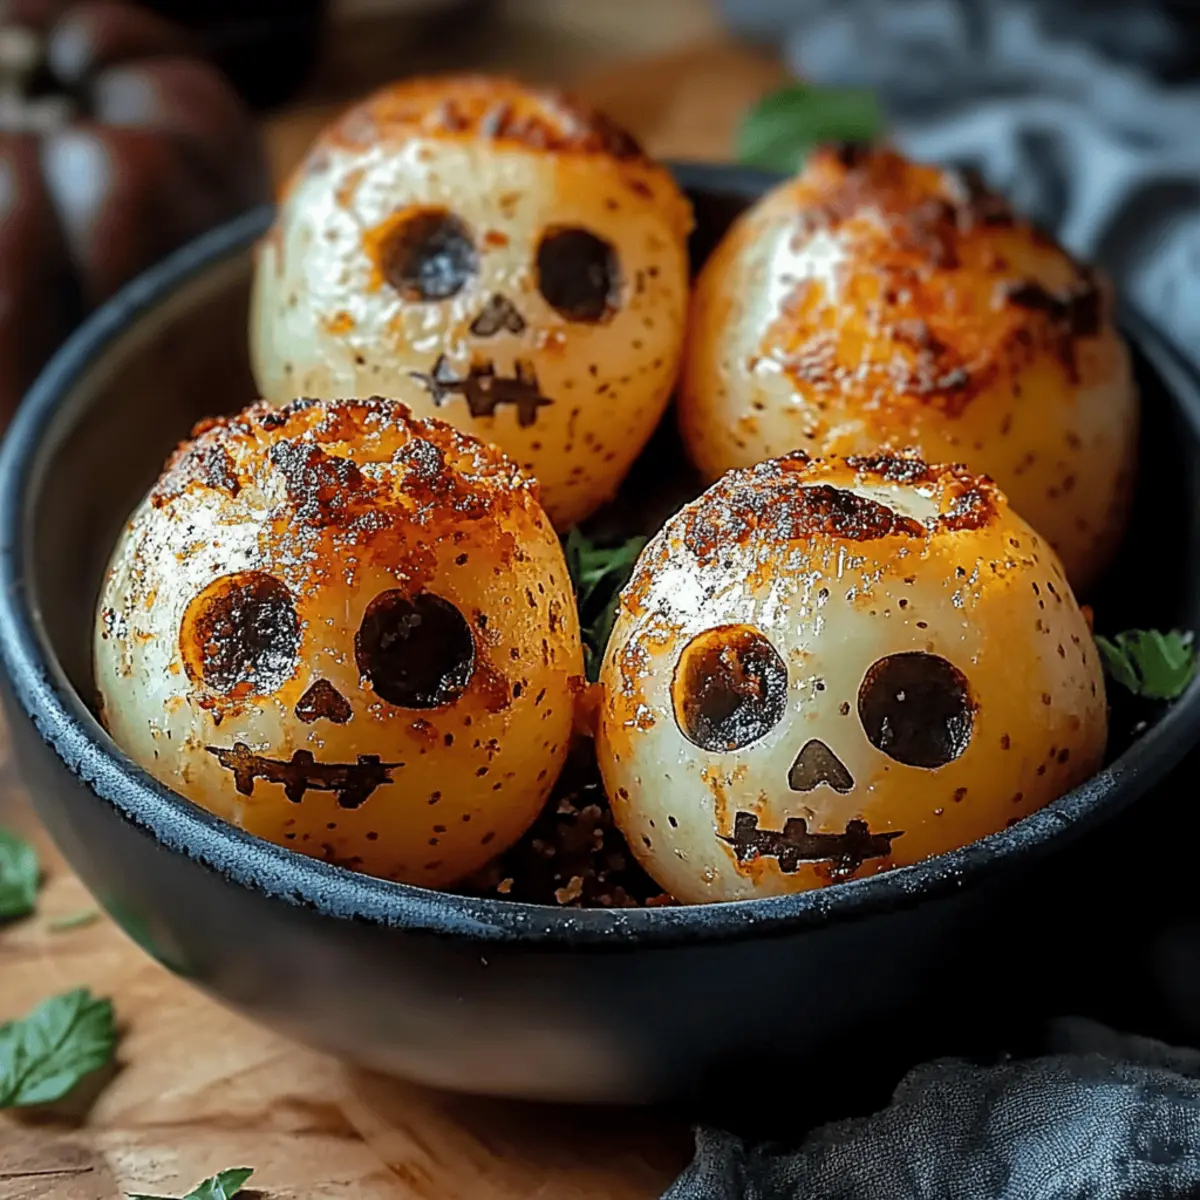
Step 4: Decorate with Olives
Slice the black olives into small circles to create eyes and cut small pieces for a mouth. Arrange the olive slices on each potato skull, pressing gently to secure them in place. Feel free to get creative with additional olive pieces, making expressions that give your Spooky Skull Potatoes personality and charm to delight your guests.
Step 5: Garnish and Serve
For an extra touch, finely chop fresh chives or green onions and sprinkle them atop your spooky creations. This will add a pop of color and a fresh flavor that complements the rich potatoes. Serve your Spooky Skull Potatoes warm as a delightfully eerie side dish, perfect for Halloween gatherings or any fun family meal!
What to Serve with Spooky Skull Potatoes?
As you gather around the table for a fun-filled Halloween feast, it's time to complement those spooky skulls with delightful dishes that will enchant and satisfy everyone.
-
Crispy Roasted Brussels Sprouts: Their earthy flavor pairs beautifully with the creamy potatoes, adding a delightful crunch to the meal.
-
Garlic Butter Green Beans: This vibrant side dish brings a fresh touch, perfectly balancing the richness of the mashed potatoes with a burst of garlic aroma.
-
Savory Pumpkin Soup: A warm, creamy soup enhances the seasonal vibe and invites comfort into your Halloween dinner.
-
Cheesy Garlic Bread: The gooey cheese and crispy crust offer a wonderful contrast to the soft texture of the skull potatoes—a great way to squeeze every last drop of rich flavor!
-
Spiced Apple Cider: A cup of this warm beverage will warm your soul, making it a cozy drink that complements the spooky theme beautifully.
-
Chocolate Graveyard Cupcakes: For dessert, these hauntingly delicious cupcakes will keep the festive spirit alive, delighting kids with their playful designs.
-
Cranberry Salad: Its tartness adds a refreshing contrast to the creamy potatoes—this bright-colored side is a holiday favorite!
-
Roasted Chicken Thighs: Juicy chicken seasoned perfectly enhances the comfort of your meal, providing a well-rounded dinner full of homey flavors.
How to Store and Freeze Spooky Skull Potatoes
Fridge: Store leftover Spooky Skull Potatoes in an airtight container in the fridge for up to 3 days. Reheat in the microwave or on the stovetop with a splash of cream for added moisture.
Freezer: If you want to freeze them, shape the skulls first, then place them on a baking sheet to freeze until solid. Transfer to a freezer-safe bag for up to 2 months.
Reheating: To reheat frozen skulls, thaw in the fridge overnight, then bake at 350°F until heated through. Add a touch of fresh butter for that creamy texture!
Wrapping: Make sure to wrap the skulls tightly in plastic wrap or aluminum foil before freezing to prevent freezer burn and keep your spooky creation delicious!
Make Ahead Options
These Spooky Skull Potatoes are fantastic for meal prep, allowing you to create adorable skulls ahead of time for a stress-free gathering! You can prepare the mashed potatoes and shape them into skulls up to 24 hours in advance; simply refrigerate them before decoration to keep them fresh. For decorating, slice the black olives ahead and store them in an airtight container; they’ll stay good for up to 3 days. When you’re ready to serve, just reheat the shaped potatoes in the microwave or oven until warm, then decorate with the olives and garnish with chives. This will ensure they’re just as delicious and charming on the day you serve them!
Helpful Tricks for Spooky Skull Potatoes
-
Perfect Consistency: Aim for fluffy potatoes by not overcooking them. Check doneness with a fork; they should break apart easily without becoming mush.
-
Creative Molding: If you don't have a skull mold, use your hands! Shape them gently and focus on getting those recognizable features for the perfect spooky effect.
-
Olive Decoration: To avoid slipping, press the olive slices gently into the potatoes. Secure them well to ensure they stay put during serving.
-
Taste Boosters: Experiment with adding garlic powder or cheese to the mashed potatoes for an extra layer of flavor in your Spooky Skull Potatoes.
-
Presentation Magic: Pair with a fun platter or festive garnish for Halloween to enhance both appeal and excitement, making your spooky dish a centerpiece!
Spooky Skull Potatoes Variations
Feel free to have fun with these variations and make the spooky skull potatoes uniquely yours!
-
Dairy-Free: Substitute heavy cream with coconut milk and use olive oil instead of butter for a plant-based twist.
-
Cheesy Delight: Mix in shredded cheddar or parmesan into the mash before shaping for a richer flavor profile.
-
Garlicky Goodness: Add minced garlic or garlic powder to the potatoes for an aromatic kick that will elevate the dish.
-
Spicy Skulls: Incorporate a sprinkle of cayenne or crushed red pepper flakes into the mashed potatoes for a delightful heat.
-
Herb-Infused: Blend in fresh herbs such as rosemary or thyme to the mash for an enchanting flavor that dances in your mouth.
-
Sweet Potato Variation: Swap out russet potatoes for orange sweet potatoes to add a beautiful hue and a subtle sweetness.
-
Baked Option: Instead of mashing, bake halved potatoes with the same toppings for a delicious twist on presentation.
-
Decorative Faces: Use bell pepper pieces or cherry tomatoes for alternative spooky facial features. This adds a fun pop of color too!
Spooky Skull Potatoes Recipe FAQs
How do I choose the right potatoes for this recipe?
Absolutely! For the perfect Spooky Skull Potatoes, I recommend using large russet potatoes. Their starchy texture makes for a fluffy and creamy mash, which forms well into shapes. Look for potatoes that are firm and free of dark spots or blemishes.
How long can I store leftover Spooky Skull Potatoes?
You can store any leftovers in an airtight container in the fridge for up to 3 days. To reheat, simply pop them in the microwave or warm them on the stovetop with a splash of cream to get that luscious texture back. They’ll taste just as delightful!
Can I freeze Spooky Skull Potatoes, and how?
Absolutely! To freeze, shape your mashed potatoes into skulls first. Lay them on a baking sheet lined with parchment paper and freeze until solid, about 1-2 hours. Then, transfer them to a freezer-safe bag or container, where they can be stored for up to 2 months. This way, you can prepare ahead and enjoy them later!
What should I do if the mashed potatoes are too thick?
If your potatoes are thicker than you’d like, it’s an easy fix! Simply add a little more heavy cream or butter while mashing. Stir well until you reach your desired creamy consistency. You can also add a splash of milk for extra silkiness.
Are there any dietary considerations I should keep in mind?
Very! If you’re cooking for those with dairy allergies, consider swapping out the heavy cream and butter with a dairy-free alternative. I often use coconut milk and vegan butter, which still results in creamy, delightful Spooky Skull Potatoes. For pet-friendly diets, avoid giving them any mashed potatoes, as they can be harmful to dogs due to seasoning or other ingredients. Always check for specific allergies before serving!
Deliciously Creepy Spooky Skull Potatoes for Halloween Fun
Ingredients
Equipment
Method
- Start by peeling and chopping the 4 large russet potatoes into evenly sized chunks. Place the potatoes in a pot filled with salted water, ensuring they are fully submerged. Bring the water to a boil over medium-high heat, then reduce to a simmer and cook for about 15-20 minutes until the potatoes are fork-tender and easily break apart.
- Once tender, drain the potatoes well and return them to the pot. Add ½ cup of heavy cream, ¼ cup of melted butter, and sprinkle in salt and pepper to taste. Use a potato masher or a hand mixer to mash the mixture until it's smooth and creamy.
- Prepare a skull mold or use your hands to form the mashed potatoes into skull shapes. If using a mold, pack the potato mixture tightly to maintain the shape, then carefully invert it onto a plate. If shaping by hand, sculpt the potatoes with your fingers, ensuring they have defined features.
- Slice the black olives into small circles to create eyes and cut small pieces for a mouth. Arrange the olive slices on each potato skull, pressing gently to secure them in place.
- For an extra touch, finely chop fresh chives or green onions and sprinkle them atop your spooky creations. Serve your Spooky Skull Potatoes warm as a delightfully eerie side dish.


Leave a Reply