
There’s something magical about chocolate and peanut butter that instantly transports me back to my happy childhood, where Nutter Butter cookies were a beloved treat. Today, I’m thrilled to share my easy and delightful recipe for Nutter Butter Truffles that combines these nostalgic flavors into a simple no-bake dessert. With just a few ingredients, including creamy peanut butter and rich chocolate, this recipe promises to impress guests and satisfy cravings alike. Whether you're hosting a gathering or just craving a sweet bite, these truffles require only 15 minutes of prep time and are perfect for any occasion. Plus, they’re freezer-friendly, meaning you can make a batch ahead and have a delicious treat on hand for whenever that dessert craving hits. Ready to roll up your sleeves and create these delightful morsels? Let's dive into the world of Nutter Butter Truffles!
Why are Nutter Butter Truffles a must-try?
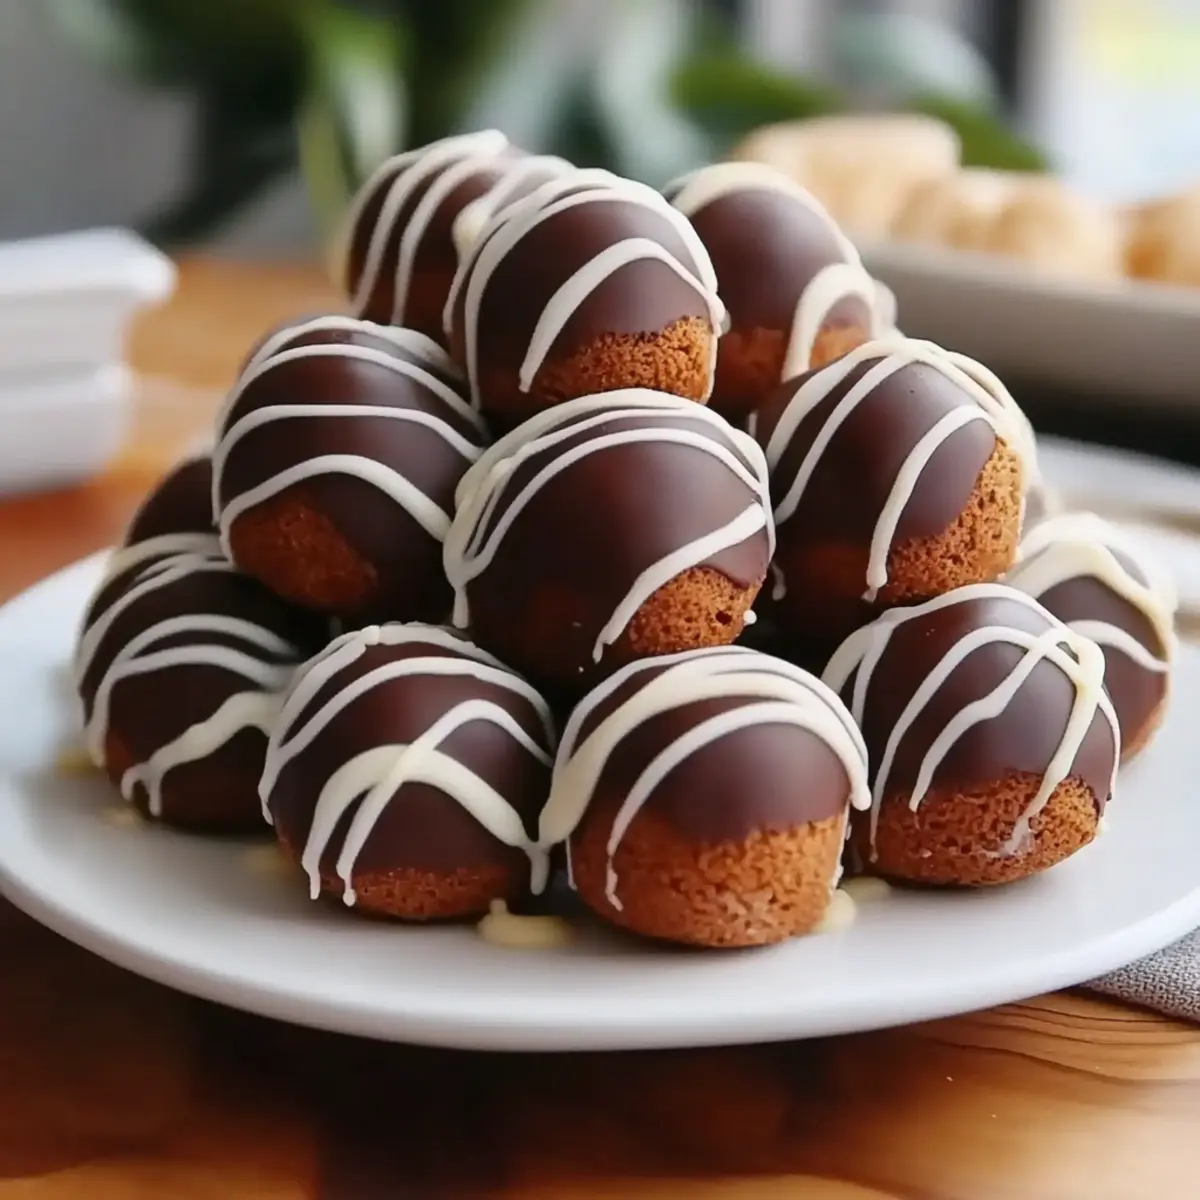
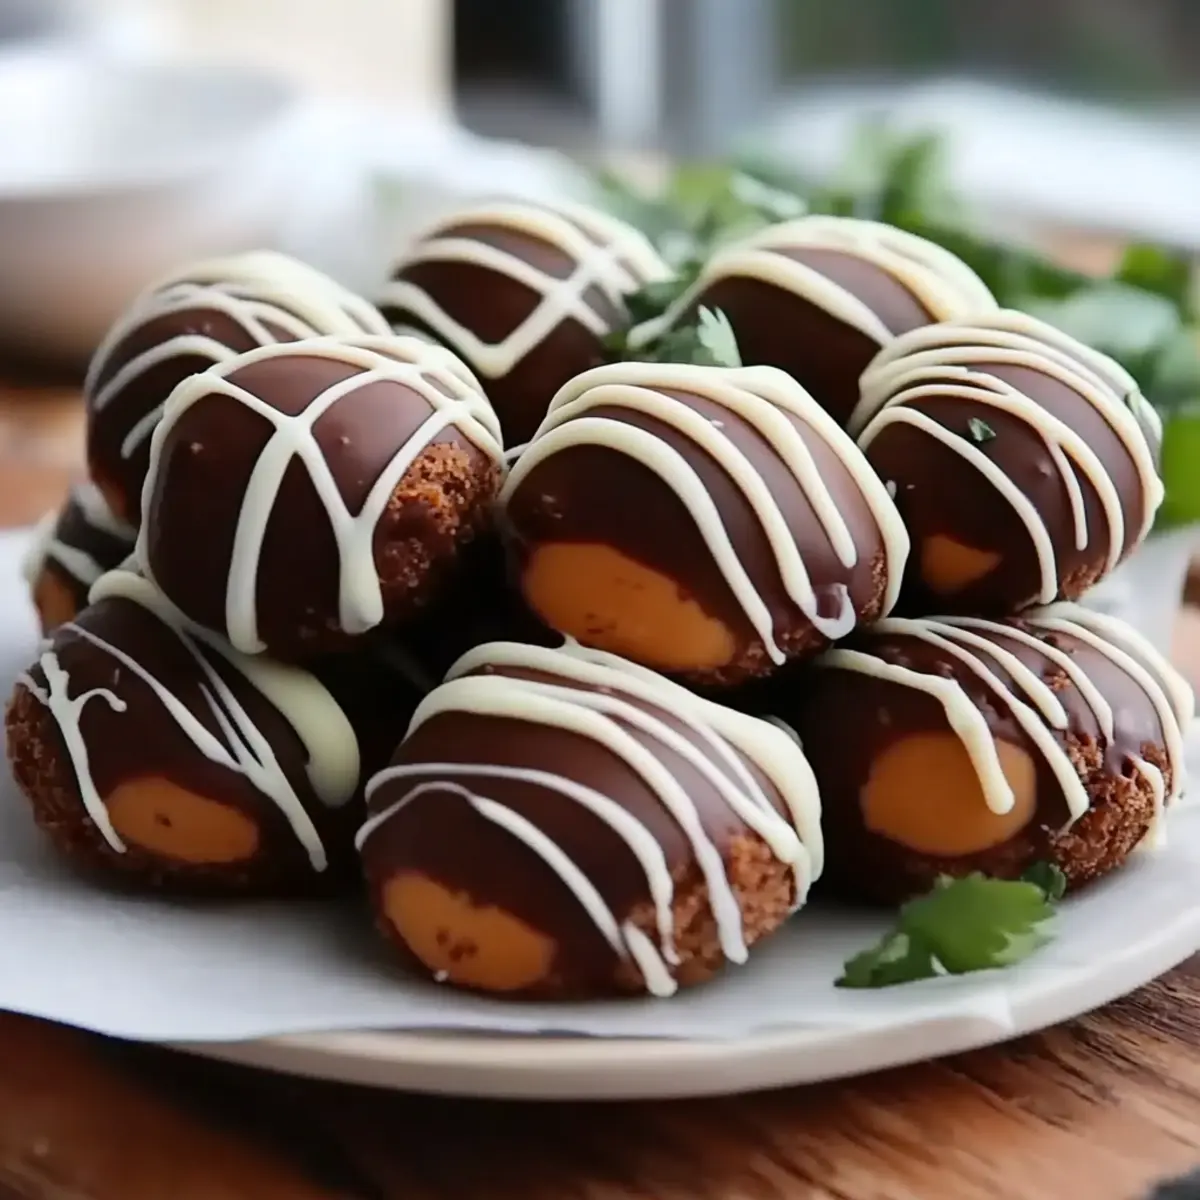
Indulgent, creamy goodness: These Nutter Butter Truffles are the perfect combo of peanut butter and chocolate, delivering a delightful sweetness in every bite.
Quick and effortless: With just 15 minutes of prep and no baking involved, you can whip up this treat anytime!
Crowd-pleaser: They’re bound to impress family and friends at gatherings, making them a go-to dessert for any occasion.
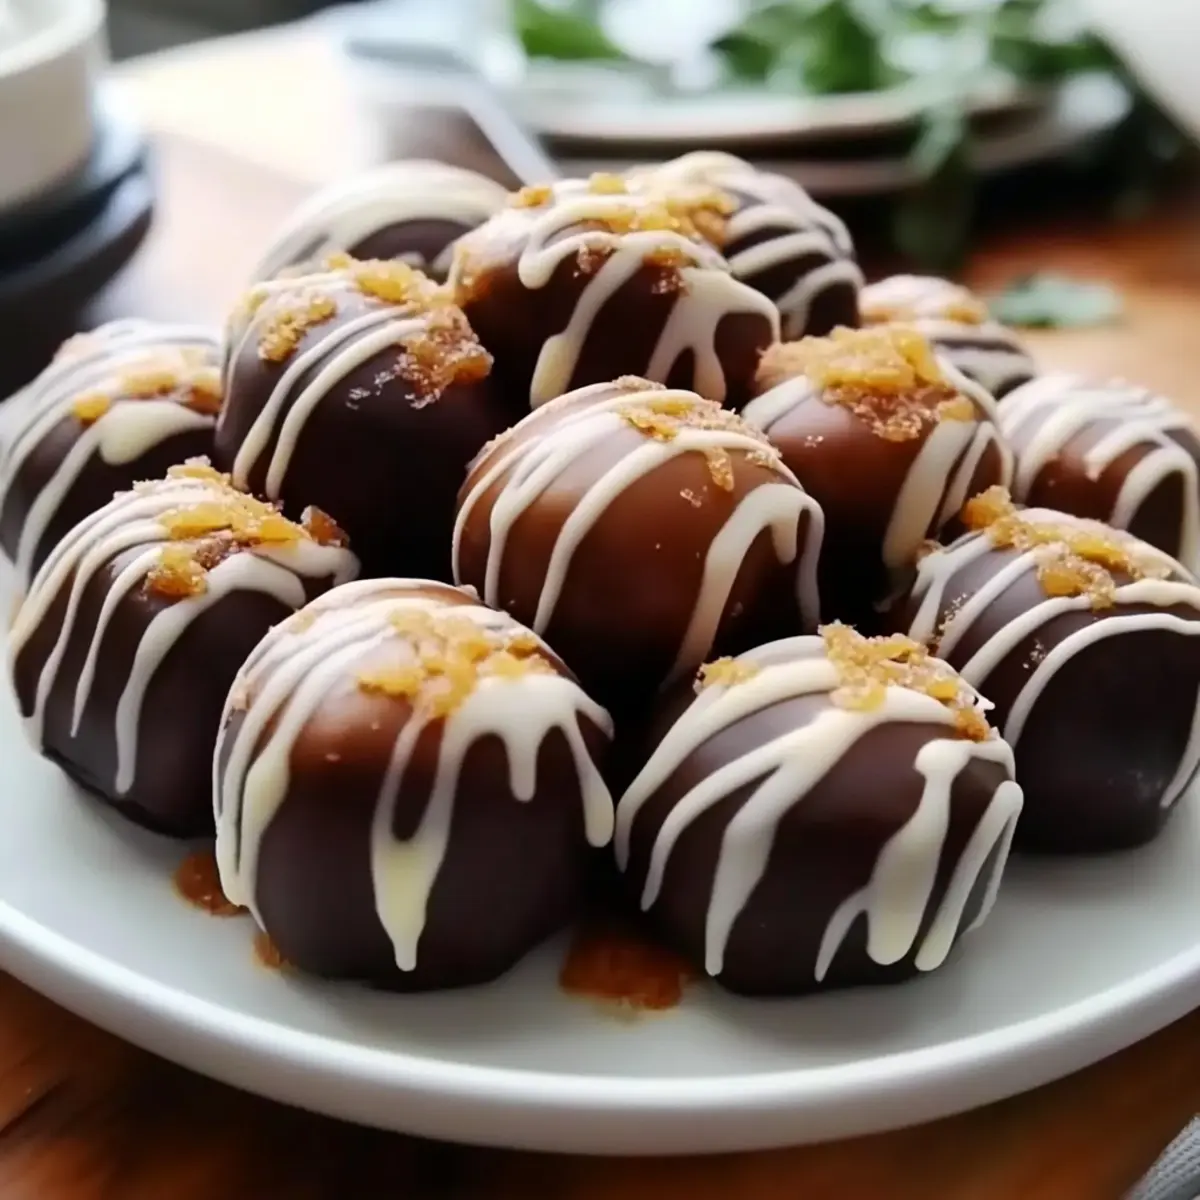
Versatile toppings: Add a sprinkle of sea salt to elevate flavor, or customize with different chocolate coatings for a unique twist.
Freezer-friendly: Make a batch in advance for whenever a craving strikes or surprise guests drop by! You can always refer to my other easy dessert ideas like No-Bake Cheesecake Bites that are just as delicious.
Nutter Butter Truffles Ingredients
• Get ready to create something sweet!
For the Truffle Mixture
• Nutter Butter cookies – the star ingredient that brings that nostalgic flavor to life.
• Creamy peanut butter – ensures a smooth, melt-in-your-mouth texture that's irresistible.
• Powdered sugar – sweetens the mixture and helps bind everything together perfectly.
For the Chocolate Coating
• Chocolate chips – choose your favorite type for a personalized touch. Dark chocolate pairs beautifully with the sweetness!
• Coconut oil (optional) – adds a silky texture to the chocolate and helps it set smoothly.
For the Finishing Touch
• Sea salt (optional) – a pinch on top creates a delightful contrast and enhances the flavors in your Nutter Butter Truffles.
Step‑by‑Step Instructions for Nutter Butter Truffles
Step 1: Crush the Cookies
Begin by crushing the Nutter Butter cookies into fine crumbs using a food processor. If you don't have one, place the cookies in a zip-top bag and crush them with a rolling pin until they resemble sandy texture. This should take about 2–3 minutes. Aim for a fine crumb to ensure even mixing in your Nutter Butter Truffles.
Step 2: Mix the Truffle Ingredients
In a large mixing bowl, combine the crushed Nutter Butter cookies, creamy peanut butter, and powdered sugar. Use a sturdy spatula or your hands to mix the ingredients thoroughly until a cohesive dough forms. This process should take about 3–5 minutes, and the mixture will appear well blended and slightly sticky, ready for shaping into truffles.
Step 3: Form the Truffles
Using your hands, scoop out small portions of the cookie mixture and roll them into 1-inch balls, creating about 24 truffles. Place each rolled truffle onto a lined baking sheet, ensuring they are evenly spaced. You should have a lovely array of Nutter Butter Truffles ready to chill as you prepare the chocolate coating.
Step 4: Chill Until Firm
Refrigerate the truffles for about 30 minutes, allowing them to firm up. This step is crucial for achieving the perfect texture and preventing the truffles from falling apart during coating. You'll know they're ready when they feel solid to the touch and hold their shape well.
Step 5: Melt the Chocolate
In a microwave-safe bowl, combine the chocolate chips and coconut oil, if you're using it for added smoothness. Microwave the chocolate in 30-second intervals, stirring well between each session until completely melted and glossy. This should take about 1 to 2 minutes total. Aim for a smooth texture for easy dipping.
Step 6: Coat the Truffles
Once the truffles are chilled, remove them from the refrigerator. Using a fork, dip each truffle into the melted chocolate, ensuring an even coating while letting the excess chocolate drip off. Return each coated truffle to the lined baking sheet, creating a beautiful chocolate layer for your Nutter Butter Truffles.
Step 7: Add Finishing Touches
Before the chocolate sets, sprinkle a pinch of sea salt on top of each truffle for an elevated flavor experience. This step is optional but adds a delightful contrast to the sweetness, making these Nutter Butter Truffles even more special and irresistible.
Step 8: Final Chill
Refrigerate the coated truffles for at least one hour to allow the chocolate to harden fully. Once they are firm and the chocolate has set, you'll be ready to enjoy these delectable treats. Keep an eye on the truffles; they should be solid and slightly glossy when they’re properly set.
Step 9: Serve and Delight
After the truffles have hardened, remove them from the refrigerator. Your Nutter Butter Truffles are now ready to be served! They make a delightful treat for any gathering or a sweet indulgence for yourself—enjoy the rich flavors and cheerful nostalgia in every bite.

Nutter Butter Truffles Variations
Feel free to get creative with these delightful truffles that can be easily customized for a personal touch!
- Vegan: Substitute peanut butter with almond or cashew butter, and use dairy-free chocolate chips for a vegan-friendly treat.
- Gluten-Free: Ensure your Nutter Butter cookies are certified gluten-free, so everyone can enjoy these sweet bites without worry.
- Nut-Free: Replace peanut butter with sun butter or a seed butter alternative for a delicious nut-free version that still packs a punch.
- Crunchy Texture: Mix in some chopped nuts or crushed pretzels into the truffle mixture for an unexpected crunch that complements the smooth chocolate coating beautifully.
- Flavored Chocolate: Experiment with flavored chocolate, such as mint or orange, when coating your truffles to enhance the taste and create a fun twist!
- Spicy Kick: Add a pinch of cayenne pepper or chili powder to the truffle mixture for a surprising heat that pairs nicely with the sweetness of peanut butter and chocolate.
- Decorative Sprinkles: After dipping in chocolate, roll your truffles in colorful sprinkles or crushed candy for a festive touch that makes them perfect for celebrations.
- Swirled Chocolate: Instead of fully coating, try a marbled effect by swirling melted white chocolate into the dark chocolate before dipping your truffles for a stunning visual.
These variations ensure that there’s a Nutter Butter Truffle for every taste preference! If you’re aching for more sweet ideas, try my easy recipe for No-Bake Cheesecake Bites, which are sure to satisfy your dessert cravings!
What to Serve with Nutter Butter Truffles
Indulge your senses and elevate your dessert experience with delightful pairings that complement these creamy, chocolatey treats.
-
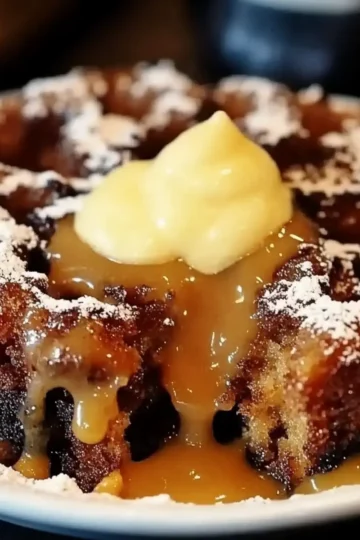
Vanilla Ice Cream: A scoop of vanilla ice cream adds a creamy contrast that beautifully balances the richness of the truffles. The coldness melts in your mouth, making each bite delightful.
-
Fresh Berries: Strawberries or raspberries provide a fresh, tangy pop that complements the sweetness of the truffles. Their juice adds a refreshing brightness to each decadent bite.
-
Coffee or Espresso: A bold cup of coffee or a shot of espresso enhances the flavors of peanut butter and chocolate, making it a perfect accompaniment. It creates an inspiring moment, perfect for savoring with your truffles.
-
Chocolate Drizzle: A simple dark chocolate drizzle over your truffles enhances their elegance and adds extra chocolate richness for the true chocoholics!
-
Creamy Milkshake: Pairing with a creamy peanut butter milkshake echoes the nutty flavor of the truffles, creating a delightful symphony of tastes that feels like a treat from a diner.
-
Nutty Granola: A sprinkle of crunchy nutty granola on top or served alongside adds a delightful texture and an earthy flavor, perfect for balancing the sweetness.
These pairings not only elevate your treat but create a delightful experience perfect for sharing with friends and loved ones!
Expert Tips for Nutter Butter Truffles
-
Cookie Consistency: Ensure Nutter Butter cookies are finely crushed to avoid chunks that could disrupt the texture of your truffles. This helps the mixture bind perfectly.
-
Chilling Time: Don’t skip the refrigeration! Chilling the truffles for about 30 minutes strengthens their shape and prevents them from crumbling when coated.
-
Chocolate Melting: Melt chocolate chips in short intervals, stirring frequently. This prevents burning and ensures a smooth coating for your Nutter Butter Truffles.
-
Coating Technique: Use a fork to dip truffles in chocolate, allowing excess to drip off. This creates a beautiful, even layer rather than clumpy chocolate.
-
Sea Salt Addition: For a delightful contrast to sweetness, add sea salt immediately after coating. This enhances the flavor of your Nutter Butter Truffles without making them overly salty.
Make Ahead Options
These Nutter Butter Truffles are perfect for busy home cooks looking to save time without sacrificing deliciousness! You can prepare the truffle mixture up to 24 hours in advance by rolling the dough into balls and refrigerating them until firm (about 30 minutes). Once chilled, store the uncoated truffles in an airtight container in the refrigerator. When you're ready to serve, simply melt the chocolate and dip the truffles, then refrigerate them again until firm (about 1 hour). If you want to enjoy these treats even later, they can also be frozen for up to 3 months; just make sure to seal them well to maintain their quality. You'll have delightful homemade Nutter Butter Truffles ready to impress whenever the craving strikes!
How to Store and Freeze Nutter Butter Truffles
Fridge: Store your Nutter Butter Truffles in an airtight container in the refrigerator for up to 1 week. They will remain fresh and delicious, perfect for satisfying those sweet cravings!
Freezer: For longer storage, freeze the truffles in a single layer on a baking sheet until solid, then transfer them to a freezer-safe bag or container. They’ll keep well for up to 3 months.
Thawing: When you're ready to enjoy, simply remove a few truffles from the freezer and let them thaw in the fridge for about 30 minutes. This keeps the texture smooth and delightful.
Reheating: There’s no need to reheat Nutter Butter Truffles, as they’re best enjoyed cold or at room temperature for an exciting burst of flavor!
Nutter Butter Truffles Recipe FAQs
How do I choose the right Nutter Butter cookies?
Absolutely! When selecting Nutter Butter cookies, look for packages that are intact and free of any dents or tears. Check the expiration date to ensure freshness. Aim for cookies that have a consistent shape without dark spots all over, which can indicate staleness. Fresh cookies will give your truffles the best flavor and texture!
Can I store Nutter Butter Truffles? How long do they last?
Very! Store your Nutter Butter Truffles in an airtight container in the refrigerator for up to 1 week. This keeps them fresh and ready to satisfy any sweet tooth. Just make sure the container seals tightly to prevent moisture from getting in!
How can I freeze Nutter Butter Truffles?
Certainly! To freeze your Nutter Butter Truffles, first, place them on a lined baking sheet in a single layer. Freeze them for a couple of hours until they are solid. After that, transfer the truffles to a freezer-safe bag or container, ensuring to expel any excess air. They will keep well in the freezer for up to 3 months. When you're ready to enjoy, let them thaw in the fridge for about 30 minutes for the best texture!
What should I do if my truffles are too soft?
No worries! If your Nutter Butter Truffles are too soft to roll or coat, it sounds like they need a little more chill time. Pop them into the refrigerator for an additional 20-30 minutes until they firm up. If they’re still not holding their shape, consider adding a bit more powdered sugar to the mixture to help bind them together.
Are Nutter Butter Truffles safe for people with nut allergies?
Definitely good to check! Unfortunately, Nutter Butter cookies contain peanuts, which are a common allergen. So, if you or your guests have nut allergies, I recommend looking for a peanut-free cookie alternative. You could try using crushed allergy-friendly vanilla wafers and a sunflower seed butter for a delightful twist that maintains that flavor balance.
Can pets eat Nutter Butter Truffles?
Very importantly, I wouldn’t recommend it! The ingredients in Nutter Butter Truffles are not suitable for pets, especially due to the presence of chocolate and peanut butter. Chocolate is toxic for dogs, and while peanut butter can be safe in small amounts for some pets, it’s best to avoid sharing these truffles to keep them happy and healthy!
Deliciously Irresistible Nutter Butter Truffles Recipe
Ingredients
Equipment
Method
- Begin by crushing the Nutter Butter cookies into fine crumbs using a food processor or a rolling pin.
- In a large mixing bowl, combine the crushed Nutter Butter cookies, creamy peanut butter, and powdered sugar.
- Using your hands, scoop out small portions of the cookie mixture and roll them into 1-inch balls.
- Refrigerate the truffles for about 30 minutes, allowing them to firm up.
- In a microwave-safe bowl, combine the chocolate chips and coconut oil, then microwave in 30-second intervals until melted.
- Dip each truffle into the melted chocolate, ensuring an even coating, then return to the baking sheet.
- Before the chocolate sets, sprinkle a pinch of sea salt on top of each truffle.
- Refrigerate the coated truffles for at least one hour to allow the chocolate to harden fully.
- Once hardened, remove from the refrigerator and serve your Nutter Butter Truffles.

Leave a Reply