
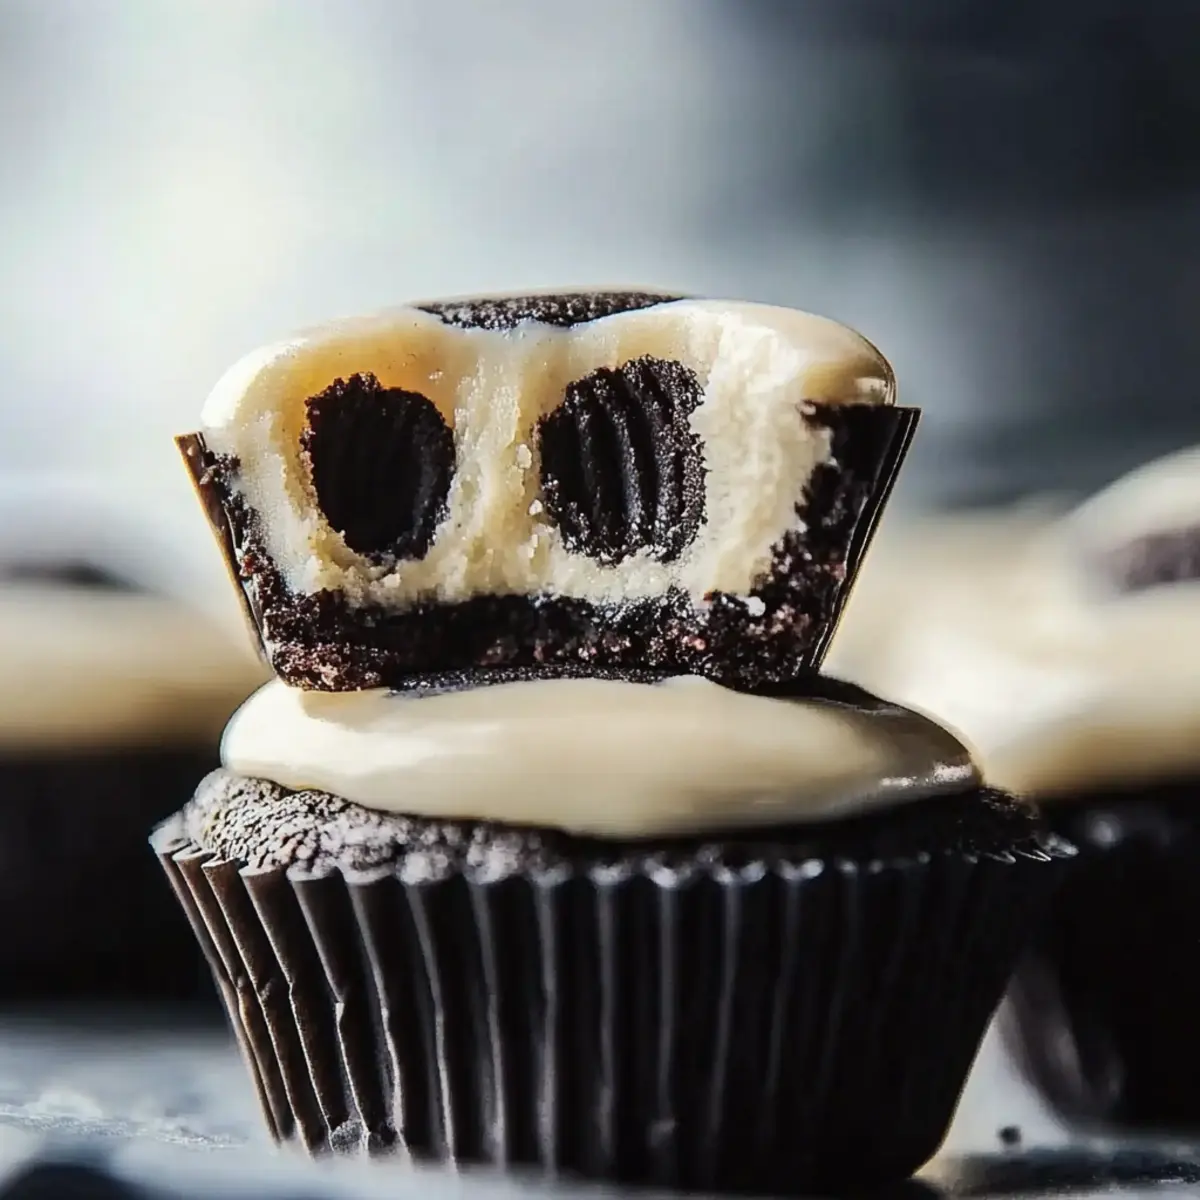
As I unwrapped the last of the Oreo cookies, a wave of nostalgia swept over me, reminding me of carefree afternoons spent in the kitchen with family. That’s when the idea struck—why not create something truly special? Enter the irresistible Oreo Cheesecake Bites, a delightful twist on the classic dessert that combines creamy goodness with a crunchy base. With just 15 minutes of prep time, these bite-sized treats are not only a hit at any gathering but are also a wonderful way to indulge without the fuss of a full cheesecake. Chilling in the fridge for a cozy three hours allows the flavors to meld perfectly, leaving everyone wanting more. Ready to add a touch of sweetness to your next occasion? Let me show you how to make these delightful bites!
Why Are Oreo Cheesecake Bites Irresistible?
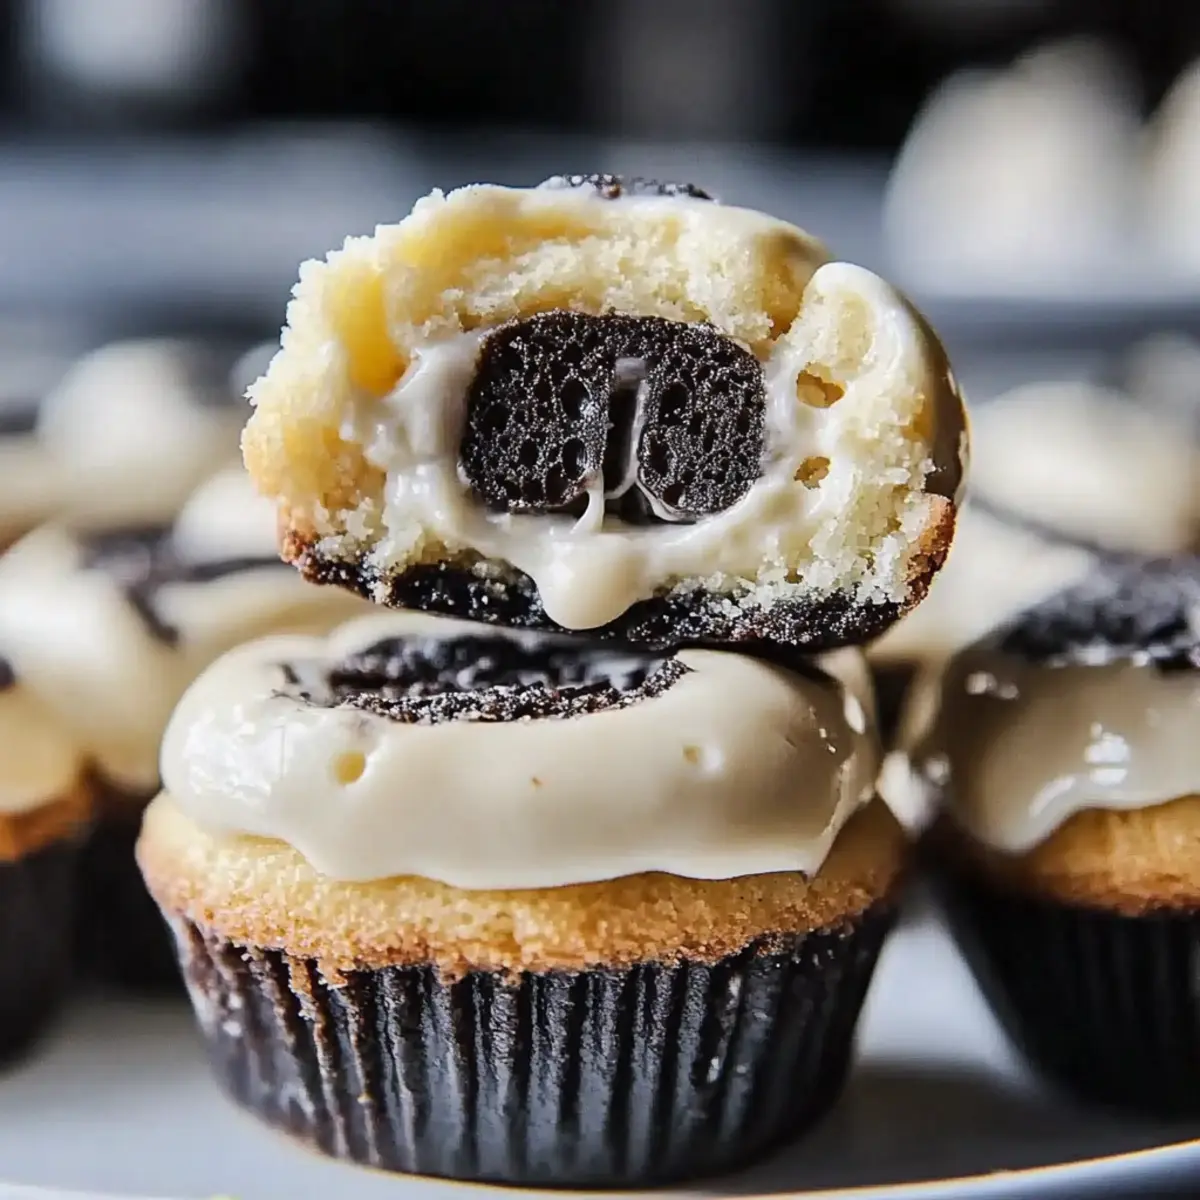
Decadent Flavor: The creamy cheesecake filling mingles beautifully with crushed Oreos, delivering a burst of rich, chocolatey goodness in every bite.
Quick Prep: At just 15 minutes of hands-on time, these bites are a breeze to whip up, making them perfect for both spontaneous cravings and last-minute gatherings.
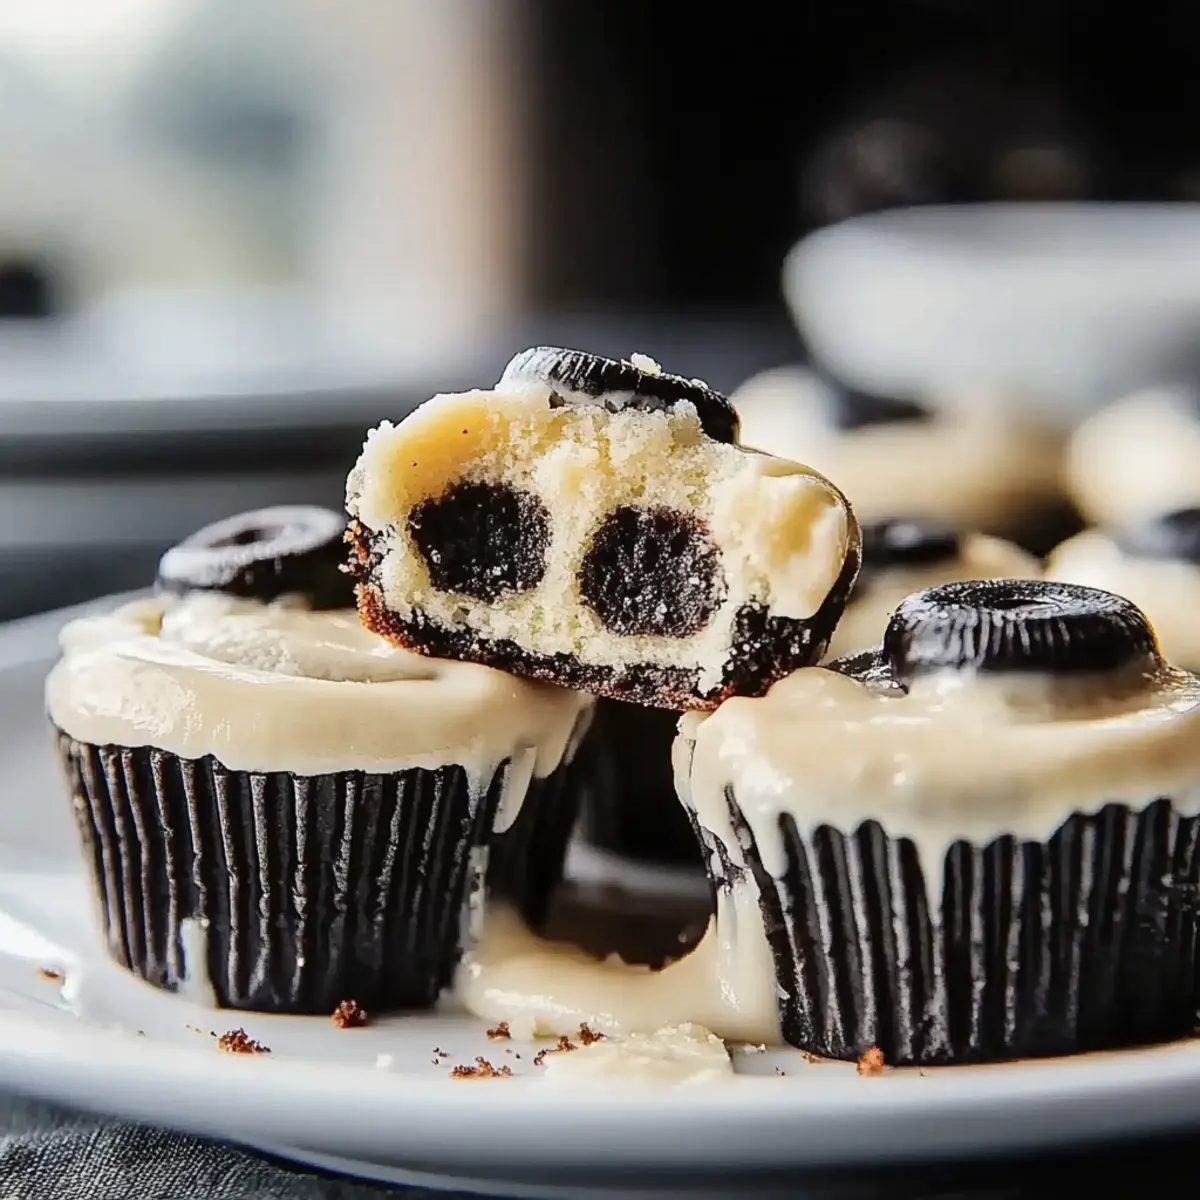
Crowd-Pleasing Treat: With 24 servings in a single batch, these bites are a hit for parties, picnics, or simply a sweet snack at home.
Easy Customization: Feel free to experiment! Add toppings like fresh berries or a drizzle of chocolate sauce to elevate your presentation.
No-Bake Delight: No oven is needed, so you can keep your kitchen cool while enjoying these chilled, delightful bites that are sure to impress!
Serve alongside a delicious drink or check out my tips for creative dessert ideas to truly wow your guests!
Oreo Cheesecake Bites Ingredients
For the Cheesecake Filling
• 16 oz cream cheese – ensures a creamy base that perfectly captures the essence of cheesecake.
• ½ cup powdered sugar – adds sweetness and aids in achieving that velvety texture.
• 1 cup whipped cream – lightens up the mixture, making every bite a fluffy, dreamy delight.
• 1 teaspoon vanilla extract – enhances the overall flavor and adds a warm, aromatic note.
For the Crust
• 24 whole Oreo cookies – forms the base of our bites, packed with chocolatey goodness.
• ½ cup Oreo cookie crumbs – combines with whole cookies to create a perfect crunchy texture for the crust.
Note: These ingredients come together to make the most delightful Oreo Cheesecake Bites you'll ever taste!
Step‑by‑Step Instructions for Oreo Cheesecake Bites
Step 1: Prepare the Cheesecake Filling
In a mixing bowl, combine 16 oz of cream cheese and ½ cup of powdered sugar. Use an electric mixer on medium speed until the mixture is smooth and creamy, about 2-3 minutes. Slowly fold in 1 cup of whipped cream and 1 teaspoon of vanilla extract, continuing to mix gently until fully incorporated and fluffy, creating the rich filling for your Oreo Cheesecake Bites.
Step 2: Make the Oreo Crust
Take 24 whole Oreo cookies and crush them until finely ground. In a bowl, combine these crushed cookies with ½ cup of Oreo cookie crumbs to create a cohesive mixture. This flavorful blend will form the crunchy base. Ensure the texture is sandy and easily compacted so it holds together well when pressed into the muffin tin.
Step 3: Form the Base in the Muffin Tin
Line a muffin tin with paper liners to make removing your Oreo Cheesecake Bites easy. Press the Oreo mixture firmly into the bottom of each muffin cup, creating an even layer. Aim for about ¼-inch thickness; this gives the bites a satisfying crunch. Use the back of a small measuring cup to pack it down well, ensuring a sturdy crust.
Step 4: Fill the Muffin Cups
Spoon the creamy cheesecake filling into each muffin cup, filling them nearly to the top. Smooth the surface with a spatula to ensure an even finish. This step is crucial for achieving those delightful Oreo Cheesecake Bites. Leave a little space at the top to account for any swelling during the chilling process.
Step 5: Chill in the Refrigerator
Once all the filled muffin cups are ready, cover the tin with plastic wrap or aluminum foil. Place the muffin tin in the refrigerator and let the Oreo Cheesecake Bites chill for at least 3 hours. This chilling process allows the flavors to meld and the cheesecakes to set, resulting in a firmer and creamier texture.
Step 6: Remove and Serve
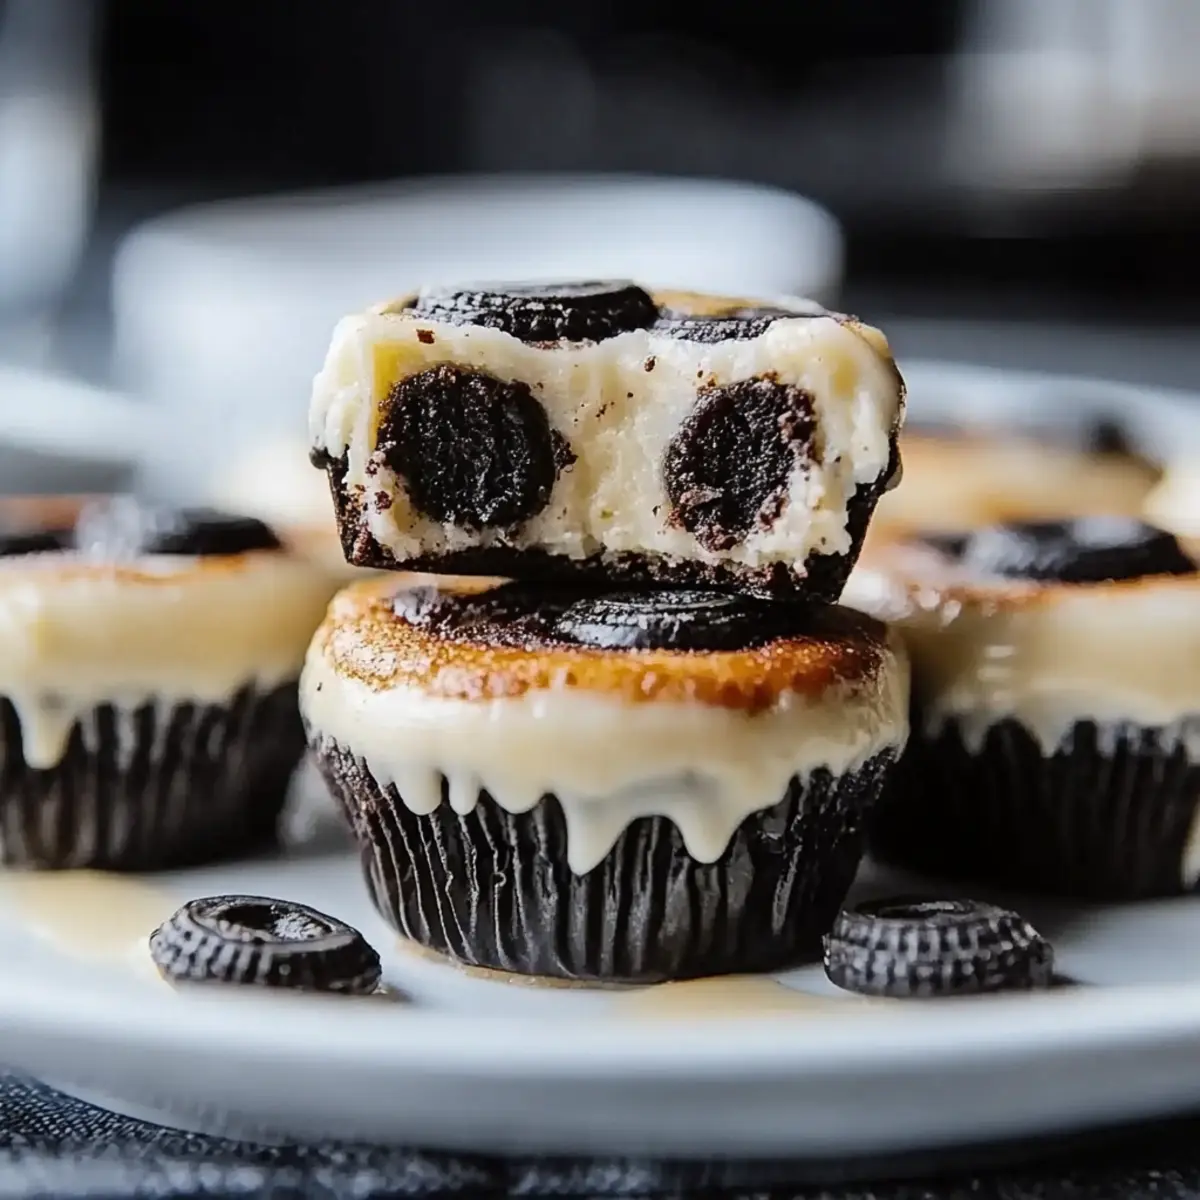
After the bites are fully chilled, carefully remove them from the muffin tin, peeling away the liners gently. Serve the Oreo Cheesecake Bites on a platter, optionally garnished with more crushed Oreos or whipped cream for added flair. These delightful treats are now ready to be enjoyed by family and friends!
What to Serve with Oreo Cheesecake Bites
Elevate your celebration with delicious sides that balance the creamy sweetness of these delightful treats.
-
Fresh Berries: The tartness of strawberries or raspberries cuts through the sweetness, offering a refreshing bite and a pop of color on your plate.
-
Chocolate Sauce: Drizzling warm chocolate sauce adds an indulgent layer and enhances the overall chocolate experience of your dessert.
-
Whipped Cream: Lighten things up! A dollop of freshly whipped cream adds an airy texture that complements each rich, creamy bite perfectly.
-
Coffee or Espresso: The bitterness of coffee contrasts beautifully with the creamy Oreo flavors, making it a delightful pairing for dessert lovers.
-
Mint Sprigs: A few fresh mint leaves not only garnishes your plate but also adds a refreshing zing that lightens the overall sweetness.
-
Ice Cream: Serve with a scoop of vanilla or cookies and cream ice cream to intensify the flavor experience—perfect for the ultimate indulgence!
-
Sparkling Water or Lemonade: Refresh your palate with bubbly drinks. The effervescence helps cleanse your taste buds between bites of rich cheesecake.
These pairings not only enhance the experience but transform your Oreo Cheesecake Bites into a memorable feast!
Oreo Cheesecake Bites Customization Ideas
Feel free to get creative with your Oreo Cheesecake Bites—let your flavors shine and tantalize your taste buds!
- Gluten-Free: Use gluten-free Oreo cookies to enjoy these bites without sacrificing that beloved crunch.
- Nutty Twist: Add crushed nuts like almonds or pecans to the crust for extra texture and a delightful flavor enhancement.
- Cheesecake Swirl: Mix in a layer of raspberry or strawberry puree into the filling before chilling for a fruity touch.
- Minty Fresh: Incorporate peppermint extract into the cream cheese mixture for a refreshing mint twist that's perfect during the holidays.
- Cookie Dough Delight: Toss in mini chocolate chips or chunks of cookie dough into the filling for an extra chewiness in each bite.
- Spicy Heat: Add a pinch of cayenne pepper to the cream cheese filling if you're feeling adventurous—that surprising kick will excite your taste buds!
- Rich Chocolate: Enhance the chocolatey flavor by drizzling melted dark chocolate over the finished bites before serving for a decadent finish.
Let your imagination run wild! Each variation can make these treats even more special. For additional flavor inspiration, why not check out my tips for creative dessert ideas? You’re sure to impress!
How to Store and Freeze Oreo Cheesecake Bites
Fridge: Store leftovers in an airtight container in the refrigerator for up to 3 days to maintain their creamy texture and flavor.
Freezer: For longer storage, freeze the Oreo Cheesecake Bites in a single layer on a baking sheet before transferring to a freezer-safe container. Enjoy within 2 months for best quality.
Thawing: To enjoy, thaw the bites in the fridge overnight. This will help retain their delightful creaminess and prevent sogginess.
Reheating: These bites are best served cold, so no reheating is necessary! Just pop them out of the fridge before serving for a refreshing treat.
Make Ahead Options
These Oreo Cheesecake Bites are perfect for meal prep and can easily be made ahead of time to save you precious moments on busy days! You can prepare the cheesecake filling and the Oreo crust up to 24 hours in advance. Simply mix the cream cheese, powdered sugar, whipped cream, and vanilla, then store it in an airtight container in the fridge. Assemble the crust in the muffin tin, cover it tightly, and refrigerate as well. When you're ready to serve, simply fill the cups with the chilled filling and allow them to chill in the refrigerator for at least 3 hours before serving. This way, you'll have delicious, ready-to-enjoy Oreo Cheesecake Bites that taste just as delightful as if made fresh!
Expert Tips for Oreo Cheesecake Bites
• Mixing Technique: Ensure your cream cheese is at room temperature for smoother blending with the powdered sugar and avoid lumps.
• Crust Consistency: Press the Oreo crust firmly enough to hold together but not too hard that it becomes dense and difficult to bite into.
• Chilling Time: Resist the temptation to skip or shorten the chilling time; this step is crucial for achieving the perfect texture in your Oreo Cheesecake Bites.
• Filling Height: Fill your muffin cups just below the rim to allow a bit of space for potential expansion during chilling, which helps maintain the shape.
• Garnishing Ideas: Get creative! Top with fresh berries or chocolate drizzle for added flavor and a beautiful presentation, appealing to both the eyes and taste buds.
Oreo Cheesecake Bites Recipe FAQs
How do I choose the right Oreos for the crust?
Absolutely! For the best flavor, go for classic Oreos. Avoid any variations that might change the texture or taste, like birthday cake or lemon Oreos, as they won’t provide the perfect crunch and rich chocolate flavor we love in these Oreo Cheesecake Bites.
What is the best way to store leftover Oreo Cheesecake Bites?
To keep your delicious bites fresh, store them in an airtight container in the refrigerator. They’ll stay good for up to 3 days. Just be sure to separate layers with parchment paper to prevent sticking!
Can I freeze Oreo Cheesecake Bites?
Yes, you can! Start by placing the bites on a baking sheet in a single layer, then freeze them until solid (about 1-2 hours). Once they’re firm, transfer the bites to a freezer-safe container, layering them with parchment paper, and they’ll keep well for up to 2 months. To enjoy, thaw them in the fridge overnight.
What if my cheesecake filling is too runny?
If your filling turns out too runny, it might be because the cream cheese wasn’t mixed thoroughly or was too warm. You can fix this by gradually mixing in more powdered sugar until the desired consistency is achieved. If possible, pop the filling in the fridge for about 20 minutes before using, which can help it firm up.
Are Oreo Cheesecake Bites safe to eat for kids and those with lactose intolerance?
While these bites are a hit among kids, they do contain cream cheese and whipped cream, which means they aren't suitable for those with lactose intolerance. If you want to make these bites dairy-free, look for lactose-free cream cheese and whipped cream alternatives, and everyone can join the fun!
How can I customize the flavor of my Oreo Cheesecake Bites?
The more the merrier! You can swap out Oreos for flavored cookie varieties or add a splash of almond extract in place of vanilla for a unique twist. Incorporating fresh fruit like raspberries or a swirl of peanut butter can also indulge your creative side!
Delightful Oreo Cheesecake Bites Perfect for Any Sweet Tooth
Ingredients
Equipment
Method
- In a mixing bowl, combine cream cheese and powdered sugar, mix until smooth.
- Crush Oreo cookies and mix with Oreo cookie crumbs.
- Press the Oreo mixture firmly into the bottom of muffin cups.
- Spoon the cheesecake filling into the muffin cups, smoothing the surface.
- Cover with plastic wrap and chill in the refrigerator for at least 3 hours.
- Remove from muffin tin and serve, garnished with crushed Oreos or whipped cream.


Leave a Reply