
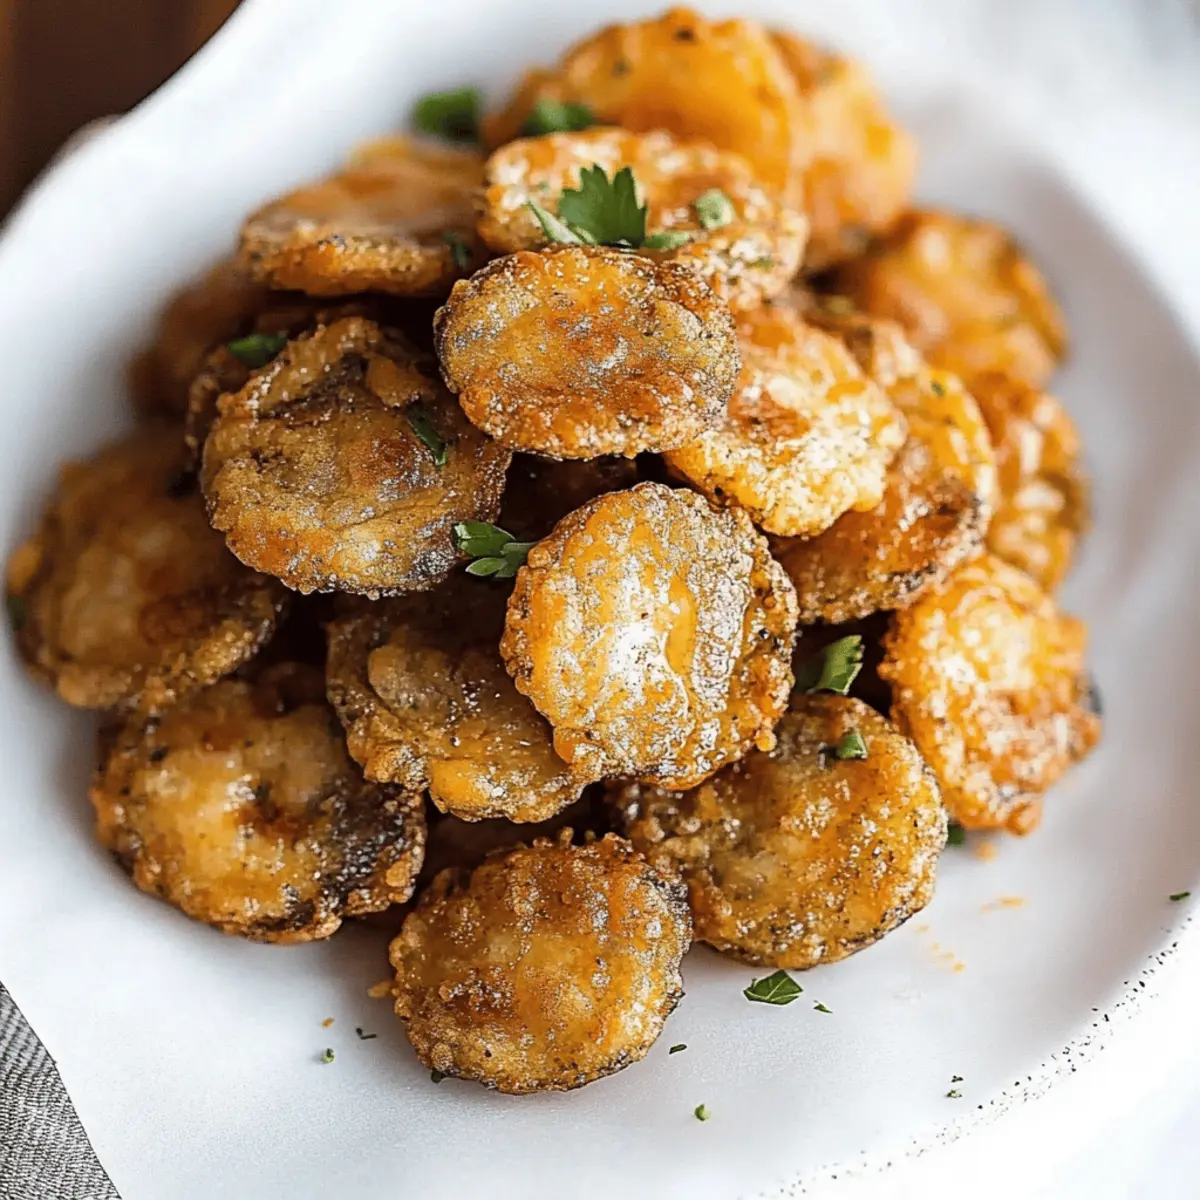
There’s something delightfully satisfying about the sound of those crispy bites hitting the plate—the kind that instantly evokes memories of summer fairs and backyard gatherings. For me, making Fried Pickles has become a go-to recipe that effortlessly transforms a simple jar of pickles into a snack that everyone can’t resist. With minimal prep time and all the fun of deep-frying right in your own kitchen, this dish is perfect for impressing friends or enjoying with family during cozy movie nights. Not only are these fried delights irresistibly crunchy, but they also provide a scrumptious alternative to typical fast food that can leave you unsatisfied. Are you ready to bring some zesty joy into your cooking routine? Let’s dive into this easy, flavorful recipe together!
Why are Fried Pickles a Must-Try?
Crispy, Crunchy Joy: These Fried Pickles deliver an unbeatable crunch with every bite, elevating your snacking game to a whole new level.
Easy Preparation: With just 15 minutes of prep and 20 minutes of cook time, you'll have a delicious appetizer ready in no time—perfect for spontaneous get-togethers!
Flavor Explosion: The combination of savory spices like garlic and paprika creates a delightful flavor profile that enhances the tanginess of the pickles.
Versatile Snack: Enjoy them on their own or as a fun dip with ranch dressing; these pickles are sure to please guests at any gathering or family movie night.
Crowd Pleaser: Whether you’re hosting a party or craving a tasty snack, these fried delights will charm both kids and adults alike!
Fried Pickles Ingredients
For the Pickles
• 16-oz jar sliced pickles – Choose dill pickles for that perfect tangy flavor that pairs wonderfully with the crispy coating.
For the Coating
• All-purpose flour – This is the base for your crunchy coating; feel free to substitute with gluten-free flour if needed.
• Salt – Enhances the flavors of your fried pickles; adjust to taste if you're watching your sodium intake.
• Ground black pepper – Adds a bit of kick; you can use white pepper for a milder taste.
• Garlic powder – Imparts a savory depth; fresh minced garlic can be used for a more intense flavor.
• Onion powder – Complements the garlic wonderfully; don’t skip this for balanced taste.
• Paprika powder – Adds a hint of smokiness; use smoked paprika for an extra flavor twist.
• Baking powder – Helps the coating to puff slightly, making it crispier; it’s a small but mighty addition.
For the Batter
• Milk – Binds the flour mixture to the pickles; use buttermilk for a richer taste.
• Large eggs – This adds richness and helps create a golden crust that’s hard to resist.
For Frying
• Vegetable oil – Essential for frying; ensure it’s hot enough for that perfect crunch, and can be reused for frying other goodies too!
Discover the fast and fun way to make Fried Pickles right in your kitchen and enjoy every crunchy, savory bite!
Step‑by‑Step Instructions for Fried Pickles
Step 1: Heat the Oil
In a deep frying pan, pour in enough vegetable oil to cover the bottom by about an inch and heat it over medium-high heat. You’ll know it’s ready when the oil shimmers and a small drop of water sizzles upon contact. This initial step sets the stage for perfectly crispy Fried Pickles!
Step 2: Prepare the Coating
While the oil heats up, grab a large bowl and combine 1 cup of all-purpose flour, 1 teaspoon of salt, ½ teaspoon each of ground black pepper, garlic powder, onion powder, and paprika powder, along with ¼ teaspoon of baking powder. Mix thoroughly until the dry ingredients are well blended, creating a flavorful seasoning for your Fried Pickles.
Step 3: Make the Batter
In another bowl, whisk together 1 cup of milk and 2 large eggs until fully combined. This mixture will create a lovely wet batter that helps the flour coating adhere to the pickles. Set it aside until you're ready to dip those crunchy slices into the mixture, ensuring every pickle gets that delicious coating.
Step 4: Coat the Pickles
Carefully dip each drained pickle slice into the milk and egg batter, allowing any excess to drip off. Then, immediately transfer the coated pickles to the flour mixture, ensuring an even coating. Press gently to help the flour stick, creating a tantalizing crunch when you fry your Fried Pickles.
Step 5: Fry the Pickles
Once the oil is hot, gently place the coated pickles into the frying pan, being careful not to overcrowd them. Fry in batches for about 2-3 minutes per side, or until they turn a beautiful golden brown. Keep an eye on them to achieve that crunchy texture you crave from homemade Fried Pickles!
Step 6: Drain Excess Oil
Using a slotted spoon, carefully remove the fried pickles and place them on a paper towel-lined plate. This will help absorb any excess oil and keep your Fried Pickles crispy. Let them rest for a few moments to cool slightly while you complete the frying process with any remaining slices.
Step 7: Serve and Enjoy
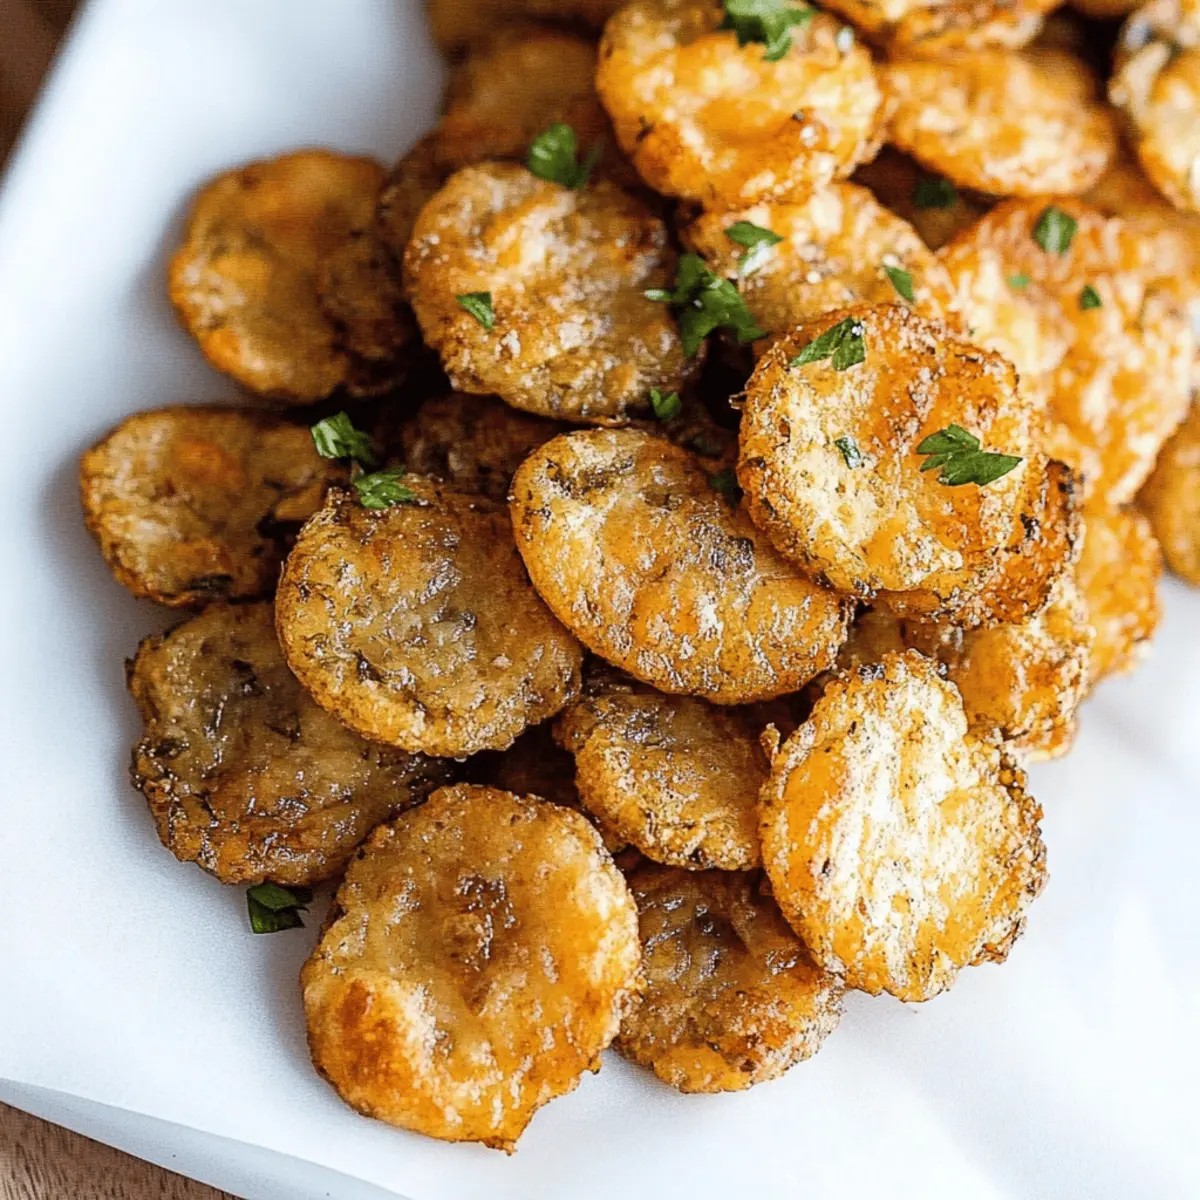
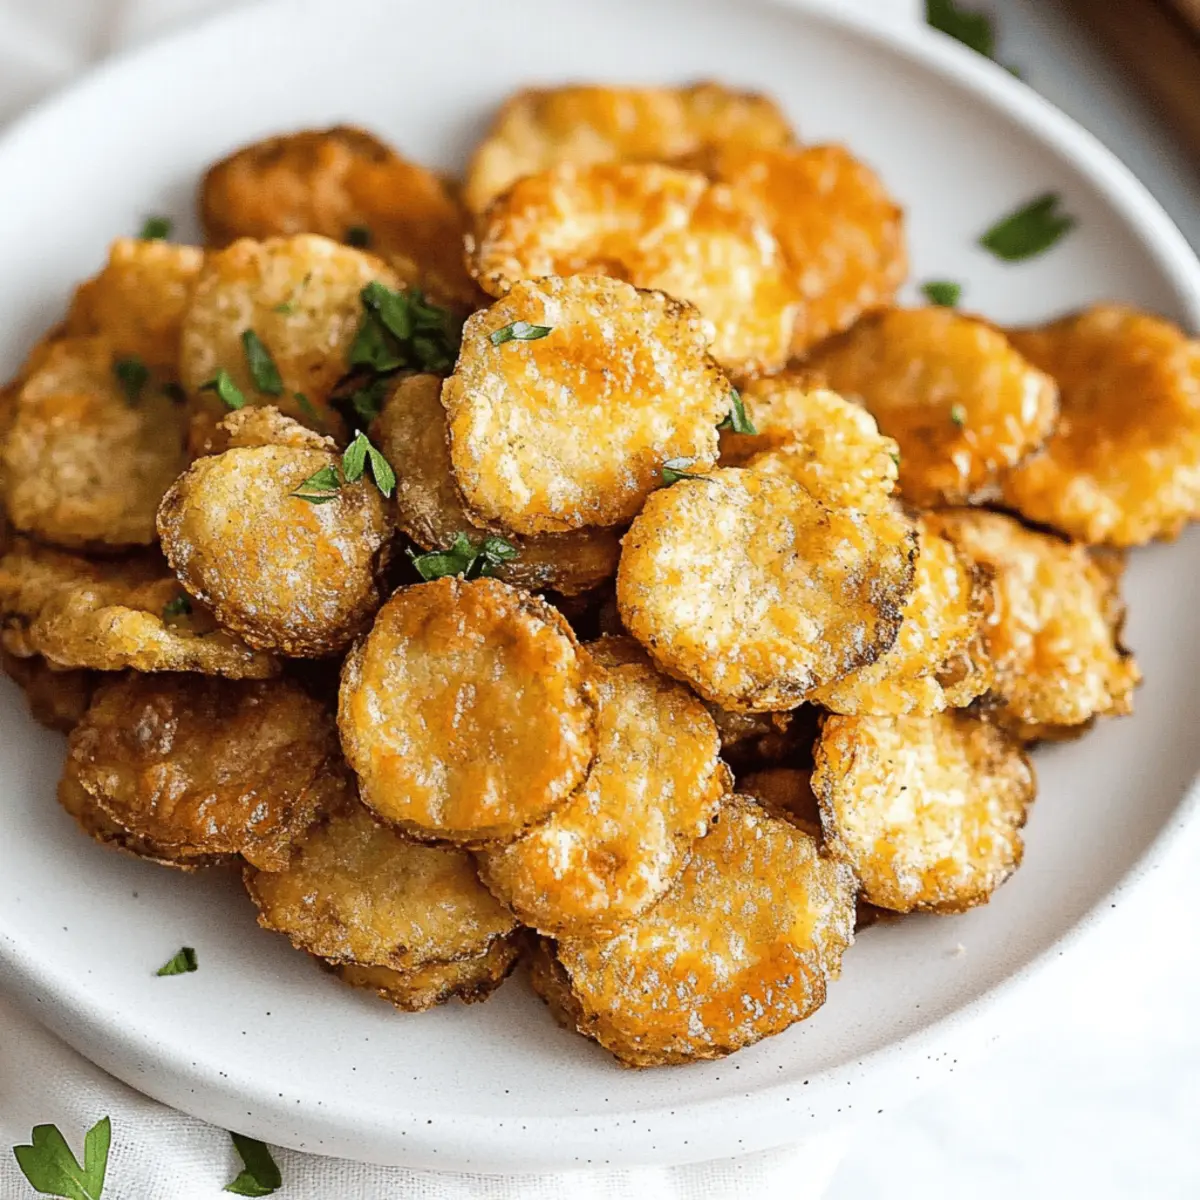
Once all your Fried Pickles are fried and perfectly drained, serve them warm alongside a bowl of ranch dressing for dipping. The crispy exterior and tangy flavor are sure to make these bites a favorite! Perfect for snacking or sharing, your homemade Fried Pickles are ready to delight everyone!
Storage Tips for Fried Pickles
Room Temperature: Fried pickles are best enjoyed fresh, but you can keep them at room temperature for up to 2 hours. After that, it's best to store them to maintain their crunch.
Fridge: To store leftover fried pickles, place them in an airtight container and refrigerate for up to 3 days. Reheating them in the oven helps restore their crispy texture.
Freezer: For longer storage, you can freeze fried pickles in an airtight container for up to 2 months. Flash freeze them on a baking sheet before transferring to avoid sticking.
Reheating: When ready to enjoy, reheat frozen fried pickles directly from the freezer in an oven set to 350°F for about 10-15 minutes until hot and crispy, bringing back that delightful crunch!
Tips for the Best Fried Pickles
Choose the Right Pickles: Opt for dill pickles to enhance the tangy flavor. Avoid sweet pickles as they may not blend well with the savory coating.
Perfect Temperature: Ensure your vegetable oil is hot enough before frying. The ideal temperature is around 350°F—this guarantees a crispy and golden result for your Fried Pickles.
Don’t Overcrowd: Fry in small batches to maintain oil temperature and achieve an even fry. This will help prevent sogginess and ensure each pickle has that perfect crunch.
Coating Consistency: Make sure your pickles are well-drained before dipping. Excess moisture can lead to a soggy coating, so let them sit for a minute after draining.
Resting Time: Allow fried pickles to rest on paper towels to absorb excess oil, maintaining their crispy texture for longer. Enjoy them warm for the best experience!
What to Serve with Fried Pickles
Delightfully crispy and packed with flavor, these fried bites are just the beginning of an unforgettable meal experience.
- Creamy Ranch Dip: The classic pairing! Its cool, creamy texture complements the crunch of fried pickles, enhancing their zesty flavor.
- Zesty Coleslaw: A fresh and crunchy side that adds a refreshing bite, providing a nice balance to the richness of the fried pickles.
- Spicy Buffalo Wings: For those who love a kick, these wings create a delightful contrast; the heat pairs wonderfully with the cooling ranch dip.
- Tater Tots: Golden and crispy, these bite-sized potatoes offer a fun texture that complements the fried pickles without stealing the spotlight.
- Savory Sweet Potato Fries: Their natural sweetness adds a layer of flavor contrast, making an excellent accompaniment to these tangy delights.
- Barbecue Chicken Sliders: Juicy sliders topped with tangy barbecue sauce make for a satisfying main dish that pairs beautifully with crunchy fried pickles.
- Chilled Beer: A crisp lager or a hoppy IPA cuts through the richness, offering a refreshing contrast that enhances your snacking experience.
- Lemonade or Iced Tea: These refreshing beverages bring a bright citrus note, perfectly reviving your palate after each crunchy bite.
Fried Pickles Variations & Substitutions
Feel free to explore these delightful twists to make your Fried Pickles experience even more special!
-
Spicy Twist: Add cayenne pepper to the flour mixture for a fiery kick. This addition creates a flavorful contrast, elevating your snacking game to a whole new level.
-
Gluten-Free: Substitute all-purpose flour with a gluten-free baking blend. This allows everyone to join in on the crunchy fun without sacrificing taste or texture!
-
Herb & Garlic: Mix dried herbs like oregano or basil into your flour mixture for an aromatic infusion. This will give your fried pickles an herby freshness that’s impossible to resist.
-
Cheesy Coating: Stir in grated Parmesan cheese into the flour for a savory, cheesy kick. The combination of crispy and cheesy makes for an indulgent snack!
-
Zucchini Fries: Swap out pickles for zucchini slices to create a delicious veggie alternative! Prepare them the same way for a lighter take on your favorite snack.
-
Baked Version: For a healthier option, coat the pickles and bake them at 400°F for about 20 minutes until golden. You’ll still get a delightful crunch without the frying!
-
Unusual Dips: Try serving with sriracha mayo or barbecue sauce instead of ranch for a fun, flavor-packed twist! These alternatives add an exciting zing to your fried treat.
-
Buttermilk Batter: Substitute regular milk with buttermilk for a richer, tangier coating. This small change can make a big difference in flavor and texture!
Explore these variations to create your perfect crispy snack, and don’t forget to pair these tasty bites with your favorite sides for the ultimate enjoyment!
Make Ahead Options
These Fried Pickles are a fantastic choice for meal prep, allowing you to enjoy this crispy snack any day of the week! You can slice and coat the pickles up to 24 hours in advance, storing them in a sealed container in the refrigerator to maintain their freshness. To do this, simply dip each pickle in the milk and egg mixture, then coat with the seasoned flour. When you're ready to fry, heat the oil and drop in the coated pickles straight from the fridge—no need to wait for them to come to room temperature. This way, you'll have delicious, homemade Fried Pickles that are just as tempting as if you made them fresh!
Fried Pickles Recipe FAQs
How do I choose the right pickles for frying?
Absolutely! I recommend selecting dill pickles as they offer a perfect tangy flavor that pairs wonderfully with the crispy coating. Be wary of sweet pickles, as their flavor may clash with the savory elements of this dish.
How should I store leftover fried pickles?
Leftover fried pickles can be stored in an airtight container in the fridge for up to 3 days. To maintain their crunchiness, I suggest reheating them in the oven rather than the microwave, which can make them soggy. Just pop them in at 350°F for about 10-15 minutes until they’re warmed and crispy again.
Can I freeze fried pickles?
Of course! For longer storage, freeze fried pickles in an airtight container for up to 2 months. For best results, flash freeze them on a baking sheet first to avoid sticking together. Once frozen, transfer them into a container, and you'll have a delicious snack ready whenever you crave it!
What can I do if my fried pickles turn out soggy?
Very! If your fried pickles end up soggy, it might be due to excess moisture on the pickles before frying. Ensure they are well-drained and patted dry. If they are already fried, try placing them back in a hot oven at 350°F for about 5 minutes to help re-crisp them, or serve them immediately after frying to enjoy that perfect crunchy texture!
Are fried pickles safe for pets or allergic individuals?
Fried pickles can pose a couple of concerns. While pickles themselves are not toxic to pets, fried ones can be greasy and high in sodium, which may upset their stomachs. As for allergies, be cautious of gluten in the flour and eggs if there are sensitivities—consider using gluten-free flour to adapt the recipe accordingly. Always check for label allergens if you're serving these to guests with dietary restrictions.

Crispy Fried Pickles That Beat Fast Food Any Day
Ingredients
Equipment
Method
- In a deep frying pan, pour vegetable oil to cover the bottom by about an inch and heat it over medium-high heat.
- In a large bowl, combine 1 cup of all-purpose flour, 1 teaspoon of salt, 0.5 teaspoon each of ground black pepper, garlic powder, onion powder, and paprika powder, and 0.25 teaspoon of baking powder. Mix thoroughly.
- In another bowl, whisk together 1 cup of milk and 2 large eggs until fully combined.
- Dip each drained pickle slice into the milk and egg batter, then transfer to the flour mixture, pressing gently to coat.
- Once the oil is hot, gently place the coated pickles into the frying pan, frying in batches for 2-3 minutes per side until golden brown.
- Using a slotted spoon, remove fried pickles and place on a paper towel-lined plate to drain excess oil.
- Serve warm with ranch dressing for dipping.
Leave a Reply