
As I stood in my kitchen, the scent of melted chocolate wafting through the air, I couldn't help but think about how much joy simple treats like Cake Pops can bring. Inspired by the beloved Starbucks Cake Pop, I decided to whip up a batch that not only satisfies that sweet tooth but also makes for a delightful conversation starter at any gathering. These charming little bites are a breeze to make, perfect for both seasoned home-chefs and those just beginning their culinary adventure. Plus, they can be customized with sprinkles or your favorite toppings, making them a crowd-pleaser that you can personalize for any occasion. Ready to unleash your inner pastry chef? Let’s dive into this deliciously fun adventure!
Why Are Cake Pops So Irresistible?
Delightful Treats: These cake pops are not just cute; they're bursting with flavor and joy!
Quick and Easy: With just 15 minutes of prep time, even novice bakers can impress family and friends.
Versatile Options: Customize your pops with various toppings—from festive sprinkles to themed decorations, the possibilities are endless!
Perfect for Gatherings: Whether it’s a birthday party or a cozy get-together, these delightful bites are a hit with everyone.
Sweet Satisfaction: Each pop offers a rich, indulgent taste that rivals your favorite coffee shop treats, making them an instant favorite.
You can also explore more about sweets with our other delightful desserts like Chocolate Cake Pops or No-Bake Cheesecake Cups.
Cake Pop Ingredients
For the Cake Mixture
• Cake crumbs – use up leftover cake or make a fresh batch for optimal flavor.
• Frosting – choose your favorite flavor to enhance the taste of the cake pops.
For Assembly
• Lollipop sticks – sturdy and perfect for holding your delightful cake pops.
• Chocolate candy melts – select colors to match any occasion and create a beautiful coating.
For Decoration
• Sprinkles or candy decorations – optional, but they're perfect for adding a festive touch and personalizing each cake pop!
Creating these charming cake pops is a fun way to indulge your sweet tooth and delight your guests!
Step‑by‑Step Instructions for Starbucks Cake Pop Recipe
Step 1: Prepare the Cake Mixture
In a large bowl, combine 1 cup of cake crumbs with ½ cup of frosting. Mix thoroughly until the mixture is well-blended and easy to mold. You should see a consistent, dough-like texture forming. This step usually takes about 5 minutes and will be the foundation of your cake pops, so make sure it’s mixed well!
Step 2: Form the Cake Balls
Now, using your hands, scoop out portions of the cake mixture and roll them into small balls, approximately 1 inch in diameter. Aim for 20 uniform balls for your cake pops. As you roll, keep an eye on the consistency; they should hold their shape well. This step typically takes 10 minutes and is where the fun really begins!
Step 3: Insert Lollipop Sticks
Once all your cake balls are formed, it’s time to create the pops! Carefully insert a lollipop stick into the center of each cake ball, pushing it in about halfway. Be gentle to avoid breaking the cake ball apart. Arrange the cake pops on a baking sheet and get ready for the chilling phase, which will help them firm up.
Step 4: Chill the Cake Pops
Place the baking sheet with your inserted cake pops in the refrigerator for about 10-15 minutes. This step is crucial as it allows the cake balls to firm up. You’ll know they are ready when they feel solid to the touch but not frozen. While they chill, you can prepare for the chocolate coating!
Step 5: Melt the Chocolate Candy Coating
Using a microwave-safe bowl, melt the chocolate candy melts according to the package instructions. Typically, you'll heat them in 30-second intervals, stirring in between until smooth and fully melted. The chocolate should be nice and shiny, making it the perfect coating for your cake pops.
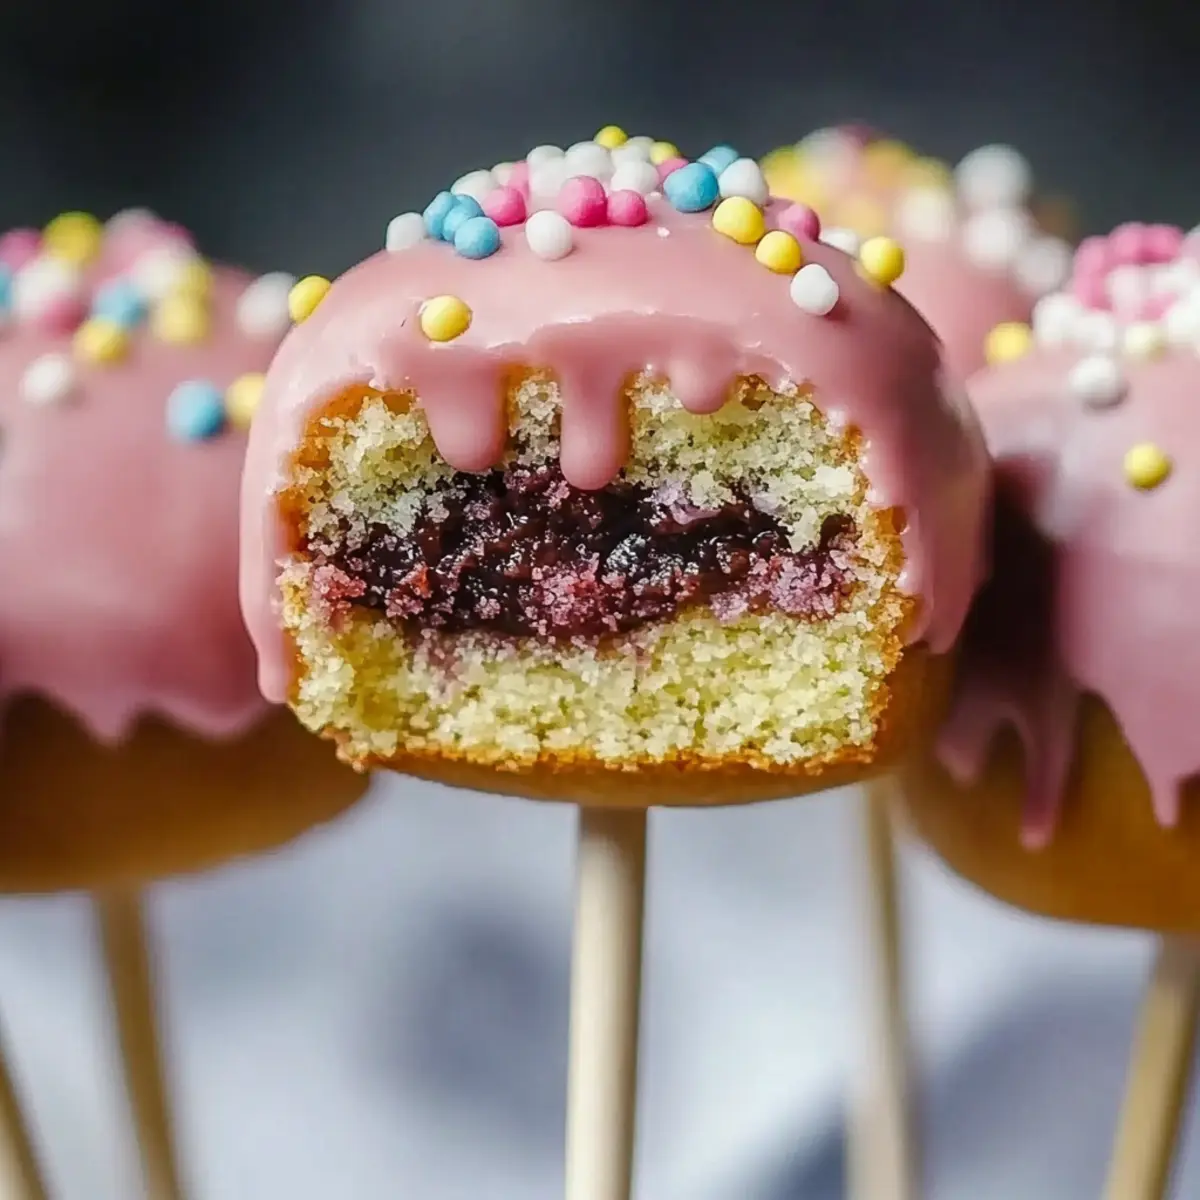
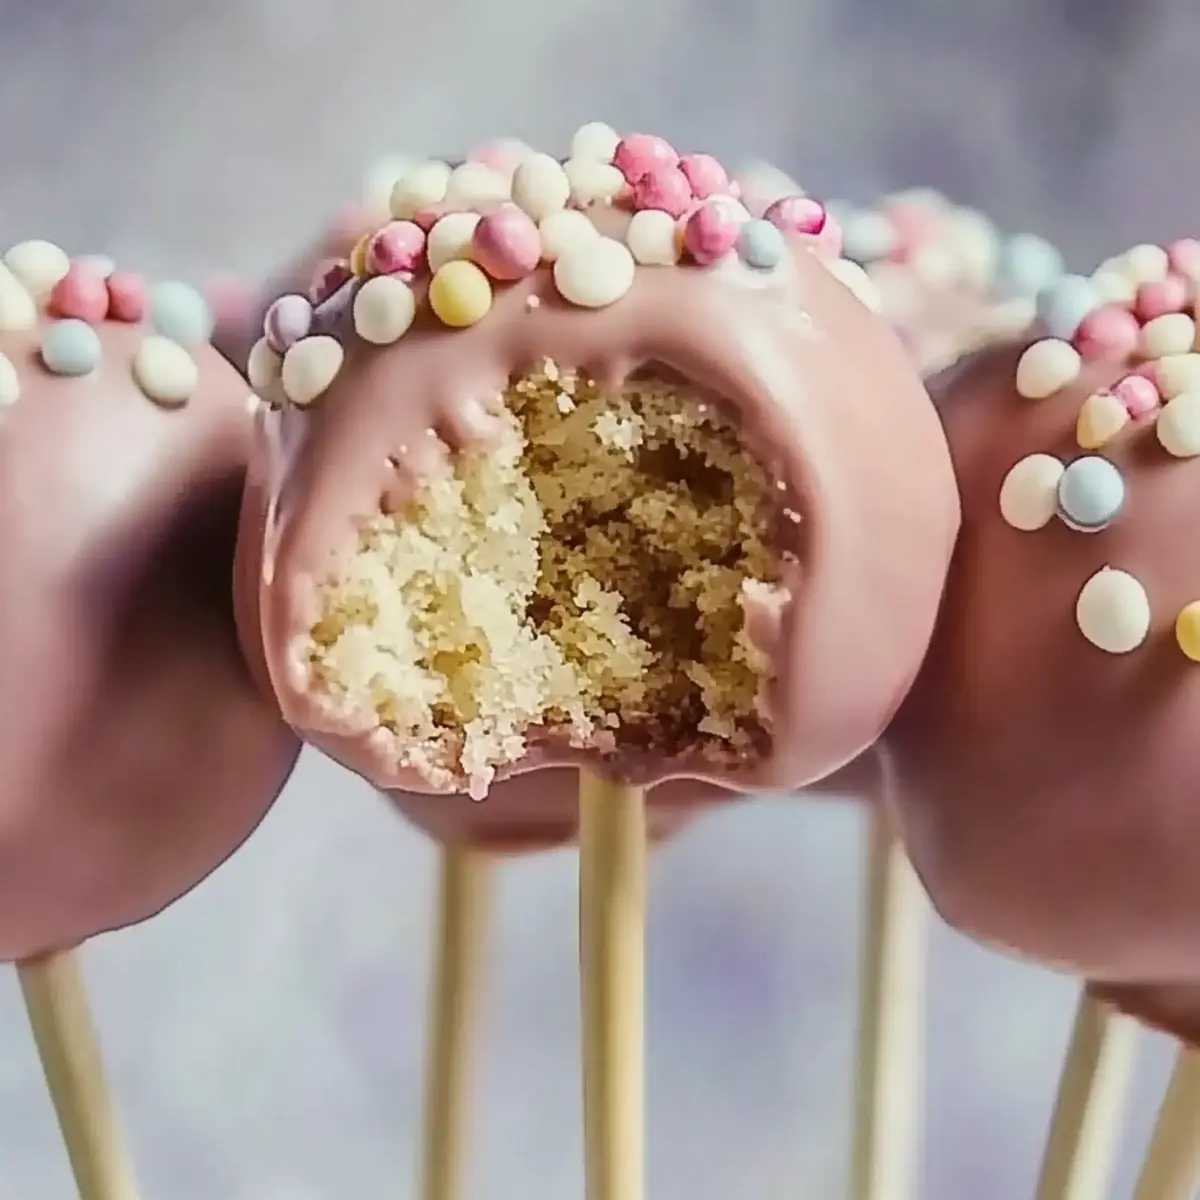
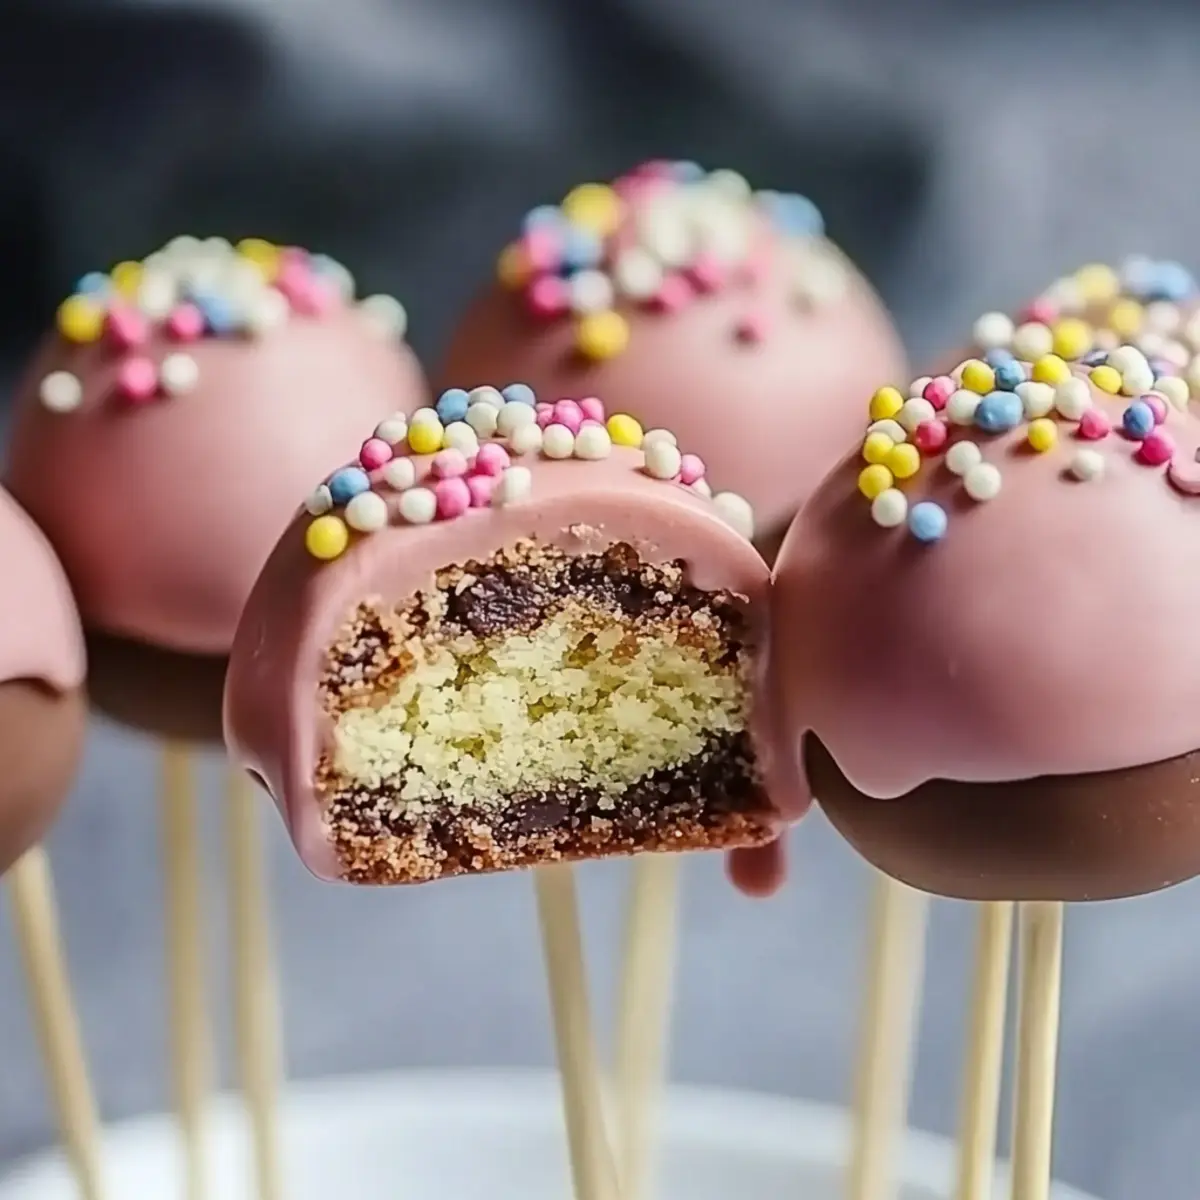
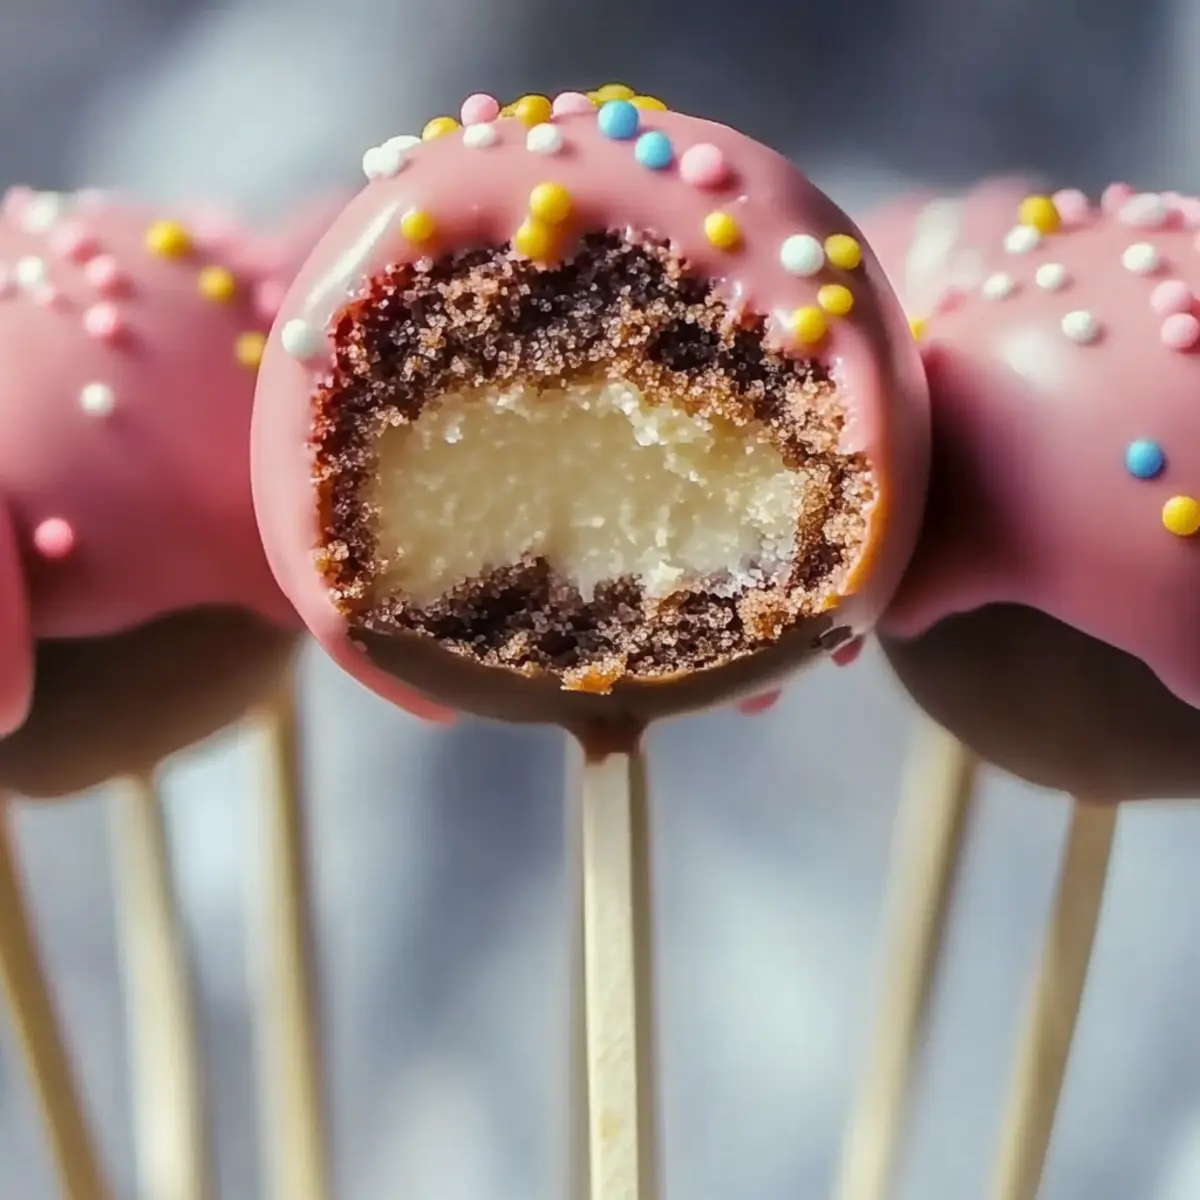
Step 6: Dip the Cake Pops
Once your cake pops have chilled and the chocolate is melted, take each pop and dip it into the chocolate coating. Ensure the entire cake ball is fully covered in chocolate, giving it a gentle swirl to remove any excess. This step adds a delightful layer of sweetness and is essential for that beautiful finish!
Step 7: Set the Cake Pops to Hardening
After dipping, it's important to let your decorated cake pops harden. Insert them upright into a foam block or a pop stand. Allow them to set at room temperature for about 15-20 minutes, or until the chocolate coating is firm to the touch. This ensures they’re ready for the next step—decorating!
Step 8: Add Fun Decorations
If you want to make your cake pops extra special, now is the time to decorate! While the chocolate coating is still slightly tacky, sprinkle on colorful sprinkles or candy decorations. This is a wonderful way to personalize your cake pops and make them festive, adding not just flavor but also a pop of color!
How to Store and Freeze Cake Pops
Room Temperature: Store leftover cake pops in an airtight container at room temperature for up to 3 days to keep them fresh and delicious.
Fridge: For longer freshness, keep cake pops in the refrigerator in an airtight container for up to 1 week; this helps maintain their flavor and texture.
Freezer: Freeze cake pops by placing them in a single layer on a baking sheet until firm, then transfer to a freezer-safe bag for up to 3 months. Just thaw in the fridge before serving!
Reheating: If your cake pops have been frozen, simply let them sit at room temperature for about 30 minutes before enjoying to restore their delightful taste.
Make Ahead Options
These delightful cake pops are perfect for meal prep and can save you valuable time on busy days! You can prepare the cake ball mixture up to 24 hours in advance. Simply combine 1 cup of cake crumbs with ½ cup of frosting, roll them into balls, and refrigerate them tightly covered. For best quality, avoid dipping them in chocolate until you're ready to serve. When it’s time to finish, just melt your chocolate coating, dip the chilled cake balls, and let them harden before decorating. This way, you'll have delicious, homemade treats ready for any occasion with minimal effort!
What to Serve with Starbucks Cake Pops?
Indulging in a batch of cake pops is just the beginning of a delightful dessert experience.
-
Fresh Fruit Skewers: Fresh, juicy fruits offer a refreshing contrast to the sweetness of the cake pops, creating a balanced treat. Bright colors and varied flavors make these skewers visually appealing and energizing.
-
Creamy Chocolate Fondue: Pairing cake pops with a warm chocolate fondue allows for a fun, interactive dessert experience. Guests can dip and dunk, adding their favorite toppings for extra flavor.
-
Vanilla Ice Cream: The smooth, creamy texture of vanilla ice cream perfectly complements the rich, sweet cake pops. Serve a scoop alongside for a comforting and indulgent dessert duo.
-
Coffee or Espresso: A warm cup of coffee enhances the rich flavors of the cake pops while providing a comforting energy boost. The bittersweet notes of coffee harmonize beautifully with the sweetness of this treat.
-
Whipped Cream: A dollop of light, airy whipped cream provides a cloud-like counterpart to the cake pops. Add a sprinkle of cocoa powder or cinnamon for an extra layer of flavor that you'll love.
-
Caramel Sauce: Drizzling warm caramel sauce over your cake pops adds a delightful twist, intensifying their sweetness. This gooey goodness complements the cake and chocolate, making every bite heavenly.
-
Sparkling Water: For a refreshing drink option, sparkling water adds a fizzy and light touch. It cleanses the palate and makes for a delightful sip between those rich cake pop bites.
-
Chocolate Covered Strawberries: More chocolate is always a great idea! These strawberries add a fruity, fresh element that harmonizes perfectly with the cake pops. Their vibrant color also enhances any dessert platter.
-
Mini Cheesecake Bites: For a varied dessert spread, these little cheesecake bites offer creamy richness that contrasts beautifully with the lighter cake pops. Each bite feels indulgent, making them a perfect pairing.
Let these suggestions inspire your next gathering or sweet treat moment!
Cake Pops: Variations & Substitutions
Feel free to get creative and customize these cake pops to suit your taste buds and dietary needs!
-
Gluten-Free: Substitute cake crumbs with a gluten-free cake mix or almond flour for equally delightful treats.
-
Dairy-Free: Use a non-dairy frosting and dark chocolate candy melts for a delicious vegan-friendly version. They’re just as yummy!
-
Flavor Boost: Swap your standard cake mix for flavored options like lemon or red velvet for a delicious spin. Each pop will surprise and delight your palate!
-
Healthier Option: Try using Greek yogurt instead of frosting for a less sweet, protein-packed alternative. You won’t believe how tasty these can be!
-
Nutty Crunch: Add finely chopped nuts or granola to the cake mixture for an exciting texture twist—crunchy meets creamy!
-
Spicy Kick: Incorporate a dash of cinnamon or cayenne pepper to the melted chocolate for an unexpected heat that elevates the flavor profile.
-
Chocolate Coating Variety: Use white chocolate or colored candy melts instead of traditional chocolate for a vibrant and eye-catching finish.
-
Themed Pops: Decorate with themed sprinkles or food coloring to match celebrations like Halloween or birthdays, adding festive fun to your gatherings.
These variations not only make your cake pops unique but also ensure everyone at the table finds something to love. For more sweet ideas, check out our No-Bake Cheesecake Cups or get inspired with our Chocolate Cake Pops recipe!
Expert Tips for Making Cake Pops
Chill for Firmness: Always chill your cake balls for 10-15 minutes before dipping. This prevents them from sinking into the chocolate and losing their shape.
Melt Smoothly: Ensure your chocolate candy melts are fully melted and smooth before dipping. Stir well to avoid lumps, which can make dipping tricky.
Avoid Overcoating: Don’t dip for too long! Just a quick swirl will do—overcoating can make your cake pops too heavy and hard to eat.
Uniform Sizes: Roll your cake balls to similar sizes for even coating and baking. This helps ensure that all the cake pops have a consistent look and taste.
Experiment with Flavors: Get creative! Use different cake and frosting flavors to make various cake pops. This allows for endless customization and fun.
Starbucks Cake Pop Recipe FAQs
What is the best way to select cake for making cake pops?
Absolutely! The best cake for making cake pops is one that’s moist and flavorful. If you have leftover cake, that’s perfect! Otherwise, bake a fresh cake and allow it to cool completely. The texture should hold together without being too crumbly. Look for cakes without dark spots, as those indicate overbaking. A simple vanilla or chocolate cake pairs wonderfully with most frostings!
How should I store my cake pops?
Very easy! If you have leftover cake pops, store them in an airtight container at room temperature for up to 3 days. If you want to keep them fresh longer, place them in the refrigerator where they can last about a week. Just make sure they are well-covered so they don’t dry out or absorb smells from other foods in your fridge.
Can I freeze cake pops? If so, how?
Yes, you can freeze cake pops! To do this, place your assembled cake pops in a single layer on a baking sheet. Freeze until they are firm, which usually takes about 30-60 minutes. Then, transfer them to a freezer-safe bag or container, separating layers with parchment paper to prevent sticking. They can be stored in the freezer for up to 3 months. When you're ready to enjoy them, let them thaw in the fridge for a few hours before serving!
What should I do if my cake balls are falling apart?
Very common! If your cake balls fall apart, it usually means the mixture needs more binding. Add a bit more frosting to the bowl and mix well until the mixture can hold its shape when rolled. Form the balls gently and consider chilling them a little longer before inserting the lollipop sticks, which can help them maintain their integrity during dipping.
Are cake pops safe for pets or individuals with allergies?
Great question! While cake pops are a delightful treat for humans, they should not be given to pets, especially dogs, due to chocolate and other ingredients that can be harmful to them. If you have guests with allergies, consider checking if anyone is allergic to gluten, dairy, or any specific frosting flavors used in the recipe. You can easily adapt the cake and frosting to gluten-free and dairy-free options to ensure everyone can enjoy these delightful treats!
Irresistible Cake Pops You Can Make at Home Today
Ingredients
Equipment
Method
- In a large bowl, combine 1 cup of cake crumbs with ½ cup of frosting. Mix thoroughly until well-blended and easy to mold.
- Scoop out portions of the mixture and roll them into small balls, approximately 1 inch in diameter, for about 20 uniform balls.
- Insert a lollipop stick into the center of each cake ball, pushing it in about halfway.
- Place the baking sheet with the pops in the refrigerator for about 10-15 minutes to firm up.
- Using a microwave-safe bowl, melt the chocolate candy melts according to package instructions until smooth.
- Dip each pop into the chocolate coating, ensuring the entire cake ball is fully covered.
- Insert the decorated cake pops upright into a foam block or pop stand to allow them to harden at room temperature for about 15-20 minutes.
- While the coating is slightly tacky, sprinkle on colorful decorations for a festive touch.

Leave a Reply