
As I was reminiscing about my last visit to a vibrant farmers' market, I stumbled upon a beautiful display of hatch chiles that instantly sparked my creativity. That’s when I knew I had to make Spicy Hatch Chile Enchiladas! These enchiladas are not just a delicious meal; they bring the warmth of home cooking right to your table, perfect for a cozy weeknight dinner or a gathering with friends. With their quick prep time and the option to customize with your favorite proteins, they are a definite crowd-pleaser. Plus, the smoky flavor of roasted hatch chiles combined with melted cheese is just irresistible. Are you ready to dive into a dish that’s as comforting as it is exciting? Let’s get cooking!

What makes these enchiladas irresistible?
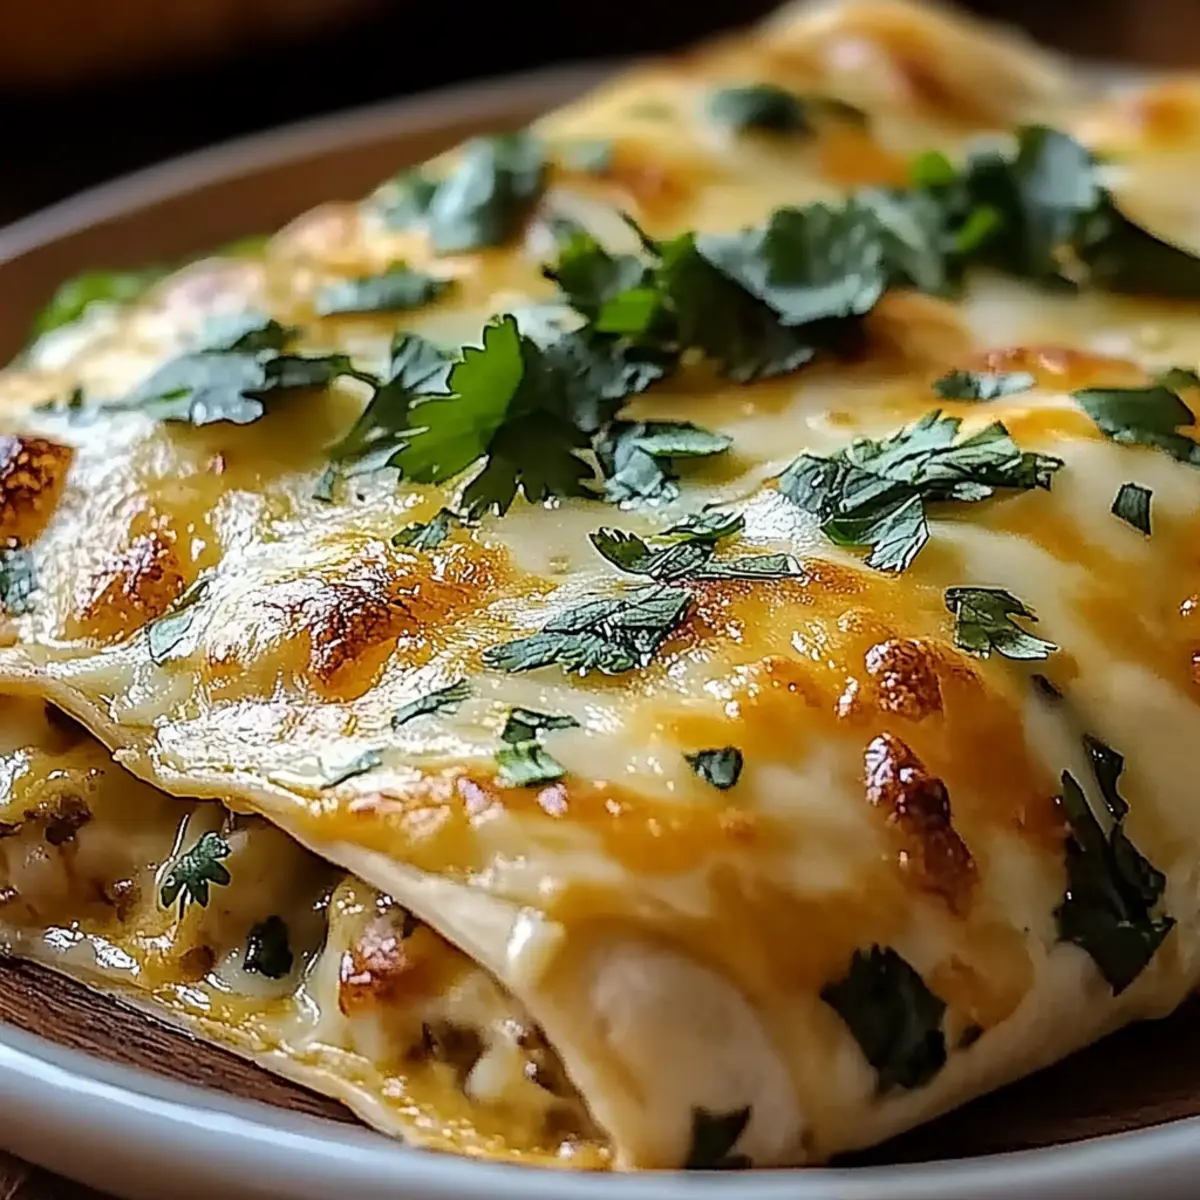
Bold flavors come together in these Spicy Hatch Chile Enchiladas, bringing zest and spice in each bite. Quick and easy to assemble, they save you precious time while still providing a homemade touch that beats any takeout. Versatile filling options cater to both chicken and beef lovers, ensuring everyone at the table finds something to enjoy. Melted cheese on top creates a wonderfully gooey layer that’s hard to resist. Garnish with fresh cilantro and sour cream to elevate the flavors even more, making them perfect for gatherings or cozy dinners at home. These enchiladas are your ticket to a satisfying meal that will wow your taste buds!
Spicy Hatch Chile Enchiladas Ingredients
For the Enchiladas
• Corn tortillas – essential for wrapping your flavorful fillings perfectly.
• Cooked shredded chicken (or beef) – for a hearty filling; feel free to swap in ground turkey for a leaner option.
• Shredded cheese – cheddar or Monterey Jack work beautifully for a melty topping.
• Hatch green chiles – roasted and chopped for that unique smoky flavor that defines these Spicy Hatch Chile Enchiladas.
For the Sauce and Seasoning
• Sour cream – adds a creamy contrast and balances the spiciness.
• Green enchilada sauce – this will soak into the tortillas, creating a delightful, savory dish.
• Ground cumin – enhances the earthy flavors, making each bite irresistible.
• Garlic powder – delivers a fragrant kick to the mix.
• Onion powder – brings additional depth and sweetness to the filling.
• Salt and pepper – to taste, ensuring each element shines through.
For Garnish
• Fresh cilantro – a sprinkle adds freshness and brightens the dish, though it’s optional!
Step‑by‑Step Instructions for Spicy Hatch Chile Enchiladas
Step 1: Preheat the Oven
Begin by preheating your oven to 350°F (175°C). This ensures that your Spicy Hatch Chile Enchiladas will bake evenly, creating that perfect, bubbling cheese layer on top. Meanwhile, gather your ingredients and prepare your baking dish by lightly greasing it with oil or cooking spray, ready for the delicious enchiladas to come.
Step 2: Mix the Filling
In a large mixing bowl, combine the cooked shredded chicken (or beef), roasted and chopped Hatch green chiles, ground cumin, garlic powder, onion powder, and season with salt and pepper. Use a spatula or wooden spoon to mix these ingredients thoroughly until everything is well combined. The aroma of spices will fill your kitchen, making it hard to resist the tasty filling!
Step 3: Warm the Tortillas
Heat a dry skillet over medium heat and place your corn tortillas in the skillet, one at a time. Warm each tortilla for about 30 seconds on each side, just until they are pliable and slightly toasted. This step is crucial for easy rolling, as it prevents the tortillas from cracking when you prepare your Spicy Hatch Chile Enchiladas.
Step 4: Assemble the Enchiladas
Take a warmed tortilla and scoop a generous amount of the filling mixture into the center. Carefully roll it up tightly and place the tortilla seam-side down in your greased baking dish. Continue this process, filling and rolling the remaining tortillas until the filling is used up, arranging them snugly in the dish for a beautiful presentation.
Step 5: Add the Sauce
Once all the rolled enchiladas are in the baking dish, pour the green enchilada sauce evenly over them. Use a spoon or spatula to ensure that each enchilada is generously covered with the savory sauce, allowing the flavors to meld beautifully during baking. This will create a comforting layer that soaks into the tortillas.
Step 6: Top with Cheese
Sprinkle the shredded cheese of your choice evenly over the enchiladas, ensuring each one is well-covered. The cheese will melt and create a crave-worthy, bubbling topping as it bakes, adding irresistible creaminess to your Spicy Hatch Chile Enchiladas. Choose a cheese that melts well, like cheddar or Monterey Jack, for the best results.
Step 7: Bake the Enchiladas
Place the prepared baking dish in your preheated oven and bake for 25-30 minutes. Keep an eye on them, and look for the cheese to become melted and bubbly with a light golden color on top. This is the moment when your kitchen will fill with savory aromas that signal you’re about to savor something special!
Step 8: Cool and Serve
Once baked, carefully take the enchiladas out of the oven and allow them to cool for 10-15 minutes. This resting time makes serving easier and lets the flavors settle. The anticipation will build as you prepare to slice into these delicious Spicy Hatch Chile Enchiladas, ready to be garnished.
Step 9: Garnish and Enjoy
Serve your enchiladas with a dollop of sour cream on top and a sprinkle of fresh cilantro, if desired. This adds a delightful freshness that perfectly complements the spicy, cheesy goodness of the dish. Dive into your flavorful creation, enjoying every comforting bite of your homemade Spicy Hatch Chile Enchiladas with family and friends!
How to Store and Freeze Spicy Hatch Chile Enchiladas
Fridge: Store leftover enchiladas in an airtight container for up to 3 days. Reheat them in the oven to restore their crispy topping and gooey filling.
Freezer: Freeze the enchiladas wrapped tightly in plastic wrap and then in aluminum foil for up to 3 months. Thaw in the fridge overnight before reheating.
Reheating: When ready to enjoy, place thawed enchiladas in a preheated oven at 350°F (175°C) for about 20-25 minutes until heated through and cheese is melted.
Wrapping Tips: For optimal freshness, ensure enchiladas are completely cooled before wrapping. This prevents condensation, ensuring your Spicy Hatch Chile Enchiladas taste just as they did fresh out of the oven!
Spicy Hatch Chile Enchiladas Variations
Feel free to get creative and personalize these enchiladas to match your taste and dietary preferences!
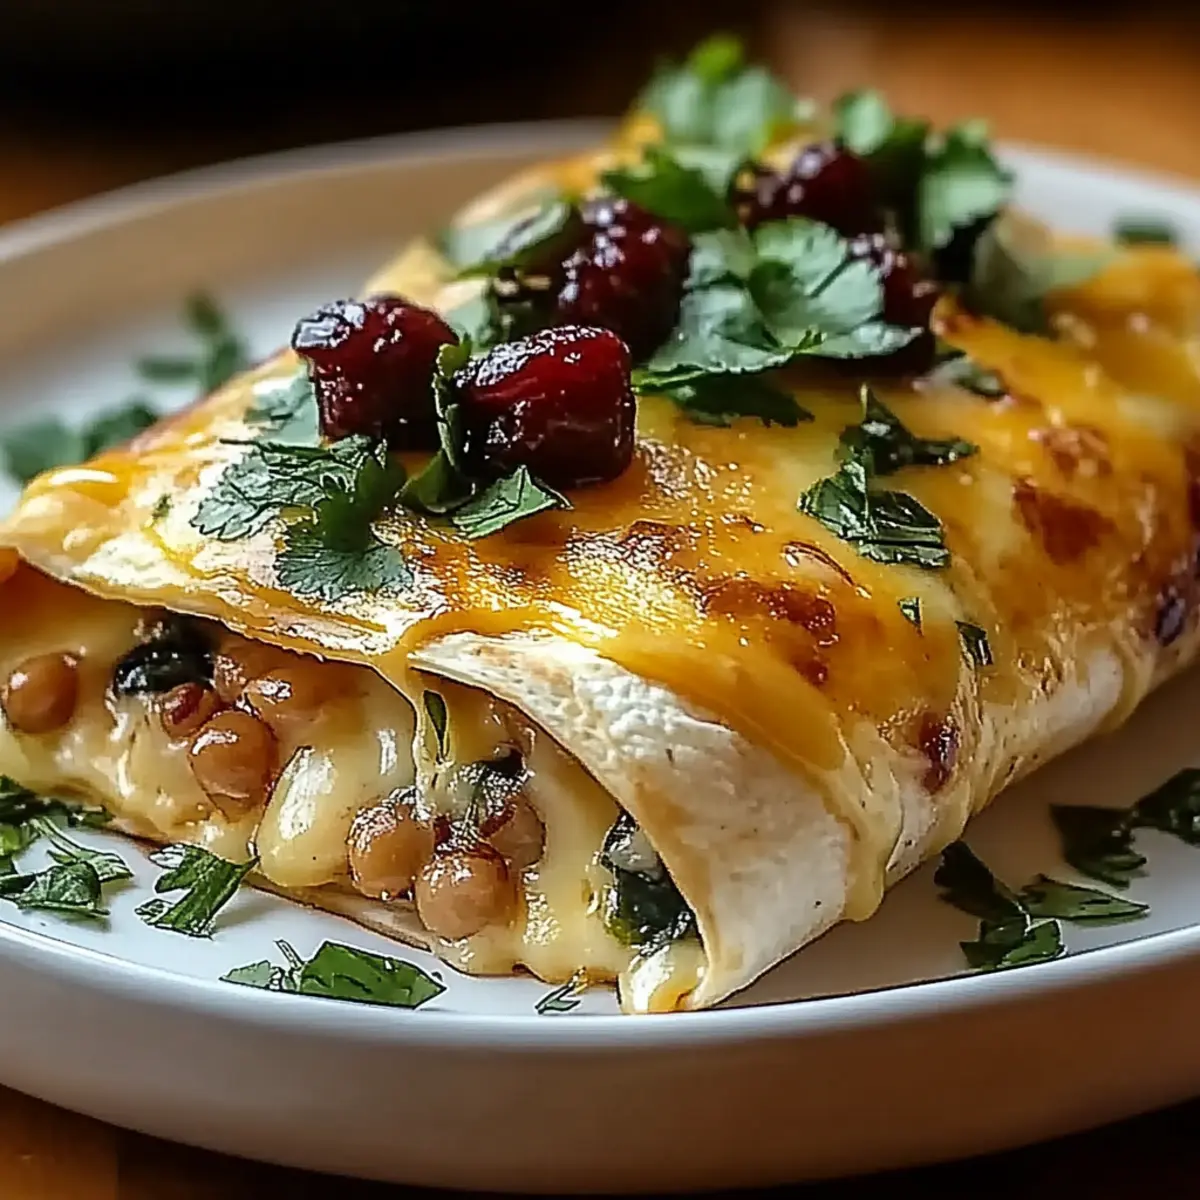
- Vegetarian: Substitute the chicken or beef with black beans, lentils, or sautéed veggies for a hearty, meat-free option. This adds lovely texture and a burst of colors!
- Gluten-Free: Use corn tortillas that are certified gluten-free to keep these enchiladas suitable for your gluten-sensitive guests. Pair them with a homemade or store-bought gluten-free enchilada sauce for added convenience.
- Extra Spicy: Add sliced jalapeños or a dash of hot sauce in the filling to crank up the heat. If you love the heat, garnish with spicy salsa for an extra kick.
- Creamy Twist: Mix fresh cream cheese or a dairy-free cream alternative into the filling for a delightful, creamy texture that melds beautifully with the spices. Each bite will be decadently rich!
- Smoky Flavor: Incorporate some smoked paprika into the filling for an extra layer of depth. Pair it with smoky chipotle sauce to intensify that flavor profile further.
- Cheesy Delight: Experiment by adding a blend of cheeses, like pepper jack or Oaxaca, for a melty, flavorful topping that enhances every bite with creaminess and flavor.
- Crispy Topping: Top the enchiladas with crushed tortilla chips before baking to create a delightful crunch and exciting texture contrast alongside the gooey cheese!
- Tropical Twist: Add diced pineapple or mango into the filling for a sweet contrast to the spiciness of the chiles that will surprise and delight your taste buds.
Dive into these delicious variations and bring warmth and creativity to your table. Enjoy making these enchiladas your own! For more filling ideas, consider using some of your favorite quick and easy filling options.
Expert Tips for Spicy Hatch Chile Enchiladas
• Use Fresh Chiles: Freshly roasted Hatch chiles bring a unique flavor profile. If you can’t find them, consider roasting your own or using canned, but always adjust for heat.
• Tortilla Treatment: Ensure your corn tortillas are warm before rolling. This prevents cracking and tearing, making assembly a breeze for your Spicy Hatch Chile Enchiladas.
• Don’t Overfill: Be generous but avoid overstuffing the tortillas; they need to roll tightly. A well-rolled enchilada ensures even cooking and helps all the flavors meld beautifully.
• Cheese Choices: For the best melting results, go for cheeses like Monterey Jack or a combination with cheddar. This combo adds an extra creamy, dreamy topping!
• Allow to Rest: Let your enchiladas cool for 10–15 minutes post-baking. This waiting period helps the filling set and makes serving easier without losing flavor.
• Garnish Wisely: Fresh cilantro and sour cream enhance the dish's flavors. Don't skip this step; it's the delicious final touch that elevates your Spicy Hatch Chile Enchiladas!
Make Ahead Options
These Spicy Hatch Chile Enchiladas are fantastic for meal prep, saving you precious time on busy weeknights! You can prepare the entire filling mixture (chicken, chiles, and spices) up to 24 hours in advance and store it in an airtight container in the refrigerator. Additionally, you can roll the enchiladas and place them in the baking dish with the sauce and cheese, covering them tightly with foil. This can be prepped up to 3 days ahead; just be sure to refrigerate to maintain quality. When you're ready to bake, simply preheat your oven and cook them straight from the fridge for about 30-35 minutes, allowing the flavors to meld and ensuring you enjoy a delicious meal with minimal effort!
What to Serve with Spicy Hatch Chile Enchiladas
To create a memorable meal alongside your spicy enchiladas, consider these delightful pairings that elevate the dining experience.
-
Creamy Guacamole: This rich and smooth avocado dip adds a cool, creamy element that beautifully balances the spice of the enchiladas.
-
Mexican Street Corn Salad: Fresh and zesty, this salad brings a crunchy texture and sweet flavor that complements the savory enchiladas perfectly.
-
Cilantro Lime Rice: The fragrant aroma of cilantro and the zesty kick of lime enhance the flavors of the dish while providing a fluffy base.
-
Black Bean Soup: A hearty side, its earthy taste pairs well with the bold flavors of the enchiladas, creating a comforting meal.
-
Salsa Fresca: Fresh tomatoes, onions, and cilantro in this refreshing sauce provide a burst of flavor that brightens each bite of enchilada.
-
Chilled Margarita: A tangy margarita offers a refreshing contrast to the spices, making it a pleasing drink choice for your enchilada feast.
Indulging in these complementary dishes will create a banquet that warms the heart and excites the palate!
Spicy Hatch Chile Enchiladas Recipe FAQs
What should I look for when selecting Hatch chiles?
Absolutely! When choosing Hatch chiles, opt for firm and shiny ones with no dark spots or blemishes. Green is the go-to color; however, if you like more heat, consider picking some that are slightly wrinkled or have a reddish tint.
How should I store leftover Spicy Hatch Chile Enchiladas?
If you have any leftovers, store them in an airtight container in the refrigerator for up to 3 days. To reheat, pop them back in the oven at 350°F (175°C) for about 20-25 minutes, allowing the cheese to regain its gooey goodness.
Can I freeze Spicy Hatch Chile Enchiladas?
Yes, you can! Wrap the enchiladas tightly in plastic wrap and then in aluminum foil. They will keep well in the freezer for up to 3 months. When you're ready to enjoy them, thaw them overnight in the fridge and then heat in a preheated oven at 350°F (175°C) for 20-25 minutes until heated through.
What are some tips for preventing tortillas from tearing?
To prevent your corn tortillas from cracking during assembly, warm them in a dry skillet for about 30 seconds on each side before filling. This makes them pliable and much easier to roll, ensuring your Spicy Hatch Chile Enchiladas come out perfectly every time!
Are there any dietary considerations for this recipe?
Very! If you have dietary restrictions, feel free to substitute with gluten-free tortillas or use plant-based protein options like jackfruit or lentils for a vegetarian version. Always check ingredients to ensure they align with any allergies or dietary preferences.
What if my enchiladas are dry after baking?
If your enchiladas turn out dry, it could be due to baking them for too long or not adding enough sauce. Ensure that your green enchilada sauce is plentiful when topping the rolls, and don’t hesitate to add an extra splash before baking for that luscious moisture!

Irresistibly Spicy Hatch Chile Enchiladas That Wow Your Taste buds
Ingredients
Equipment
Method
- Preheat the oven to 350°F (175°C). Lightly grease your baking dish with oil or cooking spray.
- In a large mixing bowl, combine cooked shredded chicken (or beef), Hatch green chiles, ground cumin, garlic powder, onion powder, salt, and pepper.
- Heat a dry skillet over medium heat and warm each corn tortilla for about 30 seconds on each side.
- Scoop a generous amount of the filling mixture into the center of each tortilla and roll it up tightly, seam-side down in the baking dish.
- Pour the green enchilada sauce evenly over the rolled enchiladas in the baking dish.
- Sprinkle the shredded cheese evenly over the enchiladas.
- Bake for 25-30 minutes until the cheese is melted, bubbly, and lightly golden.
- Let the enchiladas cool for 10-15 minutes before serving.
- Serve with a dollop of sour cream and a sprinkle of fresh cilantro.


Leave a Reply