
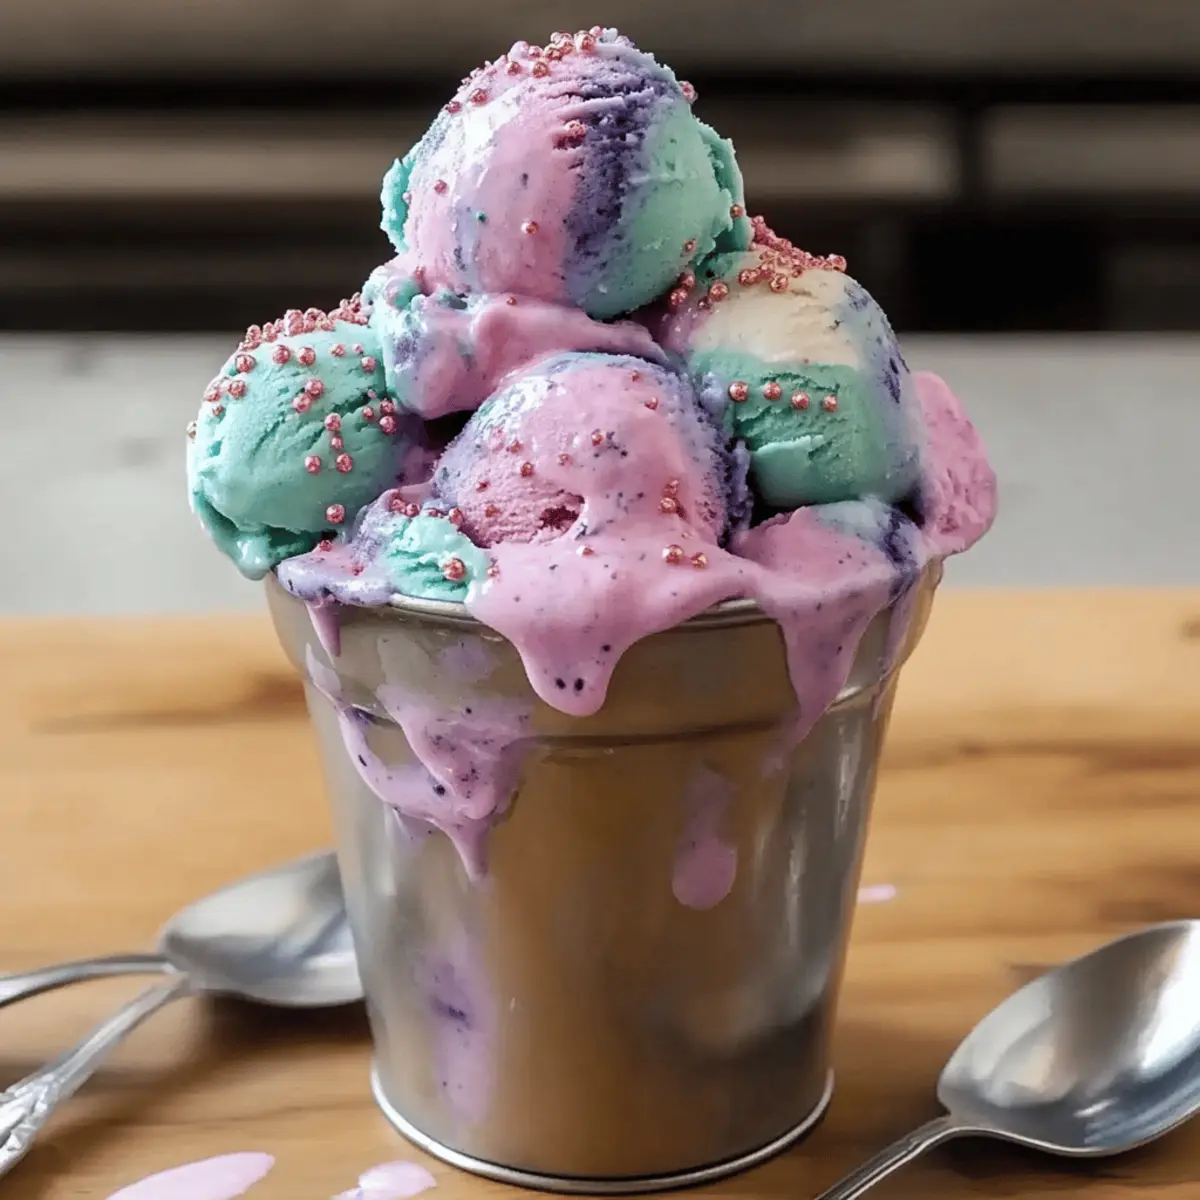
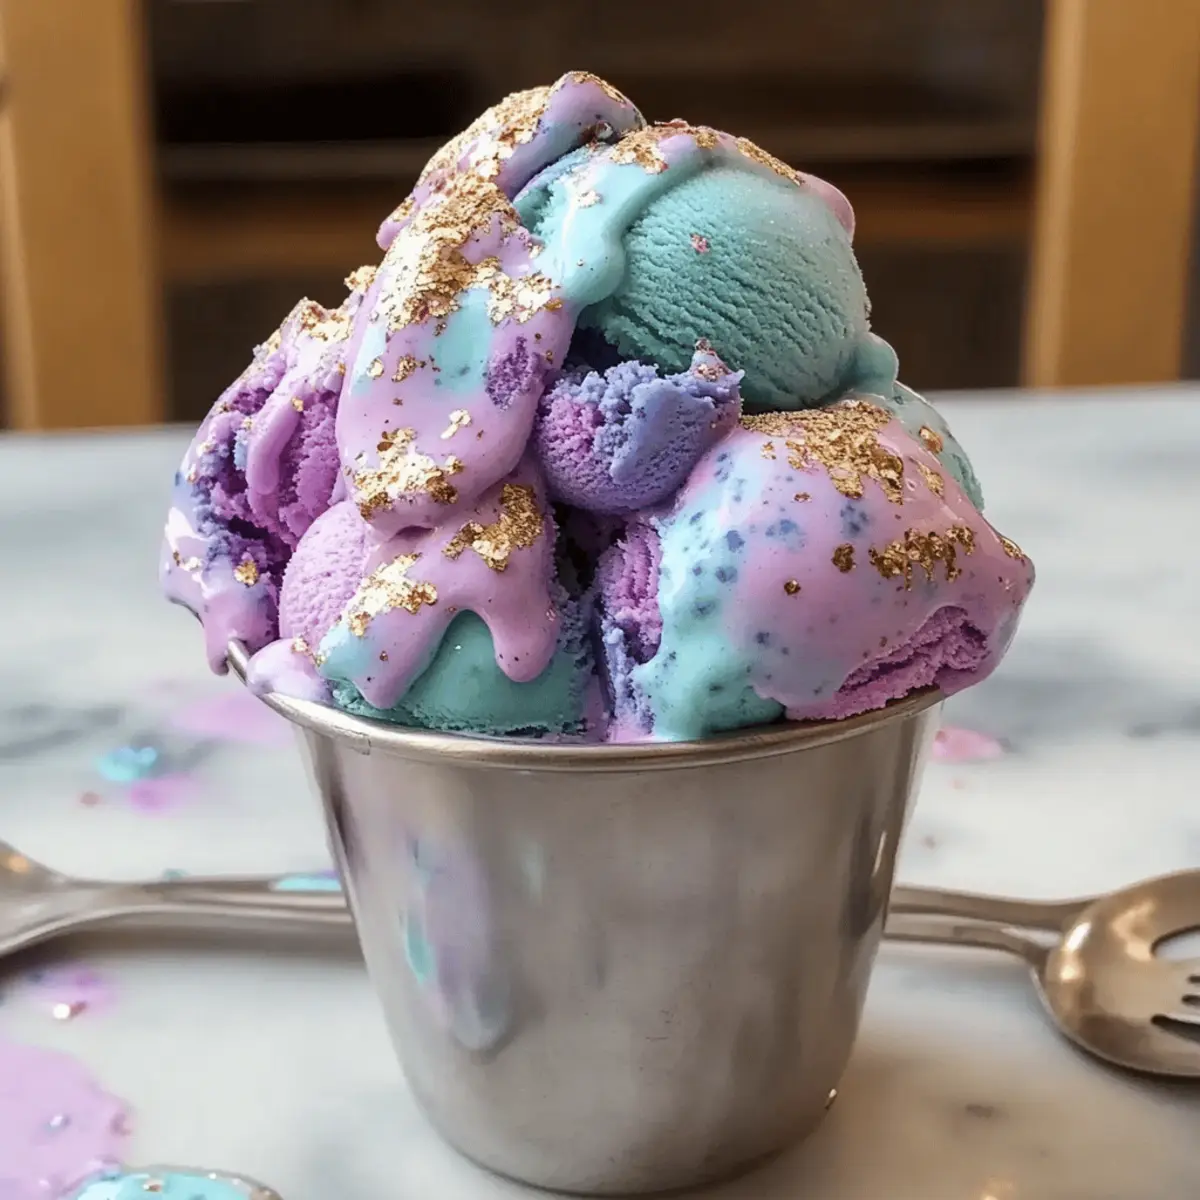
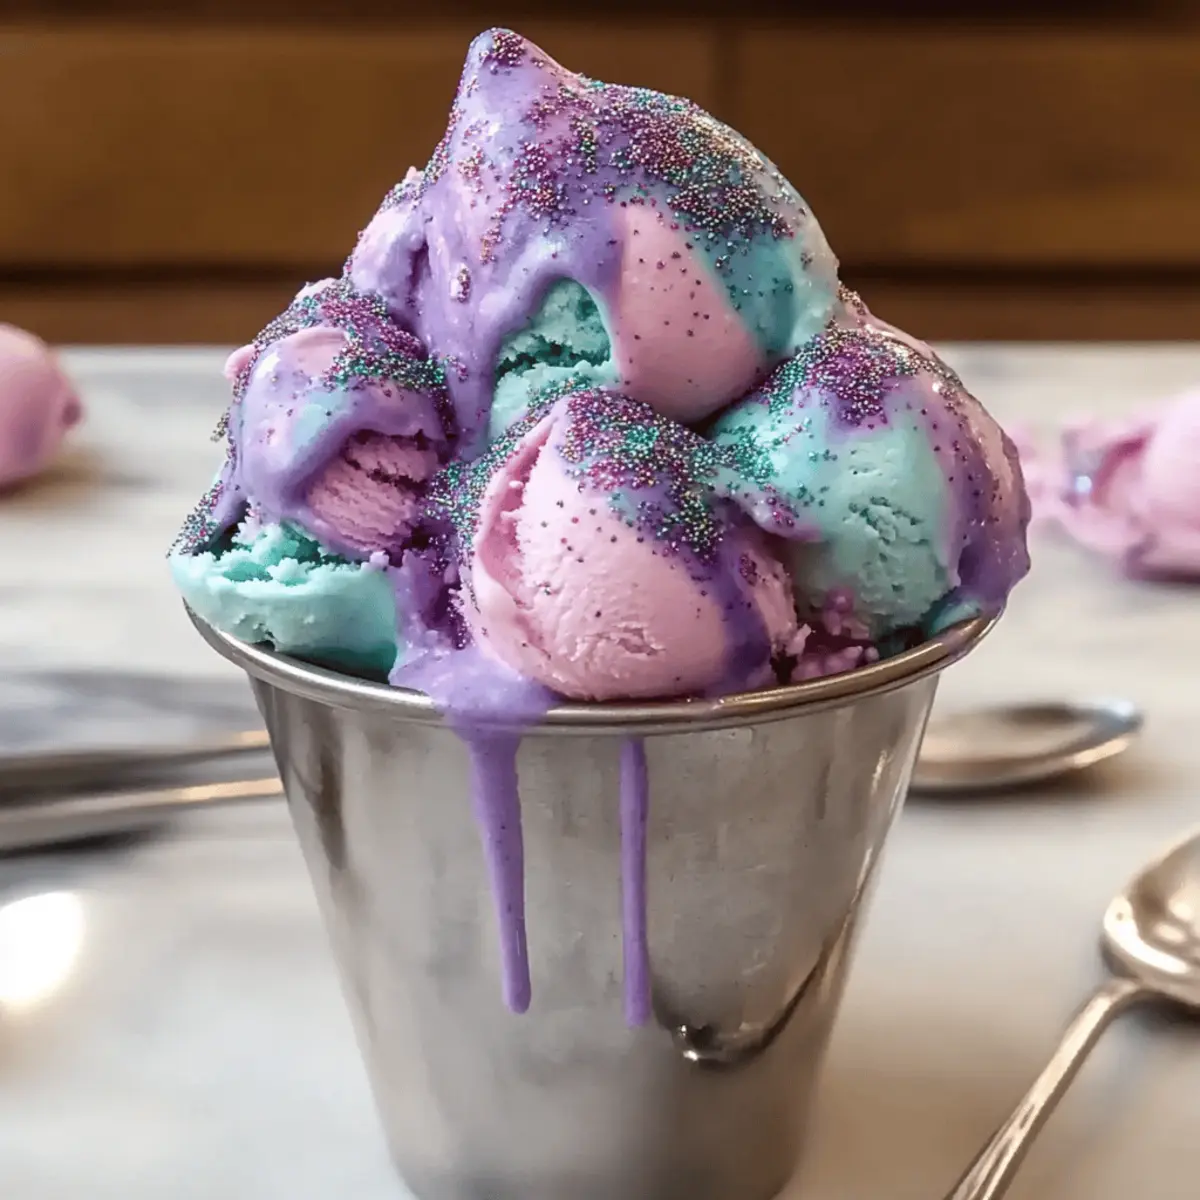
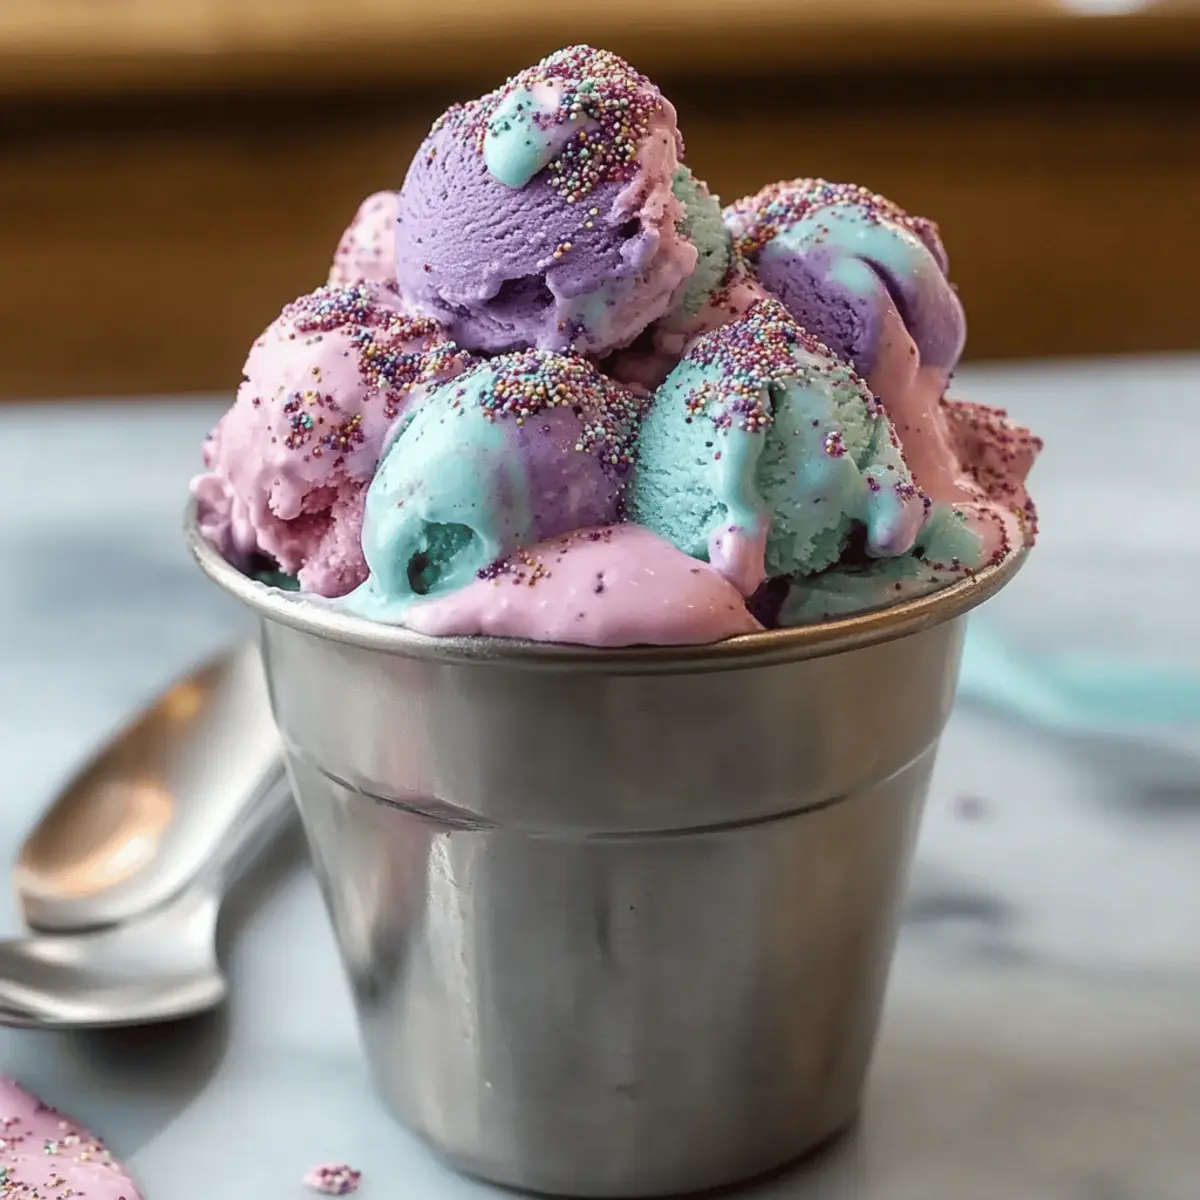
An unexpected splash of color took over my kitchen last weekend, and I couldn’t help but smile as I whipped up a batch of Mermaid Ice Cream. This delightful treat not only brings a touch of whimsy to any gathering but also lets your creativity shine. With its three shimmering colors, this homemade ice cream is a feast for the eyes and a fantastic way to impress family and friends. Plus, it requires only 10 minutes of prep time! Imagine serving a delicious, guilt-free dessert that's perfect for summer parties or quiet evenings at home, drawing everyone to the table. Trust me, once you dive into this colorful concoction, you'll be dreaming up other vibrant variations. Are you ready to make your kitchen feel like a magical undersea adventure?
Why is Mermaid Ice Cream so delightful?
Whimsical Colors: This ice cream's vibrant pink, purple, and teal swirls create a visual treat that instantly brightens up any gathering.
Quick Prep: In just 10 minutes of hands-on time, you can whip up this delightful dessert, leaving plenty of time for summer fun!
Crowd-Pleasing: Whether you’re hosting a party or just enjoying a sunny day, everyone will be enchanted by the magical colors and flavors.
Creative Freedom: Feel free to experiment! You can add your favorite flavors or switch up the color theme for any occasion.
No Ice Cream Maker Needed: This simple recipe doesn’t require special equipment, making it easily accessible for everyone.
Perfect for Any Occasion: From birthday celebrations to quiet family nights, this Mermaid Ice Cream adds a sprinkle of joy to your dessert table. Plus, if you're looking for more fun summer treats, check out my recipe for Coconut Ice Slice or Garlic Butter Chicken for a delicious meal!
Mermaid Ice Cream Ingredients
• Make this colorful dessert a reality with these simple ingredients!
For the Ice Cream Base
- Heavy cream – perfect for achieving that luscious, creamy texture.
- Sweetened condensed milk – adds sweetness and a velvety richness.
- Vanilla extract – enhances the flavor profile with a warm, inviting touch.
For the Colors
- Pink gel food coloring – injects a playful vibe, reminiscent of cotton candy dreams.
- Purple gel food coloring – evokes the enchanting hues of twilight seas.
- Teal gel food coloring – captures the refreshing hue of ocean waves, making your Mermaid Ice Cream pop.
For the Decor
- Edible glitter or sprinkles – elevates the charm, truly making your dessert sparkle!
Dive into this dreamy Mermaid Ice Cream that'll delight everyone as a visual and tasty treasure! 🧜♀️
Step‑by‑Step Instructions for Mermaid Ice Cream
Step 1: Whip the Cream
In a large mixing bowl, use an electric mixer to whip 2 cups of heavy cream on medium-high speed until stiff peaks form, about 3–4 minutes. Look for a glossy, fluffy texture that holds its shape. This creamy base is essential for the luscious mouthfeel of your Mermaid Ice Cream.
Step 2: Combine Condensed Milk and Vanilla
In a separate bowl, mix together one 14-ounce can of sweetened condensed milk with 1 teaspoon of vanilla extract until well combined. The mixture should have a smooth and creamy consistency, which will enhance the overall flavor of your ice cream. This step adds a delightful sweetness to your frozen treat.
Step 3: Fold in the Whipped Cream
Gently fold the whipped cream into the condensed milk mixture using a rubber spatula. Be careful not to deflate the whipped cream; this will ensure your Mermaid Ice Cream remains light and airy. The mixture should be uniform in color without any visible streaks, creating the perfect base for your colorful creation.
Step 4: Divide and Color the Mixture
Split the ice cream mixture evenly into three bowls. To each bowl, add a few drops of pink, purple, and teal gel food coloring, respectively. Mix each bowl just until the colors are well incorporated, creating beautifully vibrant shades. This step ensures that your Mermaid Ice Cream is as visually stunning as it is delicious.
Step 5: Assemble the Ice Cream
In a standard loaf pan, alternate dollops of each colored mixture, layering them side by side. Once the pan is filled, use a butter knife to gently swirl through the colors to create a marbled effect. Avoid overmixing; you want the colors to remain distinct and magical, just like the ocean!
Step 6: Add the Finishing Touches
Sprinkle a generous amount of edible glitter or colorful sprinkles over the top of your Mermaid Ice Cream. This last touch not only adds a whimsical sparkle but makes your dessert even more inviting. It's a wonderful way to make your dish stand out at any gathering.
Step 7: Freeze Until Firm
Cover the loaf pan with plastic wrap or a lid, and place it in the freezer for at least 6 hours, or until it is completely firm. The longer it sits, the better the flavors meld together. Your patience will pay off as you anticipate indulging in your stunning Mermaid Ice Cream!
How to Store and Freeze Mermaid Ice Cream
Fridge: Keep your Mermaid Ice Cream in the refrigerator for up to 3 days if it happens to be unwrapped. To maintain quality, store it in an airtight container.
Freezer: For long-term storage, place the ice cream in a sealed container and freeze for up to 2 weeks. To prevent freezer burn, smooth the surface and cover with plastic wrap before sealing the lid.
Reheating: Allow the ice cream to sit at room temperature for about 5 minutes before scooping, making it easier to serve. Enjoy the vibrant colors and flavors of your Mermaid Ice Cream any time!
Decor: If using edible glitter or sprinkles, add them right before serving to keep them fresh and crunchy.
What to Serve with Mermaid Ice Cream
Imagine a sunny afternoon where vibrant colors pair perfectly with sweet treats, creating a delightful experience for everyone.
-
Fluffy Waffles: Crispy on the outside and soft inside, these waffles provide a comforting base for your creamy ice cream delight.
-
Fresh Berries: Bright, tart berries like strawberries or blueberries add a refreshing contrast, balancing the sweetness of the ice cream beautifully.
-
Crispy Coconut Cookies: The chewy, toasted coconut flavor complements the richness of the Mermaid Ice Cream while adding a satisfying crunch.
-
Chocolate Sauce: A drizzle of warm chocolate sauce creates an irresistible combination, enriching every bite with deep, cocoa deliciousness.
-
Sparkling Lemonade: This bubbly beverage offers a citrusy zing that refreshes the palate, making it a perfect pairing with your whimsical dessert.
-
Pineapple Sorbet: Adding another layer of fruity sweetness, this light and refreshing sorbet enhances the playful nature of your Mermaid Ice Cream.
-
Mixed Fruit Salad: A medley of seasonal fruits adds freshness, allowing the vibrant colors and flavors of the Mermaid Ice Cream to stand out even more.
-
Macarons: These delicate, colorful treats not only echo the charm of your ice cream but also introduce delightful textures and flavors to your dessert table.
Mermaid Ice Cream Variations
Feel free to let your creativity shine with these delightful twists on the classic Mermaid Ice Cream!
-
Dairy-Free: Substitute heavy cream with coconut cream and sweetened condensed milk with a dairy-free version for a vegan delight. The tropical flavor of coconut adds a wonderful brightness!
-
Flavor Boost: Add a teaspoon of mint extract or almond extract to the base mixture for an exciting flavor complexity. This will surprise your taste buds and elevate the ice cream to a whole new level!
-
Fruity Swirls: Incorporate pureed fruits like strawberries or blueberries into the colorful layers for a fruity burst. The natural sweetness and vibrant colors will make your Mermaid Ice Cream even more enchanting.
-
Crunchy Texture: Fold in some crushed nuts or chocolate chips for added texture and richness. This creates a delightful contrast in every spoonful that enhances the overall experience.
-
Spicy Kick: If you love a bit of heat, add a pinch of cayenne pepper or cinnamon to the ice cream base. This unexpected twist can create a fascinating fusion of flavors that keeps everyone guessing!
-
Nutty Varieties: Mix in a couple of tablespoons of nut butter like almond or hazelnut for a creamy, nutty infusion. This variation pairs beautifully with the sweet and colorful base you’ve created.
-
Grown-Up Treat: For an adult twist, mix in a splash of your favorite liqueur like amaretto or rum before freezing. This makes it a fun dessert option for summer parties where you want to impress your guests.
-
Chocolate Lovers: Swirl in melted chocolate or fudge sauce during assembly for a decadent chocolate-fueled delight. Just imagine the delicious gooey swirls cradled within those beautiful colors!
Now that you have all these whimsical variations, your creative sea of flavors knows no bounds! If you're inspired to explore more vibrant recipes, check out my Cream Peas or dive into the rich flavors of Creamy Chicken and Mushroom for a hearty dinner!
Make Ahead Options
Preparing your Mermaid Ice Cream in advance is a brilliant way to save time and keep the magic alive during busy summer days! You can whip up the ice cream base—consisting of the whipped cream, sweetened condensed milk, and vanilla extract—up to 24 hours before serving. Just store this mixture in the refrigerator in an airtight container until you're ready to add the colors. When you're ready to continue, simply divide the chilled base into three bowls, add the gel food coloring, assemble in the loaf pan, and freeze for at least 6 hours. This way, you'll have a delightful, ready-to-serve dessert that’s just as scrumptious, and everyone will be captivated by the vibrant swirl of colors!
Expert Tips for Mermaid Ice Cream
• Choose the Right Cream: Use heavy whipping cream with at least 36% fat for the best texture. This ensures your Mermaid Ice Cream is rich and creamy.
• Gentle Folding: When combining the whipped cream and condensed milk, fold gently to maintain airiness. Overmixing can deflate the whipped cream, leading to a denser ice cream.
• Vibrant Colors: Use gel food coloring for bold hues without adding extra liquid. Liquid coloring can alter consistency, affecting the creamy texture of your Mermaid Ice Cream.
• Swirling Technique: When creating the marbled effect, swirl just enough to blend colors lightly. Too much mixing can result in a muddled look, losing that whimsical charm!
• Freezing Time: For the best flavor and texture, let your ice cream freeze for a full 6 hours. This gives it time to set properly and allows flavors to develop delightfully.
• Edible Decor: Don't skimp on the edible glitter or sprinkles! They not only enhance visual appeal but can also add a fun crunch to your dreamy treat.
Mermaid Ice Cream Recipe FAQs
How do I select ripe ingredients for Mermaid Ice Cream?
Absolutely! For the best results, ensure the heavy cream you choose is fresh and has a fat content of at least 36%. This will provide a rich, indulgent texture that makes your ice cream truly special. The sweetened condensed milk should be intact and unexpired for optimal sweetness and creaminess.
How should I store Mermaid Ice Cream?
Very! To keep your Mermaid Ice Cream fresh and delicious, store it in an airtight container in the freezer for up to 2 weeks. For maximum quality, smooth the surface of the ice cream and cover it with plastic wrap before sealing the lid. This helps prevent freezer burn, keeping those vibrant colors and enchanting flavors intact!
Can I freeze Mermaid Ice Cream for future enjoyment?
Absolutely! You can freeze your Mermaid Ice Cream for up to 2 weeks. Make sure to store it in a sealed container to lock in that delicious taste. If you're feeling creative, you can even freeze the mixture in individual portions for an on-the-go treat!
What should I do if my whipped cream doesn’t reach stiff peaks?
If your whipped cream isn’t forming stiff peaks, ensure that your mixing bowl and beaters are completely clean and dry, as any grease can affect the whipping process. Start at a lower speed and gradually increase to medium-high; this allows the cream to incorporate air effectively. If it's still not thickening after a few minutes, you might need to try using a different brand of heavy cream.
Can I adjust this recipe for dietary restrictions?
Very much so! If you're accommodating dairy allergies, you might experiment with a dairy-free heavy cream alternative, like coconut cream or cashew cream. Remember, though, this may yield different textures and flavors. For vegan options, you could also explore using vegan condensed milk to create your colorful treat. Just be sure to check for any added sugars or ingredients that may pose an issue for those with specific allergies.
How long can I keep Mermaid Ice Cream in the fridge?
In the fridge, your Mermaid Ice Cream can last for about 3 days. However, I recommend keeping it tightly sealed in an airtight container to maintain its deliciousness. If you plan to keep it longer, the freezer is your best friend for preserving that creamy magic!
Magical Mermaid Ice Cream Recipe That's Perfect for Summer
Ingredients
Equipment
Method
- In a large mixing bowl, use an electric mixer to whip 2 cups of heavy cream on medium-high speed until stiff peaks form, about 3–4 minutes.
- In a separate bowl, mix together one 14-ounce can of sweetened condensed milk with 1 teaspoon of vanilla extract until well combined.
- Gently fold the whipped cream into the condensed milk mixture using a rubber spatula.
- Split the ice cream mixture evenly into three bowls. To each bowl, add a few drops of pink, purple, and teal gel food coloring.
- In a standard loaf pan, alternate dollops of each colored mixture, layering them side by side.
- Sprinkle a generous amount of edible glitter or colorful sprinkles over the top of your Mermaid Ice Cream.
- Cover the loaf pan with plastic wrap or a lid, and place it in the freezer for at least 6 hours, or until it is completely firm.


Leave a Reply