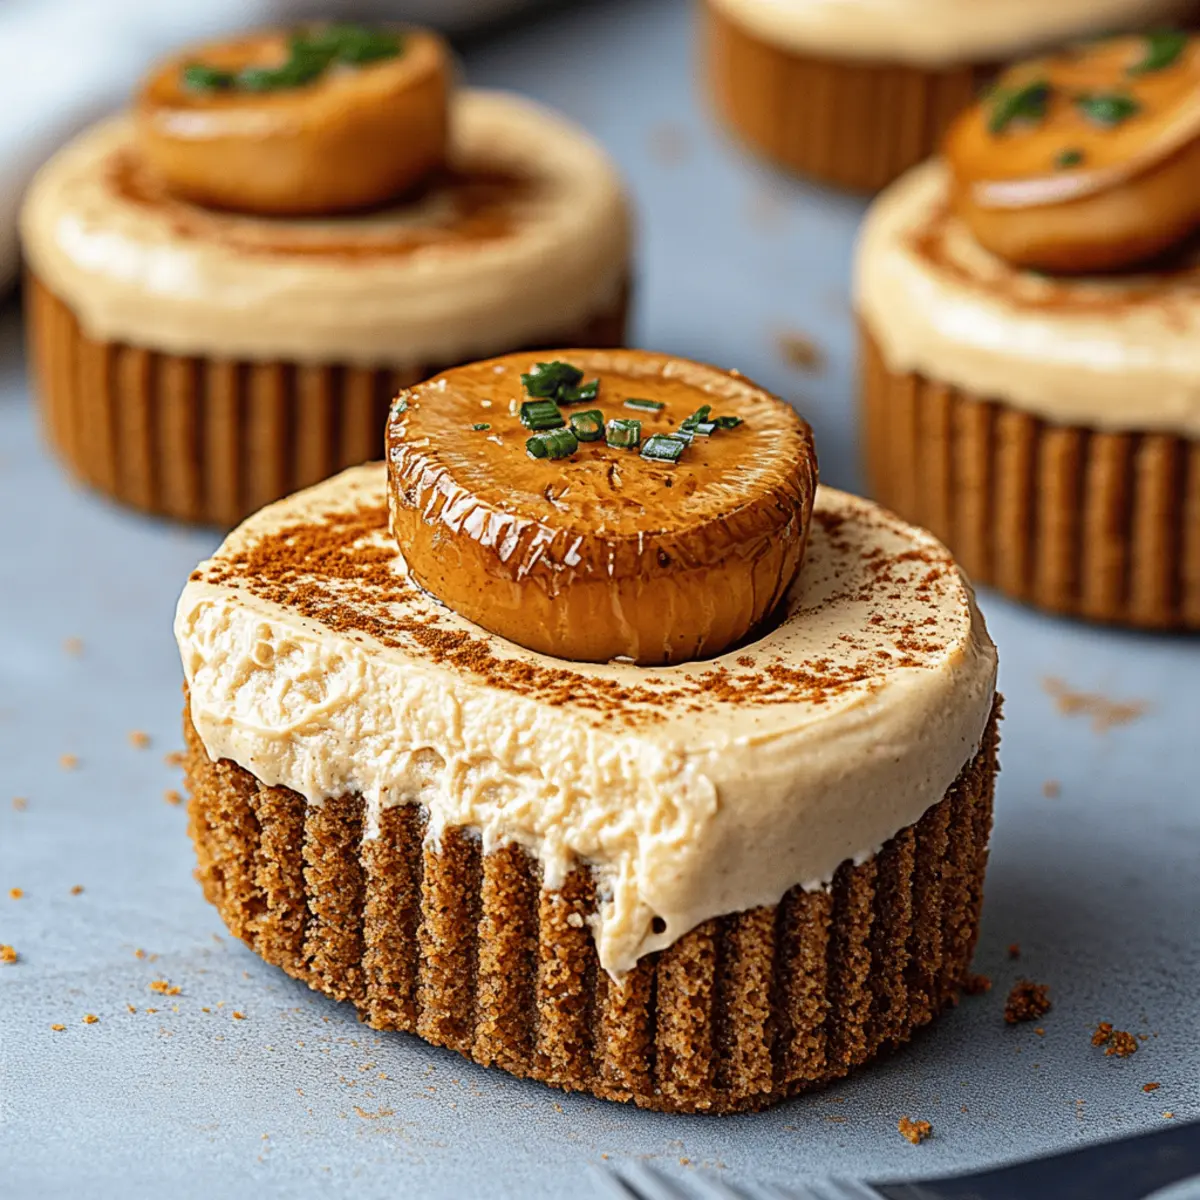
Whisking together flavors that inspire nostalgia can sometimes feel like magic in the kitchen. These No Bake Mini Biscoff Cheesecakes bring the beloved taste of caramelized cookie butter to life, elevating any gathering into a memorable delight. With just 20 minutes of prep time and no need for an oven, these irresistible treats are perfect for anyone seeking a quick yet impressive dessert. They not only please the palate but are also a great way to impress friends or family at your next get-together. Plus, you can easily make them in advance, allowing you to relax and enjoy your company instead of being tethered to the kitchen. Curious about how to create these delightful bites? Let’s dive into the recipe!
Why Make No Bake Mini Biscoff Cheesecakes?
Simplicity: This recipe takes only 20 minutes of prep, making it perfect for those who want deliciousness without the fuss.
Decadent Flavors: The combination of creamy cheesecake and rich Biscoff cookie butter creates an indulgent treat that’s hard to resist.
Crowd-Pleasing Delight: Whether it’s a gathering with friends or a family dessert night, these mini cheesecakes are sure to impress!
Versatile Serving: Pair them with coffee or spice things up with chocolate truffles for a delightful dessert platter. You can also explore ways to elevate your serving options with tips from our Dessert Spreads.
Make Ahead Magic: Prepare these treats up to 2 days in advance, so you can focus on enjoying your time with loved ones rather than stressing in the kitchen!
Get ready to indulge in a sweet sensation that everyone will love!
No Bake Mini Biscoff Cheesecakes Ingredients
• Get ready to make sweet magic with these delightful bites!
For the Crust
- Biscoff cookie crumbs – the foundation of flavor that gives an amazing crunch and sweetness.
- Unsalted butter – helps bind the crumbs together for a firm crust.
- Brown sugar (optional) – adds extra richness and depth to the crust.
For the Cheesecake Filling
- Cream cheese – allows for a creamy texture and rich flavor.
- Biscoff cookie butter (smooth variety) – infuses sweet, caramelized notes throughout the cheesecake.
- Powdered sugar – sweetens the filling for a delectable balance of flavors.
- Vanilla extract – highlights the other flavors, making them pop.
- Heavy whipping cream (cold) – whips up light and fluffy, giving the cheesecake a luxurious texture.
For the Topping
- Biscoff cookie butter (melted slightly) – an irresistible drizzle that adds more cookie goodness to each mini cheesecake.
- Extra Biscoff cookie crumbs – perfect for garnish, giving each cheesecake a final touch of crunch.
- Whipped cream (optional) – adds a light, airy finish to each bite.
Now that you have all the No Bake Mini Biscoff Cheesecakes ingredients ready, it's time to bring this delicious recipe to life! Enjoy the process and let your kitchen shine!
Step‑by‑Step Instructions for No Bake Mini Biscoff Cheesecakes
Step 1: Prepare the Molds
Line a muffin pan with cupcake liners or use silicone molds for easy removal later. This will hold the delightful mini cheesecakes as they set. Make sure to press the liners well into the pan to prevent any leaks during the filling process.
Step 2: Make the Crust
In a medium bowl, combine 1 ½ cups of Biscoff cookie crumbs, 5 tablespoons of melted unsalted butter, and 1 tablespoon of brown sugar if desired. Mix until the mixture resembles wet sand. It should hold together when squeezed. This tasty crust will provide a delicious base for your No Bake Mini Biscoff Cheesecakes.
Step 3: Form the Crusts
Scoop about 1 ½ tablespoons of the crust mixture into each muffin liner, pressing down firmly to create a compact foundation. Use the back of a measuring spoon or your fingers to ensure it’s tightly packed. Once done, place the tray in the refrigerator while you prepare the cream cheese filling.
Step 4: Beat the Cream Cheese
In a large mixing bowl, beat 8 ounces of softened cream cheese using an electric mixer until smooth and creamy. This should take about 2-3 minutes on medium speed. The goal is to achieve a fluffy texture that will blend seamlessly with the other ingredients for your delicious cheesecake filling.
Step 5: Combine Filling Ingredients
Add ½ cup of Biscoff cookie butter, ½ cup of powdered sugar, and 1 teaspoon of vanilla extract to the cream cheese mixture. Continue to beat until fully combined and fluffy. The mixture should be light and have a lovely caramel color from the cookie butter, making your No Bake Mini Biscoff Cheesecakes irresistibly creamy.
Step 6: Whip the Cream
In a separate mixing bowl, whip 1 cup of cold heavy whipping cream until stiff peaks form. This should take around 3-4 minutes with an electric mixer on high speed. The whipped cream adds lightness and airiness to your cheesecake, enhancing its texture beautifully.
Step 7: Fold in Whipped Cream
Gently fold the whipped cream into the Biscoff cheesecake mixture using a spatula. Be careful not to deflate the whipped cream; you want it to stay fluffy. Fold until the mixture is smooth and well-blended, ensuring every bite of your No Bake Mini Biscoff Cheesecakes is delightfully rich and airy.
Step 8: Fill the Crusts
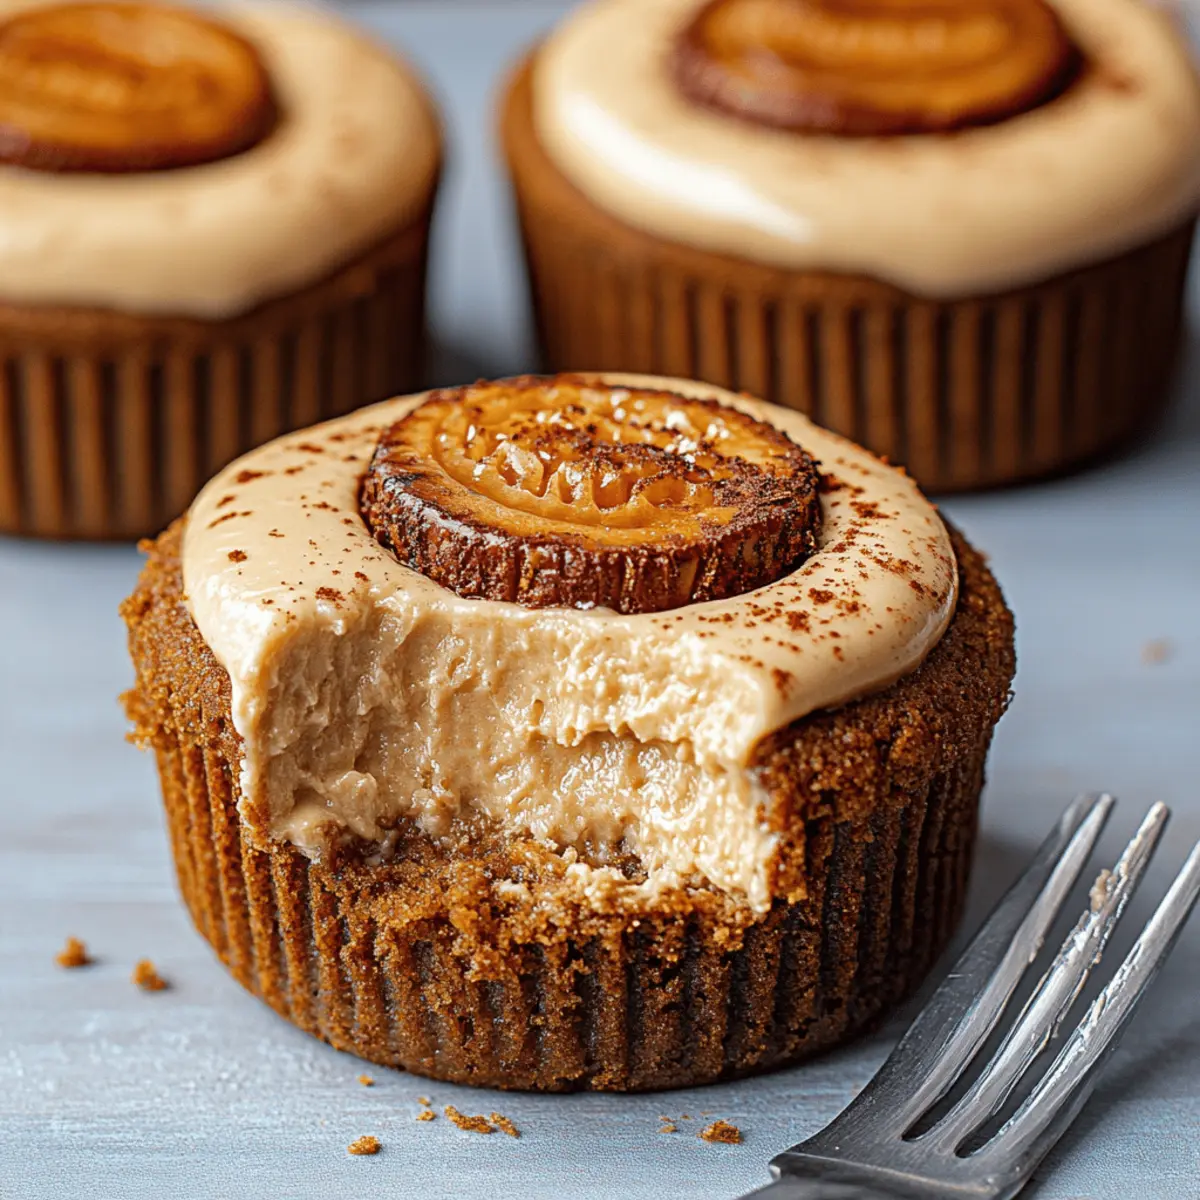
Spoon or pipe the cheesecake filling generously on top of the chilled crusts, smoothing the tops with a spoon or offset spatula. Make sure to fill each liner evenly, providing that signature cheesecake look. Once filled, get ready for the next step in your delightful dessert journey!
Step 9: Chill the Cheesecakes
Place the filled muffin tray in the refrigerator and chill for at least 4 hours, or ideally overnight. This allows the flavors to meld and the texture to set, ensuring your No Bake Mini Biscoff Cheesecakes are perfectly creamy and firm when served.
Step 10: Prepare the Topping
Before serving, gently warm ½ cup of Biscoff cookie butter in the microwave for about 10–15 seconds. This will make it pourable and enhance its flavor as a delicious drizzle over your mini cheesecakes. Be careful not to overheat; you want it just warm enough to flow beautifully.
Step 11: Garnish and Serve
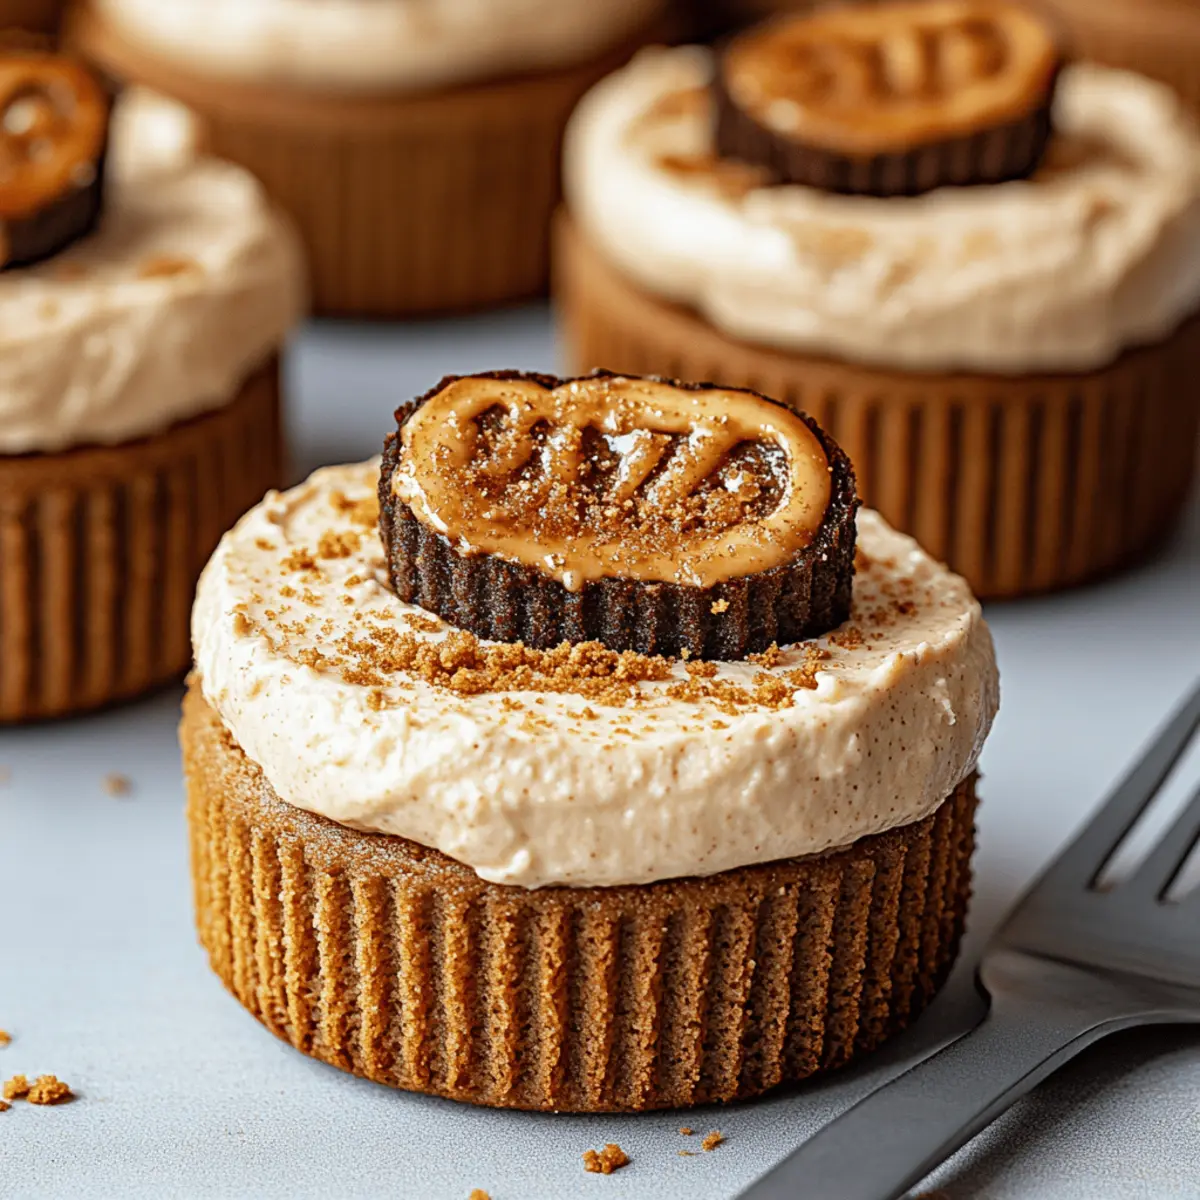
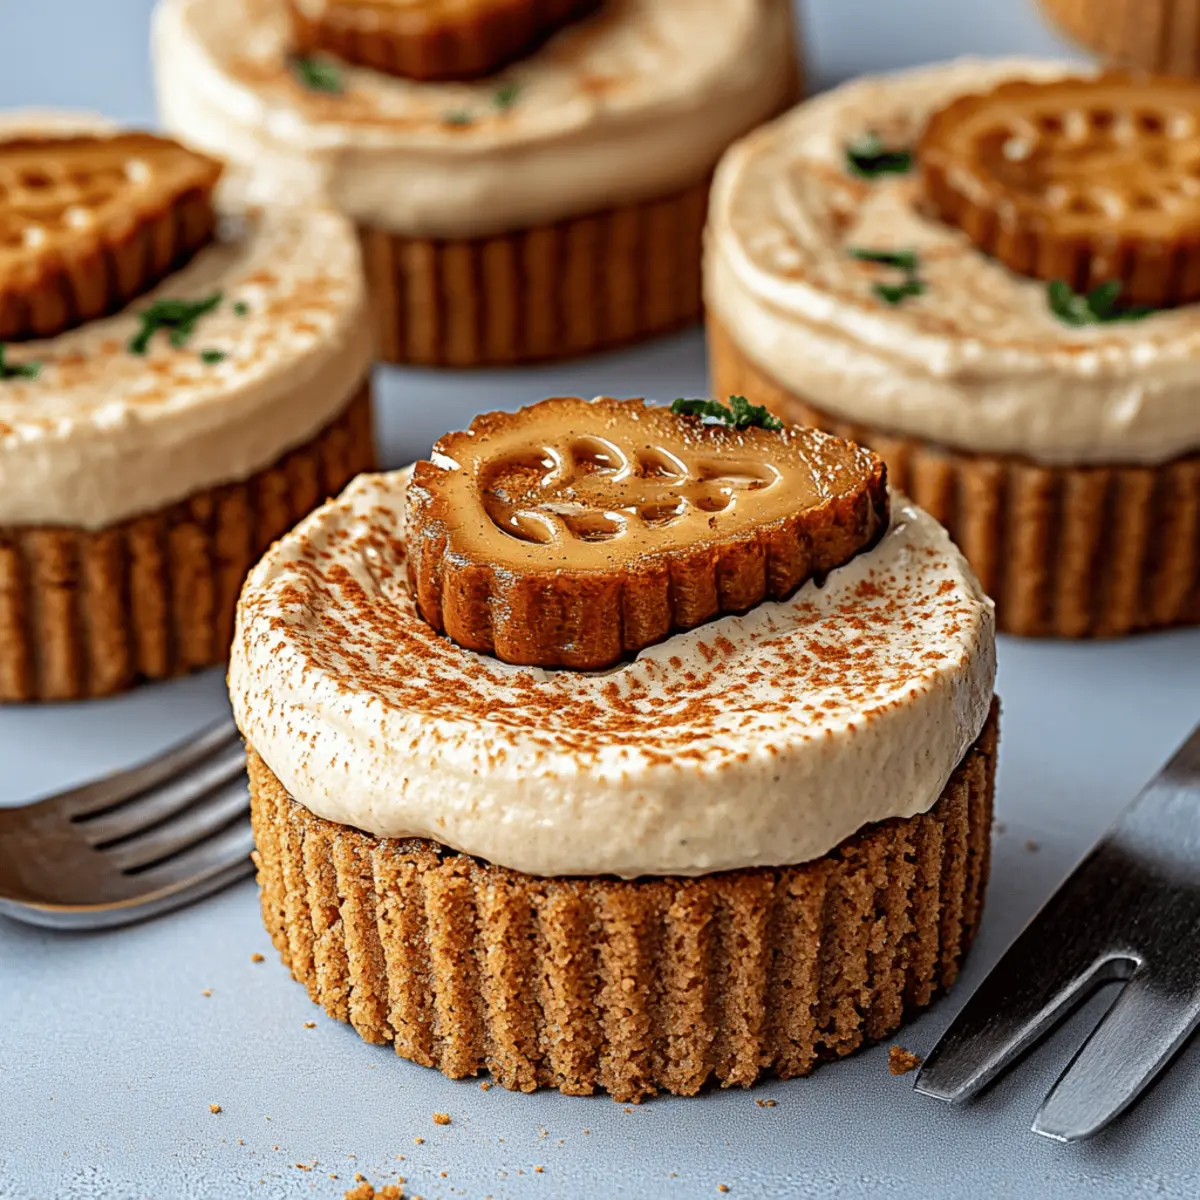
Drizzle or spread the warmed cookie butter over each mini cheesecake. Then, sprinkle extra Biscoff cookie crumbs for garnish and add a dollop of whipped cream if desired. This adds a lovely touch to the presentation, making your No Bake Mini Biscoff Cheesecakes truly inviting.
Step 12: Enjoy!
Serve the cheesecakes chilled for a refreshing dessert experience. Whether you're sharing them with friends or enjoying them solo, these No Bake Mini Biscoff Cheesecakes are bound to bring smiles and satisfaction with every bite!
No Bake Mini Biscoff Cheesecakes Variations
Feel free to shake things up and make these mini cheesecakes your own with delicious twists!
-
Gluten-Free: Use gluten-free cookie crumbs instead of traditional Biscoff for a lighter option that everyone can enjoy.
-
Sugar-Free: Replace the powdered sugar with a sugar-free alternative, ensuring the creamy texture remains while catering to special dietary needs.
-
Nutty Flavor: Add ¼ cup of finely chopped almonds or walnuts to the crust for a delightful crunch and nutty taste in every bite.
-
Chocolate Lovers: Mix in 2 tablespoons of cocoa powder to the cheesecake filling for a chocolate version that’s irresistibly decadent.
-
Spicy Kick: Stir in a pinch of cinnamon or nutmeg to the filling for an unexpected warm spice that enhances the overall flavor.
-
Berry Swirl: Before chilling, gently fold in ½ cup of fresh or frozen berries into the filling for a fruity addition that contrasts beautifully with the caramel notes.
-
Coffee Infusion: Add 1 tablespoon of espresso powder to the cheesecake mixture for a delightful coffee kick that many will adore.
-
Tropical Twist: Substitute the Biscoff cookie butter with a coconut-based spread and use graham cracker crumbs for a unique take that transports you to a sunny beach day.
With these variations, you’ll never get bored with this classic dessert, ensuring it remains a family favorite! Experimenting is half the fun, so dive into your creative side, and don’t forget to pair them with a warm cup of coffee or delicious desserts from our Dessert Spreads for an unforgettable experience!
Expert Tips for No Bake Mini Biscoff Cheesecakes
• Chill Time is Key: Allow your cheesecakes to chill for at least 4 hours or overnight for the best texture and flavor.
• Crust Consistency: Ensure your cookie crumb mixture holds together like wet sand for a stable crust; press it down firmly!
• Whipping Cream: When whipping the heavy cream, stop as soon as stiff peaks form. Overwhipping can turn it grainy.
• Gentle Folding: Fold the whipped cream into the cheesecake mixture carefully to maintain the light, airy texture you desire.
• Warming Cookie Butter: Microwave the Biscoff cookie butter just until warm; overheating can cause it to become too runny.
By following these expert tips, you're guaranteed to create delightful No Bake Mini Biscoff Cheesecakes that will wow your family and friends!
How to Store and Freeze No Bake Mini Biscoff Cheesecakes
Fridge: Store your mini cheesecakes in an airtight container in the refrigerator for up to 3 days. This keeps them fresh and delicious for your next craving.
Freezer: If you want to extend their lifespan, place the cheesecakes in a freezer-safe container or wrap them in plastic wrap. They can be frozen for up to 2 months—perfect for a spontaneous sweet treat!
Thawing: To enjoy frozen no bake mini Biscoff cheesecakes, transfer them to the fridge 4–6 hours before serving. This allows them to thaw gradually while remaining creamy.
Reheating: There's no need to reheat these delightful treats—they're best served chilled for that refreshing cheesecake experience!
What to Serve with No Bake Mini Biscoff Cheesecakes
These delightful mini treats deserve companions that enhance their rich, creamy goodness while bringing a burst of flavor and texture.
-
Fresh Berries: Juicy strawberries or blueberries add a refreshing contrast to the sweet cheesecakes, balancing richness with their tartness.
-
Espresso: A shot of robust espresso pairs wonderfully, cutting through the cheesecake's creaminess and bringing out the caramel notes of the Biscoff.
-
Chocolate Truffles: Their decadent, rich texture complements the cheesecakes’ lightness, creating a luxurious dessert experience that feels indulgent.
-
Vanilla Ice Cream: A scoop of creamy vanilla ice cream provides a classic touch, enhancing every bite while adding an extra layer of coolness to the dessert.
-
Chocolate Ganache: Drizzling some silky ganache offers a dose of chocolate heaven that wraps every mini cheesecake in rich, velvety goodness.
-
Caramel Sauce: A light drizzle of caramel amplifies the sweetness, making every bite feel even more decadent and dessert-worthy.
-
Mint Tea: A cup of soothing mint tea can cleanse the palate between bites, refreshing the taste buds and enhancing the dessert experience.
-
Homemade Whipped Cream: For an extra touch of homemade love, a dollop of freshly whipped cream can elevate your cheesecakes with fluffy sweetness.
Remember, these pairings create a blissful harmony that delights your guests, making your No Bake Mini Biscoff Cheesecakes the star of the dessert table!
Make Ahead Options
These No Bake Mini Biscoff Cheesecakes are perfect for meal prep enthusiasts looking to save time! You can prepare the crust and filling up to 24 hours in advance; simply store the crusts in the refrigerator covered with plastic wrap to maintain their crispiness. The cheesecake filling can also be made ahead and kept in an airtight container for the same period. When you’re ready to serve, spoon or pipe the cheesecake filling onto the crusts, chill for at least four hours or overnight, and drizzle with warmed Biscoff cookie butter just before serving. This way, you’ll enjoy delightful, restaurant-quality treats with minimal effort!
No Bake Mini Biscoff Cheesecakes Recipe FAQs
What type of Biscoff cookies should I use for the crust?
For the crust, I recommend using classic Biscoff cookies or speculoos cookies. These will provide the perfect flavor and texture for your base. If you're feeling adventurous, you could even try the Biscoff sandwich cookies for a richer taste!
How should I store leftover No Bake Mini Biscoff Cheesecakes?
These delightful cheesecakes can be stored in an airtight container in the refrigerator for up to 3 days. Just make sure they’re well-covered to maintain their freshness, unless you want to enjoy them sooner—who could resist?
Can I freeze No Bake Mini Biscoff Cheesecakes?
Absolutely! You can freeze your mini cheesecakes for up to 2 months. To do this, place them in a freezer-safe container or wrap them tightly in plastic wrap. For the best quality, prevent any air exposure as this may lead to freezer burn.
What should I do if my whipped cream isn’t forming stiff peaks?
If your whipping cream isn’t fluffing up as expected, ensure that it was cold and that your mixing bowl and beaters are clean and dry. Start with medium speed and gradually increase as it thickens. If all else fails, don't be discouraged; using a few drops of powdered sugar can help stabilize it!
Are there any dietary considerations for the No Bake Mini Biscoff Cheesecakes?
Yes! Since this recipe contains cream cheese and heavy whipping cream, it’s not suitable for lactose-intolerant individuals. Additionally, Biscoff cookies contain gluten, so this recipe isn’t gluten-free unless you have gluten-free Biscoff alternatives. Always check labels for allergens—safety first!
Can I substitute any ingredients for a healthier version?
Very! You could use reduced-fat cream cheese or Greek yogurt for a lighter cheesecakes. For the crust, consider substituting coconut oil for butter or using almond flour for a different twist. Just keep in mind that flavor and texture may vary slightly with substitutions.
Indulge in No Bake Mini Biscoff Cheesecakes Bliss
Ingredients
Equipment
Method
- Line a muffin pan with cupcake liners or use silicone molds for easy removal. Press the liners well into the pan.
- Combine Biscoff cookie crumbs, melted unsalted butter, and brown sugar in a bowl. Mix until it resembles wet sand.
- Scoop the crust mixture into each muffin liner, pressing down firmly. Refrigerate while preparing the filling.
- Beat softened cream cheese with an electric mixer until smooth and creamy, about 2-3 minutes.
- Add Biscoff cookie butter, powdered sugar, and vanilla extract to the cream cheese. Beat until fluffy.
- In another bowl, whip the cold heavy whipping cream until stiff peaks form, about 3-4 minutes.
- Gently fold whipped cream into the cheesecake mixture until well-blended.
- Spoon or pipe the cheesecake filling onto the chilled crusts and smooth the tops.
- Refrigerate the filled muffin tray for at least 4 hours or overnight.
- Warm Biscoff cookie butter in the microwave for 10-15 seconds to make it pourable.
- Drizzle the warmed cookie butter over each cheesecake and garnish with extra cookie crumbs and whipped cream.
- Serve the cheesecakes chilled for a delightful dessert experience.

Leave a Reply