
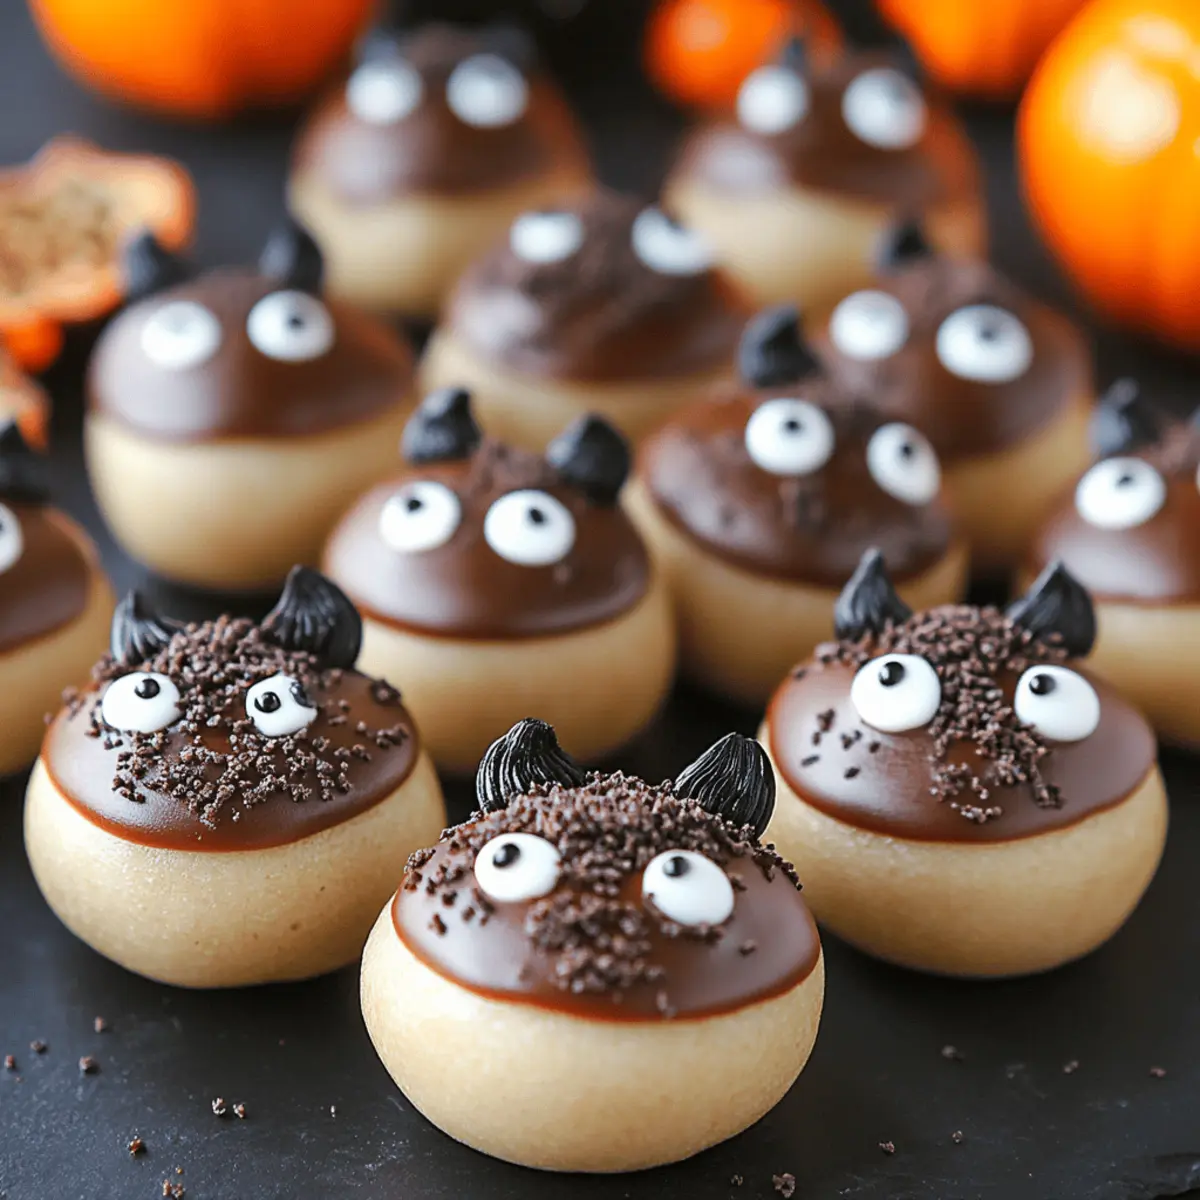
As I rummaged through my pantry one quiet afternoon, I stumbled upon a treasure trove of chocolate sandwich cookies, just waiting to become something magical. That’s when I decided to whip up a batch of Bat Oreo Cookie Balls. These delightful treats not only satisfy that sweet tooth but also serve as a fun, creative twist to any gathering or family night. With their simple prep and impressive presentation, they’re a crowd-pleaser that brings smiles to both kids and adults alike. Plus, with just a few ingredients, you can easily change them up for different occasions! Curious about how to bring these adorable little bats to life in your kitchen? Let’s dive in!
Why Make Oreo Cookie Balls?
Simplicity at its finest: With only a handful of ingredients and easy steps, you’ll create these adorable treats without any fuss.
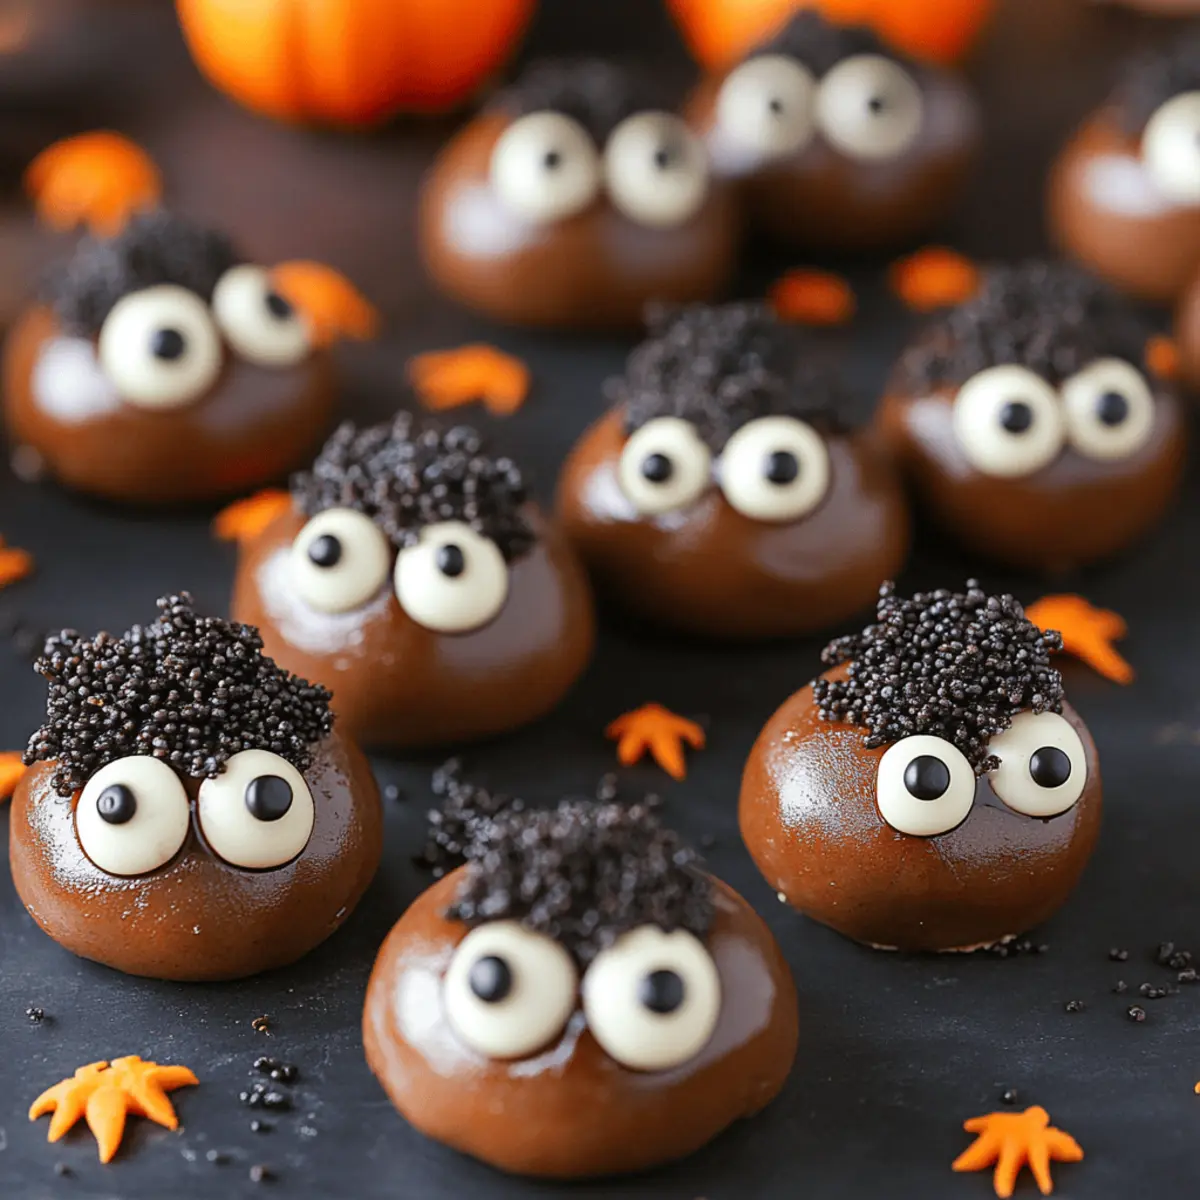
Fun presentation: These Bat Oreo Cookie Balls are sure to spark joy at parties, perfect for Halloween or any festive gathering.
Versatile flavors: Feel free to customize the chocolate coating or mix-ins, giving you endless options for delicious creativity.
Great for kids: Involve little ones in the process for a fun family activity that’ll have everyone giggling as they help design their own bat creations.
Time-saving treat: Prep in just over an hour and chill while you relax; these cookie balls are as rewarding to make as they are to devour!
Make some today, and don’t forget to check out our tips on storing desserts for maximum freshness!
Oreo Cookie Balls Ingredients
For the Cookie Mixture
• Chocolate sandwich cookies – 14.3 oz for that delightful chocolate flavor and rich texture.
• Cream cheese – 8 oz to bind the cookies and add a creamy, luscious consistency.
For Coating and Decoration
• Chocolate candy coating – 10 oz (e.g., Ghirardelli melting wafers, Wilton Candy Melts, or Almond Bark) for a smooth, shiny finish on your Oreo Cookie Balls.
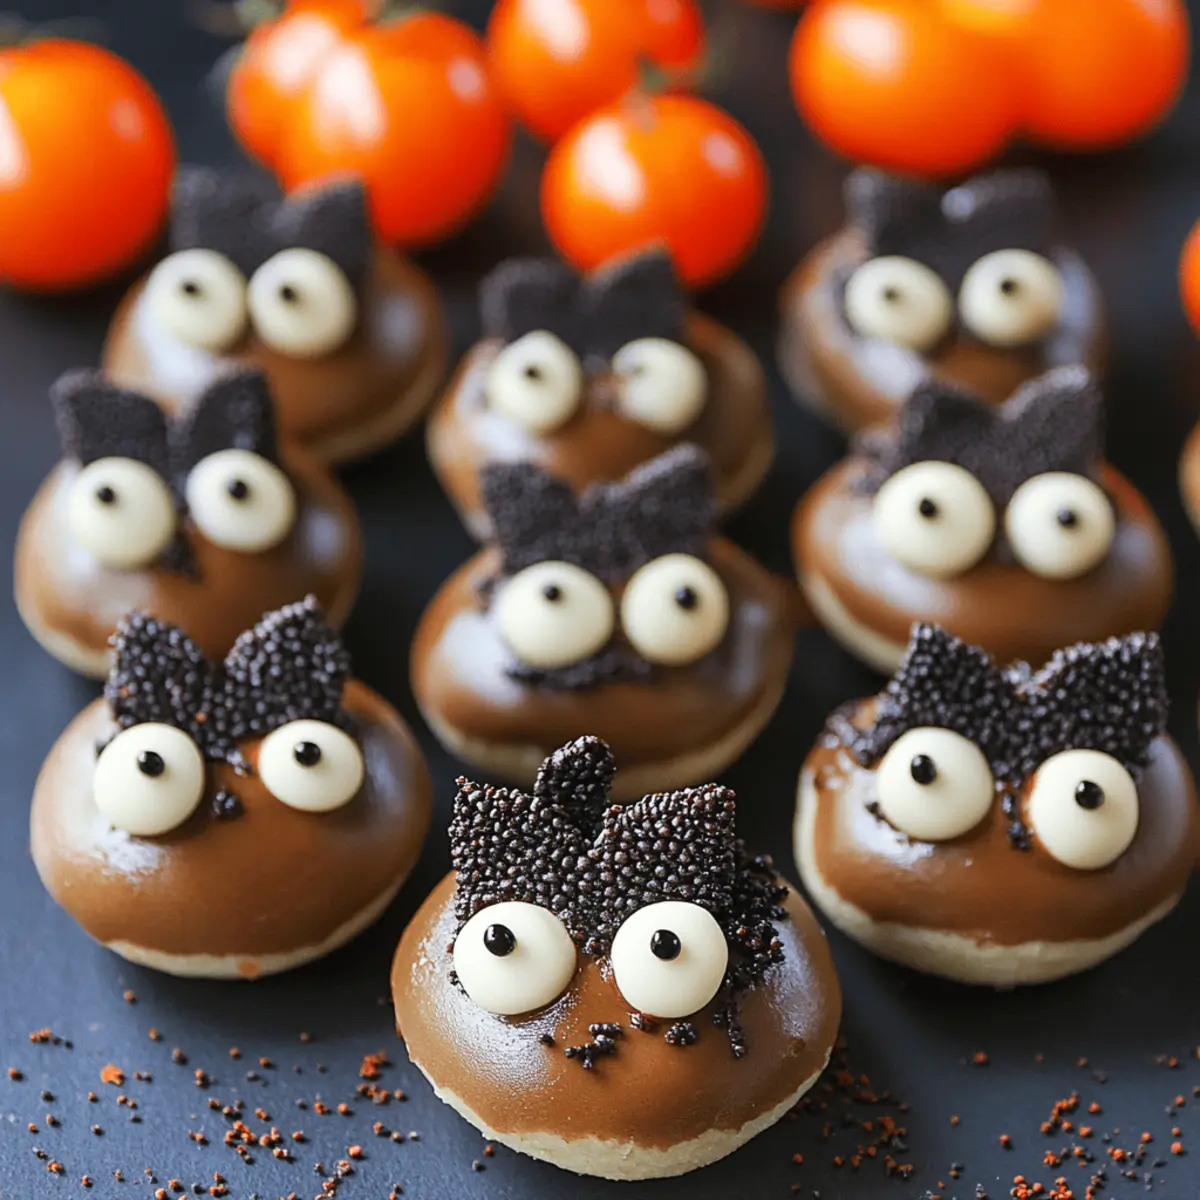
• Cookie halves for wings – 30 pairs that add whimsy and charm to your bats.
• Mini chocolate chips – For attaching eyes and ears, these tiny treats add the finishing touch to your cookie bat creations!
These delightful Oreo Cookie Balls will not only satisfy your sweet cravings but also bring a smile to anyone who lays eyes on them!
Step‑by‑Step Instructions for Oreo Cookie Balls
Step 1: Crush Cookies
Begin by placing the 14.3 oz of chocolate sandwich cookies into a food processor. Pulse until they reach a fine crumb consistency, resembling sand, which should take about 30 seconds. If you don’t have a processor, a sturdy plastic bag and a rolling pin will work as well. This is the base for your Oreo Cookie Balls!
Step 2: Mix Ingredients
In a large mixing bowl, combine the cookie crumbs with 8 oz of cream cheese. Using a spatula or your hands, mix until thoroughly blended and the mixture is sticky yet manageable. This might take about 2-3 minutes of enthusiastic mixing. The cream cheese binds everything together, creating a rich and luscious filling for your Oreo Cookie Balls.
Step 3: Form the Balls
Once your mixture is ready, scoop about 1 tablespoon of it and roll it into a ball, measuring approximately 1 inch in diameter. Place the formed balls onto a parchment-lined tray. Repeat this process until all the mixture is used up, which should yield about 28-30 Oreo Cookie Balls. This is where the magic starts to take shape!
Step 4: Chill the Balls
Transfer the tray of formed balls into the fridge and chill for about 1 hour. This will allow the balls to firm up, making them easier to dip in chocolate later. Keep an eye on them, as they should feel solid when done. This chilling time is perfect for a quick tidy-up in the kitchen or a little relaxation.
Step 5: Prepare Cookie Wings
While the Oreo Cookie Balls are chilling, take 30 additional chocolate sandwich cookies and carefully cut them in half to create wings. Aim for even halves so they look adorable on your finished cookie bats! Set these wing halves aside, positioning them close to your dipping station for the next step.
Step 6: Melt Chocolate Coating
In a microwave-safe bowl, melt 10 oz of chocolate candy coating in 30-second intervals, stirring between each until smooth. This should take about 1-2 minutes, ensuring the chocolate is glossy and completely liquid. For a nice dipping consistency, avoid overheating. Prepare your workspace by laying out your parchment paper for the dipped Oreo Cookie Balls.
Step 7: Dip the Chilled Balls
Remove the chilled Oreo Cookie Balls from the fridge and one by one, dip each ball into the melted chocolate. Use a fork to lift them out, allowing the excess chocolate to drip back into the bowl. Place them onto the parchment paper, ensuring they sit well without rolling off. This smooth layer of chocolate will make your Oreo Cookie Balls look irresistibly delicious!
Step 8: Attach Wings
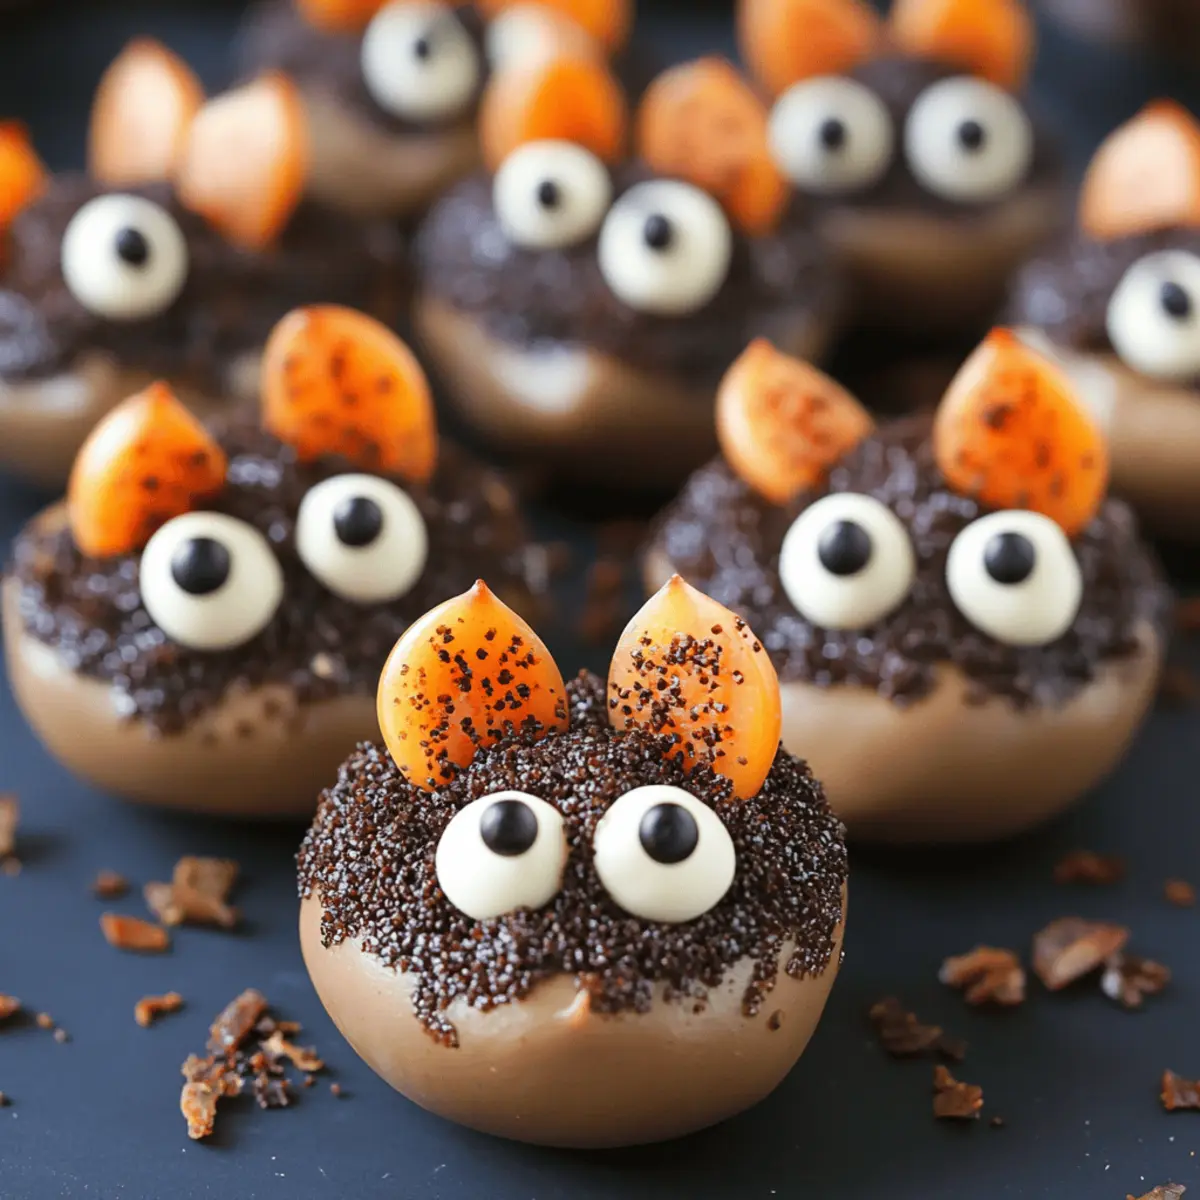
While the chocolate coating is still soft, take two cookie halves for wings and quickly insert them into the sides of the coated Oreo Cookie Ball. Hold them in place for a few seconds to let them stick. This step adds the delightful and fun bat-like appearance to your Oreo Cookie Balls, enhancing their festive charm.
Step 9: Add Eyes and Ears
Using mini chocolate chips, attach two for the eyes and two for the ears on top of each Oreo Cookie Ball. If the chocolate coating has begun to set, dip a chip into a bit of extra melted chocolate to secure it. Each bat should look whimsical and ready to fly off your festive platter!
Step 10: Store Your Treats
Once all your Oreo Cookie Balls are complete, store them in an airtight container in the fridge. They will stay fresh for up to 1 week. As you enjoy these delightful treats, be prepared to receive lots of compliments, making all your effort worthwhile!
Make Ahead Options
These Oreo Cookie Balls are perfect for meal prep enthusiasts! You can prepare the cookie mixture and form the balls up to 24 hours in advance, simply chilling them in the fridge until ready to dip. To maintain their delightful texture, store them in an airtight container. The wings can also be prepped ahead by cutting the cookie halves up to 3 days before serving; just keep them in a resealable bag to prevent them from getting stale. When you’re ready to indulge, dip the chilled balls in melted chocolate, attach the wings, and add mini chocolate chips for the finishing touches. You’ll have festive, delicious Oreo Cookie Balls ready to wow your family and friends with minimal last-minute effort!
How to Store and Freeze Oreo Cookie Balls
Fridge: Store your Oreo Cookie Balls in an airtight container for up to 1 week. This keeps them fresh and delicious, ready to serve whenever a sweet craving strikes.
Freezer: If you want to keep them longer, freeze the cookie balls for up to 2 months. Place them in a single layer on a baking sheet until solid, then transfer to an airtight container or zip-top bag.
Thawing: To enjoy frozen Oreo Cookie Balls, simply remove them from the freezer and let them thaw in the fridge overnight for the best texture.
Reheating: These treats are best enjoyed cold, but if you like them slightly warm, pop them in the microwave for just 5-10 seconds—watch closely to avoid melting!
Expert Tips for Oreo Cookie Balls
-
Crushing Cookies: Use a food processor for the best consistency. If using a bag, be sure to crush thoroughly; uneven crumbs can lead to texture issues.
-
Chilling Time: Don’t skip the chilling step! It’s crucial for firming up the balls, preventing them from falling apart during dipping.
-
Dipping Technique: When dipping, ensure the chocolate coating is smooth and not too hot. Overheating can cause it to seize or become too thin.
-
Wing Placement: Attach cookie wings while the chocolate is soft. If they start to set, just use a little melted chocolate to secure them firmly.
-
Storage Tips: Keep your finished Oreo Cookie Balls in an airtight container in the fridge. This helps maintain their freshness and prevents them from drying out.
These simple tricks will ensure your Oreo Cookie Balls are a delightful success!
What to Serve with Bat Oreo Cookie Balls?
Imagine a vibrant gathering filled with laughter, where these delightful treats steal the show, making every moment sweeter.
-
Vanilla Ice Cream: A scoop of creamy vanilla ice cream complements the rich chocolate flavor, adding a refreshing contrast.
-
Fresh Berries: Juicy raspberries or strawberries offer a burst of freshness, balancing the sweetness with their tartness.
-
Chocolate Dipped Pretzels: The salty crunch of pretzels provides a delightful contrast to the creamy, chocolatey cookie balls.
-
Hot Cocoa: Cozy up with a warm cup of hot cocoa, a perfect pairing for these fun and festive bites.
-
Fruit Salad: A mix of seasonal fruits introduces new textures and flavors, lightening the overall dessert experience.
-
Whipped Cream: Light, airy whipped cream adds a luscious touch, perfect for drizzling over or enjoying alongside your treats.
-
Peanut Butter Dip: Serve with a creamy peanut butter dip for an unexpected twist that brings a nutty richness to each bite.
-
Flavored Sparkling Water: A bubbly drink, infused with a hint of citrus, refreshes the palate beautifully between sweet bites.
-
Mini Cheesecakes: Individual cheesecakes are luxurious yet light, making a delightful contrast to the cookie balls' fun aesthetics.
Pair these options with your Bat Oreo Cookie Balls to create a memorable treat experience for all ages!
Oreo Cookie Balls Variations
Feel free to explore these fun and tasty variations for your Oreo Cookie Balls—they’re just waiting for your personal touch!
-
Dairy-Free: Substitute cream cheese with a dairy-free alternative like cashew cream for a delicious vegan-friendly option.
Not only does this keep the treats dairy-free, but it also adds a nutty flavor that truly enhances the chocolatey goodness! -
Nutty Delight: Add ½ cup of finely chopped nuts (almonds or pecans) into the mixture for a delightful crunch.
The nutty texture contrasts beautifully with the creamy filling, making each bite a surprise. -
Minty Fresh: Mix in 1 teaspoon of peppermint extract along with the cream cheese for a fresh twist.
This minty flavor combined with chocolate creates a refreshing treat that’s perfect for the holiday season! -
Spicy Kick: Add a pinch of cayenne pepper or chili powder to the chocolate coating for a spicy surprise.
The heat adds an unexpected layer of flavor that will knock the socks off your taste buds! -
Different Chocolate Coating: Try using white chocolate or even colored candy melts for festive flair during celebrations.
Different coatings bring vibrancy to your Oreo Cookie Balls, making them eye-catching dessert table stars! -
Brownie Batter Base: Swap out half the cream cheese for brownie mix to create a fudgier texture and rich chocolate flavor.
This twist on the base will leave chocolate lovers absolutely enchanted with each mouthful! -
Cookie Crumble Topping: Once coated, sprinkle some crushed chocolate cookies on top for added texture and a neat look.
This creates a beautiful finish and enhances the chocolatey goodness in every bite—what a delight! -
Seasonal Spices: For a fall-inspired treat, add a dash of cinnamon and nutmeg to the mixture for a warm flavor profile.
These cozy spices evoke memories of sunny autumn days and will charm anyone who takes a bite!
As you embark on this scrumptious journey of customization, be sure to check out our suggestions for storing desserts for ways to keep your creations fresh and delightful!
Bat Oreo Cookie Balls Recipe FAQs
What type of chocolate sandwich cookies should I use?
Absolutely! I recommend using classic chocolate sandwich cookies like Oreos for that delightful flavor. Look for cookies without any dark spots or damage. The fresher, the better for that perfect texture in your cookie balls!
How should I store my Oreo Cookie Balls for the best freshness?
Store your Bat Oreo Cookie Balls in an airtight container in the fridge for up to 1 week. This will help lock in their freshness and keep them delicious. Just make sure to separate layers with parchment paper if you stack them.
Can I freeze the Oreo Cookie Balls, and if so, how?
Very! To freeze your Oreo Cookie Balls, place them in a single layer on a baking sheet and freeze until solid (about 1 hour). After that, transfer them to an airtight container or a zip-top freezer bag. They will keep well for up to 2 months in the freezer. When you’re ready to indulge, simply let them thaw in the fridge overnight.
What if my cookie mixture feels too dry or crumbly?
If your mixture isn’t holding together well, try adding a little more cream cheese, about 1-2 tablespoons at a time, mixing thoroughly after each addition. This will help achieve the perfect consistency to roll your cookies without falling apart. On the flip side, if it’s too moist, a few extra cookie crumbs can balance it out.
Are there any dietary considerations for pets or allergies?
Yes! It’s important to keep in mind that chocolate can be harmful to pets, especially dogs. Make sure to store these treats safely out of their reach. If you’re serving to guests with allergies, double-check for common allergens like gluten and dairy, since these Oreo Cookie Balls contain both cookie and cream cheese.
Decadent Oreo Cookie Balls That Will Make You Smile
Ingredients
Equipment
Method
- Begin by placing the chocolate sandwich cookies into a food processor. Pulse until they reach a fine crumb consistency, resembling sand, about 30 seconds.
- In a large mixing bowl, combine the cookie crumbs with cream cheese. Mix until thoroughly blended and sticky, about 2-3 minutes.
- Scoop about 1 tablespoon of the mixture and roll it into a ball, approximately 1 inch in diameter. Place on a parchment-lined tray.
- Transfer the tray to the fridge and chill for about 1 hour.
- Take 30 additional chocolate sandwich cookies and carefully cut them in half to create wings.
- Melt the chocolate candy coating in a microwave-safe bowl in 30-second intervals until smooth, about 1-2 minutes.
- Remove chilled Oreo Cookie Balls from the fridge, dip each into the melted chocolate, and place on parchment paper.
- While the chocolate coating is still soft, insert two cookie halves into the sides of each ball for wings.
- Attach mini chocolate chips for eyes and ears on top of each ball.
- Store completed Oreo Cookie Balls in an airtight container in the fridge for up to 1 week.


Leave a Reply