
“Who would have thought that a classic childhood snack could transform into an enchanting treat for all ages?” Whipping up these Ruler Rice Krispies is not just a trip down memory lane; it's a delightful way to craft something visually stunning and deliciously nostalgic. In just 25 minutes, you can create a fun, hand-crafted snack that's perfect for school lunches, bake sales, or simply a special afternoon treat at home. One of the best perks of this recipe is how effortlessly it combines creativity with simplicity, making it a fantastic project to tackle with kids or even during a cozy solo afternoon. So, are you ready to turn your kitchen into a little whimsical workshop? Let’s dive into the colorful world of Ruler Rice Krispies!
Why Are Ruler Rice Krispies So Fun?
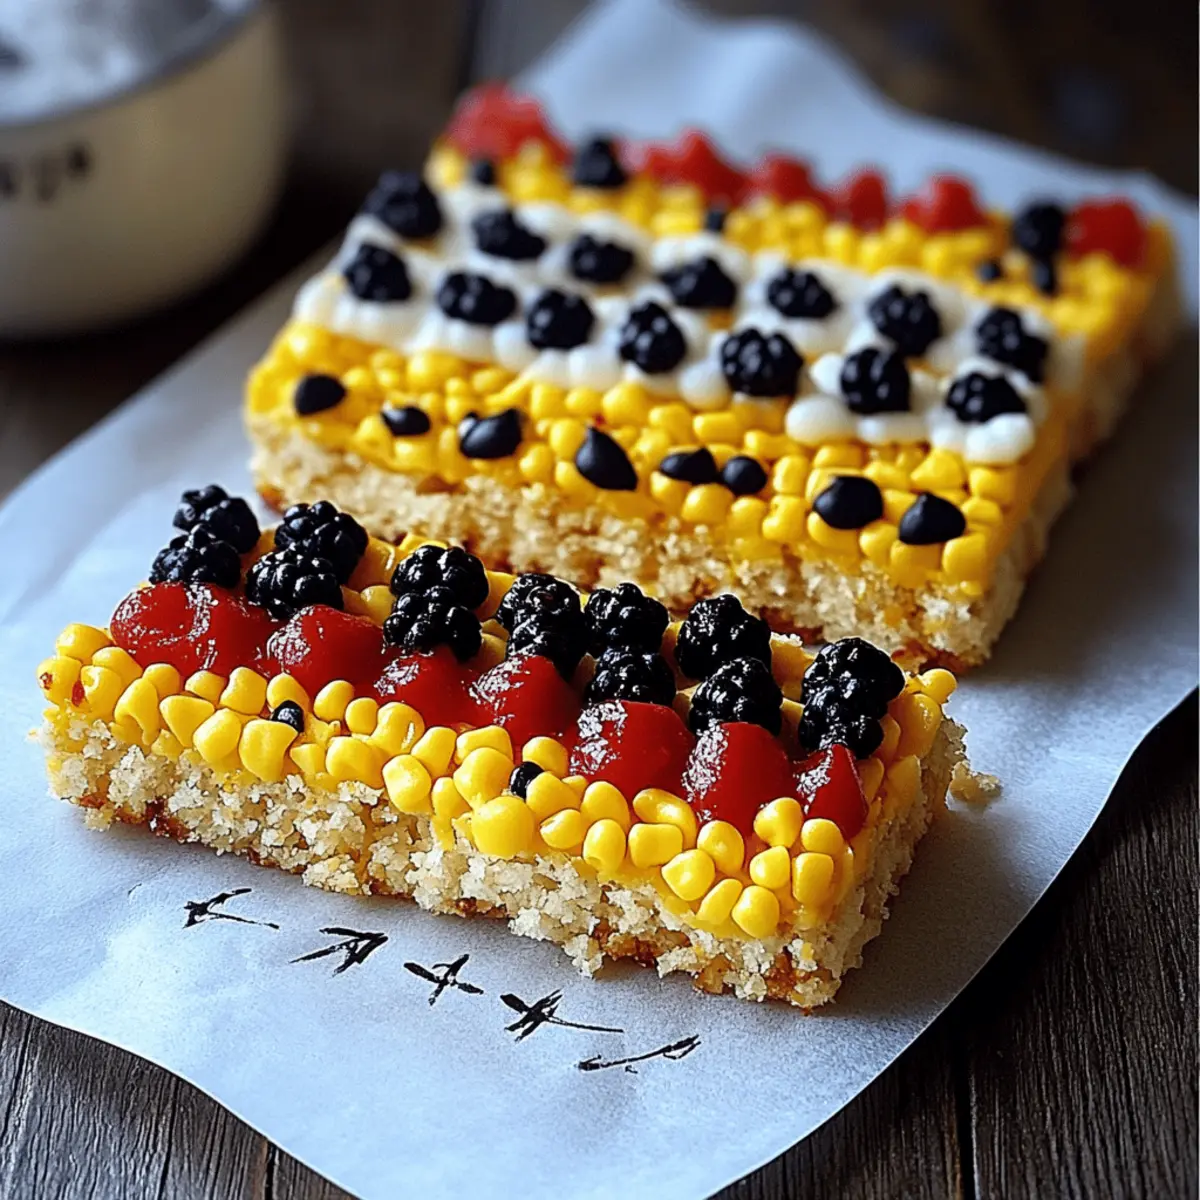
Creativity at Its Finest: These Ruler Rice Krispies aren't just your average treats; they’re a canvas for your imagination!
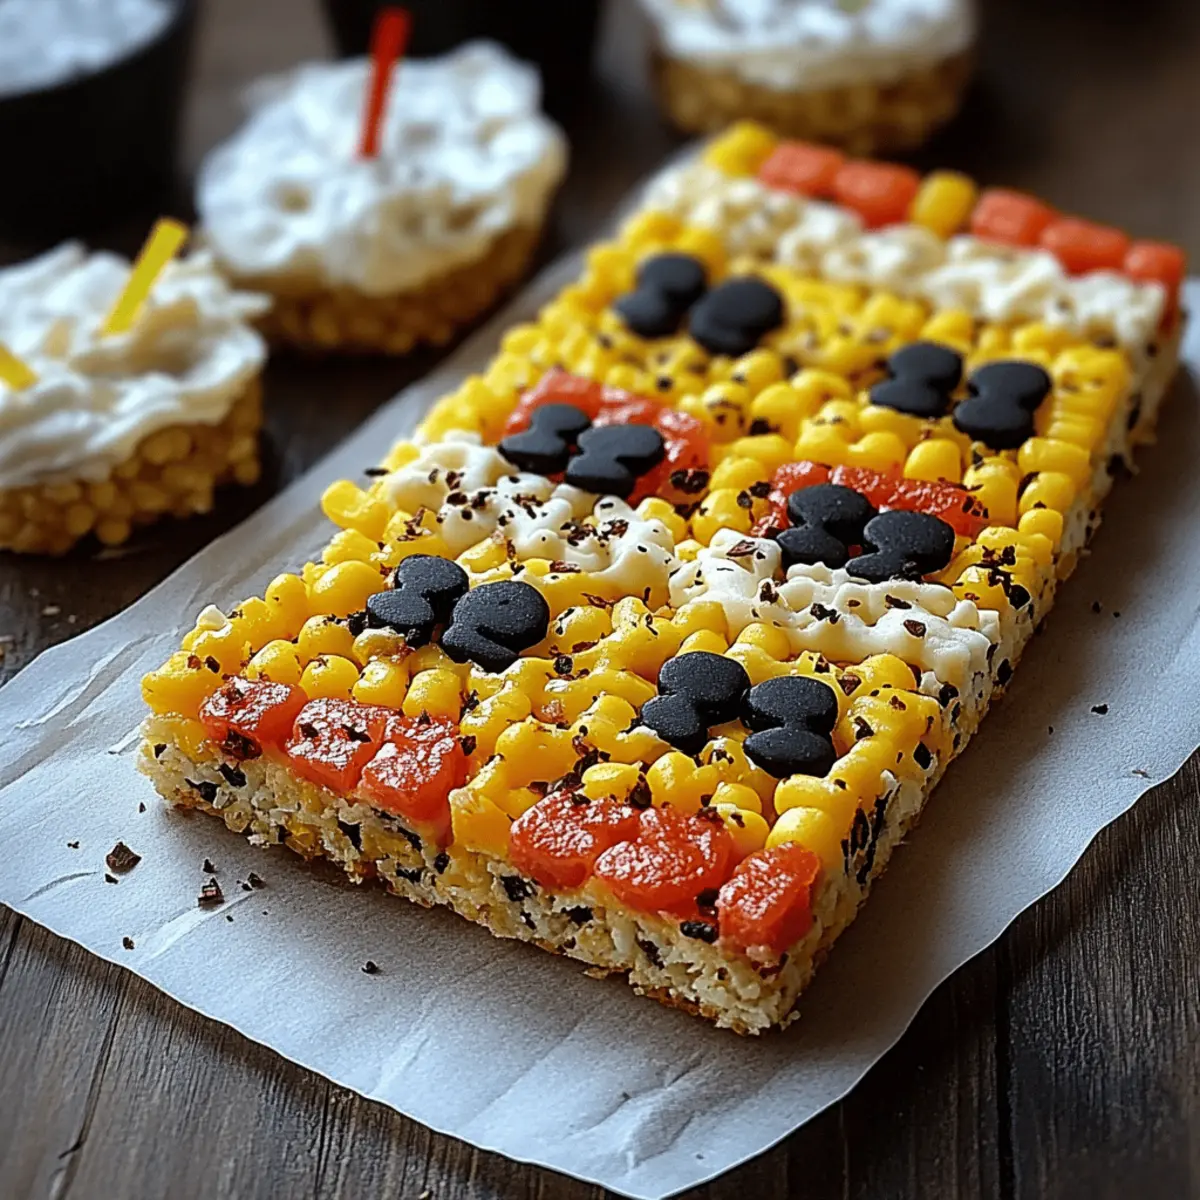
Colorful Appeal: The vibrant colors of red and yellow make these snacks visually stunning, ensuring they stand out at any gathering.
Easy and Quick: With just 25 minutes from start to finish, you can whip up these tasty delights without spending all day in the kitchen.
Perfect for Any Occasion: Whether it’s a school event, a birthday party, or simply a fun afternoon treat, these snacks are a hit with both kids and adults!
Hands-On Activity: Involve the kids or friends in the fun of creating these ruler-shaped treats, making memories that will last even longer than the leftovers.
Elevate your baking game with these Ruler Rice Krispies and experience the joy of combining fun, flavor, and creativity!
Ruler Rice Krispies Ingredients
Get ready to craft these delightful snacks with just a handful of ingredients that will bring joy to your kitchen!
For the Treats
- 6 cups Rice Krispies cereal – this is the essential base for our fun treats!
- 1 (10 oz) bag mini marshmallows – choose fresh marshmallows for maximum gooeyness.
- 3 tablespoons butter – use unsalted butter for better control of flavor.
- Red gel food coloring – this will bring a bold hue to your treats.
- Yellow gel food coloring – add life and vibrancy for the middle layer!
For the Decoration
- ½ cup white candy melts – they’ll give the ruler a shiny “metal edge.”
- ½ cup chocolate chips (or brown candy melts) – perfect for adding realistic ruler markings.
- Black decorating gel or black edible marker – use this to finish off your design with numbers and lines.
For Preparation
- Non-stick cooking spray – ensures your treats won’t stick to the dish!
- Parchment paper – a handy way to lift your finished treats out of the pan easily.
Embark on this fun culinary adventure with these Ruler Rice Krispies and watch as your sweet creation comes to life!
Step‑by‑Step Instructions for Ruler Rice Krispies
Step 1: Prepare the Baking Dish
Start by preheating your kitchen to a cozy warmth. Take a 9×13 inch baking dish and line it with parchment paper, ensuring the paper hangs over the edges for easy removal later. Spray the parchment thoroughly with non-stick cooking spray to prevent any sticking.
Step 2: Melt the Butter and Marshmallows
In a large saucepan, melt 3 tablespoons of butter over low heat. Once the butter is completely melted, add a 10 oz bag of mini marshmallows. Stir constantly with a spatula until the marshmallows are fully melted and smooth, which should take about 5 minutes. Remove the pan from the heat once you achieve a glossy mixture.
Step 3: Combine with Rice Krispies
Quickly pour in 6 cups of Rice Krispies cereal into the melted marshmallow mixture. Gently fold the cereal using a spatula until every Rice Krispie is well-coated with the gooey marshmallow mixture. This should take about 2-3 minutes.
Step 4: Divide the Mixture
Carefully divide the mixture into three equal portions. Transfer one portion to a separate bowl to remain plain, adding red gel food coloring to the second portion and yellow coloring to the last. Stir each mixture until the colors are vibrant and evenly distributed, making sure each color stands out beautifully.
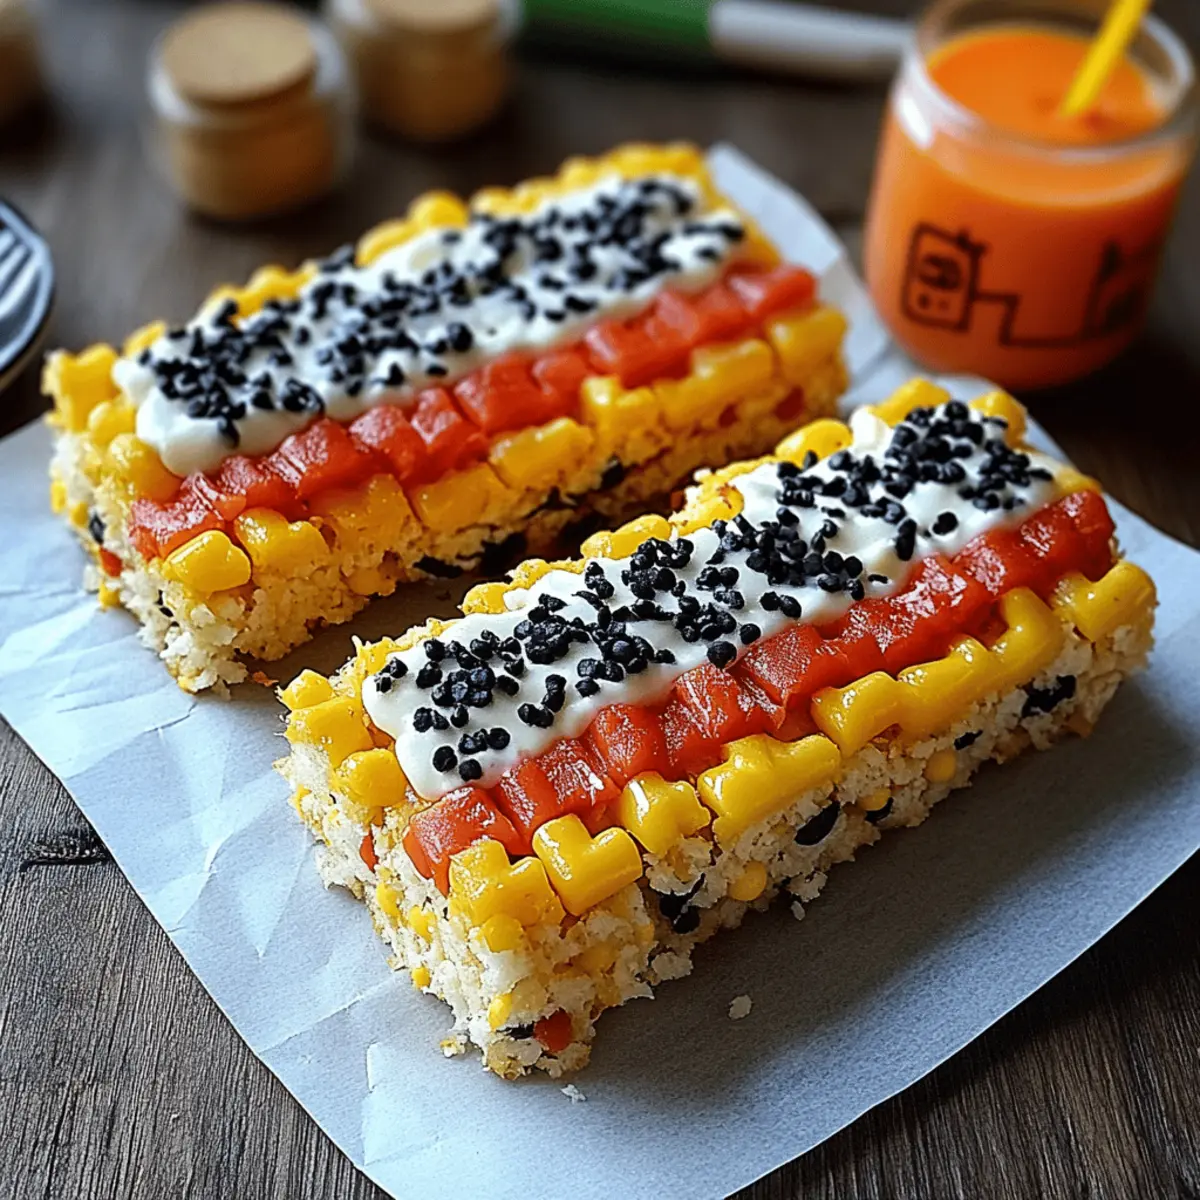
Step 5: Layer the Colors
Using your clean spatula, begin by pressing the red mixture firmly into the bottom third of the prepared baking dish. Next, sprinkle the yellow mixture into the center third, pressing down evenly. Finally, add the uncolored mixture on top, smoothing it out to create a flat surface. Allow the layers to cool completely for about 30 minutes.
Step 6: Cut into Bars
Once the layered treats are set and firm, slice them into long rectangle bars to resemble rulers. Aim for uniformity, making sure each piece is about 1 inch wide for a neat appearance. This step allows you to create the fun shape of your Ruler Rice Krispies.
Step 7: Melt the Candy Coatings
In two separate microwave-safe bowls, melt ½ cup of white candy melts and ½ cup of chocolate chips in 30-second intervals, stirring after each session to prevent overheating. Aim for a smooth consistency; this will be used for decorating.
Step 8: Decorate the Bars
Using a piping bag or a spoon, carefully add ruler markings with the melted chocolate onto one side of each treat. Create a “metal edge” by drizzling melted white candy melts along the other side. This will enhance the ruler appearance significantly.
Step 9: Final Touches
Utilize black decorating gel or a black edible marker to add numbers and small lines on your Ruler Rice Krispies. Take your time to ensure the markings are neat and resemble an actual ruler, which adds a fun touch to your delightful treats.
Step 10: Let Set and Serve
Allow the decorated Ruler Rice Krispies to set fully before serving or wrapping them for later enjoyment. This ensures that the coatings have hardened, making your colorful creations not only beautiful but also easy to handle and deliciously satisfying!
Make Ahead Options
These Ruler Rice Krispies are perfect for meal prep enthusiasts! You can prepare the treat layers up to 24 hours in advance by following the usual steps, but before pressing them into the baking dish, allow them to cool completely. Once the layers are done, wrap the entire dish tightly in plastic wrap and refrigerate. This helps maintain their delightful texture and vibrant colors until you're ready to finish them. When it’s time to decorate, simply melt the candy coatings and add the markings as instructed, and your Ruler Rice Krispies will be just as delicious and visually appealing as if they were freshly made!
Tips for the Best Ruler Rice Krispies
Perfect Color Mixing: Ensure you use gel food coloring rather than liquid to achieve vibrant, consistent colors without altering the texture of your Ruler Rice Krispies.
Cooling Time: Be patient! Allowing the mixture to cool completely ensures the layers stay firm and hold their shape when cut, preventing any mess.
Avoid Over-melting: Melt the butter and marshmallows on low heat only, avoiding burning which could ruin the gooey texture essential for great Ruler Rice Krispies.
Cut with Care: Use a sharp knife to cut the treats into even bars. This not only makes for a professional presentation but also ensures a delightful experience for everyone.
Decorate with Precision: When adding ruler markings, take your time for neatness. You want those little details to shine, bringing your Ruler Rice Krispies to life!
Ruler Rice Krispies Variations
Feel free to explore the delightful possibilities to customize your Ruler Rice Krispies and make them your own!
-
Gluten-Free: Use gluten-free Rice Krispies to ensure everyone's included in this sweet treat. It's simple and just as crispy!
-
Nutty Twist: Add chopped nuts or nut butter to the marshmallow mixture for a crunchy texture and rich flavor. Almonds or pecans can elevate your treats beautifully.
-
Vegan-Friendly: Swap mini marshmallows for a vegan version and use coconut oil instead of butter to keep it dairy-free yet delicious. Your plant-based friends will love this twist!
-
Different Colors: Instead of red and yellow, experiment with blue and green gel food coloring for a whimsical, fresh look! Let your imagination soar with color combinations.
-
Chocolate Chips: Sprinkle chocolate chips or candy pieces into the mixture before packing it into the baking dish for added sweetness and texture. It adds a little surprise in every bite!
-
Spicy Kick: Incorporate a dash of cayenne pepper or cinnamon into the melted marshmallows for a playful heat that contrasts wonderfully with the sweetness.
-
Fruity Flavor: Mix in fruity extracts like strawberry or banana to the marshmallow mixture for a unique flavor profile that will tickle your taste buds!
-
Double the Layers: Create a multi-layered treat by repeating the color layers. Think rainbow Ruler Rice Krispies! More layers mean more fun and a delightful visual effect.
With these variations and twists, you can transform your Ruler Rice Krispies into a bakery-worthy delight tailored to your preferences! For additional treat ideas, don’t miss our fantastic guide on How to Store and Freeze Ruler Rice Krispies or check out some easy Baking Tips for Homemade Treats! Enjoy whipping up your masterpiece!
What to Serve With Ruler Rice Krispies
Whip up the perfect meal or snack alongside your colorful creations to delight both kids and adults alike!
- Fruit Salad: A vibrant mix of seasonal fruits adds a refreshing sweetness that balances the sugary treats. It's a healthy contrast that keeps everyone happy.
- Chocolate Milk: Creamy chocolate milk makes for a nostalgic and comforting beverage that pairs beautifully with the sweetness of the Ruler Rice Krispies.
- Veggie Sticks and Dip: Crunchy vegetables like carrots and cucumbers with a zesty dip provide a savory crunch that complements the softness of the treats.
- Ice Cream: A scoop of vanilla or strawberry ice cream creates a delightful dessert duo with your treats, making it both fun and indulgent.
- Mini Cupcakes: These sweet bites bring another layer of fun to your gathering, and their variety can cater to everyone's personal favorite flavors.
- Sparkling Water: Refreshing and bubbly, sparkling water offers a delightful contrast to the sweetness of the Ruler Rice Krispies, keeping your palate engaged with every bite.
How to Store and Freeze Ruler Rice Krispies
Room Temperature: Keep your Ruler Rice Krispies in an airtight container at room temperature for up to 3 days to maintain their freshness and delightful chewiness.
Fridge: For slightly longer storage, place them in the fridge for up to 1 week. Just be sure to seal them tightly to avoid drying out.
Freezer: If you want to preserve them even longer, freeze your Ruler Rice Krispies in an airtight container for up to 2 months. Simply thaw at room temperature before serving.
Reheating: If they become too hard, an easy fix is to microwave them for about 10 seconds to bring back some soft gooeyness before enjoying!
Ruler Rice Krispies Recipe FAQs
What kind of marshmallows should I use?
I recommend using fresh mini marshmallows for the best gooey texture! If you find that your bag has been sitting for a while and they're a bit hard, consider replacing them to maintain that delightful chewiness in your Ruler Rice Krispies.
How should I store my Ruler Rice Krispies?
Store them in an airtight container at room temperature for up to 3 days. If you want them to last longer, refrigerate them for up to 1 week. Just ensure they're sealed tightly to prevent drying out!
Can I freeze Ruler Rice Krispies?
Absolutely! You can freeze your Ruler Rice Krispies in an airtight container for up to 2 months. When you're ready to enjoy, simply let them thaw at room temperature. If they feel too hard after freezing, pop them in the microwave for about 10 seconds to soften up a bit.
What do I do if my Ruler Rice Krispies are too sticky?
If your mixture becomes too sticky while mixing, you can lightly coat your hands with non-stick cooking spray or use a spatula for better handling. Also, ensure you're letting the marshmallows melt completely before combining with the Rice Krispies; this helps achieve a smoother texture!
Are these Ruler Rice Krispies safe for pets and allergies?
These treats contain ingredients like butter, marshmallows, and chocolate, which aren’t safe for pets, particularly dogs. For allergies, be cautious with chocolate and butter, as they may not be suitable for those with dairy or egg allergies. Always check labels for potential allergens before preparing this recipe.

Fun and Colorful Ruler Rice Krispies for Every Sweet Tooth
Ingredients
Equipment
Method
- Preheat your kitchen to a cozy warmth. Line a 9×13 inch baking dish with parchment paper, ensuring the paper hangs over the edges for easy removal later. Spray the parchment thoroughly with non-stick cooking spray.
- Melt 3 tablespoons of butter over low heat in a large saucepan. Once melted, add a 10 oz bag of mini marshmallows. Stir constantly until the marshmallows are fully melted and smooth, about 5 minutes.
- Pour in 6 cups of Rice Krispies cereal into the melted marshmallow mixture. Gently fold the cereal until well-coated. This should take about 2-3 minutes.
- Divide the mixture into three equal portions. Leave one plain, add red gel food coloring to the second, and yellow coloring to the last. Stir until each color is vibrant.
- Press the red mixture into the bottom third of the prepared baking dish. Sprinkle the yellow mixture into the center third, and top with the uncolored mixture. Allow to cool completely for about 30 minutes.
- Once firm, slice into long rectangle bars resembling rulers, about 1 inch wide for uniformity.
- Melt ½ cup of white candy melts and ½ cup of chocolate chips in separate microwave-safe bowls, stirring every 30 seconds until smooth.
- Using a piping bag or spoon, add ruler markings with melted chocolate onto one side of each treat. Drizzle melted white candy melts along the other side to create a 'metal edge.'
- Add numbers and small lines on your Ruler Rice Krispies with black decorating gel or a black edible marker.
- Allow the decorated Ruler Rice Krispies to set fully before serving or wrapping. This ensures the coatings have hardened and are easy to handle.


Leave a Reply