
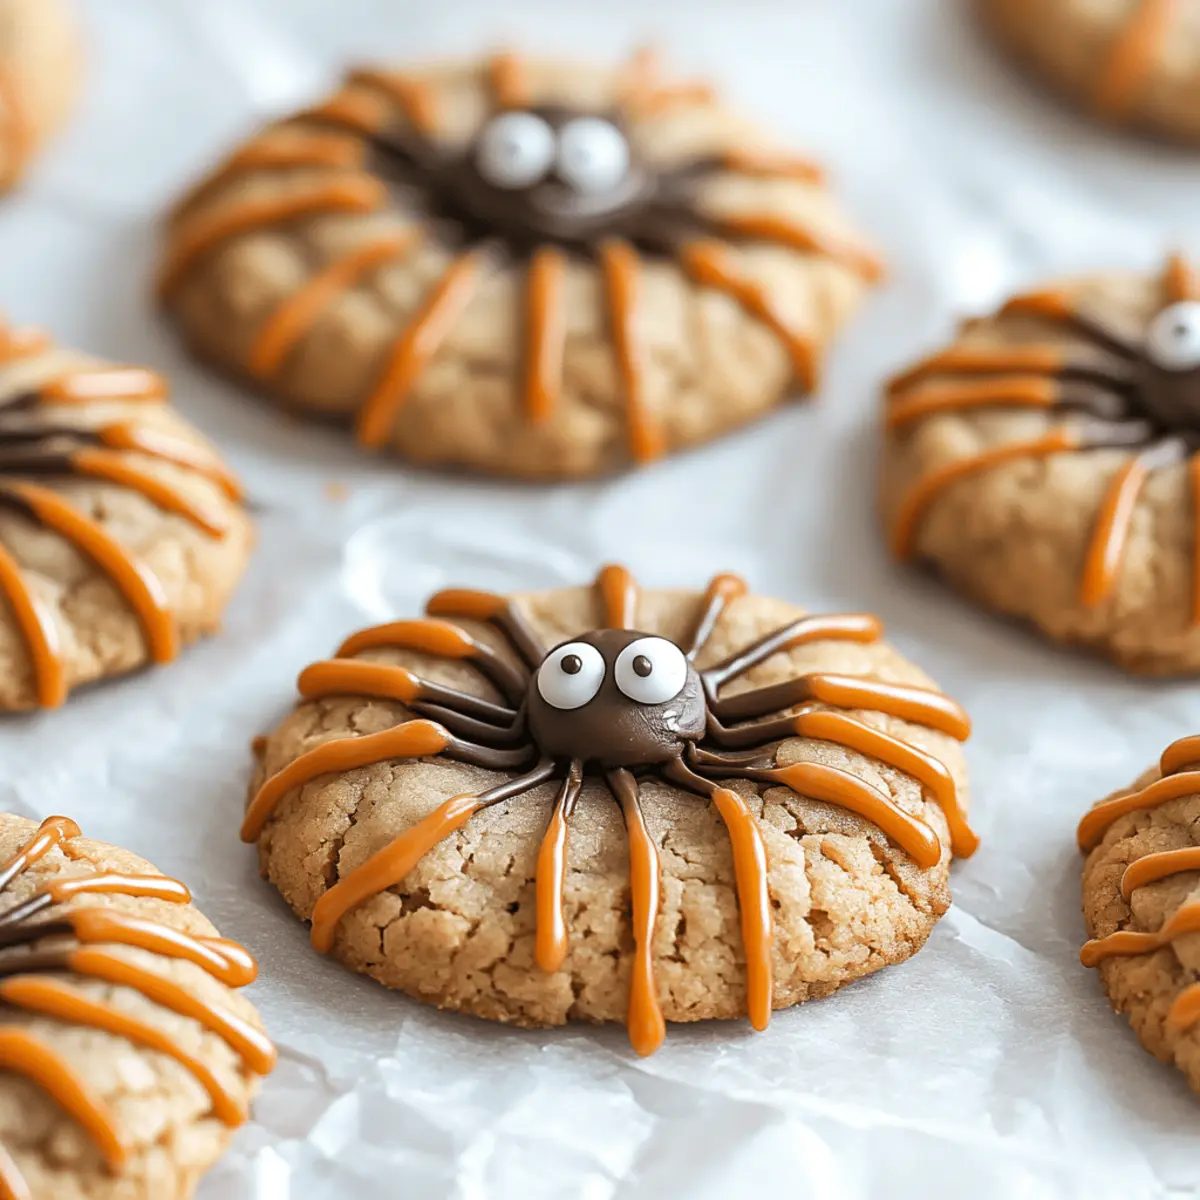
As I stood in my kitchen the other day, I could almost hear the excited chatter of little ghouls and goblins anticipating a Halloween feast. What if this year, we stepped up our game with something delightfully eerie? Enter the Spooky Spider Cookies! These whimsical treats not only bring a fun, festive flair to any Halloween gathering but are also incredibly easy to whip up. Perfect for both seasoned bakers and those still finding their footing in the kitchen, they offer a great opportunity to engage kids in a fun activity. Plus, they’re guaranteed to impress guests, transforming your dessert table into a haunted masterpiece. Who can resist those adorable little spider shapes? Curious to find out how to make these charming cookies come to life in your own kitchen? Let’s dive into the recipe!
Why Are Spooky Spider Cookies a Must-Make?
Delightful and Fun: Spooky Spider Cookies bring a playful element to your Halloween festivities that kids and adults alike will adore.
Easy to Make: With simple ingredients and straightforward steps, even novice bakers can create confections that look stunning on any dessert table.
Engaging Activity: Get the little ones involved! Crafting these charming cookies is a wonderful way to spend quality time together in the kitchen.
Crowd-Pleasing Treat: These cookies are sure to bring smiles and laughter, making them a highlight of your Halloween bash.
Whether you're themed for a spooky gathering or just looking for something festive, be sure to consider pairing these with our favorite Halloween Dessert Recipes for a complete holiday spread!
Spooky Spider Cookies Ingredients
For the Cookie Base
- All-purpose flour – This provides the structure for your Spooky Spider Cookies.
- Granulated sugar – Sweetens the cookies and helps create a delightful texture.
- Brown sugar – Adds moisture and a hint of caramel flavor.
- Unsalted butter – Provides richness and helps with the cookie’s spread during baking.
- Eggs – Acts as a binder to hold all the ingredients together.
- Vanilla extract – Enhances the flavor profile of the cookies.
- Baking powder – Helps the cookies rise and become soft and chewy.
- Salt – Balances the sweetness and enhances the overall flavor.
For the Spider Decorations
- Chocolate chips – Perfect for the spider bodies; use semi-sweet for a balanced flavor.
- Black licorice – Ideal for creating the spider legs; cut them to your desired length.
- Candy eyes – These add an adorable and spooky touch to your spiders.
Pair these Spooky Spider Cookies with our other Halloween Dessert Recipes for an eerie yet tasty Halloween experience!
Step‑by‑Step Instructions for Spooky Spider Cookies
Step 1: Prepare the Cookie Dough
Start by preheating your oven to 350°F (175°C). In a large mixing bowl, combine 2 cups of all-purpose flour, 1 cup of granulated sugar, and ½ cup of brown sugar. Add 1 cup of softened unsalted butter, 1 egg, 1 teaspoon of vanilla extract, 1 teaspoon of baking powder, and a pinch of salt. Mix the ingredients until a soft dough forms and your kitchen fills with a sweet aroma.
Step 2: Shape the Cookies
Using your hands, roll the dough into small balls, about 1 inch in diameter. Place them 2 inches apart on a parchment-lined baking sheet, ensuring even spacing for uniform baking. As they bake, they will spread out, creating cute cookie shapes. Flatten the tops gently with your palm for a more even surface, preparing them for their fun spider decorations.
Step 3: Bake the Cookies
Slide the baking sheet into the preheated oven and bake for 10-12 minutes, or until the edges are just golden brown. Keep an eye on them; you want a soft center for that delicious chewy texture. Once baked, remove them from the oven, and let the Spooky Spider Cookies cool on the baking sheet for about 5 minutes before transferring them to a wire rack to finish cooling.
Step 4: Create the Spider Decorations
Once your cookies are cool, it’s time to make them spooky! Melt some chocolate chips in a microwave-safe bowl in 30-second intervals, stirring after each session until smooth. Using a toothpick or a piping bag, add a dollop of melted chocolate in the center of each cookie. This will hold your chocolate chip spider bodies in place.
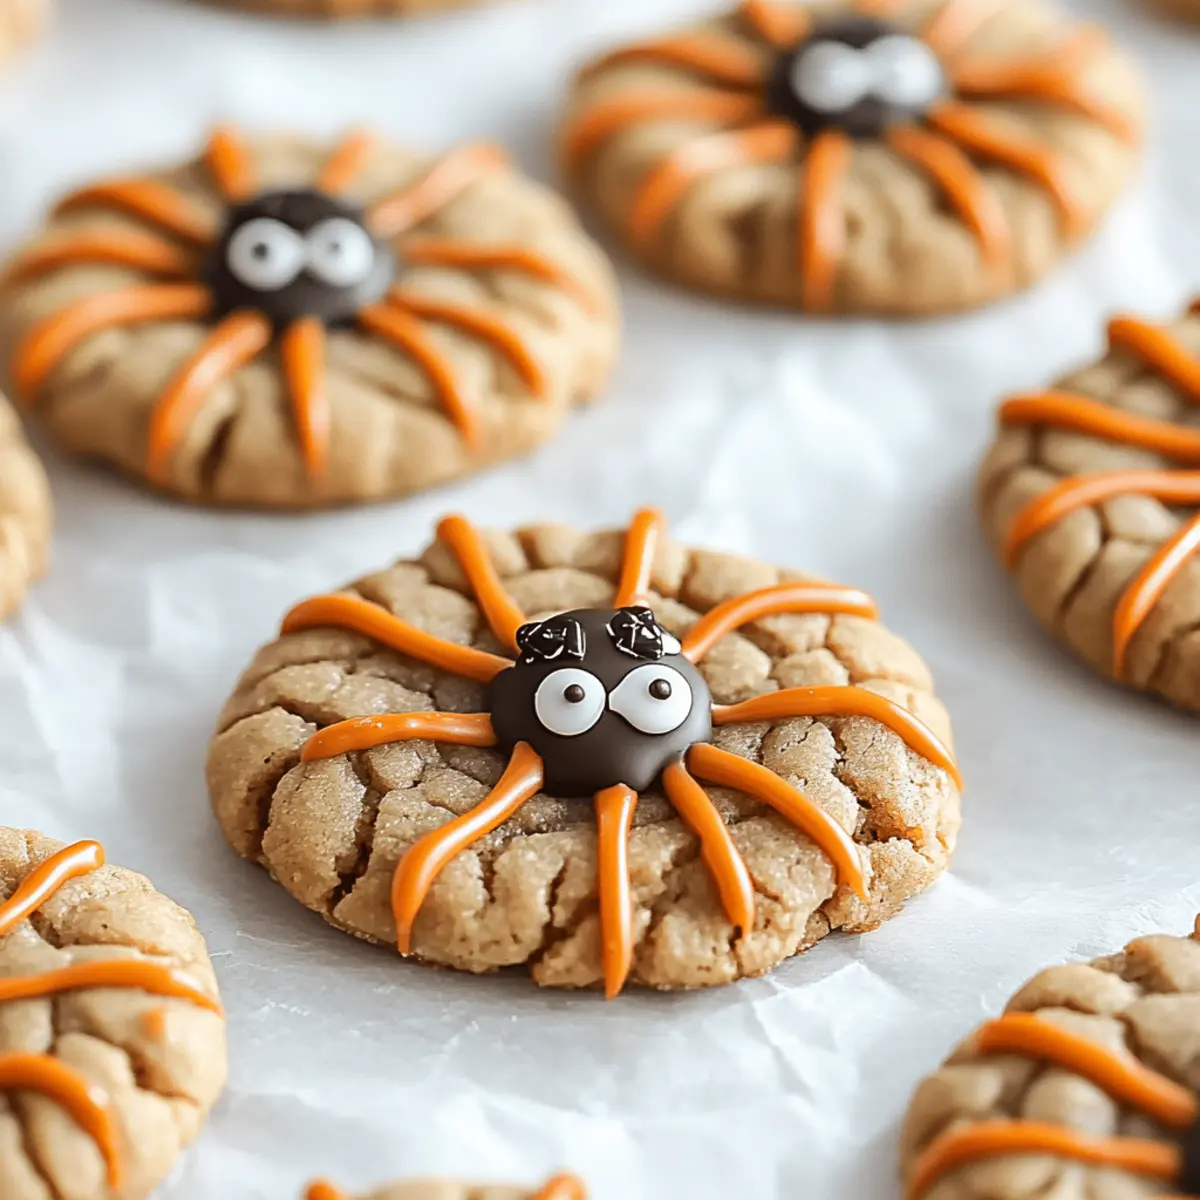
Step 5: Assemble the Spiders
For each spooky spider, place a chocolate chip in the center of the melted chocolate on the cookie. Then, cut black licorice into 2-inch pieces for the legs, and stick four on each side of the chocolate chip, creating a delightful spider shape. Finish off your creations by adding candy eyes on top of the melted chocolate, making them all the more adorable.
Step 6: Let Them Set
Allow the chocolate to set for about 15-20 minutes at room temperature. This will ensure that the spiders stay intact and your Spooky Spider Cookies look perfect for serving. The anticipation of biting into these creepy yet cute cookies will surely delight your Halloween guests and bring a smile to everyone’s face!
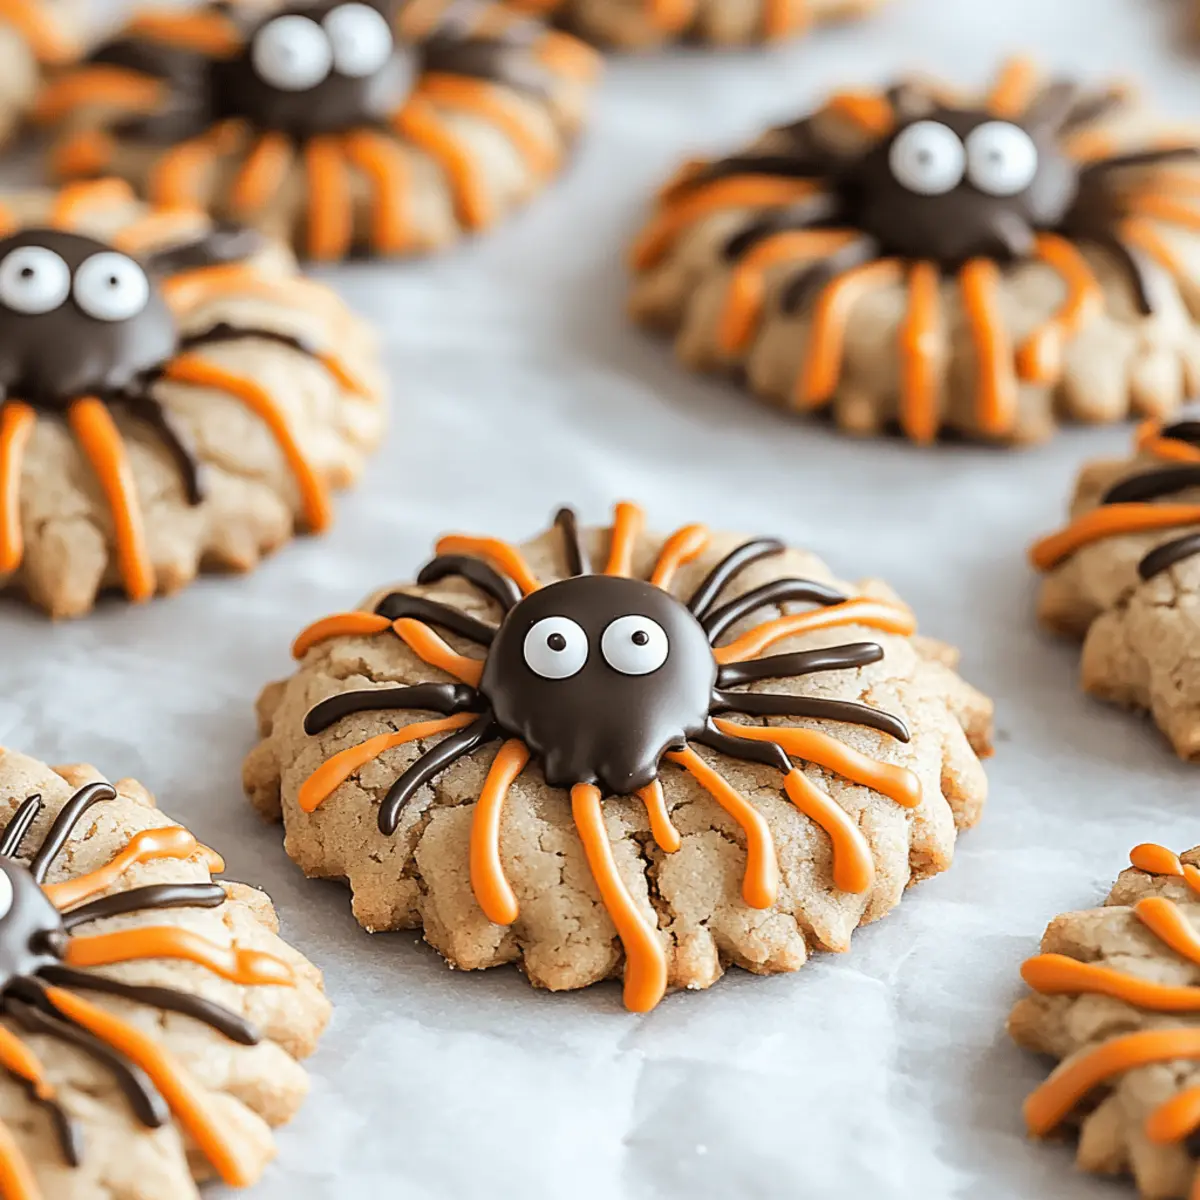
Step 7: Serve and Enjoy
Once set, arrange your Spooky Spider Cookies on a festive platter to showcase their whimsical charm. Get ready to share these frightfully fun treats with family and friends, inviting them into your kitchen for a Halloween celebration filled with laughter, creativity, and deliciousness.
Storage Tips for Spooky Spider Cookies
Room Temperature: Store your Spooky Spider Cookies in an airtight container at room temperature for up to 4 days. This keeps them soft and chewy, ready to delight your guests.
Fridge: If you prefer, you can also refrigerate the cookies for a slightly firmer texture. Just place them in an airtight container and enjoy within a week.
Freezer: To preserve their spooky charm, freeze the cookies by placing them in a single layer on a baking sheet, then transfer to an airtight freezer bag. They can be stored for up to 3 months.
Reheating: When you're ready to enjoy them again, simply thaw at room temperature or microwave for a few seconds. This will help restore their delightful softness!
Make Ahead Options
These Spooky Spider Cookies are perfect for meal prep, making your Halloween festivities a breeze! You can prepare the cookie dough up to 24 hours in advance—just mix all your ingredients and refrigerate the dough in an airtight container. This keeps the flavors fresh and makes rolling the cookies a snap on the day you plan to serve them. If you'd like, you can bake the cookies a few days ahead, storing them in an airtight container to maintain their chewy texture. When you’re ready to create the fun spider decorations, simply melt the chocolate and assemble with chocolate chips, licorice, and candy eyes. Your guests will be just as delighted as if they'd come straight from the oven!
What to Serve with Spooky Spider Cookies
As you prepare for a hauntingly delicious Halloween gathering, complement these whimsical cookies with treats that enchant both young and old.
- Fang-tastic Milkshakes: Thick and creamy, these shakes are perfect for dunking those spooky cookies and add a delightful chill.
- Pumpkin Spice Cupcakes: With warm spices and creamy frosting, they echo fall flavors while adding a festive flair to your spread.
- Ghoulishly Green Fruit Salad: Fresh fruits tossed in a lime dressing bring a crisp, refreshing contrast to the sweetness of your cookies.
- Witch’s Brew Hot Chocolate: Rich and velvety, this drink is perfect for cozying up with on a chilly Halloween night, balancing the cookies’ sweetness beautifully.
- Creepy Jell-O Cups: These vibrant, wobbly treats can be made into ghoulish colors and topped with gummy worms, adding a playful twist to your dessert table.
- Mummy Brownies: Fudgy and decadent, these brownies topped with "bandages" of white chocolate perfectly match the spooky theme, making them a hit.
- Ghostly Marshmallow Pops: Easy to make and fun to eat, these pops add a playful touch and are a great way to use leftover marshmallows.
- Caramel Apple Slices: Tart apple slices drizzled with rich caramel provide a crunchy bite that balances well with your soft, chewy cookies.
- Sinister Sangria: For an adult twist, this fruity, spiced drink will both refresh and set a festive mood for your Halloween party.
- Chocolate-Covered Pretzels: The sweet and salty combo of these quick treats creates a delightful contrast, making them an irresistible pairing with spider-themed sweets.
Expert Tips for Spooky Spider Cookies
Perfect Cookie Consistency: Keep an eye on baking time. Overbaking can lead to dry cookies; aim for a soft center that remains chewy as they cool.
Chill the Dough: If your dough is too sticky, refrigerate it for 30 minutes before shaping. This helps in rolling perfect balls for your Spooky Spider Cookies.
Decorating Strategies: Use melted white chocolate for added detail. Drizzle it on top of the spiders for a more lifelike appearance that will wow your guests!
Licorice Alternatives: If you don’t have black licorice, consider using chocolate strings or edible crafting lace as spider legs for a unique twist.
Storage Tips: Store uneaten cookies in an airtight container to keep them fresh and soft. They can last for several days, but trust me, they’ll disappear quickly!
Spooky Spider Cookies Variations & Substitutions
Feel free to get creative and personalize your Spooky Spider Cookies with these fun twists!
-
Gluten-Free: Substitute all-purpose flour with a gluten-free flour blend to keep these treats inclusive for everyone.
-
Nutty Delight: Add ½ cup of chopped nuts, like pecans or almonds, to the dough for a lovely crunch that pairs well with the softness of the cookies.
-
Chocolate Lovers: Use dark chocolate chips instead of semi-sweet to give a richer flavor that will please any chocolate aficionado.
-
Coconut Flakes: Mix in ½ cup of shredded coconut for a chewy texture and a taste of tropical sweetness—perfect for a Halloween surprise!
-
Minty Twist: Replace vanilla extract with peppermint extract for a refreshing spin, reminiscent of those festive mint cookies we love.
-
Spicy Kick: Add a dash of cinnamon or even a pinch of cayenne pepper to the dough for a warm, spicy surprise that will intrigue your taste buds.
-
Decorative Fun: Swap black licorice legs with colorful gummy worms for an extra fun and playful look that kids will adore.
-
Different Shapes: Instead of spider shapes, use cookie cutters to create other eerie designs, like bats or ghosts, for a varied Halloween-themed cookie platter.
These variations not only enhance the flavors and textures but also add fun and creativity to your baking experience. Pair these delightful cookies with other Halloween Dessert Recipes for an unforgettable Halloween spread!
Spooky Spider Cookies Recipe FAQs
What type of flour is best for Spooky Spider Cookies?
I recommend using all-purpose flour for the perfect texture and structure in your Spooky Spider Cookies. It creates that delightful softness and chewiness we all love. You could also try substituting half of it with whole wheat flour for a nuttier flavor, but it may change the texture slightly.
How should I store my Spooky Spider Cookies?
Store your Spooky Spider Cookies in an airtight container at room temperature for up to 4 days. This keeps them wonderfully soft and chewy. If you refrigerate them, they can last about a week, but they might become a bit firmer. Just remember, they’re best enjoyed fresh!
Can I freeze Spooky Spider Cookies?
Absolutely! To freeze your cookies, first arrange them in a single layer on a baking sheet. After they are frozen solid, transfer them into an airtight freezer bag. This way, you can enjoy them for up to 3 months. When you’re ready to eat, simply thaw them at room temperature or pop them in the microwave for a few seconds to regain that soft texture.
What should I do if my cookie dough is too sticky?
If your dough feels overly sticky, simply chill it in the refrigerator for about 30 minutes. This will firm it up and make rolling those cute little balls a breeze! Just make sure to avoid adding too much flour, as that might affect the final texture of your Spooky Spider Cookies.
Are there any dietary considerations for these cookies?
Definitely! If you have dietary restrictions, you can swap out regular ingredients for gluten-free flour or use dairy-free butter alternatives. Always check your chocolate chips and licorice for allergens, especially if you're serving them to kids or guests with food sensitivities. It's always better to be safe and ensure everyone can enjoy the spooky fun!
Spooky Spider Cookies That Will Wow Your Halloween Guests
Ingredients
Equipment
Method
- Preheat your oven to 350°F (175°C).
- In a large mixing bowl, combine the all-purpose flour, granulated sugar, and brown sugar.
- Add softened unsalted butter, egg, vanilla extract, baking powder, and a pinch of salt. Mix until a soft dough forms.
- Roll the dough into small balls, about 1 inch in diameter, and place 2 inches apart on a parchment-lined baking sheet.
- Flatten the tops gently with your palm and bake for 10-12 minutes until the edges are golden brown.
- Remove from the oven and let cool on the baking sheet for 5 minutes before transferring to a wire rack.
- Melt chocolate chips in a microwave-safe bowl in 30-second intervals until smooth.
- Add a dollop of melted chocolate in the center of each cookie to hold chocolate chip spider bodies.
- For each spider, place a chocolate chip on top, stick black licorice legs, and add candy eyes.
- Allow the chocolate to set for 15-20 minutes at room temperature.
- Arrange on a festive platter and enjoy your Spooky Spider Cookies!


Leave a Reply