
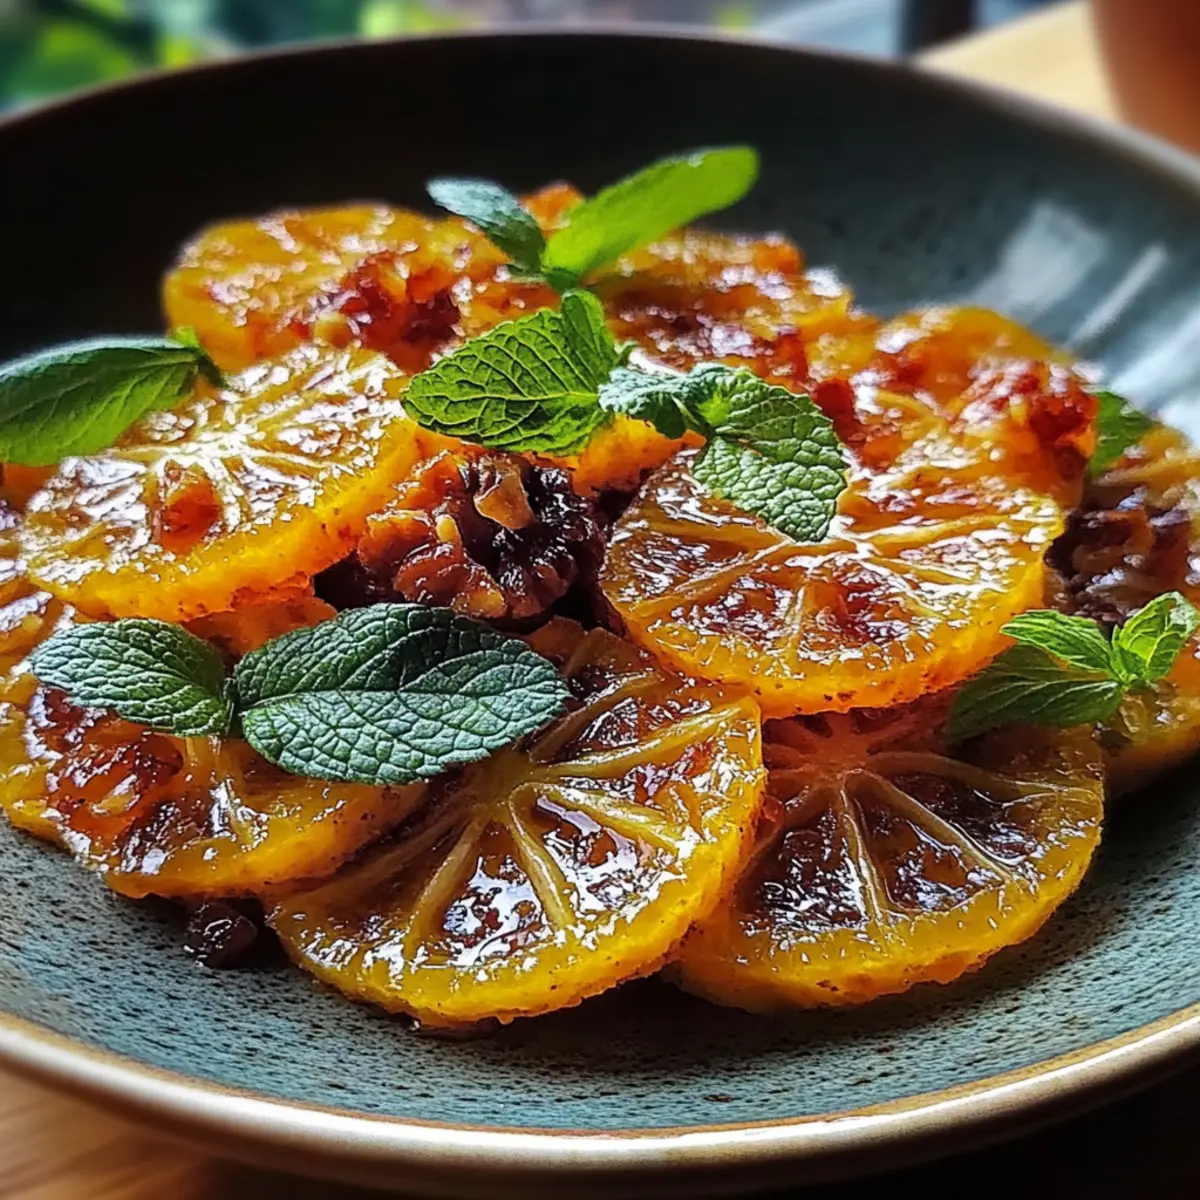
As I stared at the pile of vibrant navel oranges on my kitchen counter, a spark of inspiration ignited. These splendid fruits would soon transform into delightful Glazed Candied Oranges that would enchant my family and friends. This recipe is not just about indulging in a sweet treat; it's a beautiful way to elevate the ordinary into something truly special. You’ll love how simple it is to whip up these stunning slices in just a few steps! Plus, they make for a delightful homemade gift or a crowd-pleasing dessert at your next gathering. With their bright flavor and optional dark chocolate drizzle, they’re sure to brighten anyone’s day. Curious about how to make these irresistible gems? Let’s dive in!
Why Are Glazed Candied Oranges Irresistible?
Irresistible Treat: These glazed candied oranges offer a perfect blend of sweet and zesty flavors that dance on your palate.
Simple Process: With a straightforward method, you can master this recipe in no time, making it perfect for both novice and experienced cooks.
Versatile Delights: Enjoy them as a standalone dessert or use them to elevate dishes like cakes and salads. The options are endless!
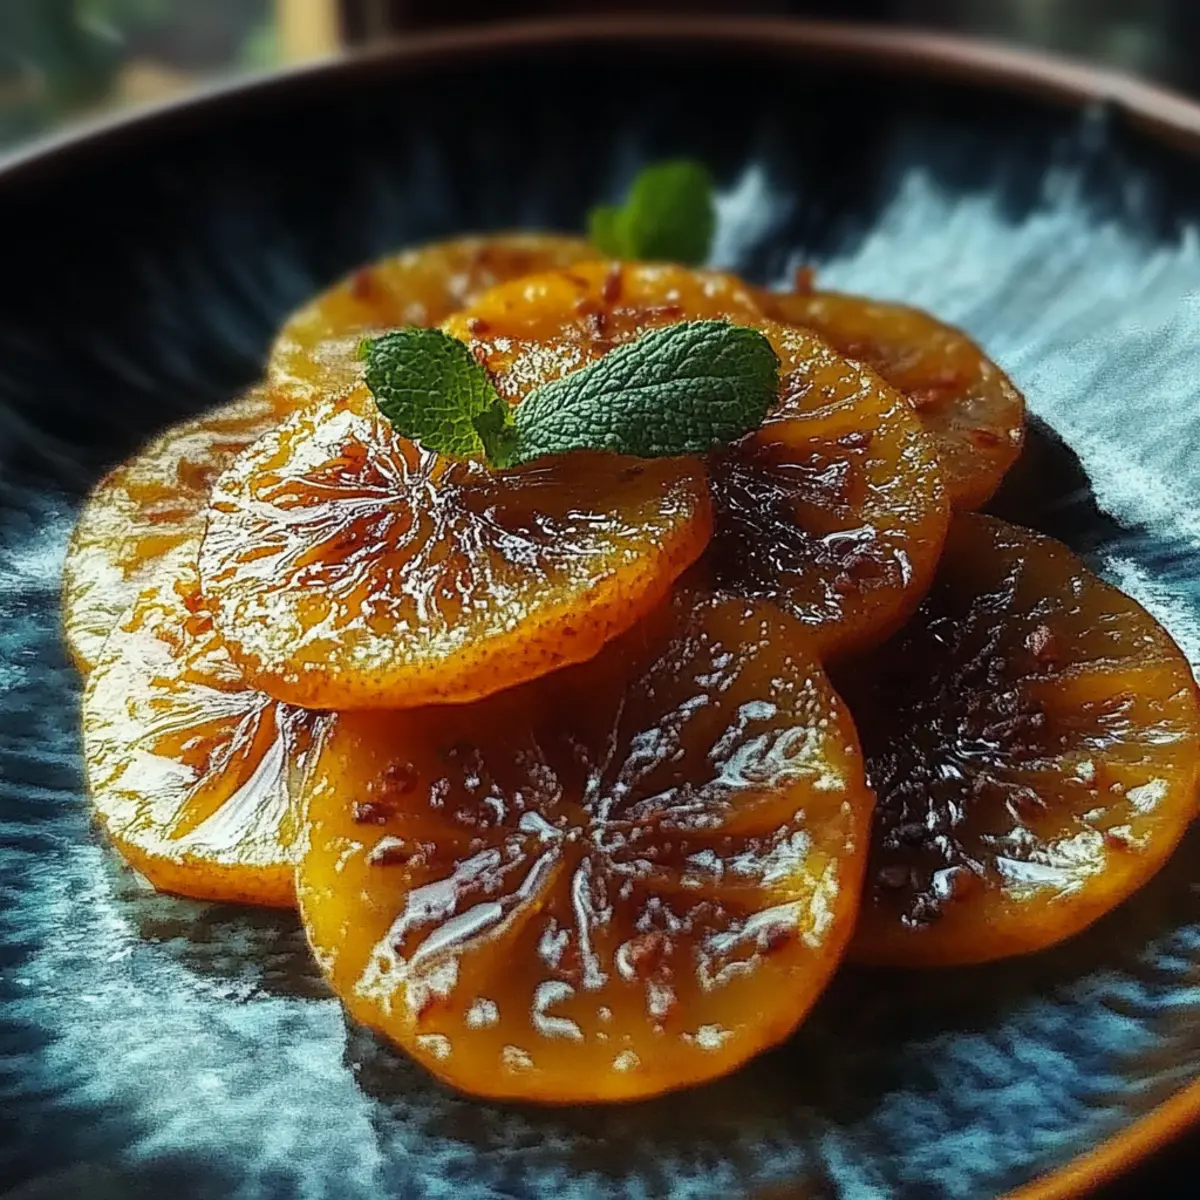
Beautiful Presentation: Each glossy slice is a feast for the eyes, making them an impressive addition to any table setting.
Homemade Gift: They make great edible gifts, showcasing your thoughtfulness and creativity—check out other homemade gift ideas for inspiration!
Impressive Yet Easy: Your friends and family will be amazed at how easy it was to create such a delightful treat.
Glazed Candied Oranges Ingredients
For the Oranges
• Navel oranges – choose medium to large ones for the best flavor and thickness.
• Granulated sugar – this sweetener is essential for creating that luscious syrup.
• Water – helps dissolve the sugar and ensures the oranges are fully submerged.
• Fresh lemon juice – adds a tangy brightness that balances the sweetness.
• Vanilla extract – a warm flavor that complements the citrus beautifully.
• Ground cinnamon – enhances the depth of flavor with its aromatic notes.
• Salt – a pinch helps bring out the flavors and enrich the sweetness.
• Zest of 1 orange – adds an extra burst of citrus aroma!
Optional Topping
• Dark chocolate – drizzle over the candied oranges for a decadent touch that contrasts beautifully with the sweet oranges.
Creating these Glazed Candied Oranges is not only delightful but also a chance to infuse your day with the sunshine of fresh citrus!
Step‑by‑Step Instructions for Glazed Candied Oranges
Step 1: Prepare the Oranges
Start by washing the navel oranges thoroughly under cold, running water to remove any dirt or wax. Once cleaned, cut the oranges into uniform ¼-inch thick slices, carefully removing any visible seeds as you go. This will ensure that each slice is ready for the syrup, leading to beautifully candied oranges.
Step 2: Make the Syrup
In a medium saucepan, combine 2 cups of granulated sugar and 2 cups of water over medium heat. Stir the mixture until the sugar is fully dissolved and then bring it to a gentle simmer. This sweet syrup will be the base for your glazed candied oranges, so keep an eye on it to ensure it doesn’t boil over.
Step 3: Add Flavorings
Once the syrup is simmering, add ¼ cup of fresh lemon juice, 1 teaspoon of vanilla extract, ½ teaspoon of ground cinnamon, and ¼ teaspoon of salt to the pot. Stir well to combine, allowing these delightful flavors to meld together. The citrusy aroma will fill your kitchen, signaling that the glaze for the candied oranges is coming together beautifully.
Step 4: Simmer the Orange Slices
Carefully add the orange slices to the simmering syrup, ensuring that they are fully submerged. If necessary, add more water to cover the slices completely. Reduce the heat to low and allow them to simmer gently for 45 to 60 minutes, until the oranges become translucent and the syrup thickens slightly. Check occasionally to ensure they don’t overcook.
Step 5: Cool the Candied Oranges
Using a slotted spoon, transfer the simmered orange slices to a wire rack set over a baking sheet. This allows any excess syrup to drip off. Reserve the syrup for glazing later. Let the candied oranges cool completely for about 2 hours on the rack; this will help them firm up and achieve that perfect glaze.
Step 6: Glaze the Oranges
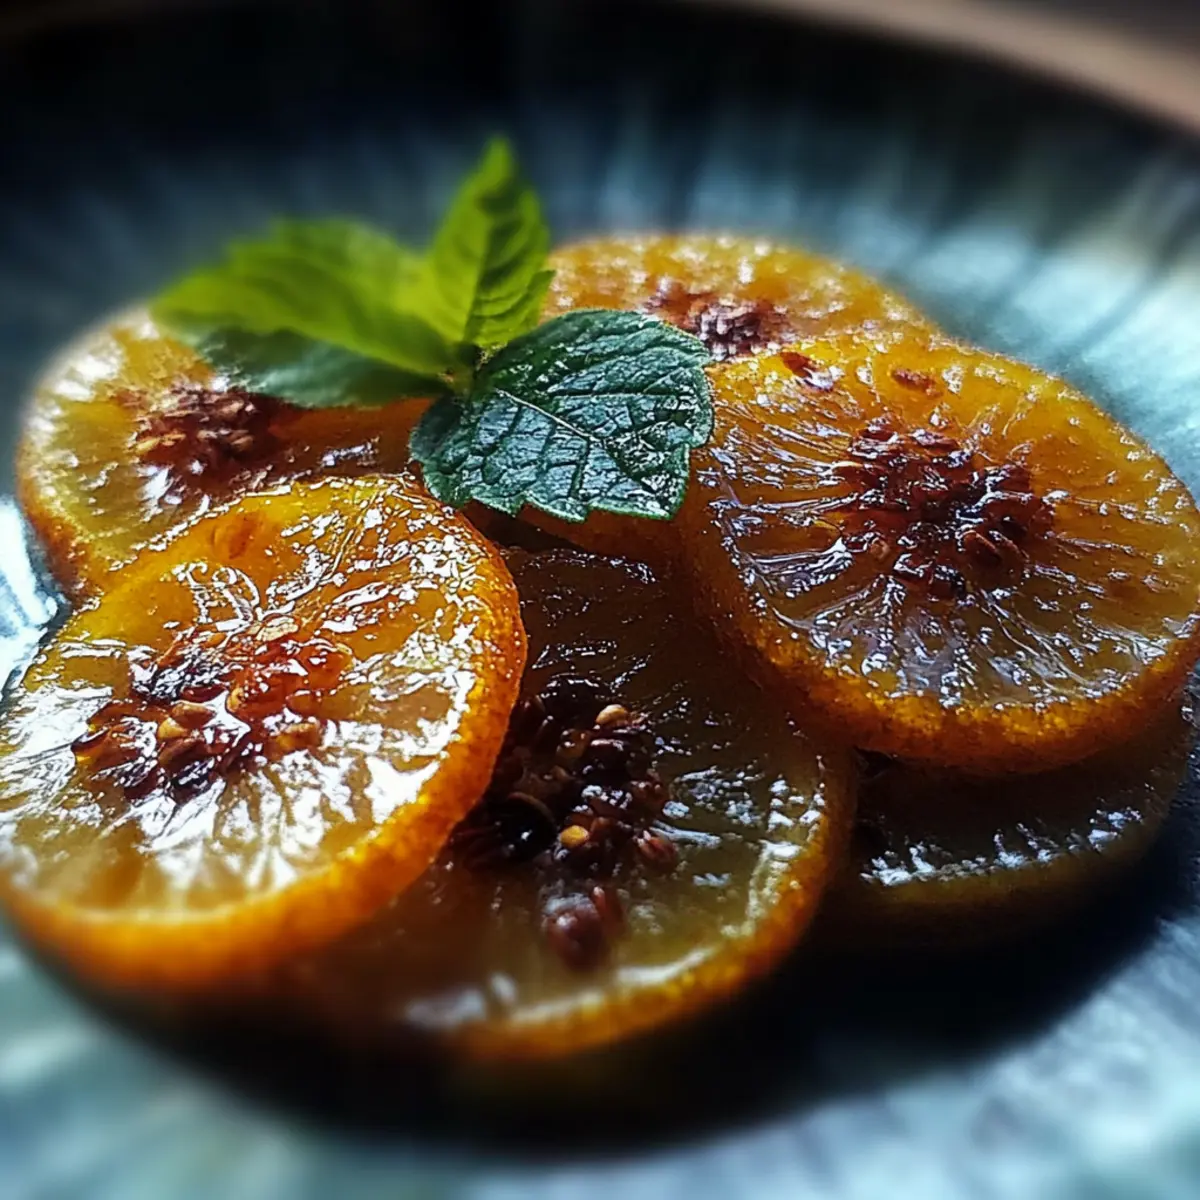
Once completely cooled, take the reserved syrup and gently brush it over the candied oranges, giving them a beautiful glossy finish. This step is key for enhancing the sweet flavor and providing that irresistible shine, making your glazed candied oranges even more appealing.
Step 7: Optional Chocolate Drizzle
If you’re feeling indulgent, melt ½ cup of dark chocolate in a microwave-safe bowl or over a double boiler until smooth. Drizzle the melted chocolate over the glazed oranges, creating a delightful contrast to the bright citrus flavors. Allow the chocolate to set before serving, adding both a decorative touch and an extra layer of sweetness.
Step 8: Serve Your Creation
Once the chocolate has fully set, your stunning glazed candied oranges are ready to be served! These sweet and zesty treats can be enjoyed as a standalone dessert, a delightful snack, or even as a garnish to elevate other dishes. Enjoy the fruits of your labor, watching your family and friends marvel at your homemade creation.
How to Store and Freeze Glazed Candied Oranges
Room Temperature: Keep glazed candied oranges in an airtight container at room temperature for up to 3 days to maintain their fresh, sweet flavor.
Fridge: For longer preservation, store your candied oranges in the fridge, where they will stay delicious for up to 1 week. Ensure they’re in a sealed container to prevent drying out.
Freezer: Freeze glazed candied oranges in a single layer on a baking sheet for 2-3 hours, then transfer to a zip-top bag for up to 3 months. Thaw in the fridge before serving.
Reheating: If you prefer them warm, gently reheat in the microwave for 10-15 seconds. Enjoy the delicious warmth of your glazed candied oranges!
What to Serve with Glazed Candied Oranges
Elevate your meal with delightful pairings that complement the sweet and zesty notes of these irresistible treats.
-
Creamy Mashed Potatoes: The rich, buttery texture of mashed potatoes pairs beautifully with the bright flavors of candied oranges, creating a delightful contrast.
-
Honey-Glazed Carrots: Sweet and tender, honey-glazed carrots enhance the citrus charm of your dessert while adding a pop of color and freshness to your plate.
-
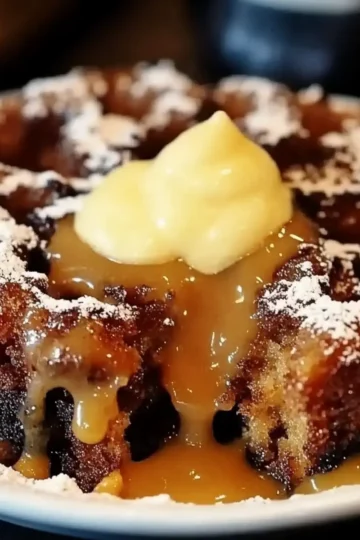
Warm Spiced Cake: A slice of warm spiced cake brings warmth and comfort, providing a cozy backdrop to the bright taste of glazed candied oranges.
-
Chilled Citrus Salad: Light and refreshing, a citrus salad made with mixed greens, avocado, and a honey-citrus dressing aligns beautifully with sweet oranges, balancing flavors expertly.
-
Creamy Vanilla Yogurt: Serve the candied oranges atop creamy vanilla yogurt for a lush dessert that marries sweet and tart profiles in every spoonful.
-
Herb-Infused Sparkling Water: Sparkly and refreshing, herb-infused sparkling water will cleanse your palate between bites, enhancing the overall dining experience.
-
Chocolate Mousse: The rich, silky chocolate mousse pairs elegantly with candied oranges, creating an indulgent dessert that will impress your guests.
-
Red Wine: A glass of fruity red wine, with its luscious flavor profile, can enhance the overall sweetness of the oranges while providing a sophisticated touch to your meal.
These pairings will not only complement your Glazed Candied Oranges but will also elevate your dining experience to new delightful heights!
Tips for the Best Glazed Candied Oranges
-
Choose Fresh Oranges: Use firm, vibrant navel oranges for the best flavor and texture. Avoid any fruit with soft spots or blemishes.
-
Control the Simmer: Keep the heat low when simmering; a gentle simmer helps prevent the oranges from becoming mushy and ensures they maintain their lovely shape.
-
Don’t Rush Cooling: Allow the candied oranges to cool completely on a wire rack. This step helps them firm up and enhances their glaze, ensuring they're not too sticky.
-
Experiment with Flavors: Feel free to add other spices like nutmeg or cardamom for a unique twist on your glazed candied oranges.
-
Save the Syrup: The leftover syrup is a treasure! Use it in cocktails, drizzled over pancakes, or stirred into yogurt for extra citrusy sweetness.
-
Chocolate Pairing: If drizzling chocolate, allow it to set fully before serving. This can help avoid a mess when enjoyed, keeping the presentation beautiful.
Make Ahead Options
These Glazed Candied Oranges are perfect for meal prep enthusiasts looking to save time! You can prepare the orange slices and the syrup separately up to 3 days in advance. Simply wash and slice the oranges, simmer them in the syrup, and then cool completely before refrigerating. Store the orange slices in an airtight container and the reserved syrup in another container in the fridge. This method keeps them fresh and flavorful. When ready to serve, just brush the oranges with the syrup and drizzle with melted dark chocolate for a stunning presentation. Your delicious Glazed Candied Oranges will be just as delightful and will save you precious time on busy weeknights!
Glazed Candied Oranges Variations & Substitutions
Feel free to explore these fun twists and swaps to make this recipe your own!
-
Dairy-Free: Skip the chocolate drizzle or use dairy-free chocolate chips for a luscious finish that everyone can enjoy.
-
Spiced Up: Add a pinch of cayenne pepper to the syrup for a surprising kick that beautifully contrasts with the sweetness. This will create a delightful dance of flavors in every bite!
-
Swap the Fruit: Try using grapefruits or lemons instead of oranges for a different citrus twist. The tang from these fruits pairs beautifully with the sweet syrup!
-
Herbal Infusion: Incorporate fresh rosemary or thyme into the syrup while it simmers for an herbal note that elevates the candied oranges to gourmet levels. It's an unexpected delight that keeps people guessing!
-
Alternative Sweeteners: Experiment with honey or agave nectar instead of granulated sugar for a more natural sweetness. This will lend a subtle floral note to your candied delight.
-
Chocolate Variation: Use white chocolate or even caramel drizzle in place of dark chocolate for a sweeter finish that’s equally delectable. Each option delivers a different flavor profile!
-
Nutty Crunch: Toss in crushed pistachios or almonds atop the candied oranges for an added crunch and richness. The combination of sweet oranges and nutty textures creates an unforgettable treat!
-
Citrus Blast: Enhance the flavor by incorporating other citrus zests, like lime or lemon, into your orange slices for a vibrant, zesty kick that truly pops!
These variations are just a glimpse of the creativity you can unleash in the kitchen. Don’t forget to marvel at your own handiwork and consider checking out some delightful homemade gift ideas for even more delicious inspirations!
Glazed Candied Oranges Recipe FAQs
How do I choose ripe navel oranges?
Absolutely! Select navel oranges that are firm to the touch, vibrant in color, and free from blemishes. Avoid any that feel soft or have dark spots all over, as they may be overripe or spoiled.
What’s the best way to store glazed candied oranges?
For best results, store your glazed candied oranges in an airtight container at room temperature for up to 3 days. If you want to keep them longer, they can be refrigerated for up to a week. Just ensure they’re sealed tight to prevent drying out.
Can I freeze glazed candied oranges?
Yes, indeed! To freeze your glazed candied oranges, lay them in a single layer on a baking sheet. Freeze for about 2-3 hours until solid, then transfer them to a zip-top bag or airtight container. They’ll stay fresh for up to 3 months. When you’re ready to enjoy them, simply thaw in the fridge before serving.
What should I do if my oranges are too bitter?
No worries! If you find your oranges to be too bitter, it's often due to the pith (the white part of the peel). Make sure to cut the oranges into slices without including too much of the pith. Additionally, cooking them longer in the syrup can help mellow out any sharp flavors, allowing the sweet syrup to balance things nicely.
Can I make these candied oranges if I have dietary restrictions?
Absolutely! These glazed candied oranges can be modified to accommodate various dietary needs. For instance, you can substitute granulated sugar with a natural sweetener like agave or honey, and if you're avoiding chocolate, simply leave off the drizzle. Always check the vanilla extract for any allergens, but most brands are allergy-friendly.
Are candied oranges safe for pets?
It's best to keep candied oranges away from pets, especially dogs and cats, as citrus fruits can cause gastrointestinal upset in some animals. If you ever want to treat your furry friends, consider making a pet-friendly fruit recipe instead!

Sweet and Zesty Glazed Candied Oranges for a Delightful Treat
Ingredients
Equipment
Method
- Start by washing the navel oranges thoroughly under cold, running water to remove any dirt or wax. Cut the oranges into uniform ¼-inch thick slices.
- In a medium saucepan, combine 2 cups of granulated sugar and 2 cups of water over medium heat. Stir until the sugar is fully dissolved and then bring it to a gentle simmer.
- Once the syrup is simmering, add ¼ cup of fresh lemon juice, 1 teaspoon of vanilla extract, ½ teaspoon of ground cinnamon, and ¼ teaspoon of salt to the pot. Stir well to combine.
- Carefully add the orange slices to the simmering syrup, ensuring they are fully submerged. Reduce the heat to low and allow them to simmer gently for 45 to 60 minutes.
- Using a slotted spoon, transfer the simmered orange slices to a wire rack set over a baking sheet. Let them cool completely for about 2 hours.
- Once cooled, take the reserved syrup and gently brush it over the candied oranges, giving them a beautiful glossy finish.
- If desired, melt ½ cup of dark chocolate and drizzle it over the glazed oranges, creating a delightful contrast. Allow the chocolate to set before serving.
- Once the chocolate has set, your stunning glazed candied oranges are ready to be served!


Leave a Reply