I once stumbled upon a quaint little café that had the most delightful aroma wafting from its kitchen—it was a cozy mix of spice and sweetness that called to my senses. That was my first taste of Ginger Scones, and ever since, I've been on a mission to recreate that magic at home. These scones are not just a treat; they are the perfect way to elevate your breakfast or afternoon tea. With a prep time of just 25 minutes, you can whip them up quickly, making them ideal for both busy mornings and last-minute brunches. Plus, they freeze beautifully, allowing you to enjoy a homemade delight anytime you crave comfort food. So, are you ready to fill your kitchen with warm, spicy goodness and treat yourself to these delightful Ginger Scones? Let’s get baking!
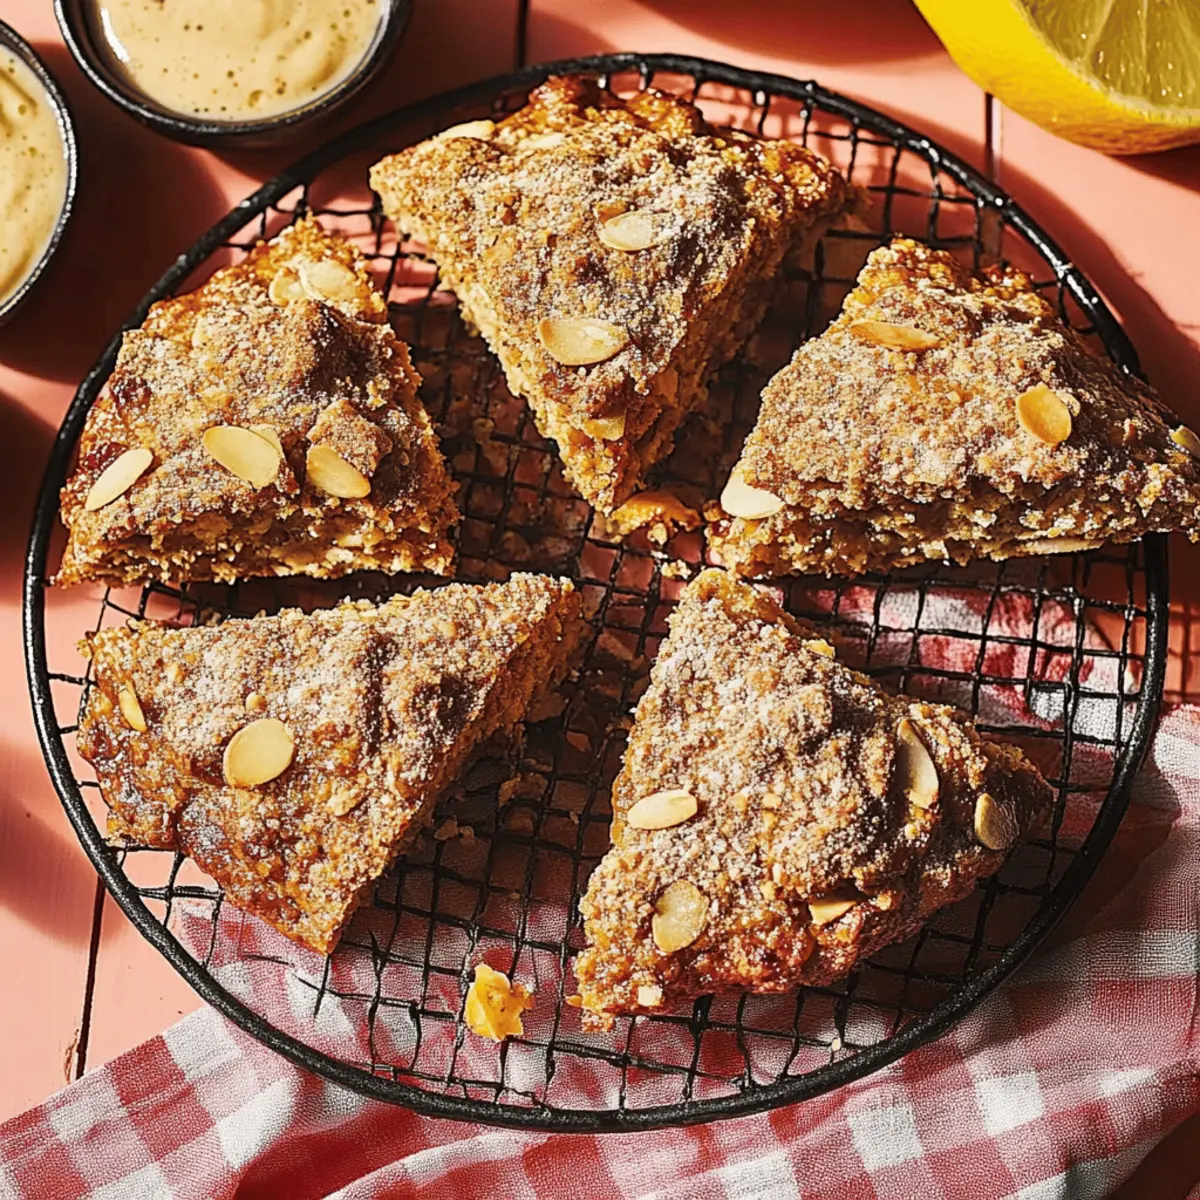
Why are Ginger Scones a Must-Try?
Irresistible warmth: The delightful blend of ginger, cinnamon, and cardamom creates a cozy, aromatic scone that’s perfect for chilly mornings.
Quick to make: With just 25 minutes of prep time, these scones fit into any busy schedule, allowing you to enjoy homemade goodness without the fuss.
Versatile treat: Whether enjoyed at breakfast or as a delightful afternoon snack, these scones can effortlessly elevate any occasion.
Freezer-friendly: Make a batch and stash them in the freezer—perfect for when you need a cozy treat on short notice! If you love easy baking, check out our quick baking tips to speed up your kitchen adventures.
Crowd pleaser: Serve these at your next gathering, and watch your friends and family rave about the unique flavors and delightful textures—they won’t believe you made them at home!
Ginger Scones Ingredients
• Get ready to create the perfect blend of spice and sweetness for your homemade Ginger Scones!
For the Scone Mixture
- All-purpose flour – the foundation for light and fluffy scones; make sure it’s sifted for the best texture.
- Baking powder – helps the scones rise, creating that fluffy, airy texture.
- Baking soda – balances acidity and enhances browning for a beautiful crust.
- Salt – enhances flavors; don’t skip this as it brings out the sweetness.
- Ground ginger – adds that signature spicy kick; feel free to increase for more heat!
- Ground cinnamon – rich and warming, it complements the ginger wonderfully.
- Ground cardamom – lends a floral note that elevates the flavor profile.
For the Texture
- Cold butter – using cold butter is key; it creates the flakiness we love in scones.
- Diced candied ginger – provides delightful bursts of sweetness and spice throughout each scone.
For the Cream Mixture
- Heavy cream – gives a rich flavor and helps bind the ingredients together beautifully.
- Brown sugar – adds a touch of caramel flavor, contrasting beautifully with the spicy ginger.
For Finishing Touches
- Coarse sugar for topping – sprinkle on top before baking for a sweet, crunchy finish.
- Egg – used for an egg wash to give the scones a beautiful golden glaze as they bake.
Now that you have the Ginger Scones Ingredients ready, let’s transform these into a warm and inviting treat that will impress anyone who takes a bite!
Step‑by‑Step Instructions for Ginger Scones
Step 1: Preheat the Oven
Start by preheating your oven to 425°F (220°C). While the oven warms up, take a moment to lightly grease a baking sheet or line it with parchment paper. This will prevent your Ginger Scones from sticking and help them bake evenly.
Step 2: Mix the Dry Ingredients
In a medium mixing bowl, whisk together 2 cups of all-purpose flour, 2 teaspoons of baking powder, 1 teaspoon of baking soda, ½ teaspoon of salt, 1 teaspoon of ground ginger, 1 teaspoon of ground cinnamon, and ½ teaspoon of ground cardamom. Ensure everything is well combined; this is crucial for an even flavor throughout your scones.
Step 3: Incorporate the Butter
Add ½ cup of cold, cubed butter into the dry ingredients. Using a pastry cutter or your fingers, mix until the butter is broken down into smaller pieces, resembling coarse crumbs. This step is essential for achieving that flaky texture we love in Ginger Scones, so keep an eye out for the right consistency.
Step 4: Fold in the Candied Ginger
Next, gently stir in ½ cup of diced candied ginger. This will provide delightful pockets of sweetness and spice in your scones. Make sure to distribute the candied ginger evenly throughout the mixture to ensure every bite is packed with flavor.
Step 5: Combine Wet Ingredients
In a separate small bowl, whisk together ½ cup of heavy cream and ¼ cup of brown sugar until the sugar is dissolved. The creamy mixture will bind the dry ingredients together, so ensure it’s smooth and well-mixed before proceeding to the next step.
Step 6: Form the Dough
Pour the wet ingredients into the dry mixture. Gently fold everything together using a spatula or wooden spoon until just combined. The dough should be firm and barely cohesive; resist the urge to overmix, which could lead to tough scones.
Step 7: Shape the Dough
Transfer the dough to a lightly floured work surface. If there are any dry bits, fold the dough over itself a few times until they are incorporated. Flatten the dough into a circle about 1 inch thick and approximately 7 inches in diameter. For cleaner edges, chill the dough for about 10 minutes if desired.
Step 8: Cut the Scones
Using a sharp knife, cut the dough into eight equal wedges, applying downward pressure without sawing. This ensures that your Ginger Scones will rise beautifully and maintain their shape during baking.
Step 9: Prepare for Baking
Place the cut scones on your prepared baking sheet, arranging them with space in between. In a small bowl, beat one egg and brush it over the tops for a golden finish. Finally, sprinkle coarse sugar generously over each scone before heading to the oven.
Step 10: Bake the Scones
Carefully place the baking sheet in the preheated oven. Bake the Ginger Scones for 18 to 22 minutes, rotating the pan after 14 minutes for even baking. The scones are done when they are light golden and firm to the touch—a lovely sight to behold!
Step 11: Cooling and Serving
Once baked, remove the scones from the oven and let them cool on the baking sheet for a few minutes. They can be enjoyed warm or allowed to cool to room temperature. Store any leftovers wrapped at room temperature for 2 to 3 days or freeze for delightful treats later on.
Make Ahead Options
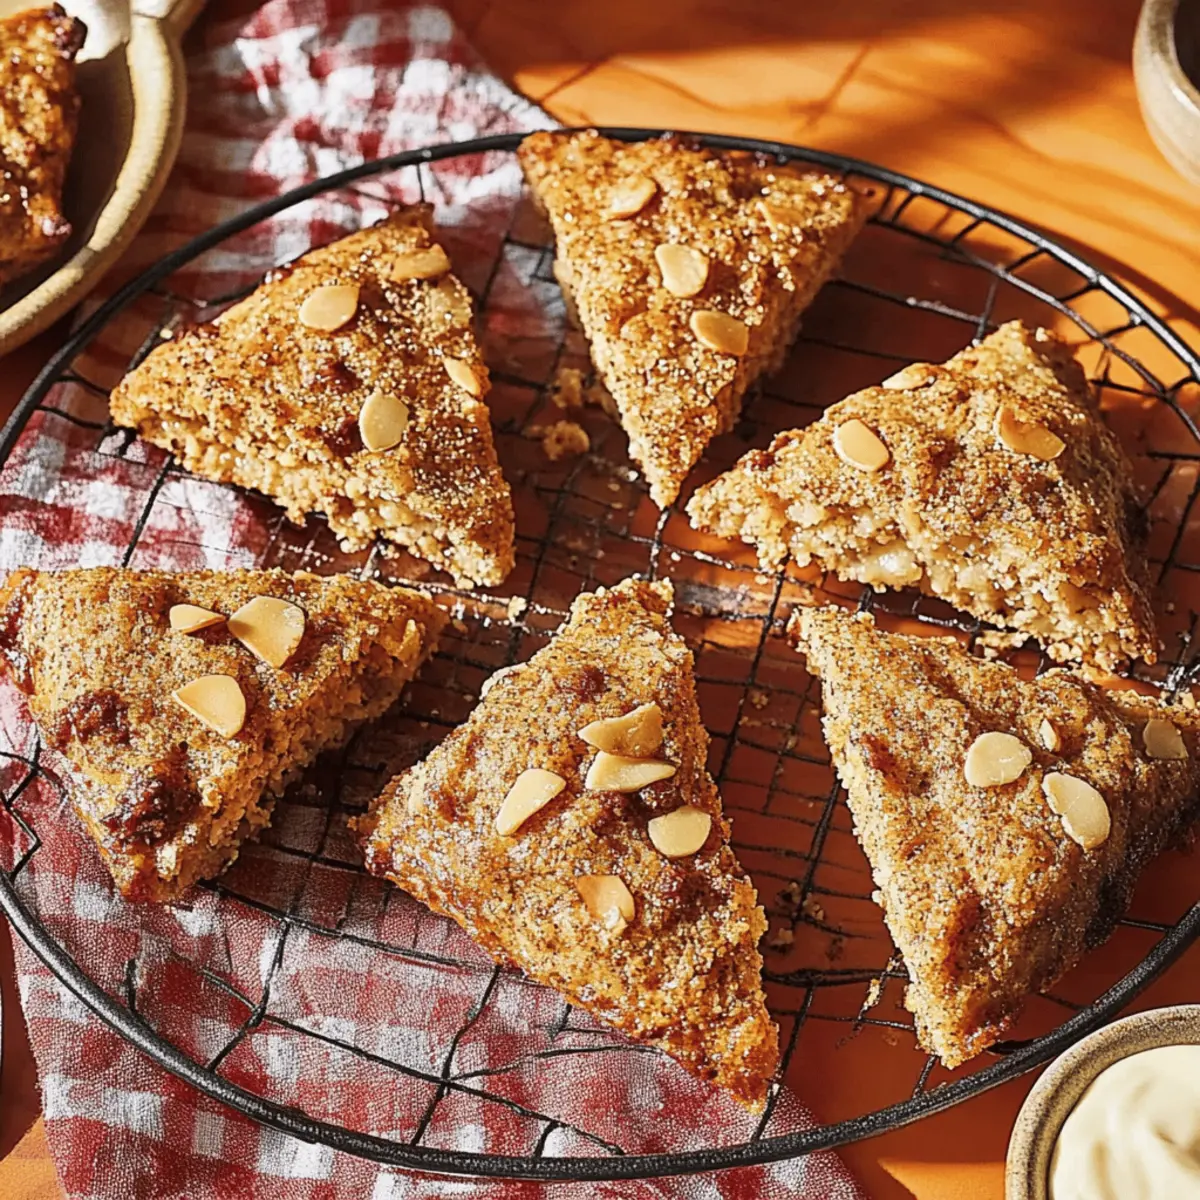
These Ginger Scones are perfect for meal prep enthusiasts! You can prepare the dough up to 24 hours in advance and refrigerate it, tightly wrapped in plastic wrap. This keeps the flavors fresh while ensuring the butter remains cold, which is essential for that flaky texture. When ready to enjoy, simply cut the dough into wedges, brush with egg wash, and bake as instructed; they’ll be just as delicious! Alternatively, you can also freeze the unbaked scones for up to 1 month—simply place them on a baking sheet to freeze individually, then transfer to a freezer bag. When you're ready to indulge, bake from frozen, adding a few extra minutes to the baking time for a warm, cozy treat anytime.
Ginger Scones Variations & Substitutions
Feel free to unleash your creativity with these delicious variations that will make your Ginger Scones even more delightful!
- Gluten-Free: Substitute all-purpose flour with a 1:1 gluten-free blend for a gluten-free option everyone can enjoy.
- Dairy-Free: Use coconut cream or almond milk in place of heavy cream and substitute butter with coconut oil for a dairy-free twist.
- Spice Boost: Amp up the flavor by adding ¼ teaspoon of nutmeg or a pinch of black pepper for an extra zing!
- Fruit Infusion: Add ½ cup of chopped dried fruit like apricots or cranberries for a touch of sweetness and chewiness in each bite.
- Zesty Kick: Incorporate the zest of one lemon or orange to brighten the scone flavors with a fresh, citrusy brightness.
Chai Spice Variation: For a cozy chai twist, replace the ground cardamom with an equal amount of chai spice blend. The combination of spices will remind you of a warm, spiced tea.
- Hot & Spicy: If you love a kick of heat, consider adding ¼ teaspoon of cayenne pepper to the dry ingredients—it adds a delightful surprise!
- Sweeten the Deal: Drizzle a honey glaze on top after baking by mixing powdered sugar with a bit of honey and water for a sweet finish.
Expand your baking horizons with these simple adjustments and enjoy a unique take on your beloved Ginger Scones! For more great biscuit ideas, don't miss our biscuit-making essentials!
Expert Tips for Ginger Scones
Uniform Size: Cut scones into even wedges for consistent baking. This ensures they cook evenly, both in texture and timing.
Cold Butter: Don’t skip using cold butter—it’s essential for achieving the flaky texture that makes Ginger Scones irresistible.
Gentle Mixing: Mix dough until just combined. Overmixing can lead to tough scones, so be gentle to keep that lovely, tender crumb.
Chill the Dough: If the dough feels sticky or too soft, chilling it for a few minutes makes cutting easier and improves the final scone shape.
Rotate the Pan: Make sure to rotate the baking sheet halfway through baking for golden, evenly cooked Ginger Scones.
Enjoy Warm: For the best experience, serve the scones warm, with a bit of butter or your favorite jam—they make every bite a cozy delight!
What to Serve with Ginger Scones
Pair your Ginger Scones with delightful accompaniments that elevate your cozy experience and complement their warm, spicy flavors.
- Earl Grey Tea: This fragrant tea perfectly enhances the aromatic spices in the scones, offering a sophisticated pairing for your afternoon treat.
- Honey Butter: A sweet and creamy spread adds a luscious touch, making each bite feel indulgent and comforting.
- Fruit Salad: Fresh, juicy fruits bring a burst of color and brightness, balancing the warmth of the scones with refreshing sweetness.
- Clotted Cream: This rich, velvety cream is a traditional English addition, providing an extra layer of luxury to your scones.
- Spiced Chai Latte: The warm spices in chai beautifully echo the flavors of the scones, creating a harmonious and inviting experience.
- Mixed Berry Jam: Tart and fruity, this jam pairs beautifully with the ginger notes, offering a delightful contrast of flavors.
- Homemade Lemon Curd: The zingy brightness of lemon curd complements the sweetness of the ginger, making for a refreshing contrast.
- Mulled Cider: A warm, spiced cider perfectly aligns with the cozy vibes of the scones, creating a heartwarming pairing for chilly days.
How to Store and Freeze Ginger Scones
Room Temperature: Store the scones wrapped in a clean kitchen towel for up to 2 to 3 days to keep them fresh and moist. Avoid plastic wrap to prevent sogginess.
Fridge: If you've made a large batch, refrigerate the scones in an airtight container for up to a week. Reheat in the oven before serving to regain their lovely texture.
Freezer: Freeze baked scones in an airtight container or freezer bag for up to 1 month. To enjoy later, simply thaw overnight in the fridge and reheat in the oven for a fresh-baked taste.
Reheating: Reheat frozen scones directly from the freezer for about 10 minutes at 350°F (175°C) until warmed through and slightly crisp outside—perfectly comforting whenever you need a pick-me-up!
Ginger Scones Recipe FAQs
How do I choose the right ginger for my scones?
Absolutely! Fresh ginger adds a lively kick, while ground ginger provides warmth. When selecting candied ginger, look for pieces that are soft and slightly sticky, not dry or hard. Each type contributes uniquely, but feel free to adjust the amount based on your spice preference!
What is the best way to store Ginger Scones?
To store Ginger Scones, wrap them in a clean kitchen towel and keep them at room temperature for up to 2 to 3 days. This helps maintain moisture without making them soggy. A sealed container can be used if you’re storing them in the fridge, where they’ll last up to a week. Just remember to reheat them for that fresh-baked appeal!
Can I freeze Ginger Scones?
Yes! To freeze Ginger Scones, place them in an airtight container or wrap them tightly in plastic wrap and then in foil to prevent freezer burn. They can be stored for up to 1 month. When you're ready to enjoy them, thaw overnight in the fridge and reheat them in a 350°F (175°C) oven for about 10 minutes for that delightful fresh out-of-the-oven feel.
What should I do if my scones turn out tough?
Very common! If your scones are tough, overmixing is often the culprit. When combining the ingredients, mix gently until just combined to maintain a tender texture. Also, ensure you’re using cold butter, which makes for a flaky outcome. If you find your dough too sticky, chilling it for a short while can also help with the mixing process.
Are Ginger Scones suitable for people with dietary restrictions?
Yes, while these Ginger Scones contain gluten and dairy, alternatives can be used! You can substitute all-purpose flour with a gluten-free blend, and use a dairy-free cream and margarine for the butter. Just keep in mind that flavor and texture may vary slightly. Always check for allergies with ginger and spices if cooking for guests.
How long do baked Ginger Scones last in the fridge?
Baked Ginger Scones can last in an airtight container in the fridge for up to a week. To enjoy them warm, simply reheat in the oven or microwave. For the best texture, I recommend reheating in the oven for that cozy scone experience!
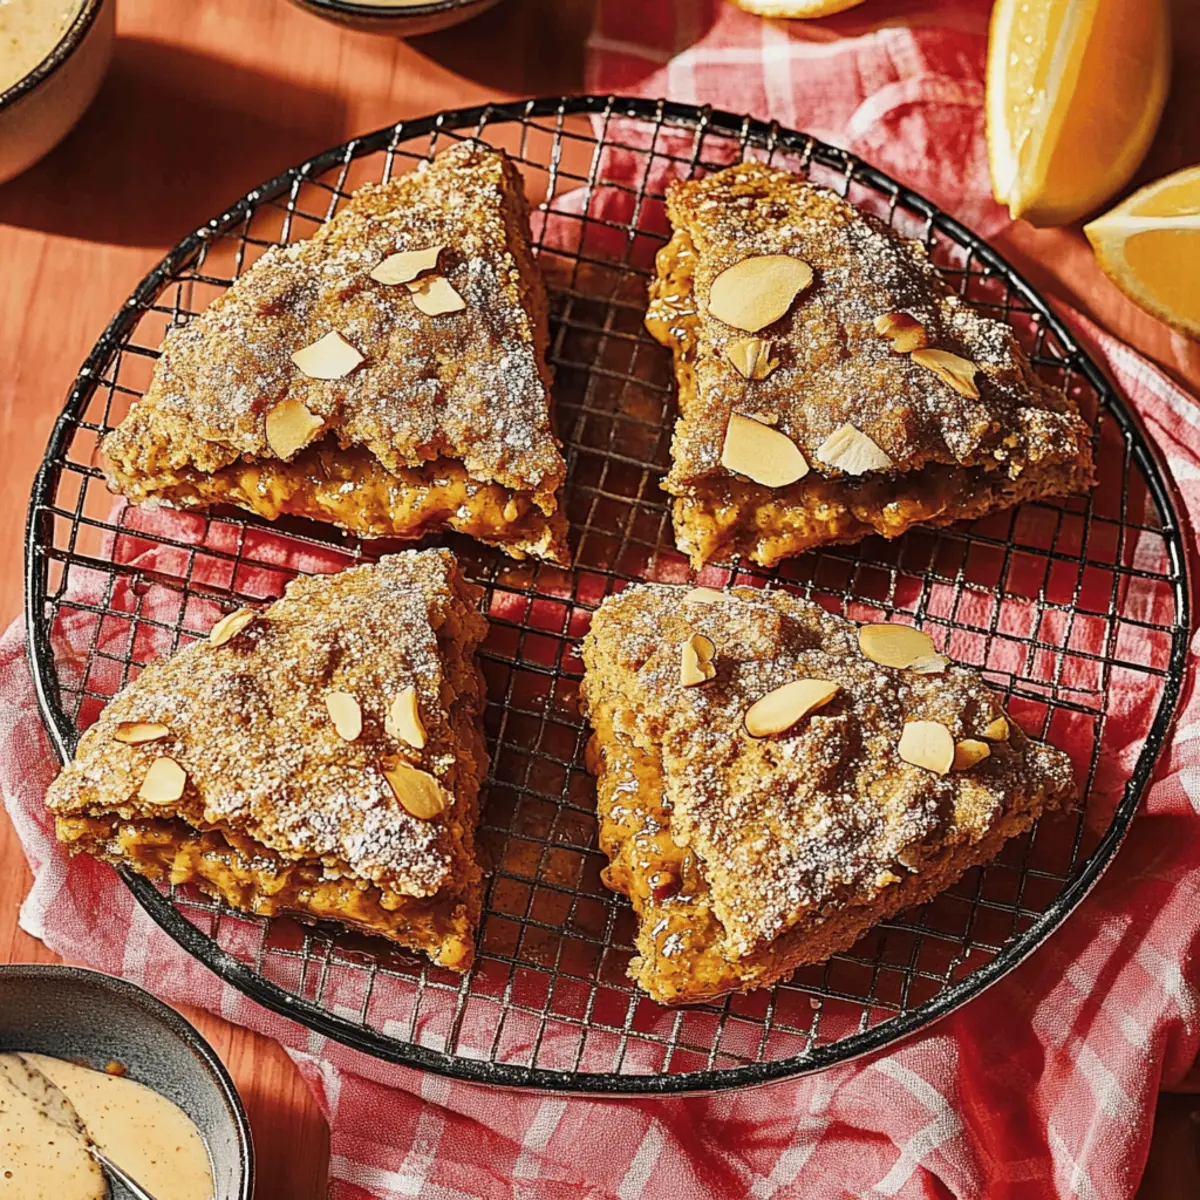
Sweet & Spicy Ginger Scones: Warm, Cozy, and Irresistible
Ingredients
Equipment
Method
- Preheat your oven to 425°F (220°C) and prepare a baking sheet.
- In a medium bowl, whisk together all-purpose flour, baking powder, baking soda, salt, ground ginger, ground cinnamon, and ground cardamom.
- Add cold, cubed butter into the dry ingredients and mix until resembling coarse crumbs.
- Gently fold in diced candied ginger evenly throughout the mixture.
- In a separate bowl, whisk together heavy cream and brown sugar until smooth.
- Combine the wet ingredients with the dry mixture, folding gently until just combined.
- Transfer the dough to a floured surface, flatten into a circle, and chill if desired.
- Cut the dough into eight equal wedges and place them on the baking sheet.
- Beat an egg and brush it over the tops, then sprinkle with coarse sugar.
- Bake for 18-22 minutes, rotating after 14 minutes, until golden and firm.
- Let cool on the baking sheet for a few minutes before serving warm or at room temperature.





Leave a Reply