
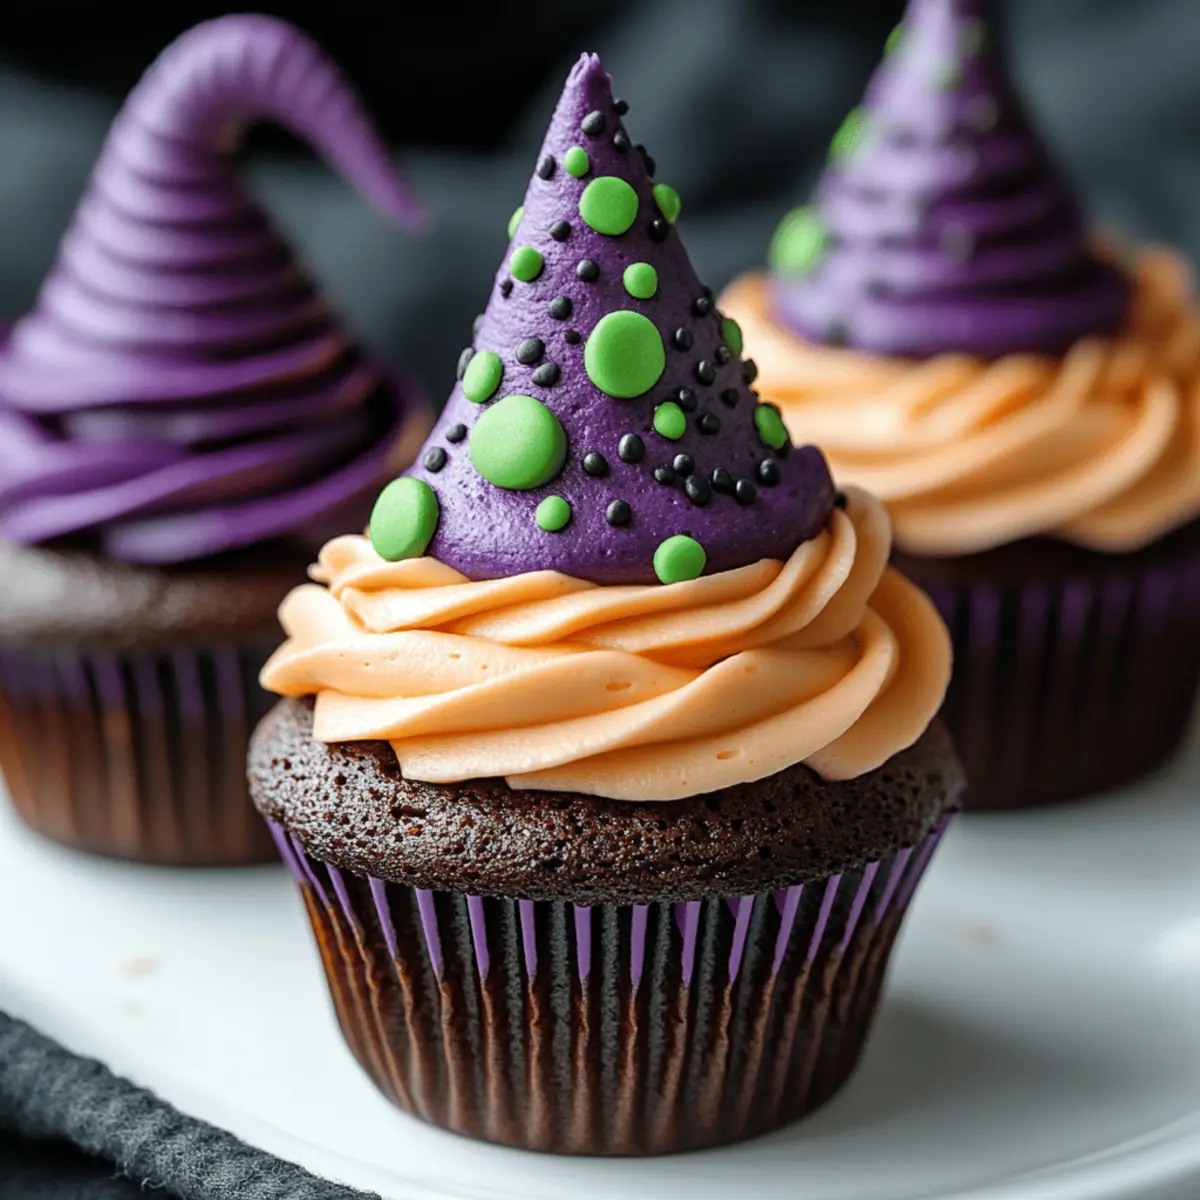
As Halloween approaches, the kitchen becomes a playground of creativity and delight. I love turning ordinary moments into playful culinary adventures, especially when it comes to spooky sweets. This year, let's conjure up some magic with Witch Hat Cupcakes! These whimsical treats not only captivate the eyes but are also a breeze to make, ensuring you can whip them up without the stress of complicated baking. With chocolate cupcakes topped with sugar cones, they become the perfect blend of sweet and fun—ideal for parties or cozy family gatherings. Plus, they’re sure to be a hit with little goblins and grown-ups alike! Are you ready to dive into the enchanting world of holiday baking?
Why Are Witch Hat Cupcakes So Fun?
Delightful Presentation: The sight of a whimsical witch hat on top of a cupcake instantly sparks joy and adds a festive touch to any Halloween gathering.
Easy to Make: You don’t need to be a baking expert! These simple chocolate cupcakes come together quickly, allowing you to focus on the fun details like decorating.
Crowd-Pleasing Flavor: Rich chocolate paired with a crisp sugar cone offers a balance of textures that appeals to both kids and adults.
Versatile Variations: Feel free to get creative—add colored frosting or sprinkles to match your party theme, just like with our fun Ghost Meringues or Pumpkin Spice Cookies.
Memorable Treats: These cupcakes aren’t just desserts; they’re conversation starters that will leave a lasting impression on your guests!
Witch Hat Cupcake Ingredients
Get ready to create a spooktacular treat!
For the Cupcakes
• All-purpose flour – The foundation of your cupcakes; can substitute with gluten-free flour for a different spin.
• Granulated sugar – Sweetens the deal; helps keep the cupcakes moist.
• Unsweetened cocoa powder – For that rich chocolate flavor that you'll love!
• Baking powder – Ensures your cupcakes rise beautifully.
• Salt – Enhances the overall flavor, balancing the sweetness.
• Eggs – Binds the ingredients together; for a vegan option, use applesauce or flaxseed meal.
• Milk – Adds moisture; almond or oat milk works well for dairy-free versions.
• Vegetable oil – Keeps your cupcakes rich and moist, making them irresistible.
• Vanilla extract – A boost of flavor that pairs perfectly with chocolate.
For the Topping
• Sugar cones – These transform into witch hats, making decorating a fun activity for the kids!
• Chocolate frosting – Rich and creamy, it not only tastes amazing but secures the cone in place.
• Edible decorations (sprinkles, candy eyes) – Let your creativity shine and personalize each cupcake!
Remember, these Witch Hat Cupcakes are sure to be a favorite as you celebrate Halloween!
Step‑by‑Step Instructions for Witch Hat Cupcakes
Step 1: Preheat the Oven
Begin your spooky baking adventure by preheating your oven to 350°F (175°C). This temperature is perfect for baking your chocolate cupcakes. While the oven warms up, gather your ingredients and equipment—mixing bowls, a whisk, and a cupcake pan. Preparing everything ahead of time ensures a smooth baking process that will lead to impressive Witch Hat Cupcakes.
Step 2: Mix the Dry Ingredients
In a mixing bowl, combine all-purpose flour, granulated sugar, cocoa powder, baking powder, and salt. Use a whisk to mix these dry ingredients together until evenly blended. This step is crucial as it ensures that your chocolate cupcakes have a consistent flavor and texture. Visual cues to look for include a uniform darker color throughout the mixture, which should take about 1-2 minutes.
Step 3: Combine the Wet Ingredients
In another bowl, whisk together the eggs, milk, vegetable oil, and vanilla extract until well mixed. This creates a wet mixture that will add moisture and flavor to your Witch Hat Cupcakes. Aim for a smooth consistency without lumps, which should take approximately 2-3 minutes of whisking. Once combined, pour the wet mixture into your dry ingredients.
Step 4: Blend the Batter
Stir the combined mixtures with a spatula or whisk gently until just blended. Be careful not to overmix; a few lumps are okay. This step usually takes around 1-2 minutes. You’re looking for a thick batter that’s rich and chocolaty, perfect for your Witch Hat Cupcakes. Once mixed, it's time to fill your cupcake pan!
Step 5: Fill the Cupcake Liners
Using a scoop or a spoon, fill each cupcake liner in the pan about two-thirds full with batter. This allows space for the cupcakes to rise without overflowing. A visual cue to look for is a smooth top on each filled liner. Bake them in the preheated oven for about 18-20 minutes, until a toothpick inserted into the center comes out clean.
Step 6: Cool the Cupcakes
Once baked, carefully remove the cupcake pan from the oven and let it cool for about 5-10 minutes. After this initial cooling, transfer the cupcakes to a wire rack to cool completely, which typically takes about 30 minutes. This cooling step is essential before adding your topping to the Witch Hat Cupcakes, as hot cupcakes can melt the frosting.
Step 7: Prepare the Witch Hats
While waiting for the cupcakes to cool, gather your sugar cones and chocolate frosting. Once the cupcakes are fully cool, use a spatula or knife to generously spread chocolate frosting on top of each cupcake. This not only adds flavor but also helps stick the sugar cones (witch hats) in place.
Step 8: Assemble the Witch Hats
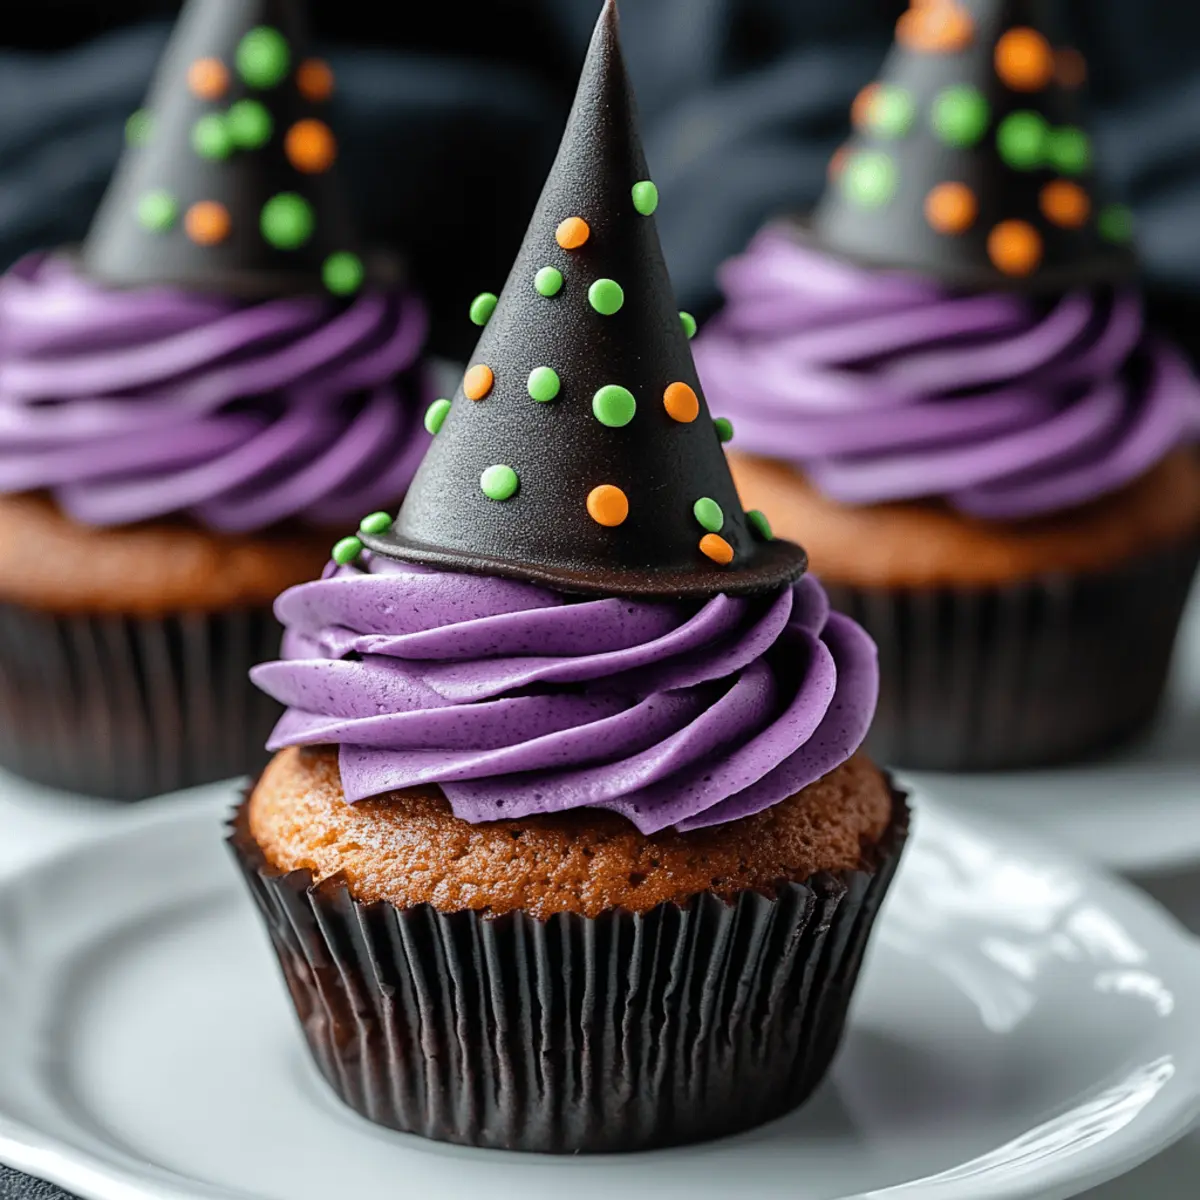
Delicately press a sugar cone onto the center of the frosted cupcake to create the witch hat. The frosting should secure the cone firmly. If desired, this is the perfect time to let your creativity shine! Decorate the frosting with edible decorations like sprinkles or candy eyes to personalize your Witch Hat Cupcakes for a fun Halloween touch.
Step 9: Serve and Enjoy
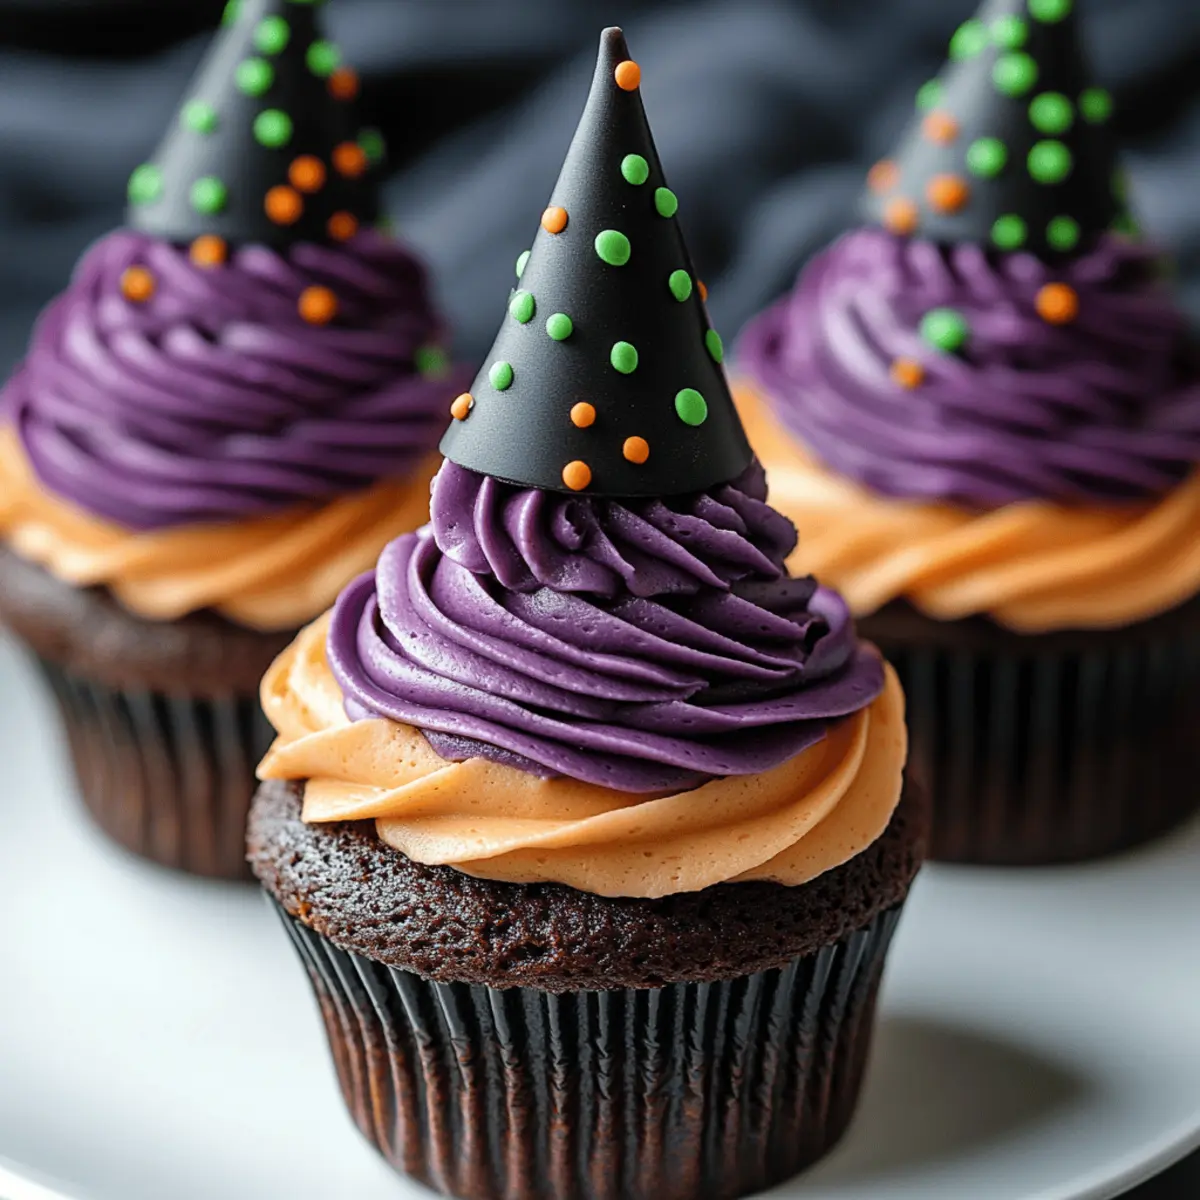
Once assembled, your enchanting Witch Hat Cupcakes are ready to dazzle at your Halloween gatherings. Arrange them on a festive platter for a stunning presentation that invites compliments from little goblins and grown-ups alike. Now it’s time to enjoy the fruits of your labor—watch as everyone delights in these whimsical treats!
Make Ahead Options
These Witch Hat Cupcakes are perfect for busy home cooks who want to save time without sacrificing flavor! You can prepare the chocolate cupcakes up to 2 days in advance. Simply bake them, cool completely, and store them in an airtight container at room temperature to maintain their delicious moistness. You can also make the chocolate frosting up to 3 days ahead; just refrigerate it in a sealed container. When you're ready to serve, frost the cooled cupcakes and gently press a sugar cone on top for the witch hats. This easy prep allows you to sprinkle creativity when it’s time to celebrate Halloween, ensuring your treats are just as delightful as if freshly made!
Expert Tips for Witch Hat Cupcakes
• Cupcake Consistency: Ensure your batter is mixed just until combined. Overmixing can make the cupcakes dense instead of fluffy.
• Cool Completely: Let the cupcakes cool entirely before frosting. If they’re too warm, the frosting will melt, making it difficult to assemble your witch hats.
• Frosting Technique: Use a small offset spatula to spread an even layer of chocolate frosting. This ensures that the sugar cone sits securely and looks polished.
• Fun Decorations: Get creative with your edible decorations! Use colored sprinkles or themed candies to add a personalized touch to your Witch Hat Cupcakes.
• Storage Tips: If making ahead, store unfrosted cupcakes in an airtight container at room temperature. Frost them on the day of serving for best results.
Storage Tips for Witch Hat Cupcakes
Room Temperature: Keep unfrosted cupcakes in an airtight container at room temperature for up to 3 days. This helps maintain their moisture and fluffy texture.
Fridge: If you've frosted the cupcakes, store them in the refrigerator for 2–3 days. Make sure they're in a covered container to prevent them from drying out.
Freezer: For long-term storage, these cupcakes can be frozen for up to 2 months. Wrap each unfrosted cupcake tightly in plastic wrap and then place in an airtight freezer bag.
Reheating: If you want to savor them warm, thaw in the refrigerator overnight and then let them sit at room temperature for 30 minutes before enjoying. Frost them right before serving for the ultimate Witch Hat Cupcakes experience!
Witch Hat Cupcakes Variations
Feel free to add your own twist to these enchanting treats, inviting creativity and fun into your Halloween celebrations.
- Gluten-Free: Substitute all-purpose flour with a gluten-free blend for a deliciously inclusive dessert option.
- Vegan: Replace eggs with flaxseed meal or applesauce and use plant-based milk for a vegan-friendly version.
- Nutty Delight: Add chopped walnuts or pecans to the batter for a delightful crunch and rich flavor.
- Fruity Surprise: Mix in some chopped strawberries or raspberries for a juicy burst of flavor amidst the chocolate.
- Spicy Kick: Sprinkle cayenne pepper in the batter for a smoky surprise that elevates the chocolate’s richness.
Imagine the surprise on guests' faces as they bite into a cupcake that combines the warmth of spices.
- Frosting Flavors: Try cream cheese or peanut butter frosting for a different flavor profile that will thrill taste buds.
- Chocolate Lovers’ Paradise: Fold in chocolate chips for rich, melty pockets of chocolate in every bite.
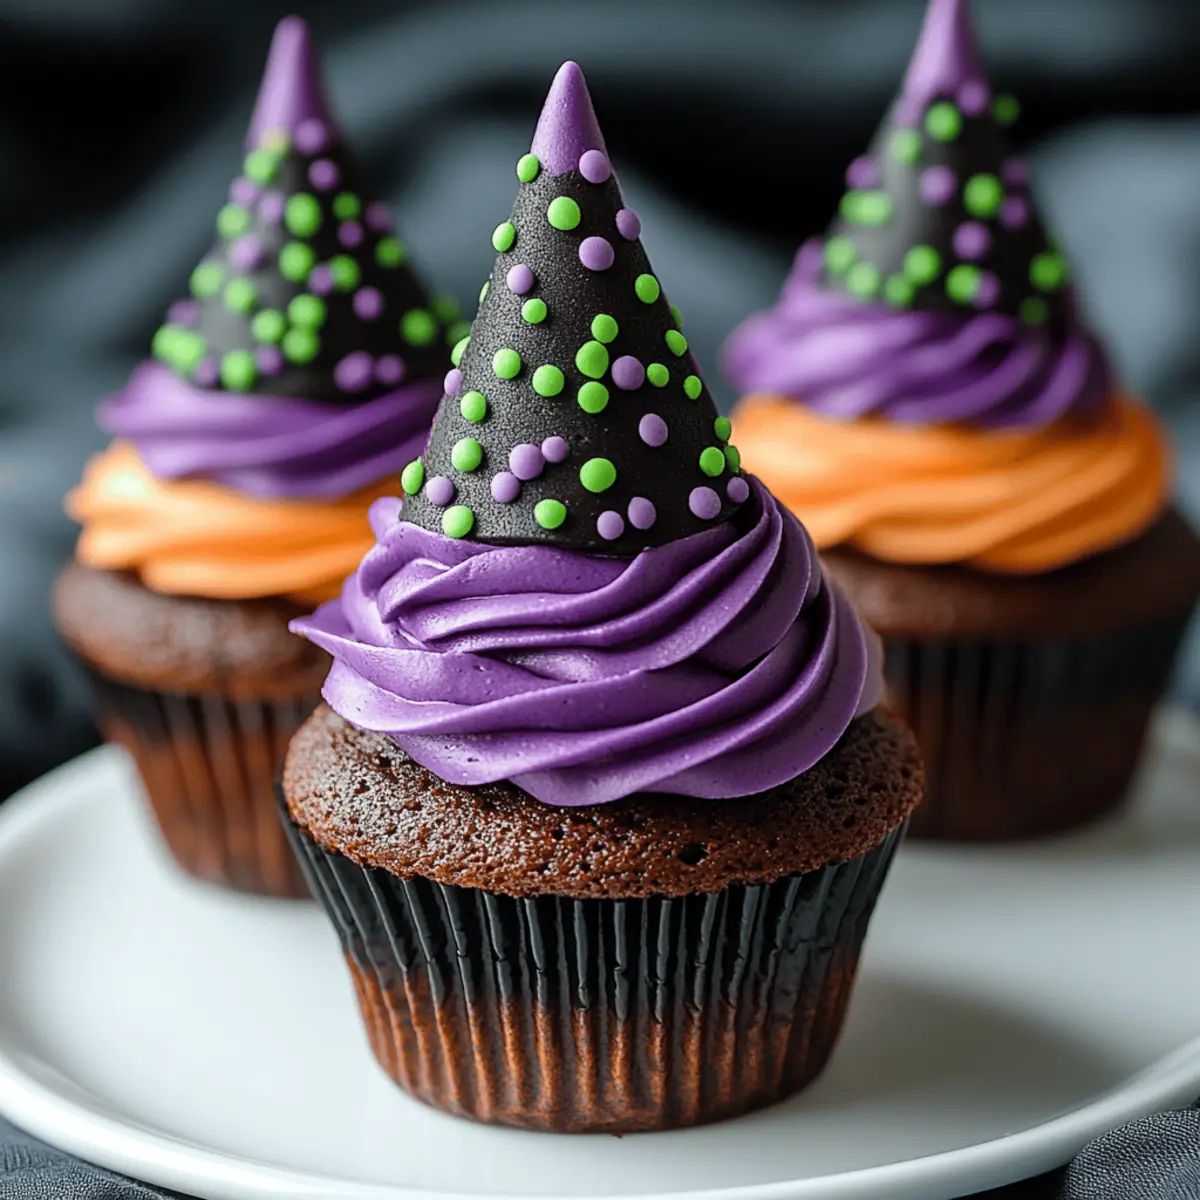
- Colorful Theme: Use colored frosting to match your party theme and add festive sprinkles or edible glitter for extra flair.
Let your imagination run wild, just like how we celebrate with fun treats such as Candy Corn Cheesecake Bars and Mummy Brownies! Each variation adds a unique spin, ensuring your Witch Hat Cupcakes are as unforgettable as your Halloween festivities.
What to Serve with Witch Hat Cupcakes?
As Halloween approaches, elevate your festive spread with creative treats that offer a delightful surprise alongside your enchanting cupcakes.
- Ghoulish Gummy Worms: Adding these creepy candies alongside your cupcakes creates a playful dessert display that excites the imagination.
- Creepy Crudités: A colorful platter of vegetables, served with a spooky dip, balances the sweetness and adds a fresh crunch to the festivities.
- Witch’s Brew Punch: Serve a fizzy green punch with floating fruit slices to keep everyone refreshed and in the Halloween spirit.
- Candy Corn Trail Mix: Combine candy corn, nuts, and chocolate for a sweet and salty snack that complements the cupcakes’ flavor.
- Skeleton Cheese Platter: Curate a cheese board with themed crackers, fruits, and edible decorations for a savory option that pairs beautifully.
- Boozy Butterbeer: This fun drink, reminiscent of pumpkin spice flavors, will perfectly match your Witch Hat Cupcakes while adding a whimsical touch to the gathering.
- Ghostly Chocolate Dipped Strawberries: These treats are not only delicious but add a touch of elegance, perfectly balancing the fun of your dessert table.
- Mummy Hot Dogs: A savory, easy-to-eat treat that adds a fun theme to your spooky menu, perfect for little monsters on the go.
- Caramel Apple Slices: Serve crisp apple slices drizzled with caramel for a fresh dessert option that complements the festive sweetness.
- Cauldron Chocolate Fondue: Dip fruits, marshmallows, and pretzels in a bubbling chocolate cauldron to create a fun, interactive dessert experience.
Witch Hat Cupcakes Recipe FAQs
What type of flour should I use for Witch Hat Cupcakes?
You can use all-purpose flour for your cupcakes, but if you're looking for a gluten-free option, feel free to swap it with a gluten-free all-purpose flour blend. Just make sure it has a binding agent, like xanthan gum, to help with texture.
How should I store the Witch Hat Cupcakes?
For unfrosted cupcakes, store them in an airtight container at room temperature for up to 3 days. If they’re frosted, keep them in the refrigerator for 2-3 days, sealed tightly to avoid drying out.
Can I freeze Witch Hat Cupcakes?
Absolutely! You can freeze unfrosted cupcakes for up to 2 months. Wrap each cupcake tightly in plastic wrap and place them in an airtight freezer bag. When you're ready to enjoy them, thaw in the refrigerator overnight, let sit at room temperature for about 30 minutes, and frost before serving.
What if my cupcake batter is too thick?
If your batter is thicker than expected, you may have overmixed it; however, you can add a splash of milk to loosen it up. Just stir gently until it's combined, but remember that some lumps are perfectly fine for keeping them fluffy.
Can pets consume Witch Hat Cupcakes?
It’s important to note that cupcakes are not ideal for pets, especially with ingredients like chocolate and sugar, which can be harmful to dogs and other animals. Always keep your tasty treats out of reach!
How can I customize the decoration on my Witch Hat Cupcakes?
The fun part about these cupcakes is creativity! You can use different colors of frosting, various sprinkles, or themed candies like gummy worms or chocolate spiders. Just imagine what your little ones would love, and make it a unique treat!
Witch Hat Cupcakes: Spooktacular Treats for Halloween Fun
Ingredients
Equipment
Method
- Preheat the oven to 350°F (175°C). Gather your ingredients and equipment.
- Mix the dry ingredients: combine flour, sugar, cocoa powder, baking powder, and salt in a bowl.
- Combine the wet ingredients: whisk eggs, milk, oil, and vanilla in another bowl and pour into dry ingredients.
- Blend the batter gently until just combined. Do not overmix.
- Fill each cupcake liner about two-thirds full with batter and bake for 18-20 minutes.
- Cool the cupcakes for 5-10 minutes in the pan, then transfer to a wire rack for 30 minutes.
- Spread chocolate frosting on top of each cooled cupcake.
- Press a sugar cone on top of each frosted cupcake to create the witch hat.
- Decorate with edible decorations as desired and serve.


Leave a Reply