
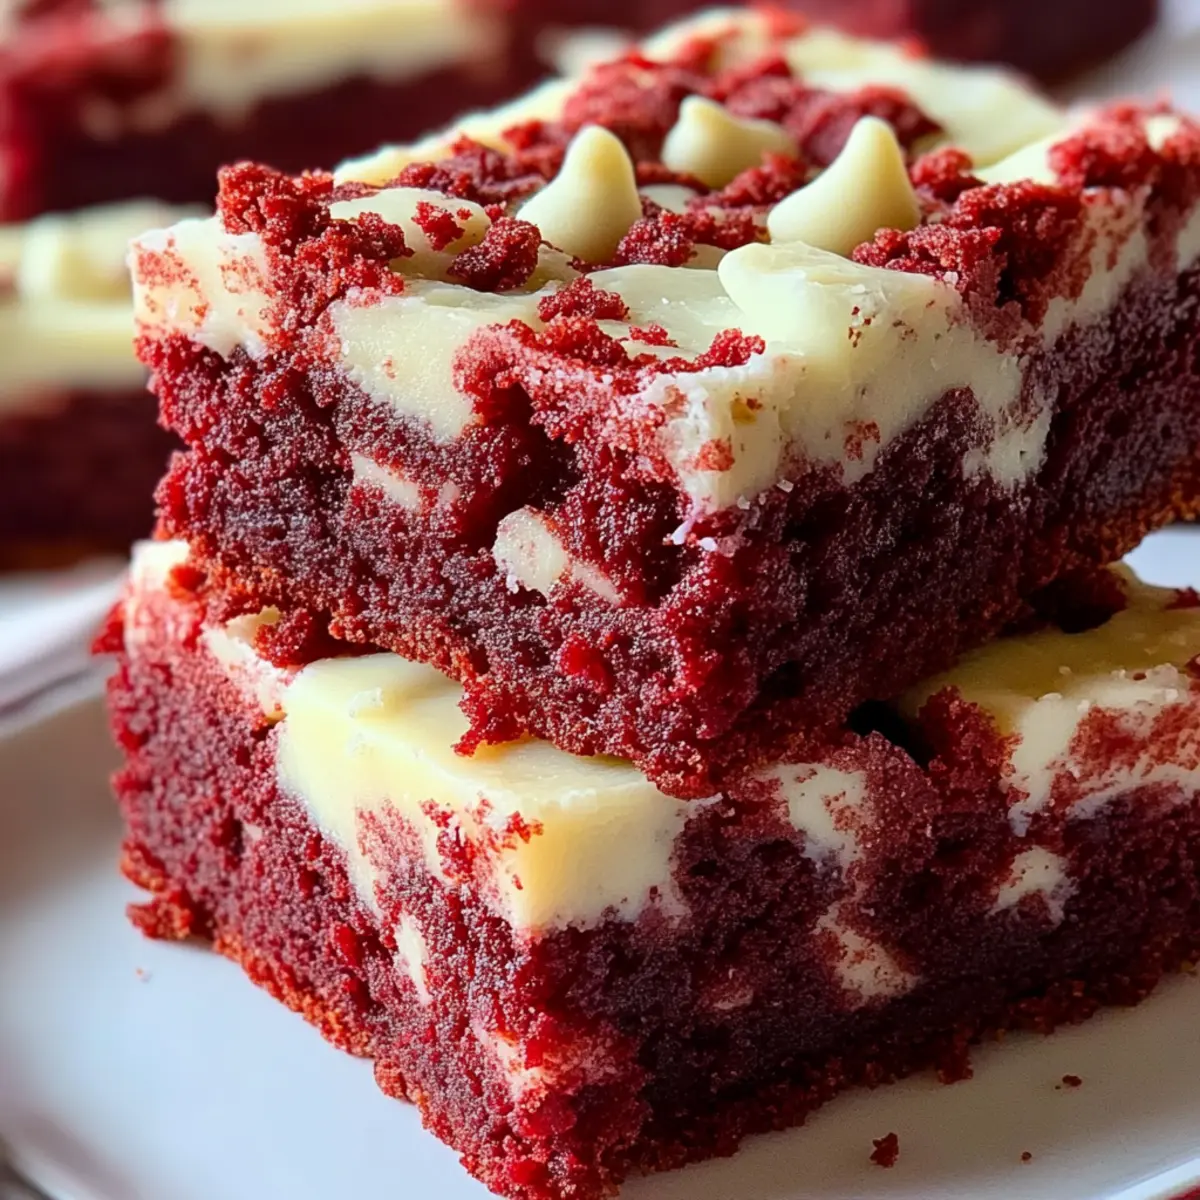
Every time I pull a batch of Red Velvet Cookie Bars from the oven, I'm reminded of the beautiful joy that home baking brings. With their rich, velvety hue and a delightful blend of flavors, these cookie bars are more than just a treat—they're an experience. Not only do you get to enjoy the quick prep and the heavenly aroma that fills your kitchen, but you'll also find they're an absolute crowd-pleaser, perfect for gatherings or cozy evenings at home. Topped with luscious cream cheese frosting and sprinkled with white chocolate chips, each bite is a celebration of deliciousness. Ready to whip up this enchanting dessert? Let's dive into the recipe and discover just how easy it is to create something unforgettable!
What makes these cookie bars irresistible?
Decadent, these Red Velvet Cookie Bars are a celebration of flavor and texture, boasting a rich, velvety crumb. Quick and easy, with a prep time of just 20 minutes, they fit seamlessly into your busy life. Perfect for gatherings, they’re a guaranteed hit at parties, and their stunning appearance will have your guests reaching for seconds. Deliciously versatile, feel free to swap in dark chocolate chips or mix in nuts if you’re looking to add a personal touch. For more delightful bars, check out my Chip Cookie Bars or Pineapple Bliss Bars.
Red Velvet Cookie Bars Ingredients
For the Cookie Bars
- All-purpose flour – Provides the structure for your cookie bars; don't skip this key ingredient!
- Cocoa powder – A hint of chocolate flavor enhances the richness of your red velvet cookie bars.
- Baking soda – Acts as a leavening agent, helping the bars rise perfectly.
- Salt – Balances sweetness and enhances all the flavors in the bars.
- Unsalted butter – Ensures a rich, creamy texture; make sure it's softened for easy mixing.
- Granulated sugar – Sweetens your bars and helps create a tender crumb.
- Brown sugar – Adds extra moisture and a depth of flavor; packed is best for consistency.
- Large eggs – Bind the ingredients together; room temperature eggs mix in better!
- Vanilla extract – A splash of vanilla provides warm, inviting flavor notes.
- Red food coloring – Essential for that striking red hue that makes these cookie bars special.
- White chocolate chips – Melting sweetness throughout for delightful bites; feel free to use dark chocolate for a twist!
For the Topping
- Cream cheese frosting – The star of the show; whether store-bought or homemade, it adds lusciousness to your red velvet cookie bars.
Now, gather your ingredients, and let’s create a batch of these scrumptious Red Velvet Cookie Bars that will impress anyone lucky enough to have a taste!
Step‑by‑Step Instructions for Red Velvet Cookie Bars
Step 1: Preheat the Oven
Begin by preheating your oven to 350°F (175°C). While the oven is heating, take a 9x13 inch baking pan and either grease it with butter or line it with parchment paper for easy removal of your delicious Red Velvet Cookie Bars. This initial step sets the stage for perfectly baked bars.
Step 2: Combine Dry Ingredients
In a medium bowl, whisk together 2 ½ cups of all-purpose flour, 2 tablespoons of cocoa powder, 1 teaspoon of baking soda, and ½ teaspoon of salt. Mixing these dry ingredients thoroughly is crucial for even distribution and flavor. Once blended, set the bowl aside to complete the next steps.
Step 3: Cream Butter and Sugars
In a large mixing bowl, cream together 1 cup of softened unsalted butter, 1 ½ cups of granulated sugar, and ½ cup of packed brown sugar using an electric mixer. Beat the mixture for about 3-4 minutes until it becomes light and fluffy, indicating that it’s ready to add the eggs and other ingredients.
Step 4: Mix in Eggs and Flavorings
Add 2 large eggs to the creamed butter and sugars, beating one egg in at a time until fully incorporated. Then, mix in 2 teaspoons of vanilla extract and 1 tablespoon of red food coloring. The mixture should turn a beautiful red hue, showing that your Red Velvet Cookie Bars are coming together beautifully.
Step 5: Fold in Dry Ingredients
Gradually add the previously whisked dry ingredients into the wet mixture, folding with a spatula just until combined. Be careful not to overmix; this ensures your bars remain tender and delicious. You’re almost there!
Step 6: Incorporate White Chocolate Chips
Gently fold in 1 cup of white chocolate chips, making sure to distribute them evenly throughout the dough. This extra layer of sweetness will bring your Red Velvet Cookie Bars to life. Take a moment to admire the vibrant color and delightful texture.
Step 7: Prepare the Pan with Dough
Pour the cookie dough into the prepared baking pan. Use a spatula to spread the dough out into an even layer, ensuring that it reaches all corners of the pan. This promotes even baking, allowing your bars to cook perfectly throughout.
Step 8: Bake the Bars
Place the pan in the preheated oven and bake for 25-30 minutes. You’ll know your Red Velvet Cookie Bars are ready when a toothpick inserted into the center comes out clean or with a few moist crumbs. Keep an eye on them to prevent overbaking!
Step 9: Cool the Bars
Once baked, remove the pan from the oven and let it cool for 10-15 minutes. After cooling slightly, transfer the bars to a wire rack for complete cooling. This step is essential for achieving the best texture and flavor.
Step 10: Top with Cream Cheese Frosting
When the cookie bars have cooled completely, spread 1 cup of cream cheese frosting generously over the top. The creamy topping perfectly complements the rich flavors of the bars, making them irresistible and beautiful.
Step 11: Cut and Serve
Now, cut the cooled Red Velvet Cookie Bars into squares. Serve them as a delightful treat or store them in an airtight container at room temperature for later enjoyment. They’re perfect for sharing or indulging in yourself!
How to Store and Freeze Red Velvet Cookie Bars
Room Temperature: Store your Red Velvet Cookie Bars in an airtight container at room temperature for up to 3 days. This keeps them moist and delicious for snacking anytime!
Fridge: For an extended freshness, place the bars in the fridge for up to a week. Ensure they're in a well-sealed container to prevent them from drying out.
Freezer: To freeze, wrap individual squares tightly in plastic wrap and place them in a freezer bag. They’ll last up to 3 months! Thaw at room temperature before enjoying.
Reheating: If you prefer them warm, pop a square in the microwave for 10-15 seconds. This will give you that freshly baked taste anytime you crave a sweet treat!
Make Ahead Options
These delicious Red Velvet Cookie Bars are perfect for busy home cooks who love to meal prep! You can prepare the dough up to 24 hours in advance and refrigerate it in an airtight container to keep it fresh. Additionally, the frosted bars can be made a day ahead, just make sure to store them in a single layer to prevent the frosting from smudging. Once you're ready to bake, simply pour the chilled dough into the prepared pan and follow the baking instructions. This method not only saves you time but ensures your cookie bars are just as delightful and festive whenever you serve them!
Red Velvet Cookie Bars Variations
Feel free to unleash your creativity when making these delightful Red Velvet Cookie Bars, incorporating ingredients that tantalize your taste buds.
- Gluten-Free: Swap all-purpose flour for a gluten-free flour blend for a delicious alternative that everyone can enjoy.
- Nutty Delight: Add 1 cup of chopped walnuts or pecans for a delightful crunch elevating the texture of the bars.
- Cream Cheese Swirl: Instead of a simple frosting, swirl in cream cheese before baking for a rich, cheesecake-like experience.
- Coconut Kiss: Mix in 1 cup of shredded coconut to add a tropical twist to these beautiful bars.
- Spice it Up: Add 1 teaspoon of cinnamon or ½ teaspoon of nutmeg for a warm, cozy flavor that will make your kitchen smell divine.
- Mix and Match Chips: Experiment with different chocolate chips; dark chocolate or even mint-chocolate chips can create an exciting flavor explosion.
- Caramel Drizzle: Drizzle caramel sauce on top of the bars before cutting for an indulgently sweet finish that will impress your guests.
- Berry Bliss: Incorporate 1 cup of fresh raspberries or strawberries mixed into the batter for a fruity addition that pairs perfectly with the red velvet.
By exploring these variations, your Red Velvet Cookie Bars are sure to delight and surprise at every gathering, just like my Pineapple Bars Tropical share their sunshine with every bite!
Expert Tips for Red Velvet Cookie Bars
-
Measure Accurately: Ensure you accurately measure your ingredients, especially the flour, to prevent dense bars. Use the scoop-and-level method for best results.
-
Avoid Overmixing: When combining wet and dry ingredients, mix just until combined. Overmixing can lead to tough cookie bars instead of the tender, melt-in-your-mouth texture you want.
-
Oven Thermometer: If you're unsure about your oven's temperature, use an oven thermometer. Baking at the correct temperature is crucial for achieving the perfect red velvet cookie bars.
-
Cool Completely: Allow the cookie bars to cool completely before frosting. This prevents the cream cheese frosting from melting and ensures a beautiful presentation for your dessert.
-
Storage Tips: Store your red velvet cookie bars in an airtight container to keep them fresh. They'll stay delicious for several days, perfect for snacking!
-
Customization Options: Feel free to experiment with mix-ins like nuts or different chocolate chips. Personalizing your red velvet cookie bars can turn them into a unique family favorite!
What to Serve with Red Velvet Cookie Bars
Indulging in homemade desserts is one of life's greatest pleasures, and these vibrant cookie bars are no exception. As you enjoy their rich flavor and creamy frosting, consider what delightful accompaniments will elevate your treat even further.
-
Creamy Vanilla Ice Cream: A scoop of vanilla ice cream melts beautifully against the warm bars, balancing the sweetness with its cool creaminess. The contrast of temperatures adds a delightful twist to every bite.
-
Fresh Berries: Bright, juicy strawberries or raspberries provide a refreshing, tart counterpoint to the rich sweetness of the cookie bars. They not only enhance flavor but also add a pop of color to your dessert spread.
-
Chocolate Ganache: Drizzling warm, silky chocolate ganache over your cookie bars takes them to a whole new level of decadence. This rich addition complements the chocolate notes and brings an extra layer of indulgence.
-
Nutty Caramel Sauce: A homemade or store-bought caramel sauce infused with pecan or hazelnut flavor plays beautifully off the velvety texture of the bars. The nuttiness enhances each bite and introduces a new depth to the dish.
-
Coffee or Espresso: A steaming cup of coffee or a shot of espresso serves as the perfect pairing to these cookie bars. The bitter notes of coffee complement the sweet, rich flavors, creating a comforting dessert experience.
-
Sweet Wine or Dessert Wine: A glass of sweet dessert wine, like Moscato or a light Riesling, pairs wonderfully with the cookie bars. The fruity undertones harmonize perfectly, making dessert feel extra special for celebrations.
-
Chopped Nuts: Toasted pecans or walnuts sprinkled over the frosting add a delightful crunch and earthy flavor that contrasts beautifully with the sweet cookie bars.
-
Meringue Topping: A light, airy meringue whipped up to a fluffy peak can be a fun and whimsical addition atop your cookie bars. Its sweetness and texture provide a lovely contrast to the rich bars.
Red Velvet Cookie Bars Recipe FAQs
What kind of flour is best for Red Velvet Cookie Bars?
I recommend using all-purpose flour for these cookie bars, as it provides the right structure and texture. If you want a gluten-free option, you can substitute it with a gluten-free all-purpose blend, but make sure to check that it contains xanthan gum for the best results.
How should I store my Red Velvet Cookie Bars?
Store your Red Velvet Cookie Bars in an airtight container at room temperature for up to 3 days to maintain their moistness. For longer storage, you can refrigerate them, where they’ll stay fresh for up to a week. Make sure they’re well-sealed to prevent them from drying out!
Can I freeze Red Velvet Cookie Bars?
Absolutely! To freeze, wrap each square tightly in plastic wrap and place them in a freezer bag. They can be frozen for up to 3 months. When you’re ready to enjoy them, simply thaw at room temperature for a couple of hours or pop them in the microwave for about 10-15 seconds for that freshly baked taste!
What should I do if my cookie bars come out too dry?
If your Red Velvet Cookie Bars turn out dry, it might be due to overbaking or measuring too much flour. To avoid this, always measure your flour accurately using the scoop-and-level method and keep an eye on the baking time. If they're slightly underbaked, that's okay, as they'll continue to firm up as they cool.
Can I make these bars nut-free or dairy-free?
Yes! To make them nut-free, simply ensure any chocolate chips you use are also nut-free. For a dairy-free version, substitute the butter with a dairy-free margarine and use dairy-free chocolate chips. The cream cheese frosting can be made with a dairy-free cream cheese alternative to maintain that deliciousness!
What if I don't have cream cheese for frosting?
No worries! You can substitute the cream cheese frosting with a simple buttercream made from unsalted butter, powdered sugar, and a splash of milk and vanilla extract. This alternative will still add a sweet, creamy topping to your Red Velvet Cookie Bars, making them delightful!
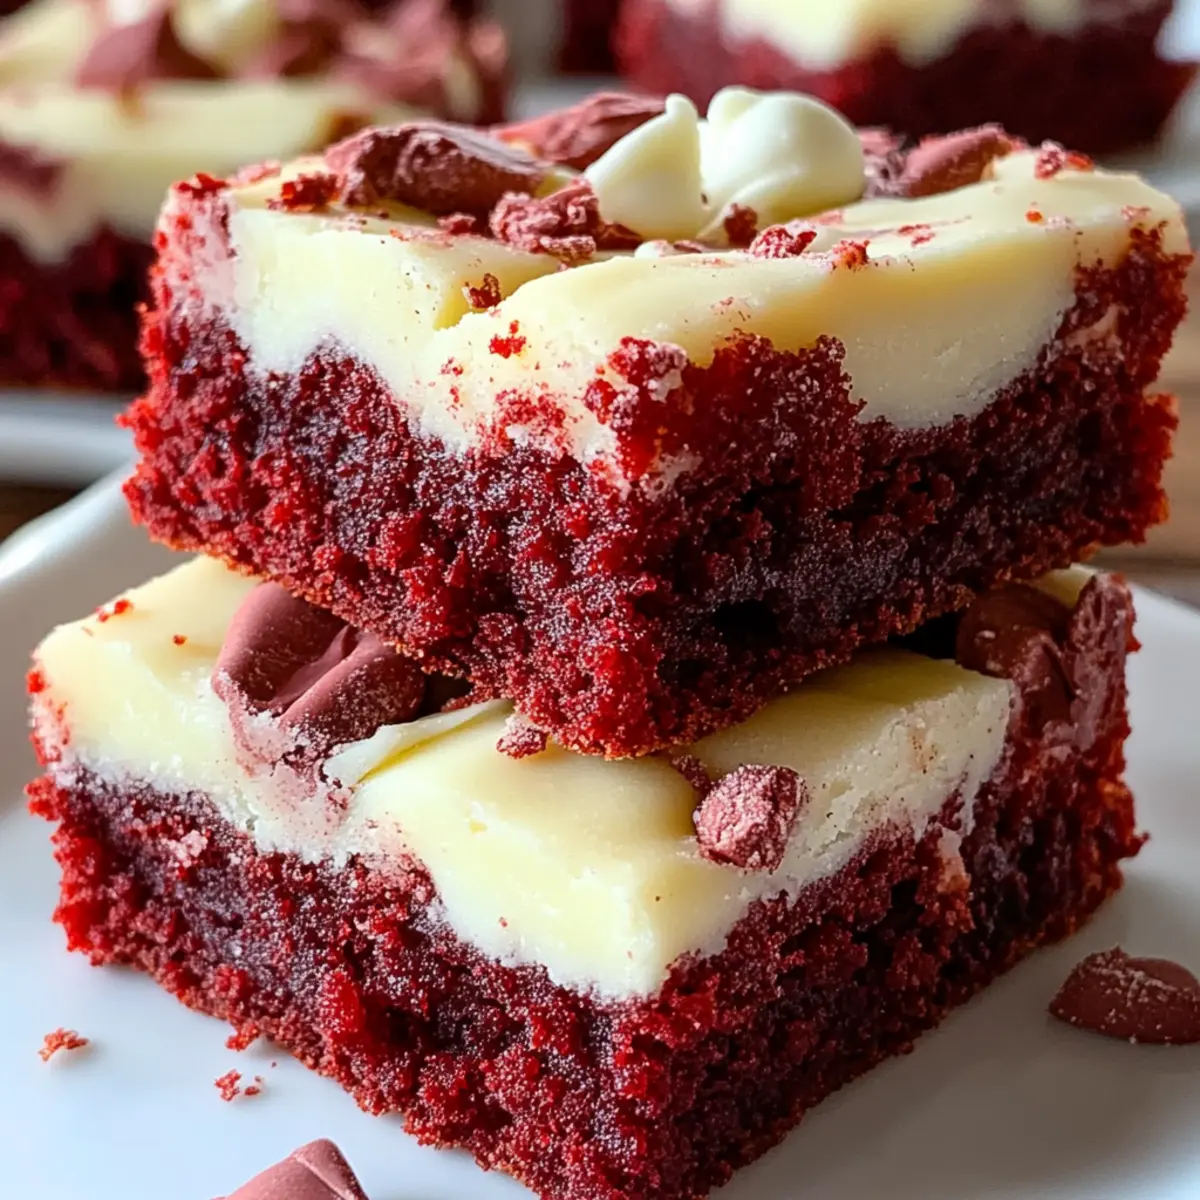
Decadent Red Velvet Cookie Bars with Cream Cheese Frosting
Ingredients
Equipment
Method
- Preheat your oven to 350°F (175°C) and prepare a 9x13 inch baking pan.
- In a medium bowl, whisk together all-purpose flour, cocoa powder, baking soda, and salt. Set aside.
- In a large bowl, cream together softened unsalted butter, granulated sugar, and brown sugar until light and fluffy.
- Add the eggs one at a time, beating well after each addition, then mix in vanilla extract and red food coloring.
- Fold in the dry ingredient mixture until just combined.
- Gently fold in the white chocolate chips until evenly distributed.
- Spread the cookie dough into the prepared baking pan evenly.
- Bake for 25-30 minutes or until a toothpick comes out clean.
- Allow to cool for 10-15 minutes before transferring to a wire rack.
- Once cooled, spread cream cheese frosting over the top.
- Cut into squares and serve.


Leave a Reply