
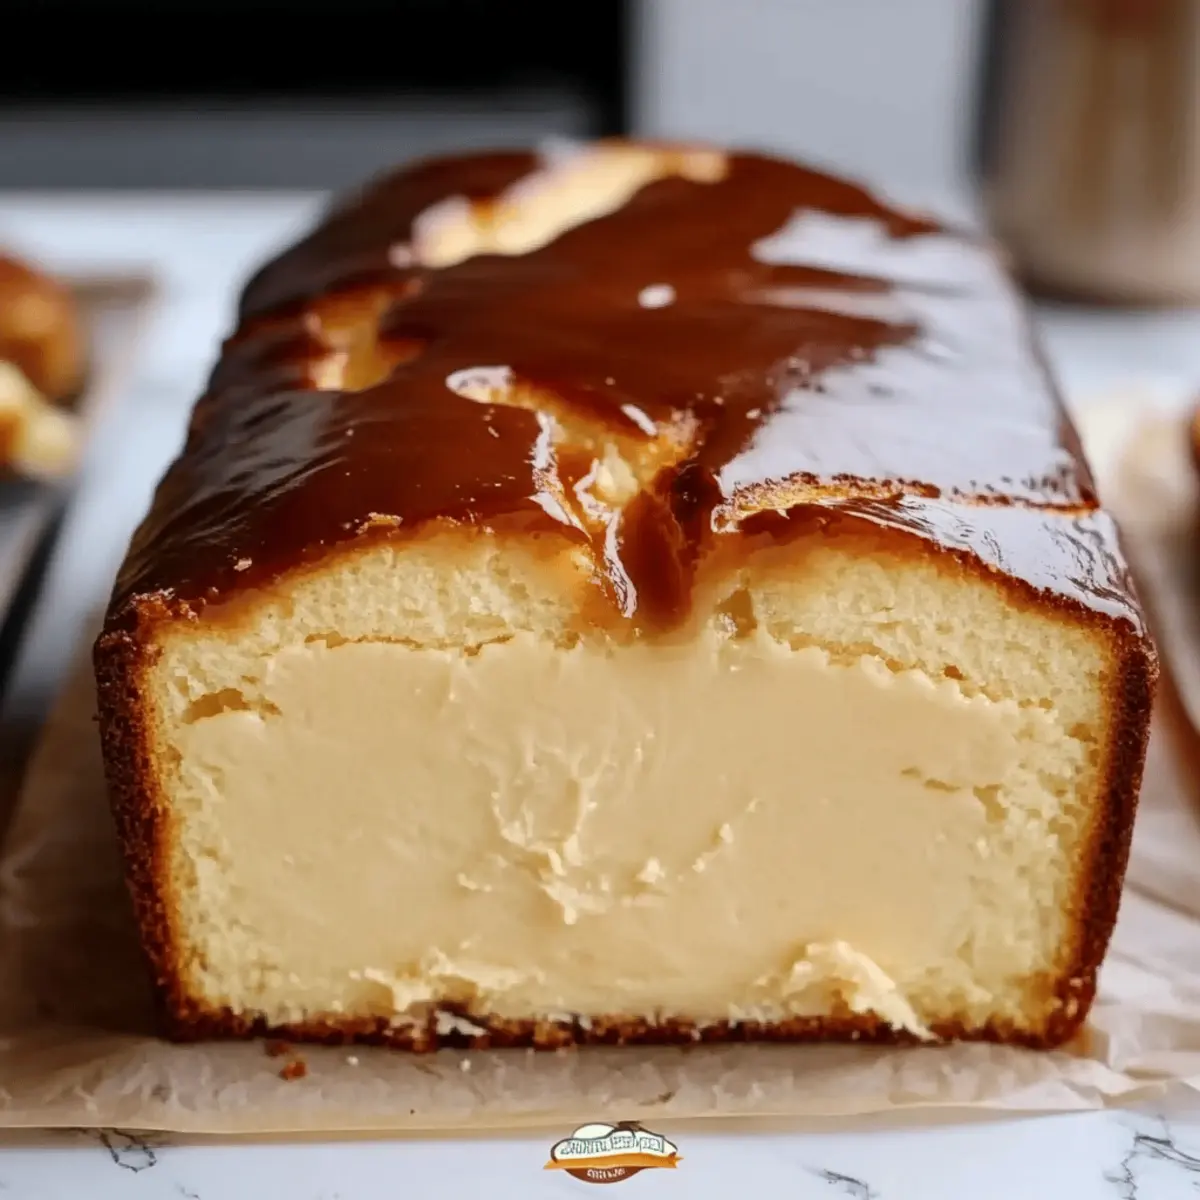
As I stood in my kitchen, the warm aroma of caramelized cheesecake wafted towards me, and I couldn't help but smile. This wasn’t just any dessert; it was my take on the Burnt Basque Cheesecake baked in a loaf pan—an easy-to-make indulgence that perfectly balances creamy goodness with a perfectly charred top. With just 10 minutes of prep time, this delightful recipe is ideal for those busy evenings when you crave something special without the overwhelming hassle. Plus, it’s a fantastic crowd-pleaser that dazzles at any gathering while allowing you to impress without the fuss. Are you ready to take your dessert game to the next level? Let’s get baking!
Why is This Cheesecake a Game Changer?
Decadent, Creamy Texture: With cream cheese and heavy cream, each bite melts in your mouth, delivering pure bliss.
Effortless Prep: In just 10 minutes, you’re on your way to a showstopper dessert, perfect for impromptu gatherings.
Unique Flavor: The classic burnt top adds a caramelized twist, enhancing its rich profile that’s simply irresistible.
Versatile Serving: Great as a stand-alone treat, or paired with fresh berries for a delightful contrast.
Perfectly Scalable: Whether for a cozy night or a party, this recipe fits any occasion effortlessly.
So, why not make your next dessert memorable? Pair this cheesecake with a cup of coffee for an indulgent evening. Happy Baking!
Burnt Basque Cheesecake Ingredients
• Here’s everything you need to create this dreamy dessert!
For the Batter
- Cream Cheese – provides the luscious creaminess essential for a rich cheesecake.
- Granulated Sugar – balances out the flavors and enhances sweetness for that perfect bite.
- Heavy Cream – adds an extra layer of decadence; never substitute with low-fat options!
- Large Eggs – vital for binding the ingredients together, giving structure and richness.
- All-Purpose Flour – just a tablespoon helps to create a slightly firmer texture without overwhelming the creamy profile.
- Vanilla Extract – for a warm, aromatic flavor that elevates the cheesecake experience.
- Salt – a pinch enhances the sweetness and balances out the rich flavors beautifully.
Ready to indulge in your own Burnt Basque Cheesecake? Let’s bring the magic of homemade goodness to your table!
Step‑by‑Step Instructions for Burnt Basque Cheesecake
Step 1: Preheat Your Oven
Begin by preheating your oven to 400°F (200°C). This high temperature is essential for achieving that signature burnt top while keeping the inside creamy. As the oven heats up, gather your ingredients and prepare your mixing tools, ensuring everything is ready for your Burnt Basque Cheesecake adventure.
Step 2: Mix Cream Cheese and Sugar
In a mixing bowl, combine the 1 ½ cups of cream cheese and ¾ cup of granulated sugar. Using an electric mixer, beat the mixture on medium speed for about 2-3 minutes until it becomes smooth and creamy. The sugar should dissolve, creating a luscious foundation for your cheesecake. Scrape down the sides of the bowl as needed to ensure even mixing.
Step 3: Incorporate Heavy Cream
Next, add the ½ cup of heavy cream to the cream cheese mixture. Continue mixing for another 1-2 minutes on low speed until everything is well combined and velvety. Look for a rich, smooth texture with no lumps, which is key for that delightful mouthfeel in your finished Burnt Basque Cheesecake.
Step 4: Add the Eggs
One at a time, crack in the two large eggs, mixing thoroughly after each addition. This step should take about 1-2 minutes. Ensure each egg is fully incorporated before adding the next to create an airy texture. The batter will begin to lighten and fluff up, signaling that you’re on the right path to cheesecakey perfection.
Step 5: Stir in Flour, Vanilla, and Salt
Now it’s time to fold in the 1 tablespoon of all-purpose flour, ½ teaspoon of vanilla extract, and ⅛ teaspoon of salt. Gently stir the mixture until just combined; be careful not to overmix. This will add structure to your cheesecake while preserving its signature creamy quality. The vanilla will also enhance the overall flavor profile beautifully.
Step 6: Prepare the Loaf Pan
Grease a 9×5 inch loaf pan with butter or line it with parchment paper, making sure it sticks out for easy removal later. This preparation ensures your Burnt Basque Cheesecake won’t stick to the pan. The greased surface also promotes an even bake, helping to achieve that desired burnished top.
Step 7: Pour the Batter
Carefully pour the cheesecake batter into your prepared loaf pan, using a spatula to scrape out every last bit. Smooth the top with the spatula for an even surface, which will help in achieving that beautiful burnt finish as it bakes. Now your pan is filled with decadent goodness, ready to transform in the oven.
Step 8: Bake the Cheesecake
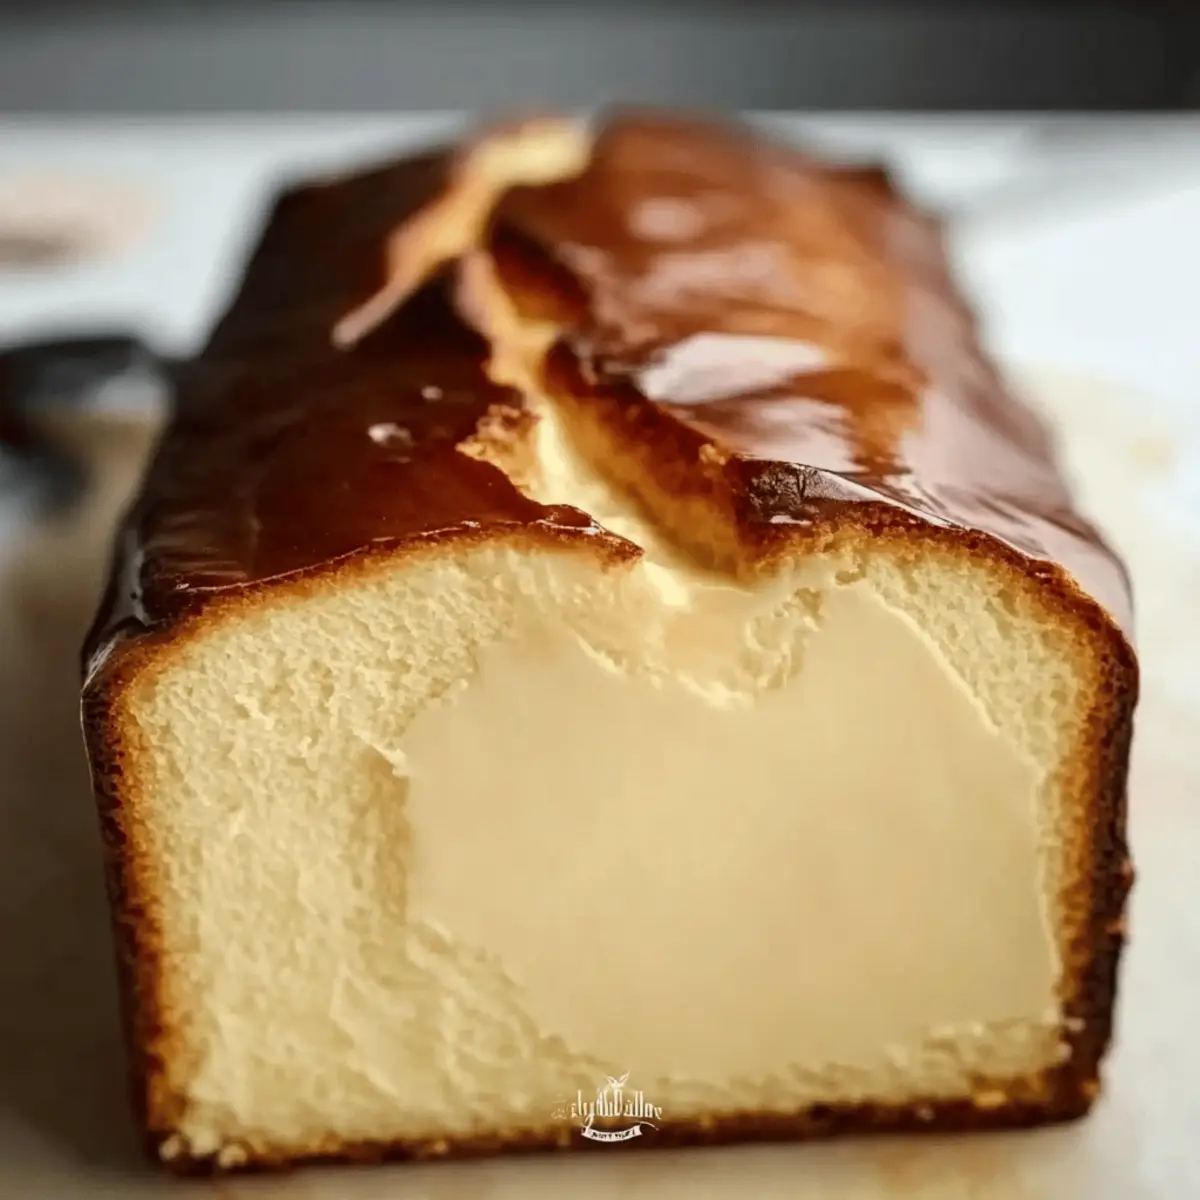
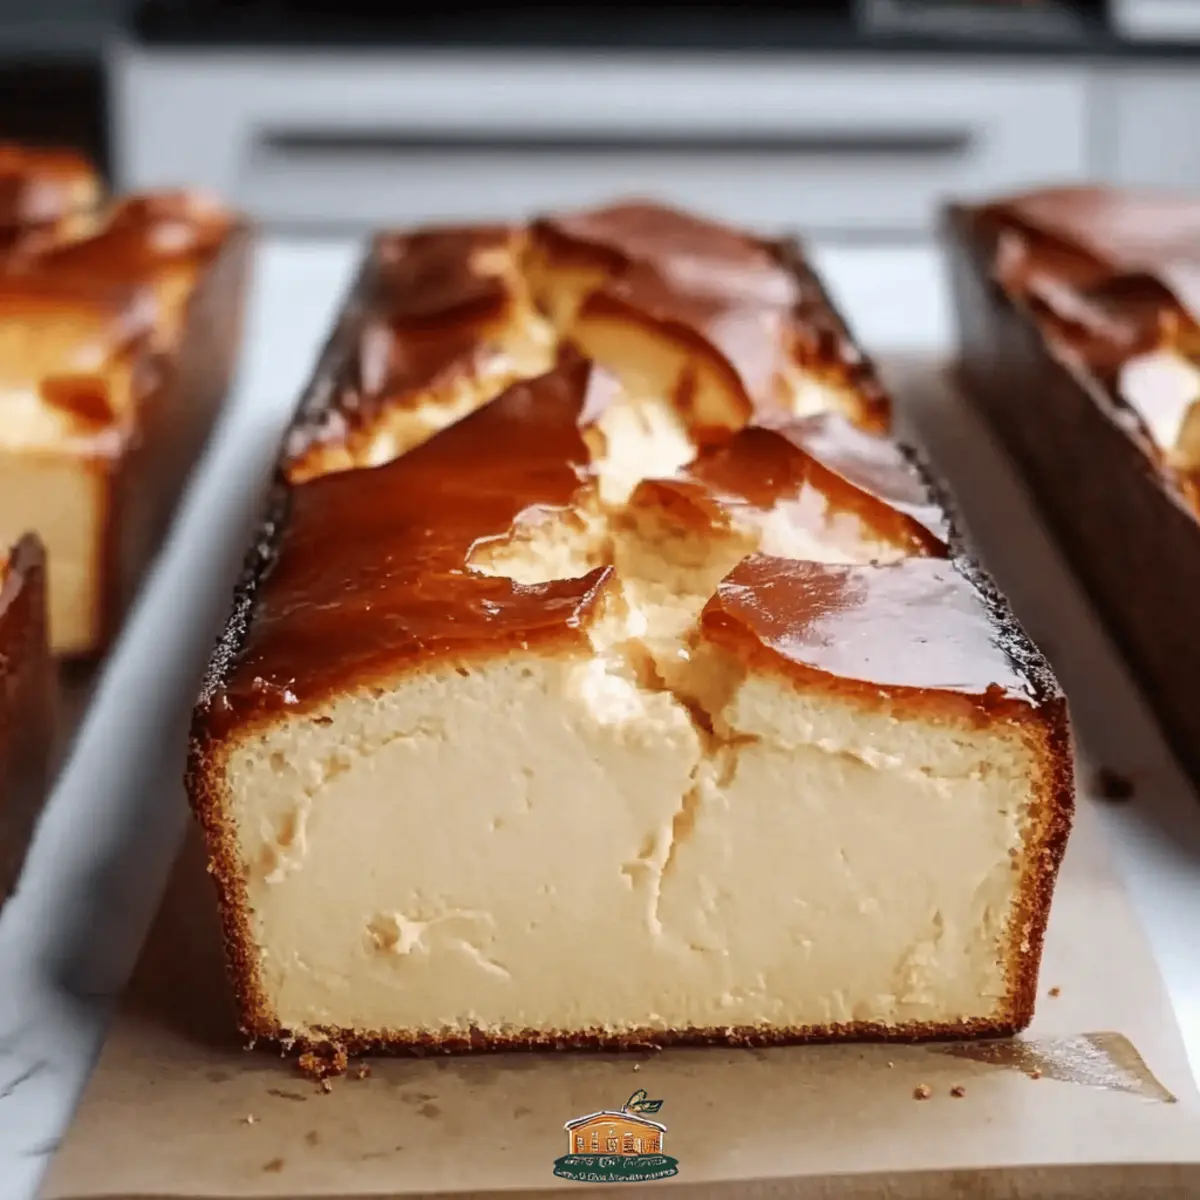
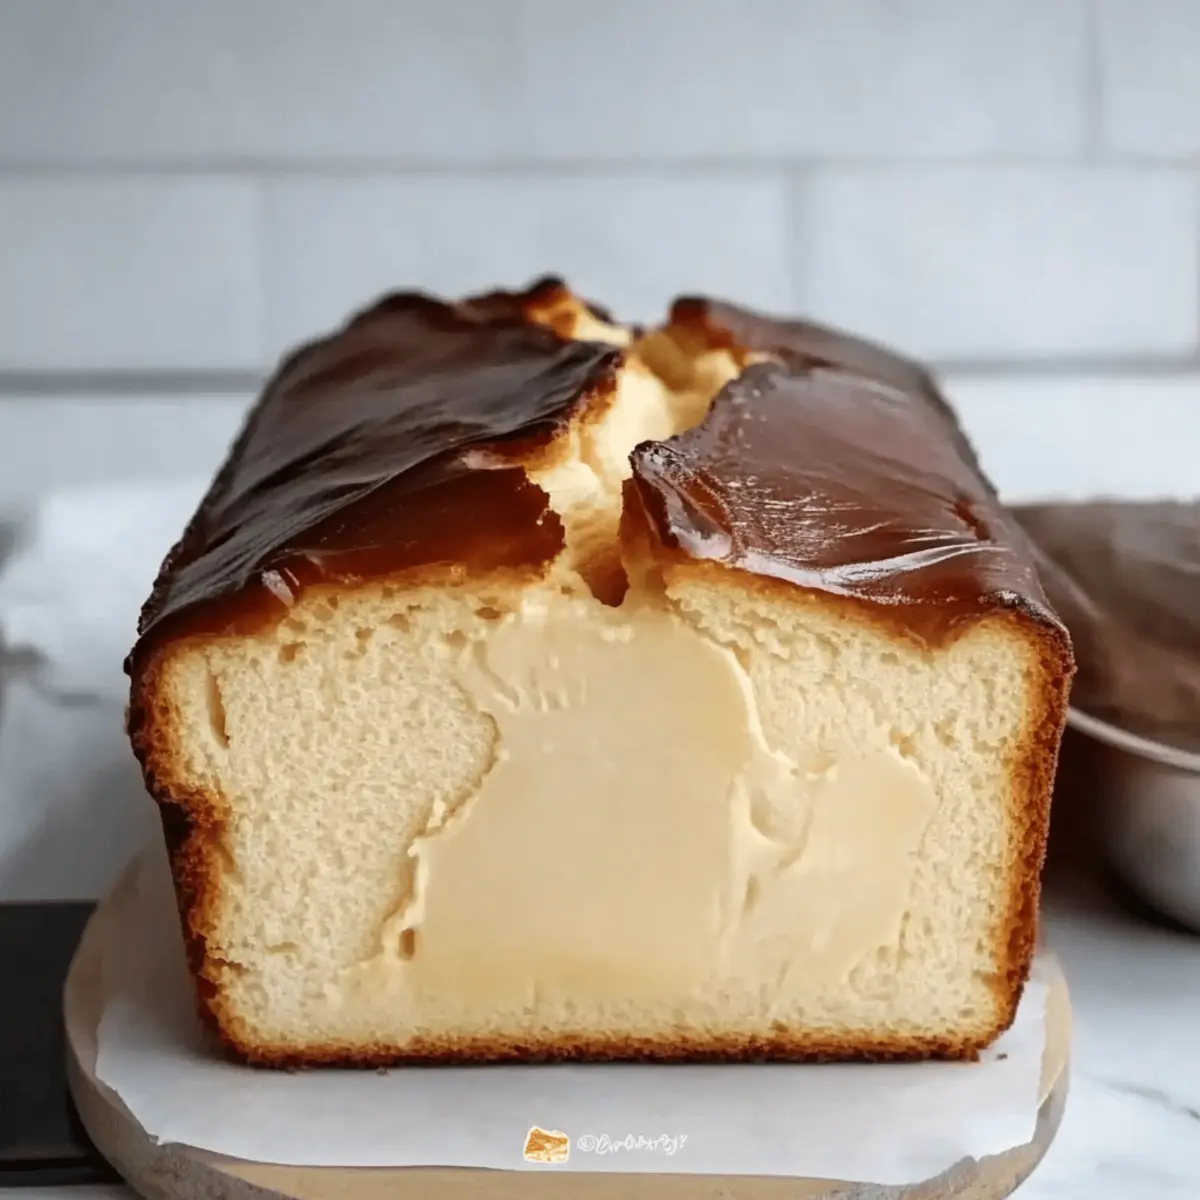
Place the loaf pan in the preheated oven and bake for 40-45 minutes. Keep an eye on it; the top should develop a deep golden color and the center will remain slightly jiggly when done. This contrast between the burnt top and creamy inner layer is what makes the Burnt Basque Cheesecake so special.
Step 9: Cool at Room Temperature
Once baked, remove the cheesecake from the oven and let it cool in the loaf pan at room temperature. This process usually takes about 1 hour. As it cools, the cheesecake will set, creating that perfectly rich consistency that you will love once chilled.
Step 10: Chill Before Serving
After cooling, cover the cheesecake and place it in the refrigerator for at least 4 hours, or overnight if you can resist! This chilling time is essential for developing the flavors and achieving that ideal creamy texture. When you're ready to serve, slice it into pieces and enjoy your delightful Burnt Basque Cheesecake topped with a sprinkle of fresh berries if desired.
How to Store and Freeze Burnt Basque Cheesecake
Fridge: Store your Burnt Basque Cheesecake in an airtight container for up to 5 days. This keeps it fresh and maintains that creamy texture you love.
Room Temperature: While it’s tempting to leave out for easy access, it’s best to keep the cheesecake refrigerated to prevent spoilage.
Freezer: Freezing is not recommended as it may alter the custard-like consistency of the cheesecake, diminishing its delightful creaminess.
Reheating: If you prefer it slightly warm, let it sit at room temperature for 10-15 minutes before serving—this can enhance the flavor experience!
Make Ahead Options
These Burnt Basque Cheesecake delights are perfect for meal prep enthusiasts! You can make the cheesecake batter and refrigerate it for up to 24 hours before baking, ensuring a hassle-free experience on busy days. Simply follow steps 1-5, then cover the mixing bowl with plastic wrap and place it in the refrigerator. When you're ready to bake, give the batter a quick stir, pour it into the prepared loaf pan, and proceed with baking as per instructions. Remember, chilling time after baking is essential, so cool it for at least 4 hours (or overnight) before serving. This approach guarantees a deliciously creamy texture that’s just as satisfying as freshly made!
Burnt Basque Cheesecake Variations
Feel free to let your creativity shine while making this cheesecake; changing things up can elevate this delightful dessert to new heights!
-
Gluten-Free: Substitute all-purpose flour with almond flour or a gluten-free blend for a deliciously nutty twist.
-
Chocolate Swirl: Add melted chocolate to the batter before baking for a rich, decadent chocolate version. Just be careful to swirl, not mix, for a beautiful marbled effect.
-
Citrus Zest: Enhance the flavor with a teaspoon of lemon or orange zest to brighten up the taste and add a refreshing zing. It’s amazing how a simple ingredient can elevate the profile.
-
Coffee Infusion: Mix in 1 tablespoon of instant espresso or brewed coffee for a cafe-inspired experience, creating a coffee lover's dream dessert. The warmth of coffee perfectly complements the creaminess.
-
Nutty Crunch: Top your cheesecake with chopped nuts, like hazelnuts or pecans, before serving. This adds a delightful contrast in texture alongside the creamy base.
-
Berry Compote: Serve with a warm berry compote for a juicy burst of flavor. Just heat your favorite berries with a bit of sugar—it's a stunning presentation!
-
Spiced Variation: Add a pinch of nutmeg or cinnamon to the batter for a subtle warm, spicy flavor, especially lovely during cooler months. These spices meld beautifully for a cozy dessert experience.
Dive into these variations, and remember, the best part of cooking is making a recipe your own. If you're looking for more inspiration in the kitchen, check out this No-Bake Cheesecake for another delightful treat! Happy baking!
Expert Tips for Burnt Basque Cheesecake
Use Room Temperature Ingredients: This helps achieve a smooth batter without lumps, ensuring a creamy texture for your Burnt Basque Cheesecake.
Watch the Baking Time: Keep an eye on your cheesecake as it bakes; overcooking can lead to a dry interior, losing that heavenly softness.
Perfect Cooling: Allow the cheesecake to cool completely in the pan before refrigerating. This helps lock in moisture and maintain its creamy consistency.
Avoid Overmixing: When adding flour, vanilla, and salt, mix just until combined to prevent a dense texture in the final cheesecake.
Serve at Ideal Temperature: For the best flavor and texture, serve your cheesecake chilled or let it sit at room temperature for 10-15 minutes before slicing.
What to Serve with Burnt Basque Cheesecake?
Dreaming of the perfect meal to accompany your rich, creamy cheesecake creation?
-
Fresh Berries: The tartness of strawberries or raspberries cuts through the richness, adding a refreshing contrast to every bite.
-
Whipped Cream: A dollop of lightly sweetened whipped cream enhances the decadence and provides a light, airy texture to balance the dense cheesecake.
-
Espresso or Coffee: The bold, dark notes of a rich espresso offer a delightful pairing, bringing out the unique flavors of your cheesecake.
-
Chocolate Drizzle: A warm drizzle of chocolate syrup creates a luxurious finish, harmonizing beautifully with the burnt top and creamy interior.
-
Citrus Salad: A light citrus salad with oranges and mint brightens the palate, cleansing the taste buds for the next indulgent slice.
-
Ice Cream: Creamy vanilla or caramel ice cream melts slightly over the cheesecake, creating a divine interplay of flavors and textures.
Each pairing not only complements the deliciousness of the Burnt Basque Cheesecake but elevates the whole dining experience. Enjoy your culinary adventure!
Burnt Basque Cheesecake Recipe FAQs
What’s the best way to choose cream cheese?
Absolutely! For the best results, look for full-fat cream cheese, as it provides a richer, creamier texture. Check the expiration date and choose a block form rather than spreadable versions, which often have added ingredients that can affect your cheesecake's texture.
How should I store my Burnt Basque Cheesecake?
To keep your cheesecake fresh and delicious, store it in an airtight container in the refrigerator for up to 5 days. Make sure it’s completely cooled before sealing it to avoid condensation, which can affect its creamy texture.
Can I freeze Burnt Basque Cheesecake?
It's best not to freeze Burnt Basque Cheesecake, as it may alter that custard-like texture we all adore. If you absolutely must freeze it, wrap individual slices tightly in plastic wrap and then place them in an airtight container. Use within 1 month and thaw in the fridge overnight when ready to enjoy.
What should I do if my cheesecake cracks while baking?
Don’t worry too much! Cracks can happen, especially with high-temperature baking. To minimize this, ensure you are not overmixing the batter before baking, and avoid opening the oven door during the first 30 minutes. If it cracks, you can always cover it with a delightful layer of fresh fruit or whipped cream!
Is this recipe gluten-free?
Unfortunately, the addition of all-purpose flour means this particular Burnt Basque Cheesecake is not gluten-free. However, you can substitute with a gluten-free flour blend to accommodate gluten-sensitive friends. Just use the same amount and proceed as normal!
Indulge in Creamy Perfection: Burnt Basque Cheesecake Bliss
Ingredients
Equipment
Method
- Preheat your oven to 400°F (200°C).
- In a mixing bowl, combine the cream cheese and sugar. Beat until smooth.
- Add the heavy cream and mix until velvety.
- Incorporate the eggs one at a time, mixing thoroughly after each addition.
- Stir in the flour, vanilla, and salt until just combined.
- Grease a 9×5 inch loaf pan or line it with parchment paper.
- Pour the batter into the prepared loaf pan and smooth the top.
- Bake for 40-45 minutes, until the top is deep golden and the center is slightly jiggly.
- Cool in the loaf pan at room temperature for about 1 hour.
- Chill in the refrigerator for at least 4 hours before serving.


Leave a Reply