
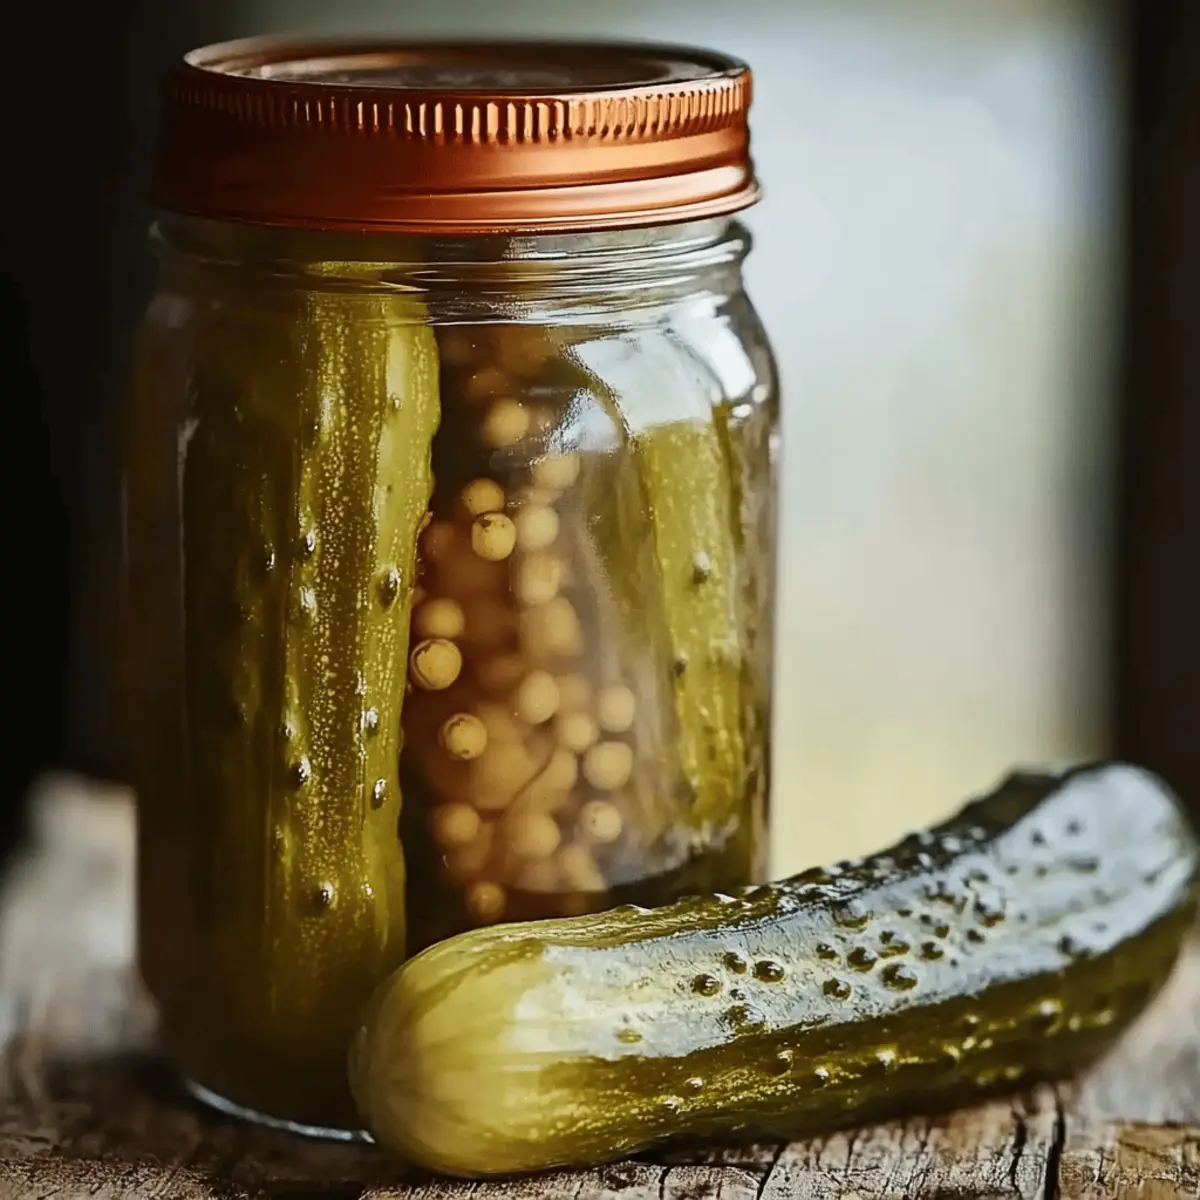
As I stood in my kitchen, the familiar crunch of cucumber slices brought back memories of summer picnics with family, where homemade treats reigned supreme. There’s something deeply satisfying about crafting your own Canned Dill Pickles—it’s not just about preserving cucumbers; it’s about preserving those cherished moments. This recipe is a delightful way to elevate your meals, offering a tangy crunch that complements sandwiches and salads alike. Plus, making pickles at home is a fun twist on traditional snacks and allows you to control the ingredients, making it as healthy or flavorful as you desire. Have you ever wanted a quick and rewarding project to brighten your week? Let’s dive into the process of creating these crisp delights!
Why Make Your Own Pickles?
Homemade Pickles: There's simply nothing like the crisp snap of homemade dill pickles! You'll love how easy it is to transform fresh cucumbers into a tangy delicacy.
Flavor Your Way: Adjust the garlic and dill to suit your taste, making each batch uniquely yours.
Crowd-Pleasing Snack: Perfect for summer picnics or as a crunchy addition to any meal, these pickles are sure to impress family and friends.
Quick Process: In just 30 minutes of active prep time, you can create jars of pickles that will be ready to enjoy in a week.
Goodbye Fast Food: Swap out artificial snacks for these wholesome delights that burst with fresh flavor! Want to explore more exciting ways to use your homemade pickles? Check out my guide on using pickles in recipes.
Fun Activity: It’s a rewarding project that brings the family together, creating not just food but memories!
Canned Dill Pickle Ingredients
• Here’s what you'll need to create crunchy, zesty canned dill pickles at home.
For the Brine
- Water – 4 cups of essential liquid to create the base of your brine.
- White vinegar – 1 cup adds the perfect tanginess to your pickling mixture.
- Salt – 2 tablespoons enhance flavor while preserving the cucumbers.
- Sugar – 2 tablespoons balance the acidity for a delightful taste.
For the Pickles
- Pickling cucumbers – 4 fresh cucumbers are ideal for crunchy pickles.
- Garlic cloves – Add to taste, bringing a delicious aroma and savory depth to each jar.
- Fresh dill sprigs – To taste, providing that classic dill flavor that makes pickles irresistible.
Ready to embark on your pickling journey? These ingredients are your gateway to achieving homemade Canned Dill Pickles with unmatched flavor!
Step‑by‑Step Instructions for Canned Dill Pickles
Step 1: Sterilize Your Jars
Begin by preparing your jars and lids for canning; place them in a large pot of boiling water for about ten minutes. This ensures that all germs are eliminated, keeping your Canned Dill Pickles safe and fresh. Once done, carefully remove the jars with tongs and let them cool on a clean kitchen towel.
Step 2: Prepare the Cucumbers
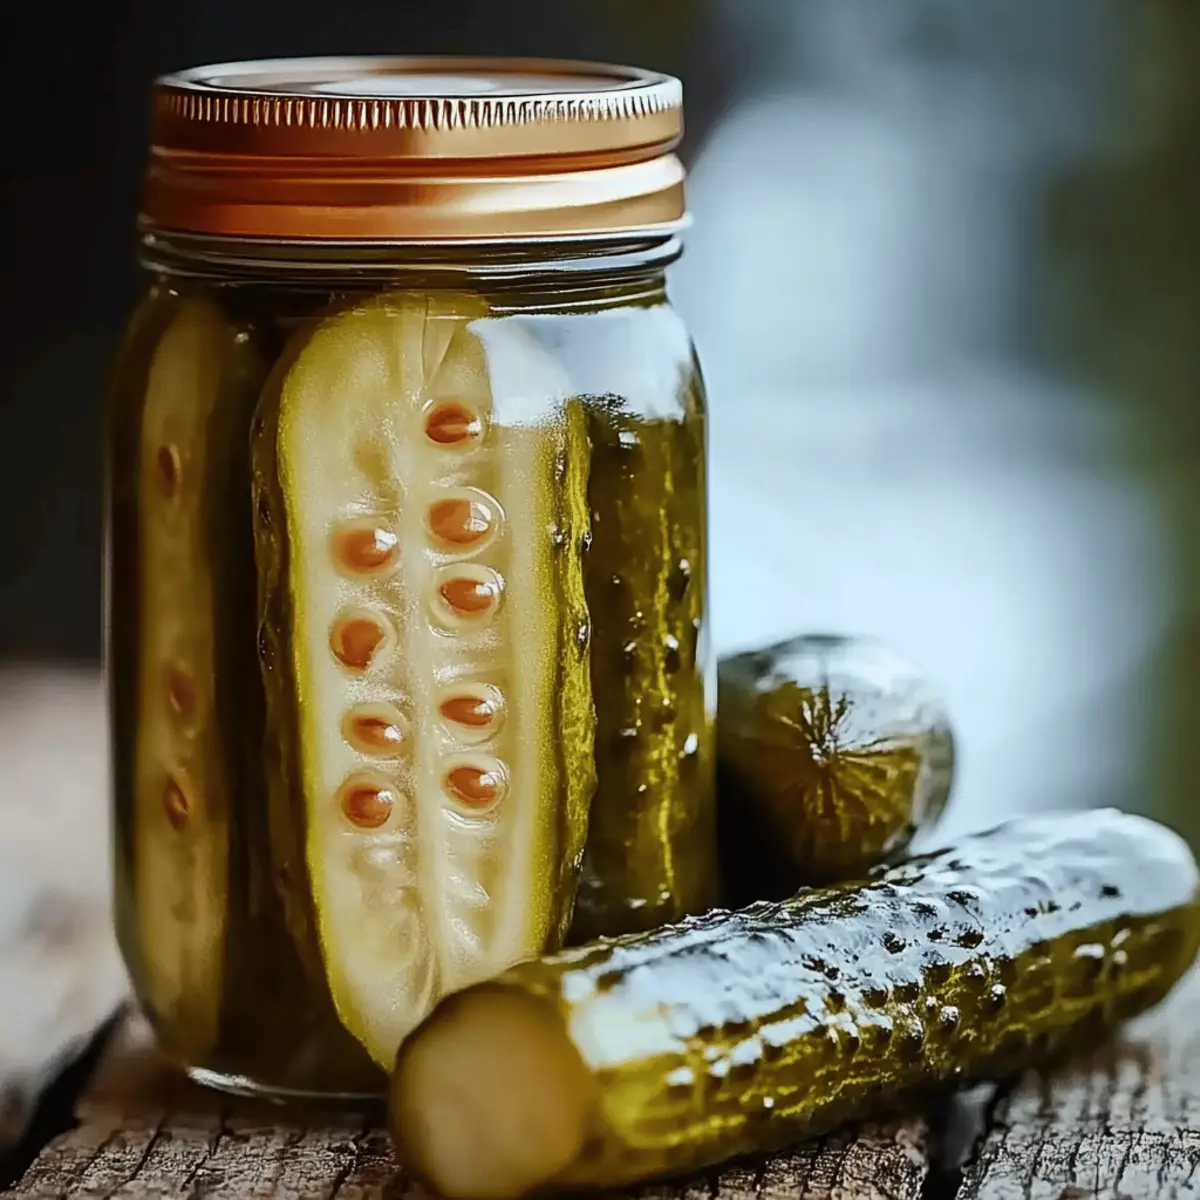
While the jars are sterilizing, wash your pickling cucumbers thoroughly under cold water, making sure to remove any dirt. Cut them into spears or slices, depending on your preference. Aim for uniform sizes, as this helps them pickle evenly. Set the prepared cucumbers aside, ready for the next step.
Step 3: Make the Brine
In a large pot, combine 4 cups of water, 1 cup of white vinegar, 2 tablespoons of salt, and 2 tablespoons of sugar. Heat the mixture over medium heat, stirring gently until the salt and sugar fully dissolve, which should take about 5-7 minutes. Once dissolved, bring the brine to a gentle boil, creating a fragrant and tangy solution for your Canned Dill Pickles.
Step 4: Pack the Jars
Now it’s time to layer your cucumber slices into the sterilized jars. Add garlic cloves and fresh dill sprigs between the layers. Ensure you leave some space at the top of the jars to allow for the brine. Visualize evenly packed jars that will absorb the flavors, ensuring a delightful crunch in every bite.
Step 5: Pour the Brine
Carefully pour the hot brine over the packed cucumbers until they are fully submerged, leaving about half an inch of headspace at the top. This is crucial for proper sealing and flavor infusion. Seal the jars tightly with the lids, ensuring they are secure but not overly tightened to allow for expansion.
Step 6: Process the Jars
To ensure that the jars are sealed properly for long-term storage, process them in boiling water. Submerge the jars in a boiling water bath for about ten minutes, using a canning rack or a large slotted spoon to keep them from touching the bottom of the pot. This step is essential for preserving your Canned Dill Pickles.
Step 7: Cool and Cure
Once processed, carefully transfer the jars to a cool, dry place on a kitchen towel or cooling rack. Allow them to sit undisturbed for at least a week to develop optimal flavor. During this time, you’ll notice the sounds of popping lids as they seal, which is a satisfying indication that your pickles are coming together beautifully.
How to Store and Freeze Canned Dill Pickles
Fridge: Store your sealed jars of Canned Dill Pickles in the refrigerator for optimal freshness, where they can last for up to 1 year.
Room Temperature: Unopened jars can be kept in a cool, dark place for up to a year; avoid direct sunlight and high temperatures which can affect flavor.
Opened Jars: Once opened, consume your pickles within 2-4 weeks for best quality. Always refrigerate after opening and ensure the lid is tightly sealed.
Sealing Help: If a jar isn’t sealed properly after processing, refrigerate it immediately and consume within a week.
Tips for the Best Canned Dill Pickles
- Choose Firm Cucumbers: Look for fresh, firm pickling cucumbers that are free from blemishes. Softer cucumbers won't hold their crunch in your Canned Dill Pickles.
- Use Fresh Ingredients: Fresh garlic and dill enhance flavor significantly. Avoid using dried herbs for a vibrant taste that shines through.
- Leave Headspace: Always leave about half an inch of headspace in your jars when pouring in the brine; this ensures seal integrity and flavors infuse properly.
- Cool Gradually: After processing, allow your jars to cool at room temperature. Rapid cooling can cause jars to crack, compromising your pickles.
- Patience is Key: Resist the temptation to taste your pickles before a week has passed. Waiting allows the flavors to meld, ensuring a delicious final product!
Make Ahead Options
These Canned Dill Pickles are perfect for meal prep enthusiasts looking to elevate their meal planning! You can prepare the brine (water, vinegar, salt, and sugar) and refrigerate it up to 3 days in advance to save time on busy canning days. Additionally, washing and cutting the cucumbers can be done 24 hours ahead; just keep them submerged in cold water to maintain freshness and prevent browning. When you're ready to finish, layer the cucumbers with garlic and dill in sterilized jars, then pour the prepped brine over them and process as instructed. This method allows you to enjoy homemade pickles with minimal effort when you want that delicious crunch!
What to Serve with Canned Dill Pickles
Transform your homemade pickles into a full meal by pairing them with delightful accompaniments that enhance their tangy crunch.
- Classic Sandwiches: Perfect with turkey or ham sandwiches, the pickles add a crisp, zesty contrast that elevates every bite.
- Creamy Potato Salad: The pickles bring a bright, tangy flavor to creamy potato salads, balancing richness with refreshing crunch.
- Caesar Salad: Toss in some pickled slices for a burst of flavor that complements the creamy dressing and crisp romaine lettuce.
- Deviled Eggs: Slice pickles on top or mix them in for an extra kick in deviled eggs, creating a delightful texture and taste experience.
- Barbecue Ribs: Serve alongside savory barbecue ribs; the tanginess of the pickles cuts through the rich sauce beautifully, cleansing the palate.
- Craft Beers: A chilled craft beer makes for a perfect pairing, enhancing the tanginess of the pickles while savoring the crunchy bites.
- Cheese Board: Add to a cheese platter with sharp cheddar and crackers; their acidity balances the richness of the cheeses.
- Fresh Coleslaw: Create a summer feast by serving with coleslaw; the pickles elevate the salad with their delightful crunch and tang.
- Potato Chips: Dip crunchy potato chips straight into the brine for an addictive snack; the salty chips and pickles bring a satisfying crunch to your day.
- Apple Pie: Finish with a slice of apple pie; the sweetness pairs surprisingly well with the tangy, crisp flavor of homemade Canned Dill Pickles.
Canned Dill Pickle Variations
Get ready to give your pickles a personal twist that bursts with flavor and creativity!
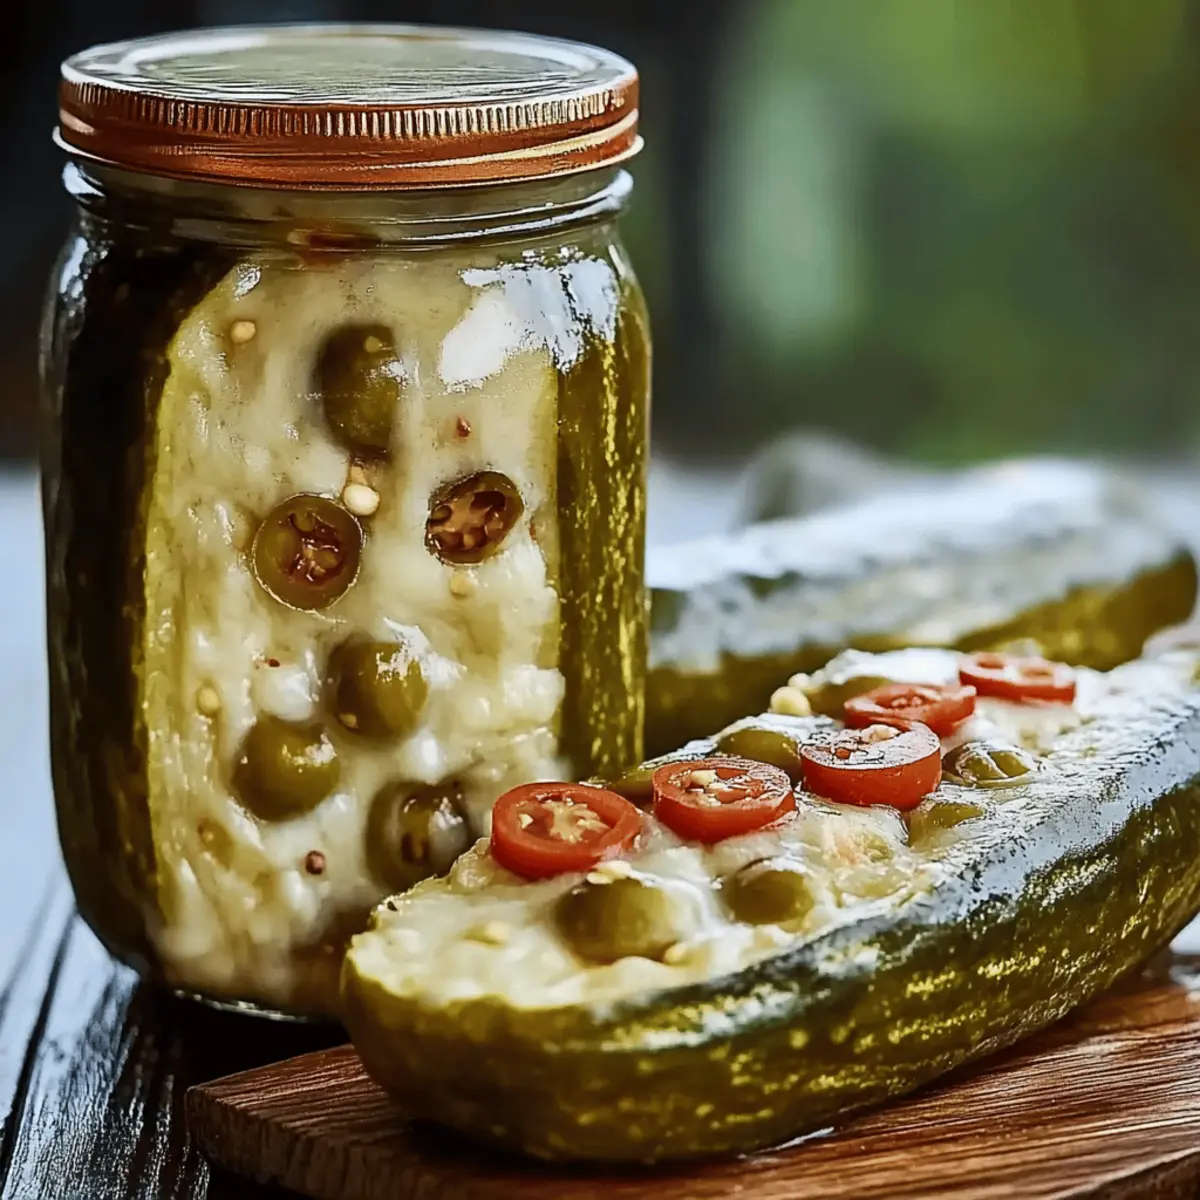
- Spicy Kick: Add sliced jalapeños or crushed red pepper flakes to the brine for a zesty heat that elevates each bite.
- Herb Infusion: Experiment with different herbs like thyme or tarragon alongside or instead of dill for a unique flavor profile.
- Sweet and Tangy: Increase the sugar to ¼ cup for a sweeter version or add a splash of pineapple juice for an interesting twist.
- Garlic Lover’s Dream: Load the jars with more garlic cloves or even roasted garlic for a robust, aromatic flavor.
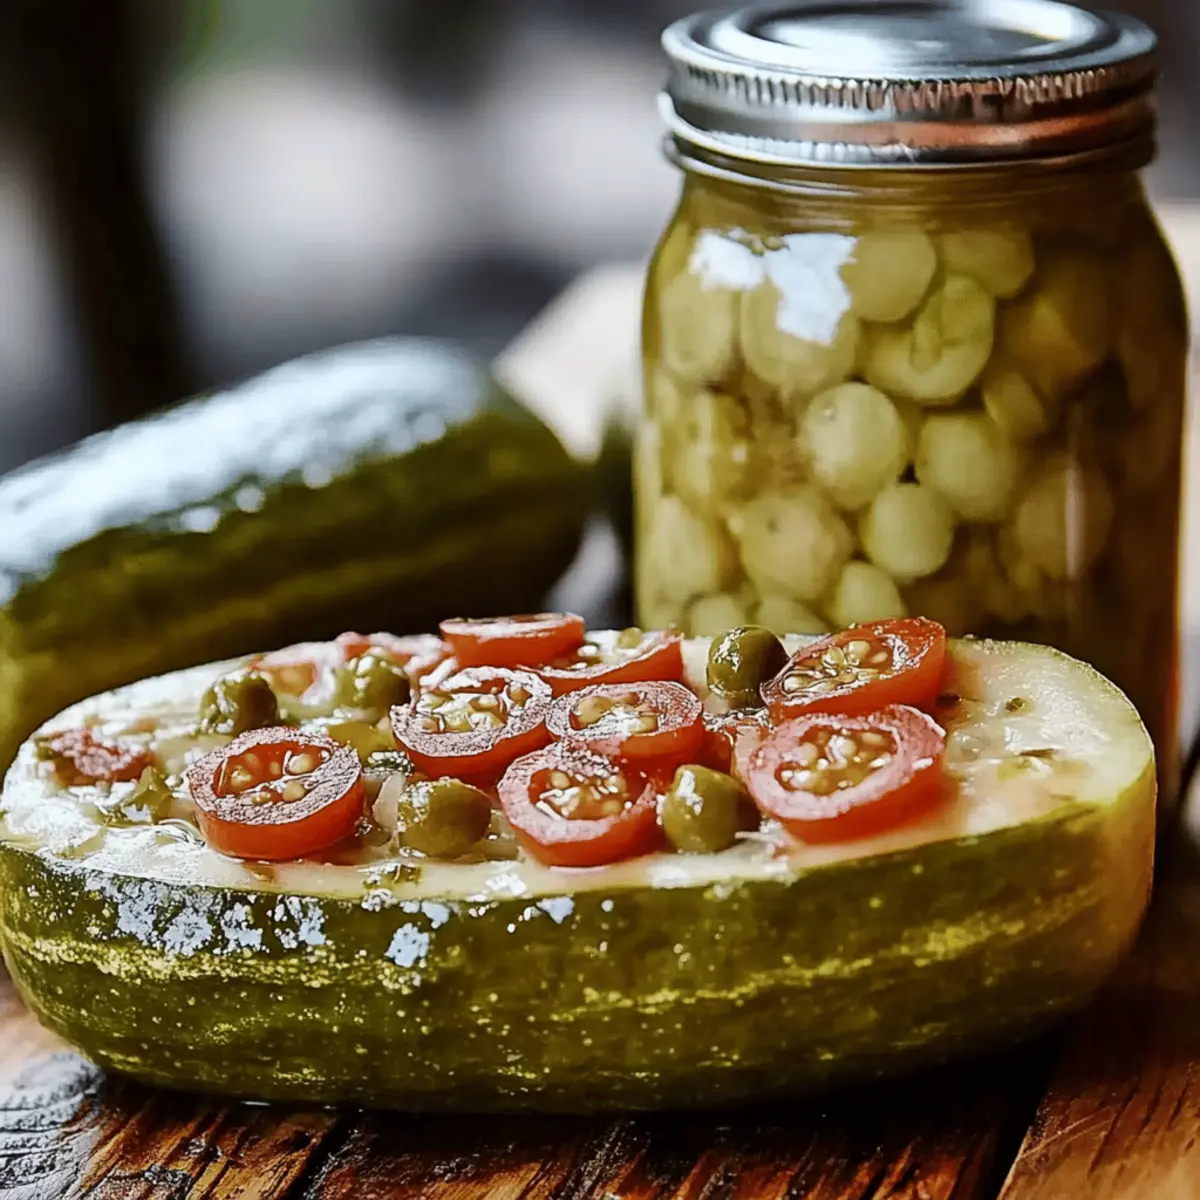
- Pickled Veggie Medley: Include other vegetables such as carrots, radishes, or green beans for a colorful and tasty variety of canned pickles.
- Smoky Essence: Incorporate a few drops of liquid smoke or smoked paprika into the brine for a subtle, rich flavor that tantalizes the palate.
- Zesty Citrus: Add lemon or lime slices to the jars for a refreshing zip that brightens up the traditional pickle flavor.
- Cucumber Longevity: For an even crunchier texture, soak cucumbers in ice water for an hour before packing them in jars; this will keep them crisp during brining.
Have fun creating your own signature jar of Canned Dill Pickles! Want to take your pickling skills further? Check out my guide on using pickles in recipes or discover other ways to enhance your home cooking with fresh herbs and spices. You’ll not only enjoy the process but also delight in sharing these pickles with family and friends at your next gathering!
Canned Dill Pickles Recipe FAQs
What type of cucumbers should I use for pickling?
Absolutely! For the best Canned Dill Pickles, choose firm pickling cucumbers, often labeled as "Kirby" cucumbers. Look for those that are dark green, blemish-free, and crisp to the touch. Softer cucumbers won't hold their crunch during the pickling process.
How should I store my homemade pickles?
To store your sealed jars of Canned Dill Pickles, keep them in a cool, dark place away from direct sunlight, like a pantry or cupboard. Unopened jars can last up to a year stored this way. Once you open a jar, refrigerate it immediately and enjoy the pickles within 2-4 weeks for ideal freshness!
Can I freeze my canned dill pickles?
While it's not recommended to freeze pickles in their jars, you can freeze leftover brine and cucumbers if you've sliced them. To do this, pack the sliced cucumbers in freezer-safe bags along with enough brine to cover them and remove excess air. They can last up to 3 months in the freezer. When you're ready to use them, thaw in the fridge and enjoy!
What can I do if my pickles are too soft?
Very! If you find your pickles have turned out soft, it might be due to overcooking the cucumbers during processing, or using cucumbers that were too ripe. To remedy this in the future, ensure you're picking firm cucumbers and avoid cooking them longer than the instructions suggest. If your pickles are already made, consider using them as a delicious addition to dips, salads, or even blended into a spicy relish!
Are there any dietary considerations for this recipe?
Of course! It's essential to note that while these Canned Dill Pickles are generally safe for most diets, if you have garlic allergies or are sensitive to vinegar, you might want to avoid them. They also contain sugar and salt, so those on strict diets or watching their sodium intake should keep this in mind. Always check your labels if you're sharing with friends or family who have dietary restrictions.
Crisp Canned Dill Pickles: Easy Homemade Flavor Bliss
Ingredients
Equipment
Method
- Sterilize your jars by placing them in a large pot of boiling water for about ten minutes.
- Wash the pickling cucumbers thoroughly under cold water and cut them into spears or slices.
- Combine water, white vinegar, salt, and sugar in a large pot. Heat over medium heat until dissolved.
- Layer cucumber slices in the sterilized jars, adding garlic and dill between layers.
- Pour the hot brine over the packed cucumbers, leaving about half an inch of headspace.
- Process the jars in boiling water for about ten minutes to seal properly.
- Transfer the jars to a cool, dry place and allow them to sit undisturbed for at least a week.

Leave a Reply