
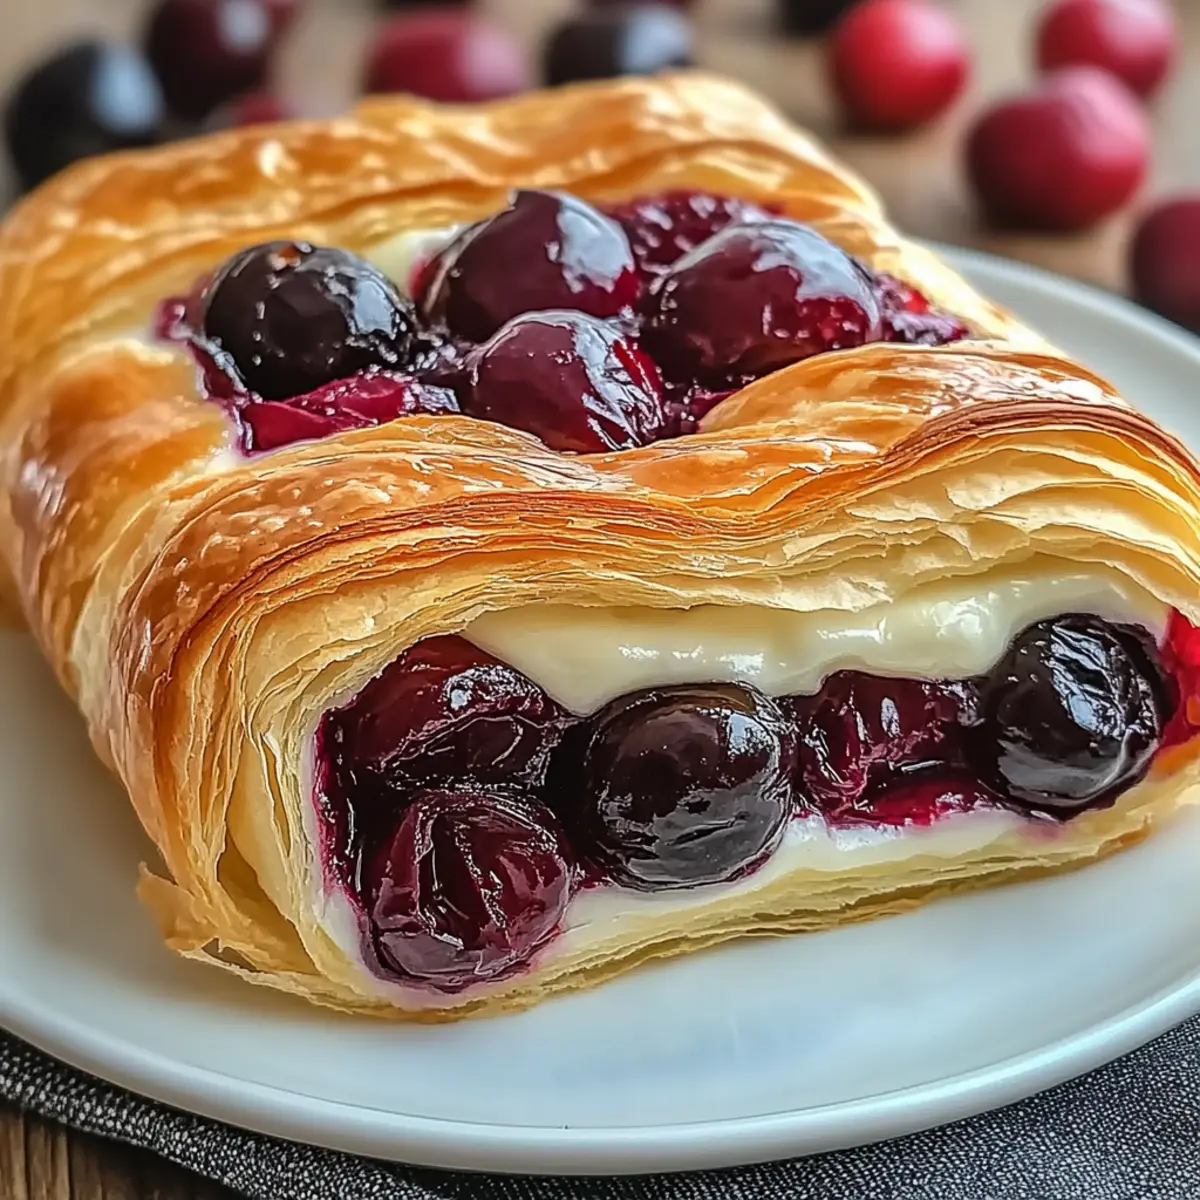
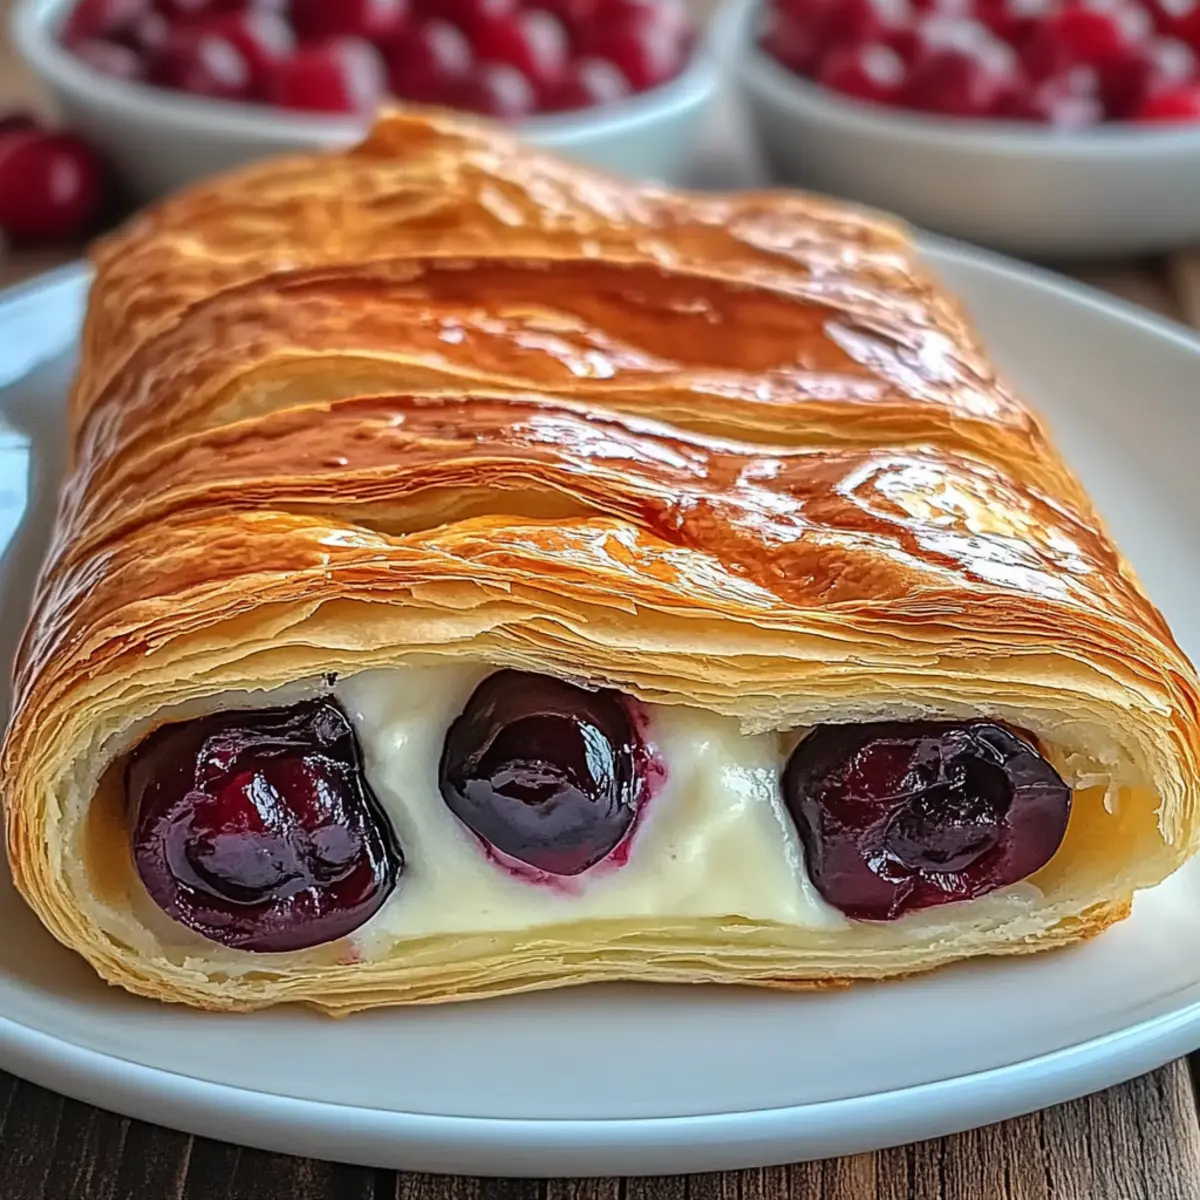
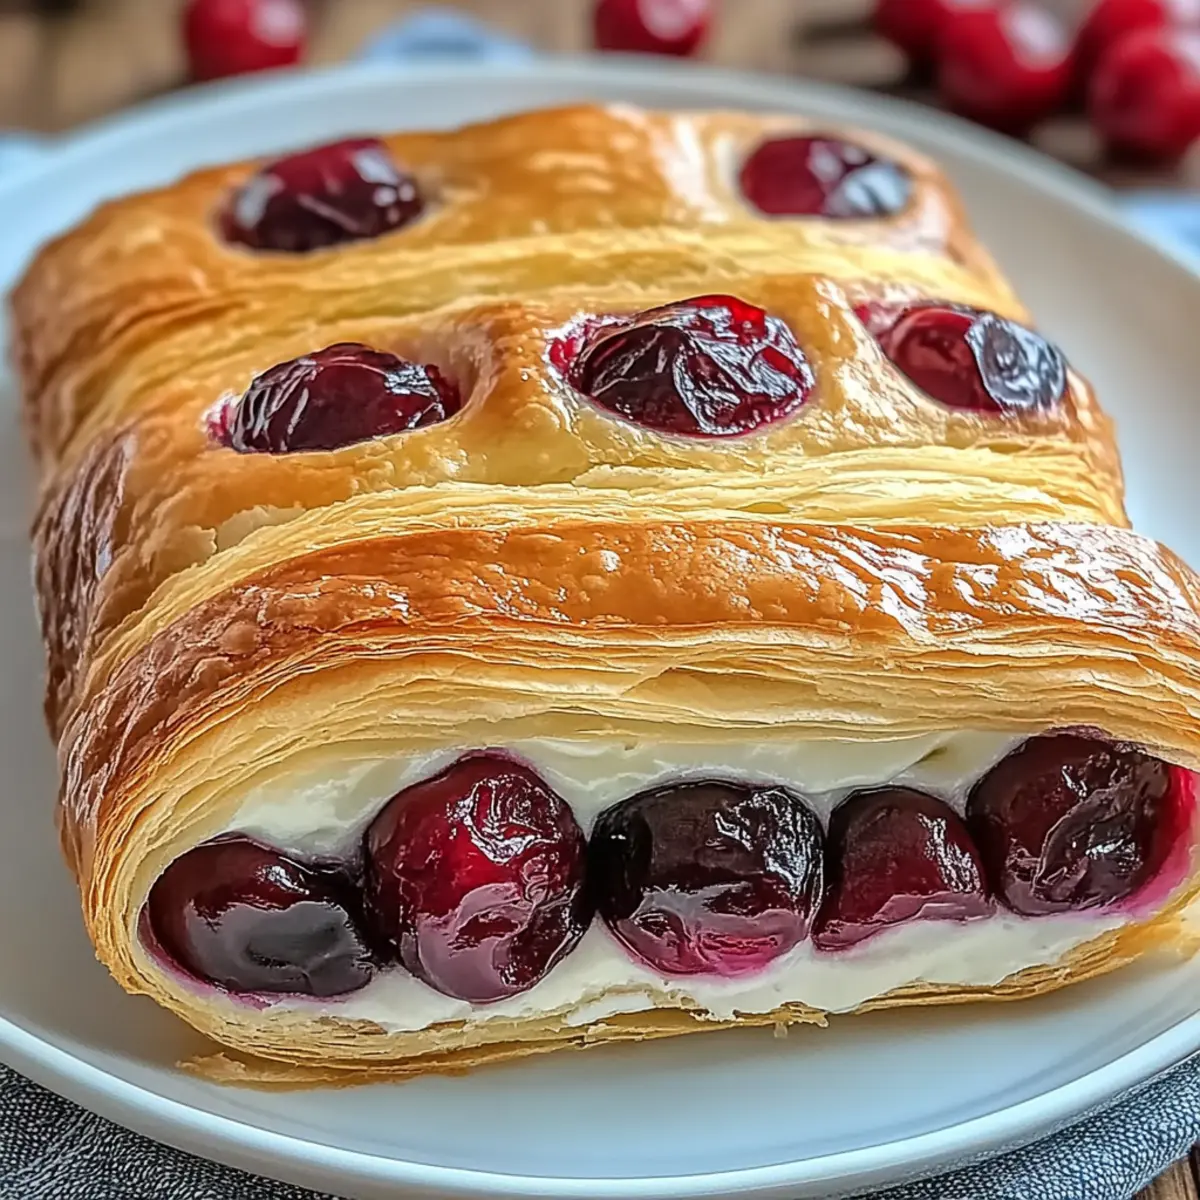
There’s something magical about waking up to the scent of freshly baked pastries wafting through the air, and this Cherry Cheese Danish is the key to unlocking that joy. This easy recipe combines flaky layers of puff pastry with a creamy cheese filling and a sweet burst of cherries, making it perfect for both cozy brunches and special gatherings. You’ll find that it's a cinch to whip up, especially with the convenience of store-bought puff pastry, allowing you to impress without the stress. Plus, the best part? This delightful treat is fully customizable—feel free to switch out the cherry filling for blueberries or peaches, and even add a sprinkle of cinnamon for a warm twist. Are you ready to bring a little bit of bakery magic into your kitchen?
Why is Cherry Cheese Danish So Delightful?
Simplicity: This recipe is a breeze, especially with store-bought puff pastry—perfect for bakers of all skill levels.
Customizable: Make it your own by switching to blueberry or peach fillings, or adding a hint of cinnamon for an extra flavor kick.
Crowd-Pleaser: Serve these warm for brunch, and watch how quickly they disappear!
Texture Bliss: The crispy, flaky pastry pairs beautifully with the creamy filling and sweet fruit, creating a flavor explosion in every bite.
Make-Ahead Magic: Prep everything up to 24 hours in advance, ensuring you can impress guests without the last-minute rush.
For More Sweet Temptations: Once you’ve mastered this Cherry Cheese Danish, explore delightful options like Cottage Cheese Blueberry for a fresh twist or the comforting Goat Cheese Sweet for a savory alternative.
Cherry Cheese Danish Ingredients
• To create your delicious Cherry Cheese Danish, gather the following essentials:
For the Pastry
- Puff Pastry – A flaky base that saves time; store-bought is a fantastic shortcut.
For the Filling
- Cream Cheese (8 oz) – Provides a rich and creamy filling; you can swap this out for mascarpone for a different taste.
- Granulated Sugar (½ cup) – Sweetens the cream cheese mixture beautifully, enhancing the overall flavor.
- Vanilla Extract (1 tsp) – Adds depth; don’t skip it for a fuller filling experience.
For the Topping
- Cherry Pie Filling (1 can) – This gives your danish that deliciously fruity top layer; you can opt for homemade for a fresh touch.
- Egg (1 large) – Used for an egg wash to achieve a glossy finish; milk works well as a substitute here.
Each ingredient plays a vital role in perfecting your Cherry Cheese Danish experience!
Step‑by‑Step Instructions for Cherry Cheese Danish
Step 1: Preheat Your Oven
Begin by preheating your oven to 375°F (190°C). This ensures a perfectly baked Cherry Cheese Danish with a golden, flaky crust. While your oven heats up, prepare your workspace and gather your ingredients to make the cooking process smooth and enjoyable.
Step 2: Prepare the Puff Pastry
On a lightly floured surface, gently roll out your store-bought puff pastry. Cut the pastry into four 4x4-inch squares, aiming for even edges. As you handle the dough, feel free to re-flour your surface to prevent sticking; the more delicate you are, the flakier your Danish will be!
Step 3: Make the Cream Cheese Filling
In a mixing bowl, blend 8 ounces of softened cream cheese with ½ cup of granulated sugar and 1 teaspoon of vanilla extract. Use an electric mixer on medium speed for about 2-3 minutes until the mixture is smooth and fluffy. This creamy filling will provide a rich contrast to the flaky layers of your Cherry Cheese Danish.
Step 4: Assemble the Danishes
Take each pastry square and spoon a generous amount of the cream cheese filling into the center. Top each with a dollop of cherry pie filling, using your preferred amount for that luscious fruity burst. Carefully fold the corners of the pastry toward the center to enclose the filling, pinching them together to create a delightful pocket.
Step 5: Apply the Egg Wash
In a small bowl, whisk together a large egg or use milk to create an egg wash. Using a pastry brush, lightly brush the tops of each assembled Cherry Cheese Danish with the wash, ensuring they get that beautiful, glossy finish when baked. This step enhances the color and adds an appealing sheen to your pastries.
Step 6: Bake to Perfection
Place your assembled danishes on a lined baking sheet, ensuring they have some space between them. Slide the sheet into your preheated oven and bake for 20-25 minutes. Watch for a beautiful golden brown color; this indicates that your Cherry Cheese Danish is ready to be enjoyed!
Step 7: Cool and Serve
Once baked, remove the danishes from the oven and let them cool on a wire rack for about 5 minutes. This rest time allows the filling to set slightly, making them easier to serve. Enjoy your warm Cherry Cheese Danishes on their own or with a cup of coffee for a delightful treat!
How to Store and Freeze Cherry Cheese Danish
Airtight Container: Store leftover Cherry Cheese Danish in an airtight container at room temperature for up to 2 days to maintain freshness.
Refrigeration: For a longer shelf life, refrigerate in the same airtight container for up to 4 days. Just remember to let them come to room temperature before serving for the best flavor.
Freezing: To freeze, wrap each Danish individually in plastic wrap, then place them in a freezer-safe bag. They can be stored in the freezer for up to 3 months.
Reheating: When ready to enjoy, thaw overnight in the refrigerator, then reheat in the oven at 350°F (175°C) for about 10-15 minutes to restore their flaky texture.
Cherry Cheese Danish Variations & Substitutions
Feel free to play around with this Cherry Cheese Danish recipe and make it your own; let your creativity shine through delicious flavors!
- Blueberry Filling: Substitute the cherry filling with fresh or canned blueberries for a delightful twist. This variation bursts with juicy sweetness!
- Peach Filling: Opt for peach pie filling to bring a bright, summery flavor to your danish. The combination of peach and cream is heavenly!
- Warm Spices: Add a pinch of cinnamon or nutmeg to the cream cheese filling for a warm, cozy touch that elevates the overall flavor. It’s like a hug in each bite!
- Dairy-Free: For a vegan version, use dairy-free cream cheese alternatives. You won't lose the fabulous creamy texture while accommodating dietary needs.
- Add Zest: Incorporate some lemon zest into the filling to brighten the flavor profile. The zesty kick will perfectly complement the sweetness of the filling!
- Chocolate Drizzle: For chocolate lovers, try adding a drizzle of melted chocolate over the top once the pastries cool. The richness will elevate your danish to a new level!
- Nutty Flavor: Spread a thin layer of almond paste under the cream cheese for added depth and a nutty flavor that pairs extraordinary well with the fruit filling.
All these variations let you customize the recipe to your heart's desire. If you're in the mood for something like a creamy delight, try your hand at making Cottage Cheese Blueberry or indulge in a savory option like Goat Cheese Sweet. Enjoy your culinary adventure!
Make Ahead Options
These Cherry Cheese Danishes are perfect for meal prep enthusiasts! You can prepare the puff pastry and cream cheese filling up to 24 hours in advance; simply assemble the danishes, cover them with plastic wrap, and refrigerate until you’re ready to bake. This not only saves you time on busy mornings but also allows the flavors to meld beautifully. When you’re ready to serve, preheat your oven, brush the tops with your egg wash, and pop them in the oven for that golden finish. Enjoy the convenience of having fresh, warm pastries ready to impress your family without the last-minute rush!
Expert Tips for Cherry Cheese Danish
-
Thaw Carefully: Ensure your puff pastry is fully thawed before working with it to prevent tearing and create that perfect flaky texture.
-
Egg Wash Magic: Apply the egg wash lightly; it gives a glossy finish without adding sogginess. Too much can dampen your pastry.
-
Watch the Bake: Keep an eye on your danishes in the last few minutes of baking to prevent over-browning. They should appear golden and flaky!
-
Customize Wisely: Feel free to experiment with fillings, but remember that wetter fillings may require less than what’s listed for cherry filling to prevent sogginess.
-
Make Ahead: If prepping in advance, assemble the Cherry Cheese Danish, but refrigerate them until just before baking for the best results!
What to Serve with Cherry Cheese Danish
Indulging in a freshly baked Cherry Cheese Danish opens up a world of delightful pairings that can elevate your brunch or dessert spread.
- Coffee: A warm, rich cup complements the creamy filling and enhances the sweet tang of the cherries beautifully.
- Herbal Tea: Lightly floral blends like chamomile or lavender add a soothing contrast to the sweet, flaky pastry.
- Fresh Berries: A mix of strawberries, raspberries, or blueberries adds a refreshing burst of flavor and color to your plate.
- Greek Yogurt: Serve a dollop of creamy, tangy yogurt on the side for a protein boost that balances sweetness perfectly.
- Ice Cream: Vanilla or a light sorbet can transform your Danish into an elegant dessert, ideal for warm days.
- Fruit Salad: A zesty fruit salad provides a refreshing palate cleanser, keeping your meal feeling light and vibrant.
- Lemonade: A chilled glass of homemade lemonade pairs nicely, cutting through the richness and adding a citrus zing.
- Chocolate Milk: For a fun twist, serve with chocolate milk for a playful nod to childhood, enhancing the dessert vibe.
- Spiced Apple Cider: In cooler months, warm spiced cider beautifully matches the comforting flavors of the Danish while inviting coziness.
Cherry Cheese Danish Recipe FAQs
What should I look for when selecting puff pastry?
When choosing puff pastry, look for sheets that are well-packaged and freezer-quality with no visible frost. The dough should be pliable, and avoid any packages with dark spots or tears, as these can indicate freezer burn.
How do I store leftover Cherry Cheese Danish, and how long does it last?
To ensure your Cherry Cheese Danish stays fresh, store leftovers in an airtight container at room temperature for up to 2 days. If you want it to last longer, refrigerate them for up to 4 days. Just let them come back to room temperature before serving for the best taste.
Can I freeze Cherry Cheese Danish, and what is the best way to do it?
Absolutely! To freeze your Cherry Cheese Danish, wrap each pastry individually in plastic wrap, ensuring there are no air pockets. Then place them in a freezer-safe bag or container. They can be stored in the freezer for up to 3 months. When ready to eat, simply thaw them overnight in the refrigerator and reheat in the oven at 350°F (175°C) for about 10-15 minutes to get that flaky texture back.
What if my cream cheese filling is too runny?
If you find your cream cheese filling is too runny, there are a couple of things you can do. First, ensure your cream cheese is thoroughly softened but not overly warm, as this could make it too thin. If it’s already mixed and runny, you can add a tablespoon of cornstarch or powdered sugar to thicken it up. Mix until fluffy and smooth for the best texture in your Cherry Cheese Danish.
Are there any dietary considerations for making Cherry Cheese Danish?
Yes! This recipe contains dairy and eggs, so it's important to consider alternatives if you're catering to dietary restrictions. You can use dairy-free cream cheese for a vegan option and plant-based milk for the egg wash to keep it versatile for all guests. Always check labels to ensure no hidden allergens, especially if serving to individuals with food allergies.

Indulge in Easy Cherry Cheese Danish with Flaky Pastry
Ingredients
Equipment
Method
- Preheat your oven to 375°F (190°C).
- On a lightly floured surface, roll out the puff pastry and cut into four 4x4-inch squares.
- Blend cream cheese, sugar, and vanilla extract in a mixing bowl on medium speed until smooth and fluffy.
- Spoon cream cheese filling into the center of each pastry square and top with cherry pie filling.
- Create a pocket by folding the corners of the pastry towards the center and pinch to seal.
- Brush the tops with egg wash using a pastry brush.
- Bake assembled danishes on a lined baking sheet for 20-25 minutes until golden brown.
- Cool on a wire rack for about 5 minutes before serving.


Leave a Reply